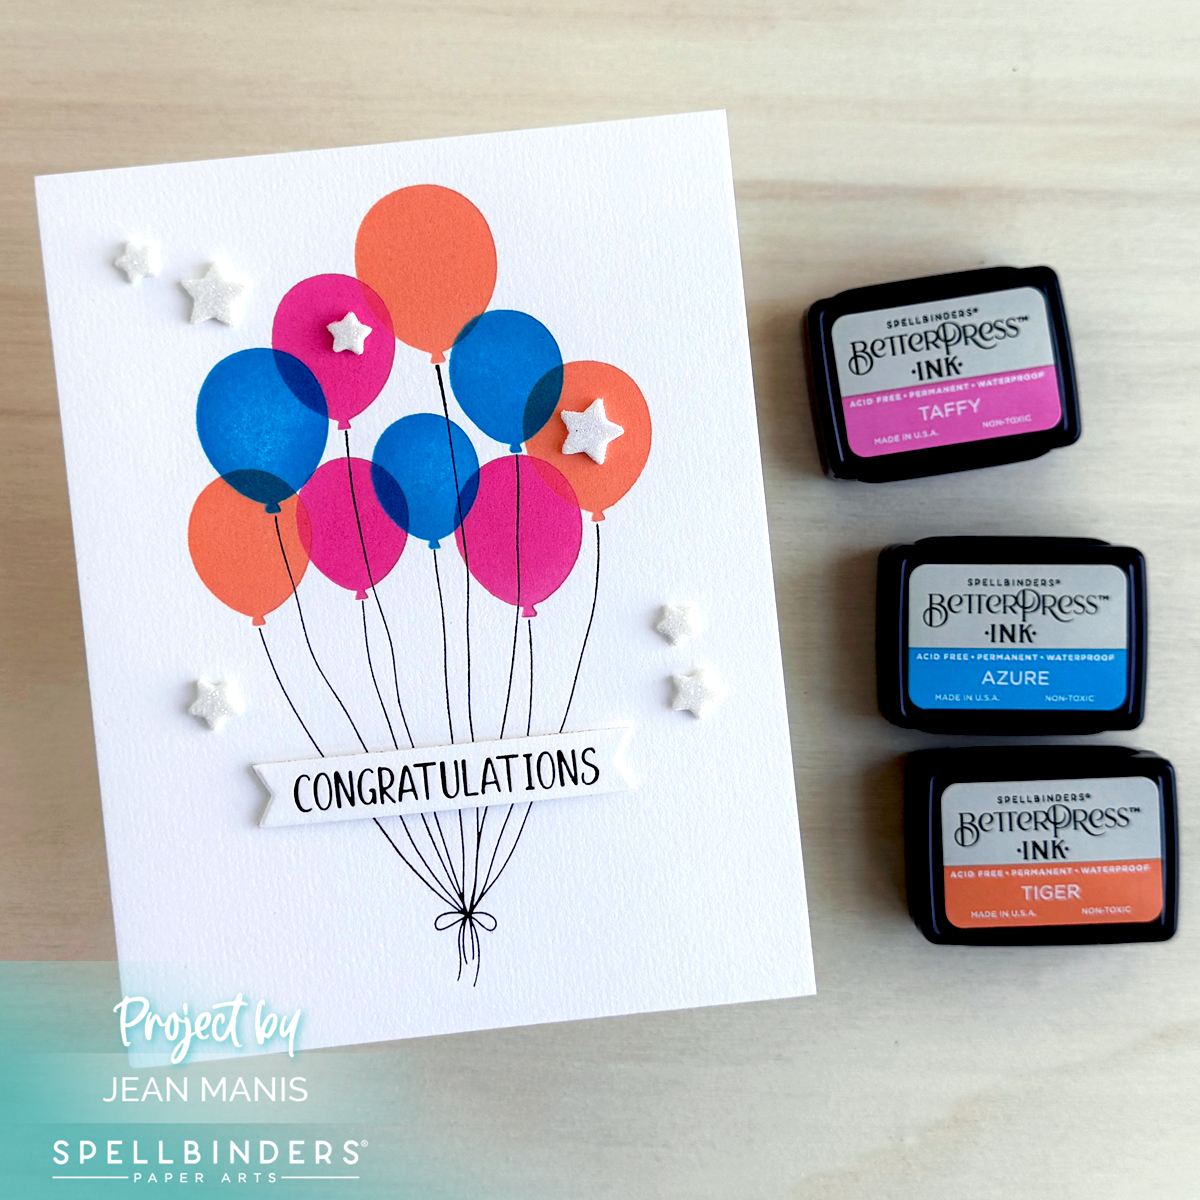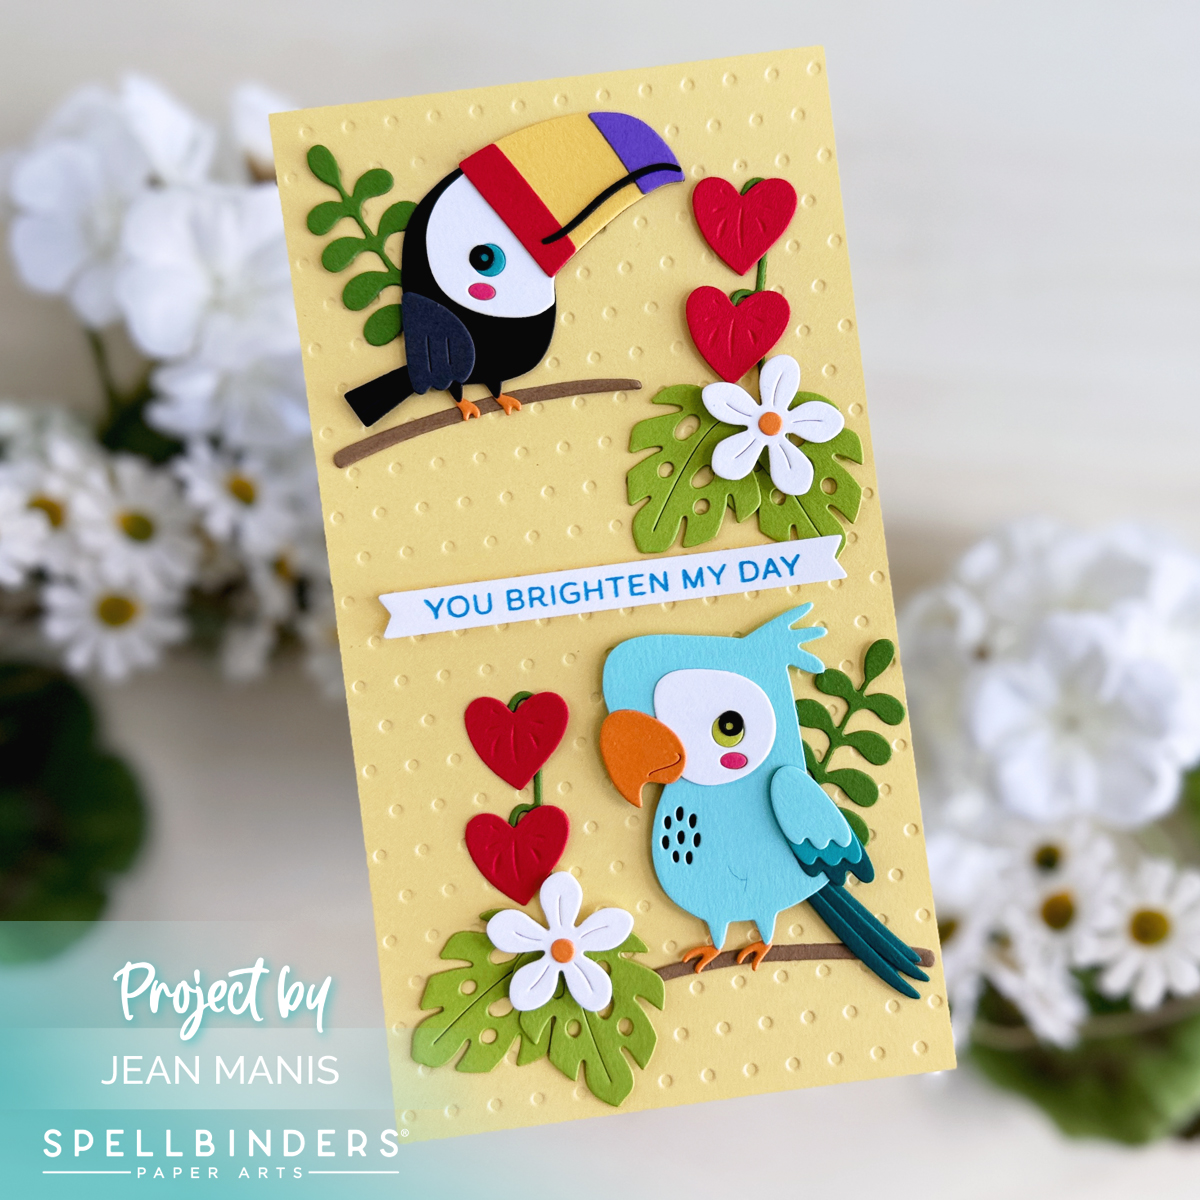
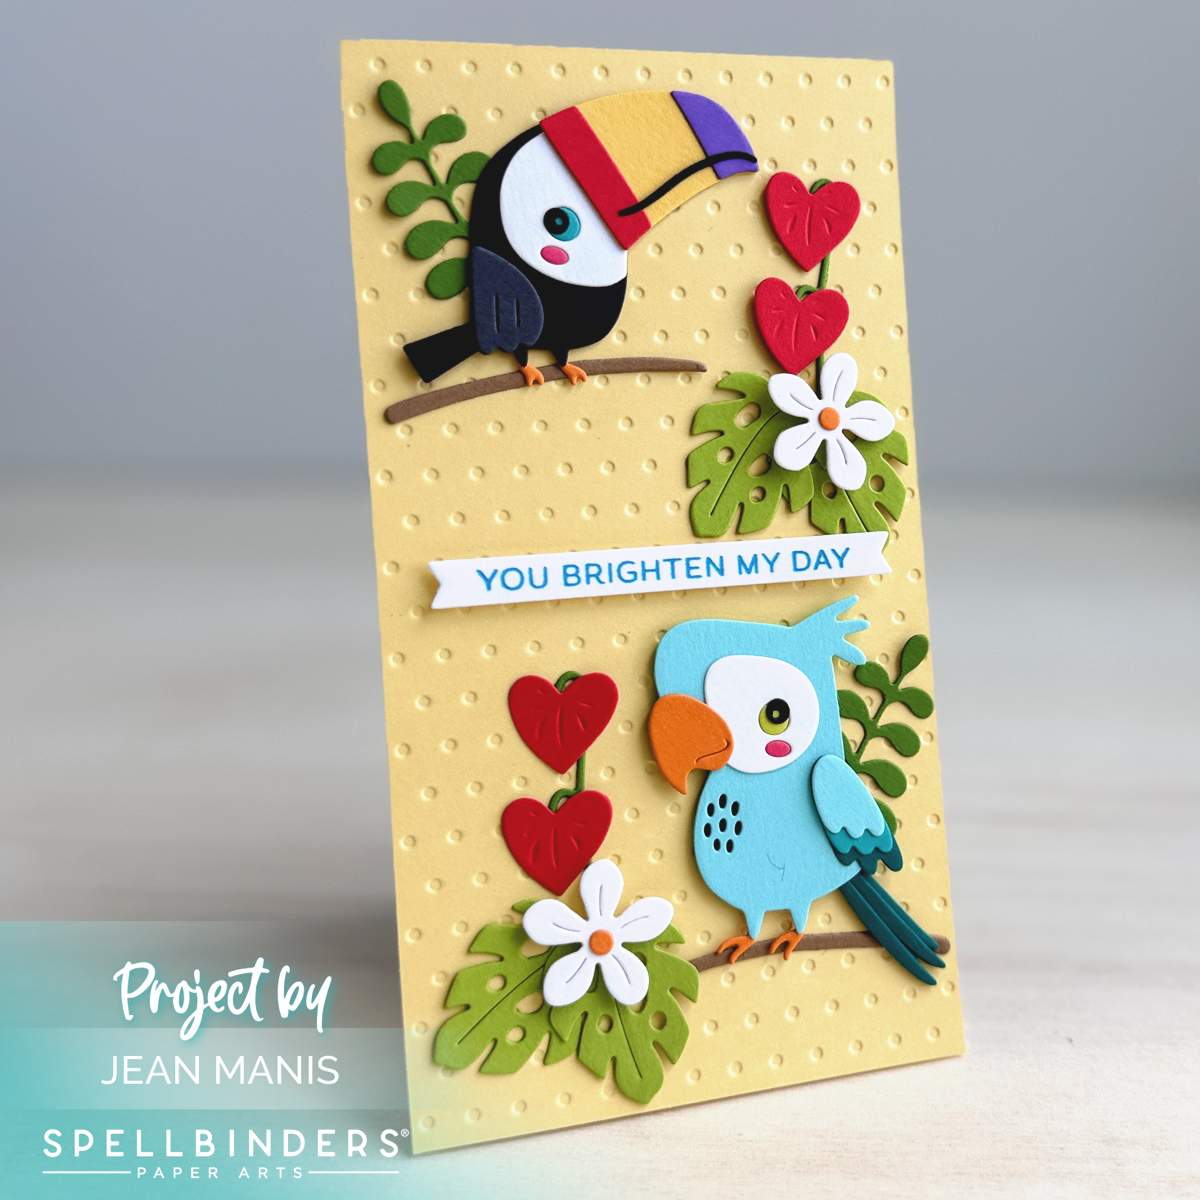
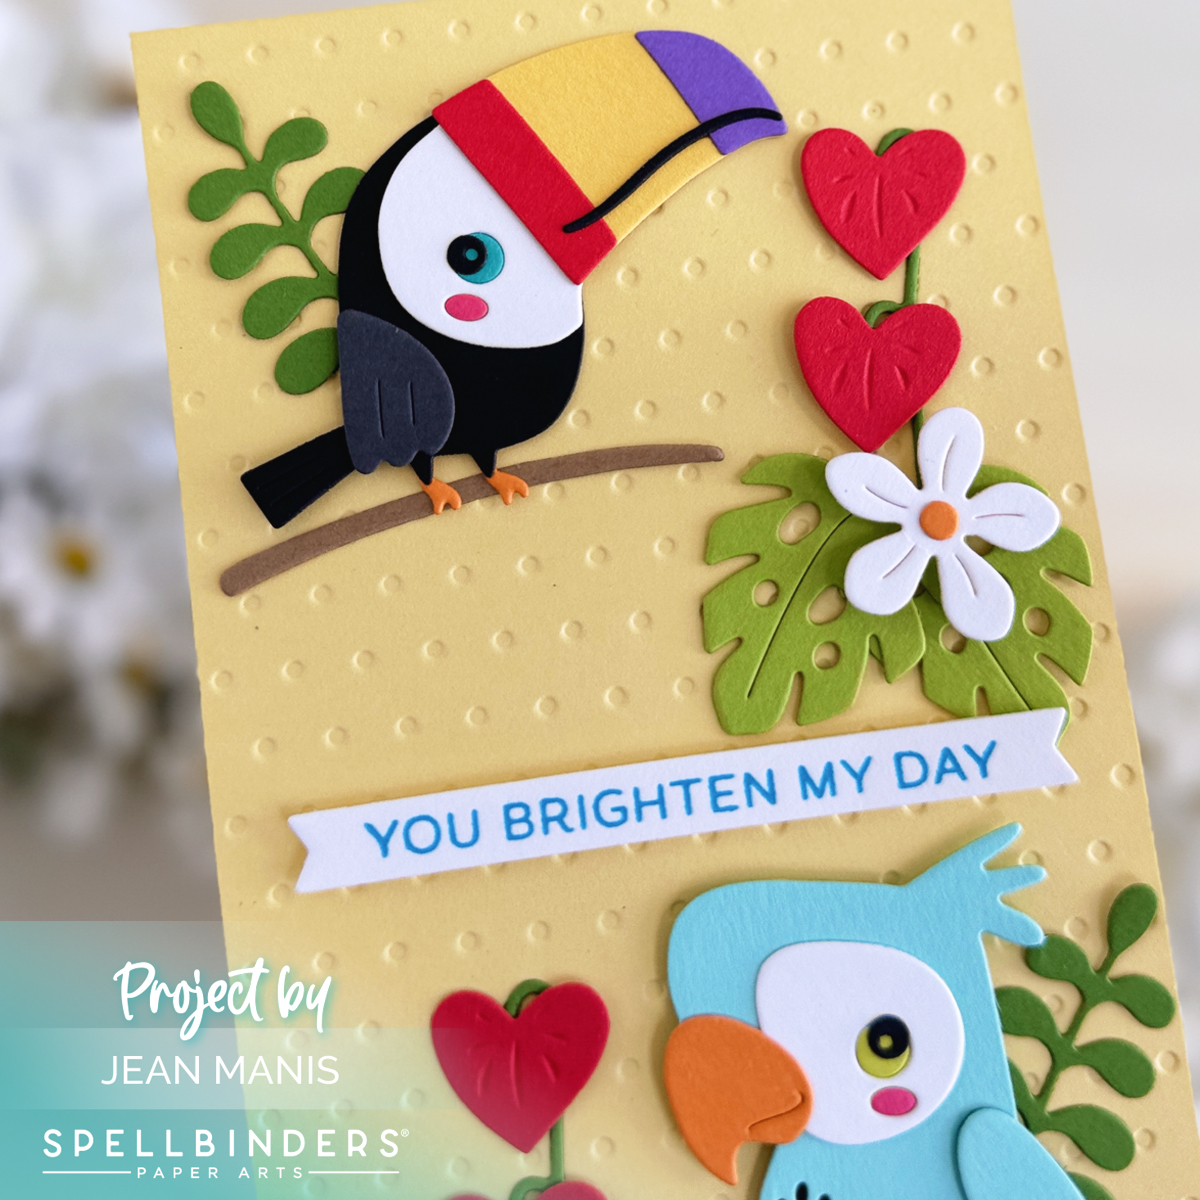
Hello! Inspired by the colors and the beauty of the tropics, I have crafted a friendship card with the Small Die of the Month kit from Spellbinders called “Tropical Friends.” This set includes some super cute tropical birds! Note: the sign-up window for new club subscriptions opens on the 6th of each month and closes on the 27th.

-
- Dry-emboss a 3 1/2″ x 6 1/2″ (mini-slimline size) Chamomile cardstock with the Tiny Dots folder. Add to card base debossed side up.
- Press the Always and Forever sentiment with Mermaid Lagoon ink on Snowdrift cardstock. Cut with the die in the set. Add the sentiment to the center of the card front with foam adhesive.
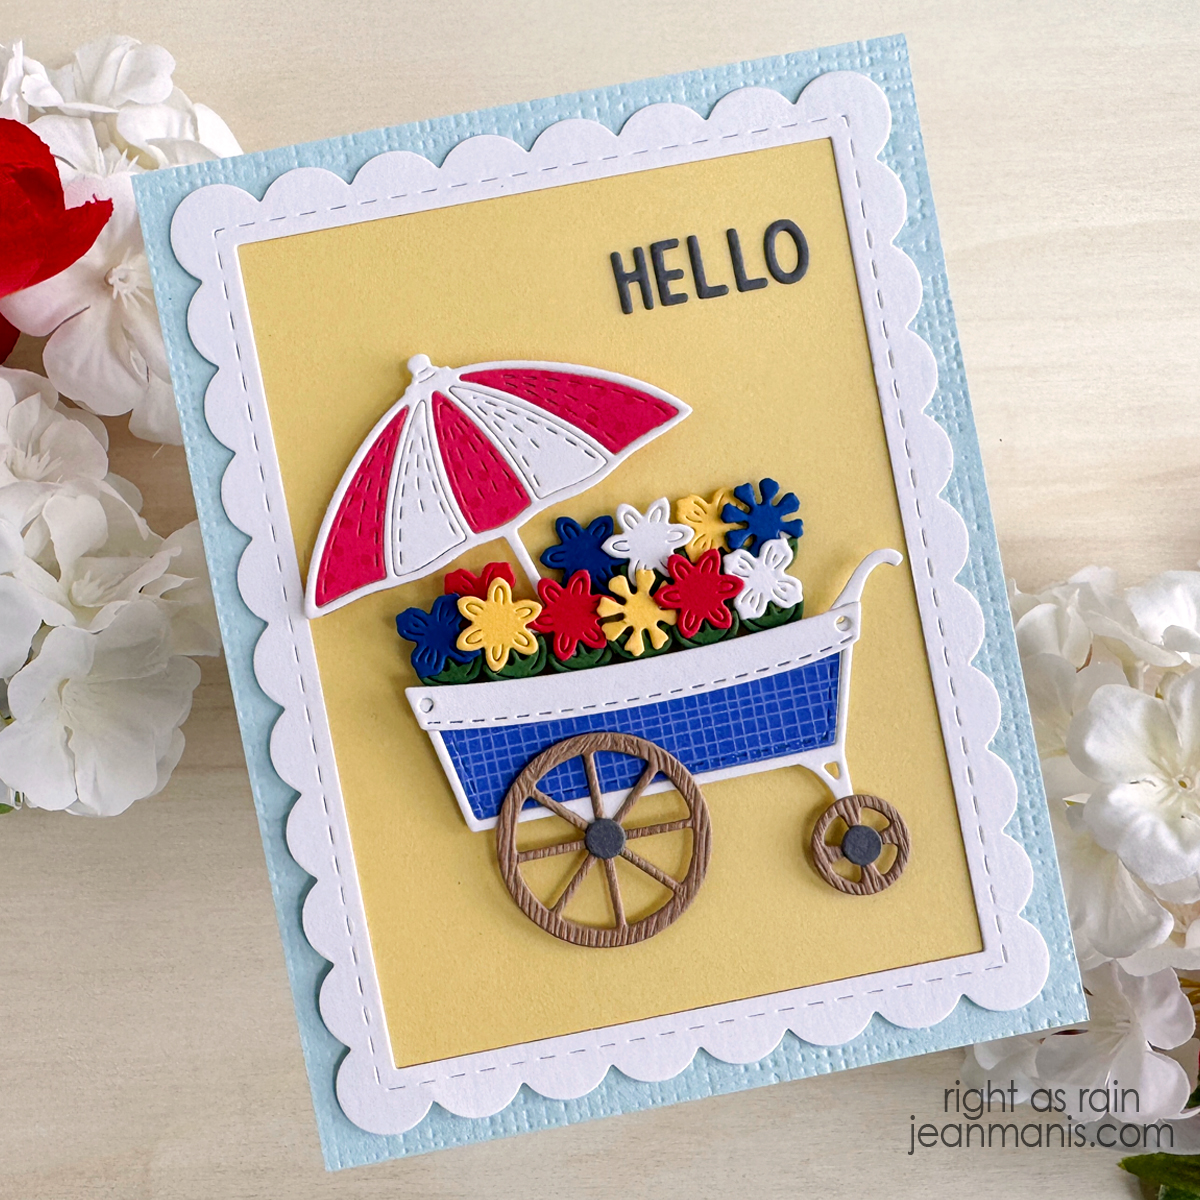
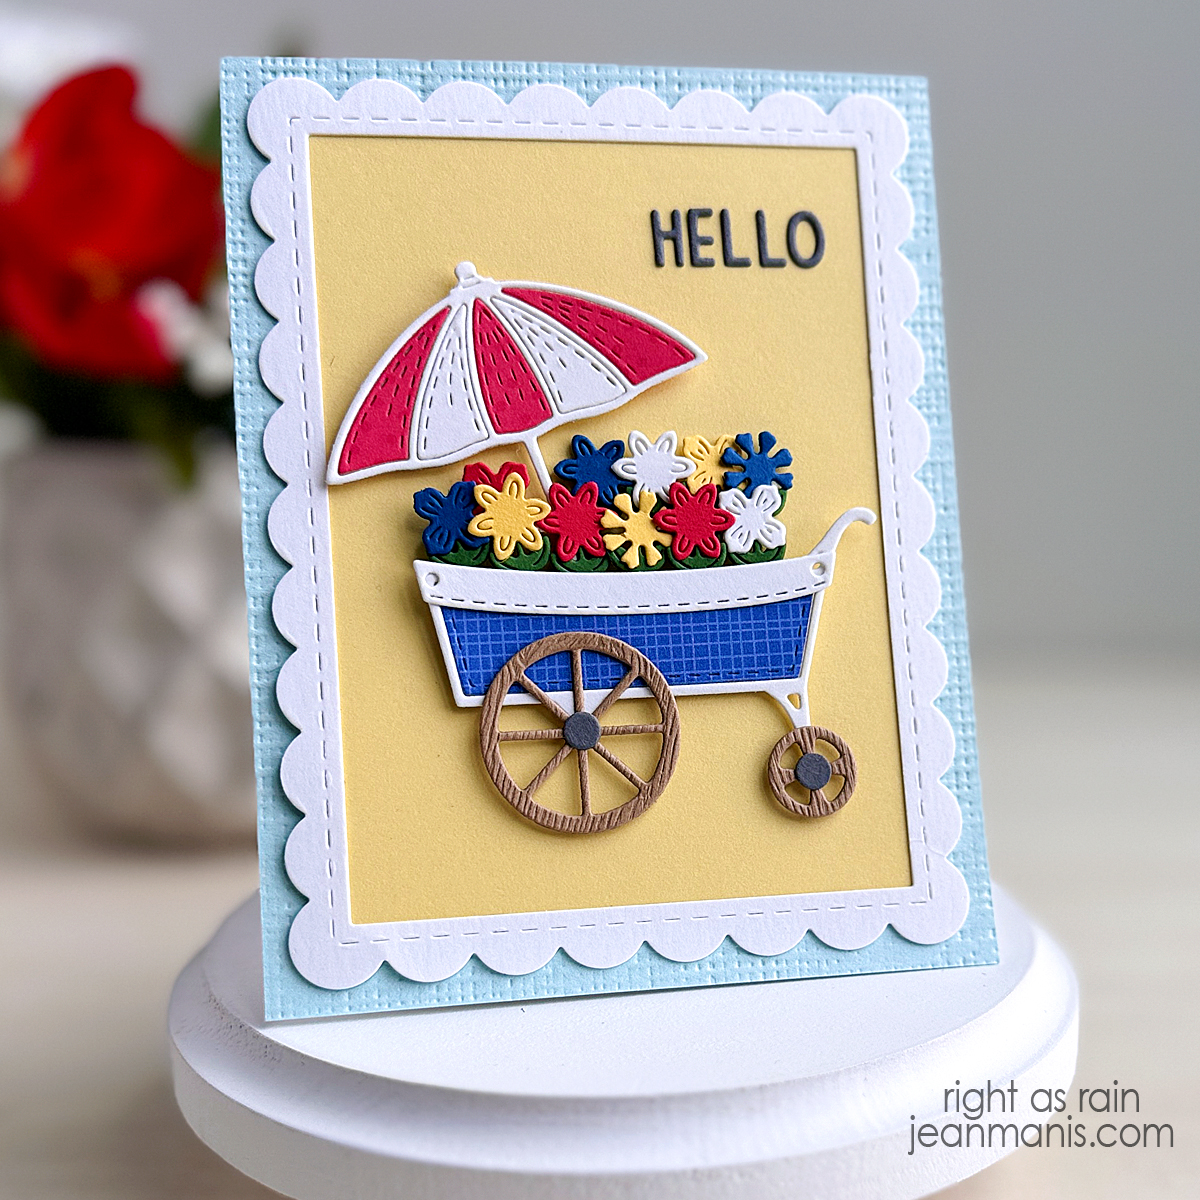
- Cut birds and foliage with the Small Die of the Month kit from a variety of cardstock colors. Assemble. Add elements to card front with dot and foam adhesive.
Save up to 25% Off Select Products on tools, machines, and more now until May 5, 2024.