Today, I’m sharing a “just because” card featuring the Penny Black #51-141 Vintage Birdcages die cut set.
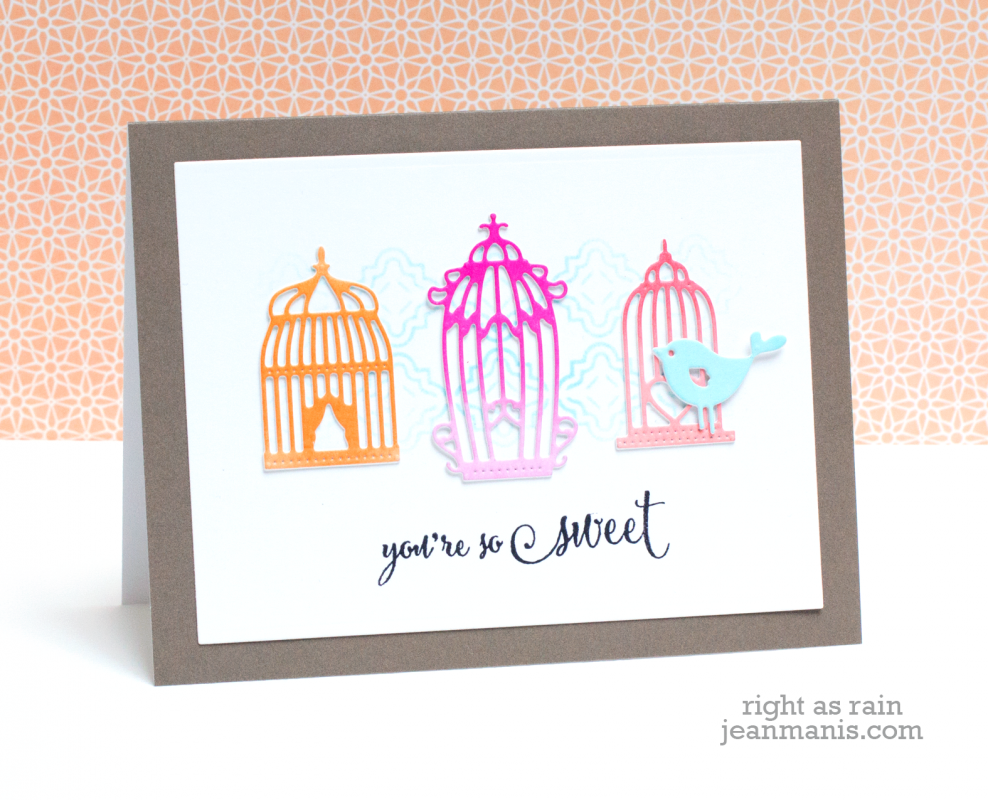
To begin, I watercolored swatches for the birdcages using Distress Inks. While the swatches dried, I sponged Tumbled Glass Distress Ink through one of the patterns on the #25-014 Oscillations stencil on to white cardstock for a subtle background. I stamped a sentiment from the #30-297 Sprinkles and Smiles set onto the panel. I cut the birdcages with the #51-141 Vintage Birdcages from the watercolored paper and from white cardstock. I adhered the two together for extra depth and adhered them to the white card panel. As a final touch I added a bird cut with the #51-094 Tweets set.