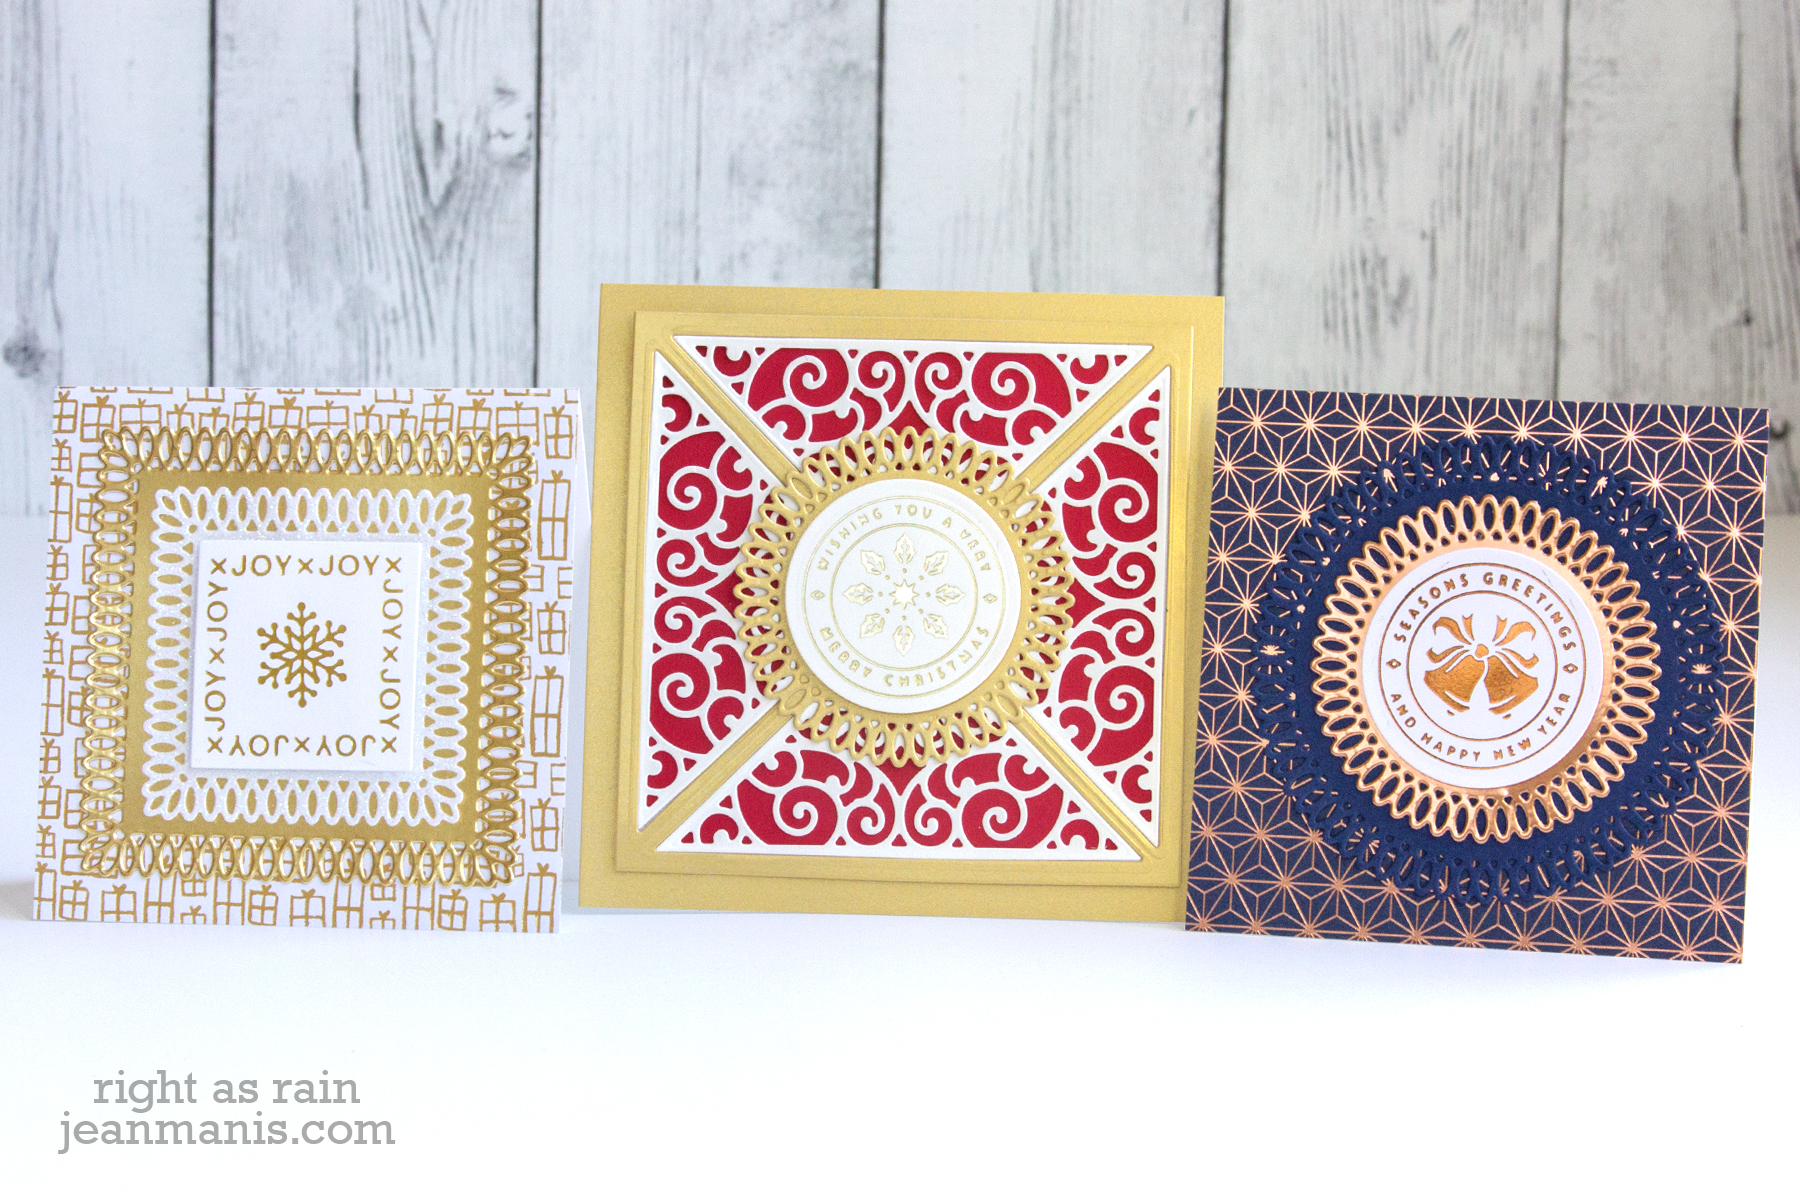
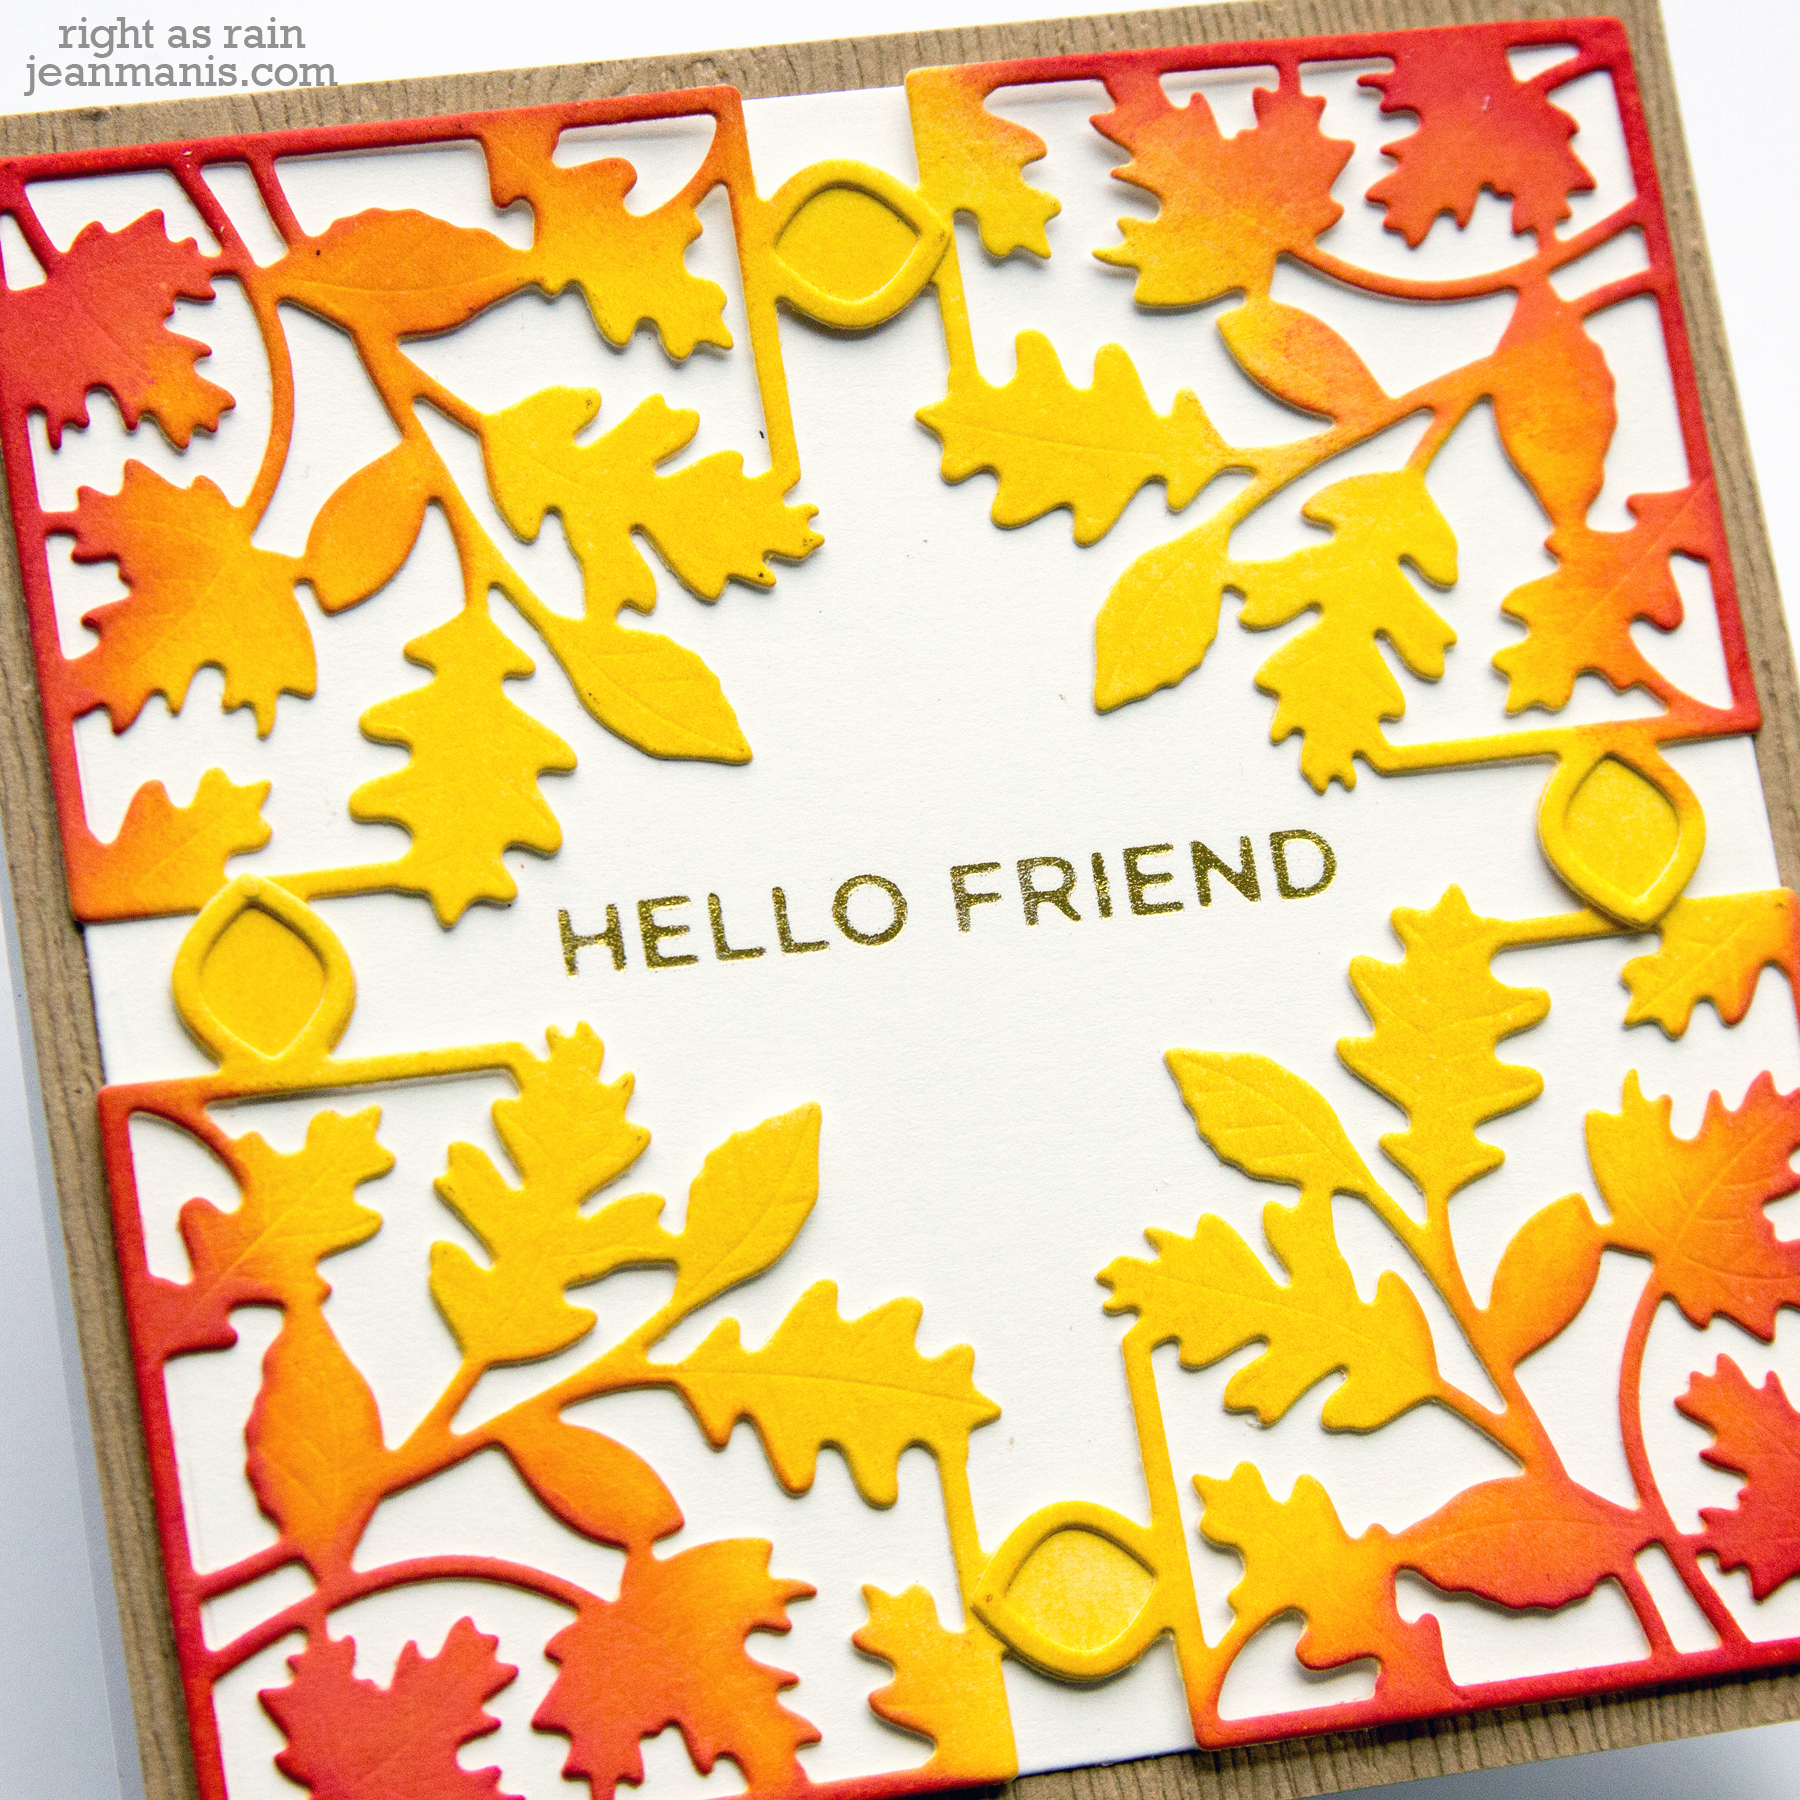
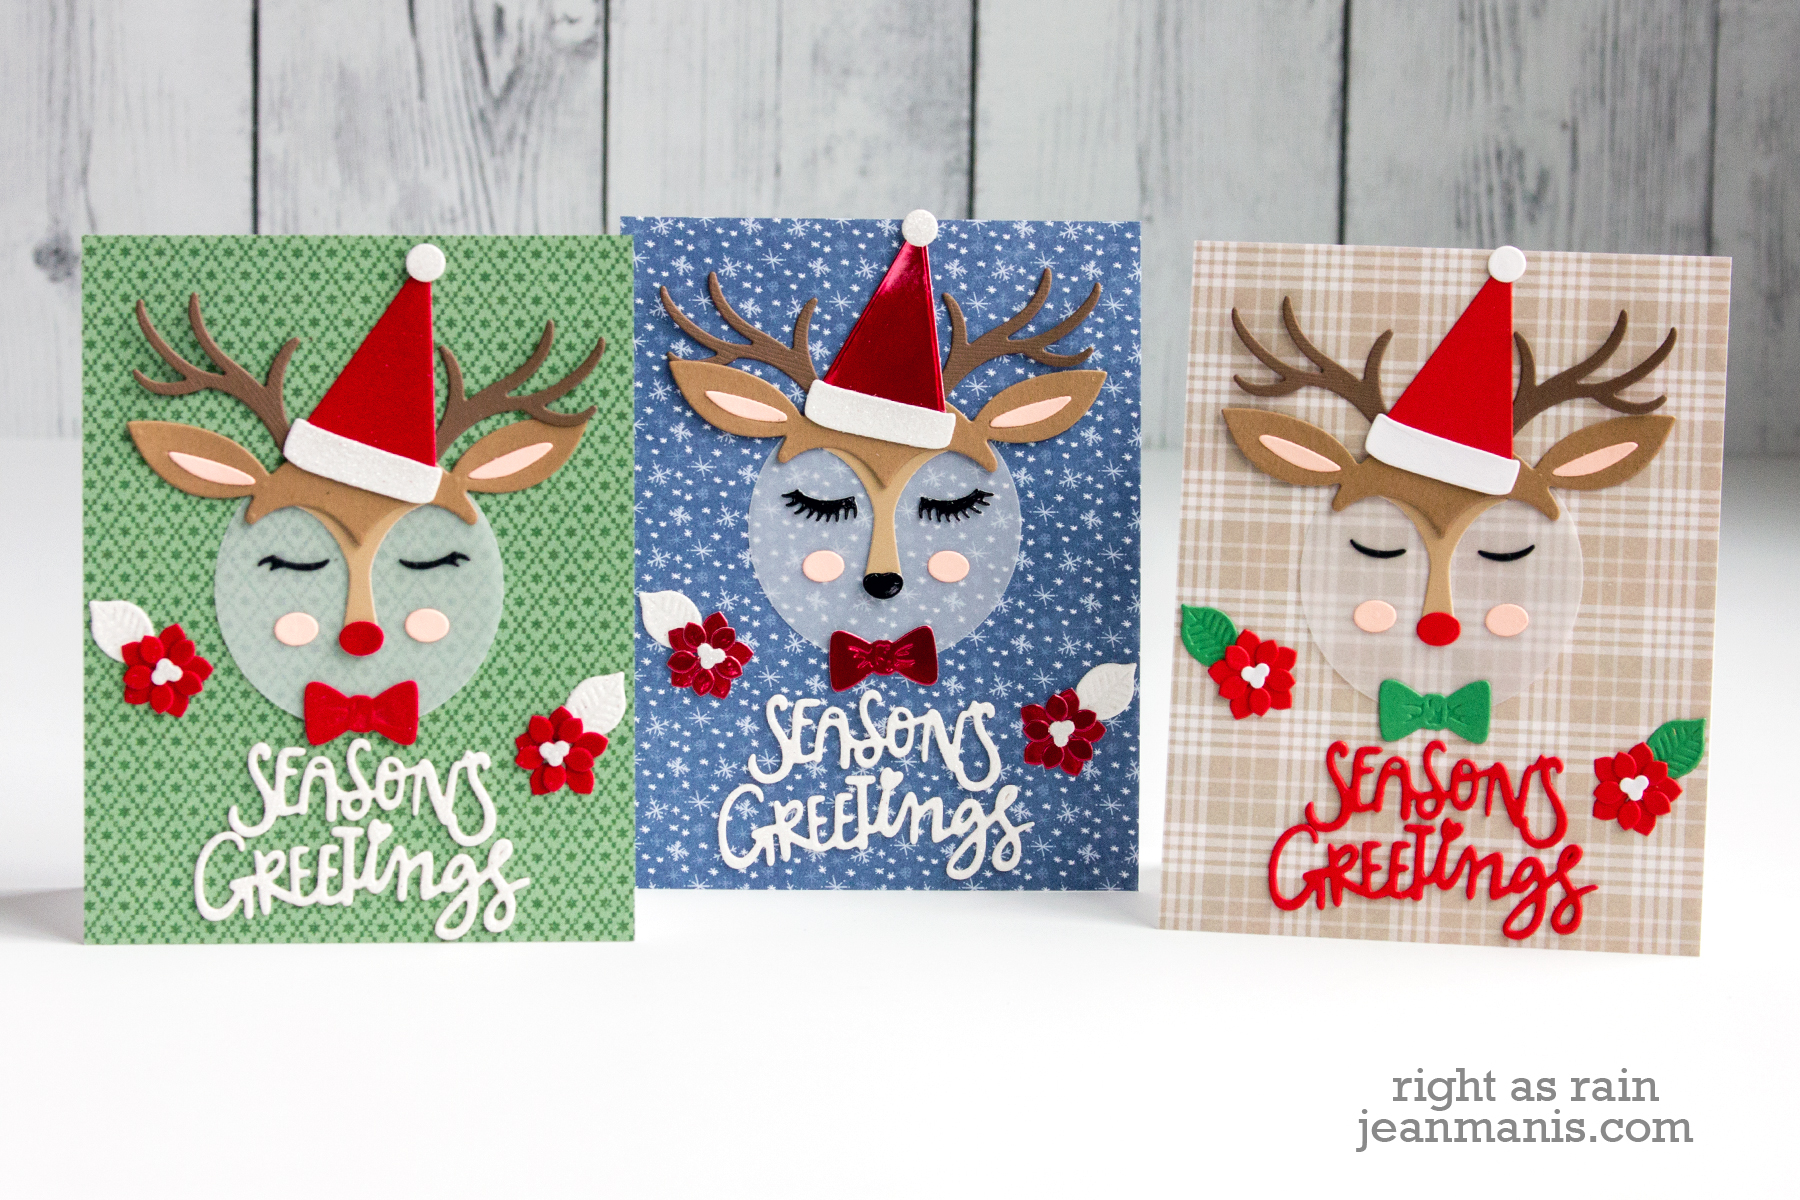
Hello! Today I am sharing three CAS Christmas cards created with the Season’s Greetings, Deer die set from Spellbinders. Before we look at the cards, I want to let you know about a sale at Spellbinders which is now live and will be available until Sunday 10/11/2020.

Back to the Christmas cards.
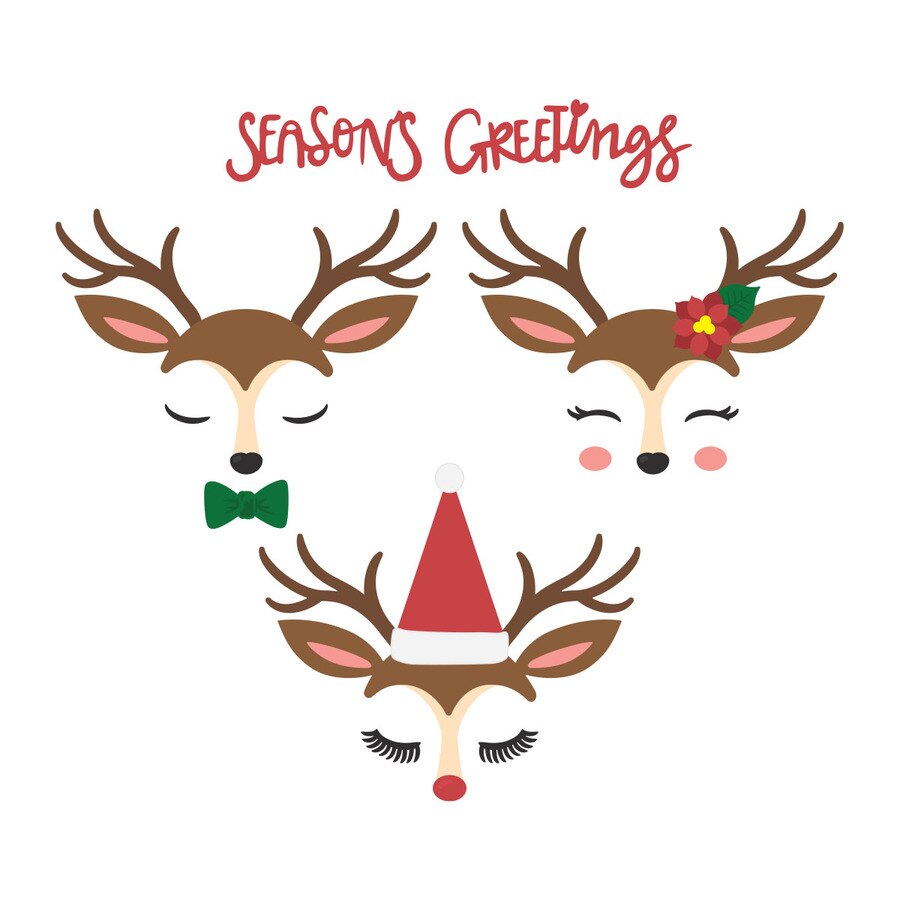
The die set is back by popular demand; it was included in the November 2018 Card kit of the month club kit.
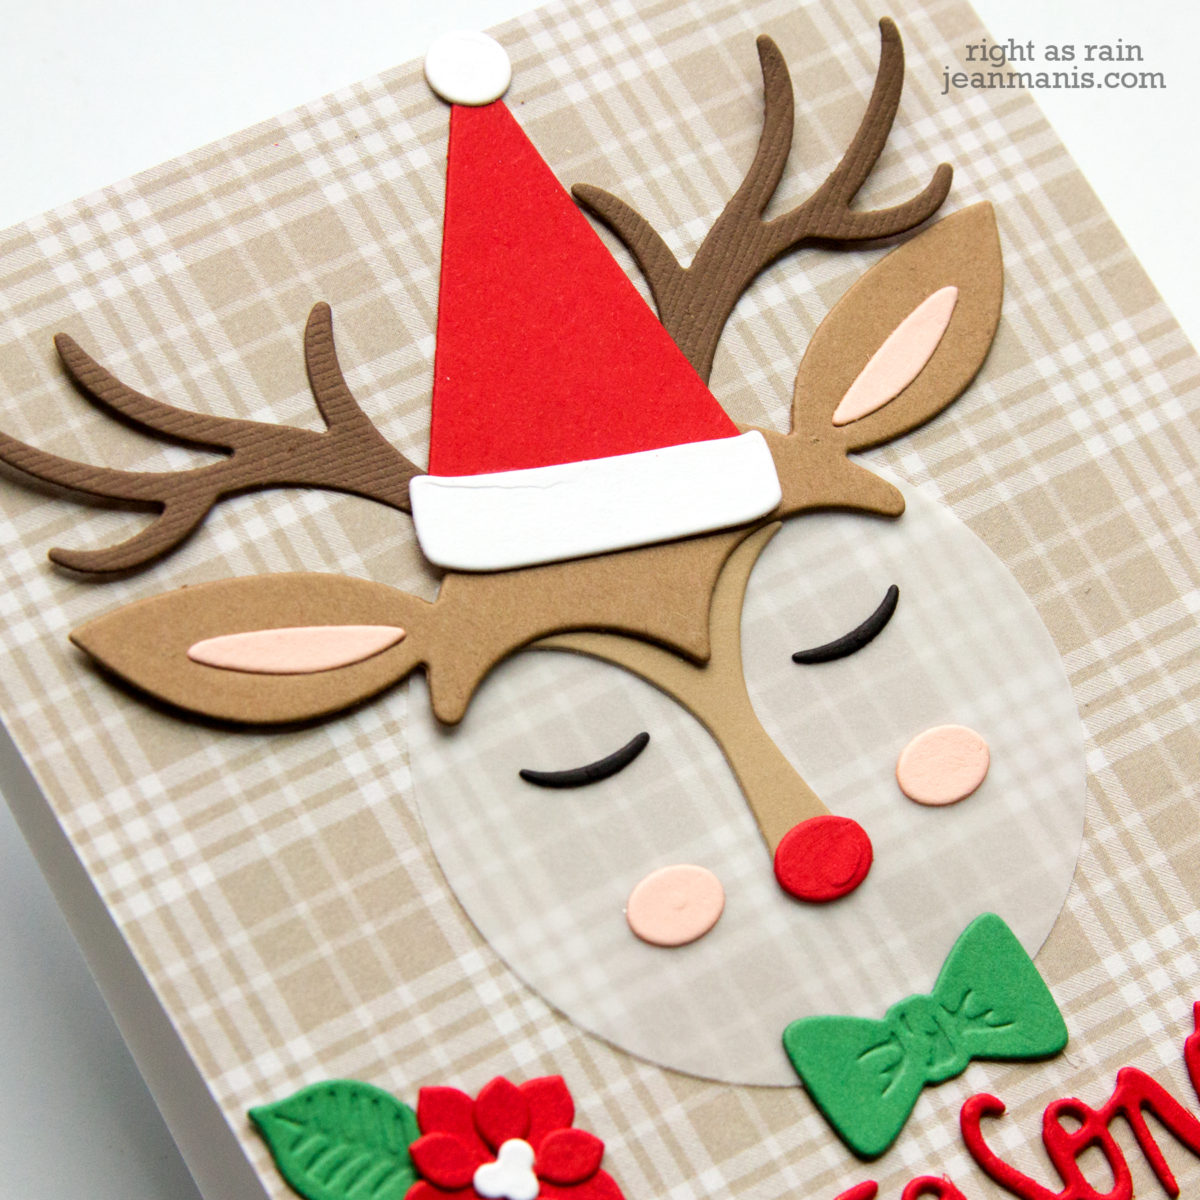
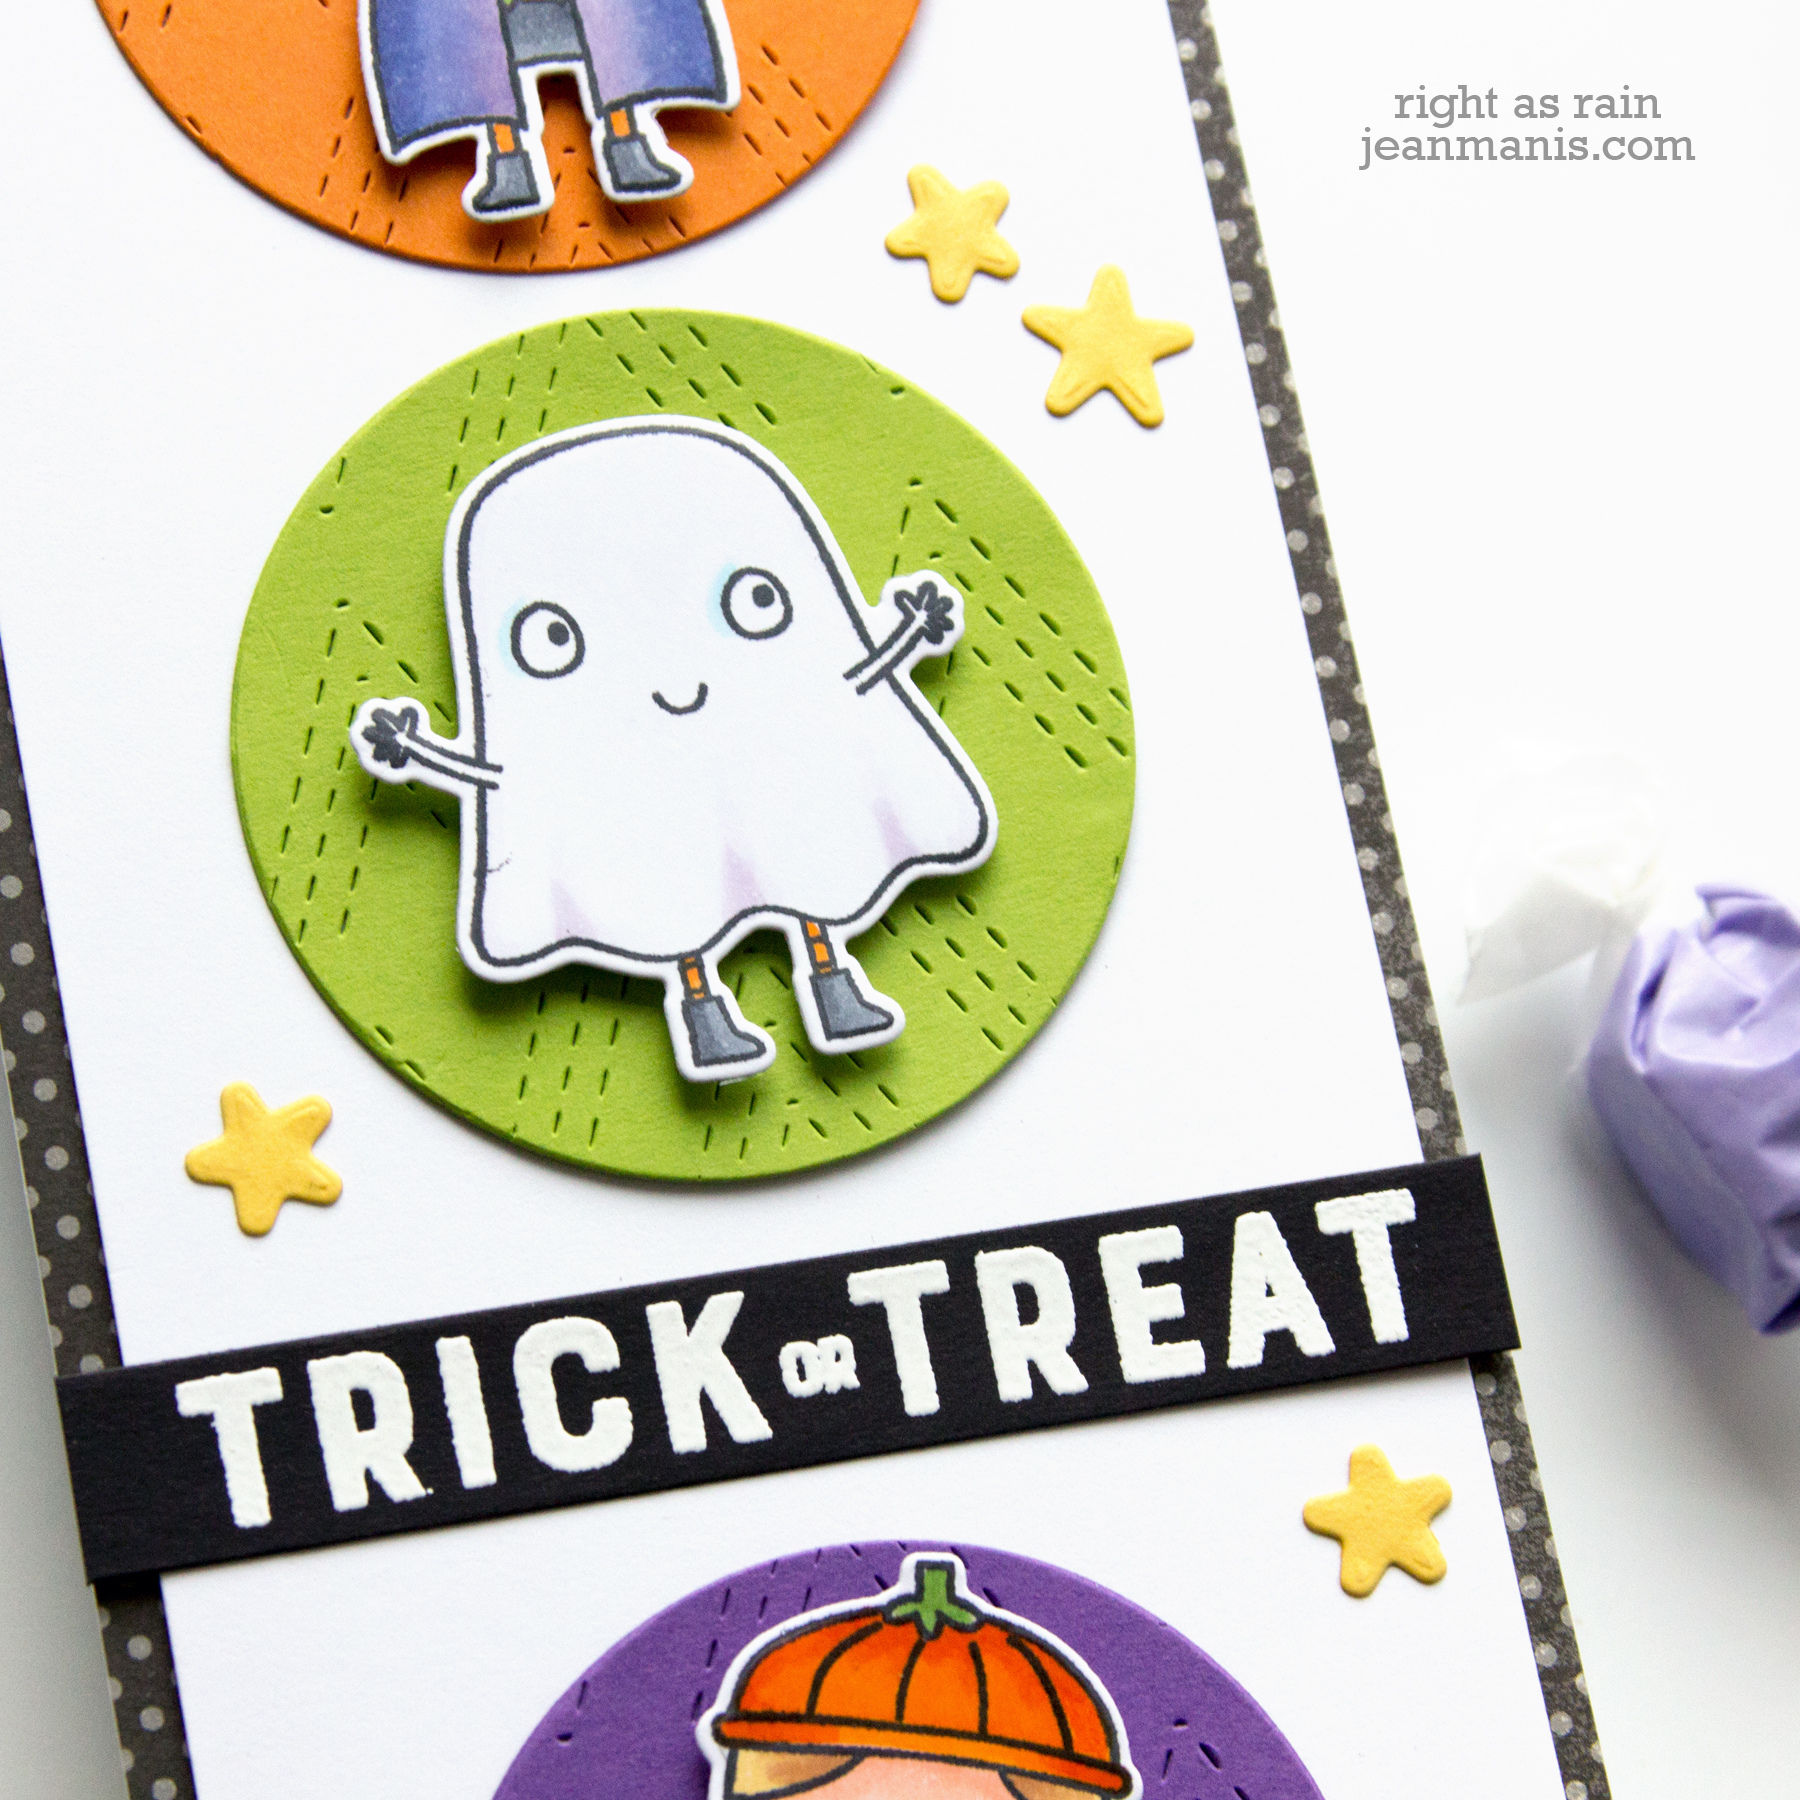
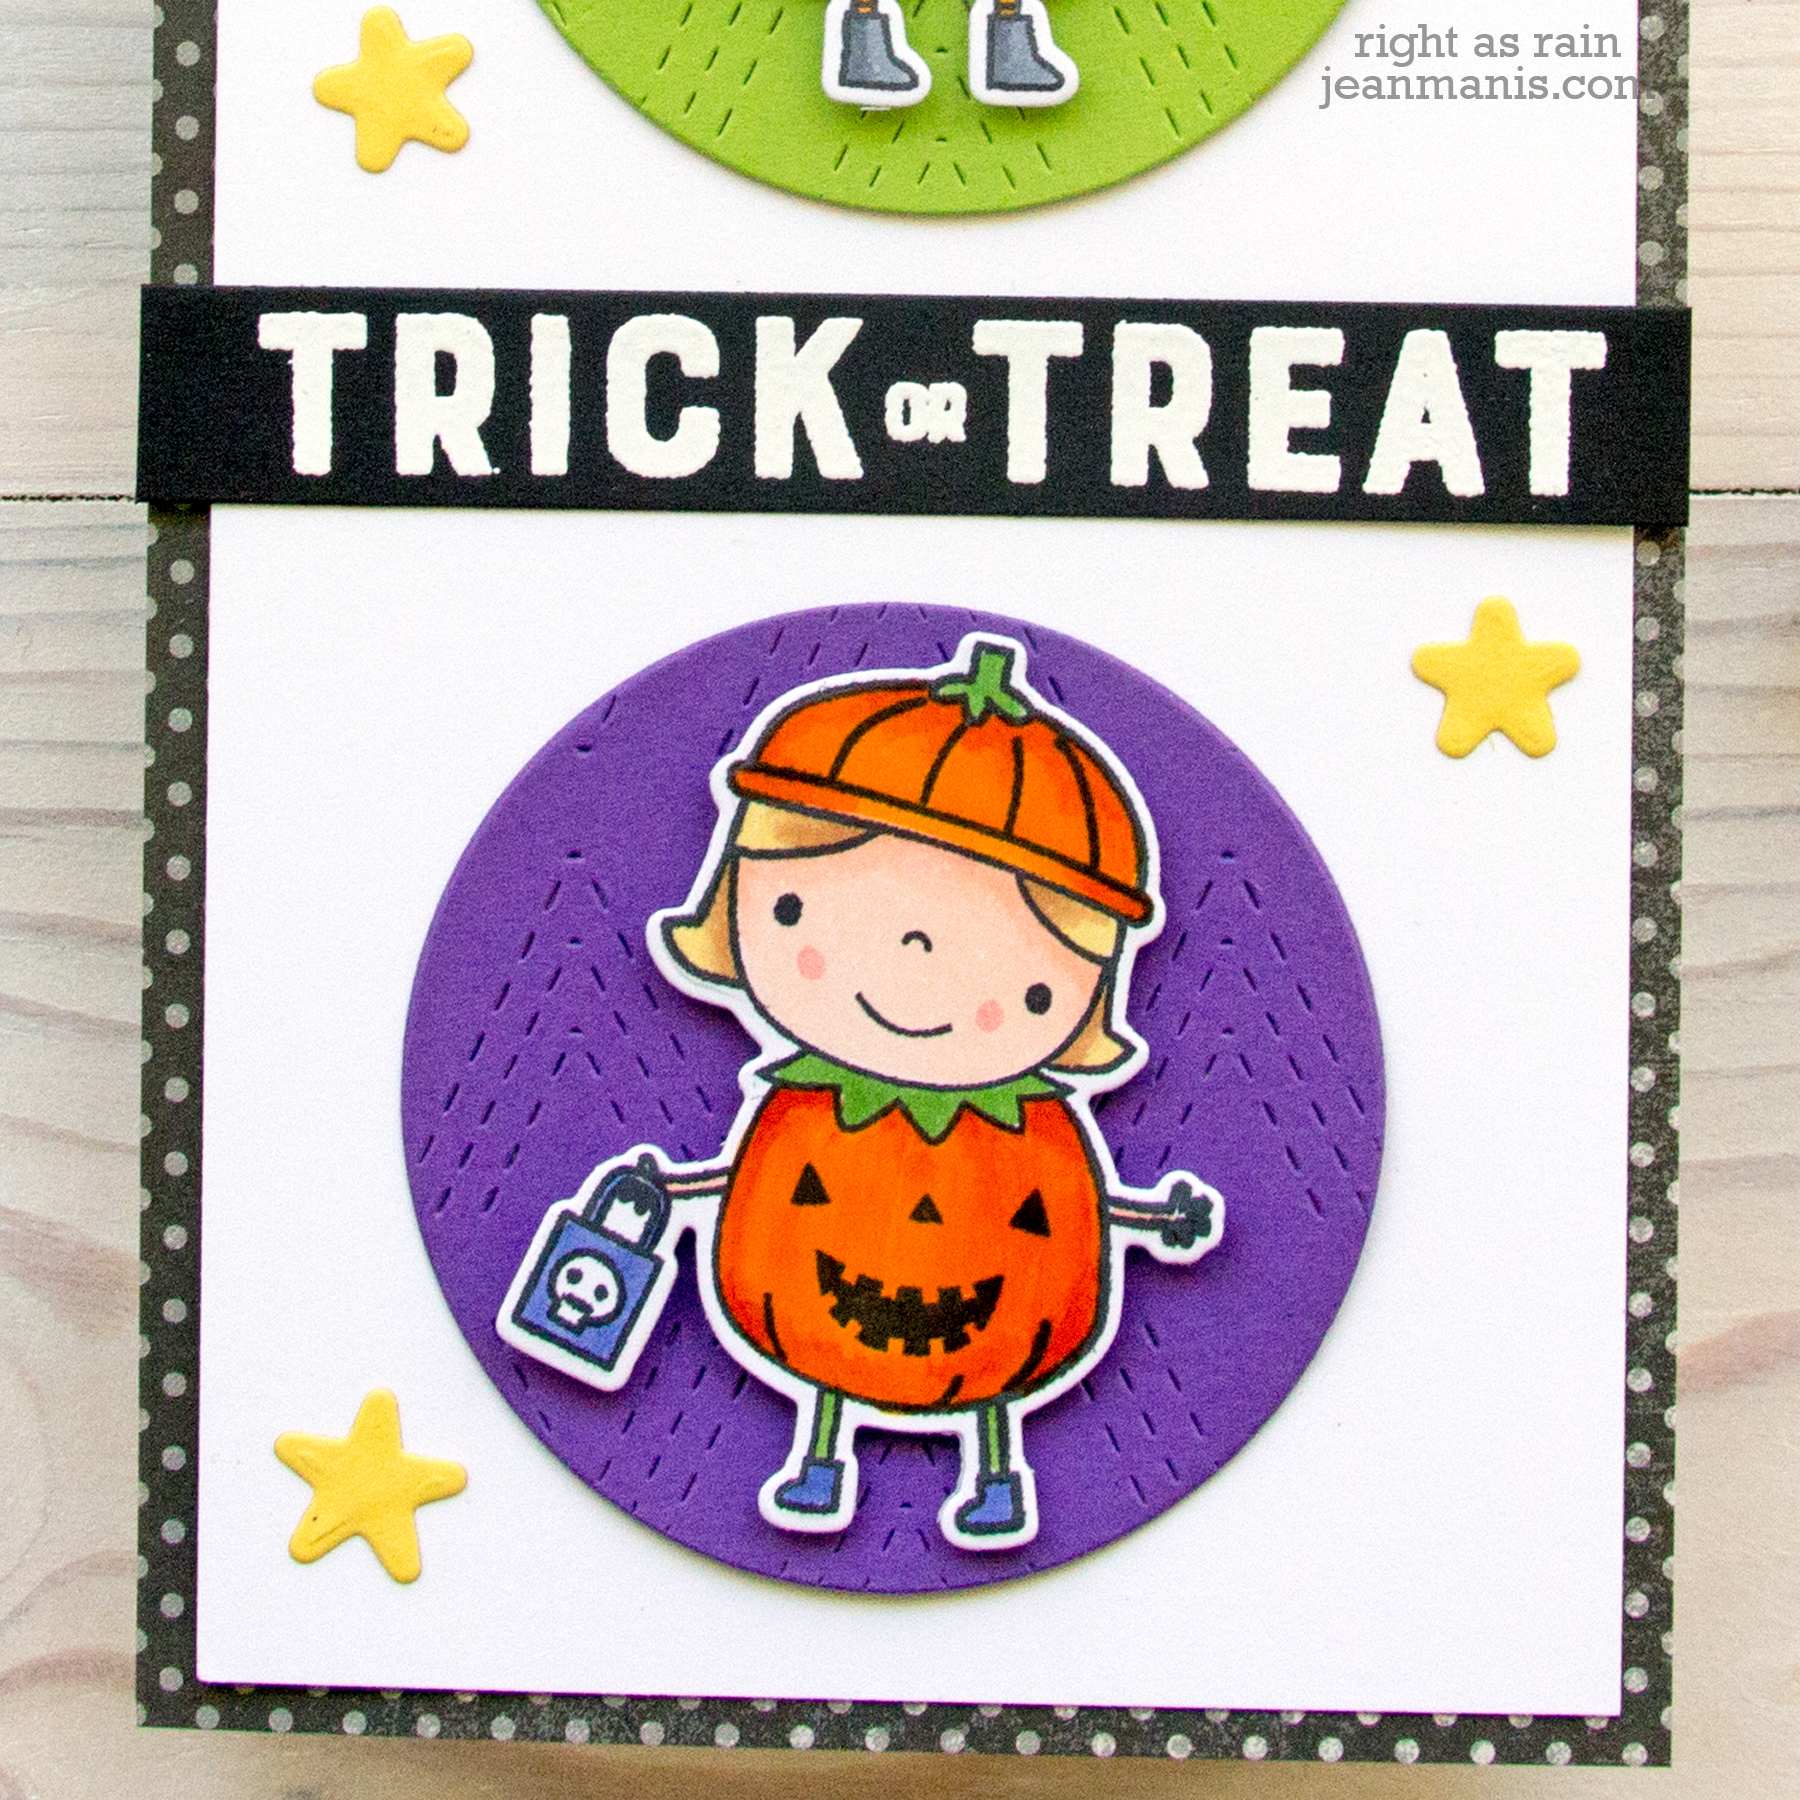
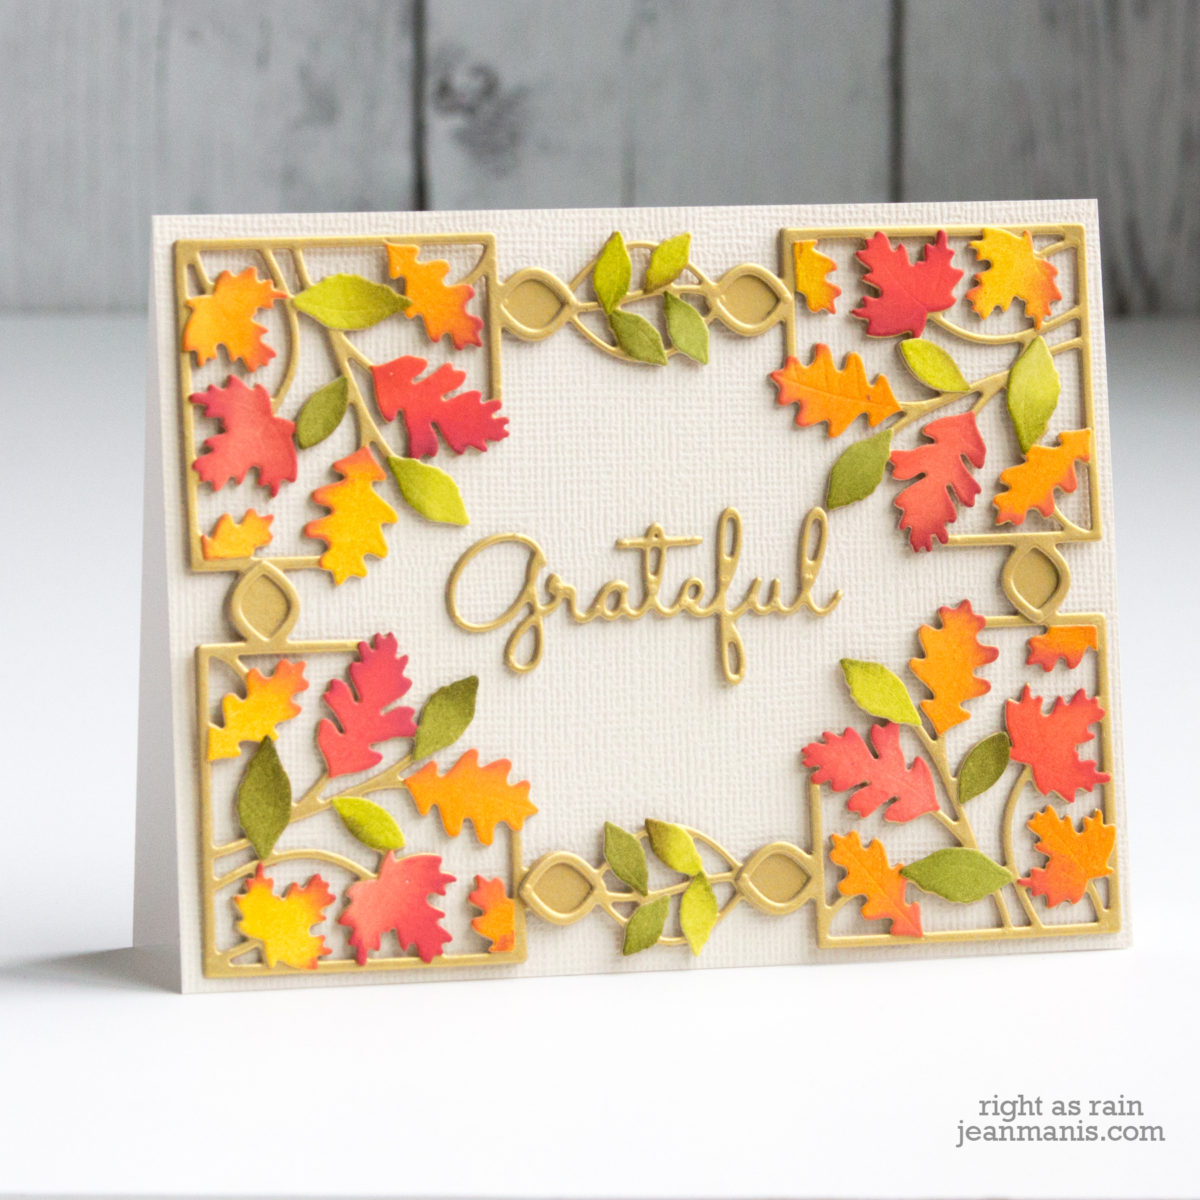
I took the same design approach on all three cards – varying the background paper and the materials from which I cut the hat, bow tie, poinsettia blooms and leaves, nose, and the sentiment.
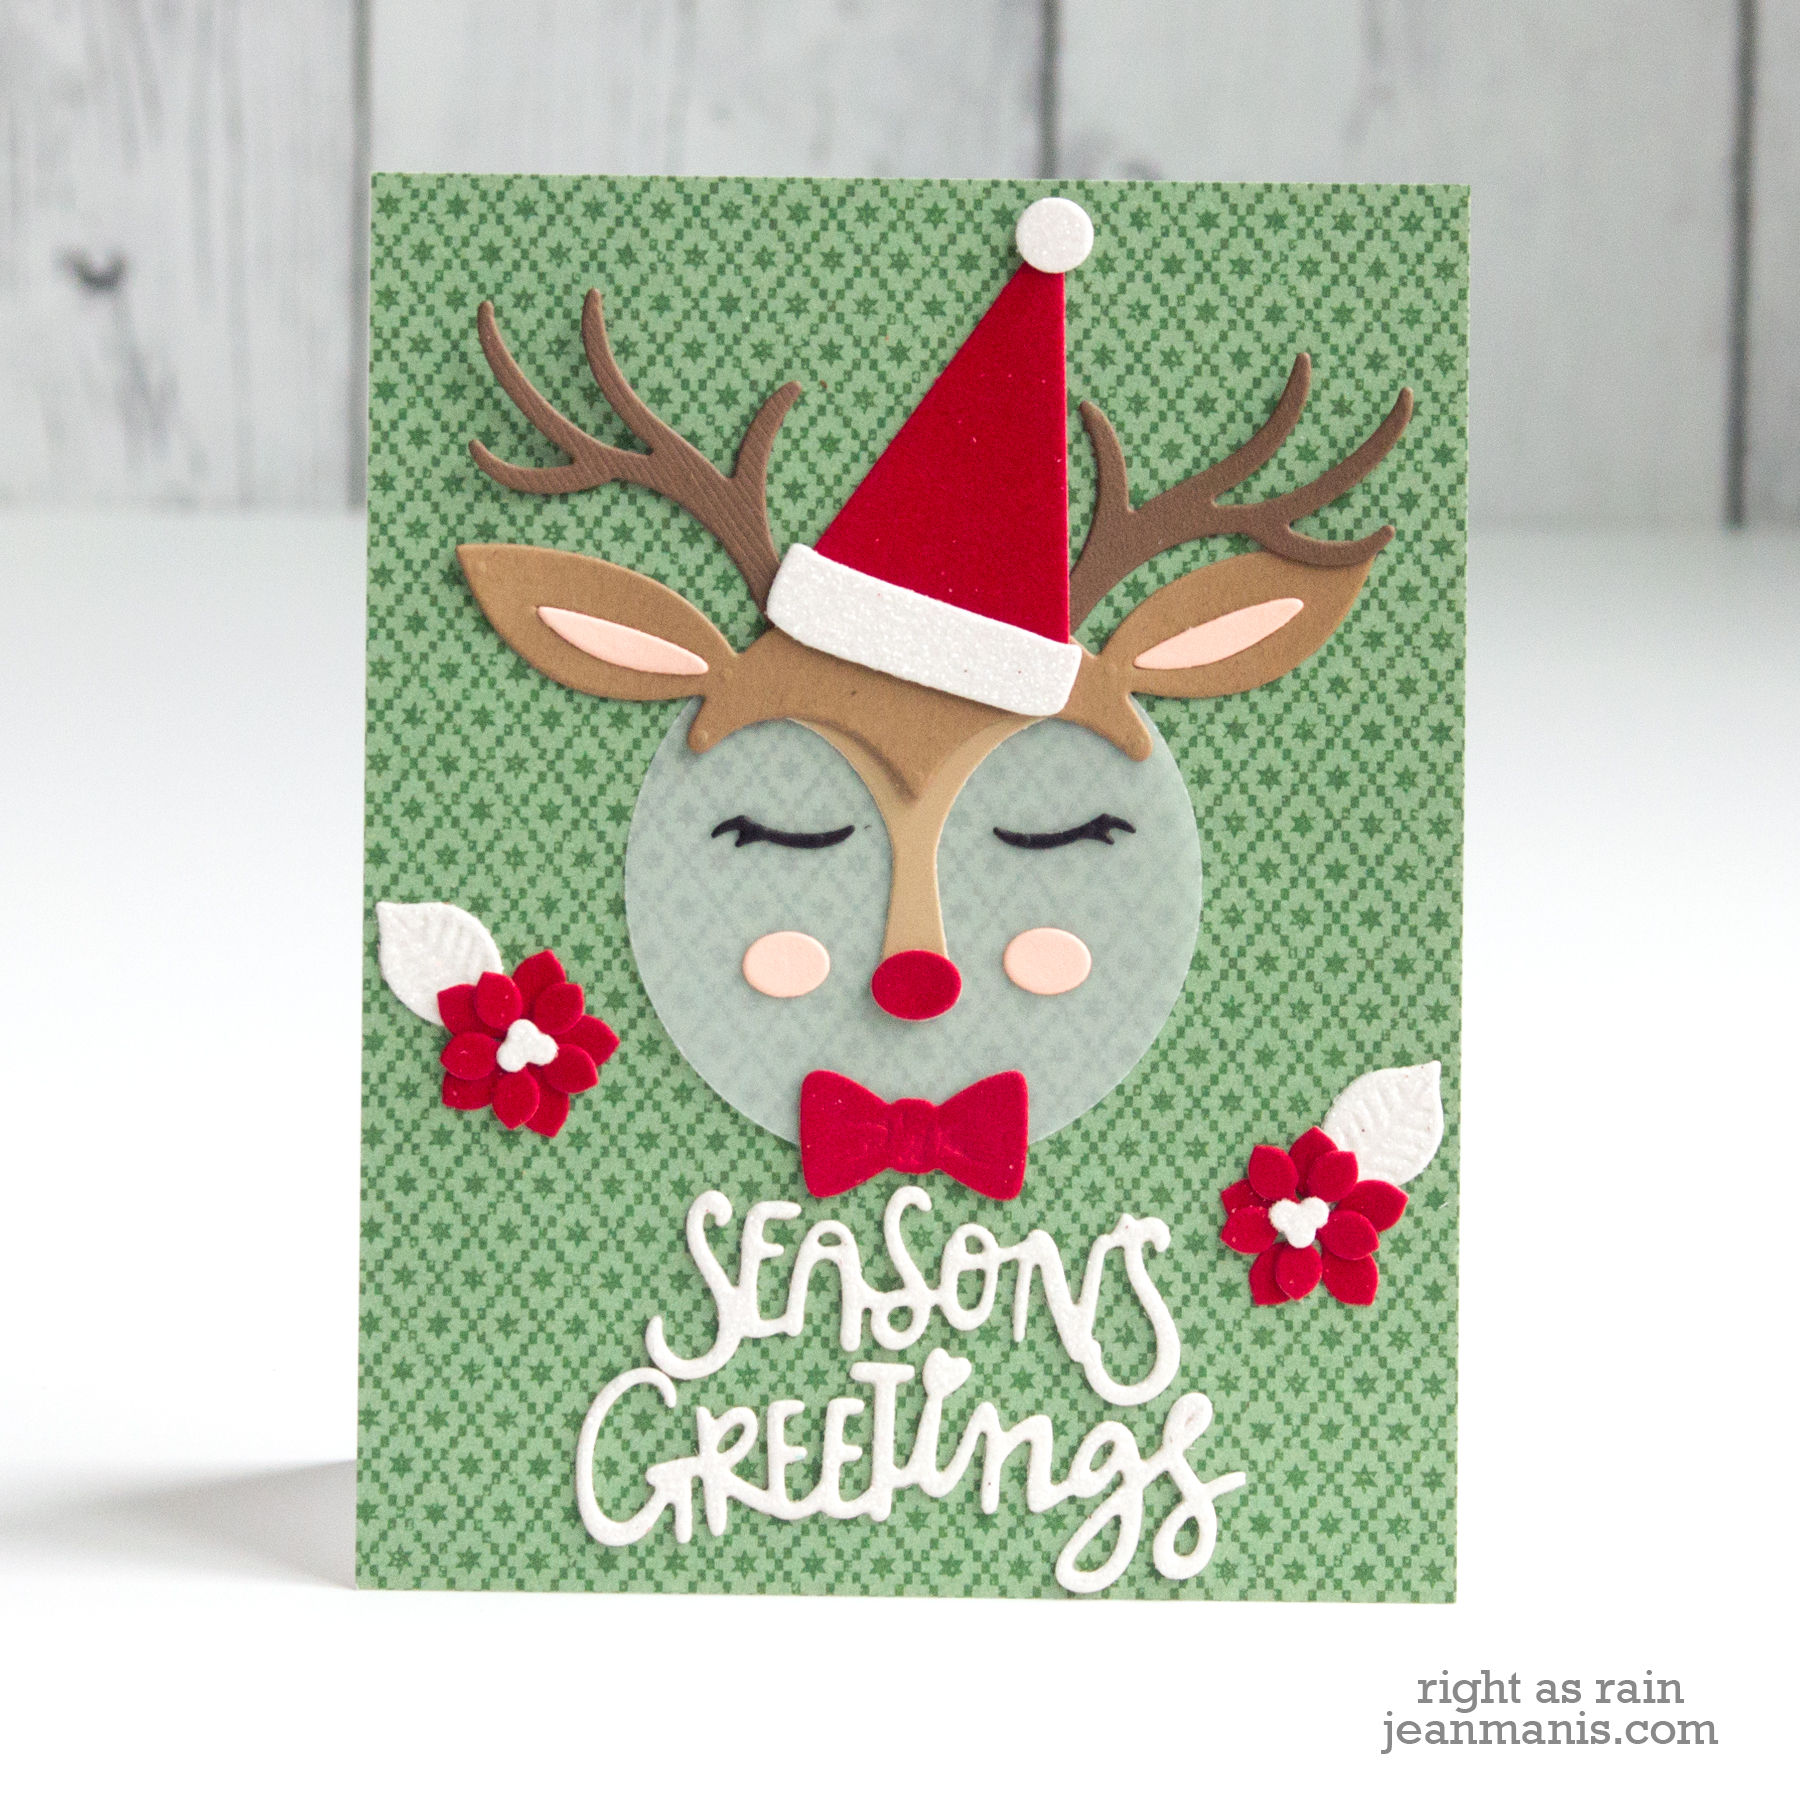
I used the same colors for the antlers, head, and nose.
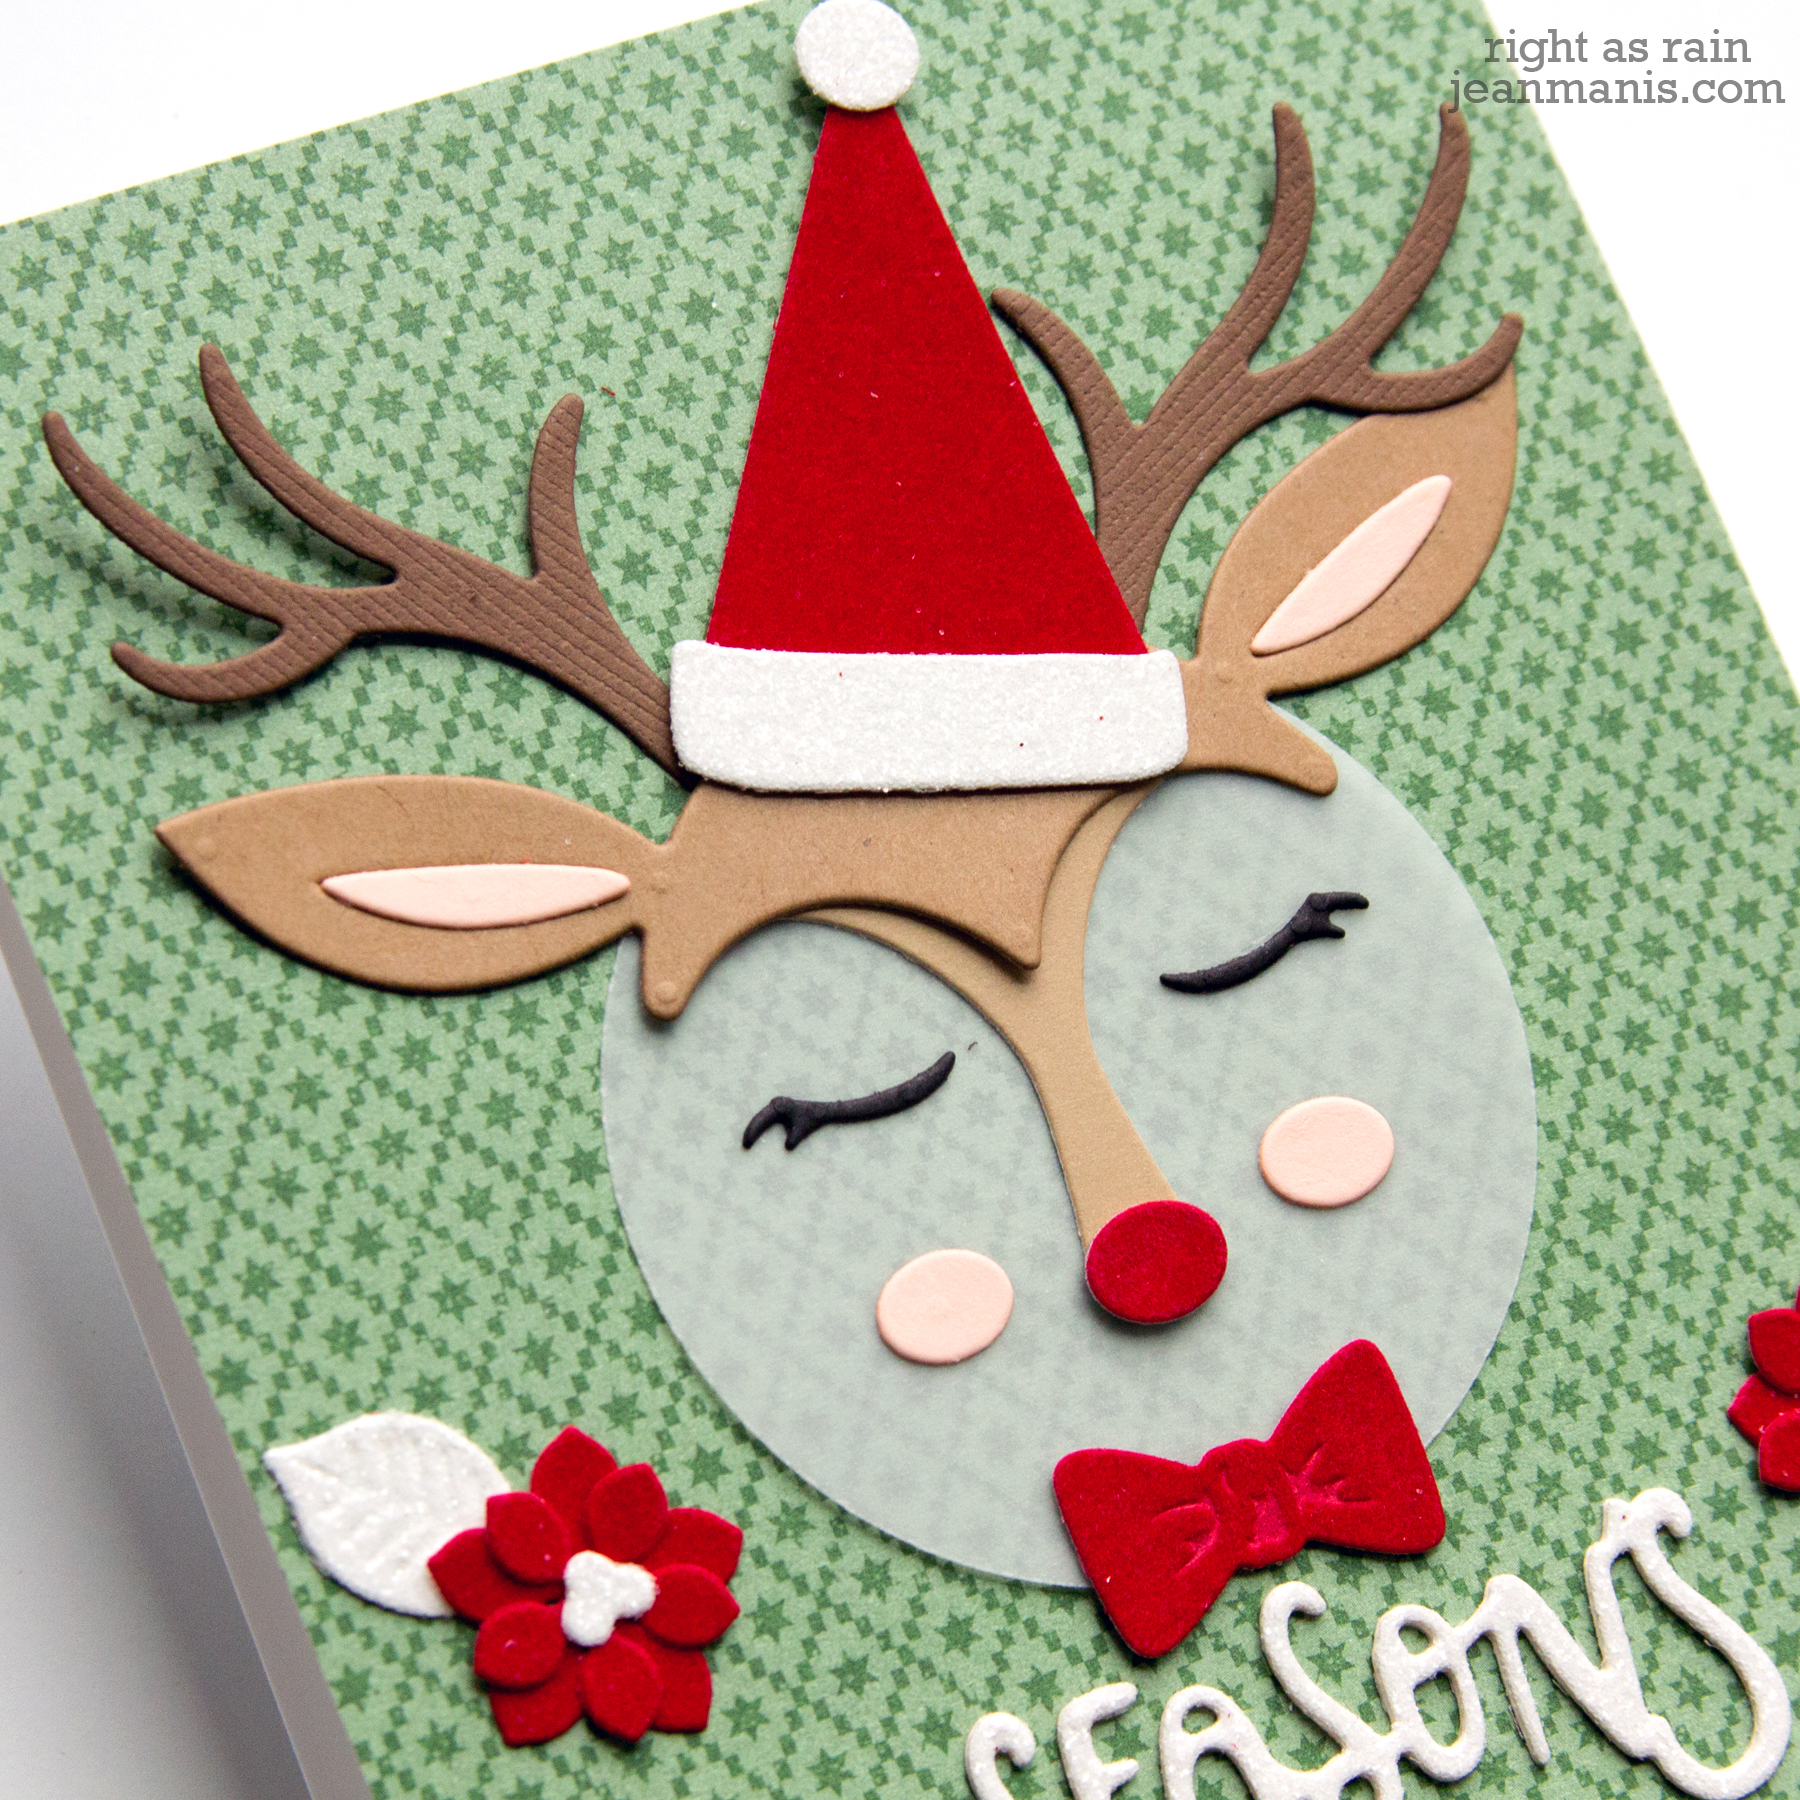
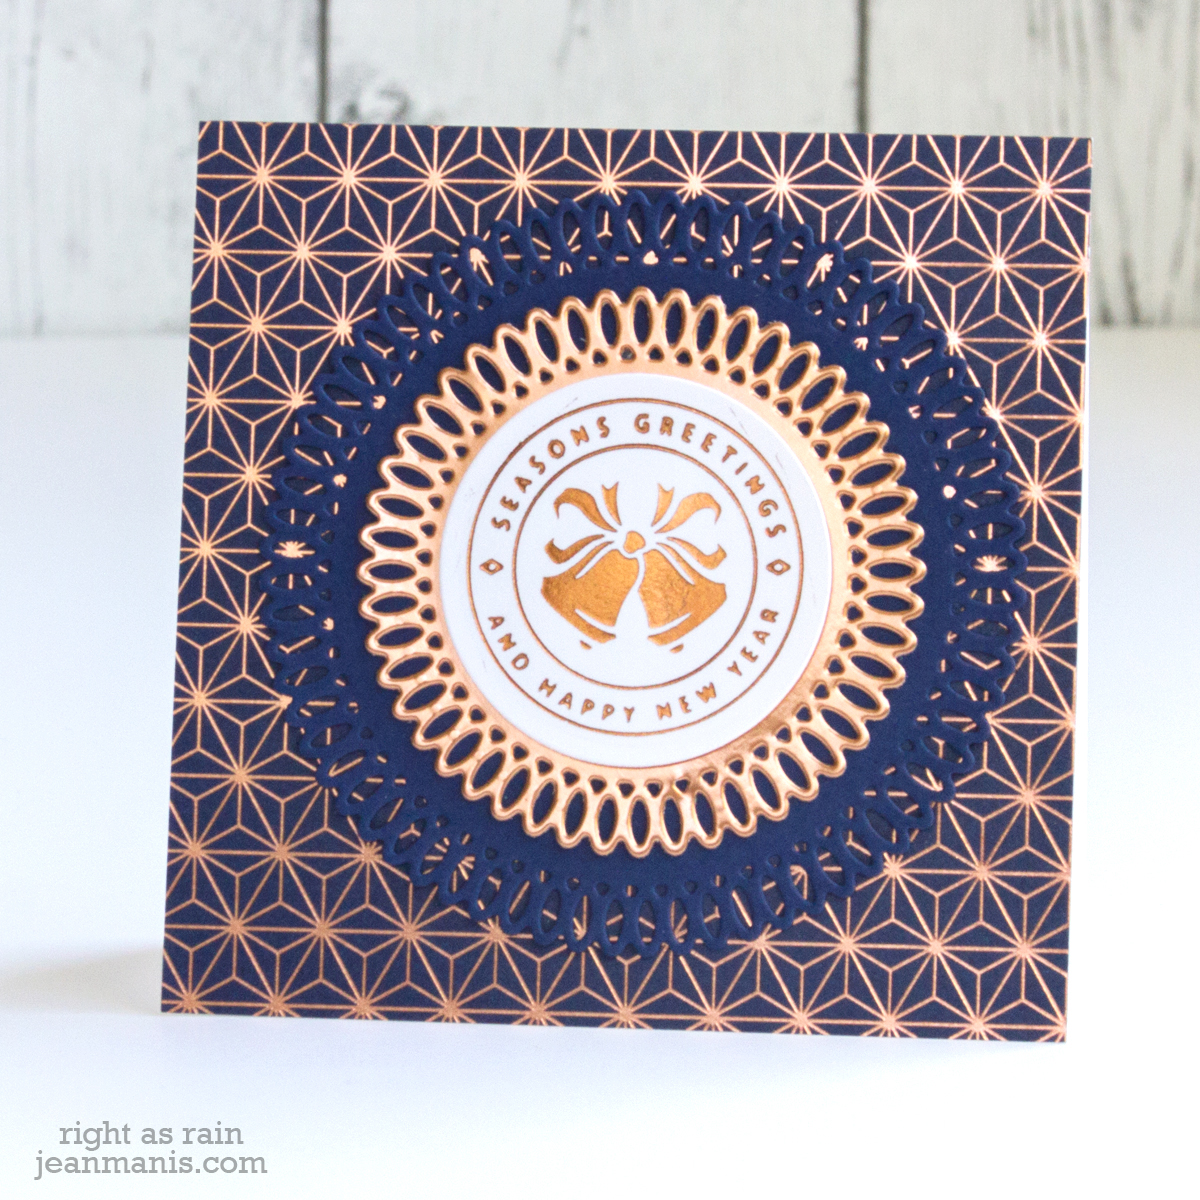
Because of the dark patterned papers, I glued the face pieces to vellum cut with a circle die.
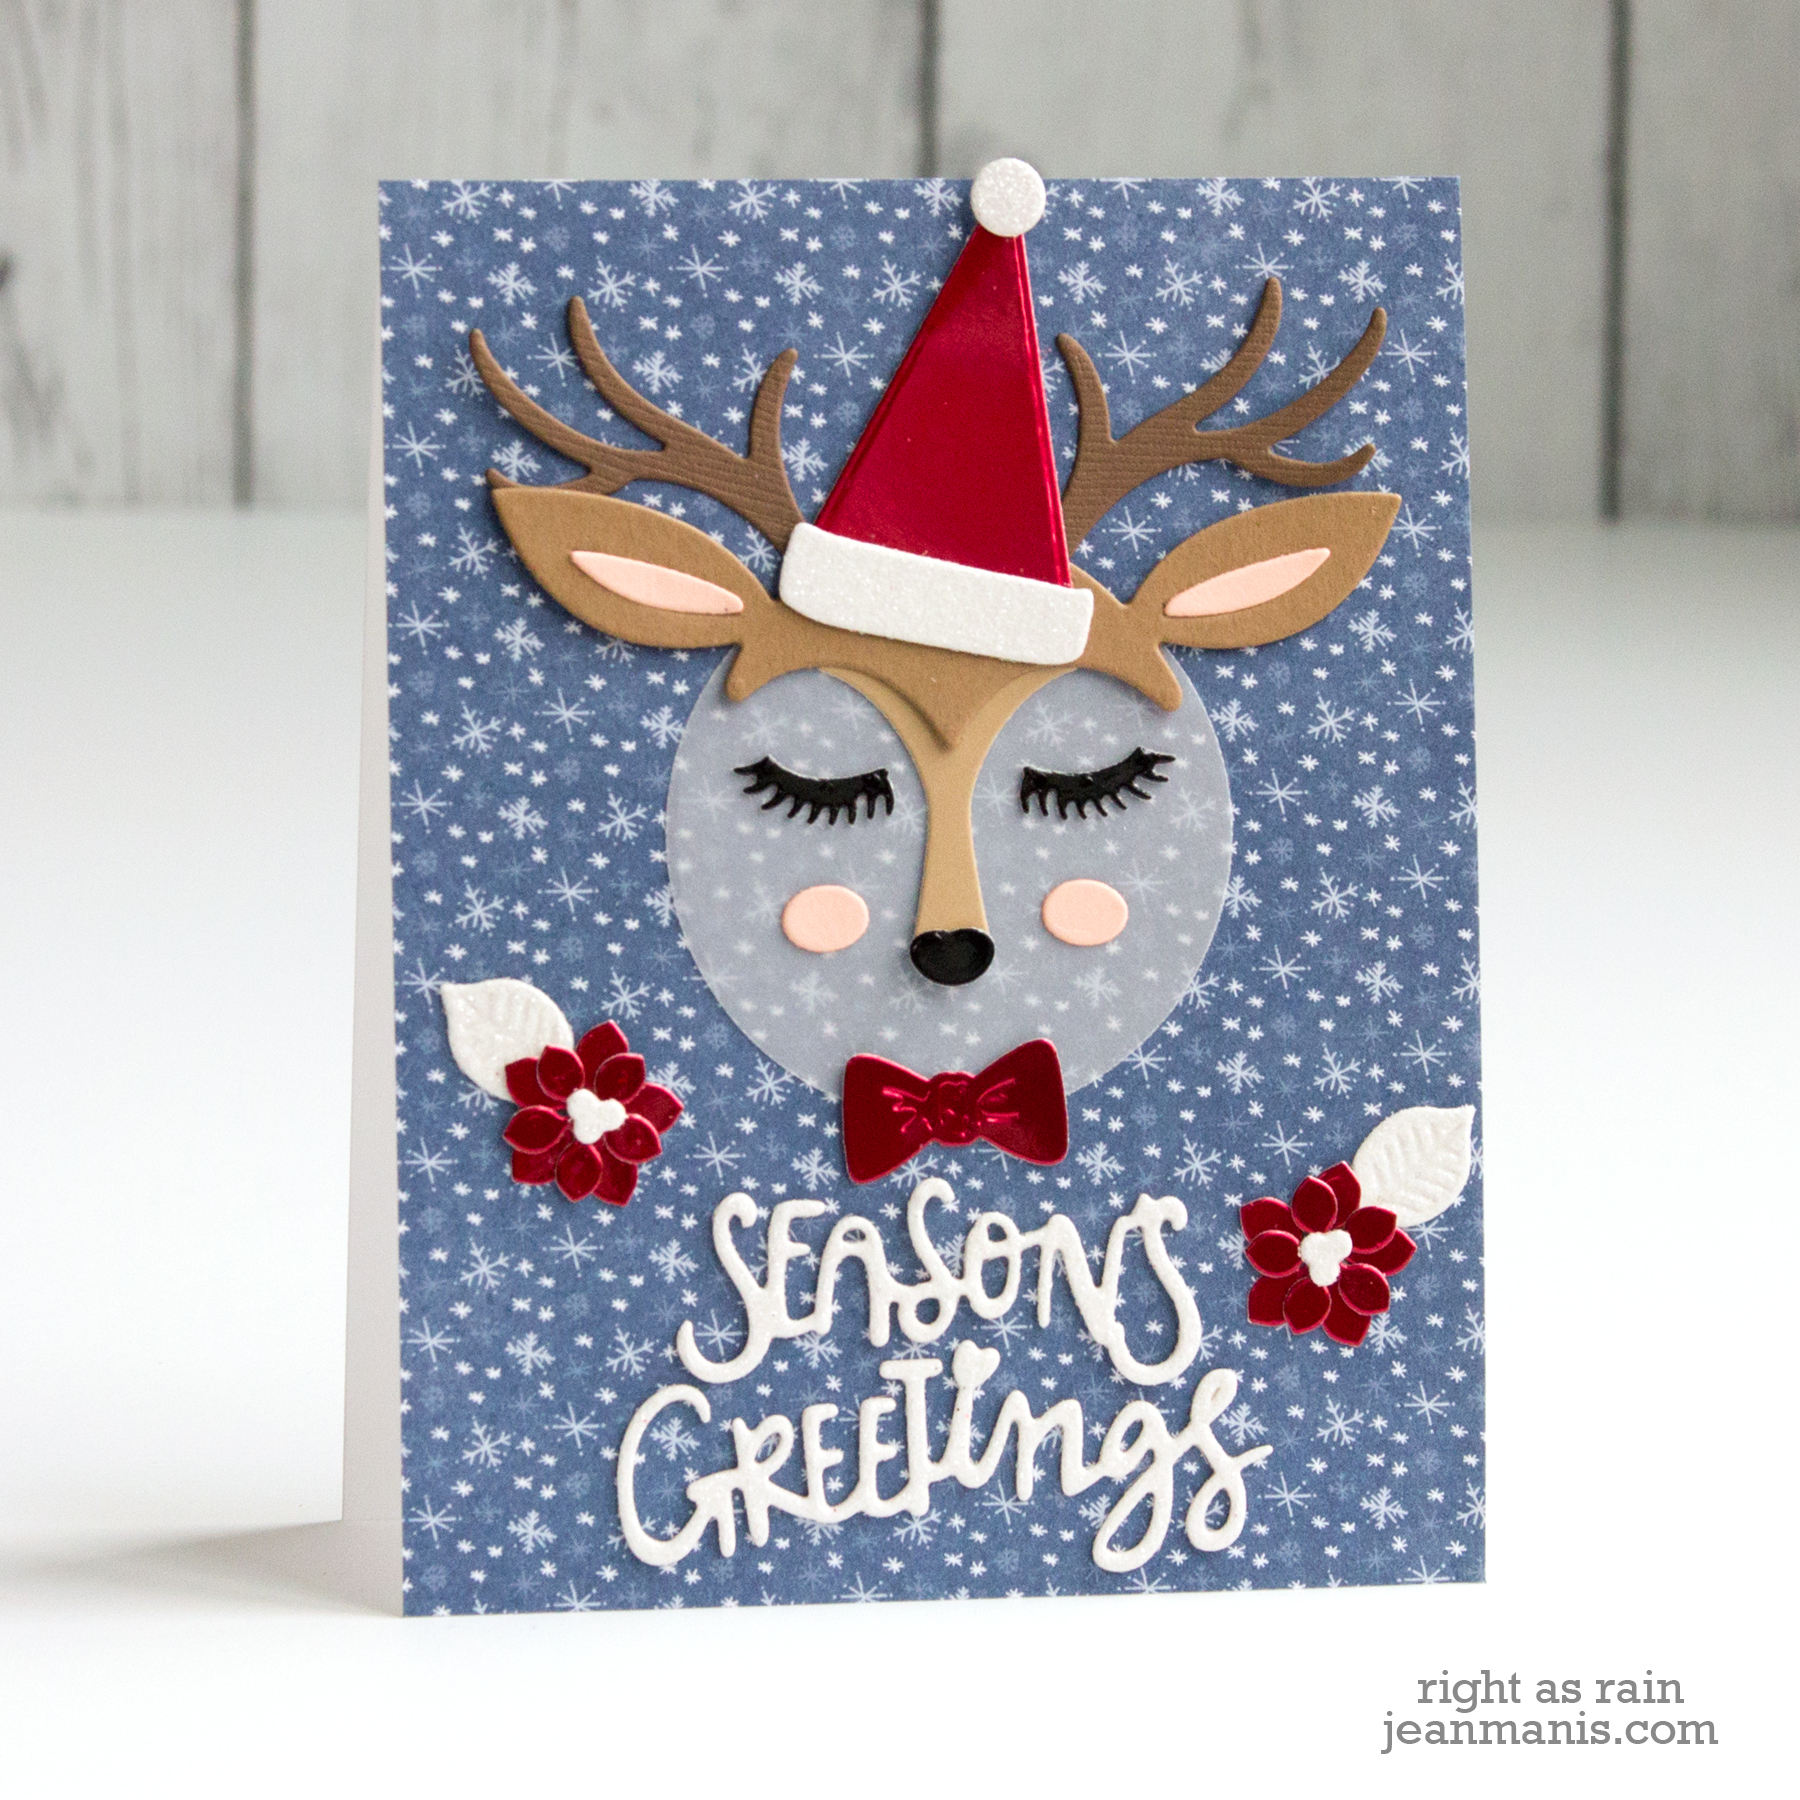
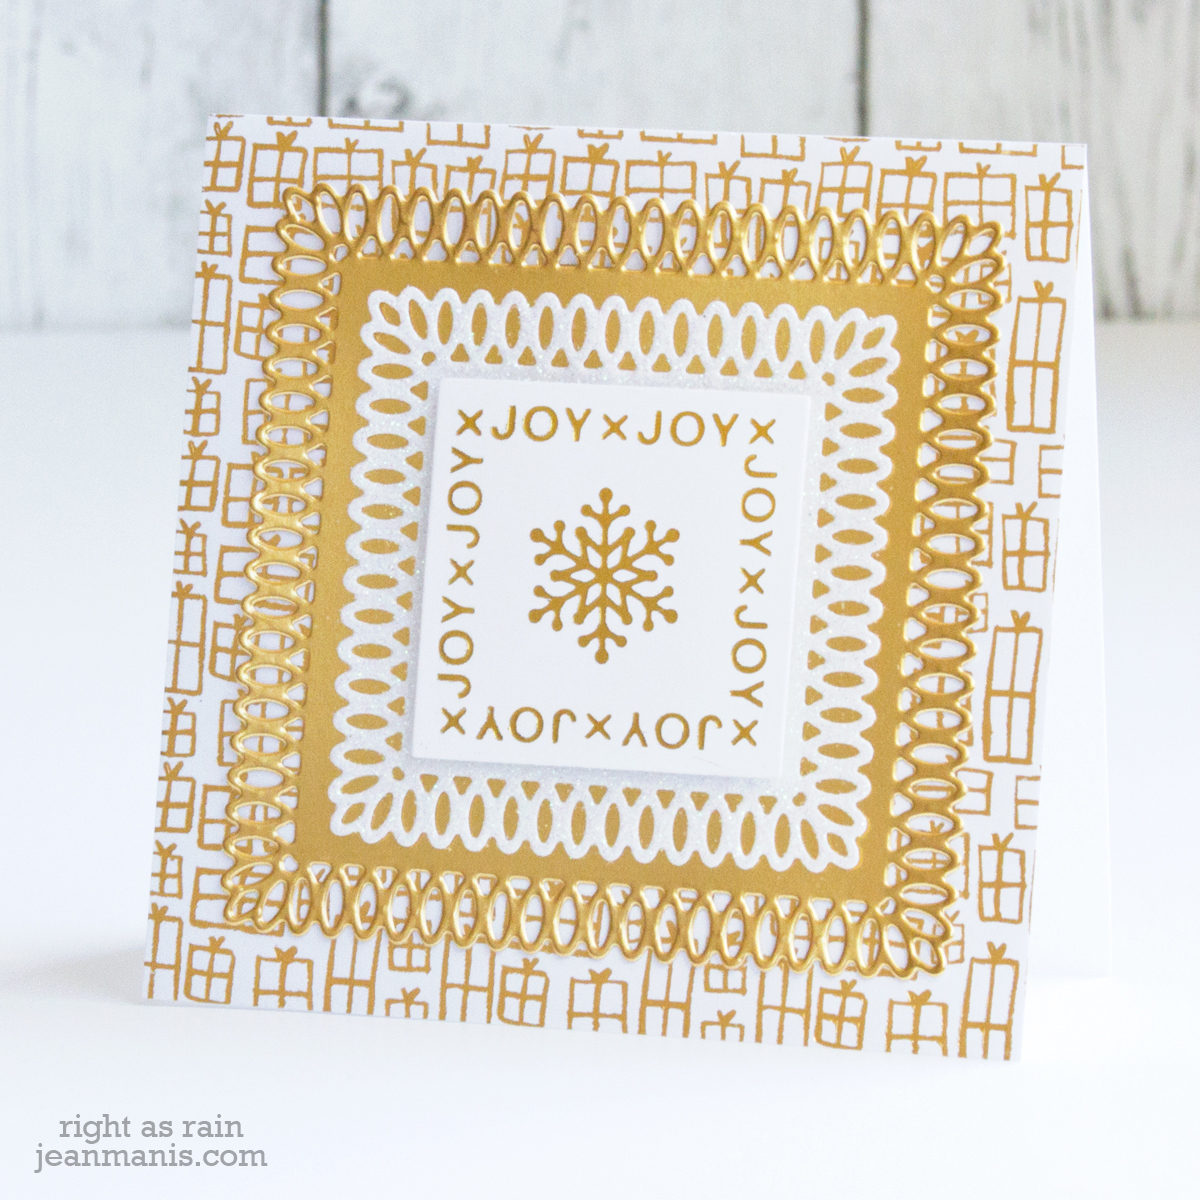
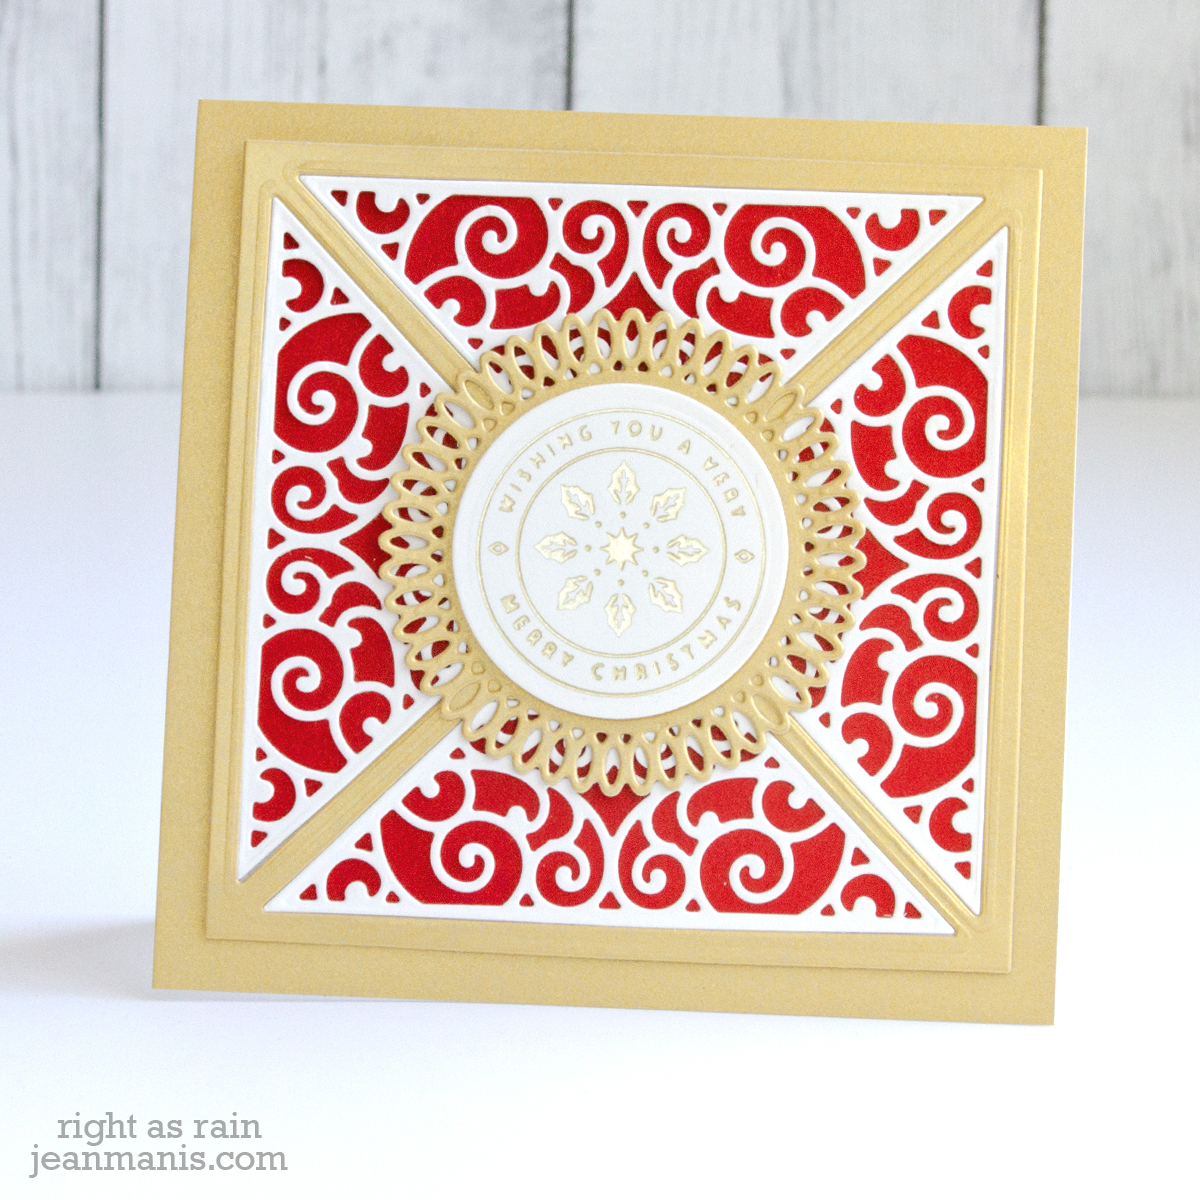
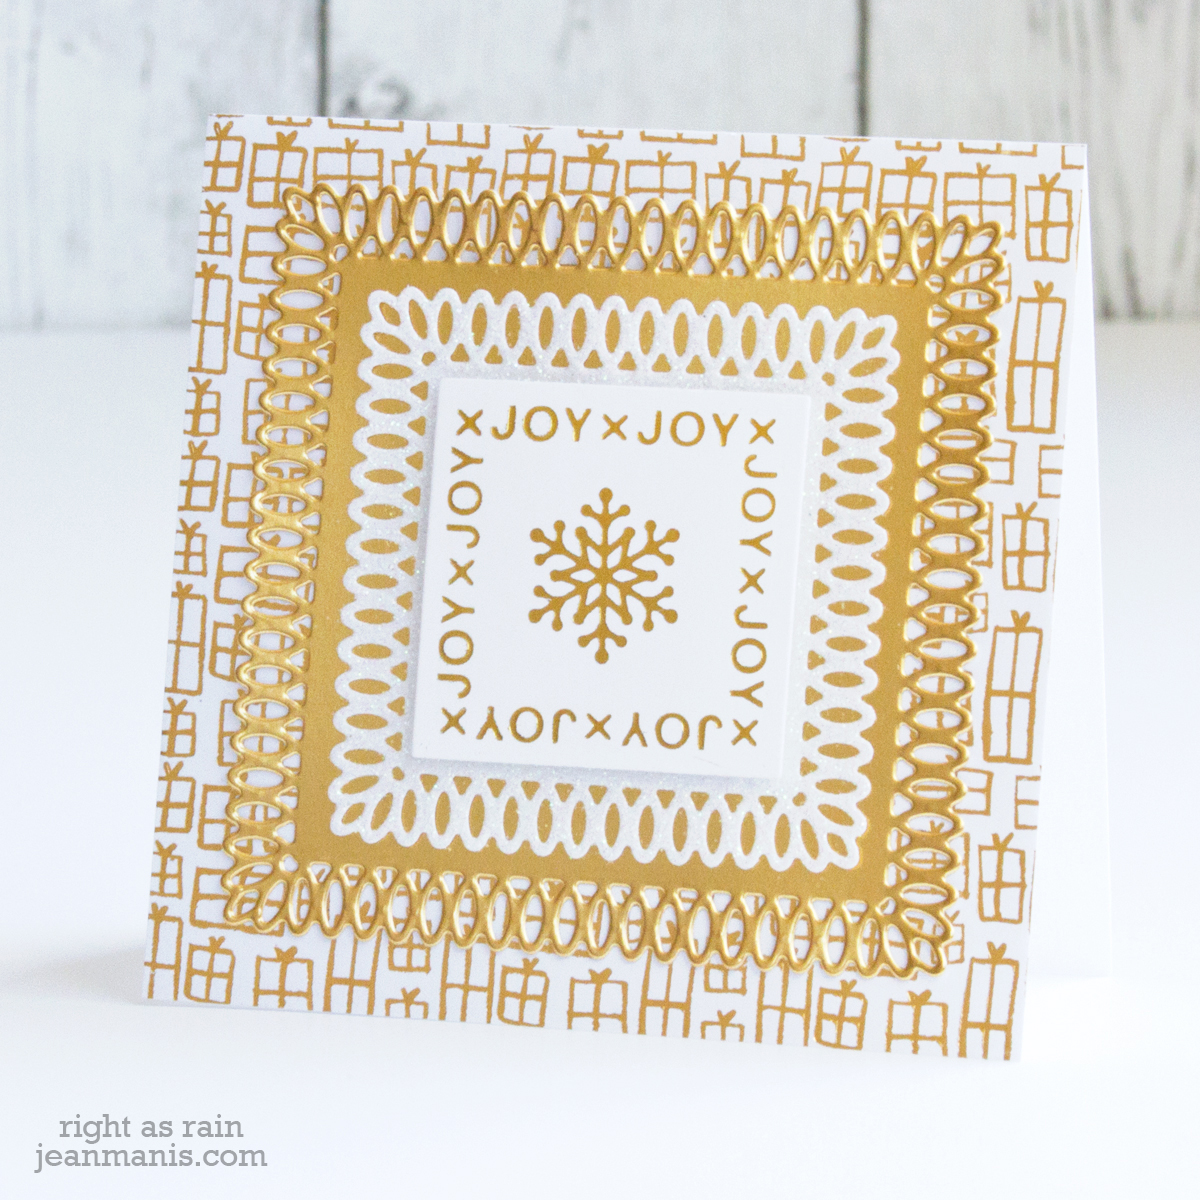
I used red foil paper, a velvet-textured paper, and cardstock for the red decorative elements. I used both white glitter cardstock and white cardstock for the hat band, hat pom pom, sentiments, and leaves.
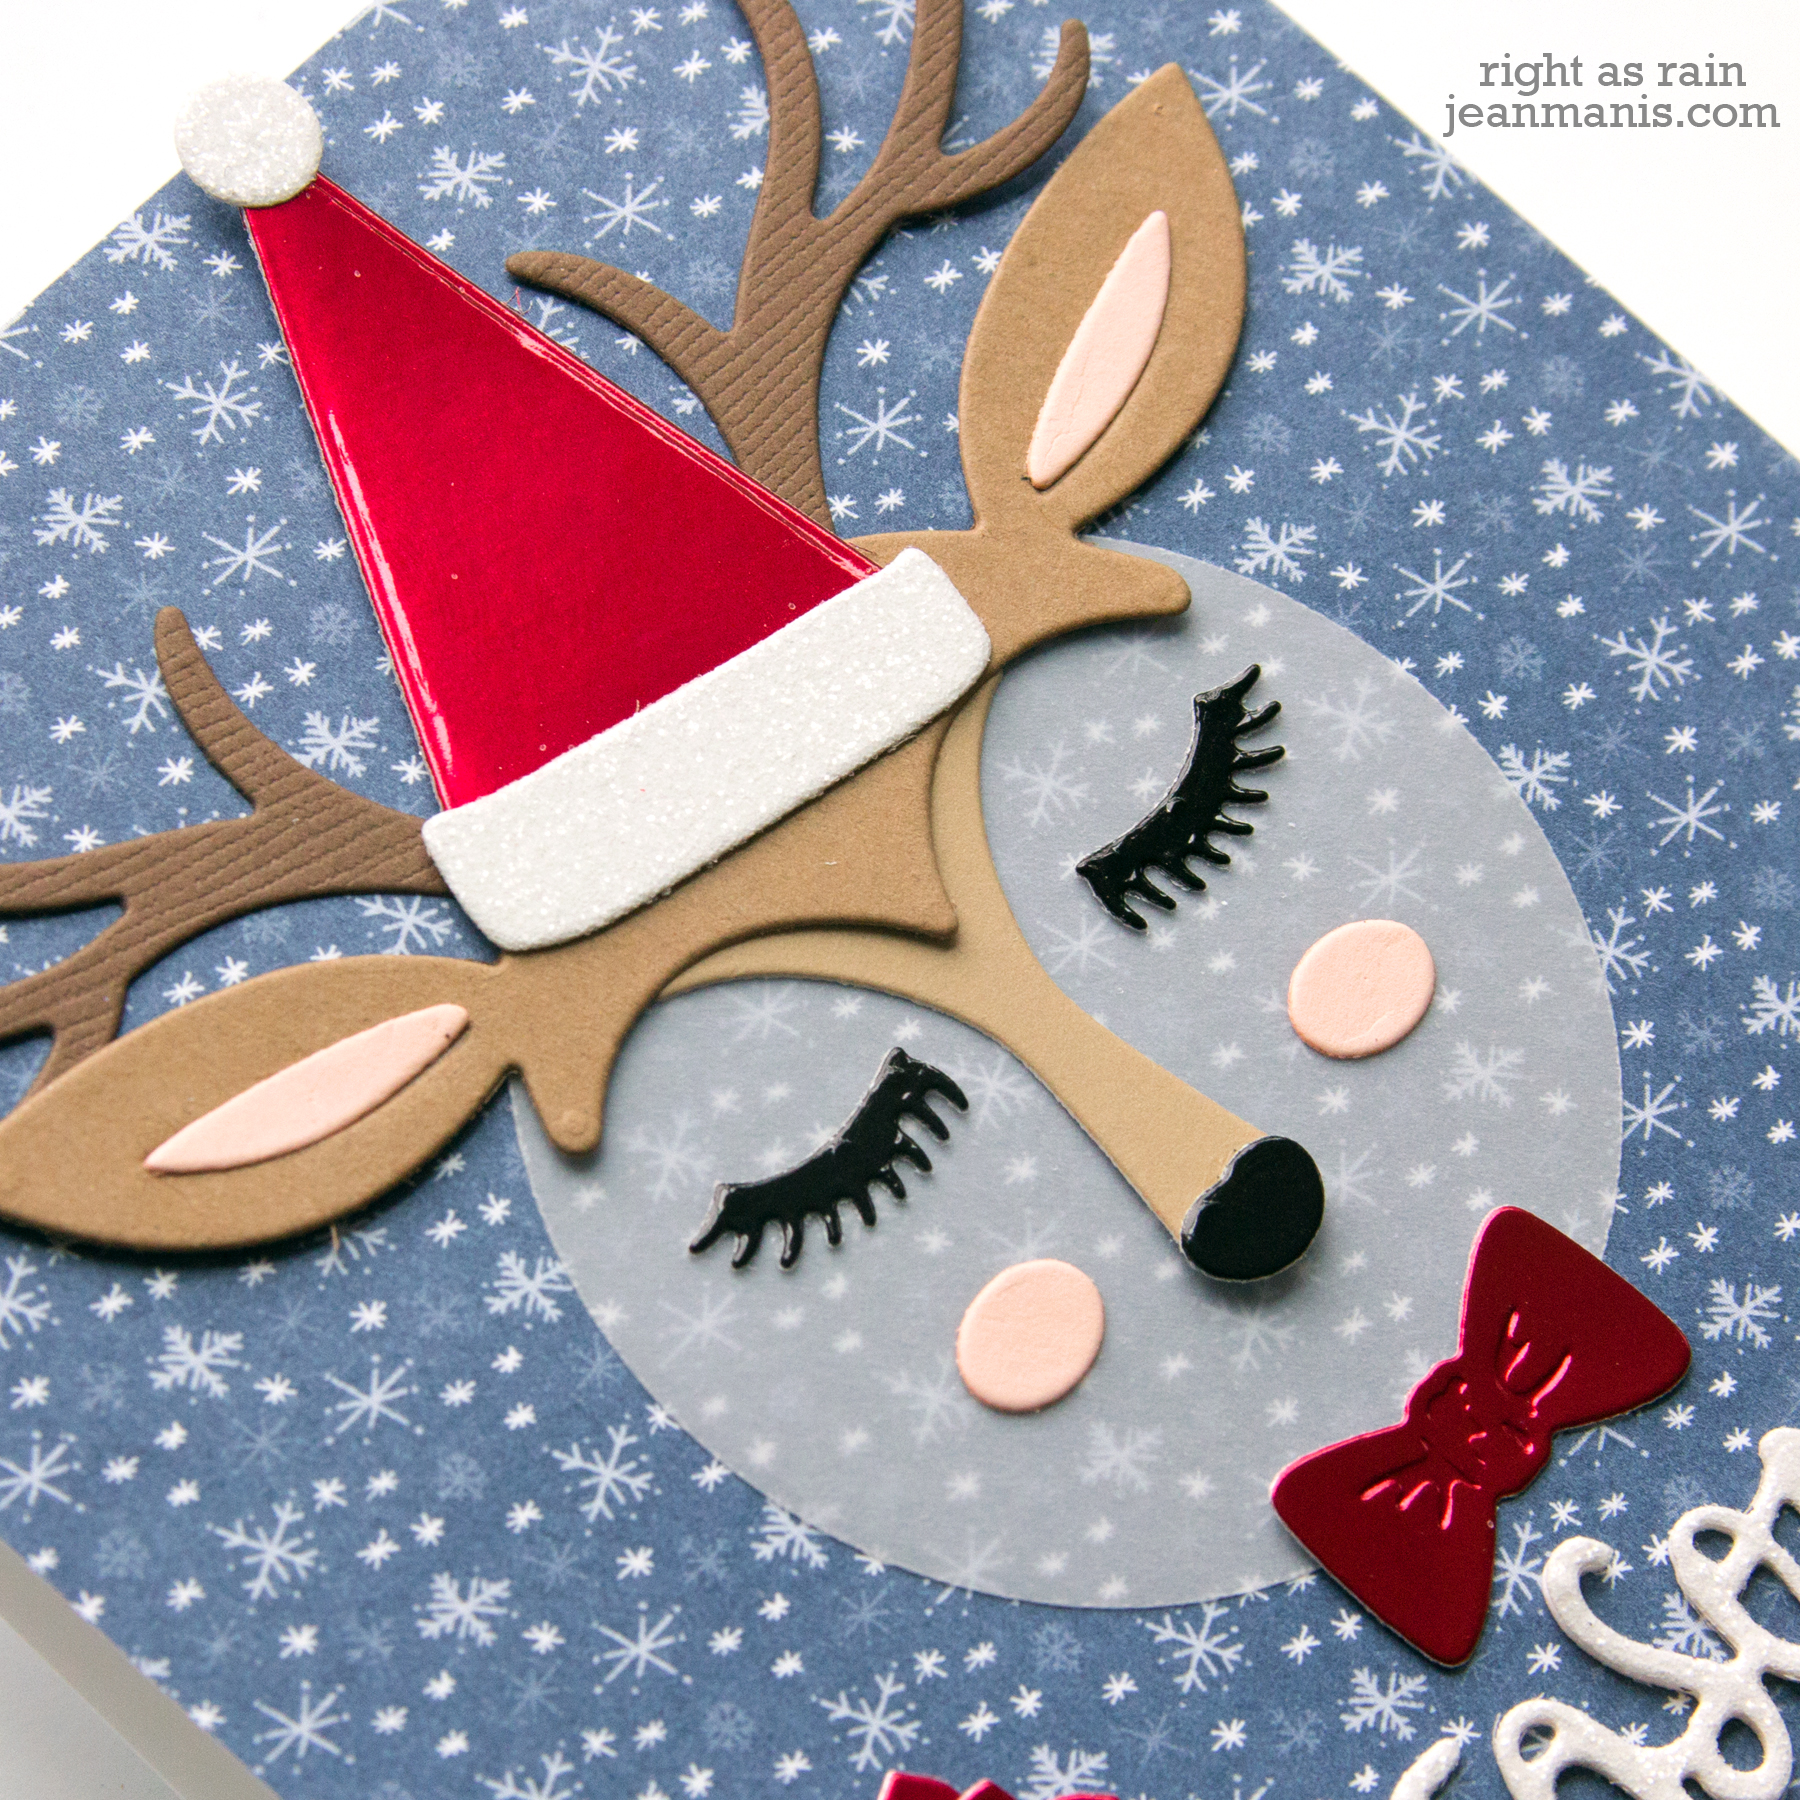
The die set includes three different shapes for the eyes. It’s easy to make the deer more feminine or masculine with the eye shapes.
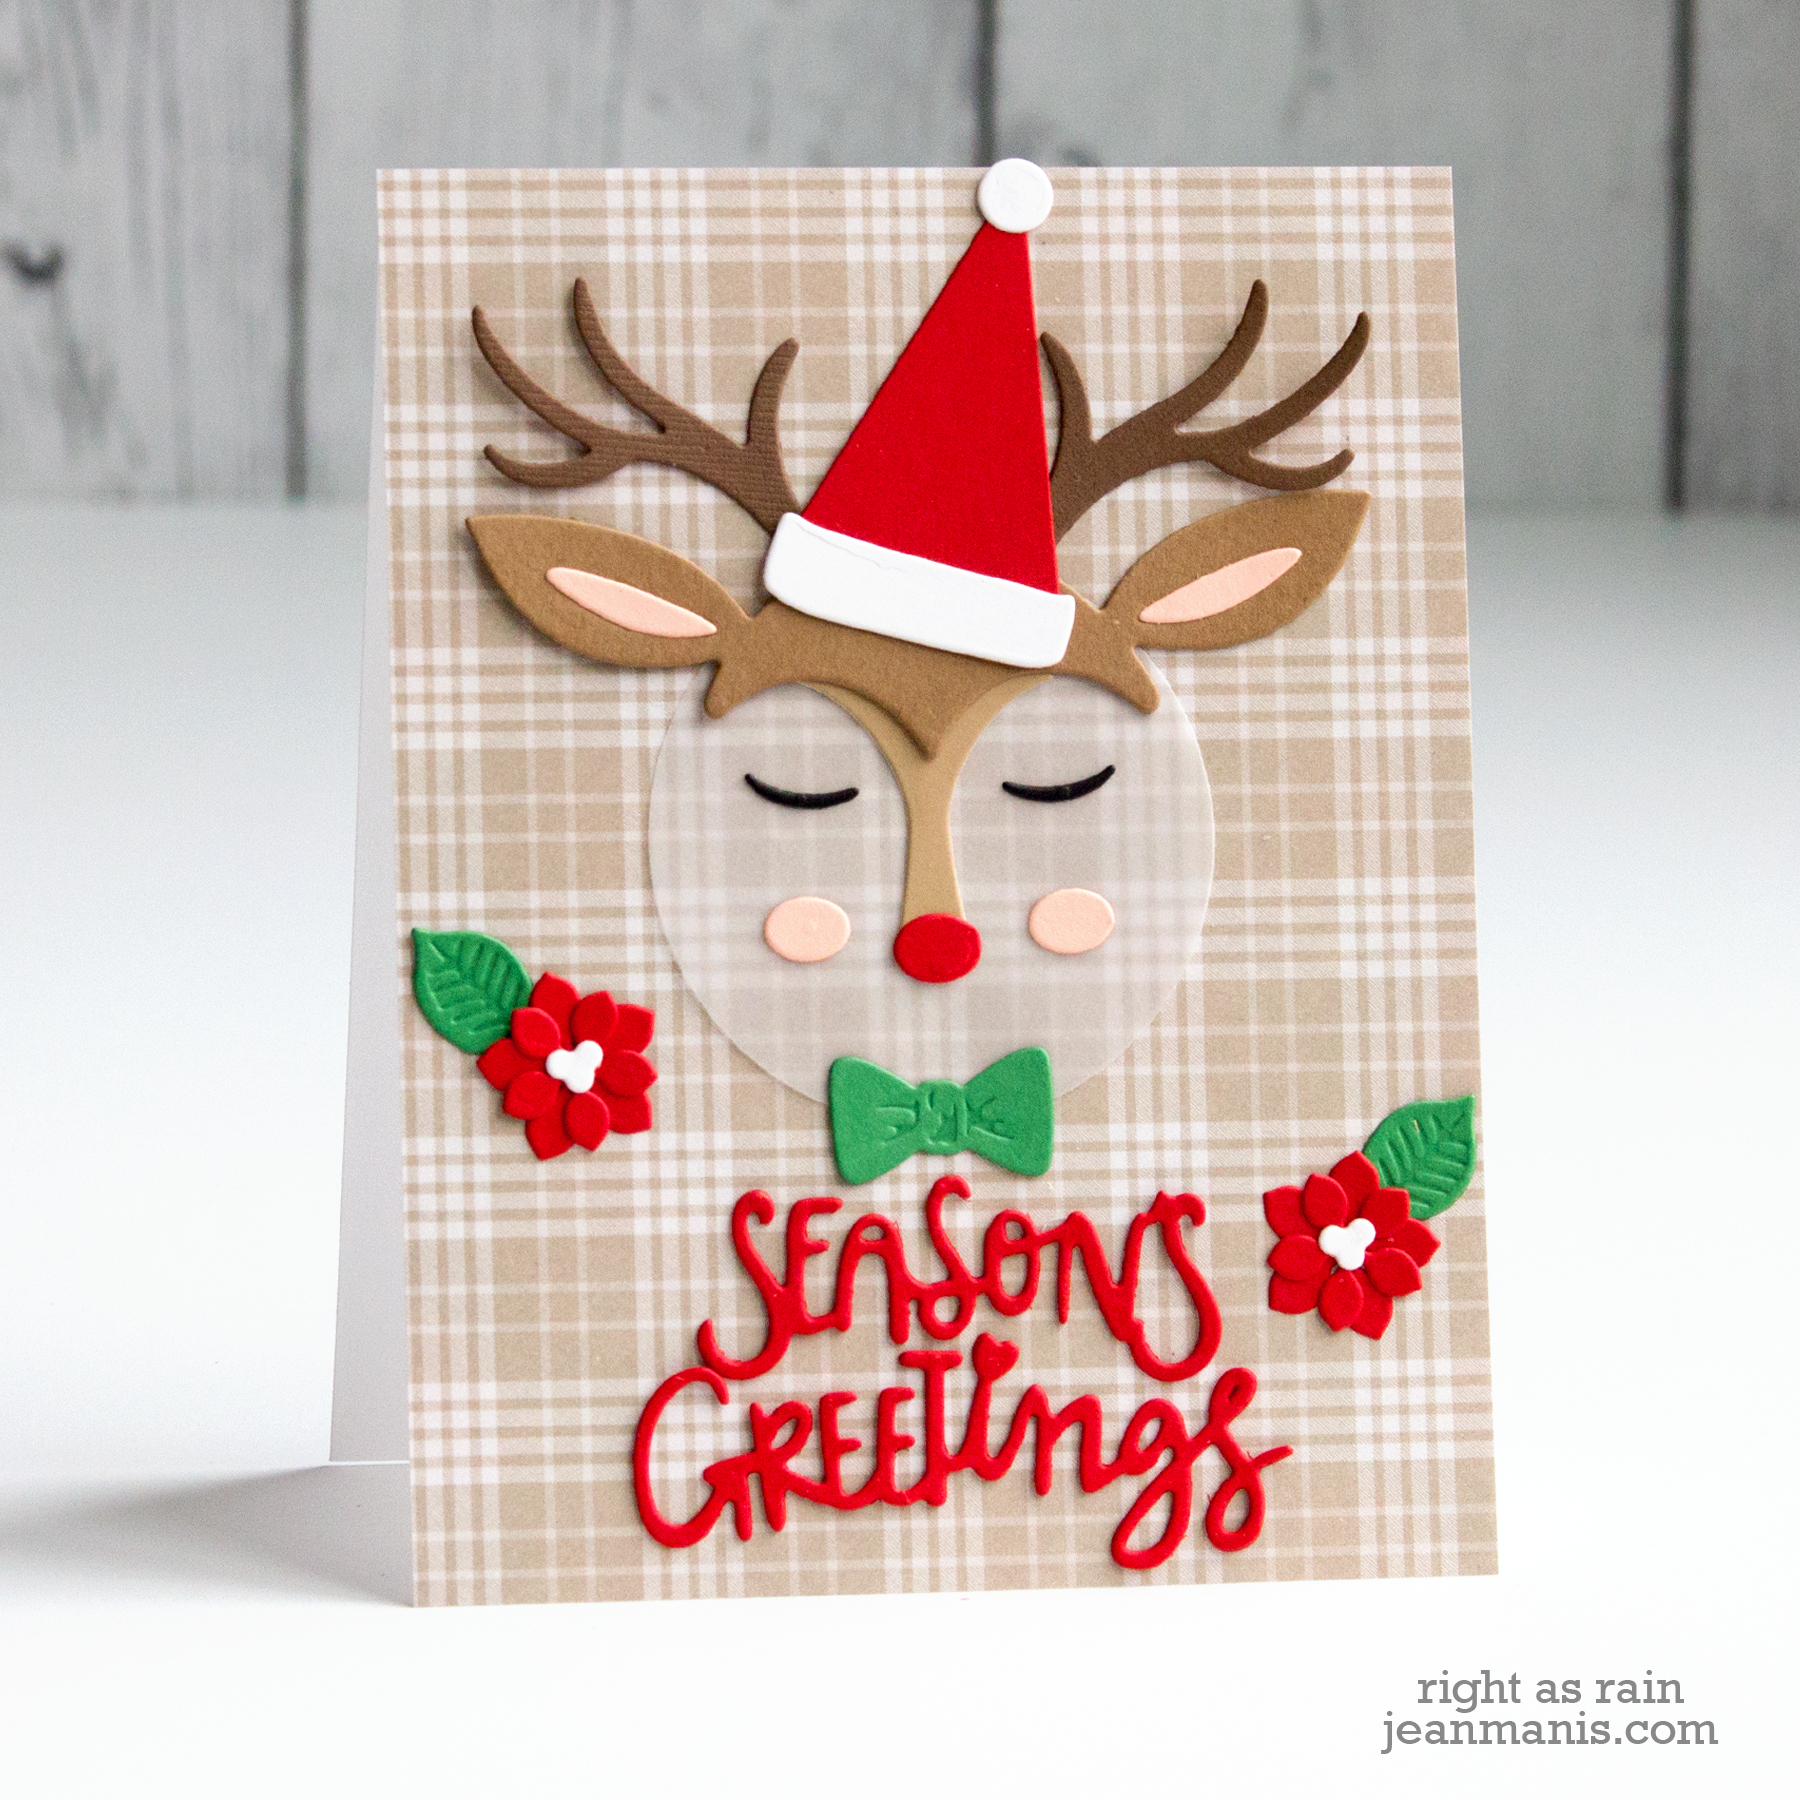
On all three cards I cut the sentiment twice for depth.

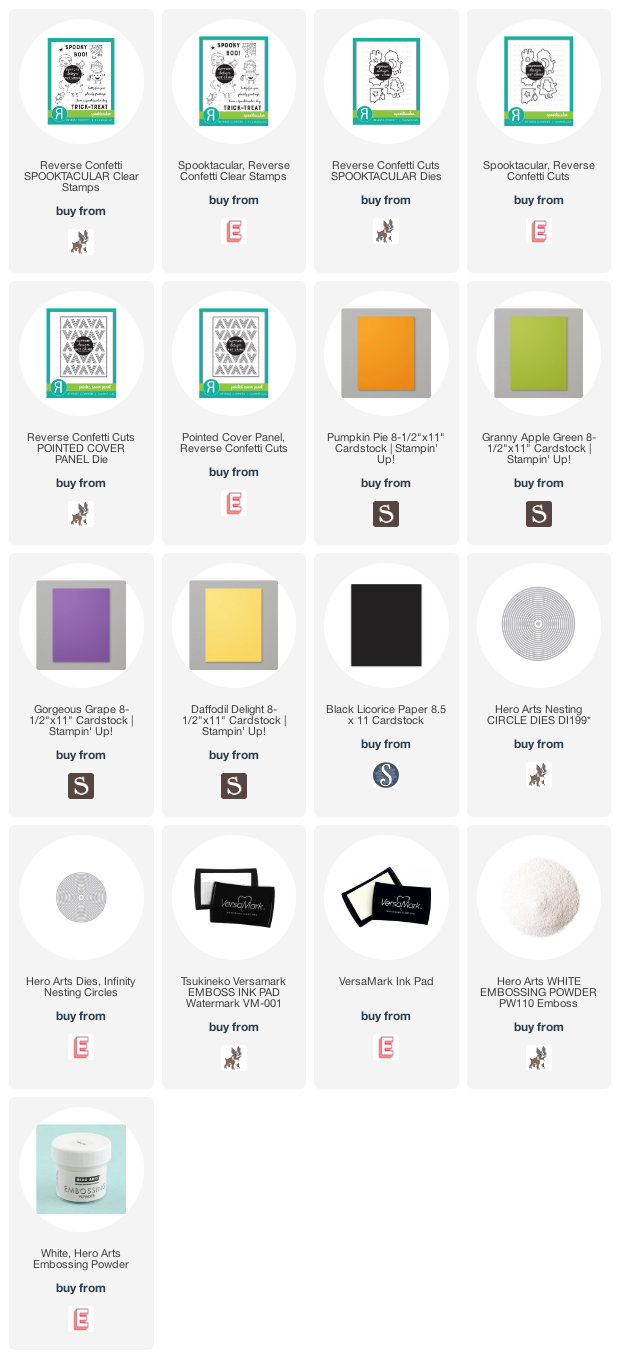
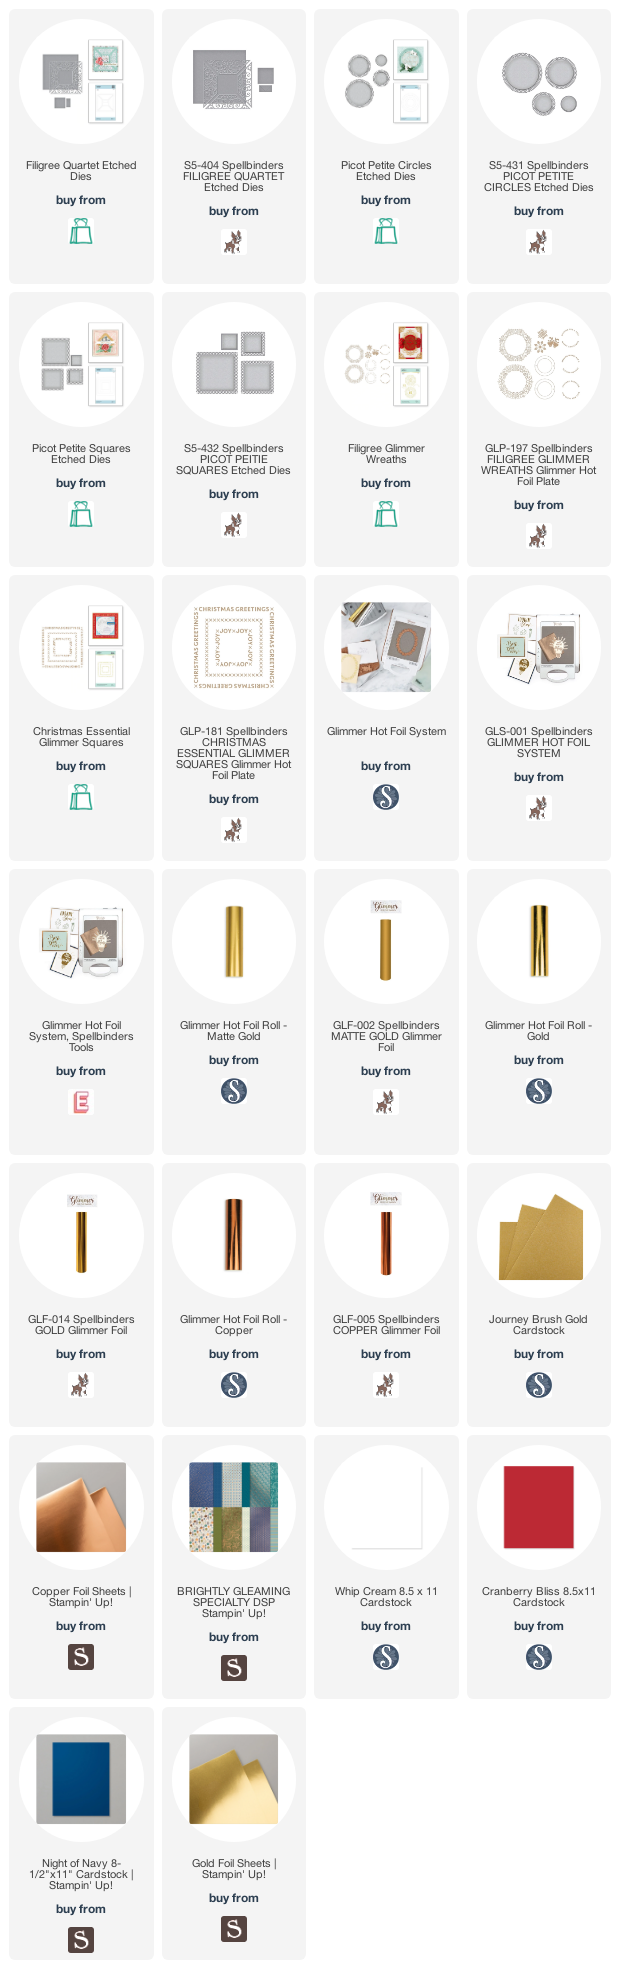
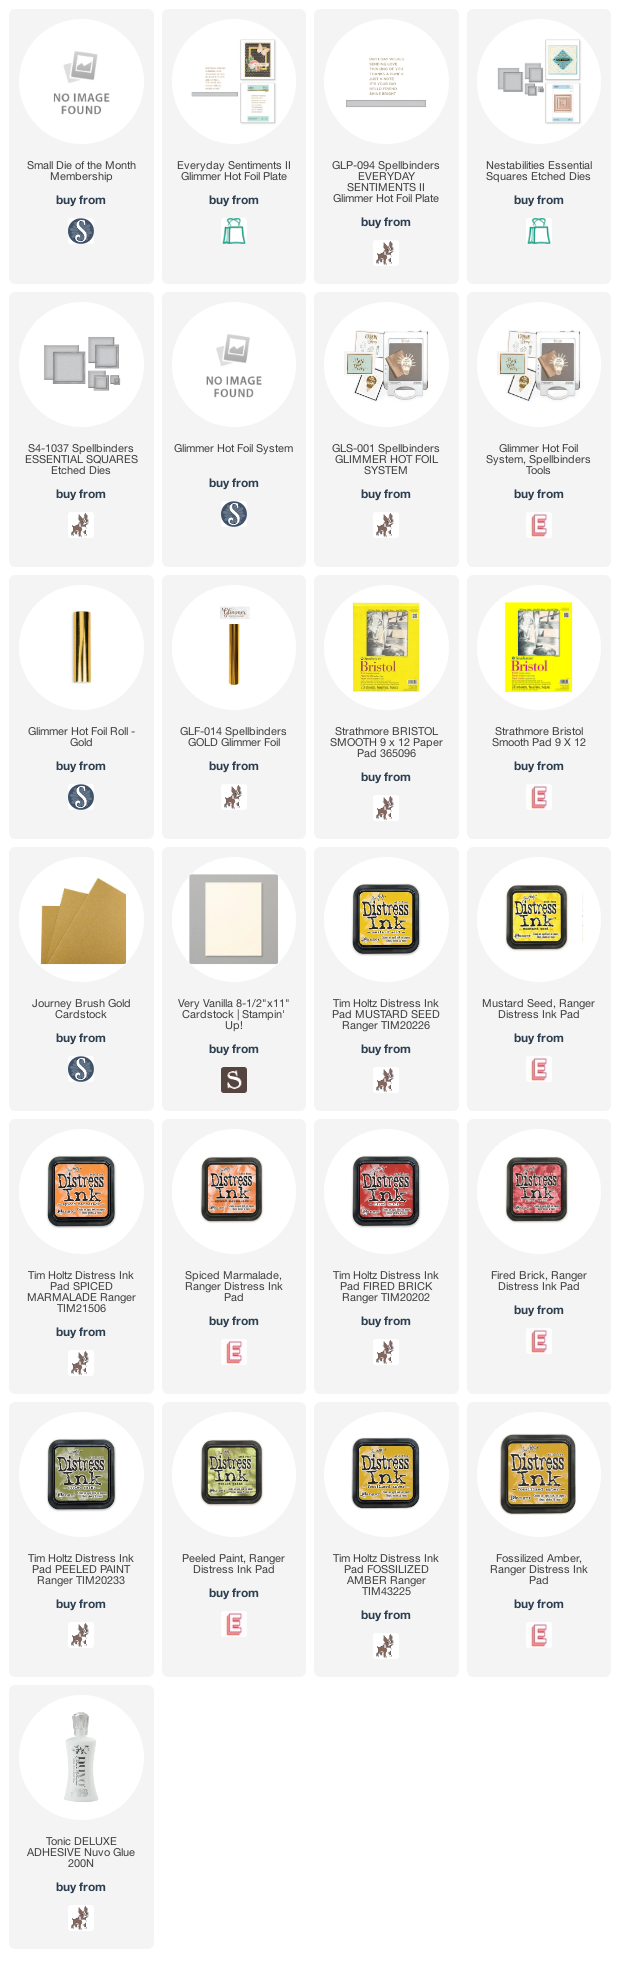
Supplies:
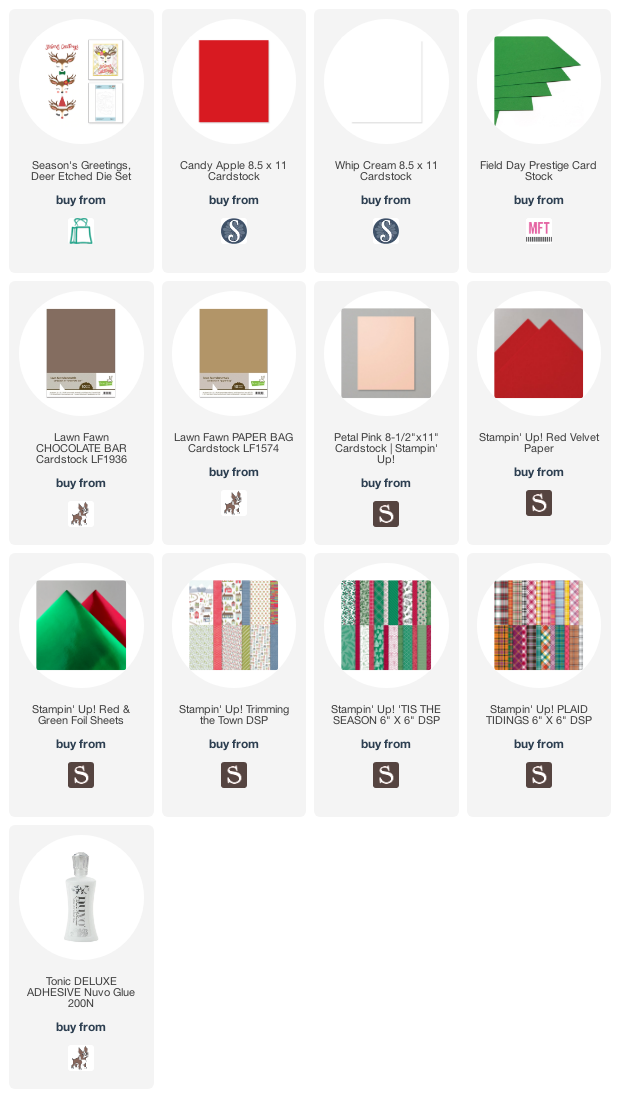


 Supplies: