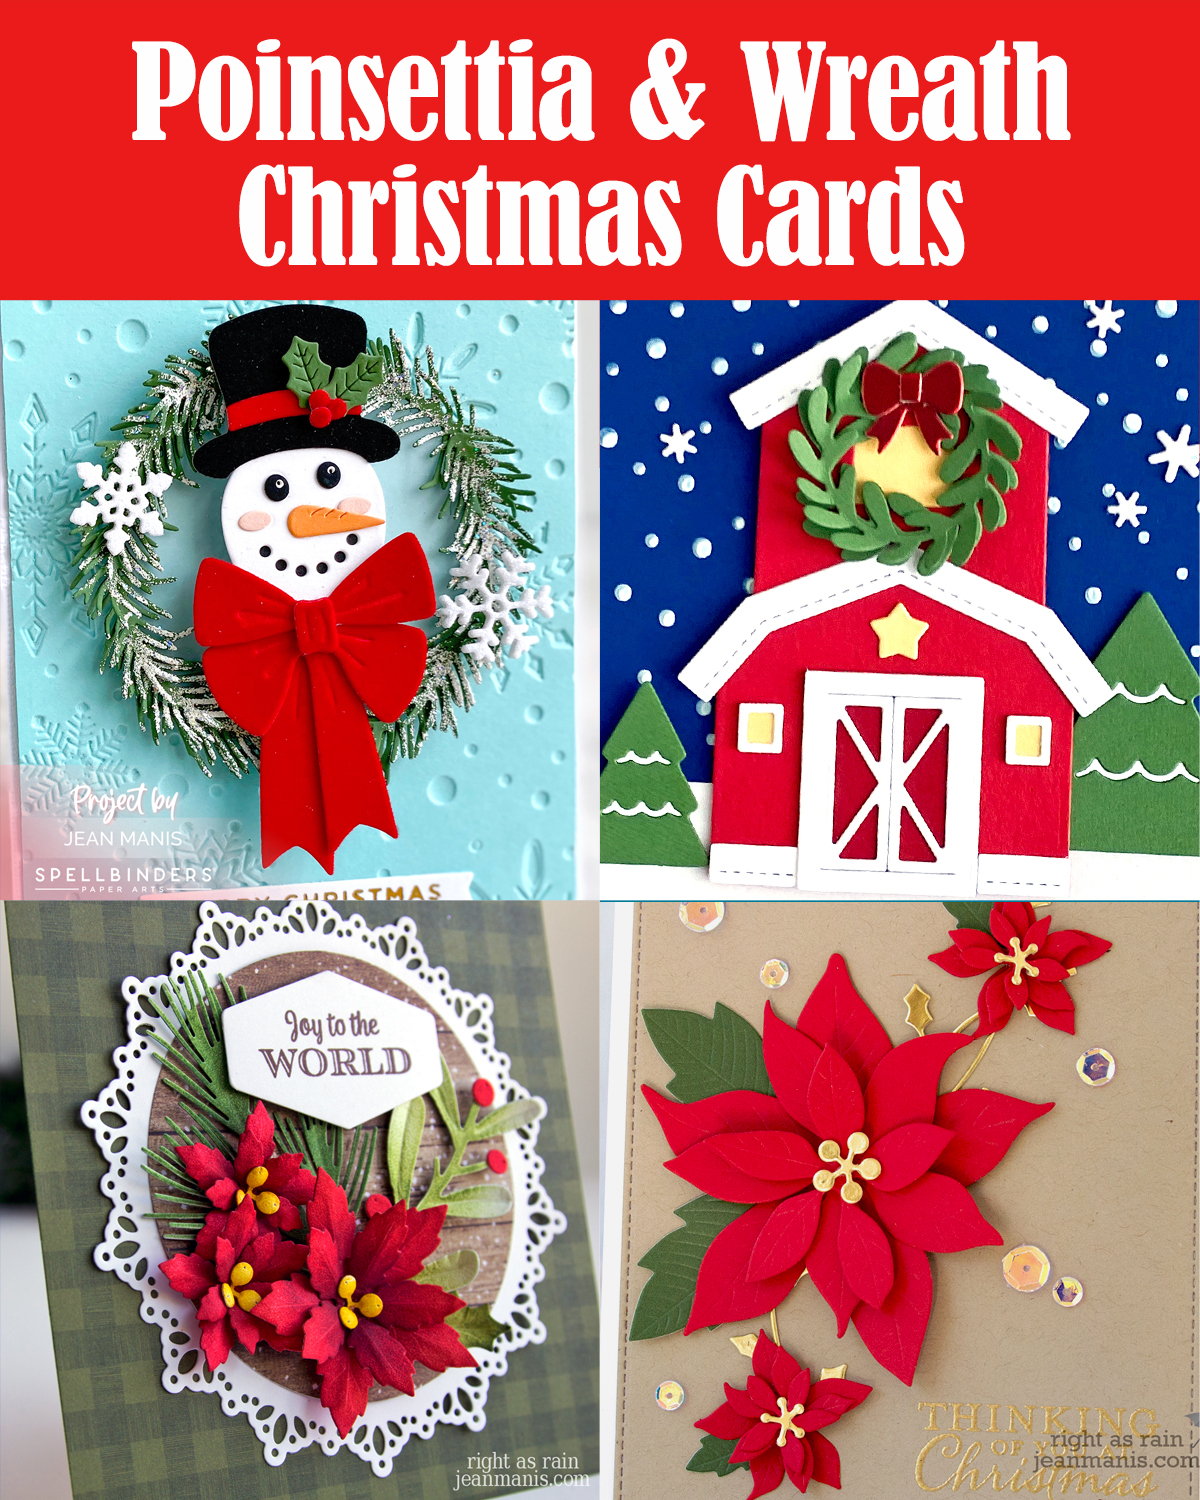
Hello! When it comes to handmade Christmas cards, two timeless botanical themes return year after year—poinsettias and wreaths. Both draw on the beauty of nature to capture the festive spirit, whether through bold blooms or evergreen boughs. In this roundup, I’m sharing cards from my blog archive where either poinsettias or wreaths are included. Click on the card image to be taken to the original post for additional details.
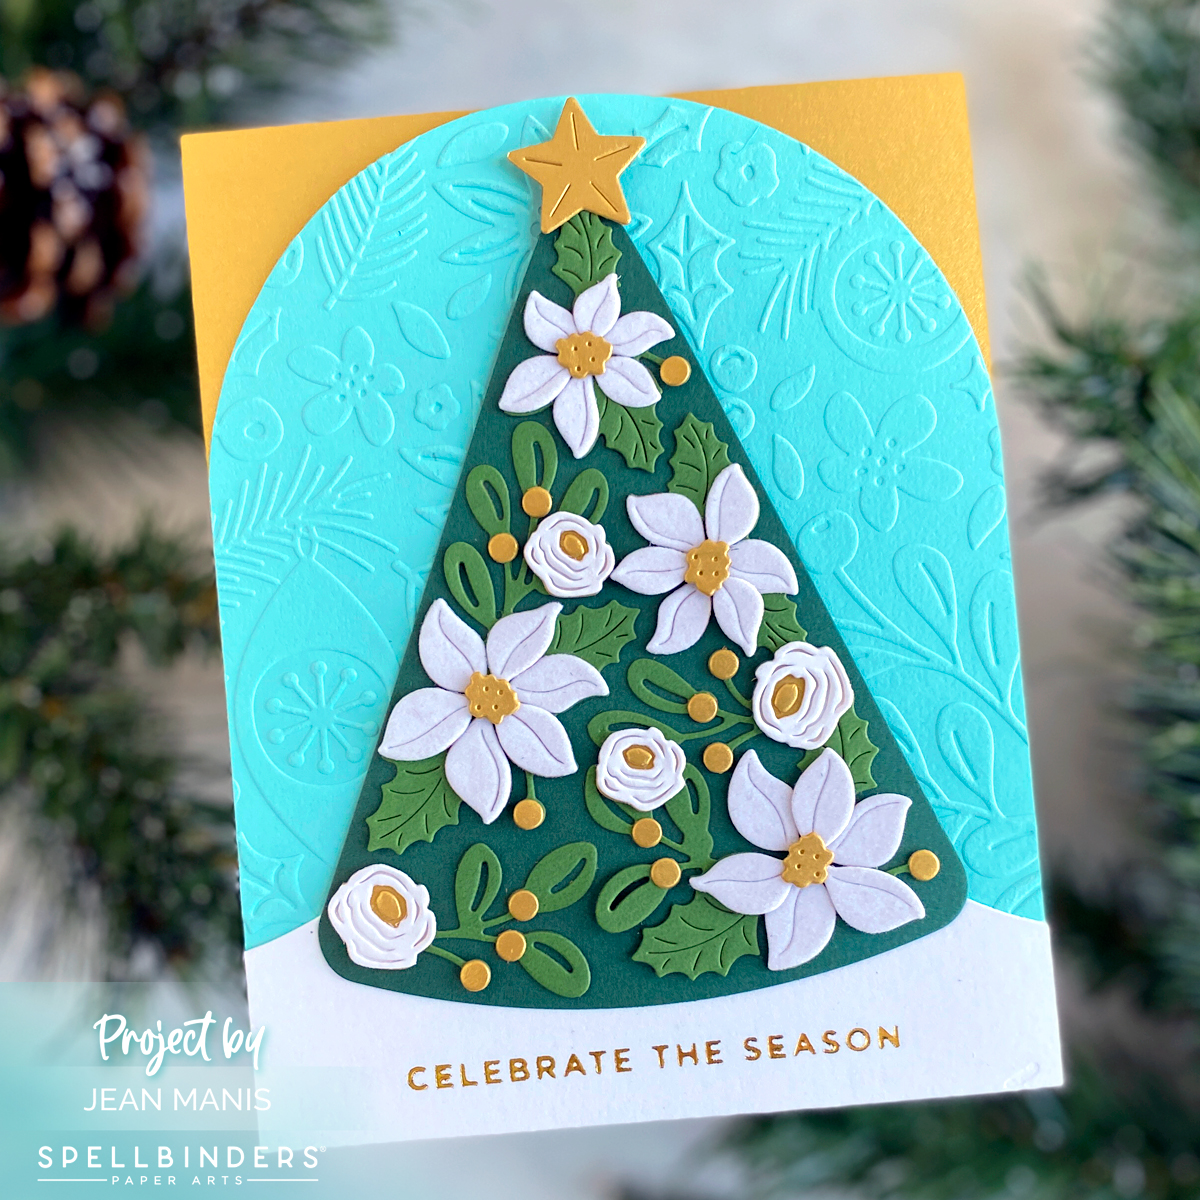
The first card features a graceful Christmas tree decorated with elegant white die-cut poinsettias.
A vivid mixed-media floral spray, die-cut with Tim Holtz’s Festive Bouquet set, takes center stage on a clean, neutral background.

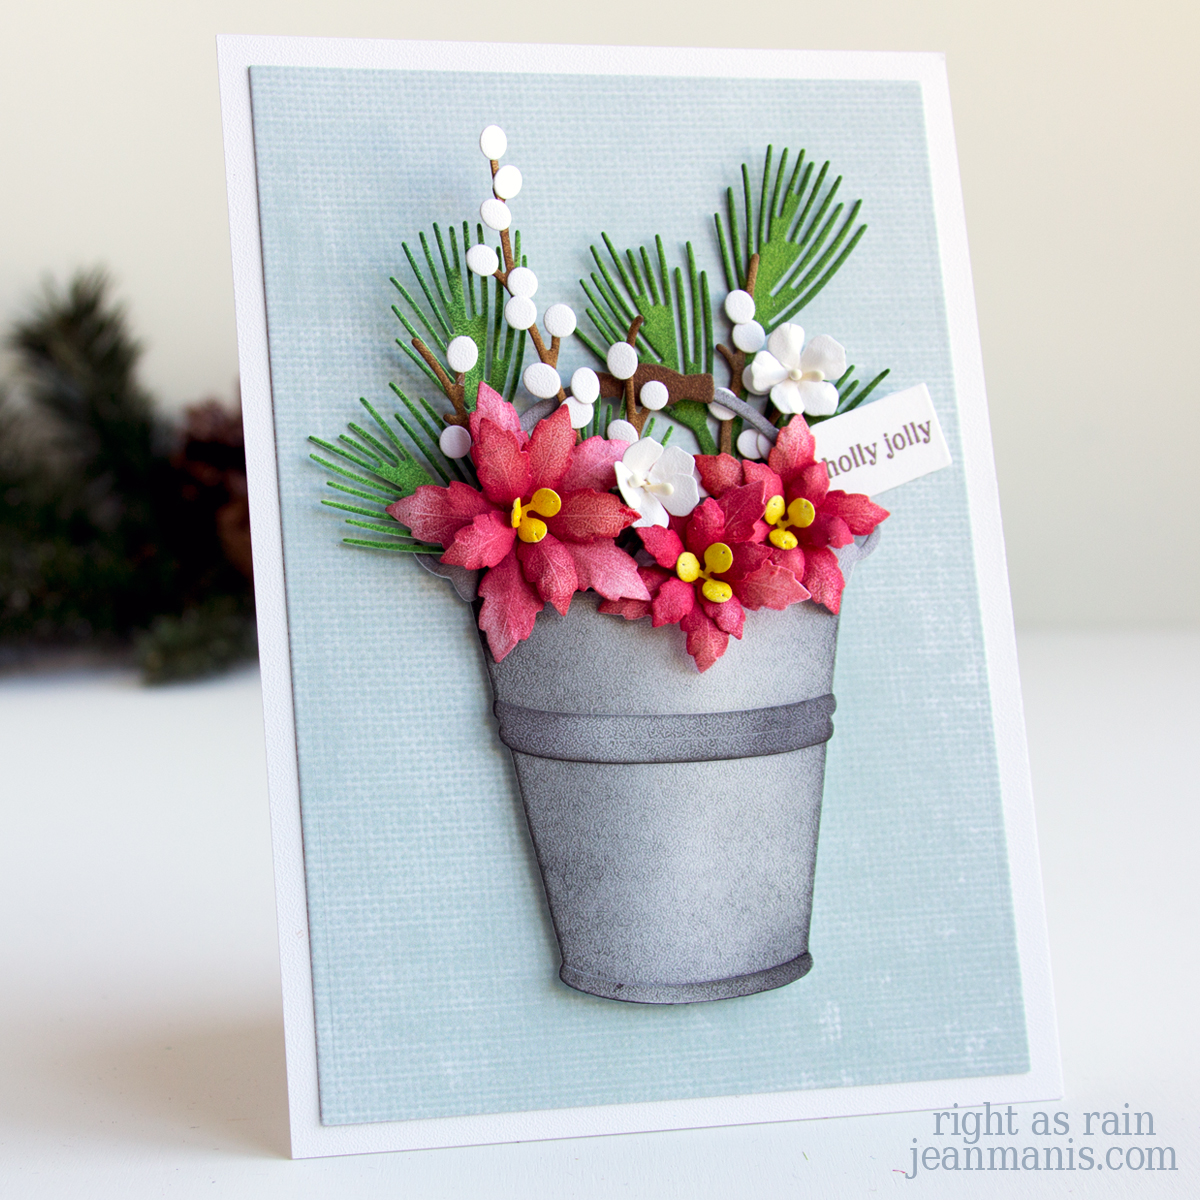
Loose poinsettias and seasonal foliage, colored with Distress Inks, are arranged in a charming bucket with a sentiment tag.
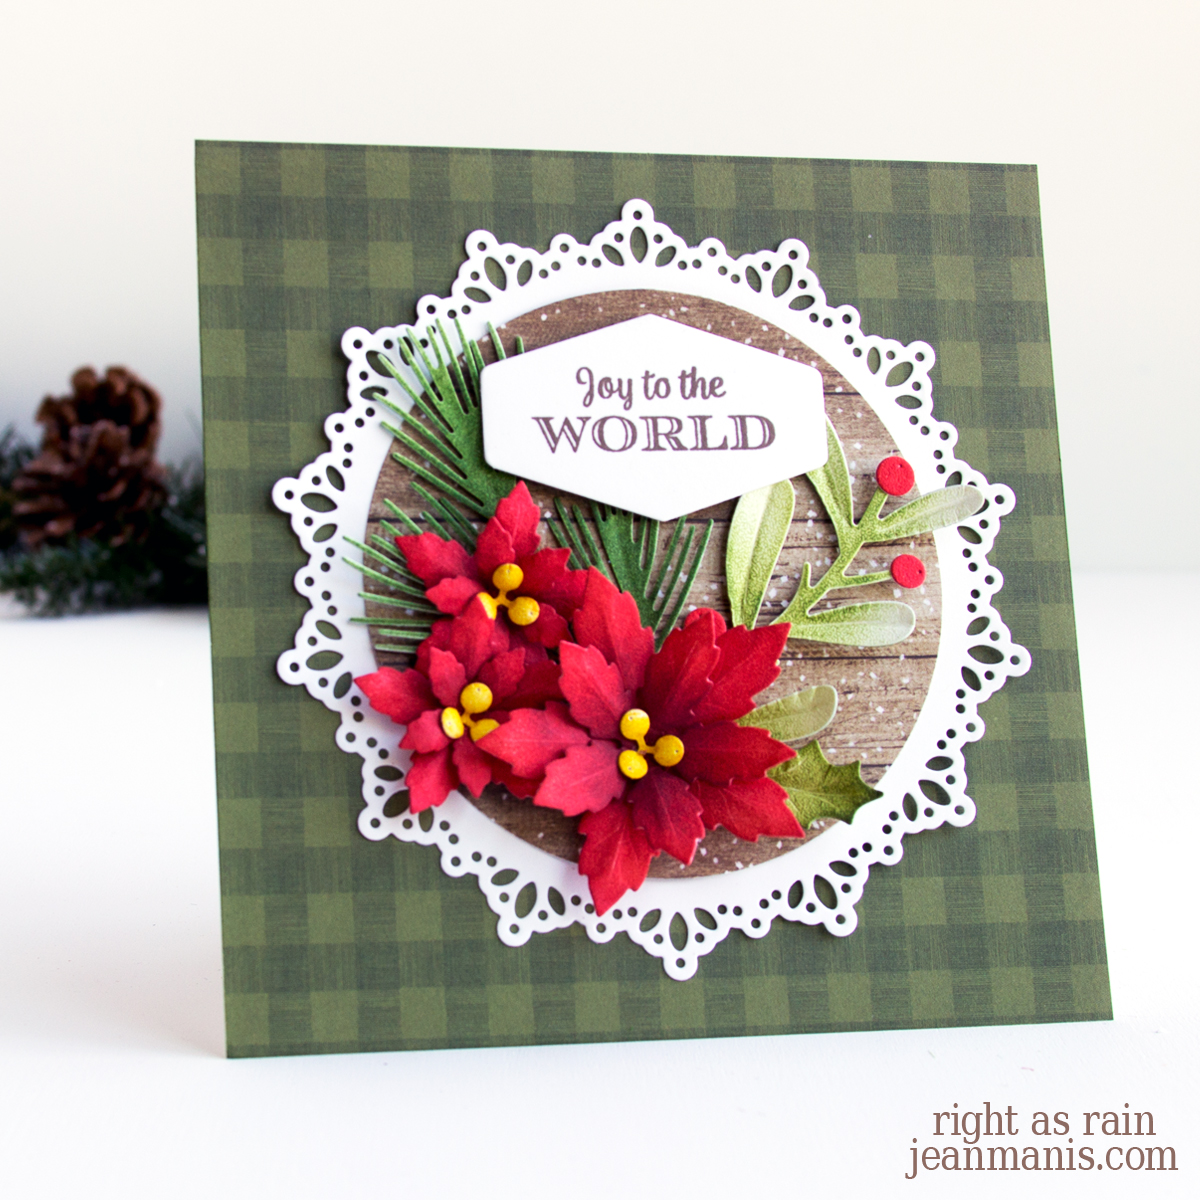
This card uses the same die set as the bucket design, but here the poinsettias are arranged in a festive cluster atop a doily shape.
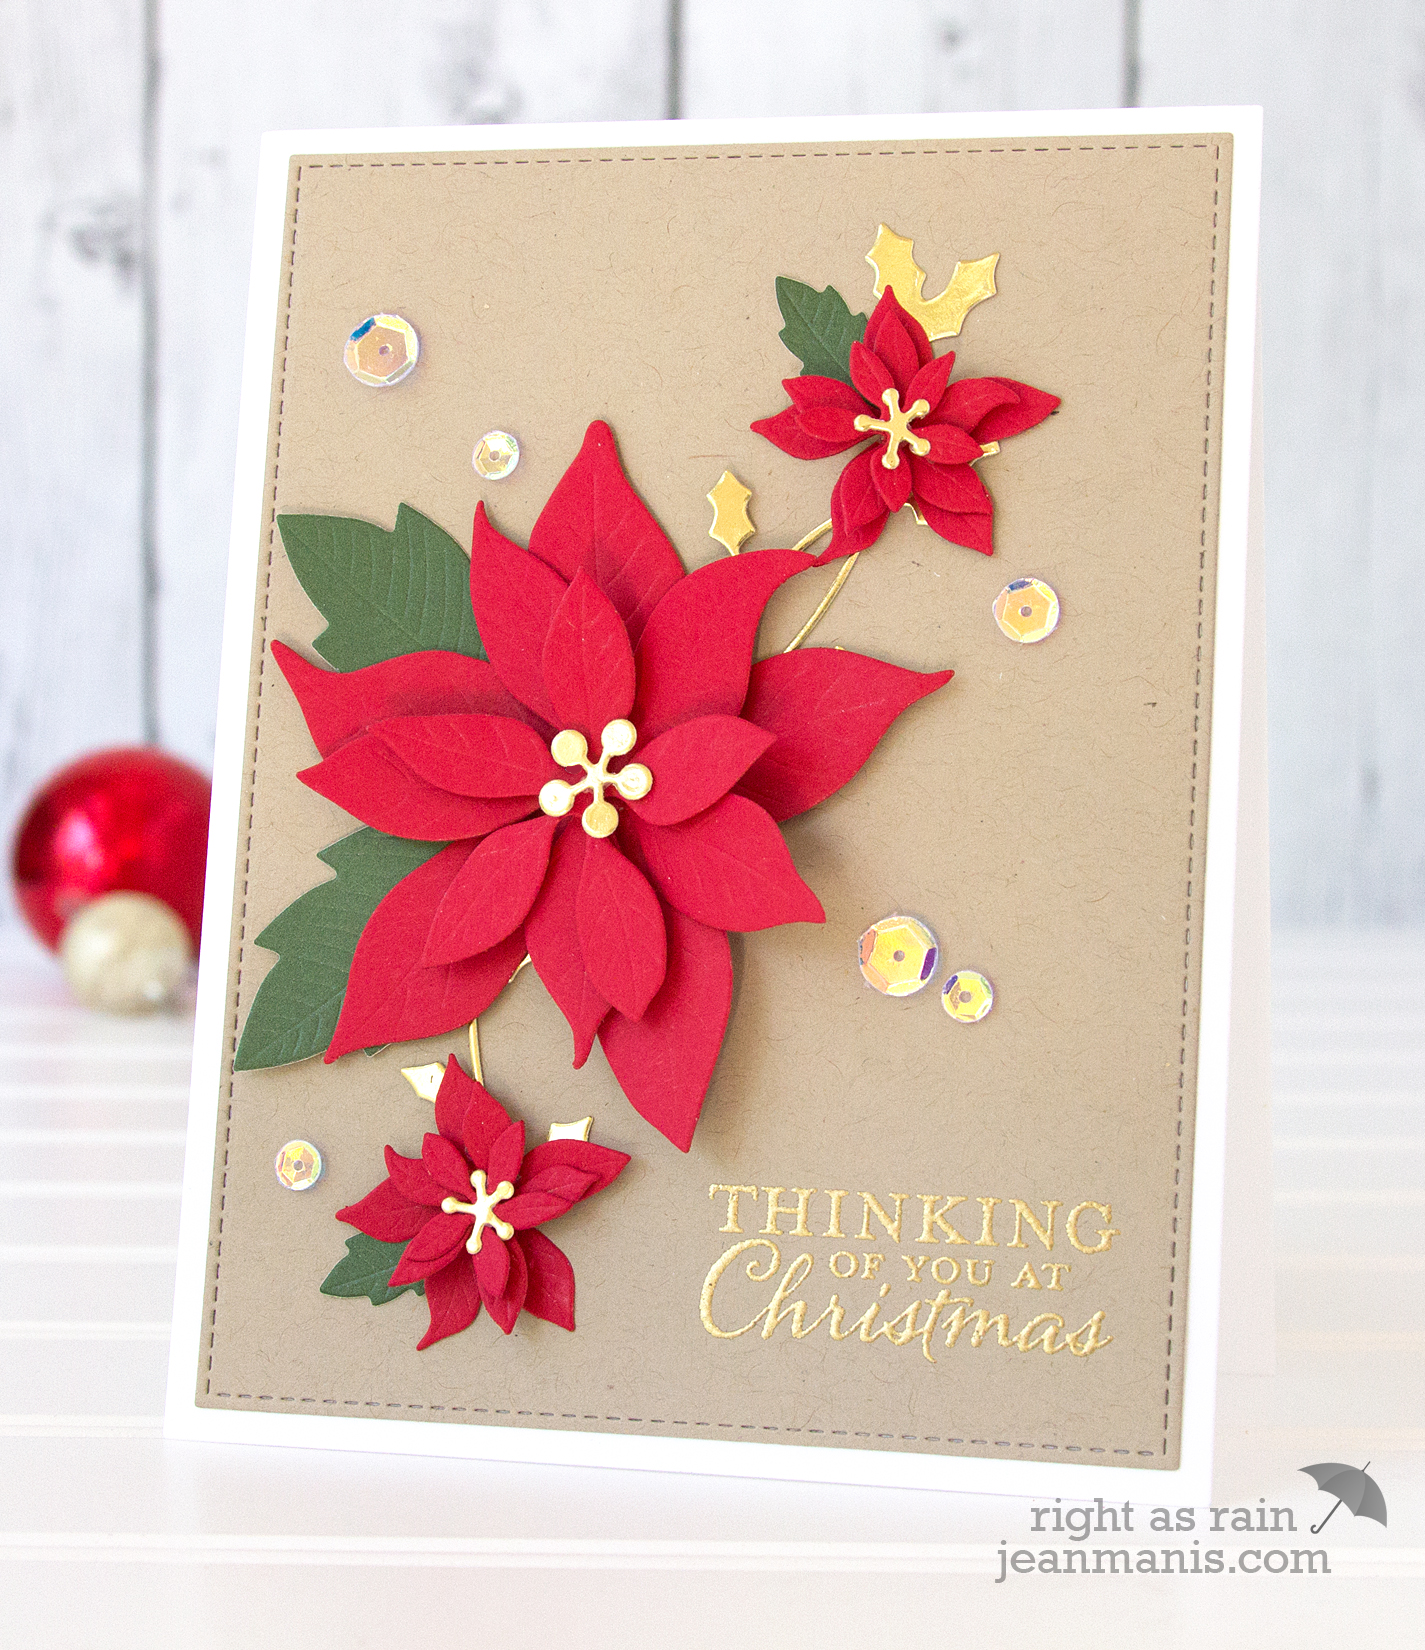
This elegant card pairs a kraft background with a gold heat embossed sentiment and a poinsettia spray cut from red, green, and gold foil cardstock.
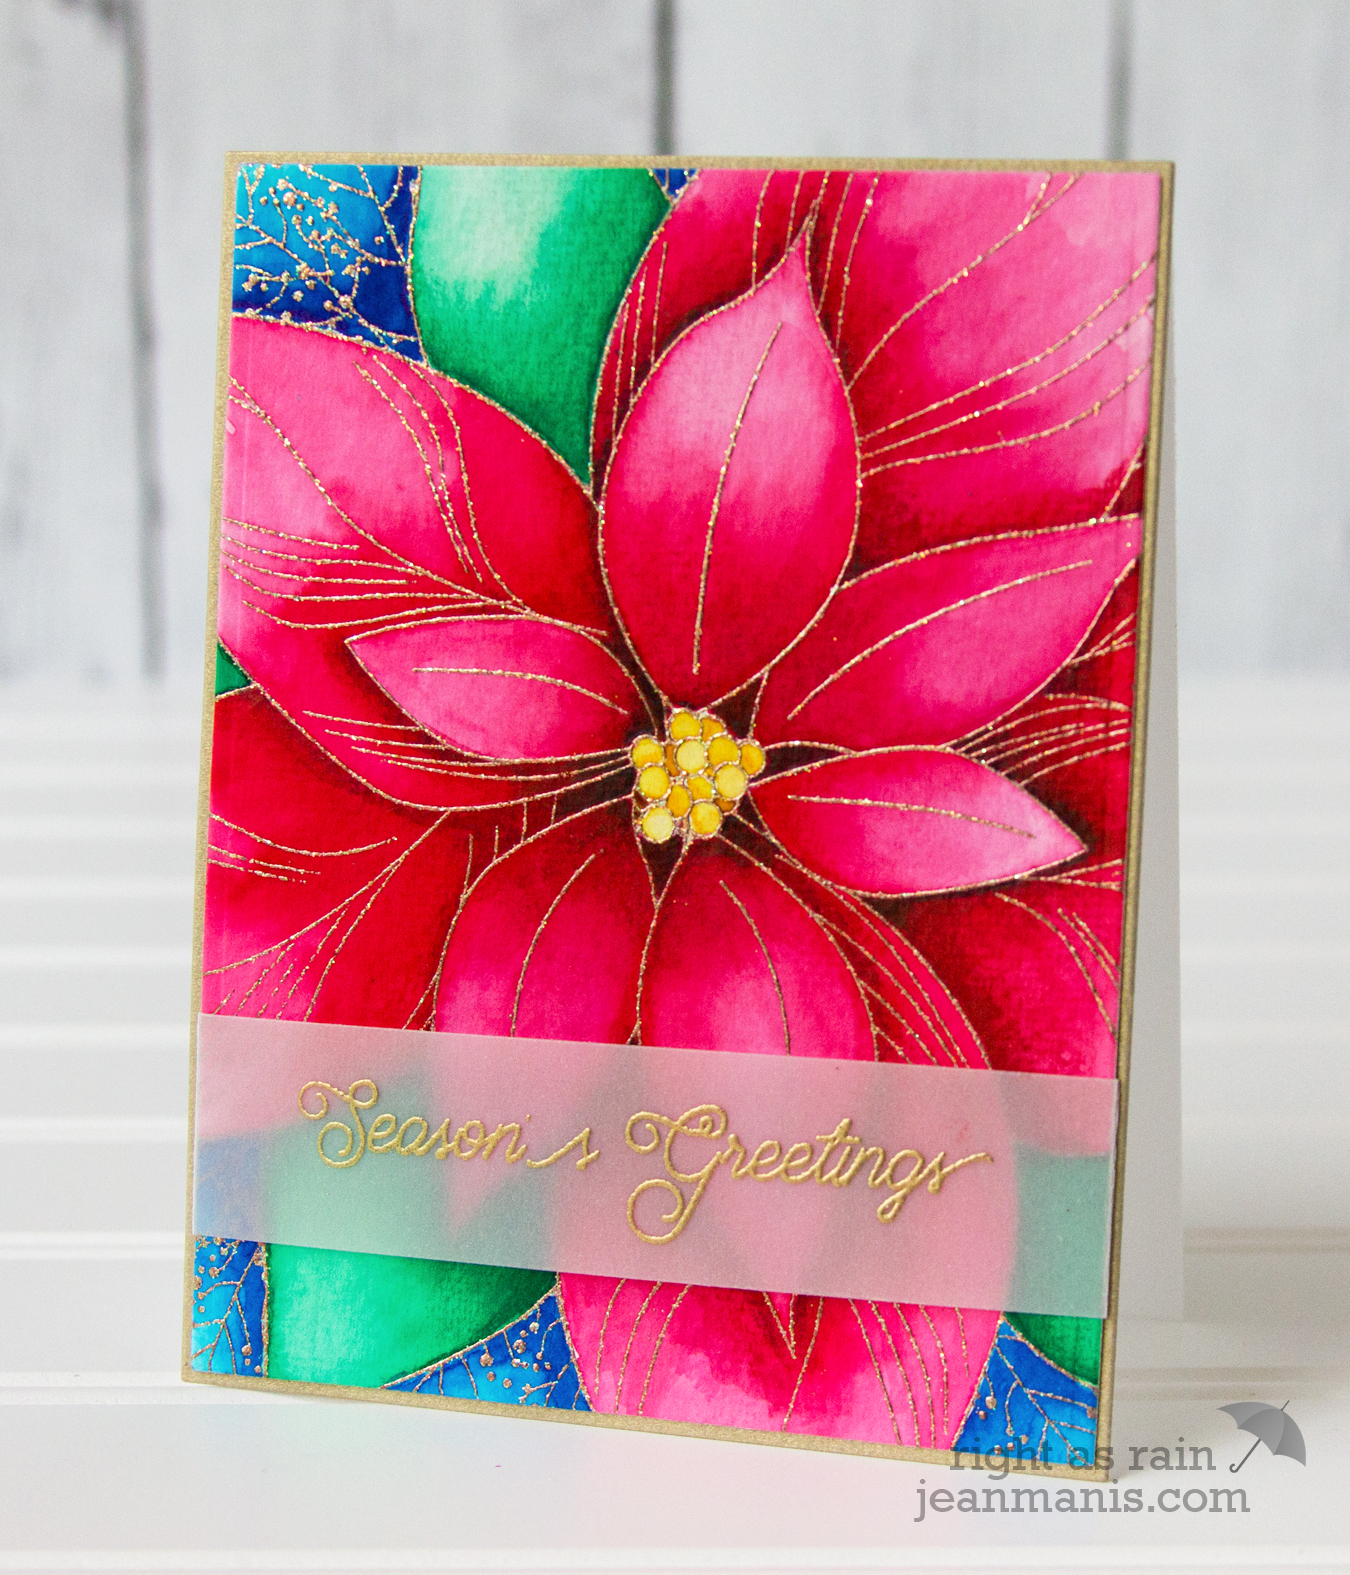
This card showcases a large poinsettia image, brought to life with watercoloring. It’s the only watercolor design in the roundup.
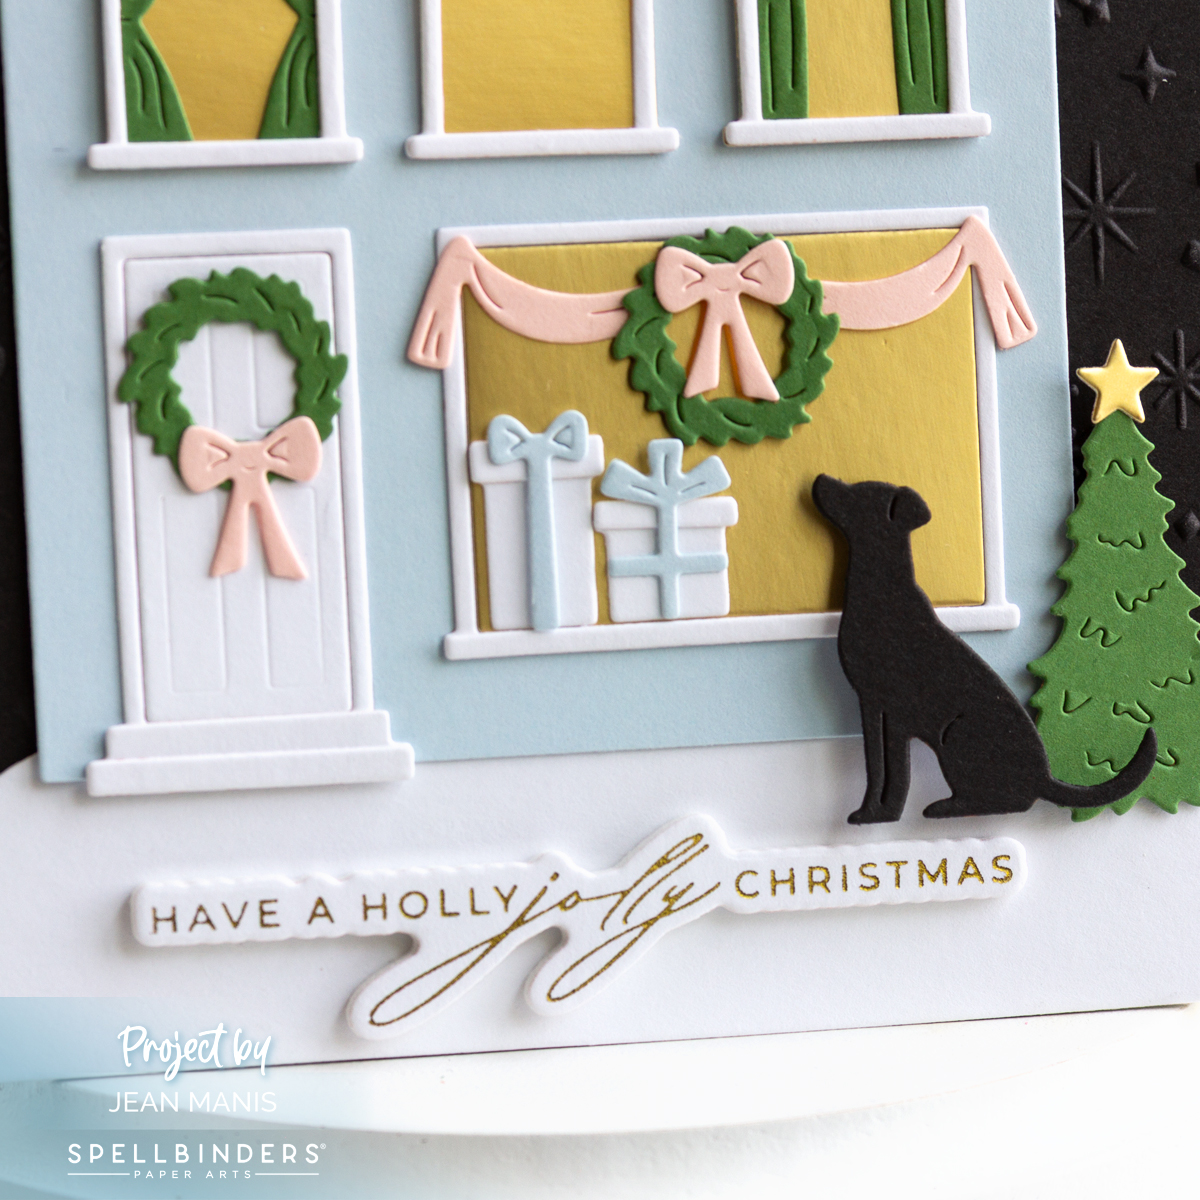
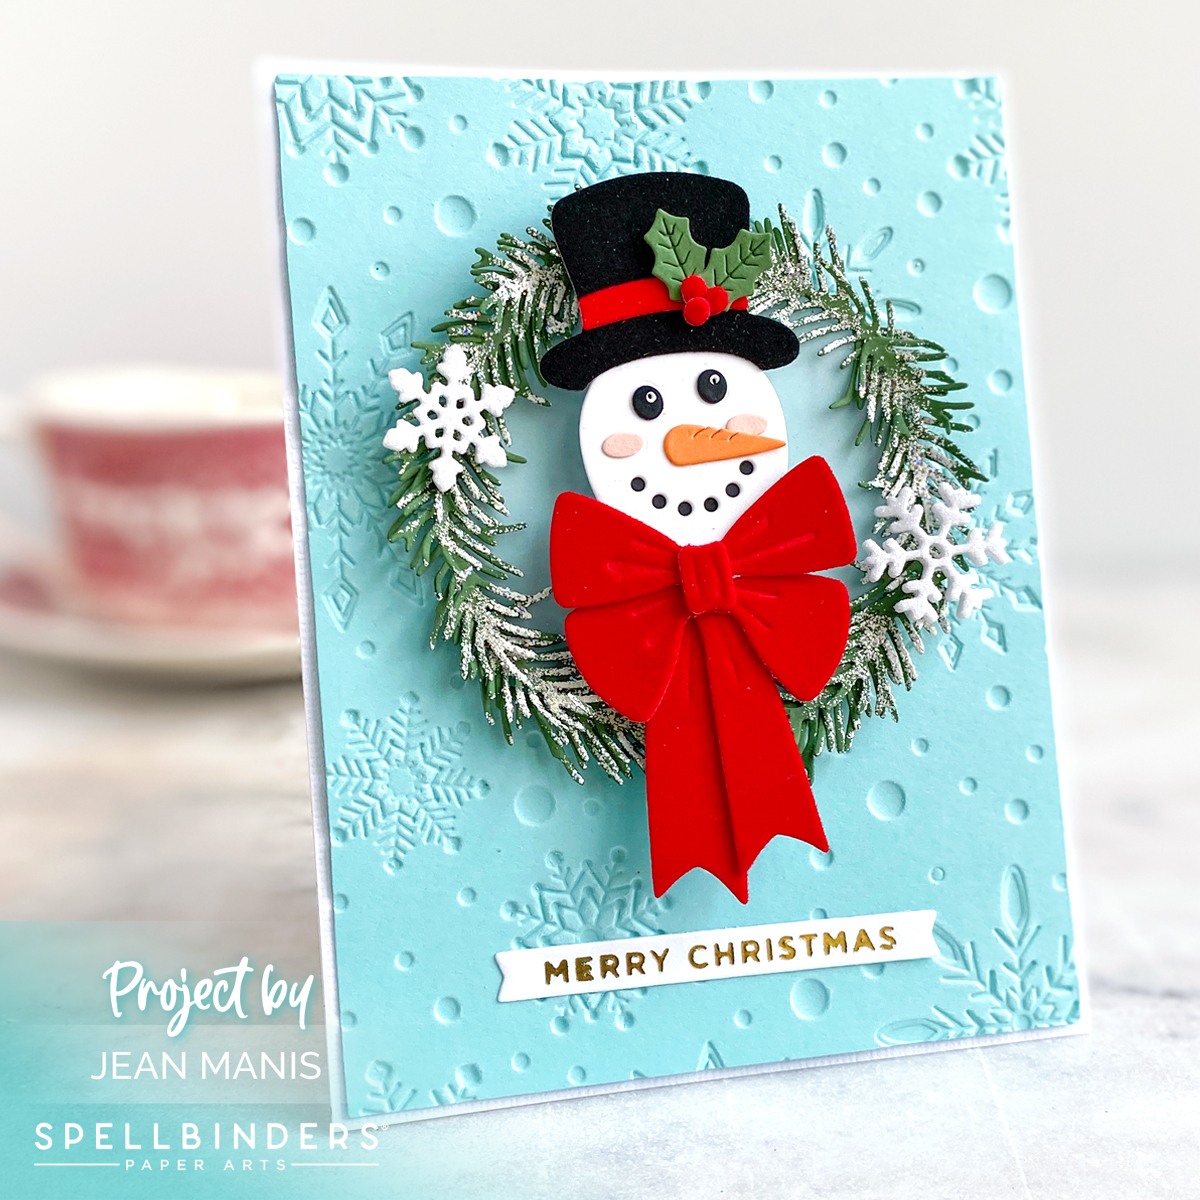
I found fewer wreath-themed cards in my collection than I expected, and on the ones I found, the wreath most often appeared as a small adornment rather than the focal point. The first card, however, features a wreath constructed of snow-tipped boughs with a cheerful snowman in the center.
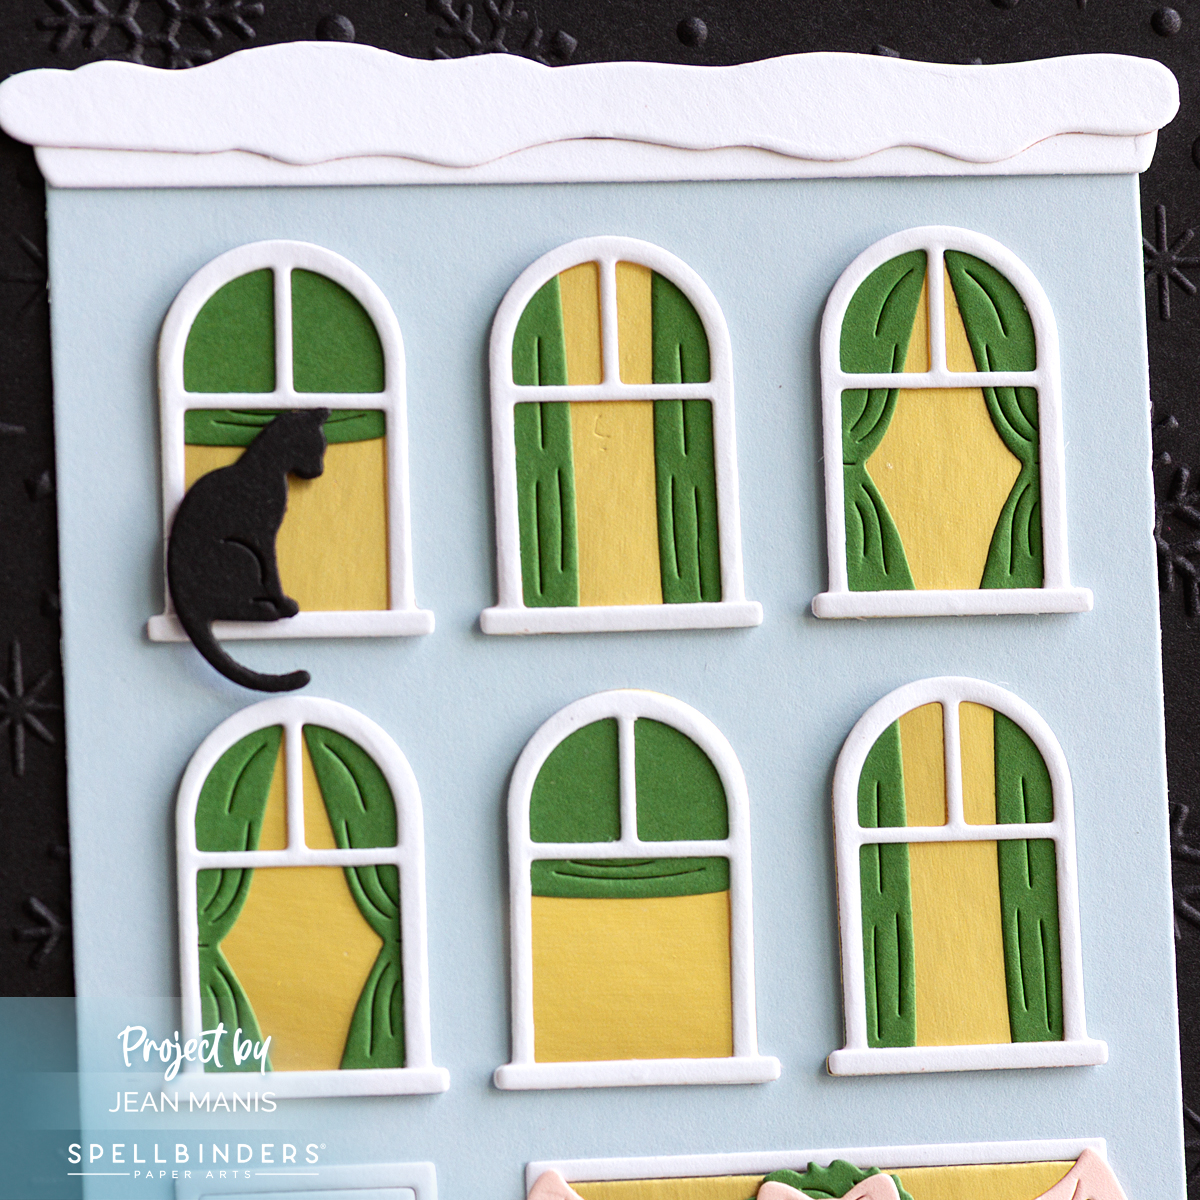
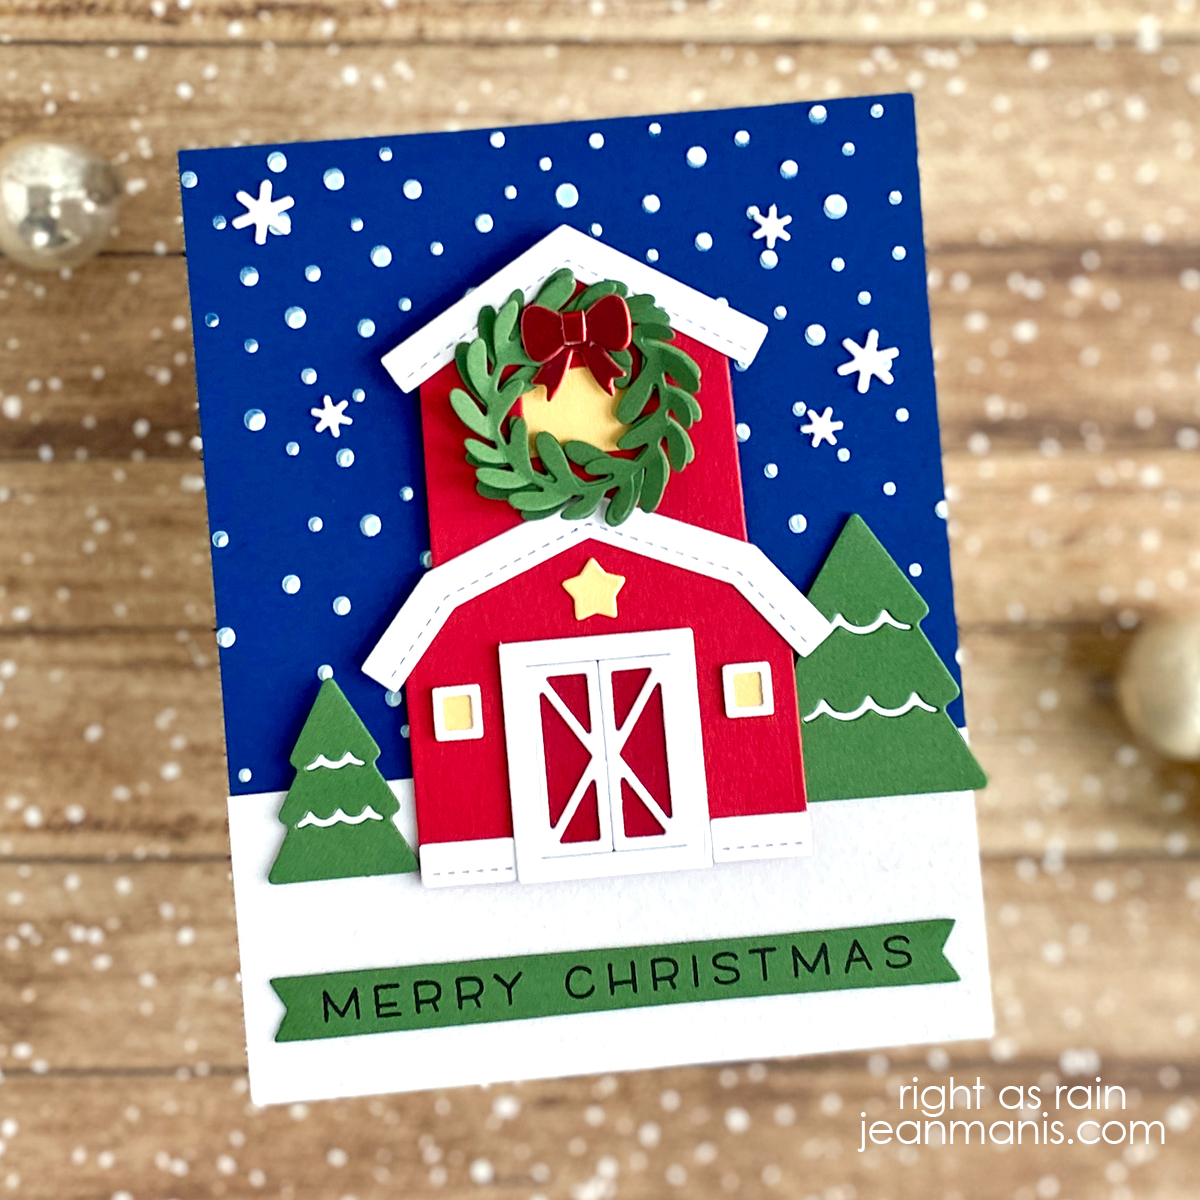
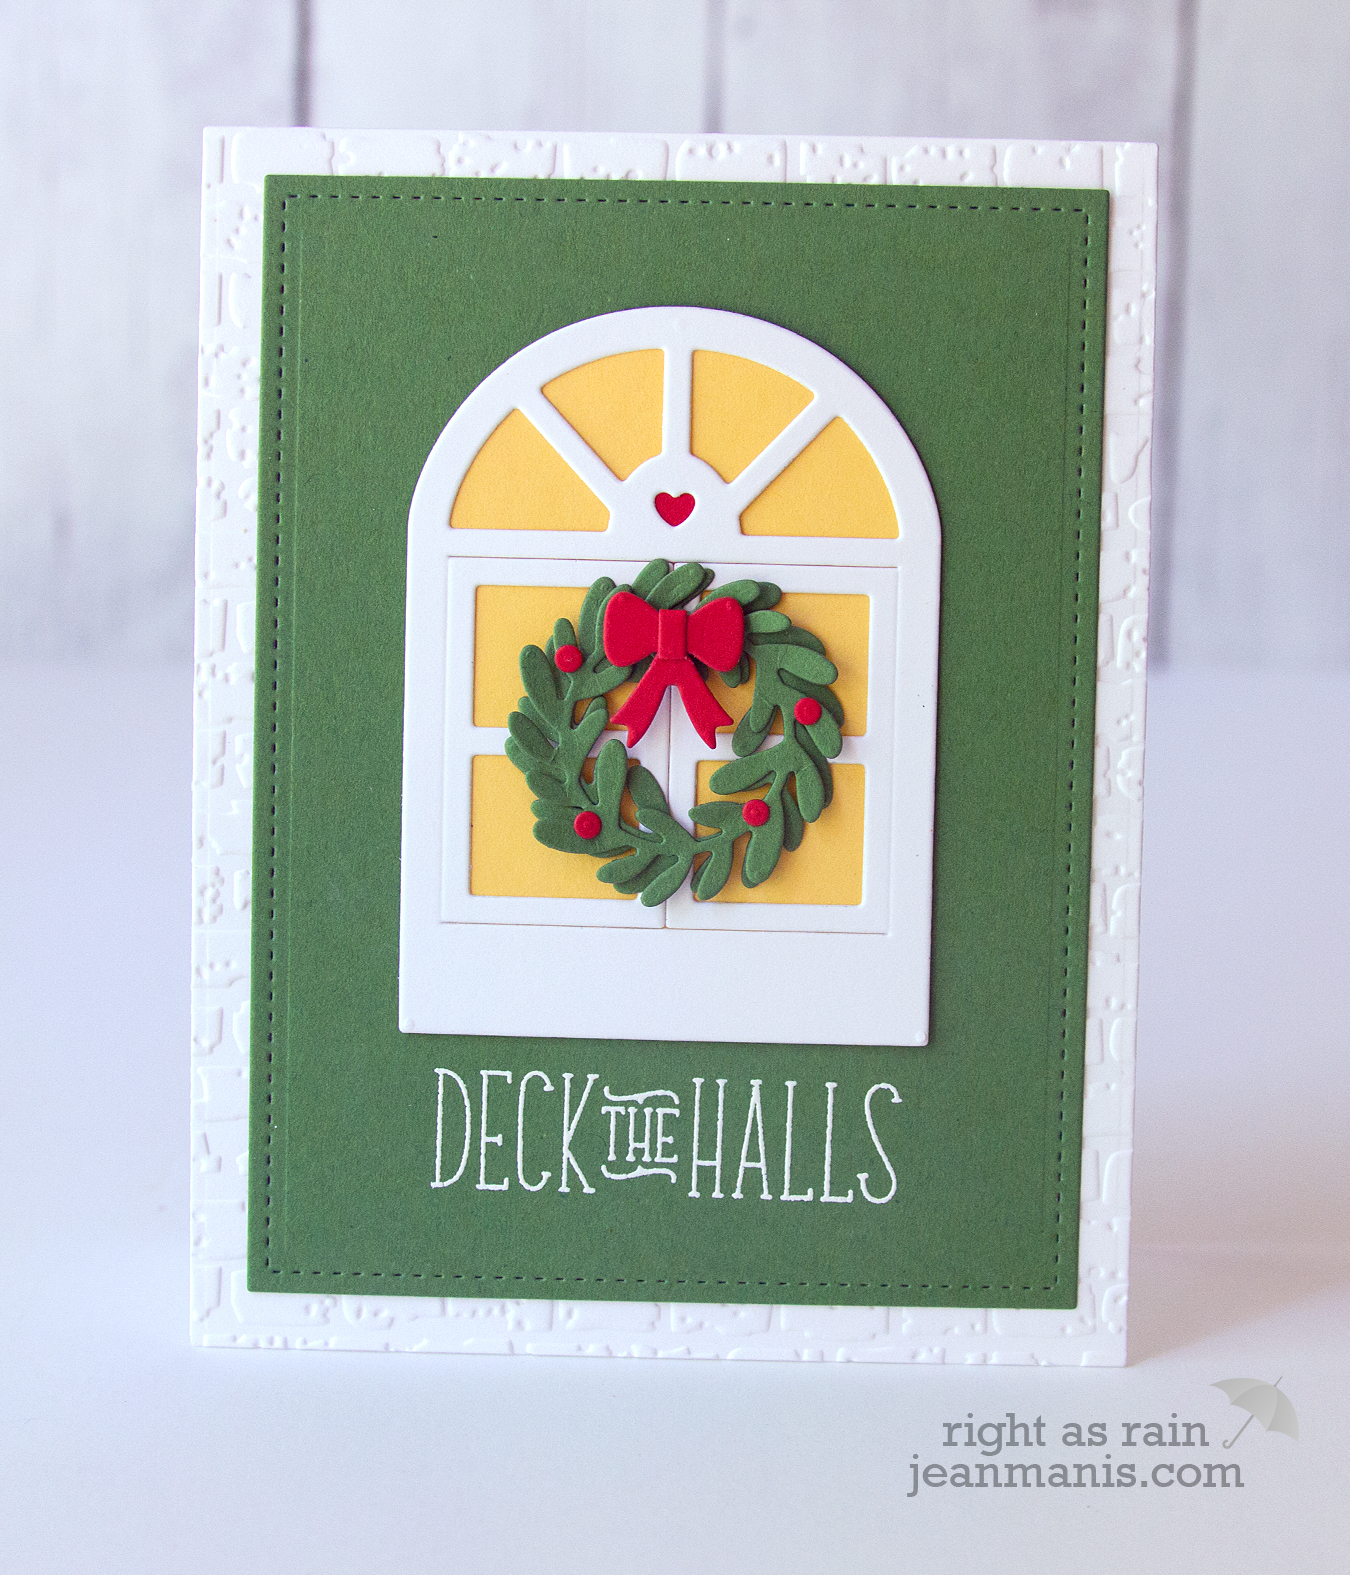
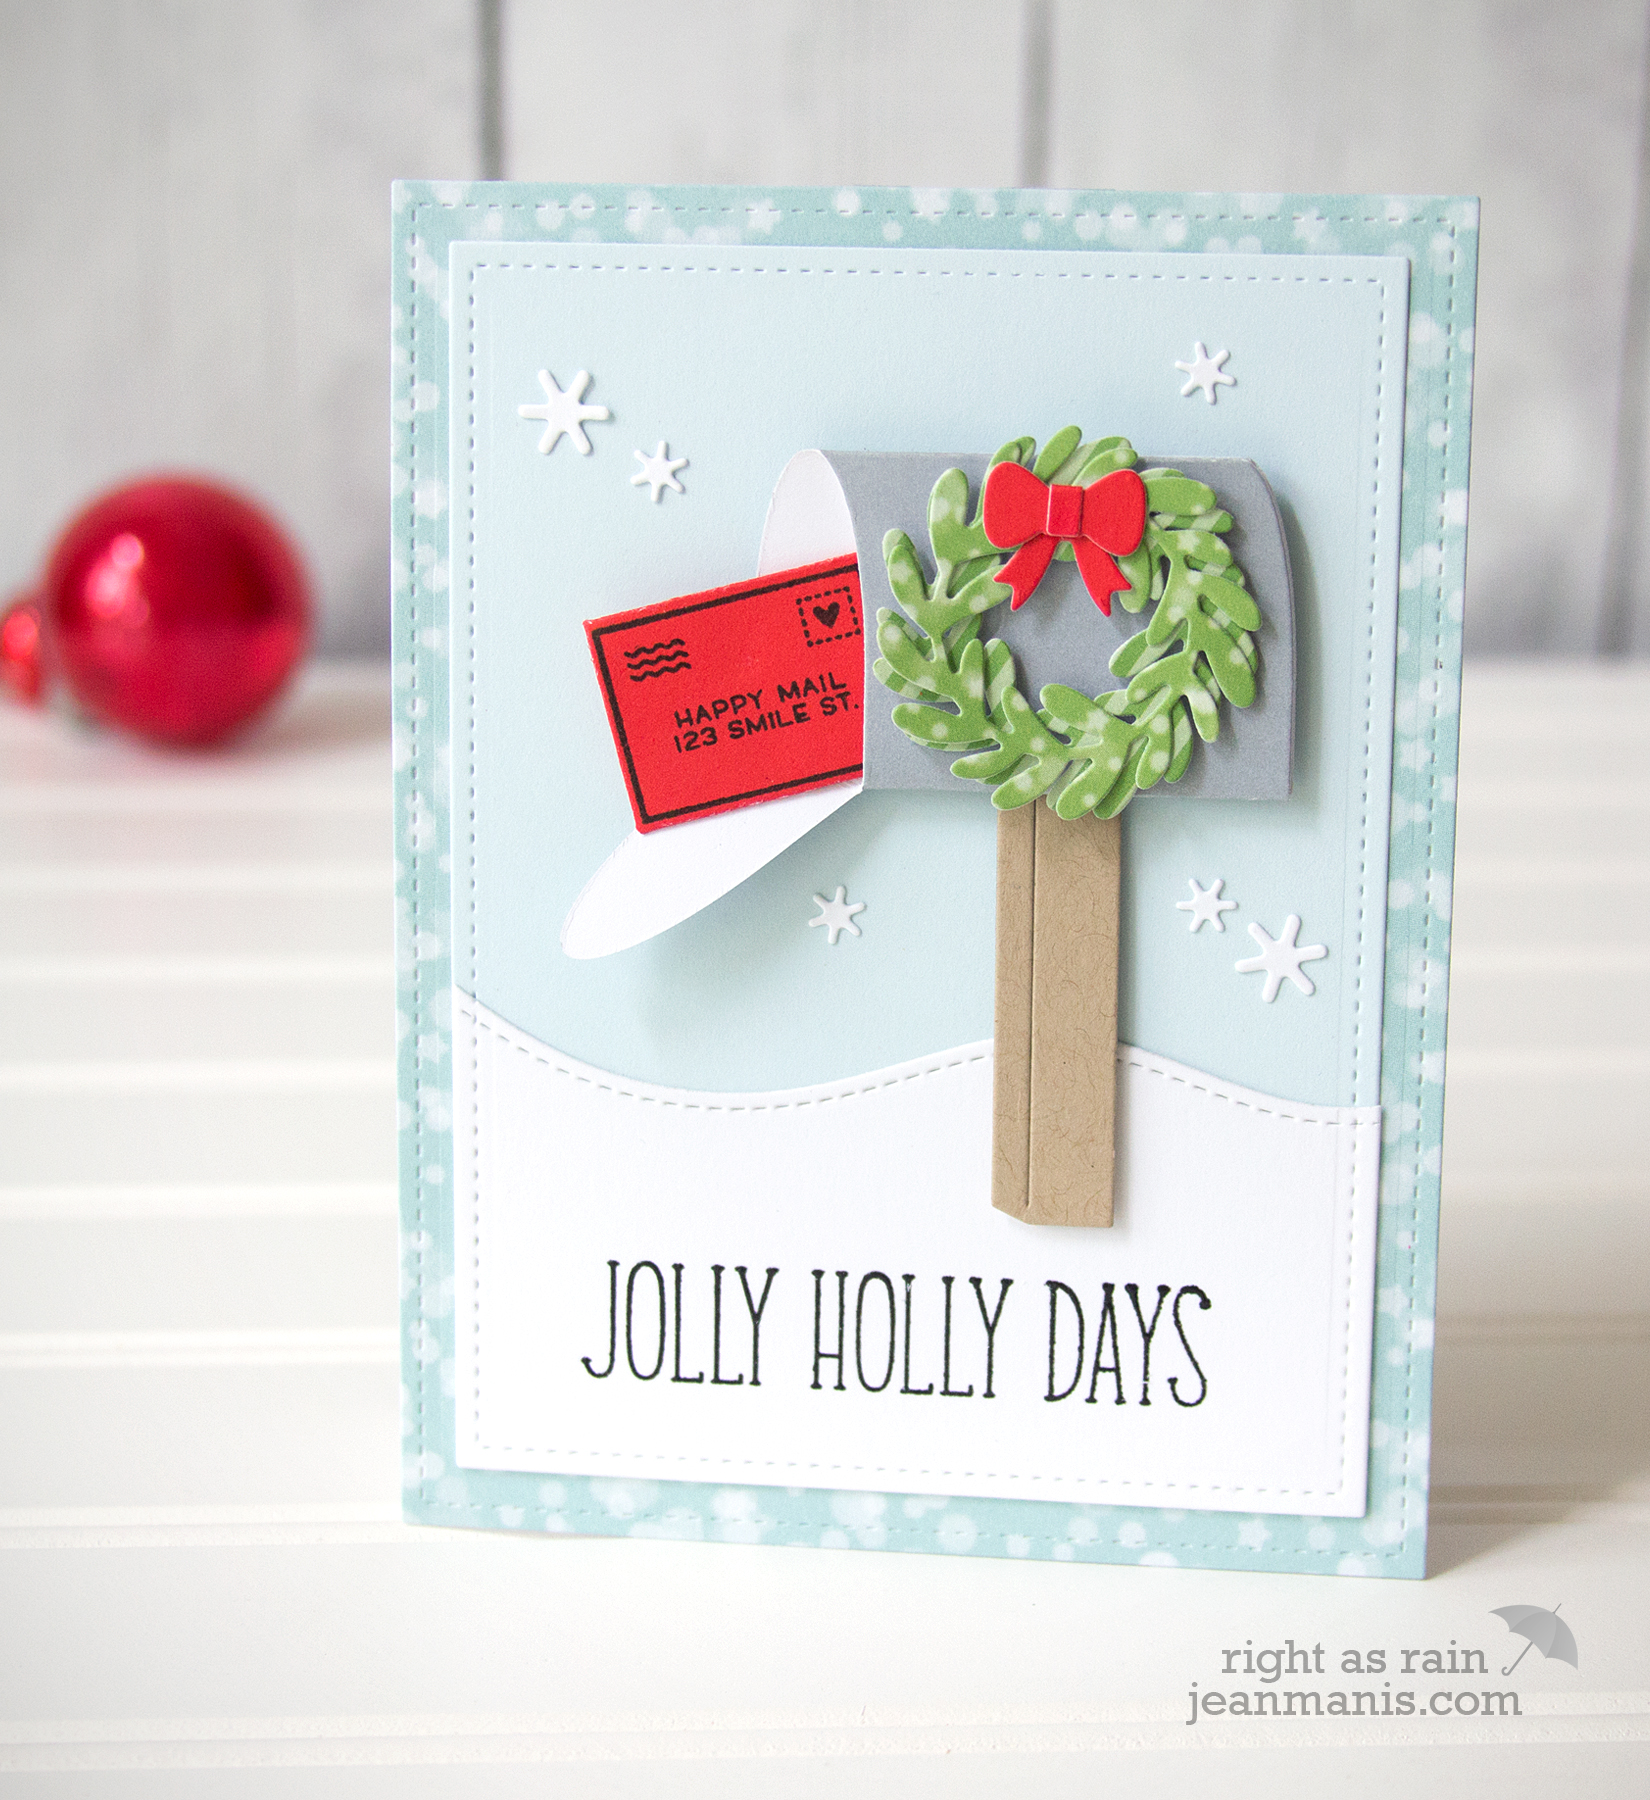
The following three cards all feature the same small Lawn Fawn die-cut wreath, shown on a festive barn, a cozy window, and a cheerful postbox—each offering a unique holiday scene.
I hope you’ve enjoyed this roundup of poinsettia and wreath-themed Christmas cards! Revisiting my older cards helps spark new inspiration, reminds me of the styles and details I enjoy most, and highlights products I already own before adding more to my stash. Do you use poinsettias and/or wreaths in your own cardmaking?