Hero Arts | Candy Cane Collection

Hello! I’m sharing two holiday cards created with the new Candy Cane Collection from Hero Arts. This festive collection includes stamp sets with coordinating dies, a stand-alone sentiment die set, and a versatile layering stencil. I used two different approaches with the stencil set—one uses white embossing paste on red cardstock for a bold, dimensional look, and the other layers white and red ink to build a classic candy cane pattern. Both cards feature the cheerful sentiment “Holiday Vibes and Peppermint Skies,” bringing a fresh twist to holiday cardmaking.

Hero Arts | Candy Cane Collection

    • Apply embossing paste through one of the stencils in the Toss Up set on to a Pomegranate cardstock panel. Add to a white card base.
    • Stamp the Candy Cane Swag sentiment with black ink on white cardstock and heat-emboss with clear powder. Cut with the coordinating die and add to the card base with foam adhesive.

Hero Arts | Candy Cane Collection

    • Ink a Fawn cardstock panel with white ink using one of the Toss Up layering stencils. Once dry, add red ink through another stencil in the set. Add the stenciled panel to the base.
    • Stamp the Candy Cane Swag sentiment with Versamark ink on Wild Berry cardstock and heat emboss with white powder. Cut with the coordinating die and add to the card base with foam adhesive.

A bold sentiment over a stenciled background is a reminder that simple choices can lead to striking results!


Spellbinders | Santa in a Polaroid Frame

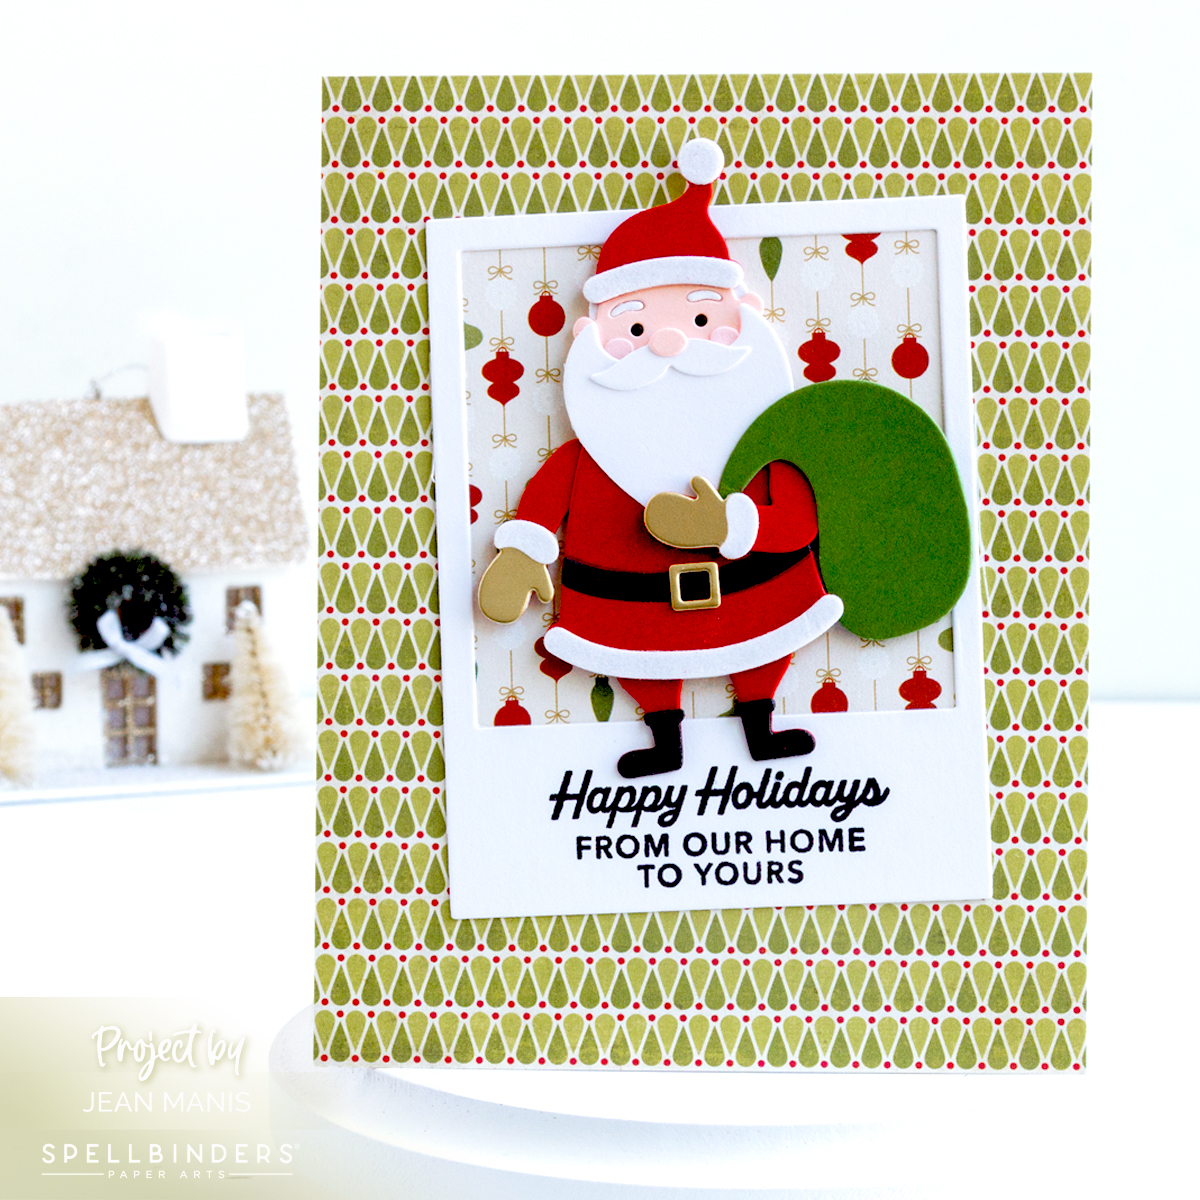
Hello!  Today I’m sharing a festive handmade card featuring a jolly Santa in a Polaroid-style frame, brought to life with Spellbinders products. I layered the frame over coordinating Christmas-themed patterned paper. The stamped sentiment, from a favorite older set, adds a classic touch.

Spellbinders | Santa in a Polaroid Frame

    • To begin, cover card base with a panel of patterned paper.
    • Cut the frame from white cardstock and stamp the Santa’s Sippin’ Sayings sentiment in black ink. Back with patterned paper and attach to the card base.
    • Cut Santa from a variety of cardstock colors and textures. The die set includes not only this classic Santa but also a fun alternate version and a charming Mrs. Claus, offering lots of options for festive scenes. Assemble and add to prepared base with foam squares.

Spellbinders | Santa in a Polaroid Frame


Spellbinders | Color Deck for Christmas

Hello! Spellbinders has expanded its Color Deck with twelve festive illustrations—just in time for holiday crafting! These cards, each with a unique art piece and five blank spaces, invite you to play with custom palettes inspired by winter scenes, classic holiday décor, and cheerful seasonal style. I’m sharing four of the new additions, along with the Color Swatch Petal Stacks I created from the palettes of the inspiration images.

Spellbinders | Color Deck for Christmas

Spellbinders | Color Deck for Christmas

Spellbinders | Color Deck for Christmas

The Holiday Color Deck cards are perfect for sparking inspiration with seasonal illustrations. The Color Swatch Petal Stacks die is a practical organizing tool for keeping your custom color combinations easy to reference.


Spellbinders | Gingerbread Mug Card

Hello! Today I am sharing a holiday card created with this month’s bonus die for the Spellbinders subscribers who sign up for all the kit clubs. This gingerbread Christmas mug echoes the reindeer mug card, which I shared earlier.

Spellbinders | Gingerbread Mug Card

Spellbinders | Gingerbread Mug Card


Spellbinders | Whimsical Santa Mug Card

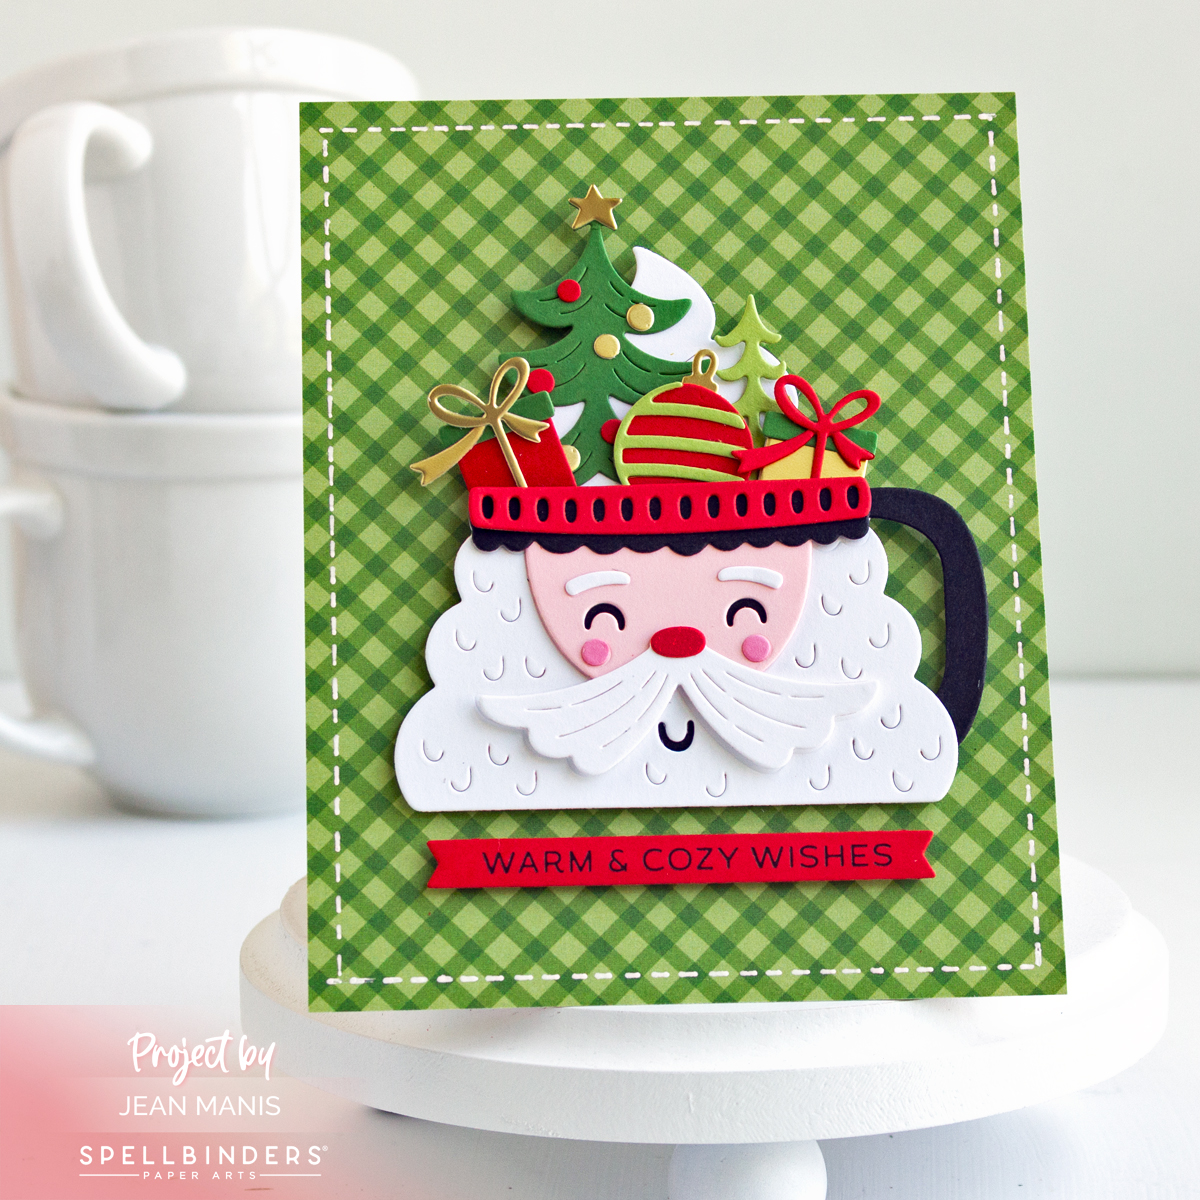
Hello! I’m sharing a whimsical handmade Christmas card today featuring a jolly Santa mug brimming with festive touches—trees, a few wrapped gifts, and an ornament. I paired this charming focal point, created with the Cocoa Wonderland die set, part of the Wonderland Collection from Spellbinders, with a checked patterned paper background for a cozy, homespun feel. The color palette of greens, red, black, white, and shiny gold gives the whole piece a classic yet playful holiday look.

Spellbinders | Whimsical Santa Mug Card

    • Cover an A2-size card base with patterned paper. Add hand-drawn stitched border.
    • Cut the Cocoa Wonderland pieces from a variety of cardstock colors. Assemble.
    • Press the Merry & Bright sentiment in black on Poppy cardstock. Cut with coordinating die.
    • Add assembled mug and sentiment strip to card base with foam adhesive.

Spellbinders | Whimsical Santa Mug Card