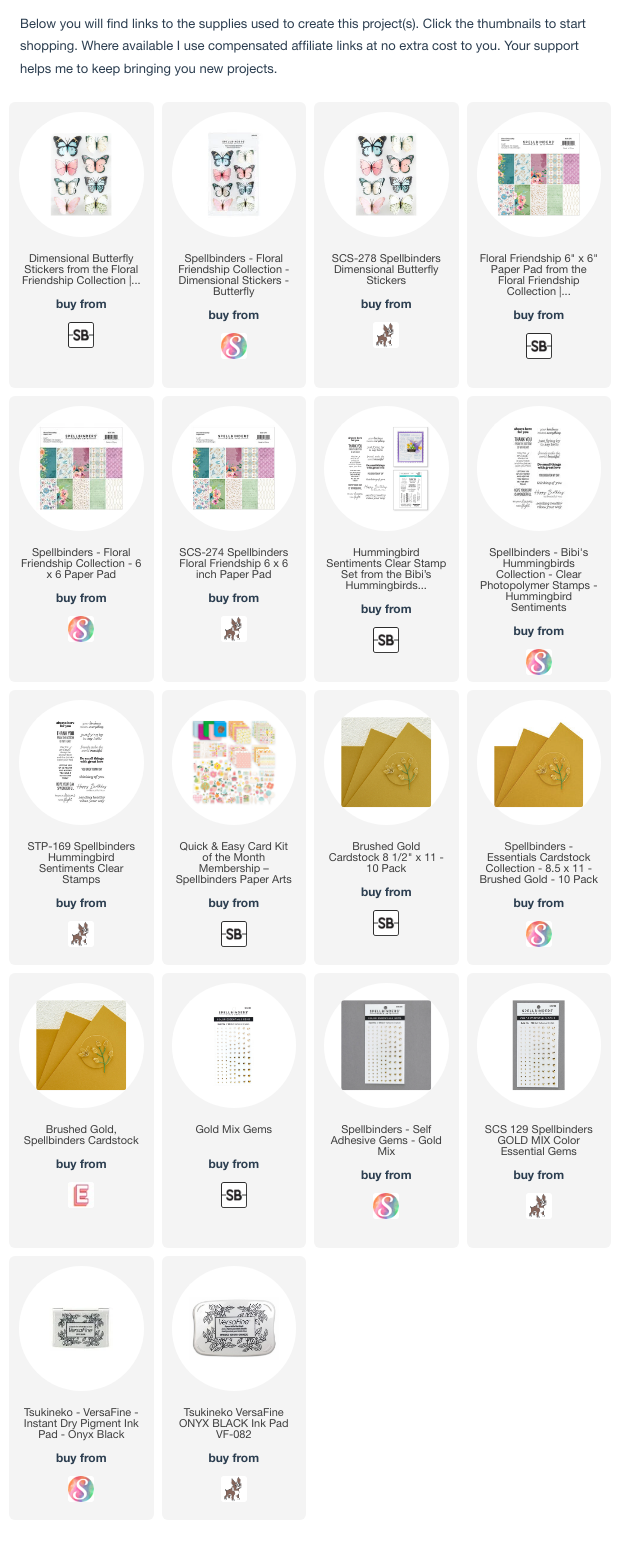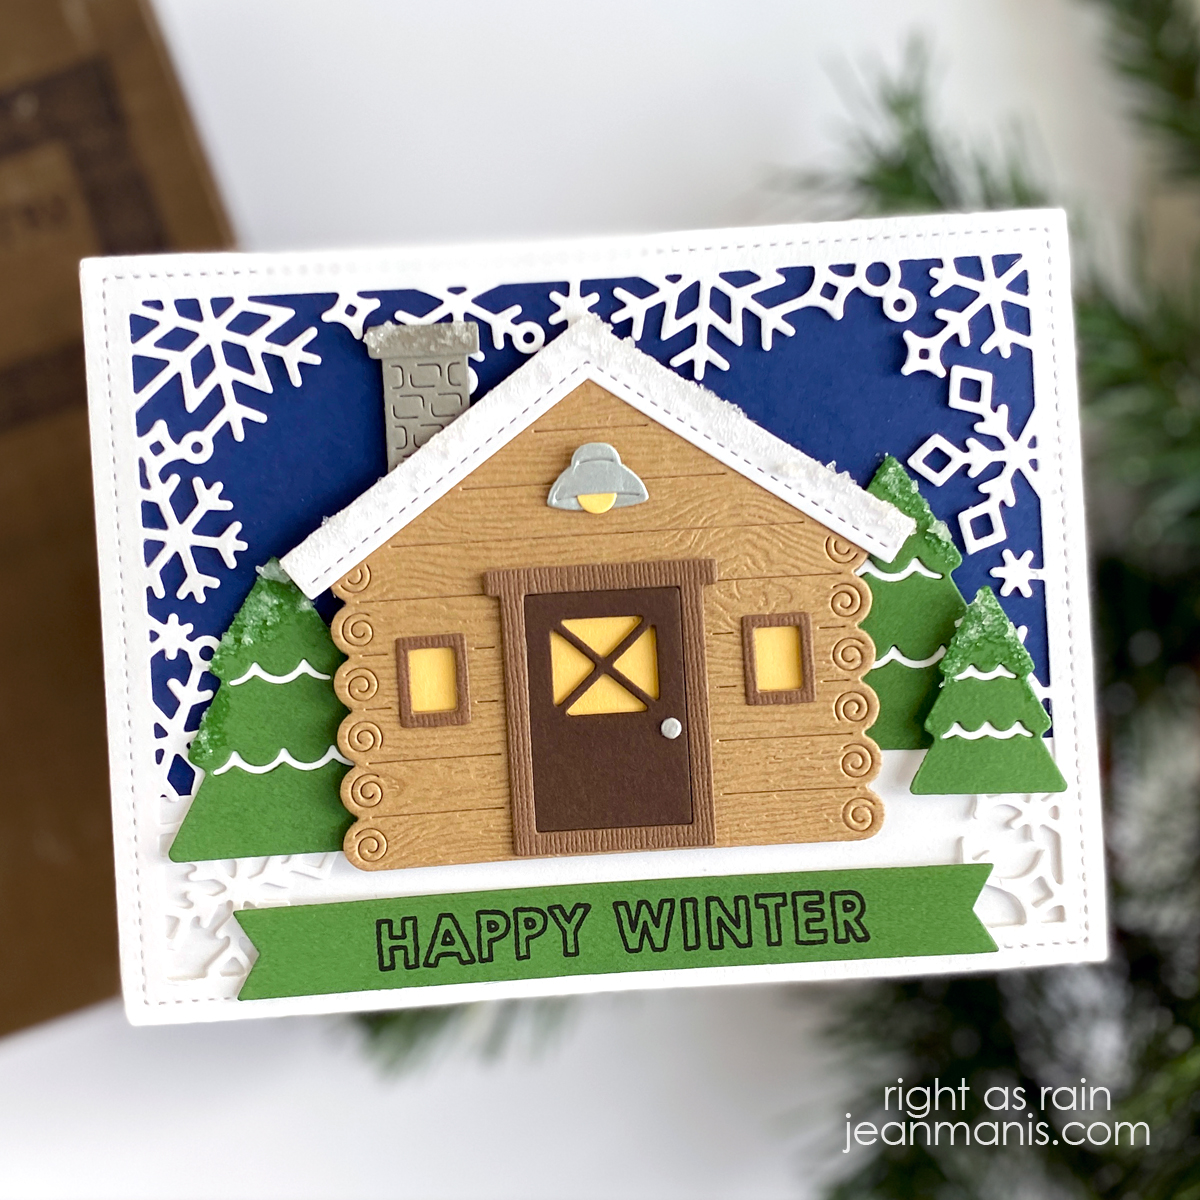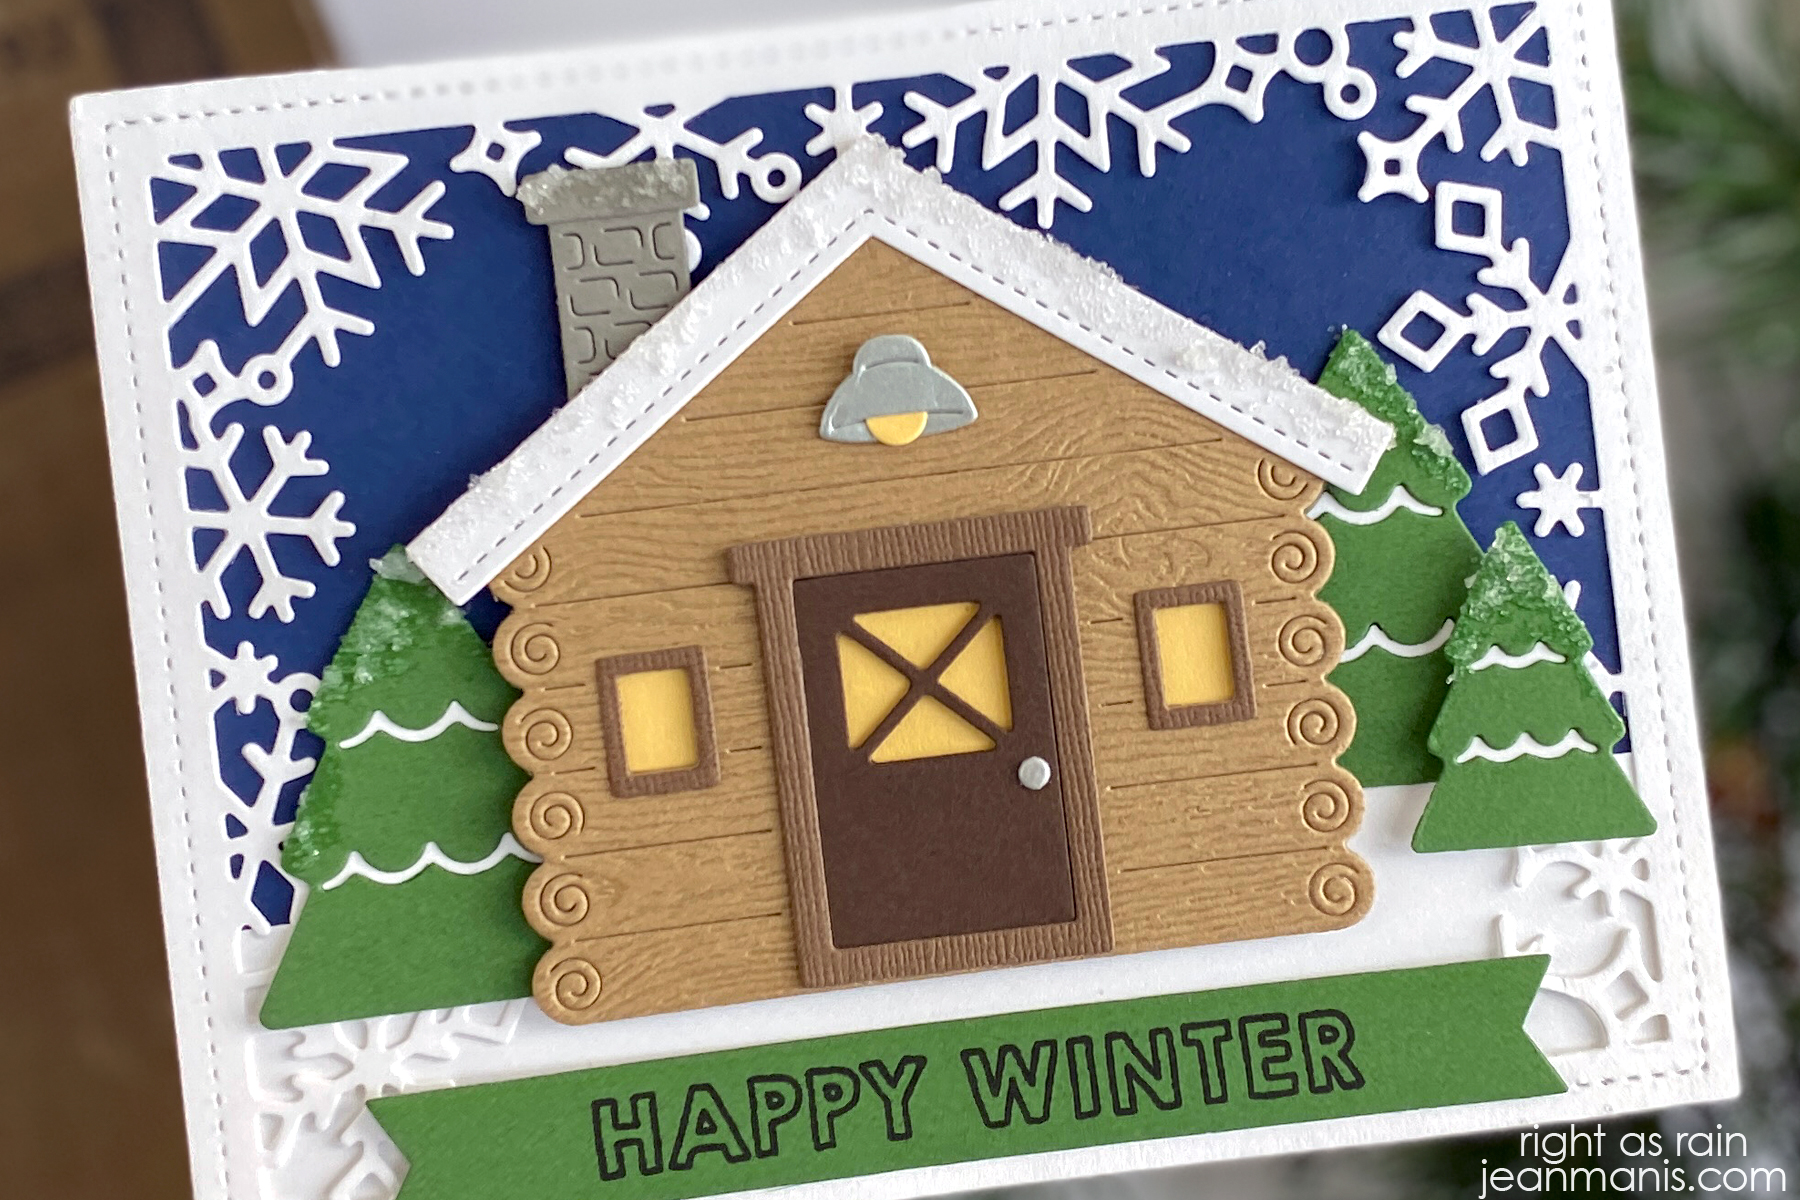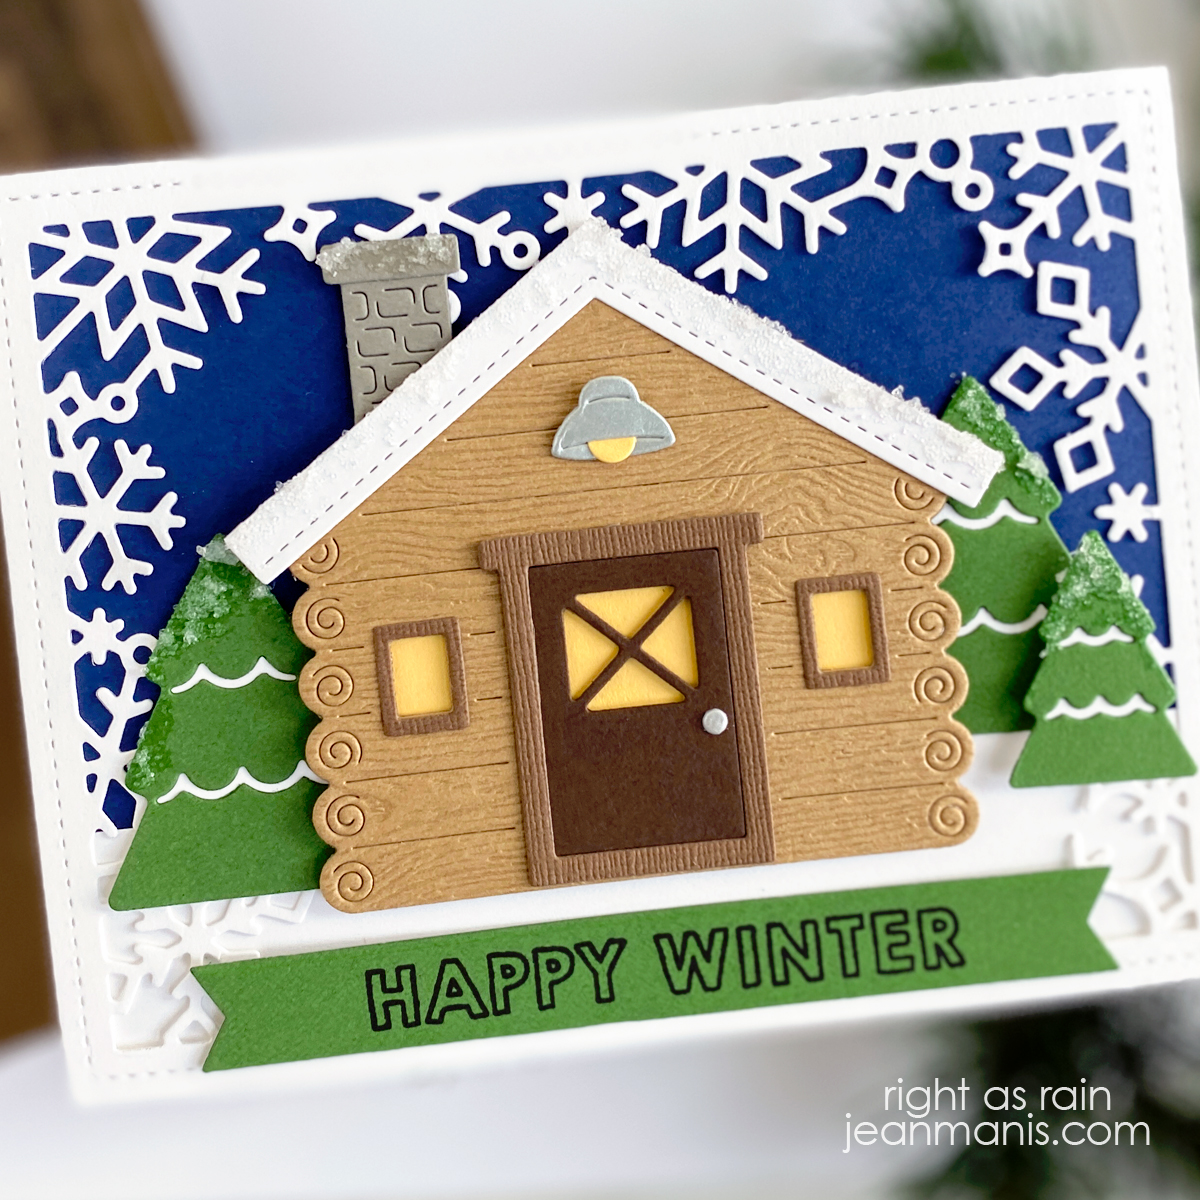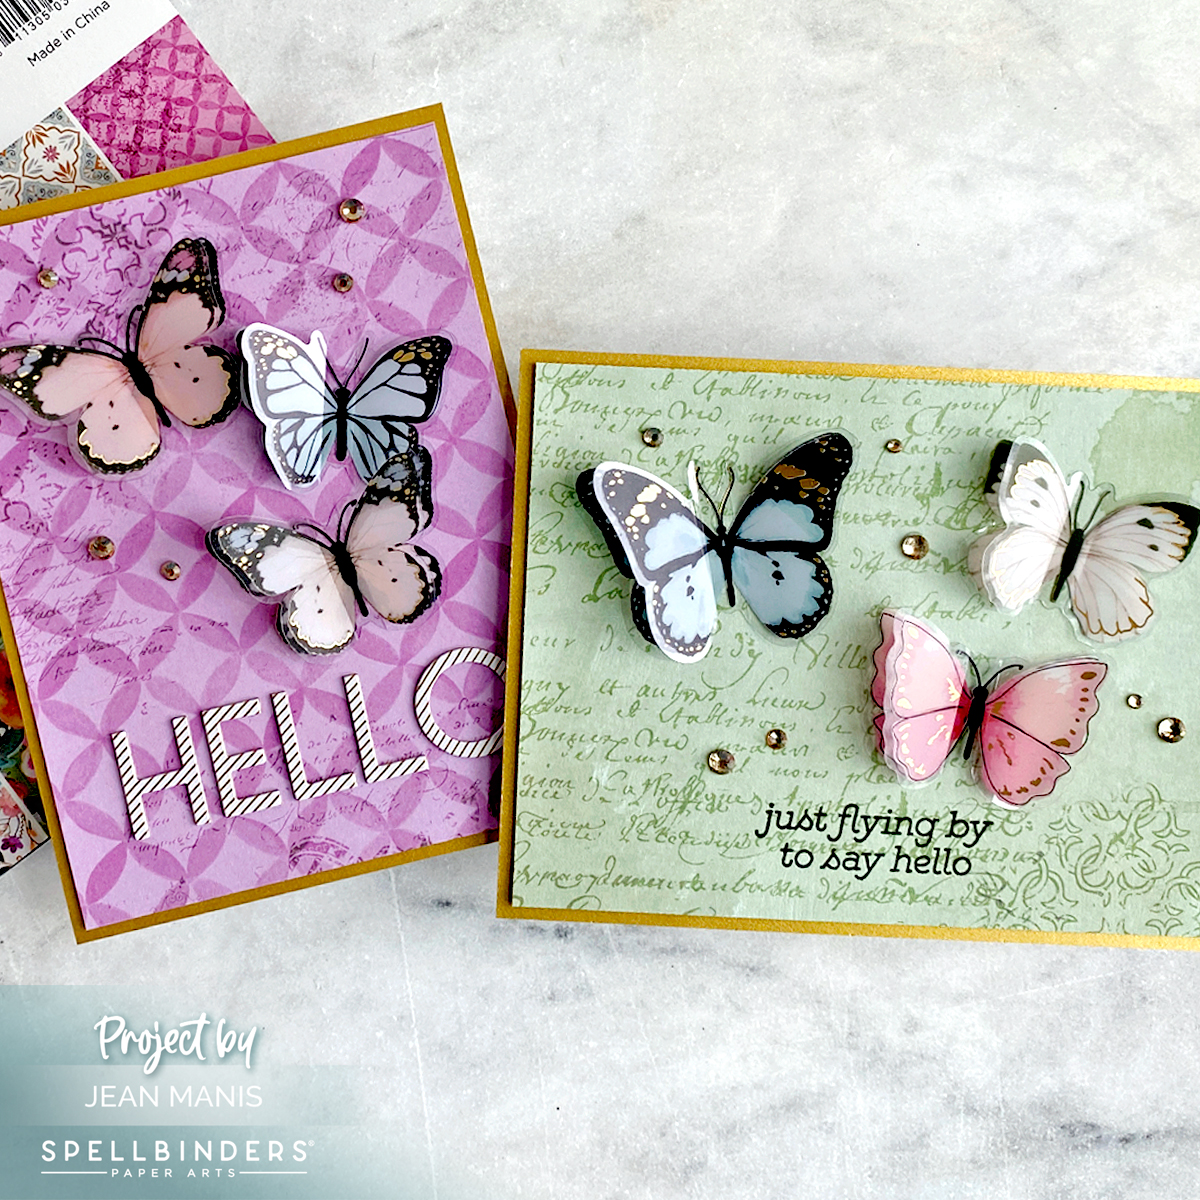
Hello! I am sharing two cards created with products in the Floral Friendship Collection at Spellbinders. The collection features embellishments, printed die cuts, patterned paper and stickers designed to celebrate the beauty of friendship.
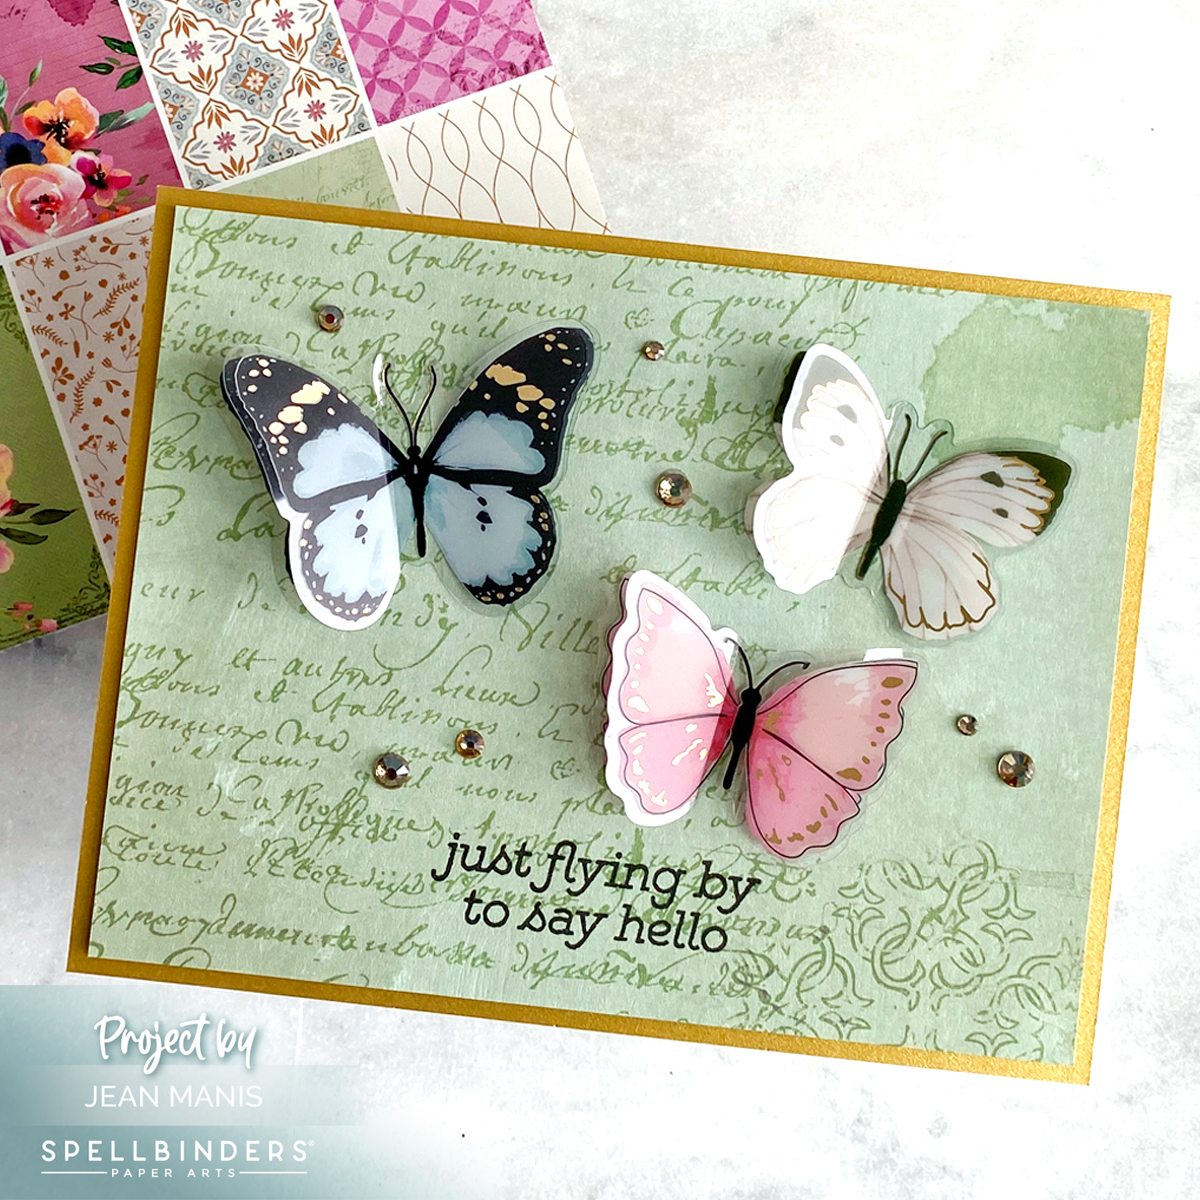
- Create A2-size card base from Brushed Gold cardstock.
- Stamp Floral Friendship patterned paper with sentiment in the Hummingbird Sentiments stamp set. Trim paper to 4 x 5 1/4 inches; add to card base. Alternatively, add chipboard letters from the April 2023 Quick & Easy Card Kit.
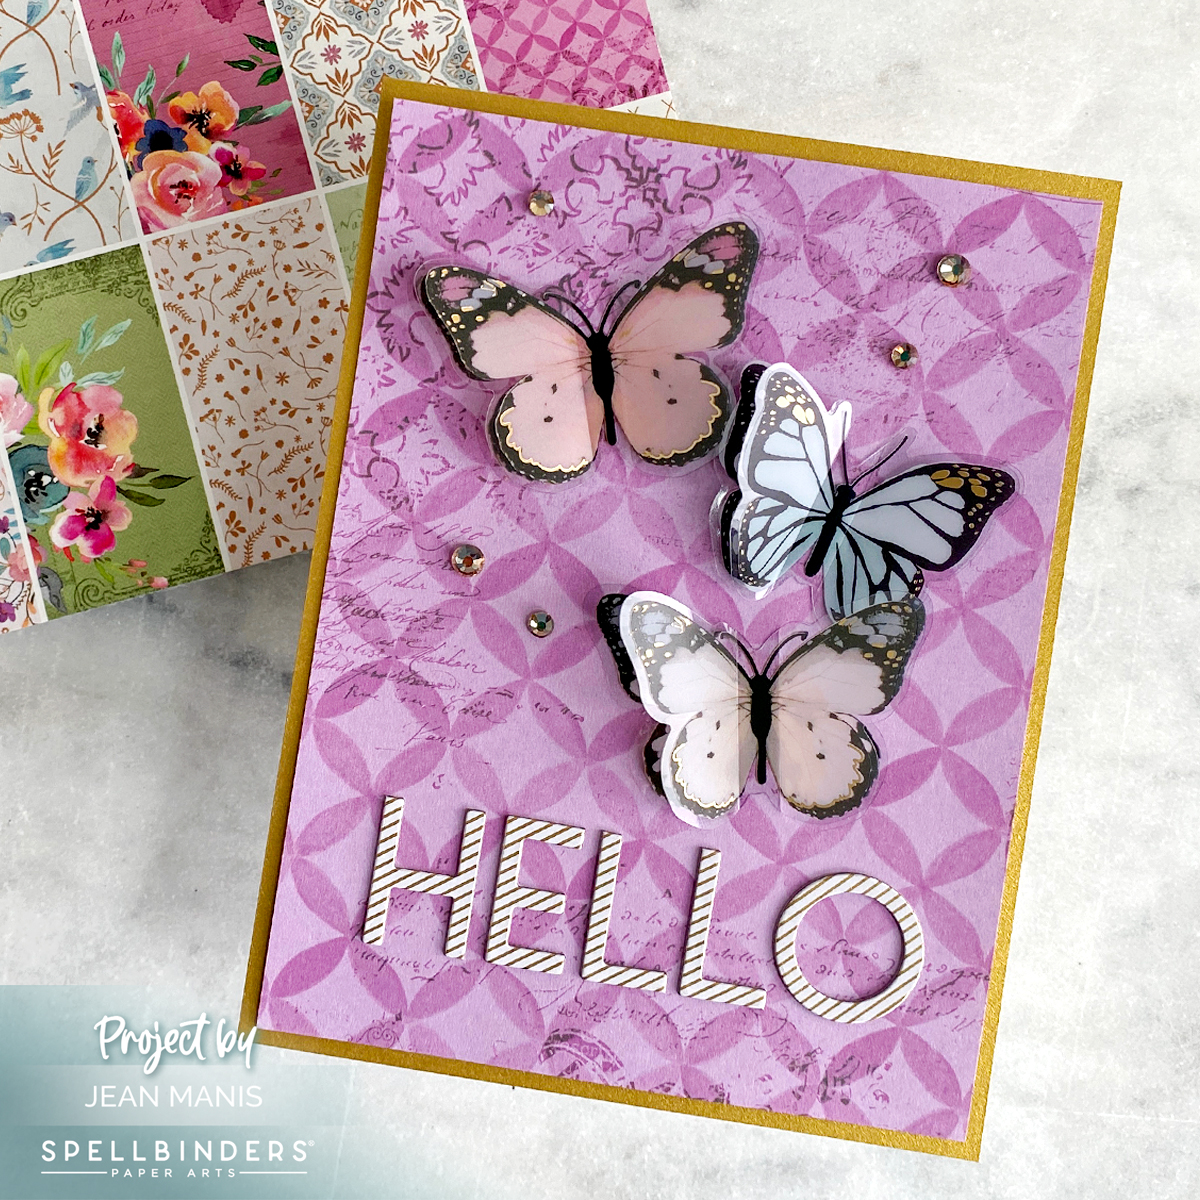
- Add Dimensional Butterfly Stickers to card front.
- Embellish with Gold Mix Gems.
Spellbinders has a 15% off $125+ sale available in the US through April 16th.