Spellbinders Lock & Key Mailbox

Hello! Step back in time with the Spellbinders Lock & Key Mailbox die set—the April Large Die of the Month Club release! This detailed vintage post box captures the romance of handwritten letters and classic correspondence. With the sentiment built right in, it serves as both the focal point and a time-saving element, making assembly effortless. Whether you’re crafting for a special occasion or simply sending a heartfelt note, this design brings nostalgia and charm to every creation.

Spellbinders Lock & Key Mailbox

    • Cover an A2-card base with patterned paper.
    • Cut the mailbox, letter, and flowers with dies in the Lock & Key Mailbox set. Use the mailbox outline die to cut black foam. Assemble the mailbox, backing the assembly with the foam piece. Adhere to the card base.
    • Assemble the flower and envelope, slipping elements into the mailbox slot. Glue key to the card.

Spellbinders Lock & Key Mailbox

Spellbinders Club Rewind Sale


Adorable Crocodile Birthday Card

Hello! Why use just one die set when you can mix and match for even more creative fun? This charming birthday card features a crocodile carrying a bundle of balloons, brought to life with dies from two different Spellbinders kit clubs.

Adorable Crocodile Birthday Card

    • Create an A2-size card base from textured white cardstock.
    • Cut patterned paper with the largest die in the Essential Stylish Ovals set. Create the ground by cutting patterned paper with the same die and trimming. Add patterned pieces together and to the card case.
    • Cut crocodile, balloons, and clouds with dies in the Hooray! It’s Your Birthday and Birthday Bliss sets. Assemble.
    • Heat-emboss the Message Strips sentiment on black cardstock and cut with the coordinating die.
    • Add assembled elements to the card base with dot and foam adhesive.

The Hooray! It’s Your Birthday and Birthday Bliss, as well as other past kit clubs, are on sale through April 8, 2025!

Spellbinders Club Rewind Sale


Hello Card with Floral Die-Cuts

Hello! If you’re a subscriber of the Large Die of the Month kit club at Spellbinders, or considering joining, you’re in for a treat! This month’s set–“Family & Friends Vignettes”– is packed with creative possibilities, including a versatile arch design, a playful dog, and even a fun dinosaur. For today’s project, I focused on the floral elements in the set, creating a “hello” card with a die-cut cluster. Whether you’re drawn to florals, critters, or something a bit more whimsical, this kit offers many ways to bring your creative vision to life!

Spellbinders | March 2025 Large Die of the Month

    • Create an A2-size card base from textured cardstock and add a 4 1/8″ x 5 3/8″ patterned paper panel (49 and Market – Vintage Artistry Countryside).
    • Use the set to cut the arch and floral elements from a variety of cardstock colors. Assemble floral elements.
    • Dry-emboss the inner arch with the Tiny Dots folder. Adhere to the outer arch.
    • Assemble floral elements on the arches and add to the card base.
    • Cut Hello Smile sentiment from vellum and Fern cardstock. Assemble and add to card base.
    • Embellish with Clear Enamel Dots.

Spellbinders | March 2025 Large Die of the Month


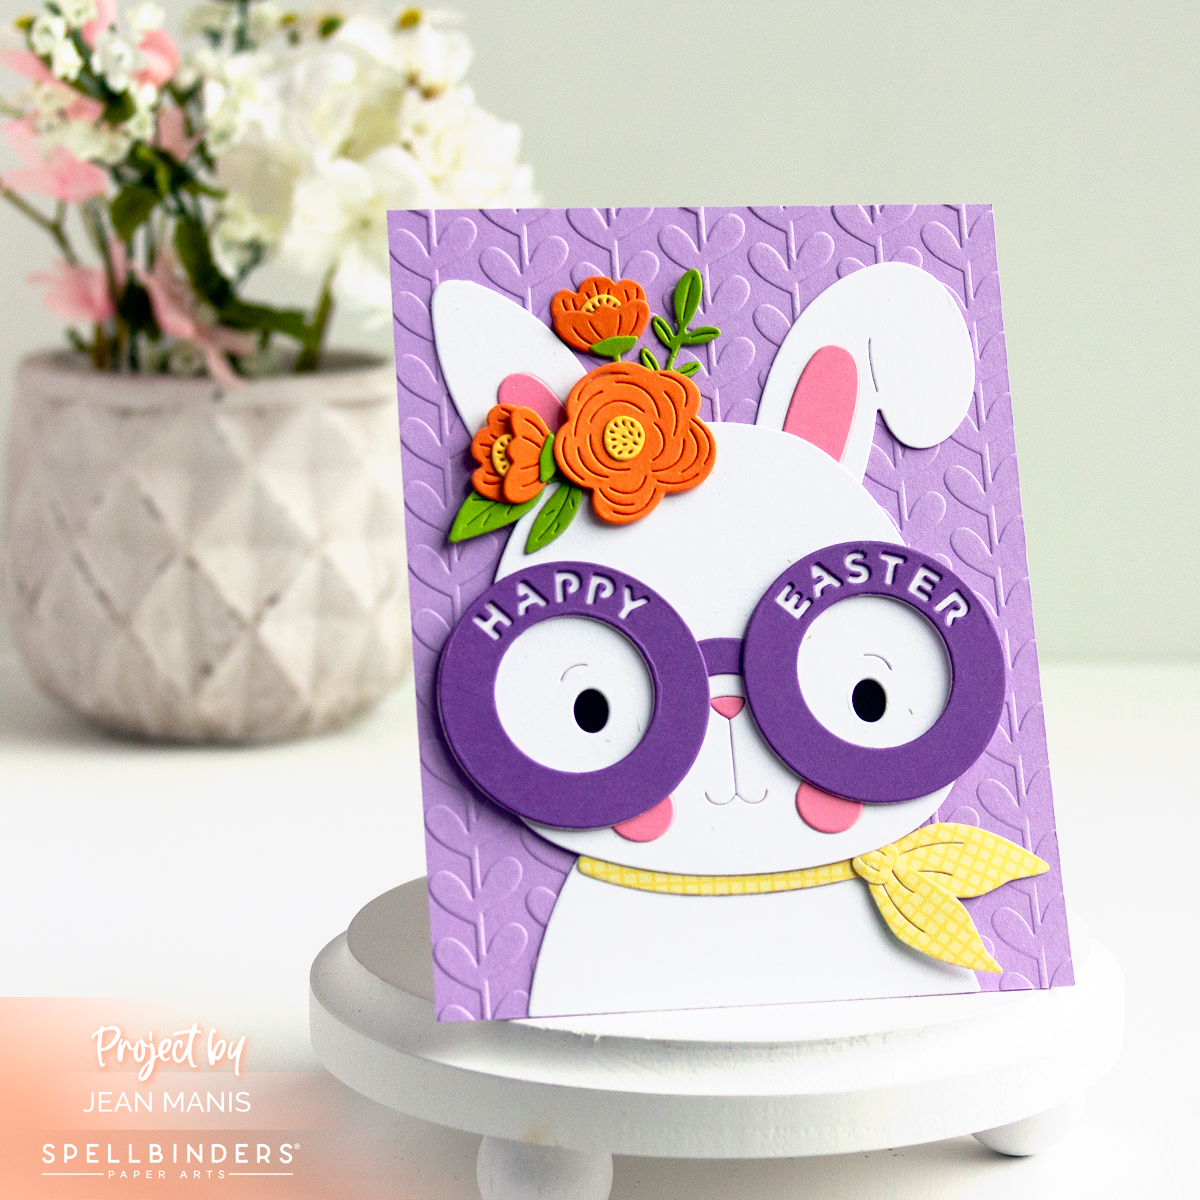
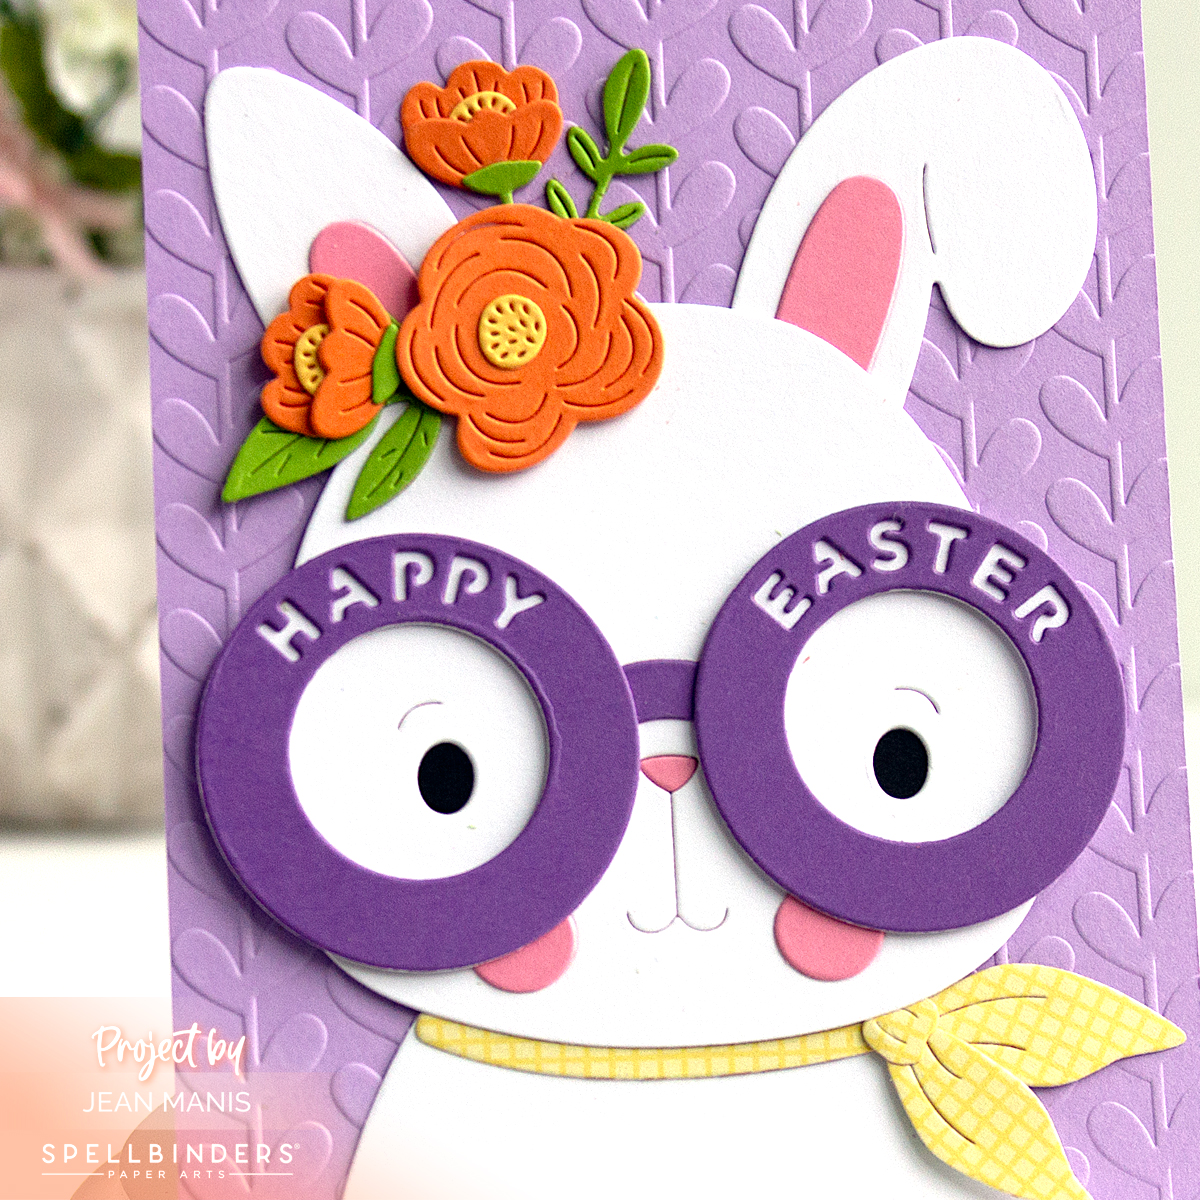
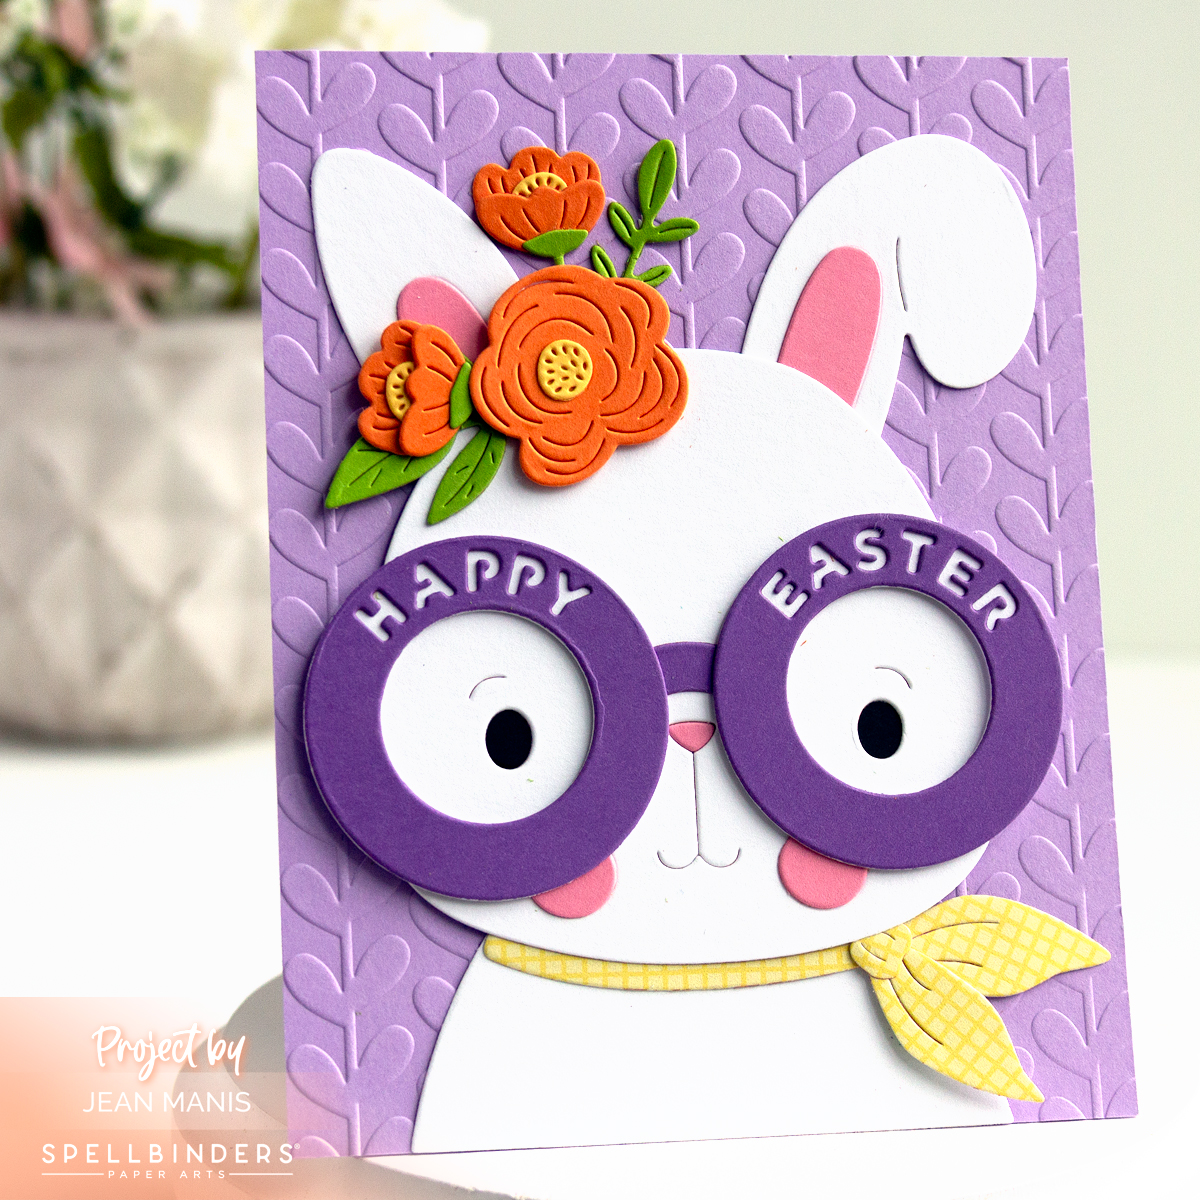
Step Into Spring with a Bunny Easter Card

Hello! With Groundhog Day in the rearview mirror, I am looking forward to spring and Easter. With this month’s Spellbinders Large Die of the Month Dancin’ Hoppy Bunnies Everywhere set, I created a sweet spring-themed design featuring a girl bunny ready to celebrate the season in style. This charming set lets you dress up the bunny in different looks, making it a fun and versatile addition to your card-making stash.

Spellbinders Feb 2025 Large Die of the Month kit

Spellbinders Feb 2025 Large Die of the Month kit

Step Into Spring with a Bunny Easter Card


Spellbinders Botanical Atrium Card

Hello! This month’s Large Die of the Month kit at Spellbinders kit features a botanical atrium design. The open feel of an atrium brings a sense of tranquility and sophistication, making it perfect for cards that convey thoughtful sentiments or celebrate special occasions.

Spellbinders Botanical Atrium Card

    • Dry-emboss Royal Amethyst cardstock with the Tiny Dots folder and cut with the atrium outline die in the Large Die of the Month set.
    • Cut the atrium overlay from texture cardstock.
    • Press the sentiment in black on white cardstock with the plate in the Bestie Sentiments set. Cut with the coordinating die.
    • Cut the floral elements and butterflies with the dies in the Large Die of the Month set. Assemble as required.
    • Glue the floral elements to the dry-embossed purple panel. Glue the sentiment to the atrium overlay. Glue the overlay to the bottom piece and add assembly to an A2-size card base.
    • Embellish with butterflies attached with foam squares.

Spellbinders Botanical Atrium Card

Whether adorned with rich colors or soft pastels, an atrium-inspired card evokes a connection between nature and design, making it a timeless choice for any recipient.