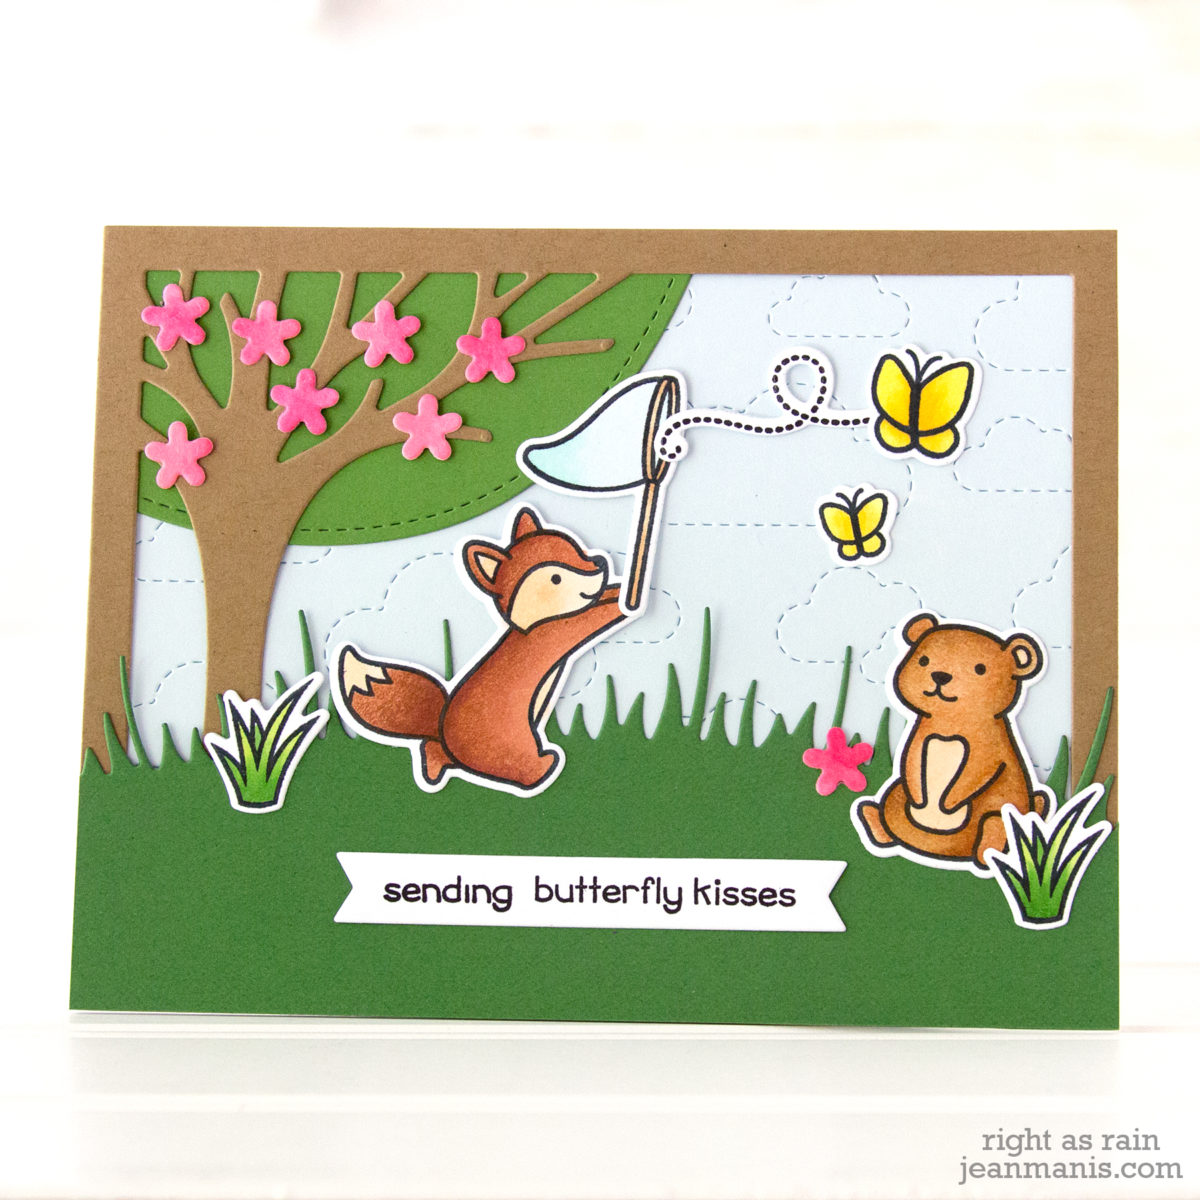
Lawn Fawn Butterfly Kisses

Hello! Today I am sharing a card created with the adorable Lawn Fawn “Butterfly Kisses” set. I bought the set as soon as it was released. Recently I had some time to Copic color (something that always takes a lot less time than I think it does.) I figured it was time to use the set since Lawn Fawn’s summer release is just around the corner! (I can’t believe that we are already through half of May!) I combined two of the critters from the “Butterfly Kisses” set with other Lawn Fawn products.
Lawn Fawn Butterfly Kisses

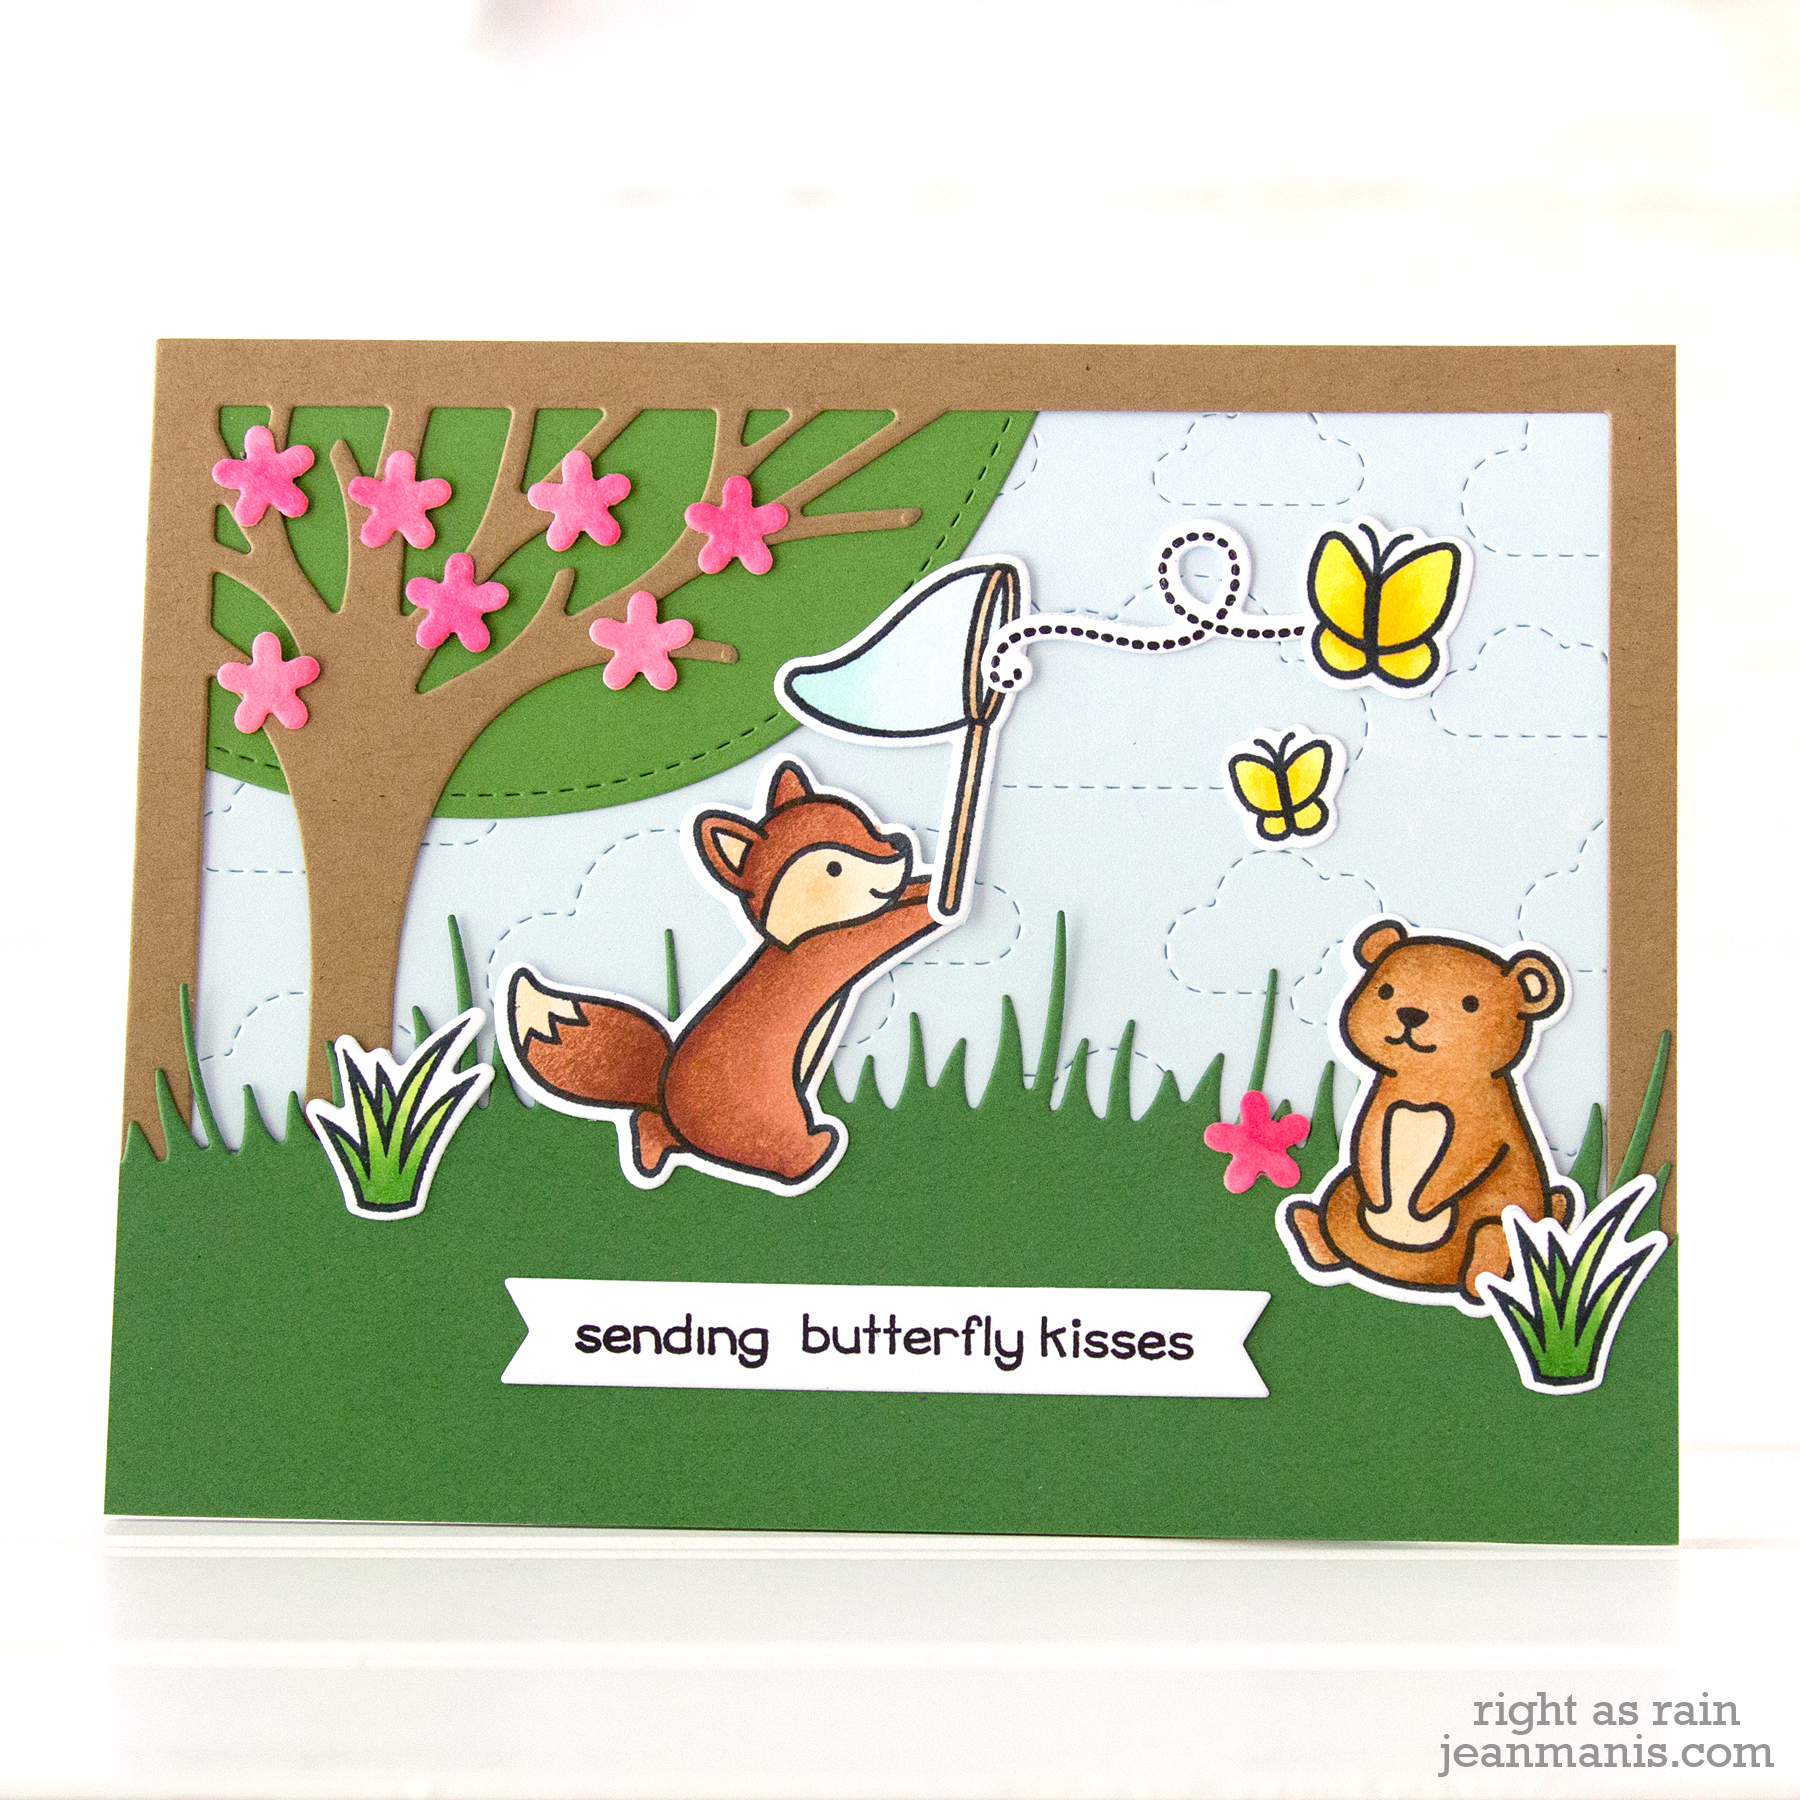
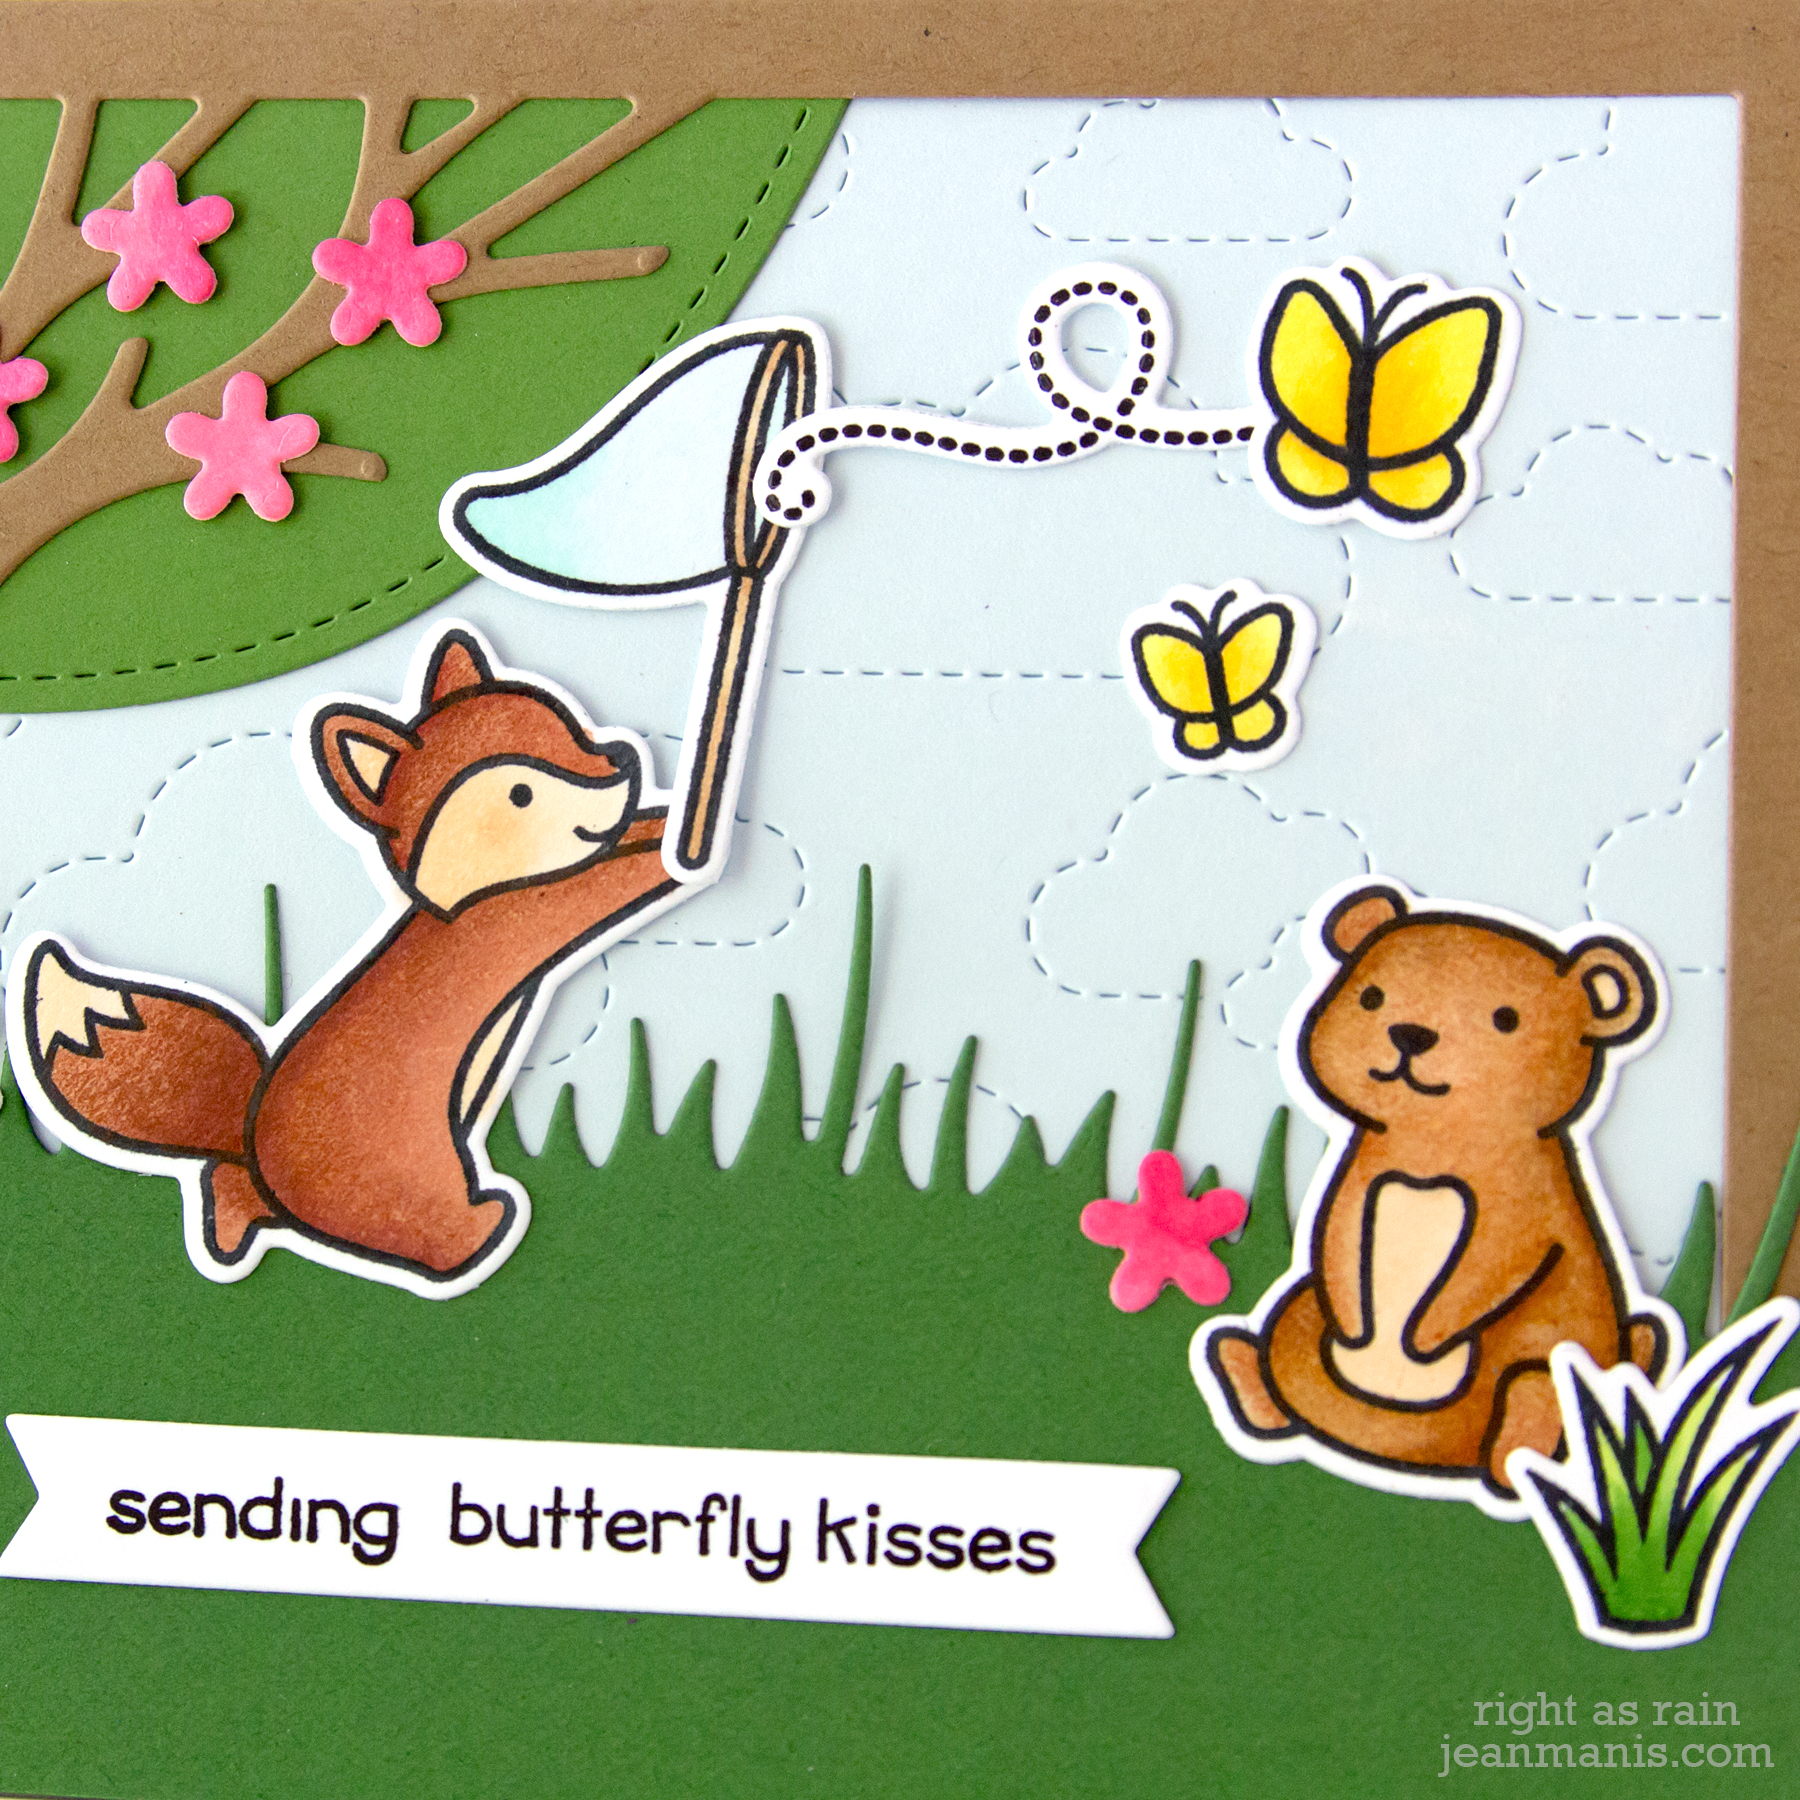
  • I stamped and colored the fox, the bear, the butterfly net, and several butterflies from the Butterfly Kisses set.
  • I cut the Leafy Tree Backdrop from Paper Bag cardstock.
  • I cut Noble Fir cardstock with one of the Meadow Border dies. I trimmed the piece and attached it to the front of the Leafy Tree frame.
  • I cut Icy Mint cardstock with the Stitched Cloud backdrop. I attached the piece behind the Leafy Tree frame.
  • I stamped the sentiment and cut it with the short Extra Sentiments banner die. I attached it to the grass.
  • I cut the flowers with the Spring Sprig die set from cardstock colored with Copic markers (I find that Copic-colored cardstock goes better with the Copic-colored images than solid cardstock). I attached these to the tree with liquid adhesive.
  • I added the Copic-colored images to the scene.
Lawn Fawn Butterfly Kisses

Supplies:

Vacation Time – Die-cut Scene

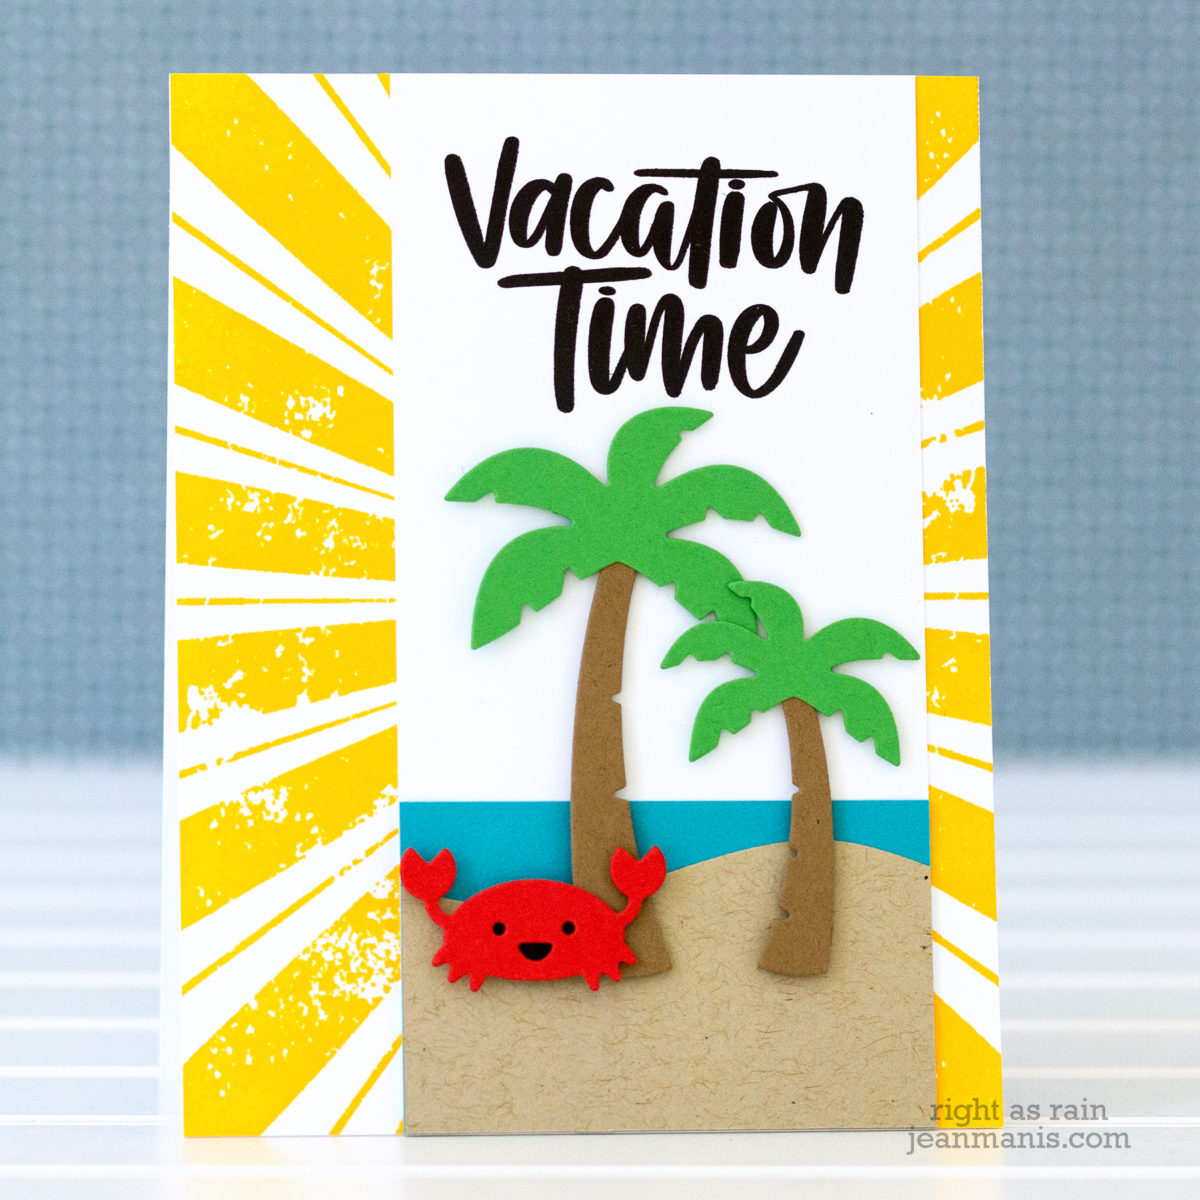
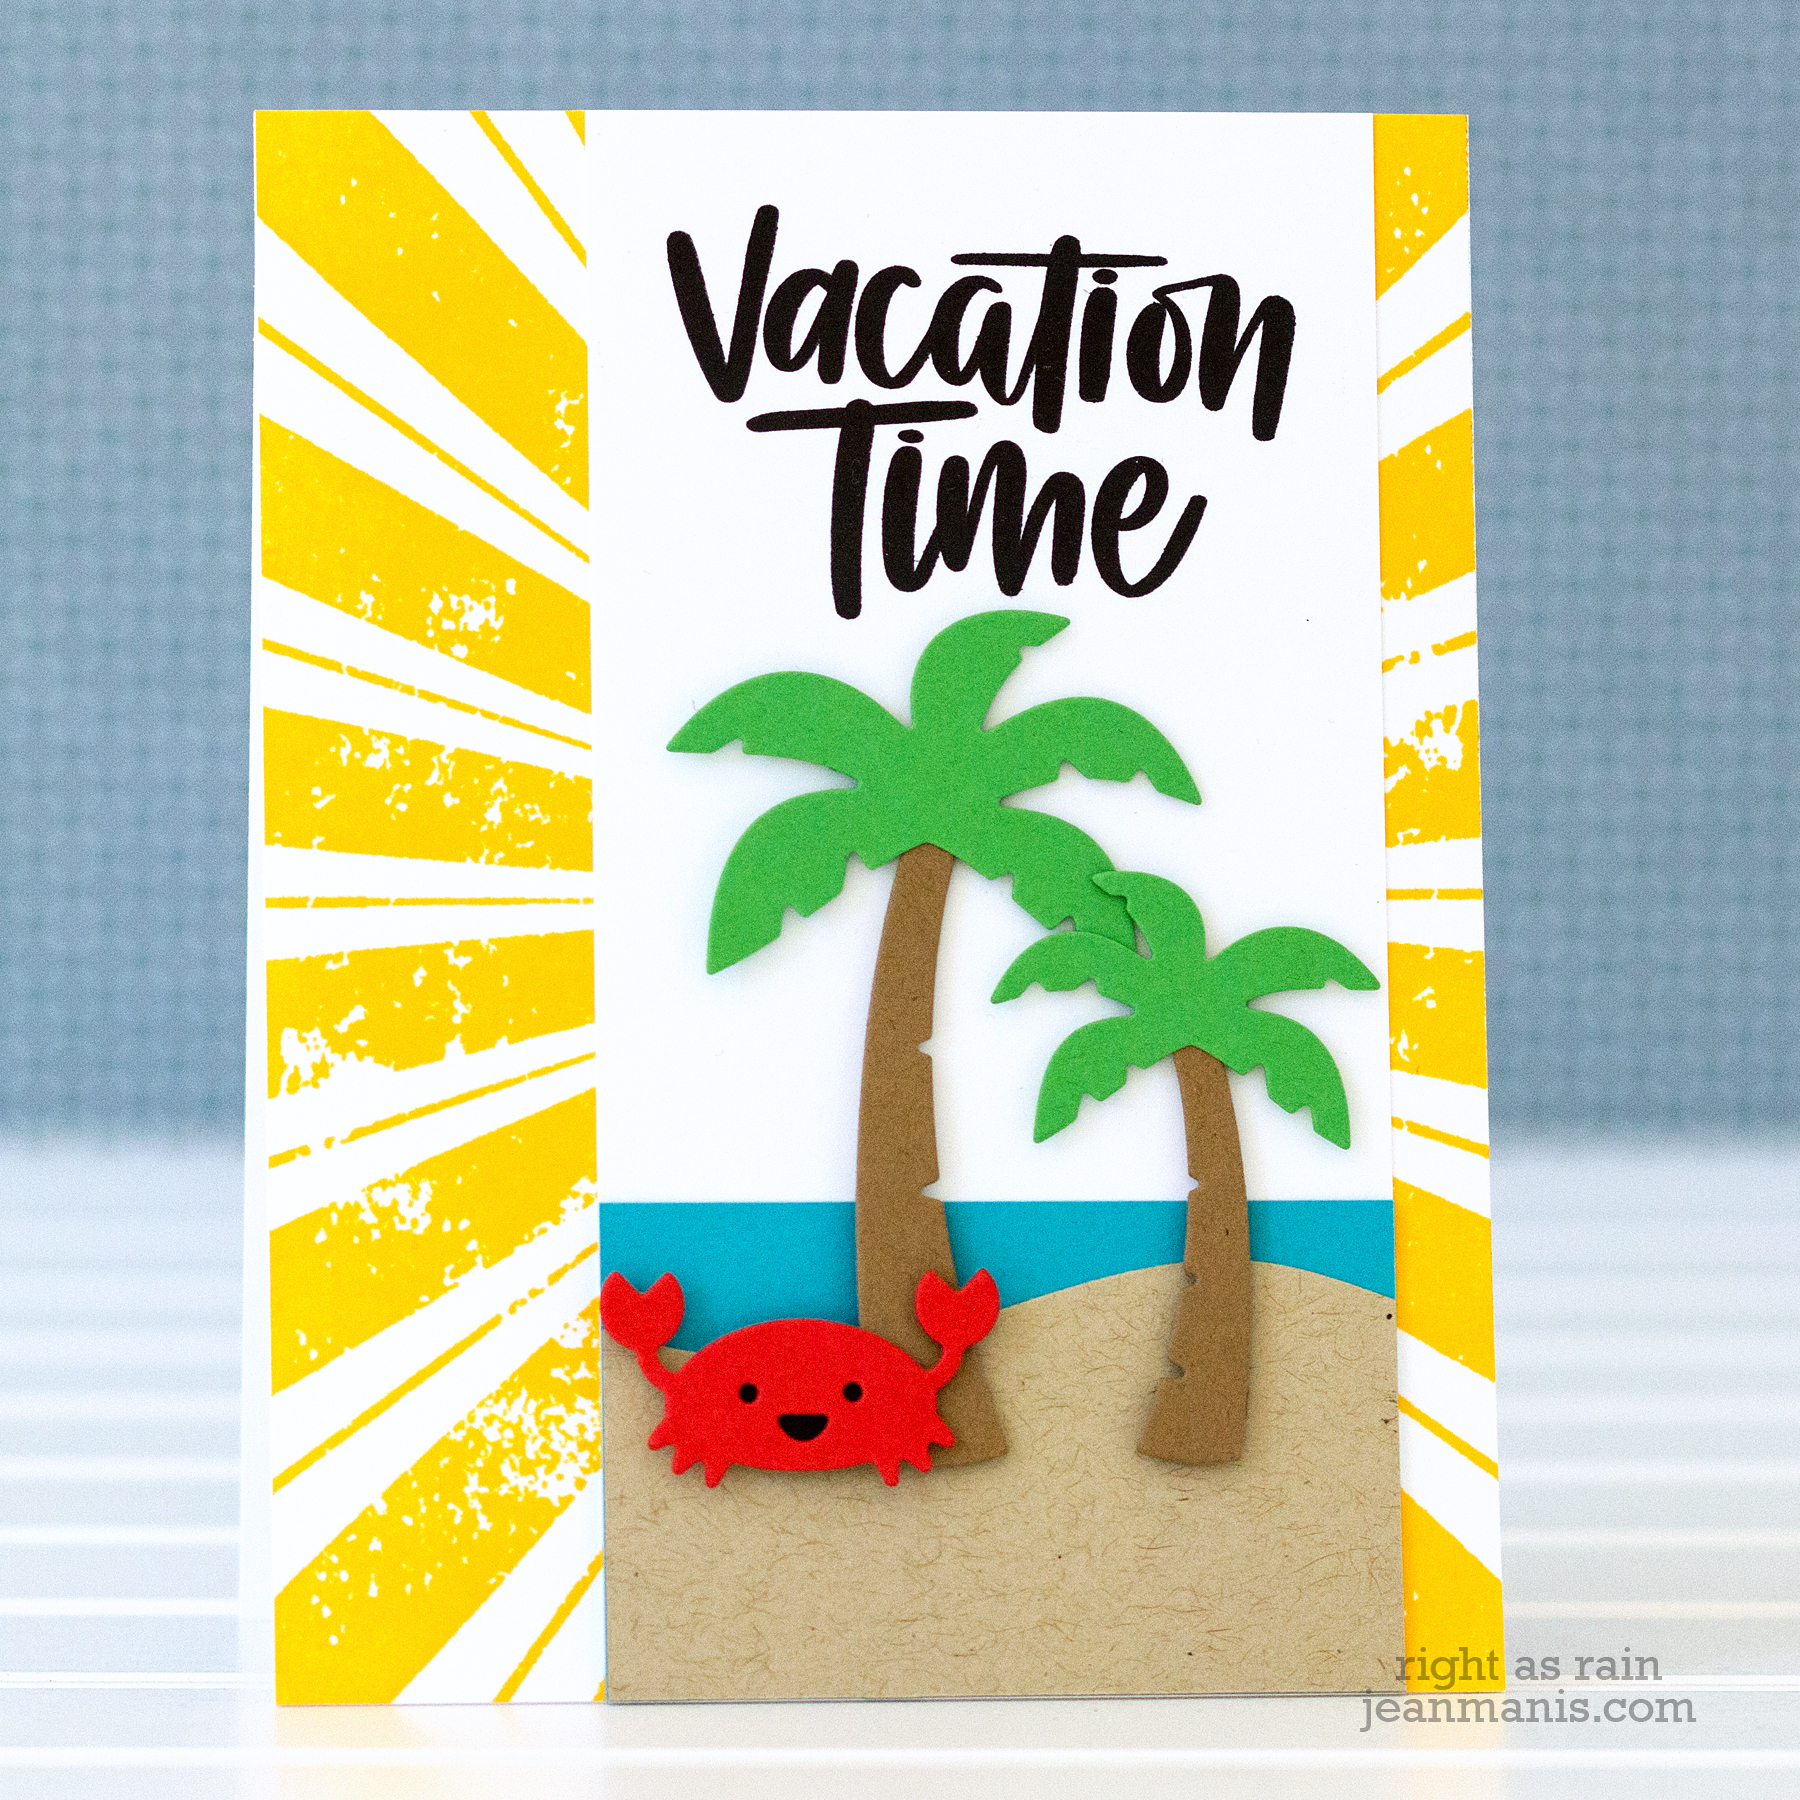
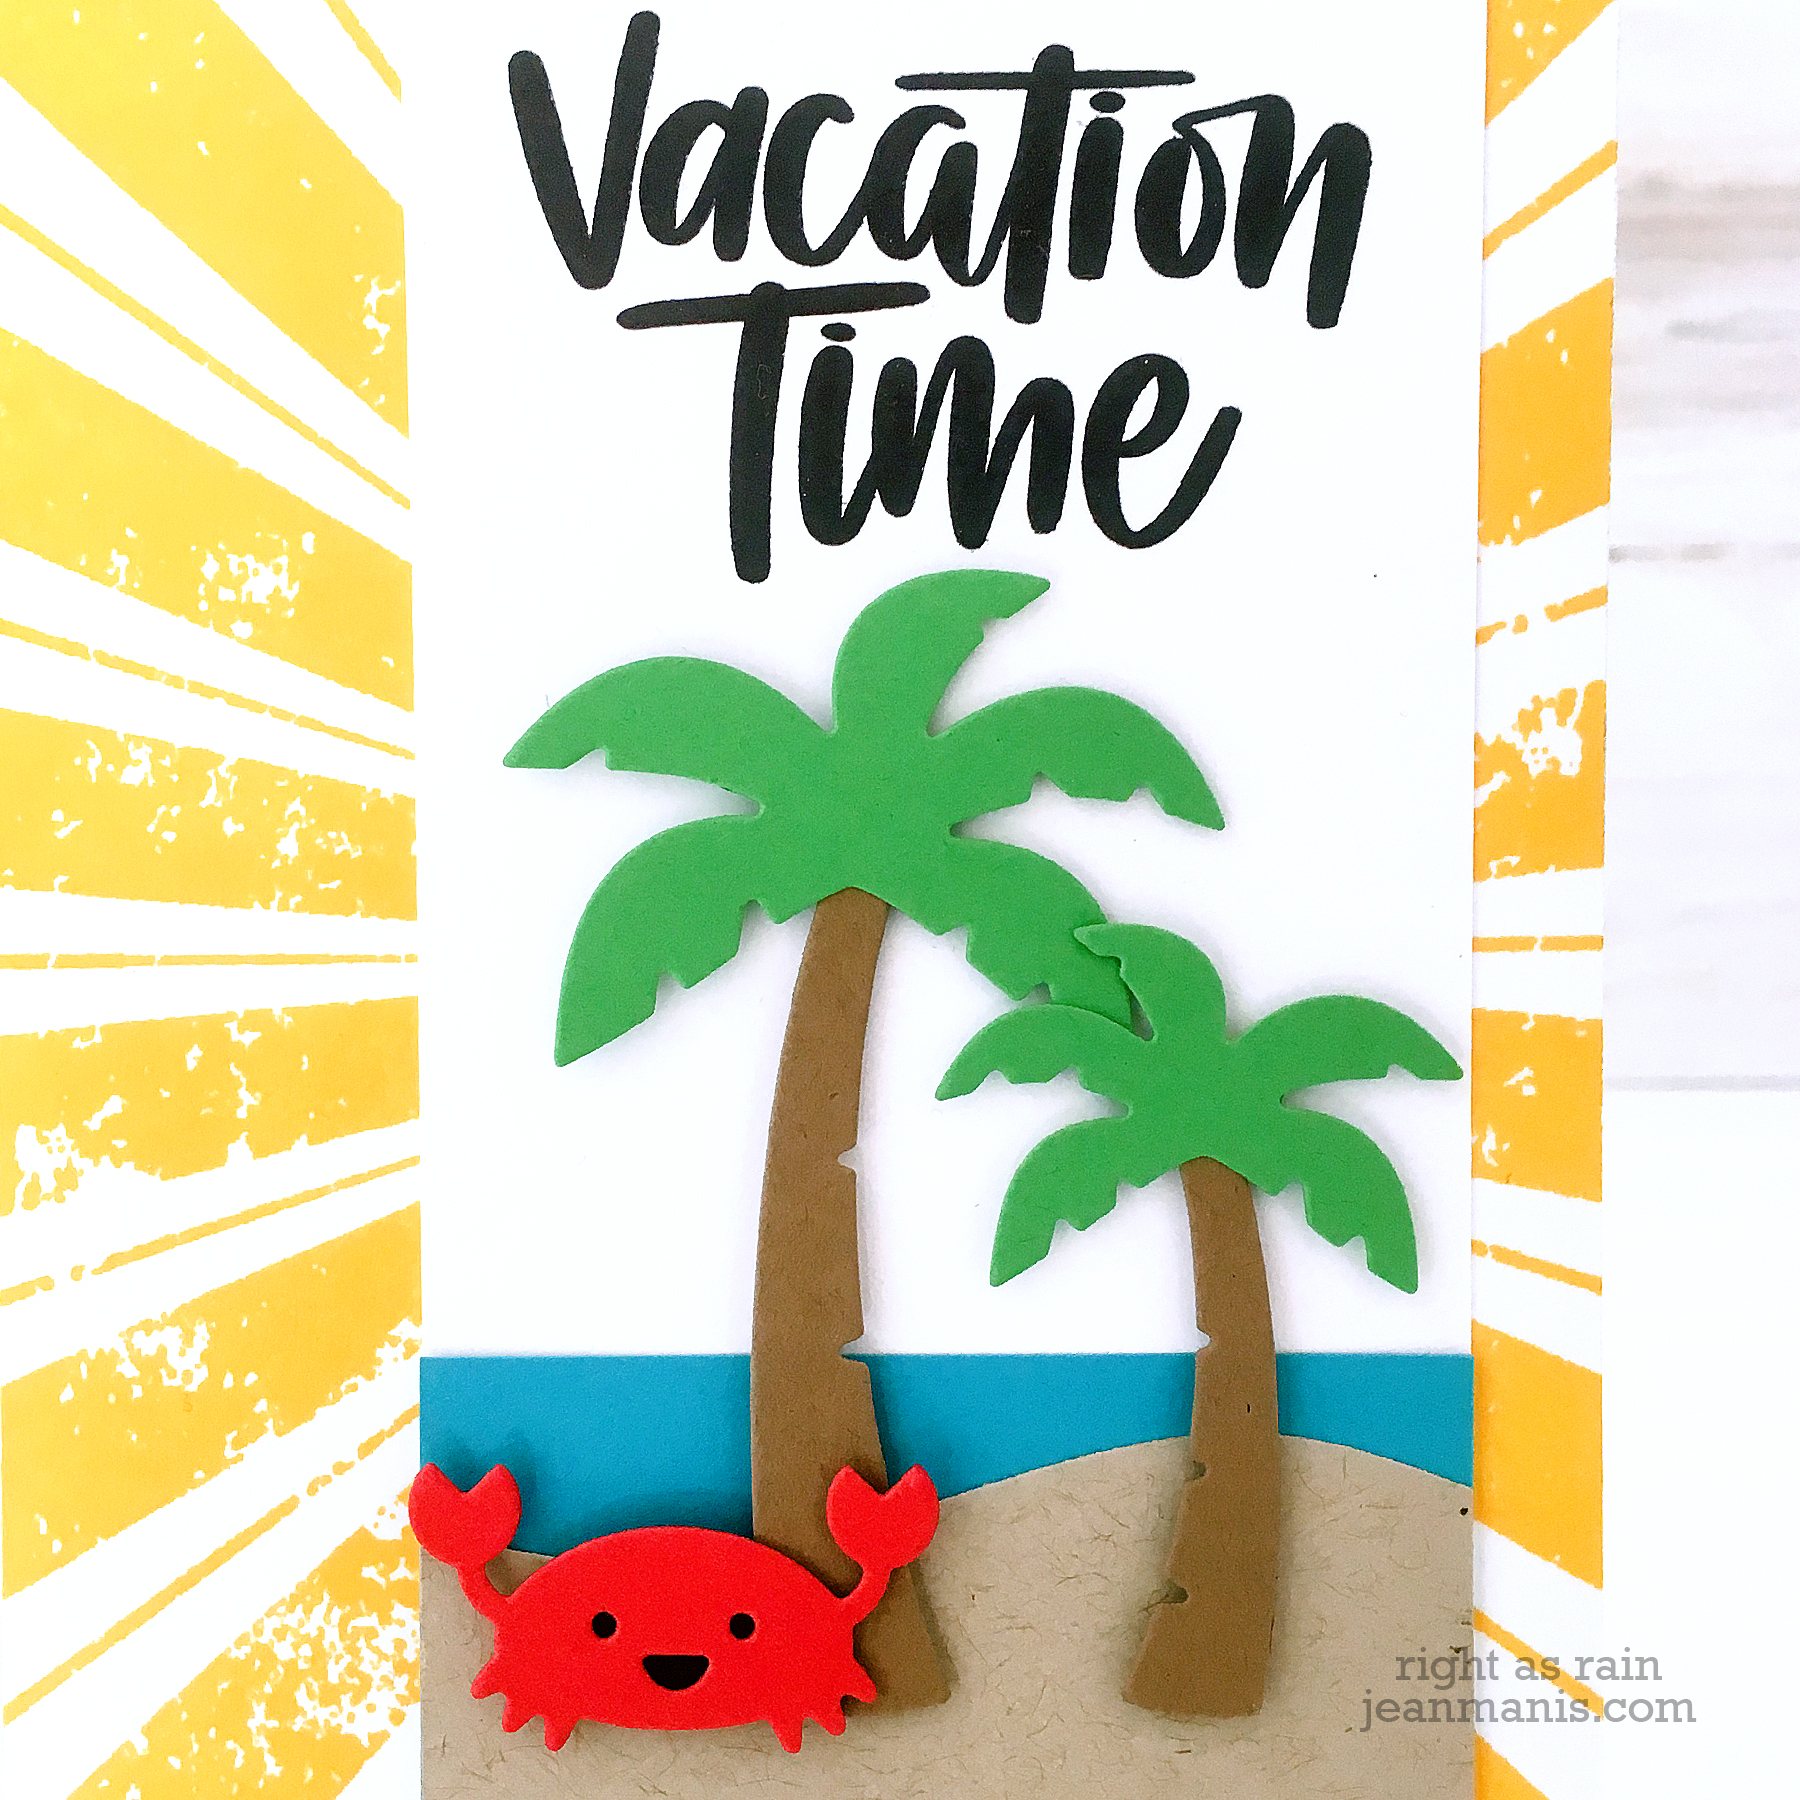
Hello! Today I’m dreaming of an island getaway! We have light snow in the forecast, and I’m ready for warmer temps. On my CAS card I’ve combined a variety of stamps and die-cuts to create a tropical scene.

Vacation Time - Die-cut Scene

  • I stamped the Impression Obsession background stamp twice in Stampin’ Up Daffodil Delight on white cardstock. One side of the stamp image is grungier than the other and I wanted the less grungy portion on both sides. I trimmed the panels and adhered them to an A2 base.
  • I stamped the Simon Says Stamp Vacation Time sentiment on a strip of white cardstock which covers the seam of the background.
  • I added a sand hill and straight line of ocean to the white panel.
  • I die-cut the Lawn Fawn crab and palm trees and adhered them to the scene.

Vacation Time - Die-cut Scene

Hope you have a terrific day!

Supplies:

Lawn Fawn Hey There – Two Takes

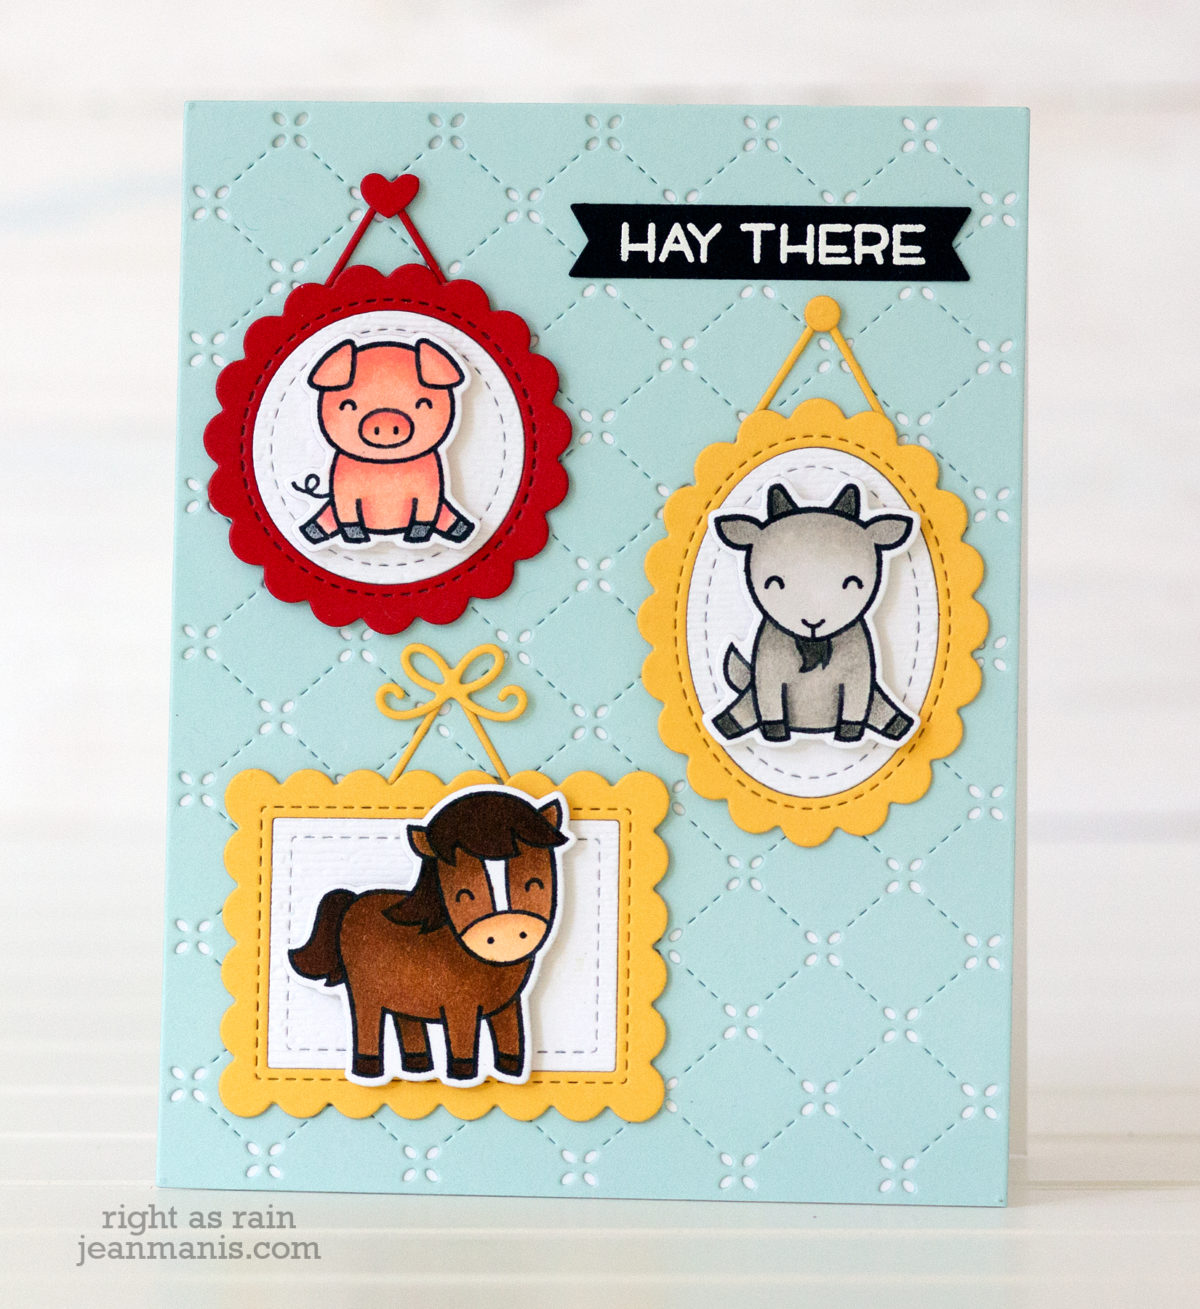
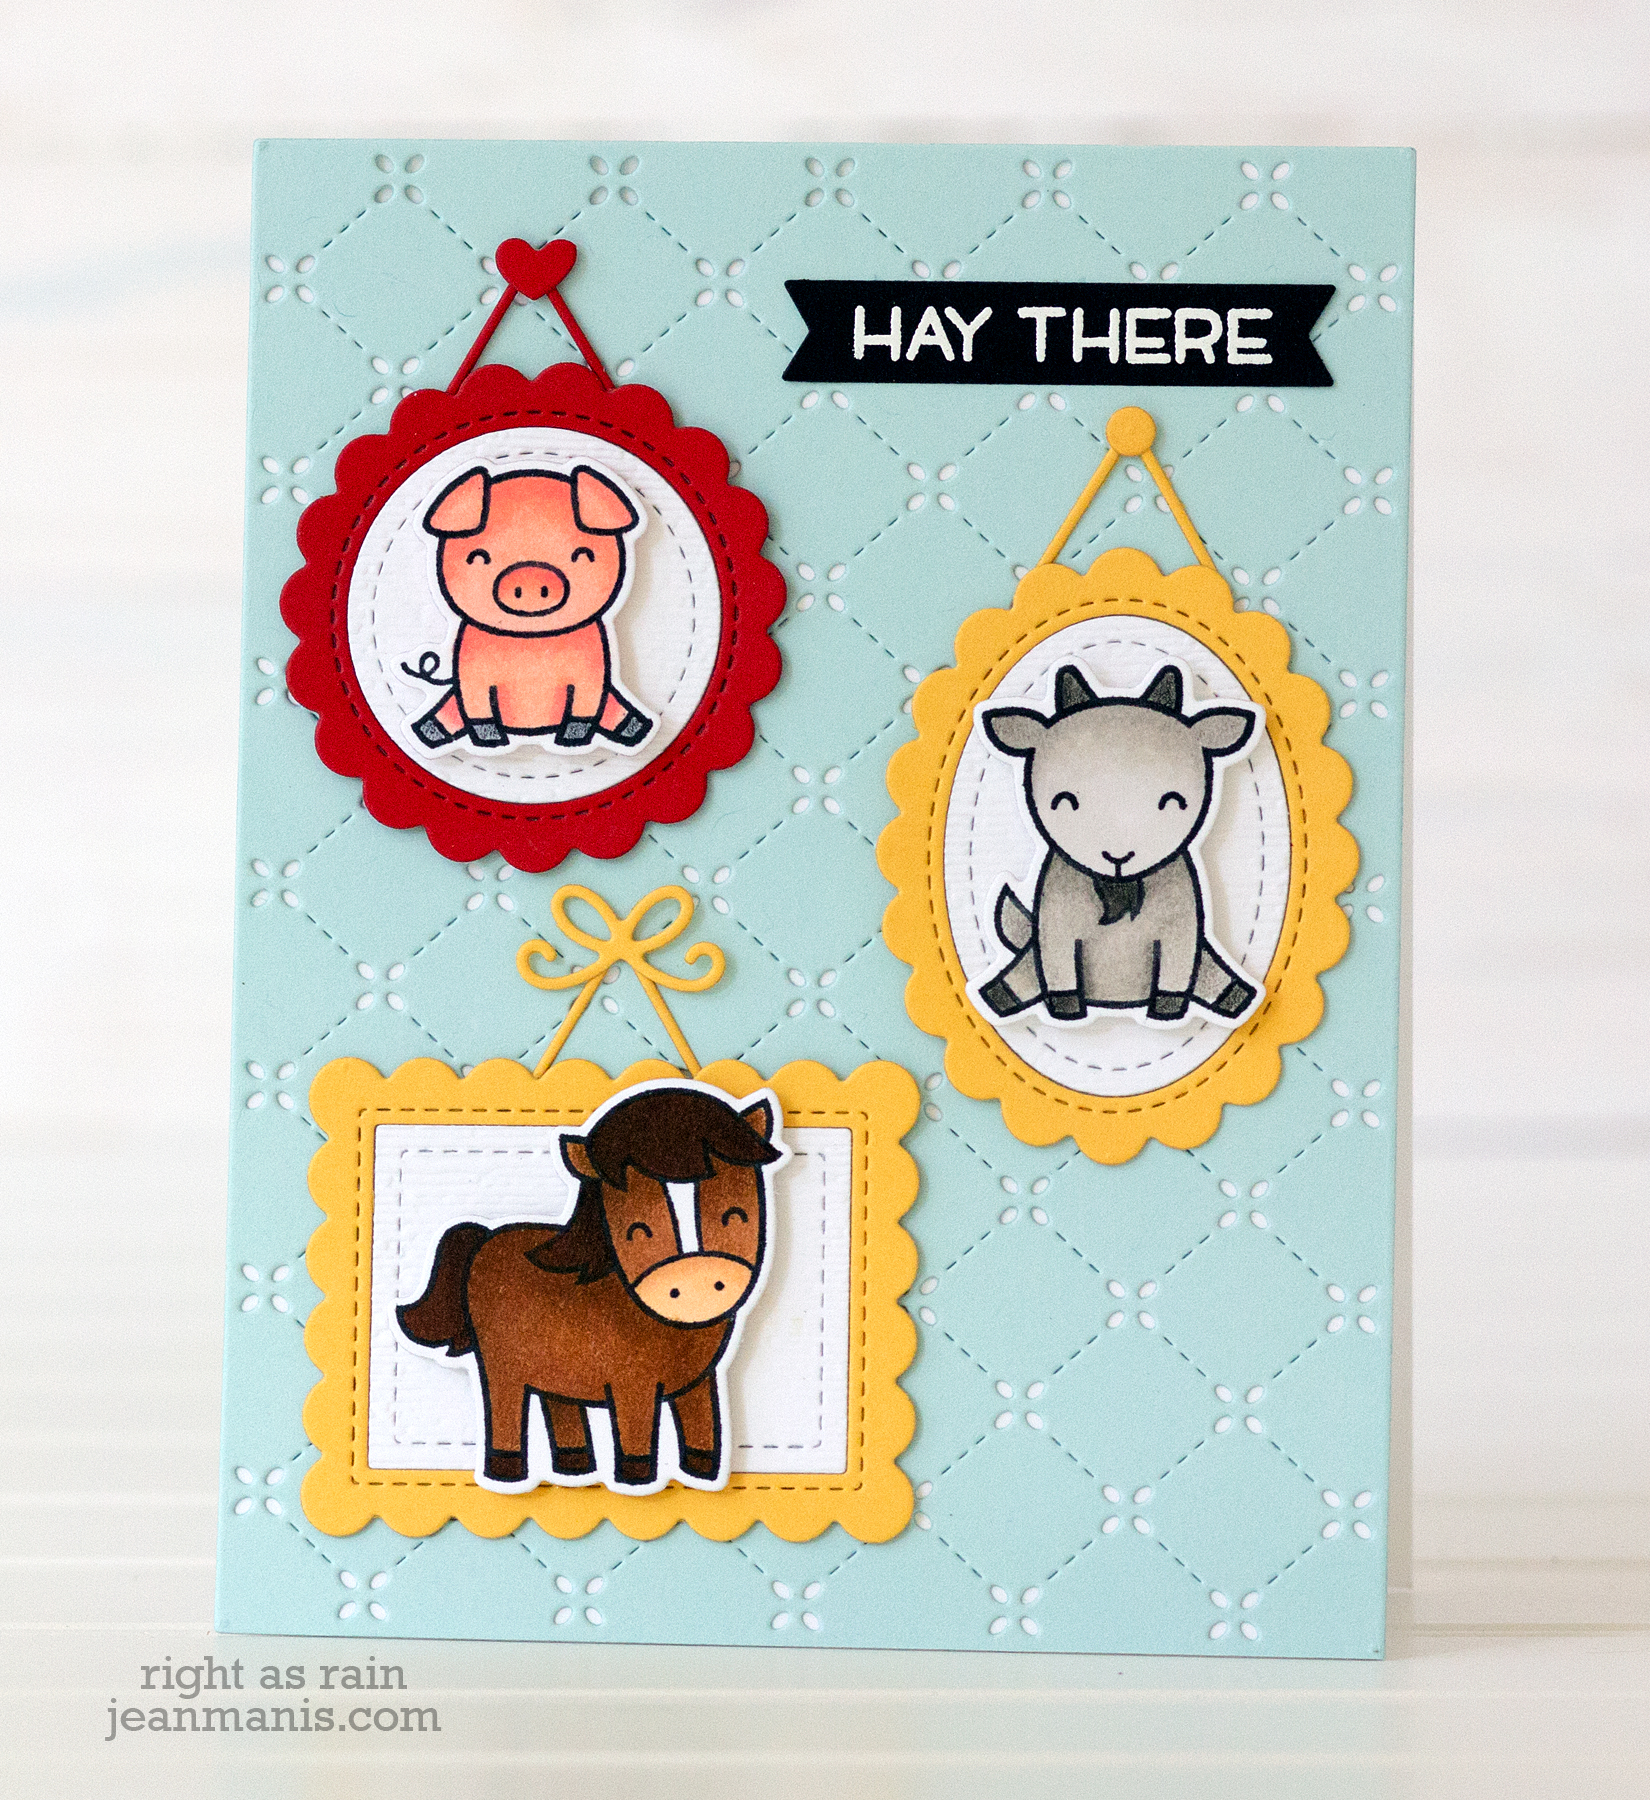
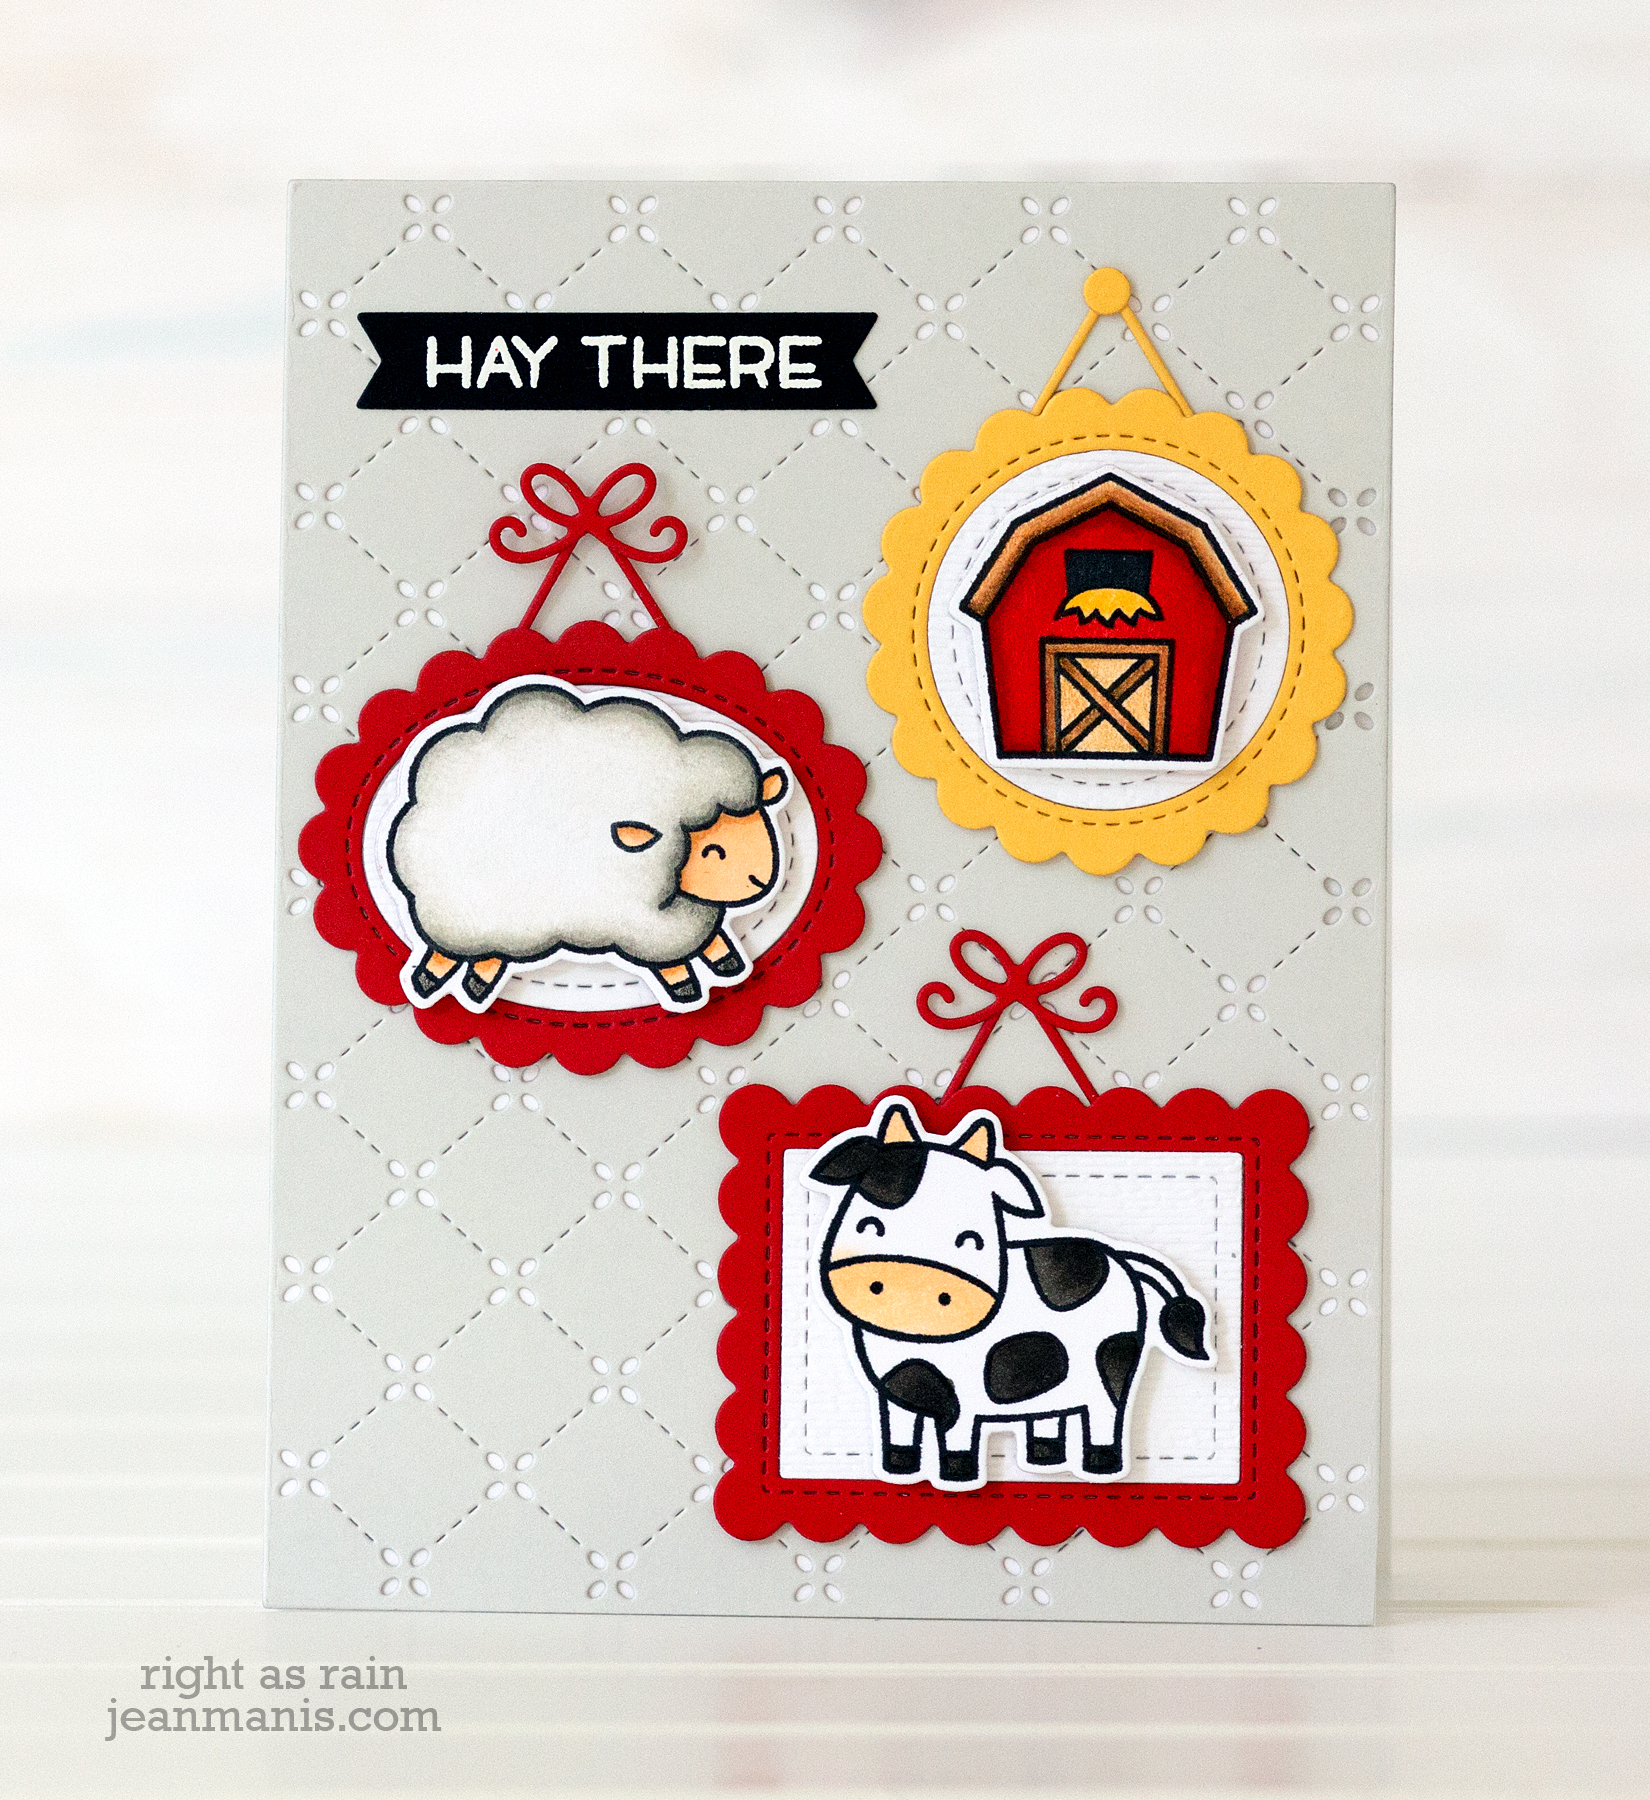
Hello! Today, I am sharing two cards of the same design featuring Lawn Fawn stamps and dies. I had some time this past weekend to break out my Copic markers and colored pencils, so I colored lots of critters!

Lawn Fawn Hey There Lawn Fawn Hey There

  • I stamped, Copic colored, and added color pencil to the cute critters from the Lawn Fawn Hey There set and cut them with their corresponding die cuts.
  • I created frames for the critters with the Mini Picture Frames dies. The white backgrounds were dry-embossed with the Subtle Dynamic Textured Impressions Embossing Folder from Stampin Up’.
  • I popped the critters up with foam adhesive in their frames.
  • I created the backgrounds with the Quilted Backdrop.
  • I heat-embossed the sentiment and cut it with the banner die (twice).

Thanks for dropping by!

Supplies:

CAS Die-Cut Winter Thank You

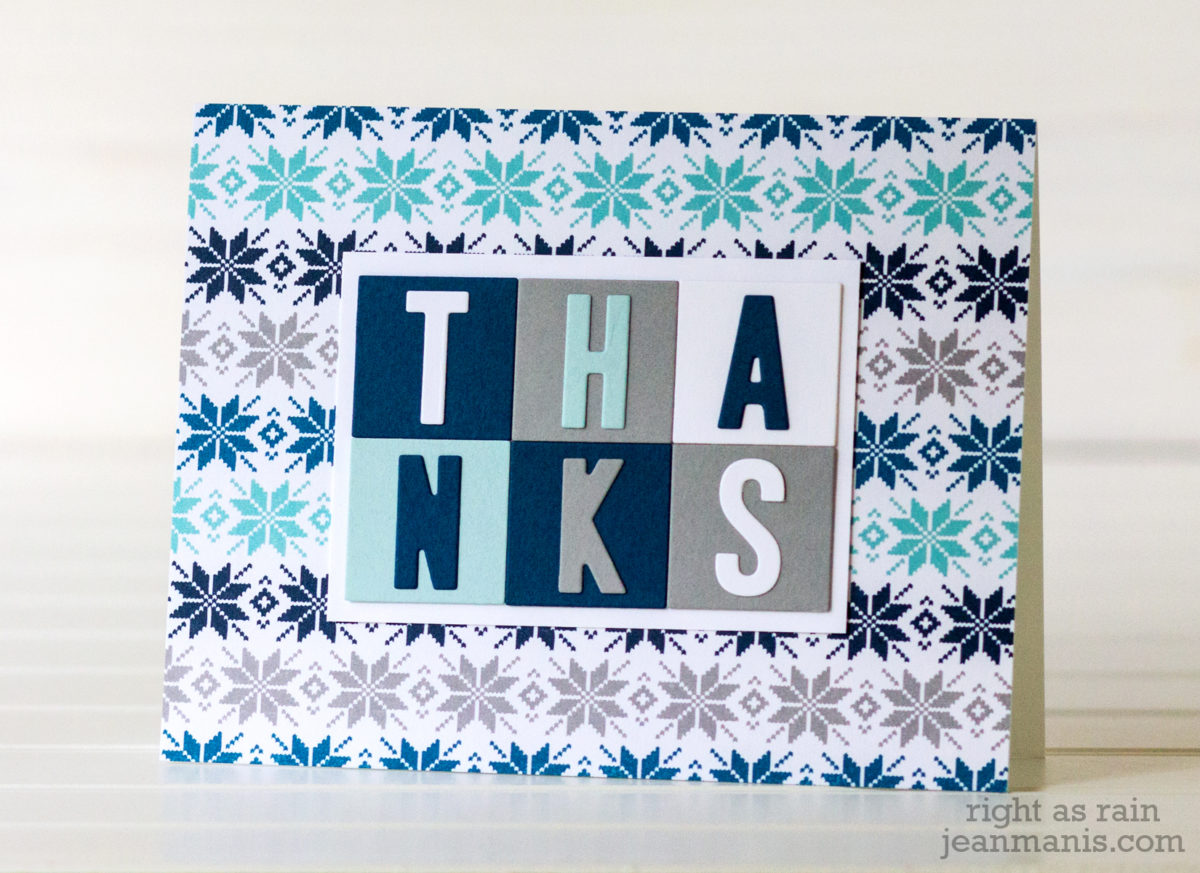
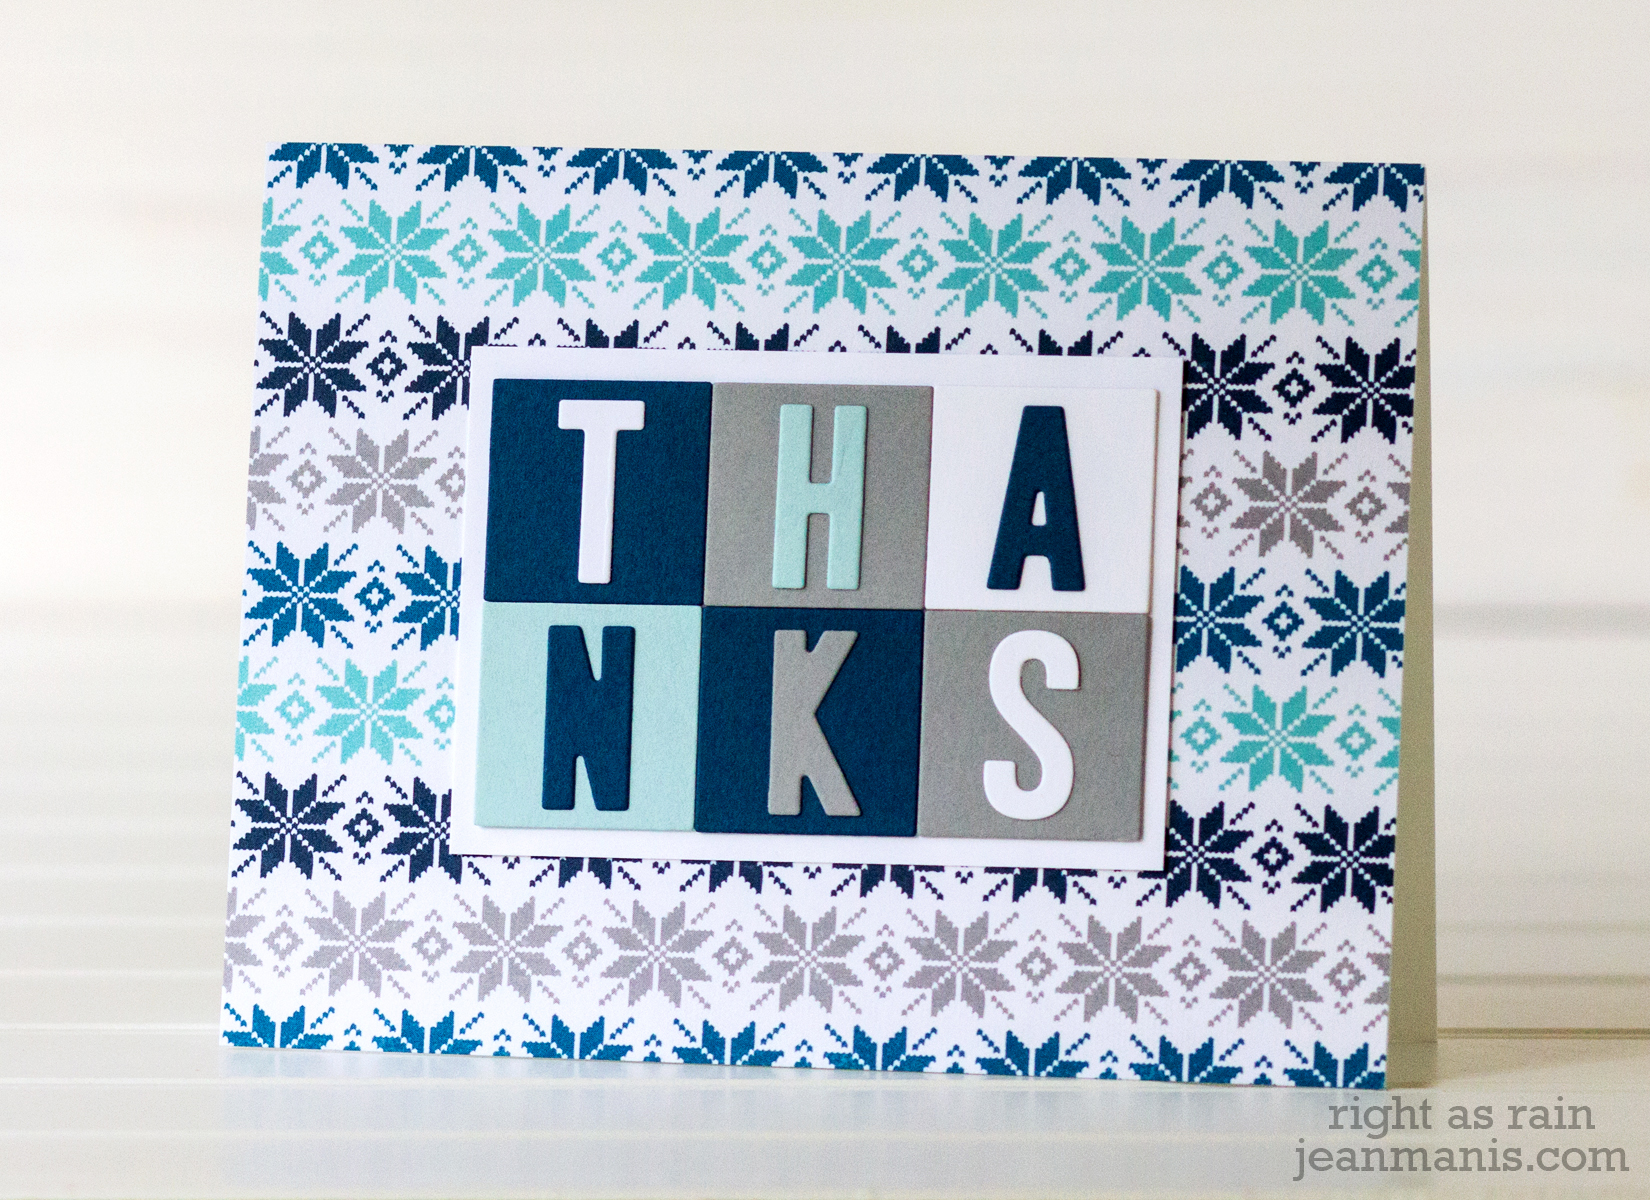
Hello! I am sharing a winter-themed, CAS (and quick and easy) Thank You card. I needed to get this card made quickly as a thank you for holiday gifts.

CAS Die-Cut Winter Thank You

I cut the letters with Lawn Cuts alphabet dies and placed them onto the colored squares, cut with one of the smaller square dies in a Spellbinders Nestabilities set. I used Echo Park patterned paper for the background. My first take used two patterned papers, one for the background and for the frame (larger than the design I ended up using) around the letters. While the patterned papers looked good together, the pattern around the letters made the card too busy and took the emphasis away from the sentiment. I pulled the card apart and found a background paper that carried the winter theme on its own and cut the frame from white cardstock.

I created an almost identical card previously on which I popped the letters up with foam adhesive. It is a good route to take for some dimension, but it takes a little more time.

Supplies: