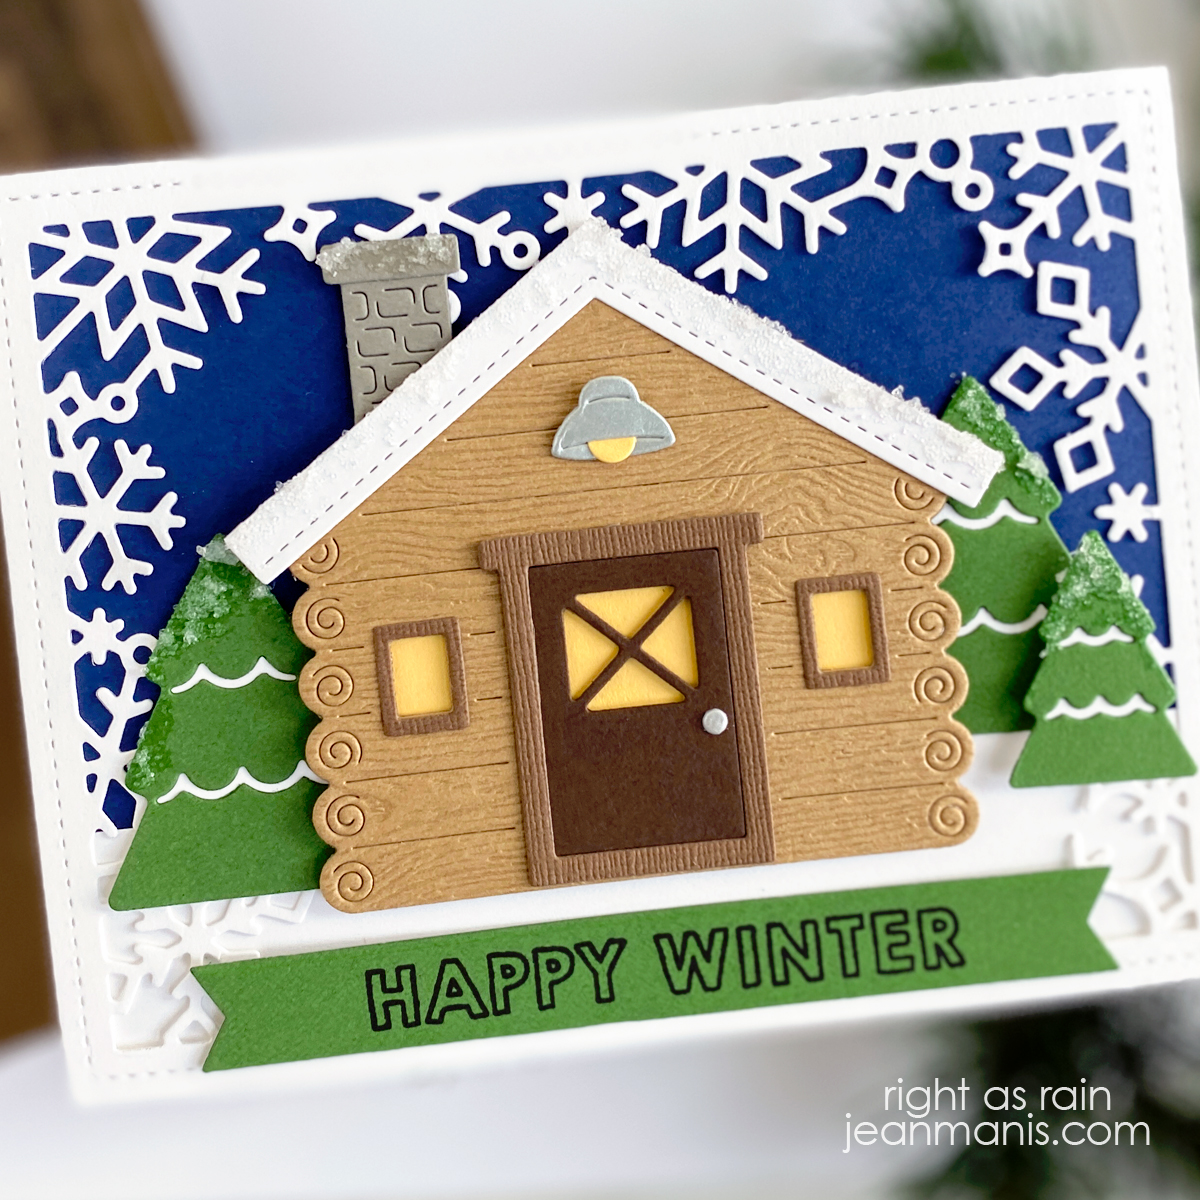
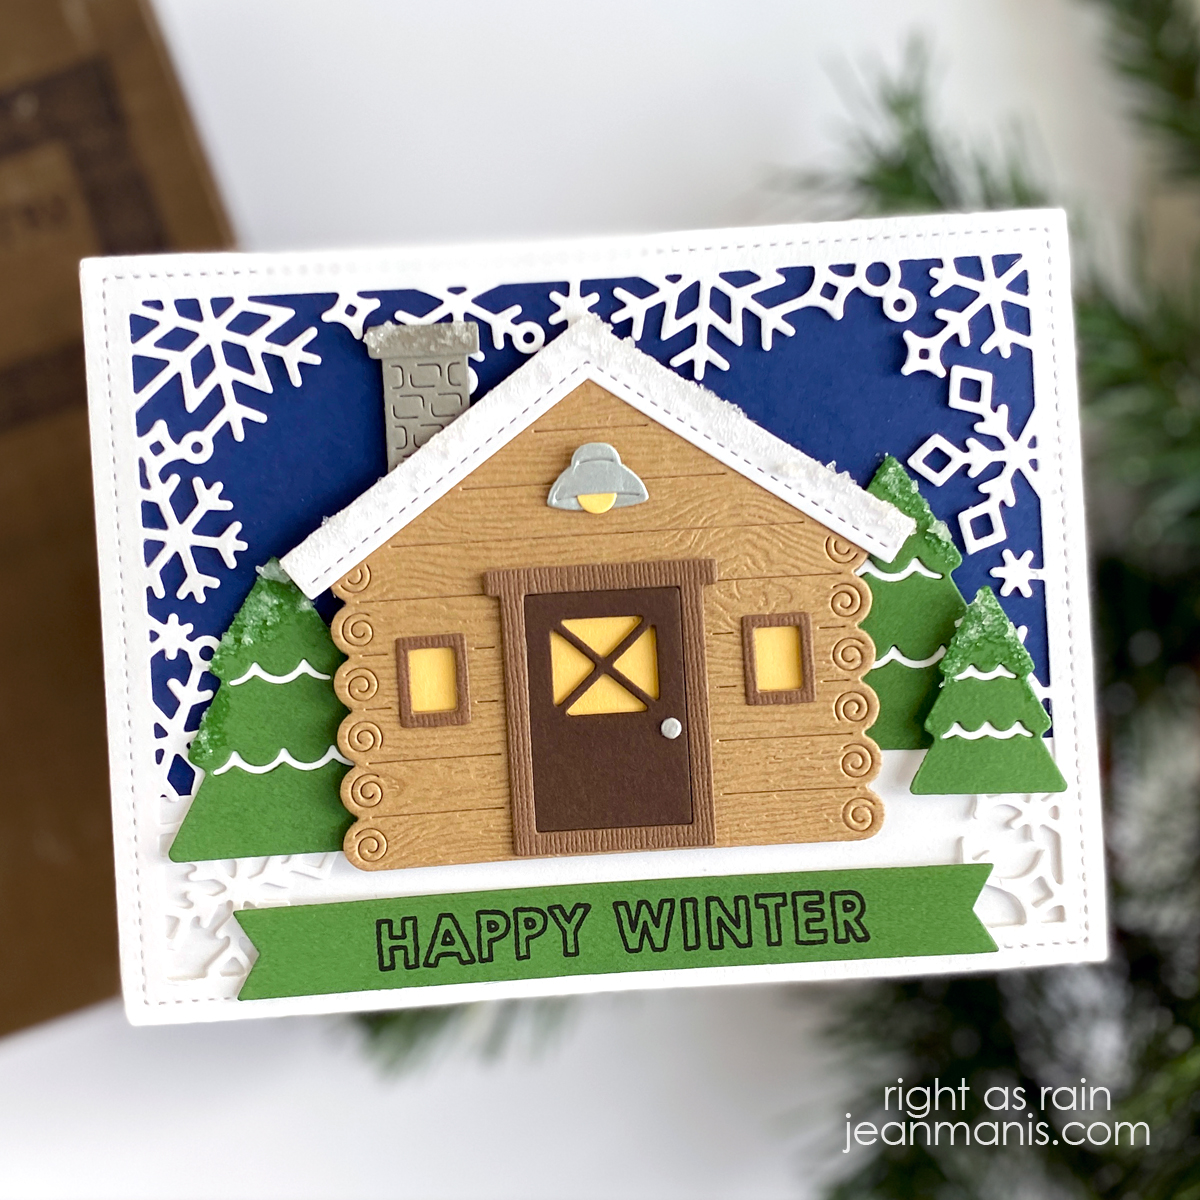
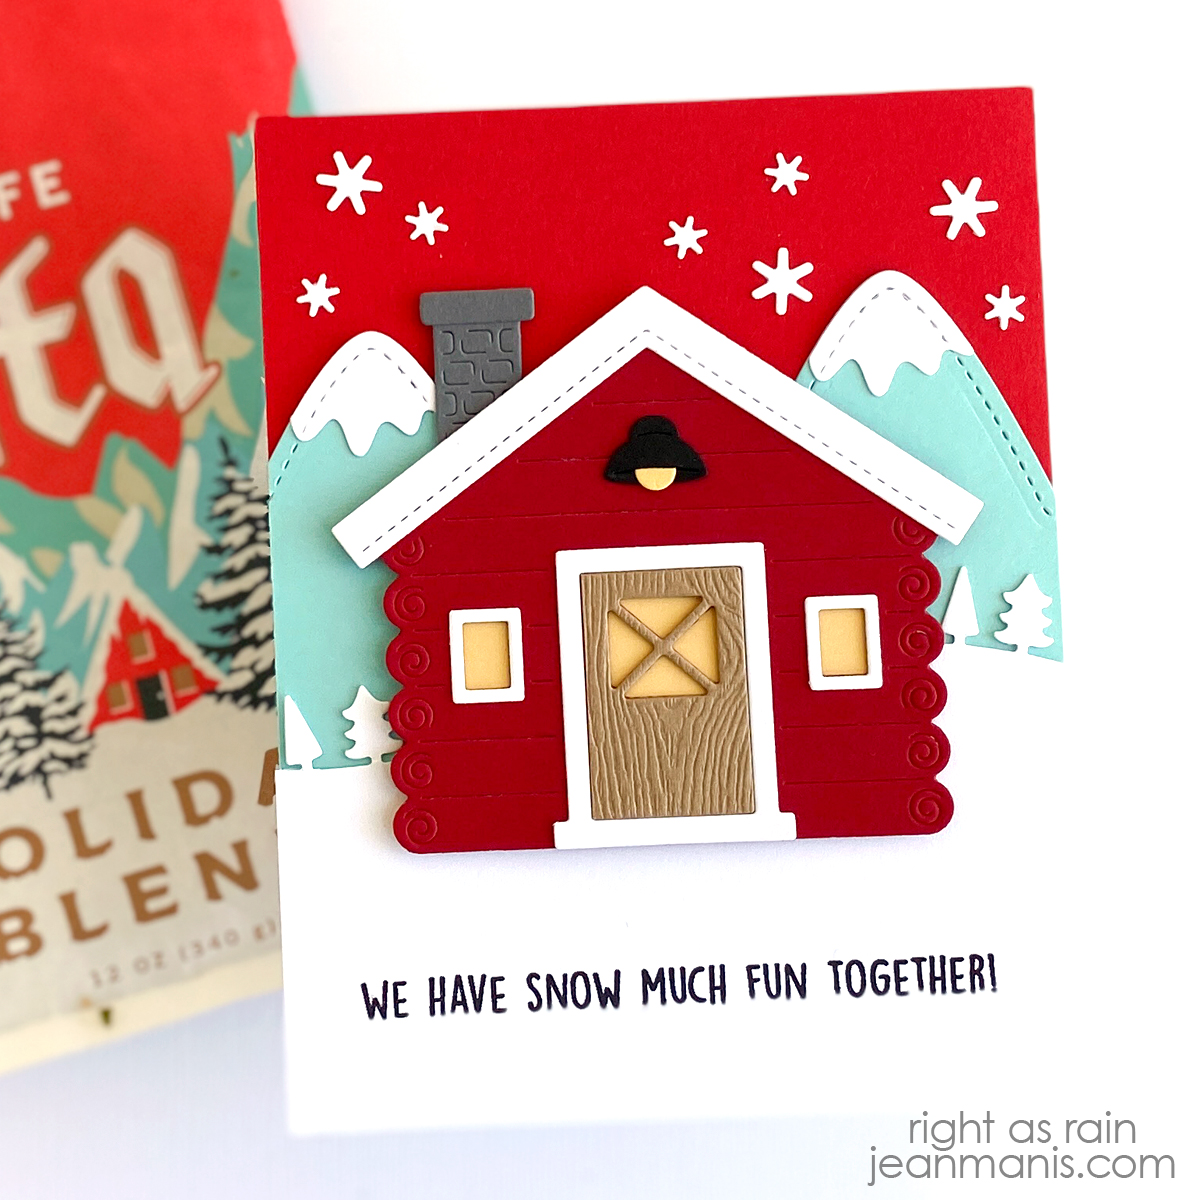
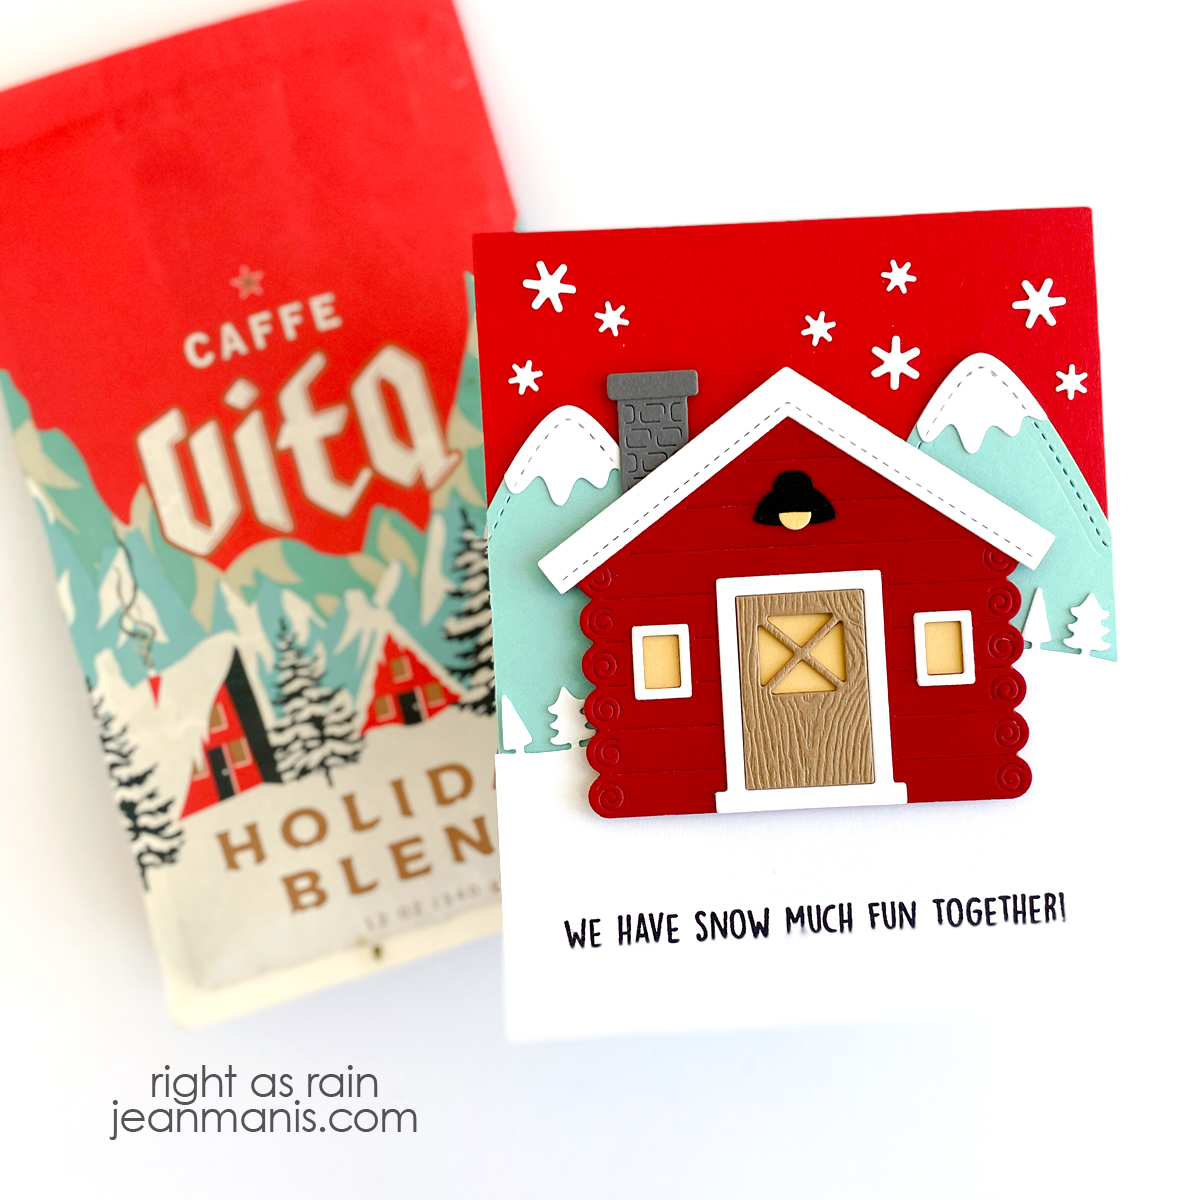
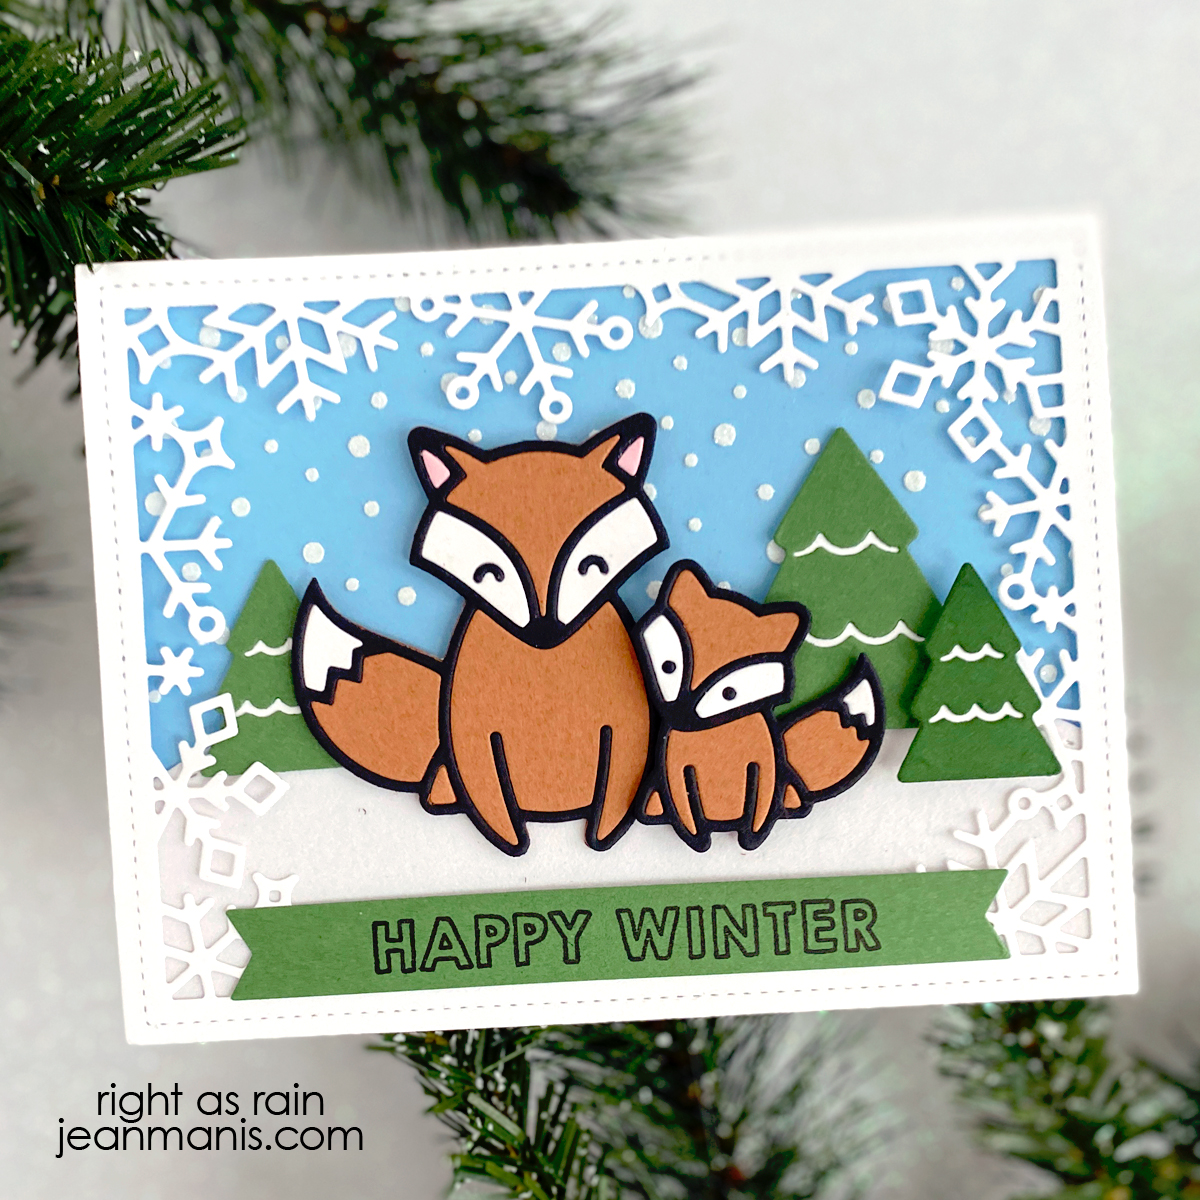
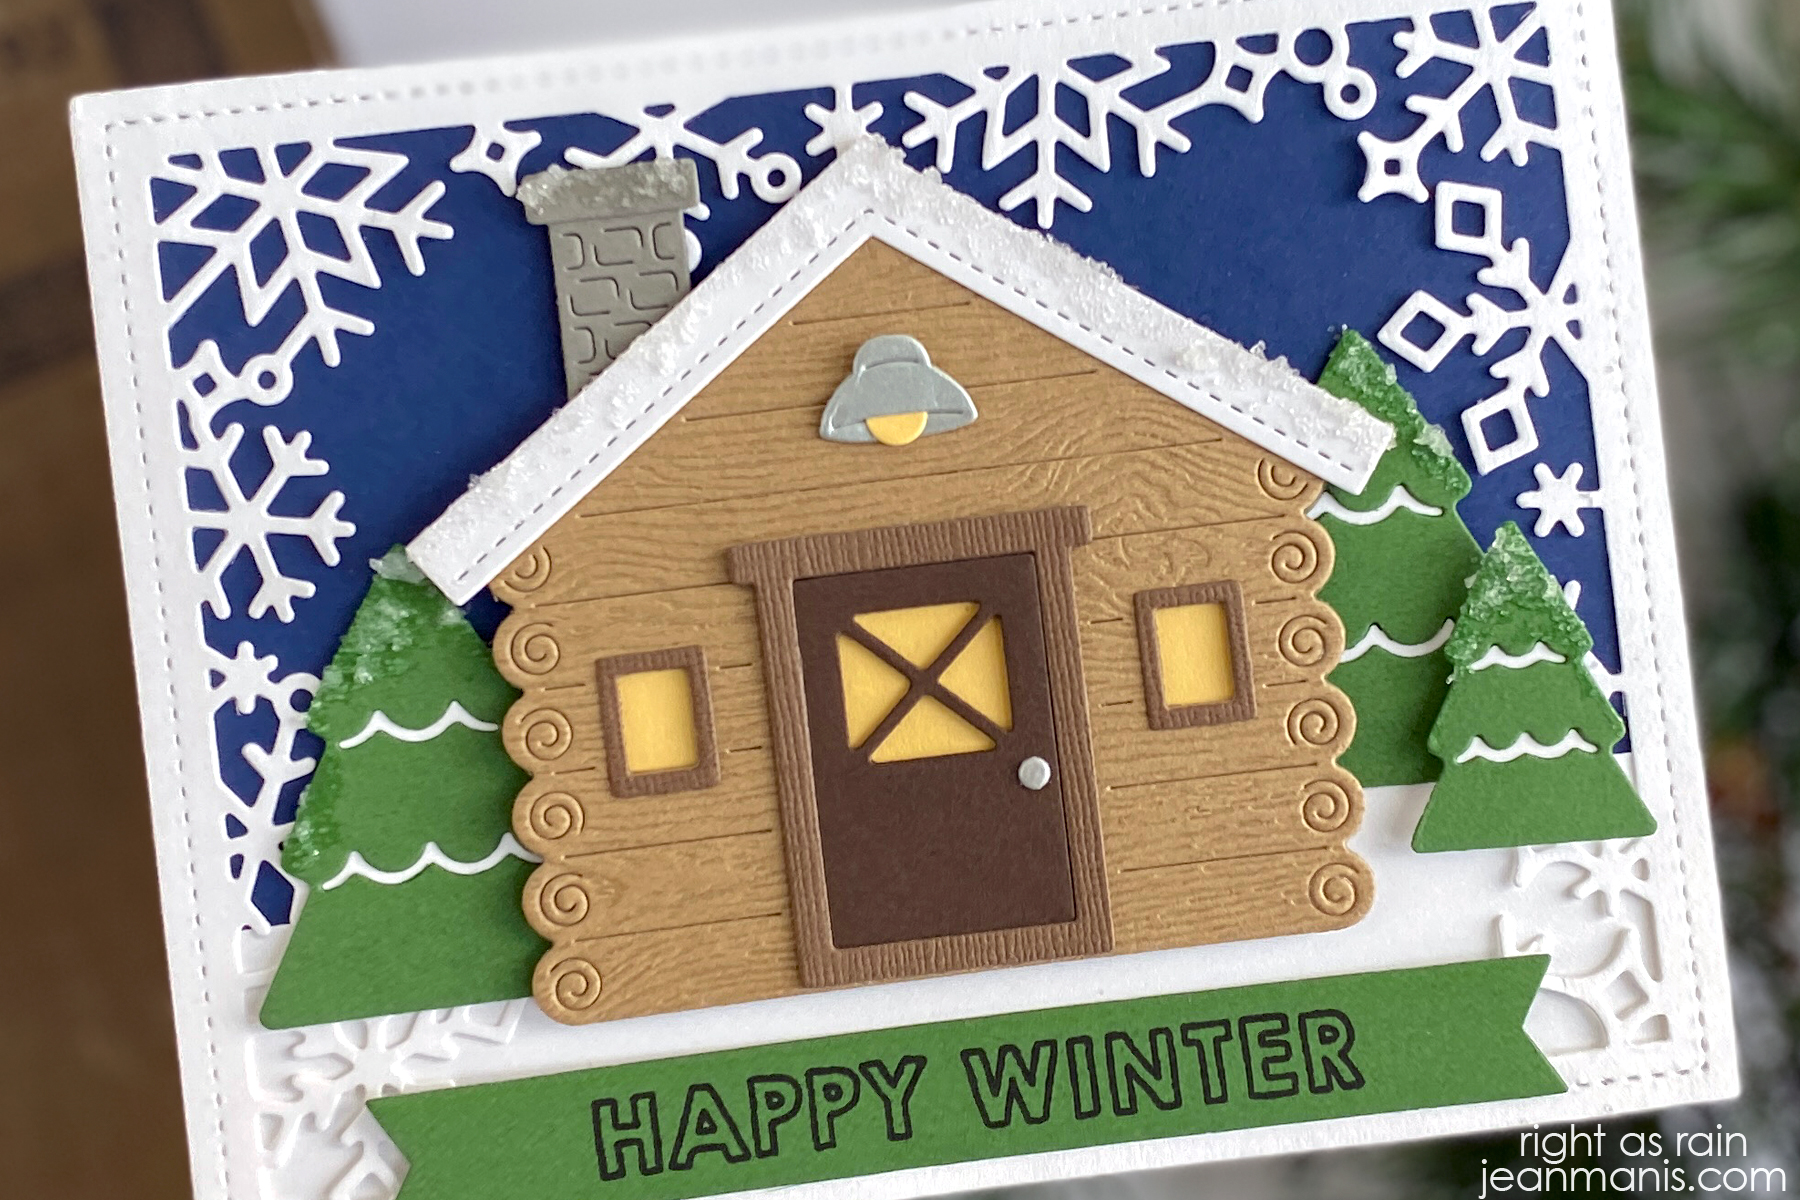
Hello! Today I am sharing a winter-themed card showcasing the Lawn Fawn Build-a-Cabin die set. This combination of elements works for a variety of occasions including Christmas or friendship. I previously shared a card featuring this die set here. On the card I am sharing today, I changed the orientation, the sentiment, and the color scheme.
- Create A2-size card base from navy cardstock.
- Cut Snow Flurries Backdrop from white cardstock. Add strip of white cardstock to the bottom of the navy cardstock for snow. Glue Snow Flurries Backdrop to base. Previously, I have tucked the card elements under the snow frame. Given the number of elements, I decided to have the snow frame take a back seat and added the elements above the frame.
- Cut Build-a-Cabin pieces from Light Brown Woodgrain, Chocolate Bar, dark brown, brushed silver, yellow, gray, and white cardstock. I used the Build-a-House Christmas Add On to cut a doorknob. Assemble cabin; cover back of windows and door with the yellow cardstock.
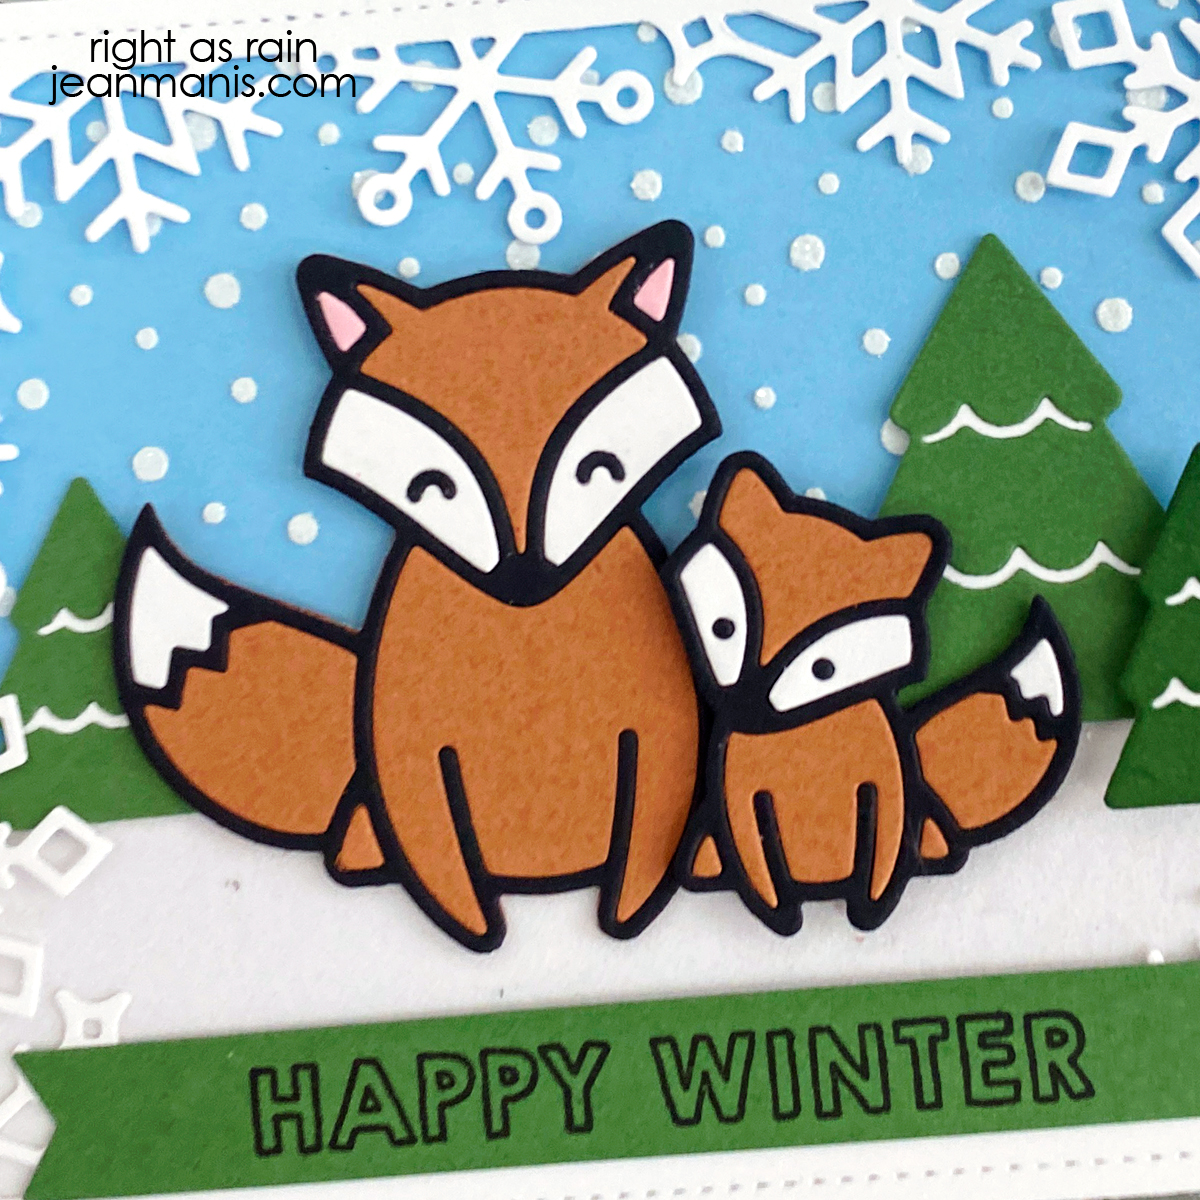
- Stamp Snowball Fight sentiment in black on Noble Fir cardstock and cut with die in the Everyday Sentiment Banners set; add to card.
- Cut evergreen trees from white and Noble Fir cardstock with dies in the Forest Backdrop set; assemble.
- Apply Snowfall Grit Paste to cabin roof and trees; set aside to dry.
- Add assembled Build-a-Cabin and trees, using foam adhesive as necessary for depth.