Lawn Fawn | Build-a-Gingerbread-House

Hello! Today I am sharing a holiday card showcasing the Lawn Fawn Build-a-House Gingerbread Add-On die set. Check out another holiday Build-a-House project here.

Lawn Fawn | Build-A-Gingerbread-House

  • To begin, I applied Lawn Fawn White Stencil Paste through the Snowy Sky stencil. on light teal cardstock. Once dry, I added the panel to a card base.
  • I stamped the Simply Winter Sentiments sentiment on a white cardstock panel that I cut (carefully!) with the Little Town Border. I added SU Daffodil Delight cardstock to the backs of the houses before adding the panel to the background.
  • I cut the Build-A-HouseĀ and Gingerbread Add-On pieces from glitter, white, green, yellow, tan, and Lipstick Red cardstock. I used a window die in the Pumpkin House set for the upstairs window.
  • For a frosting effect, I added Stickles Clear Rock Candy to the gumdrops (an older product that acted as an adhesive) and Distress Stickles Dry Glitter.
  • I added the house assembly to the background. For embellishment, I added snowflakes cut with the Mini Snowflakes die set from glitter cardstock to the snowy sky.

Lawn Fawn | Build-A-Gingerbread-House


Lawn Fawn | Cheery Deer

Hello! Today, I am sharing a holiday card showcasing the cute Lawn Fawn Cheery Deer die set. I appreciate that these dies include a solid back piece; it makes the inlay technique so much easier.

Lawn Fawn | Cheery Deer

  • To create the background, I cut the line of snowy trees with the Forest Border from SU Snowy White Velvet, trimmed it, and added it to a panel of light teal cardstock. I added the assembly to a card base.
  • As a frame, I cut the Forest Backdrop from white cardstock and glitter cardstock (the trees). Once assembled, I added it to the card base front.
  • I cut the deer with the Cheery Deer from Black Licorice, tan, Paper Bag, and Chocolate Bar cardstock, inlaying the pieces. (It occurred to me, as I was writing this post, that a small red pompom would be cute on his nose.) I cut the string of lights from Black Licorice, Lipstick Red, SU Daffodil Delight, and an MFT green that is no longer manufactured. I added the assembly to the center of the card with foam adhesive.
  • I stamped the Simply Winter Sentiments sentiment on Lipstick Red and cut it with one of the Everyday Sentiment Banners. To embellish, I cut snowflakes from glitter cardstock with the Mini Snowflakes dies.

Lawn Fawn | Cheery Deer


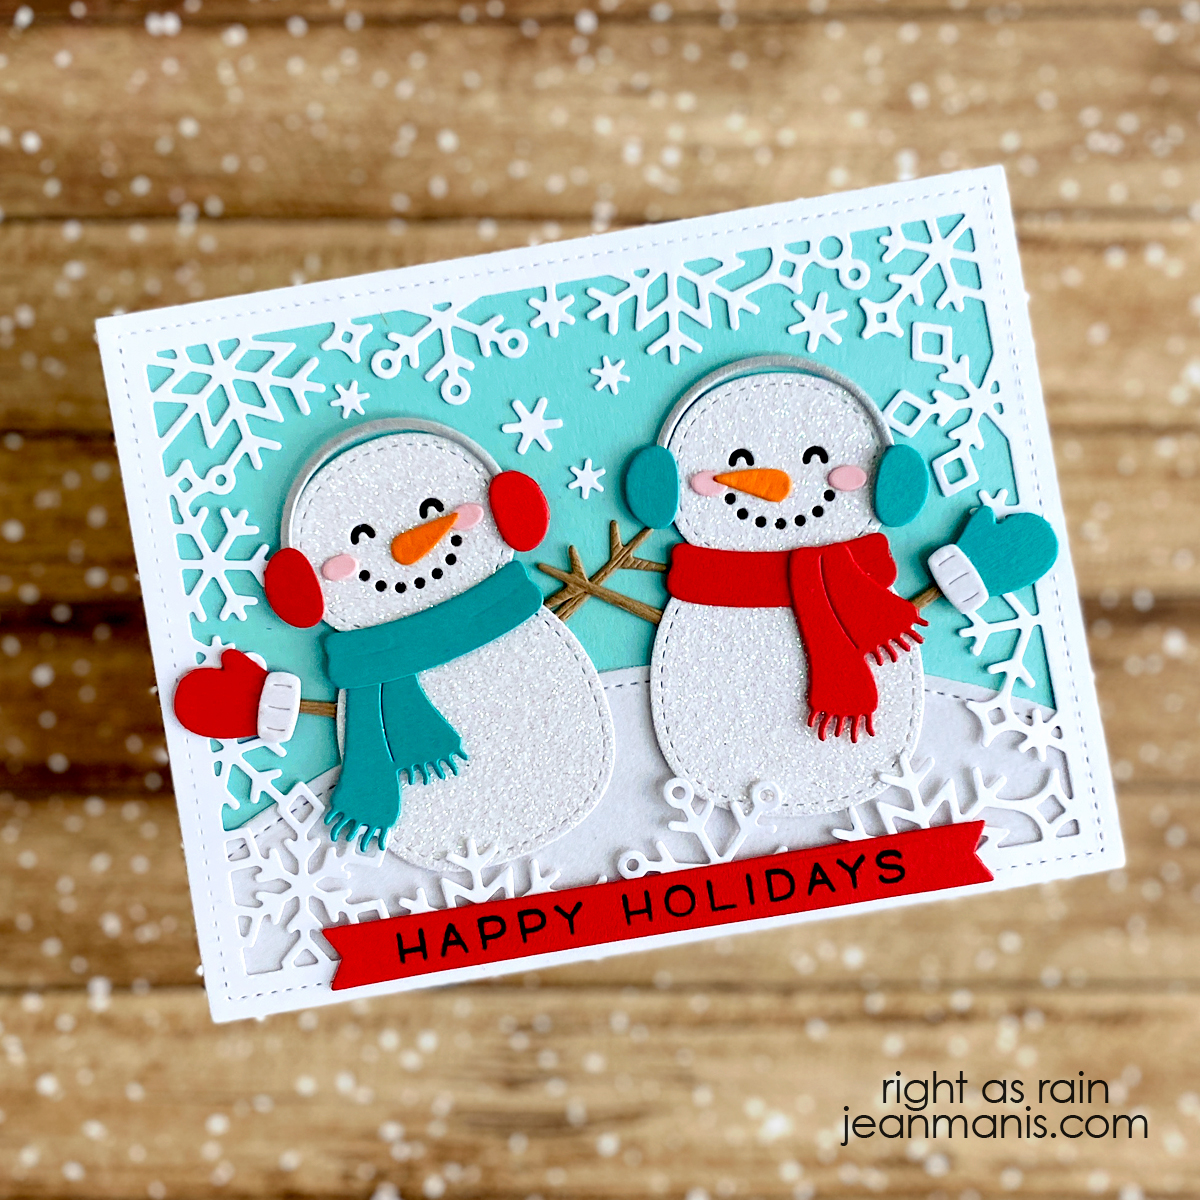
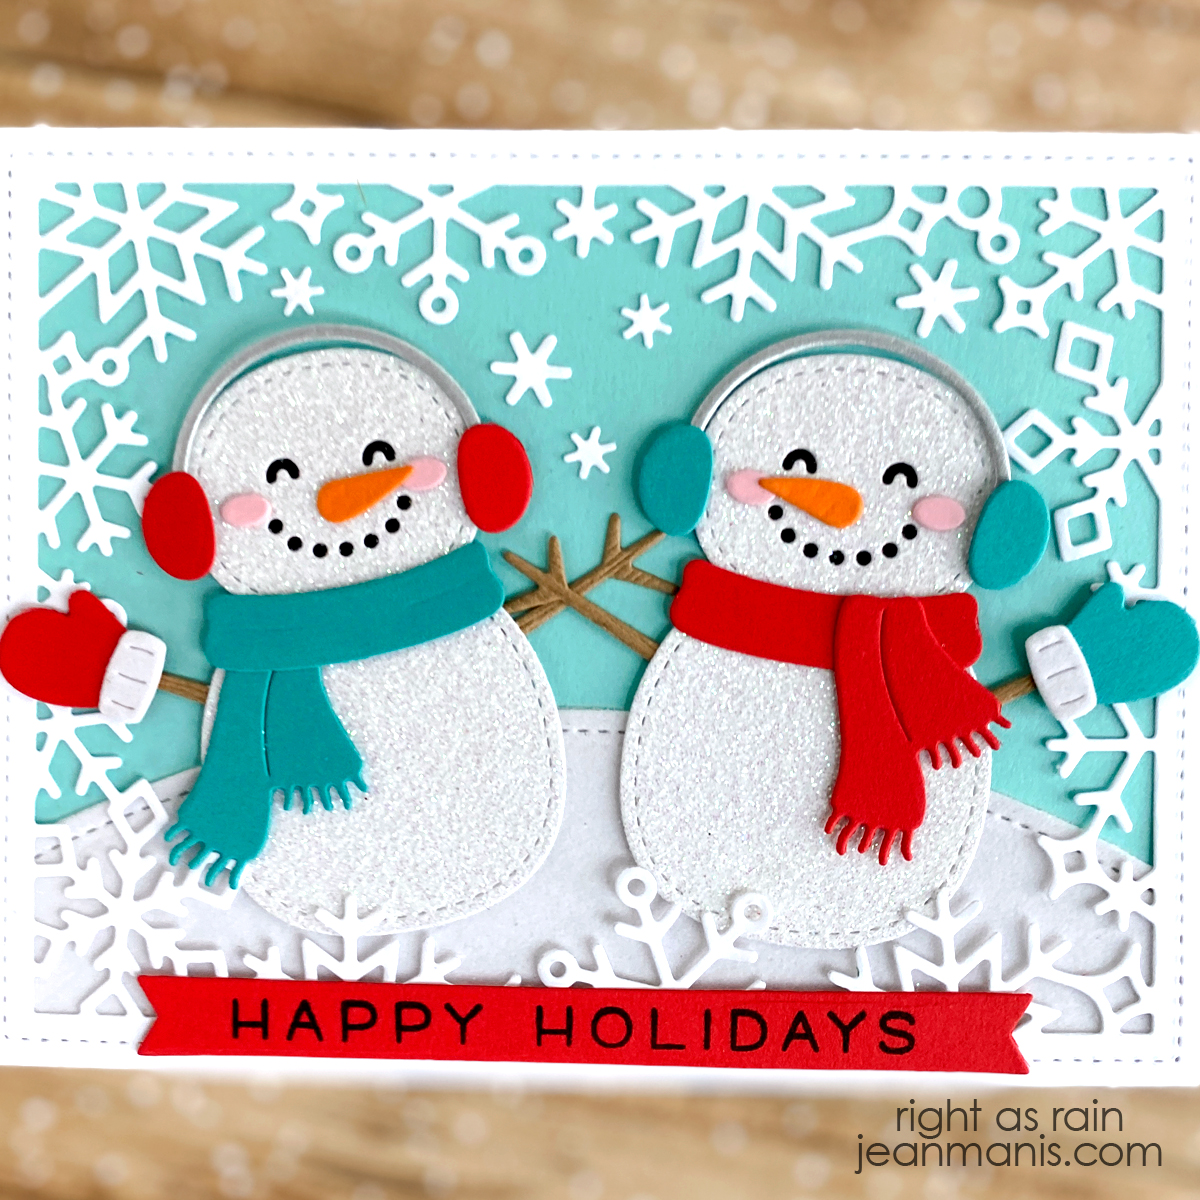
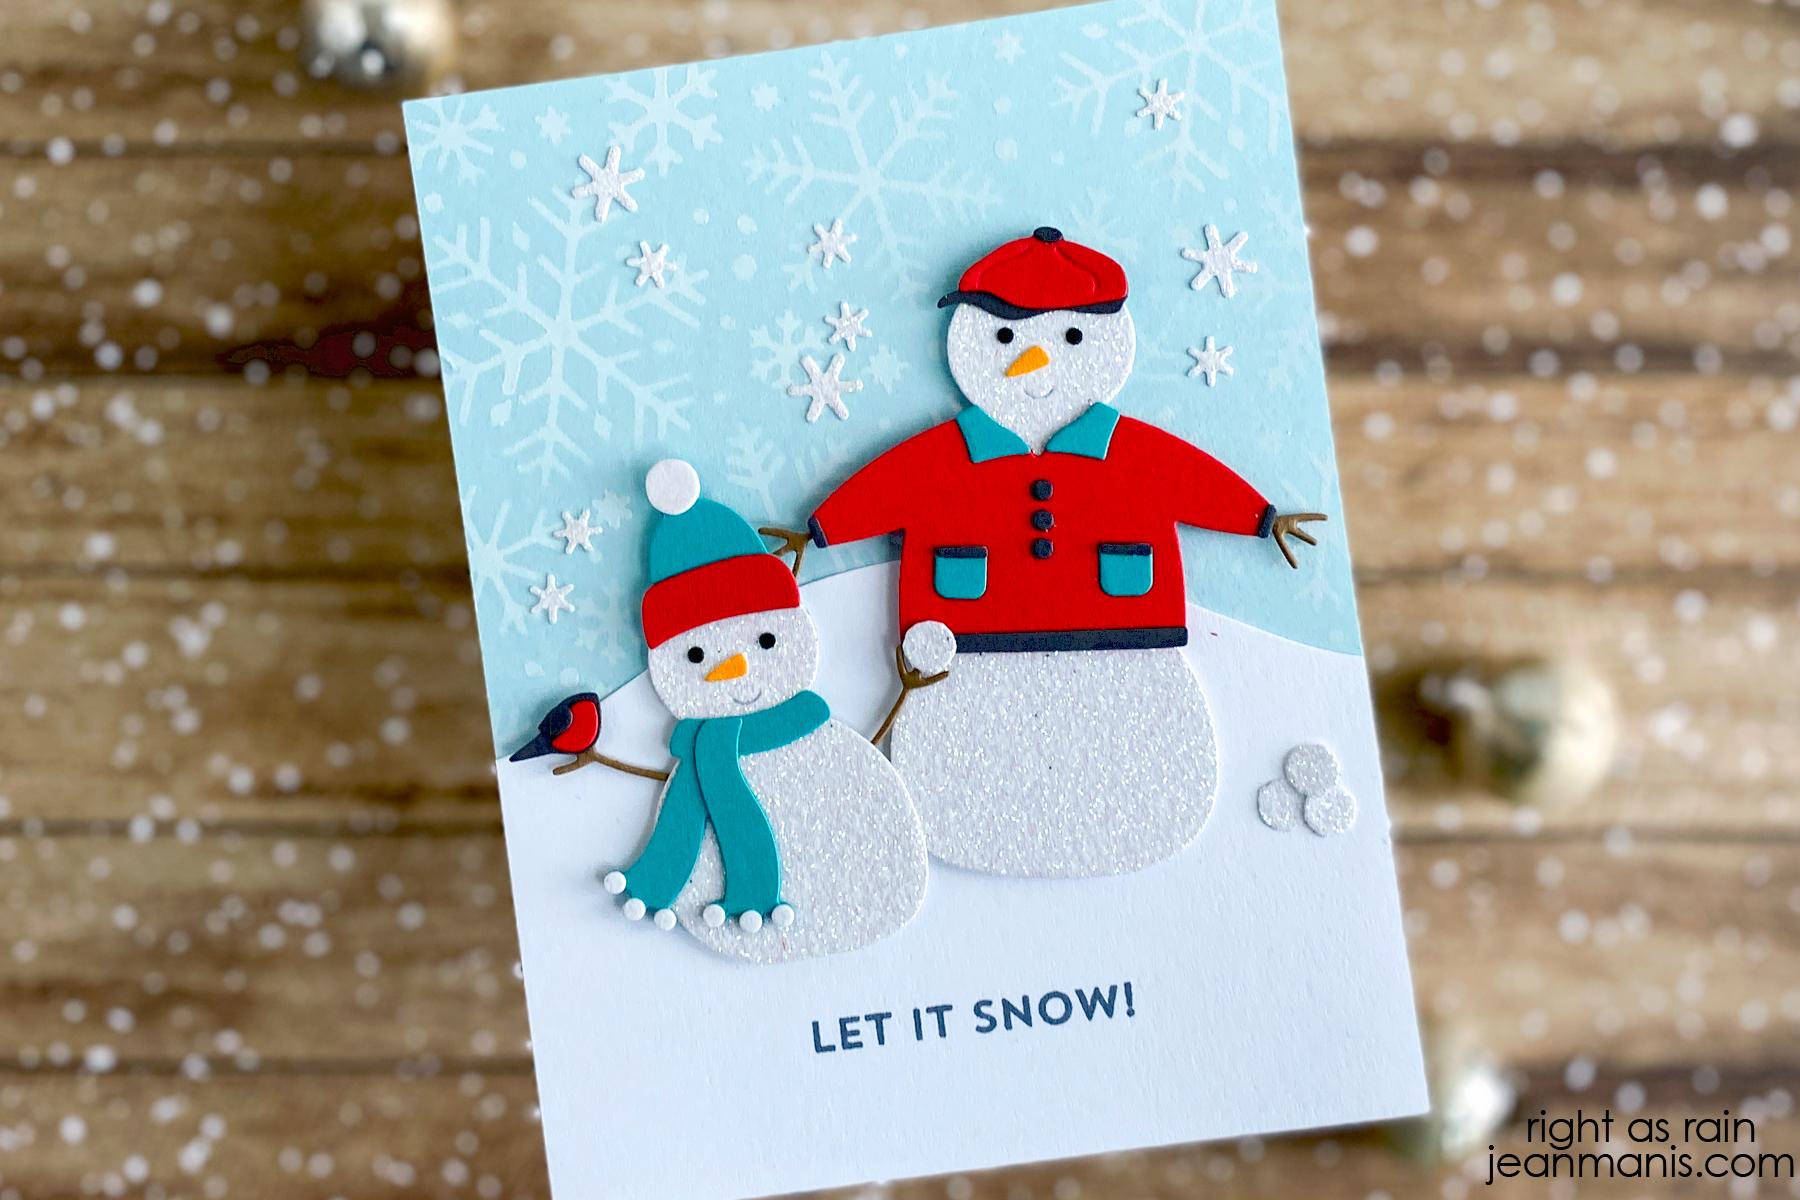
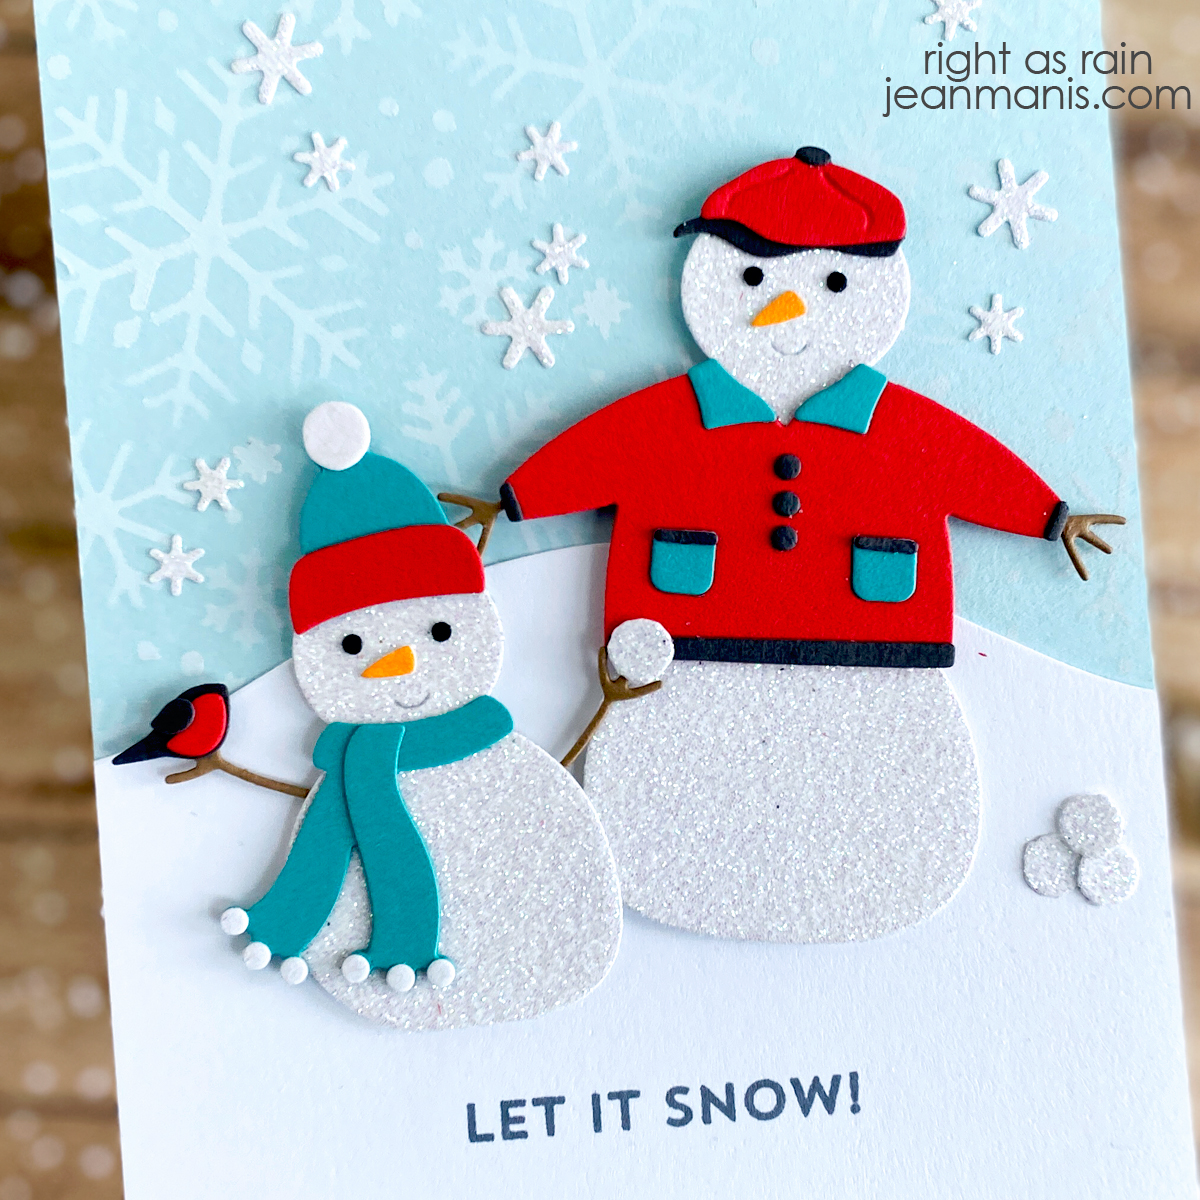
Lawn Fawn | Build-A-Snowman

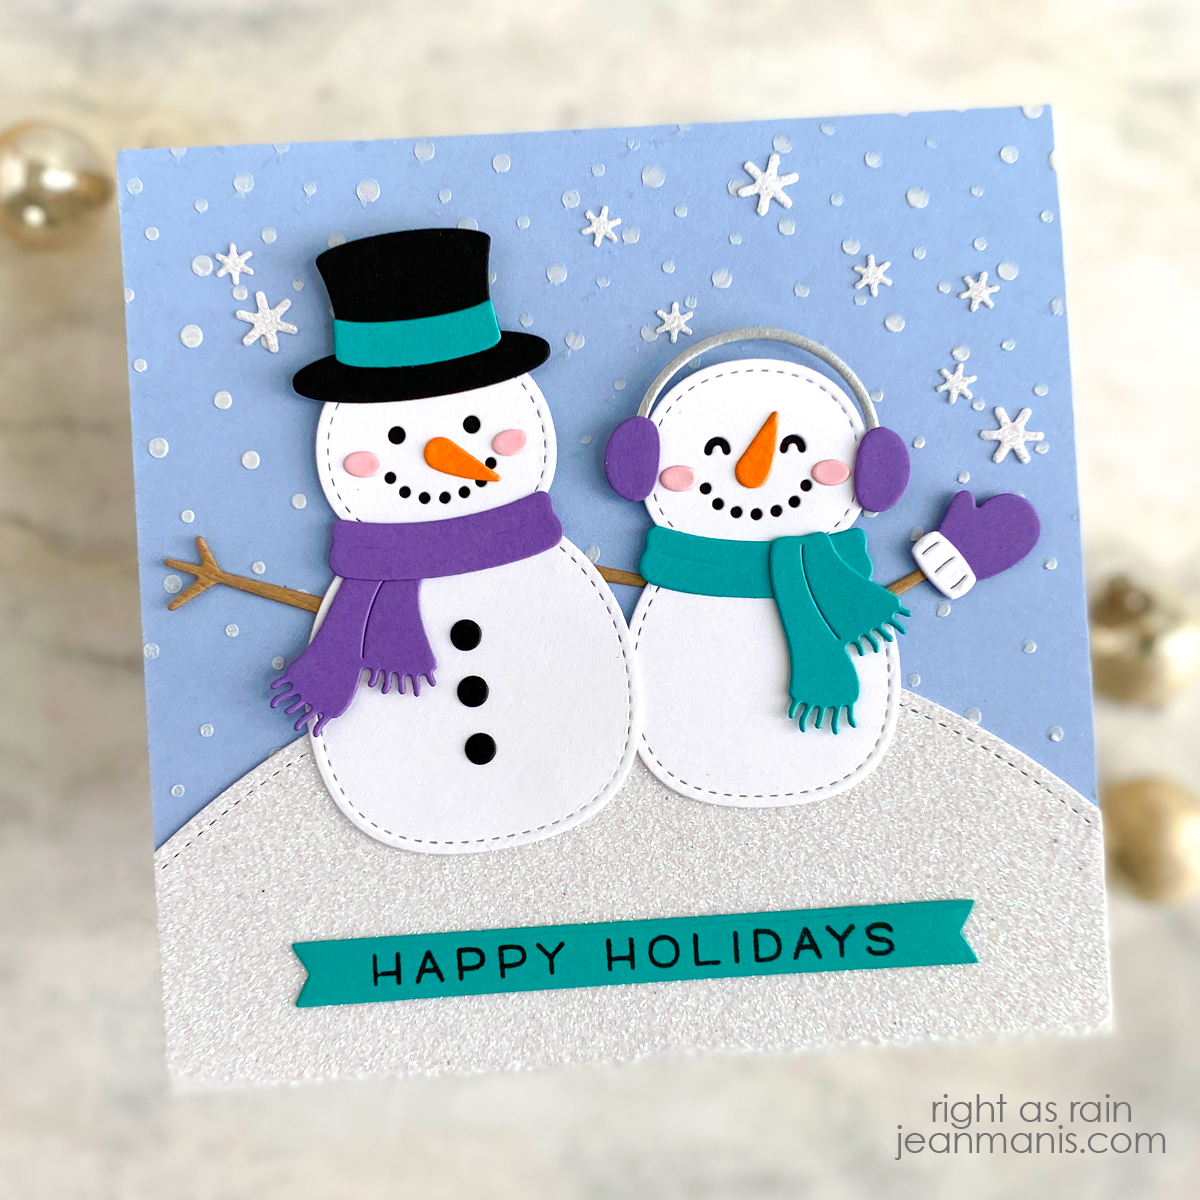
Hello! Today I am sharing a Christmas card featuring the Lawn Fawn Build-A-Snowman die set from their Fall/Winter 2022 Release. I am noticing that I have started crafting more wintery-themed cards as the days have gotten darker and the temps cooler!

Lawn Fawn | Build-A-Snowman

  • I began my adding Lawn Fawn White Stencil Paste through the Snowy Sky stencil on to paper from a winter-themed pad (because I liked the particular shade of blue). I was concerned that the paste would be too much for the paper and found myself pleased that the paste went on smoothly and dried without any issues.
  • The background was added to a 5-1/2 inch square card base. I needed the extra horizontal space to give the snowman and snowwoman ample room.
  • I cut the snowbank with a die in the Simple Stitched Hillside Borders set from glitter cardstock.
  • I cut the snowmen with the Build-A-Snowman set from colored, white, Light Brown Woodgrain, and Black Licorice cardstock and assembled the pieces.
  • I stamped the Simply Winter Sentiments in black on teal cardstock and cut it with a die in the Everyday Sentiment Banners set.
  • I embellished with snowflakes cut from glitter cardstock with the Mini Snowflakes set.

Lawn Fawn | Build-A-Snowman


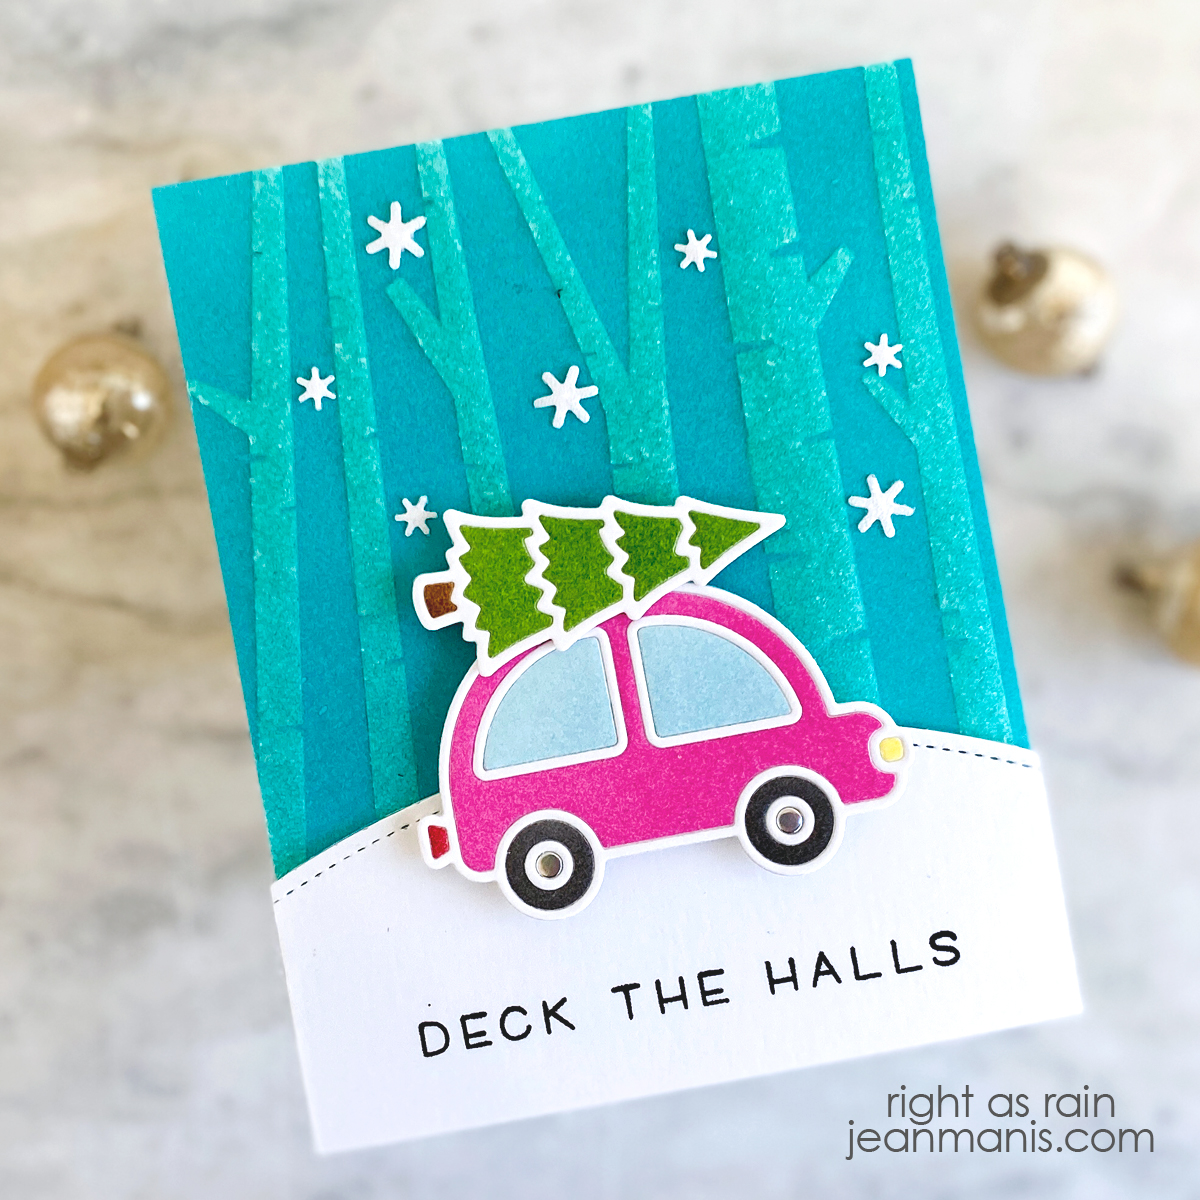
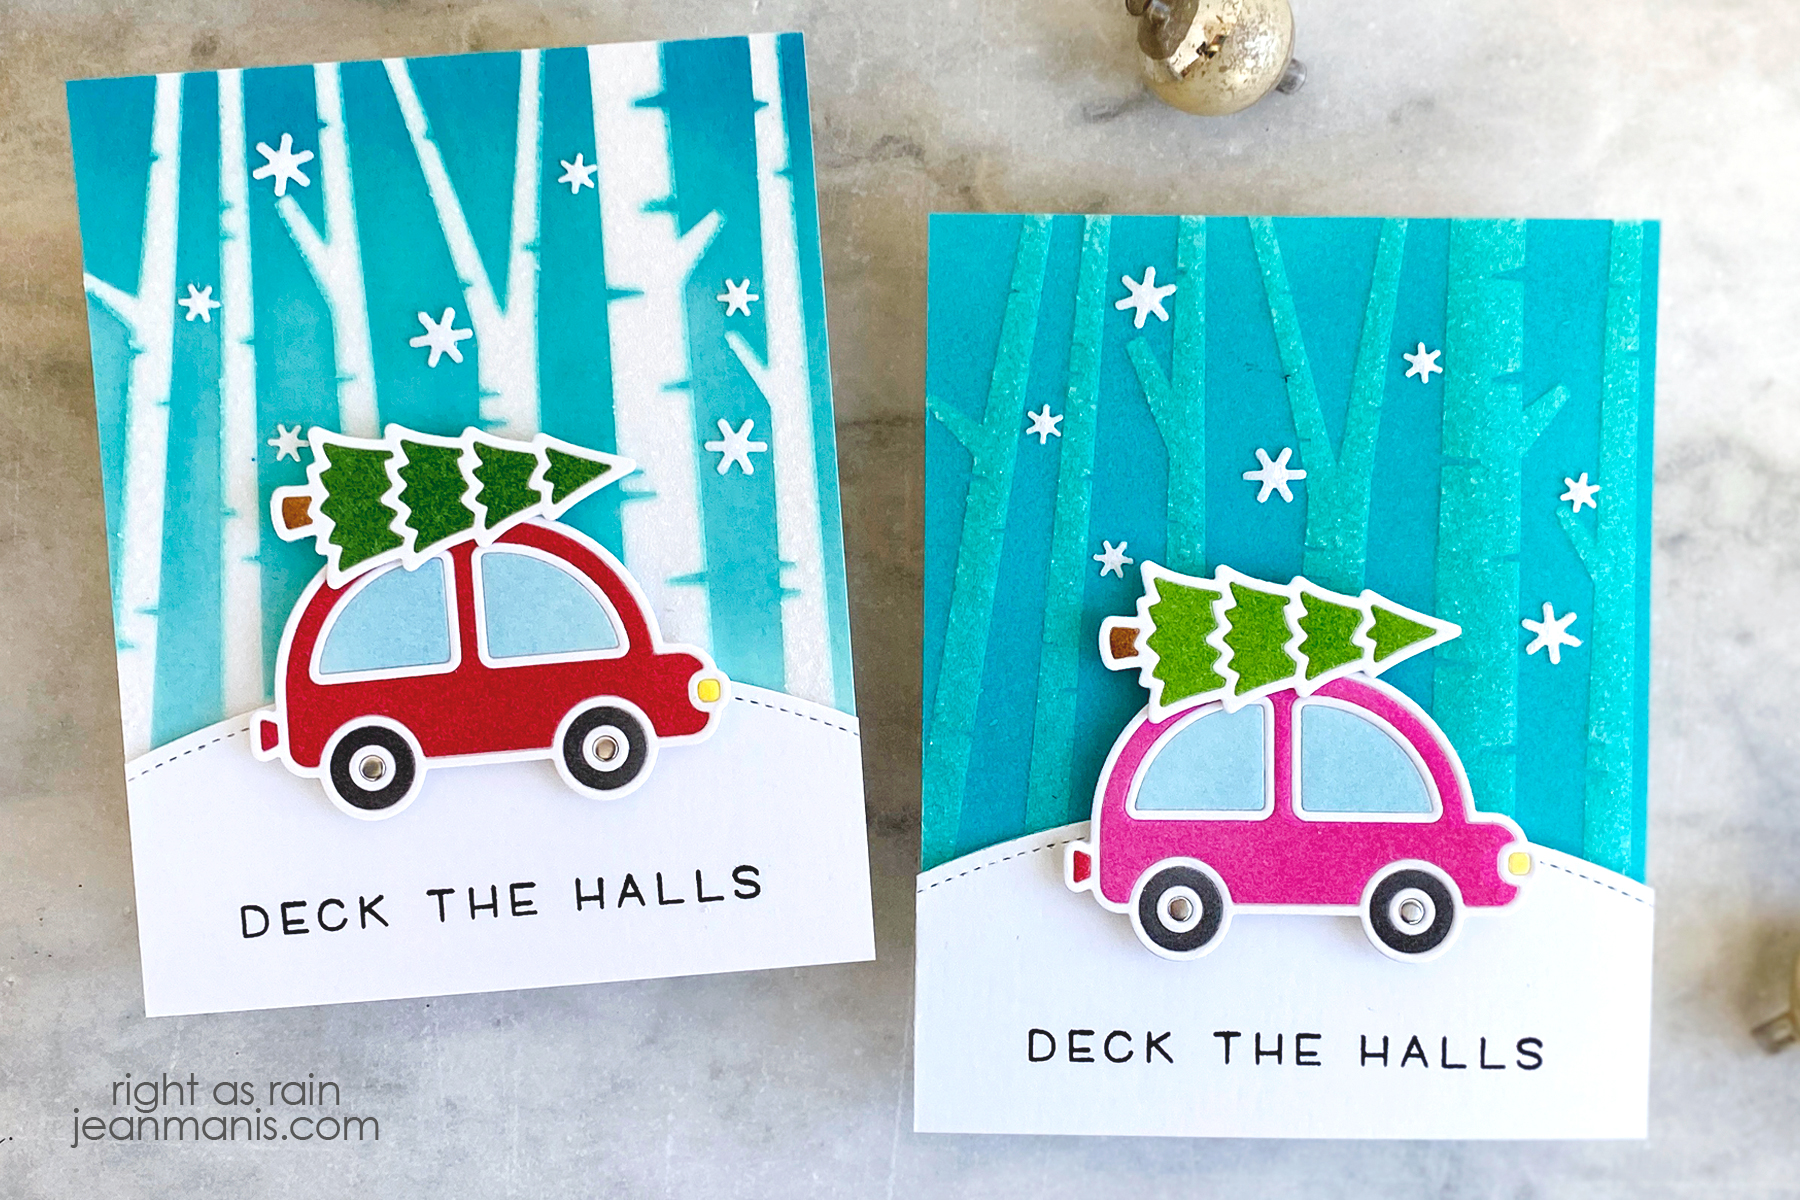
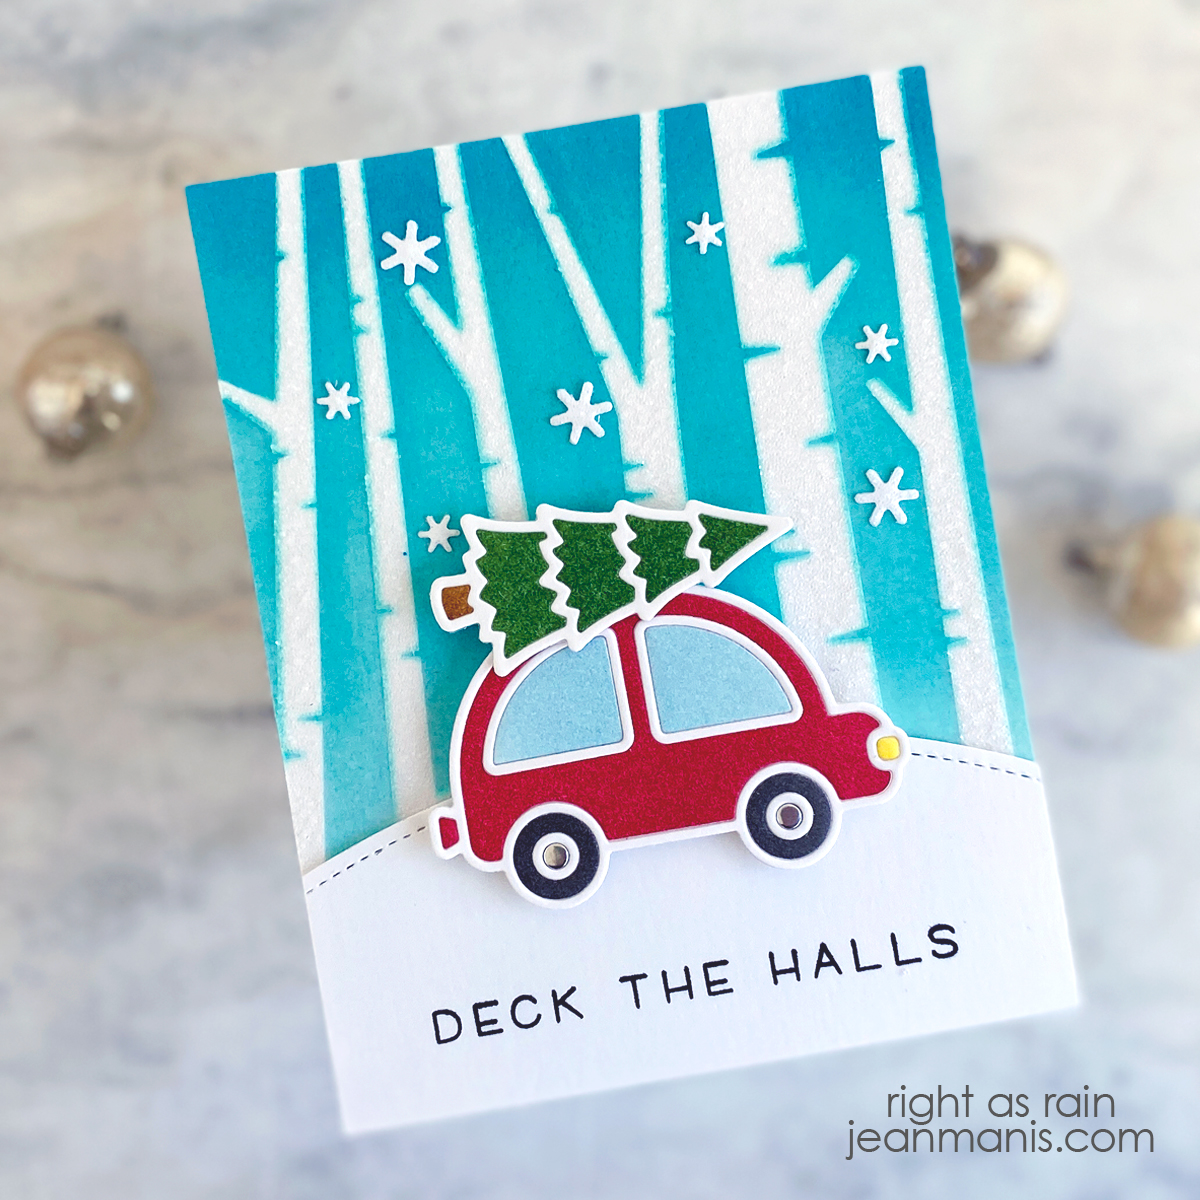
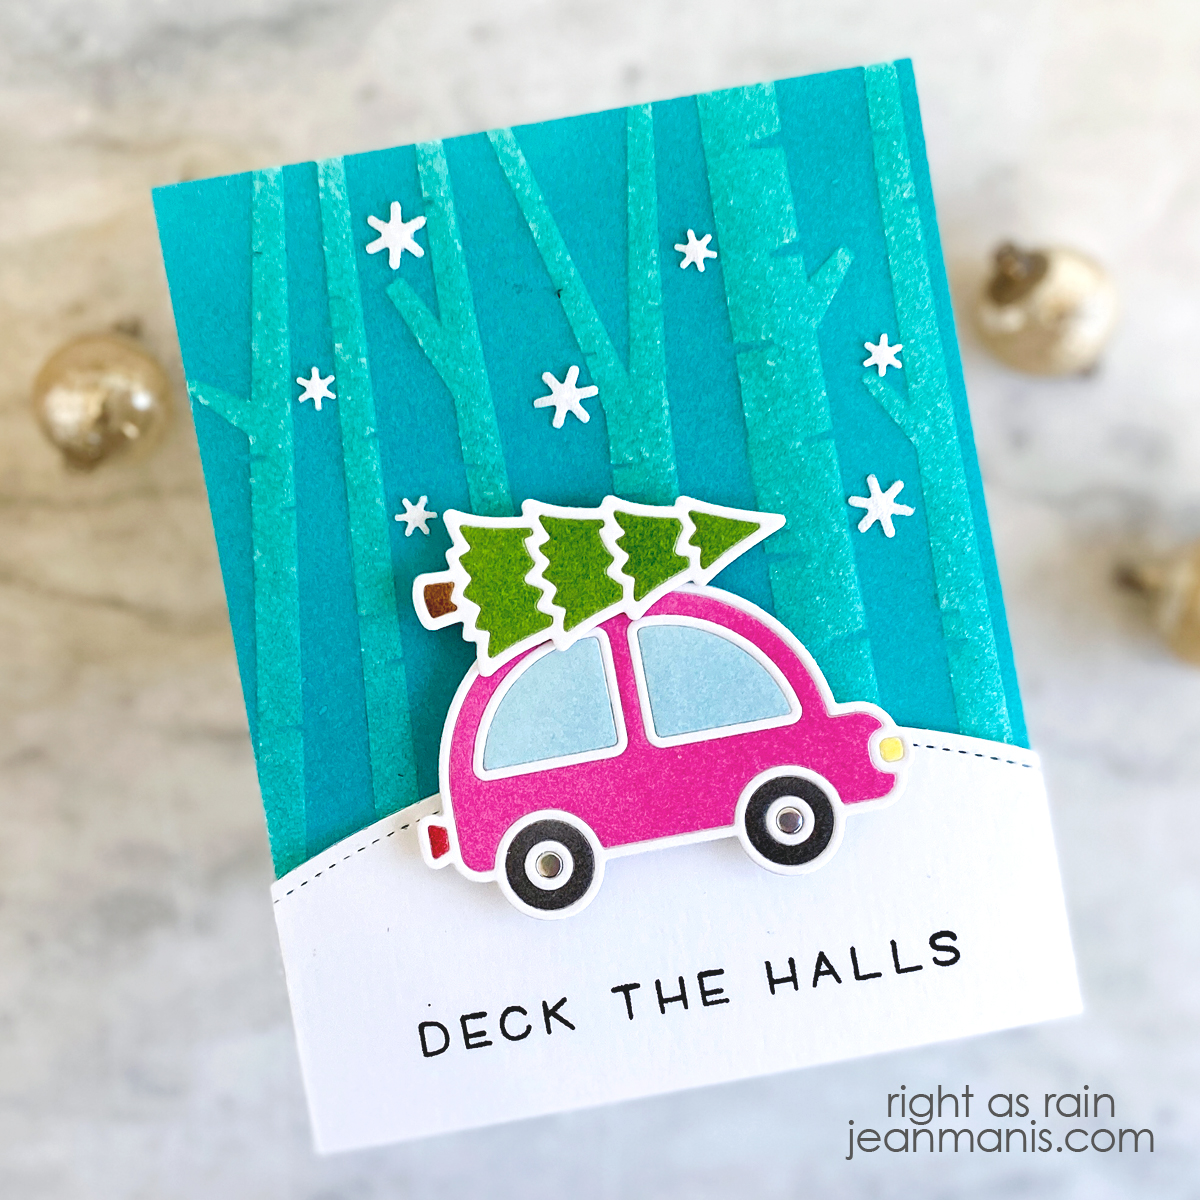
Lawn Fawn | Deck the Car

Hello! Today I am sharing a holiday card showcasing the Deck the Car die set from the Lawn Fawn Fall/Winter 2022 release. This card came together quickly.

Lawn Fawn | Deck the Car


  • Create A2-size background from Mermaid cardstock and attach to card base.
  • Die-cut Stitched Mountain Border from purple and white cardstock. Assemble and add to card base.
  • Stamp the Simply Winter Sentiments on white cardstock. This is an older stamp set that I reach for again and again. Cut top with the Forest Border die. Add panel to card base.
  • Cut Deck the Car from a variety of cardstock colors. The set includes solid dies for the car, tree, and gift (which I did not include) that make is easy to inlay the various pieces. Assemble and add to scene with foam adhesive.
  • Embellish with snowflakes cut with the Mini Snowflakes die set.

Lawn Fawn | Deck the Car


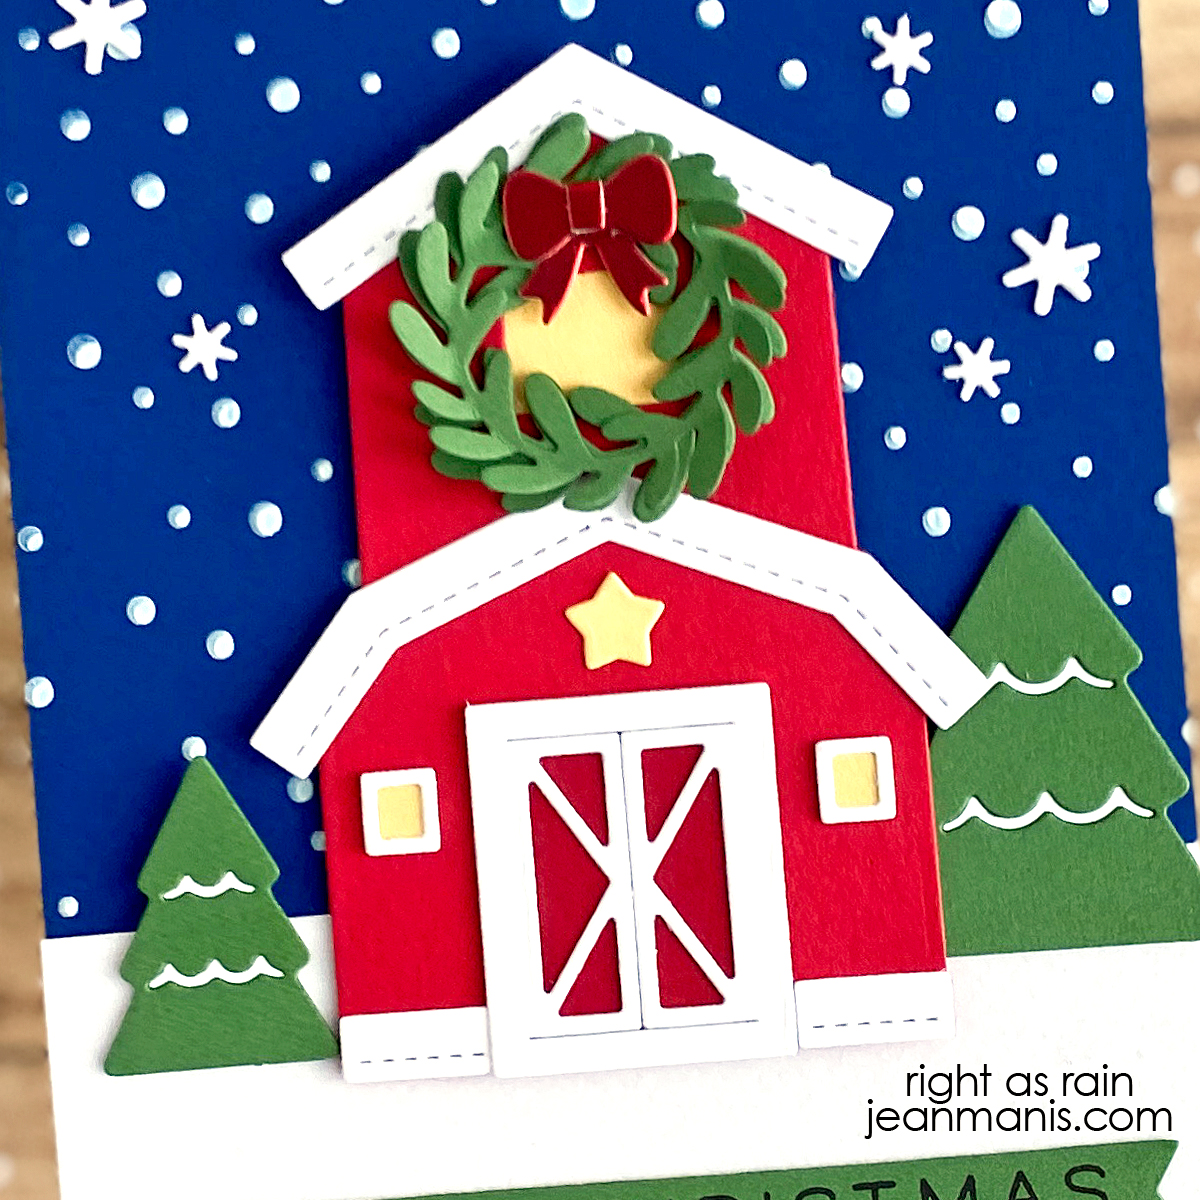
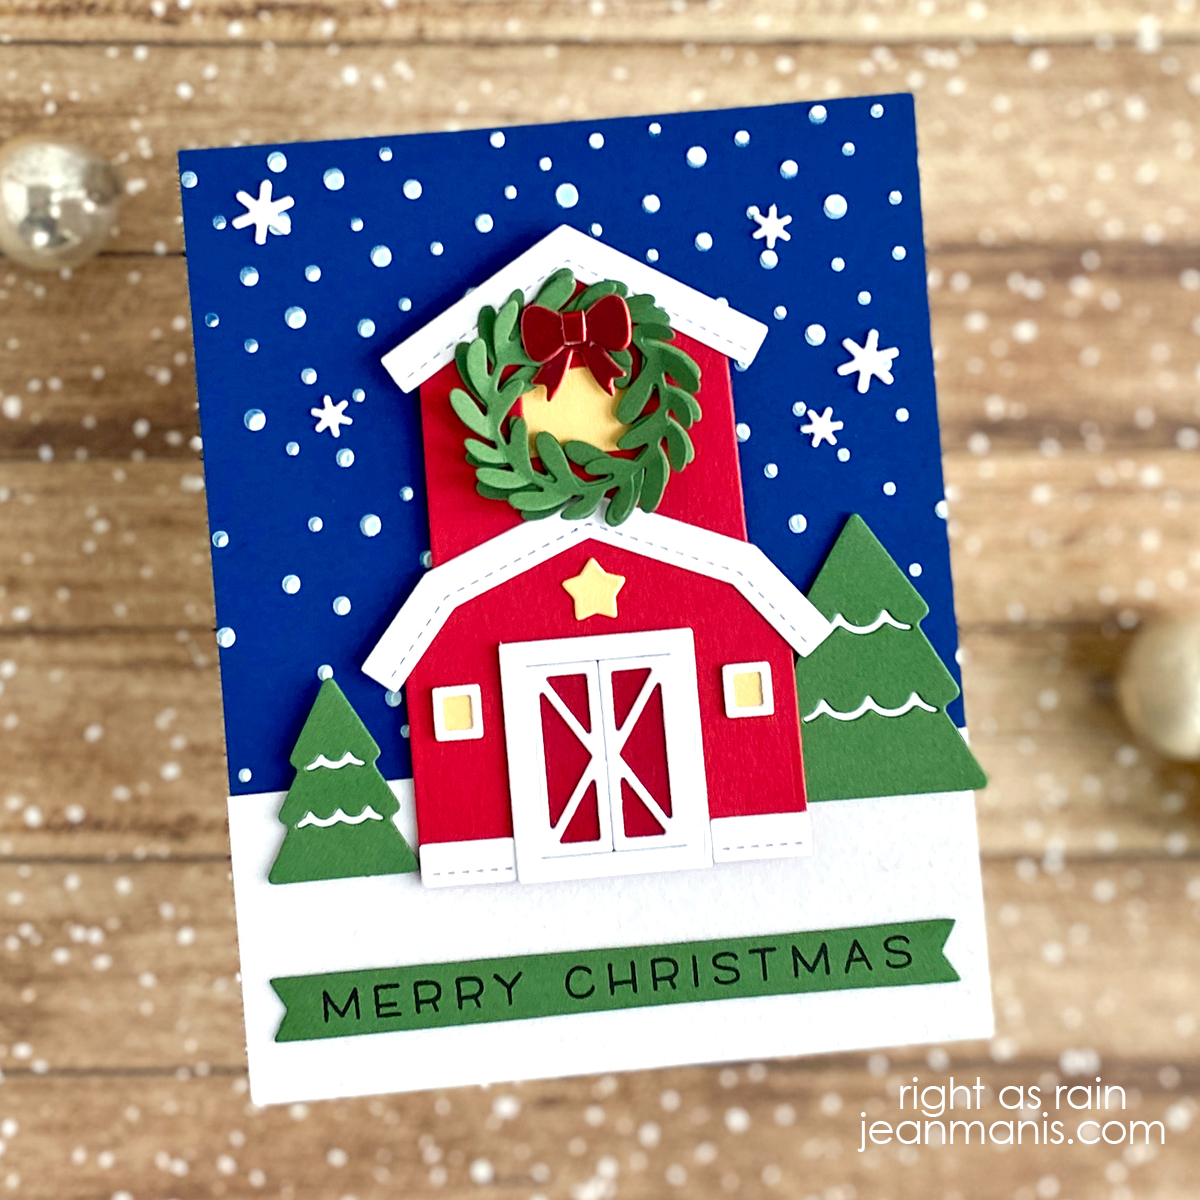
Lawn Fawn | Halloween Haunted Barn

Hello! Today, I am sharing a Halloween scene featuring a combination of Lawn Fawn products.

Lawn Fawn | Halloween Haunted Barn

  • I used the Stitched Cloud Backdrop to cut the background from light purple cardstock and attached it to an A2-size card base.
  • I stamped the Tiny Halloween sentiment in black ink on Noble Fir cardstock and cut the top with the Grassy Border die.
  • I cut the Spooky Fence border from Black Licorice cardstock and added it to the scene.
  • I cut the Build-A-Barn from a variety of cardstock colors and assembled it.
  • I decorated the scene with elements from the Build-A-House Halloween and the Scalloped Treat Box Halloween sets.

Lawn Fawn | Halloween Haunted Barn