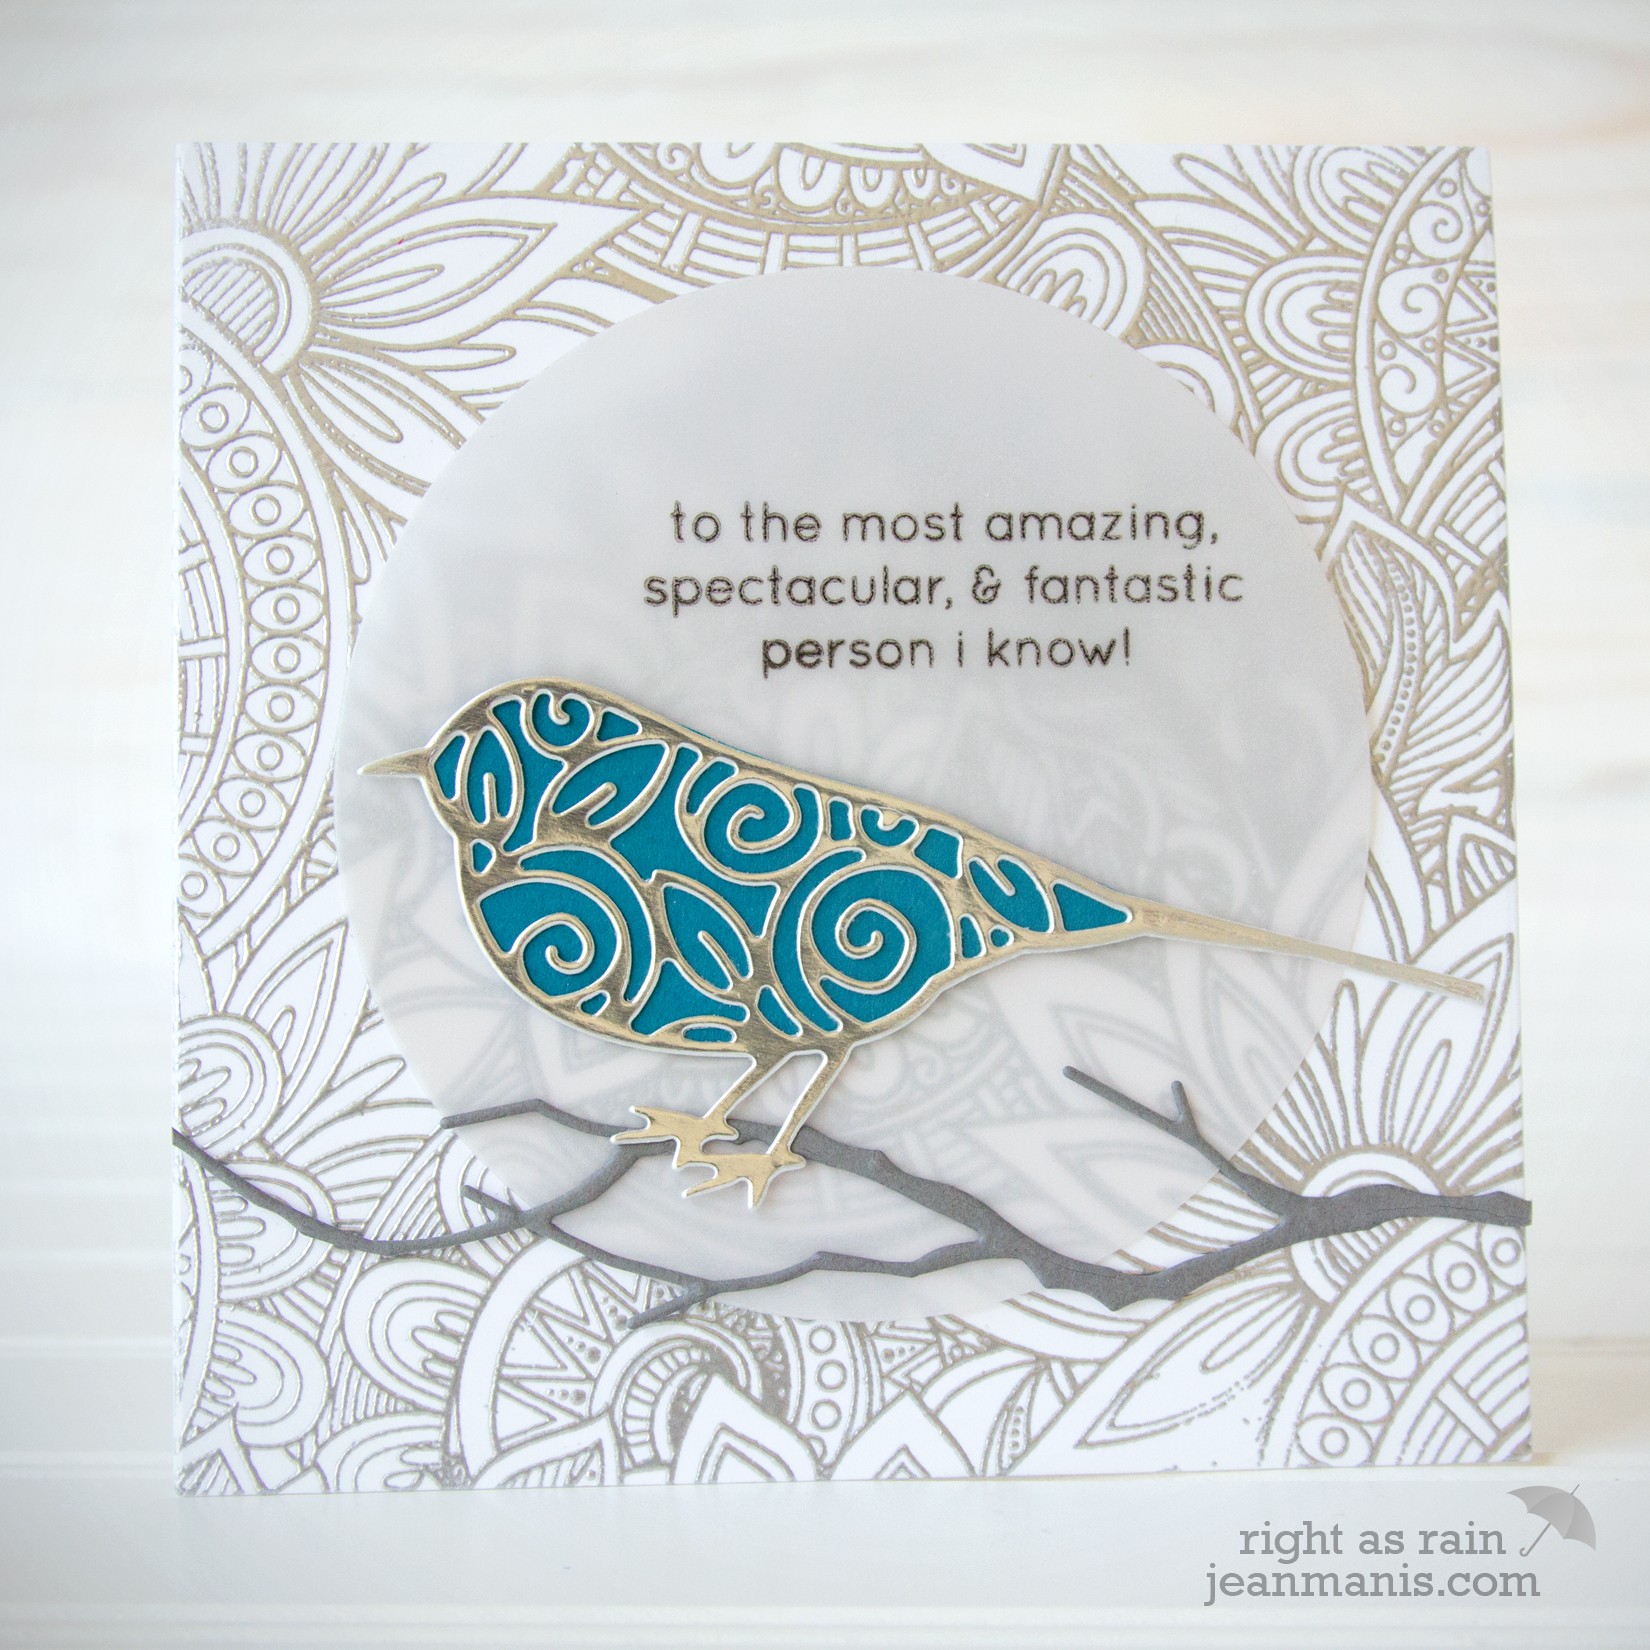
Hello! Today I am sharing a CAS encouragement card combining die-cuts and a Distress Oxide ink background. Appropriately, it began to rain just as I finished this card!
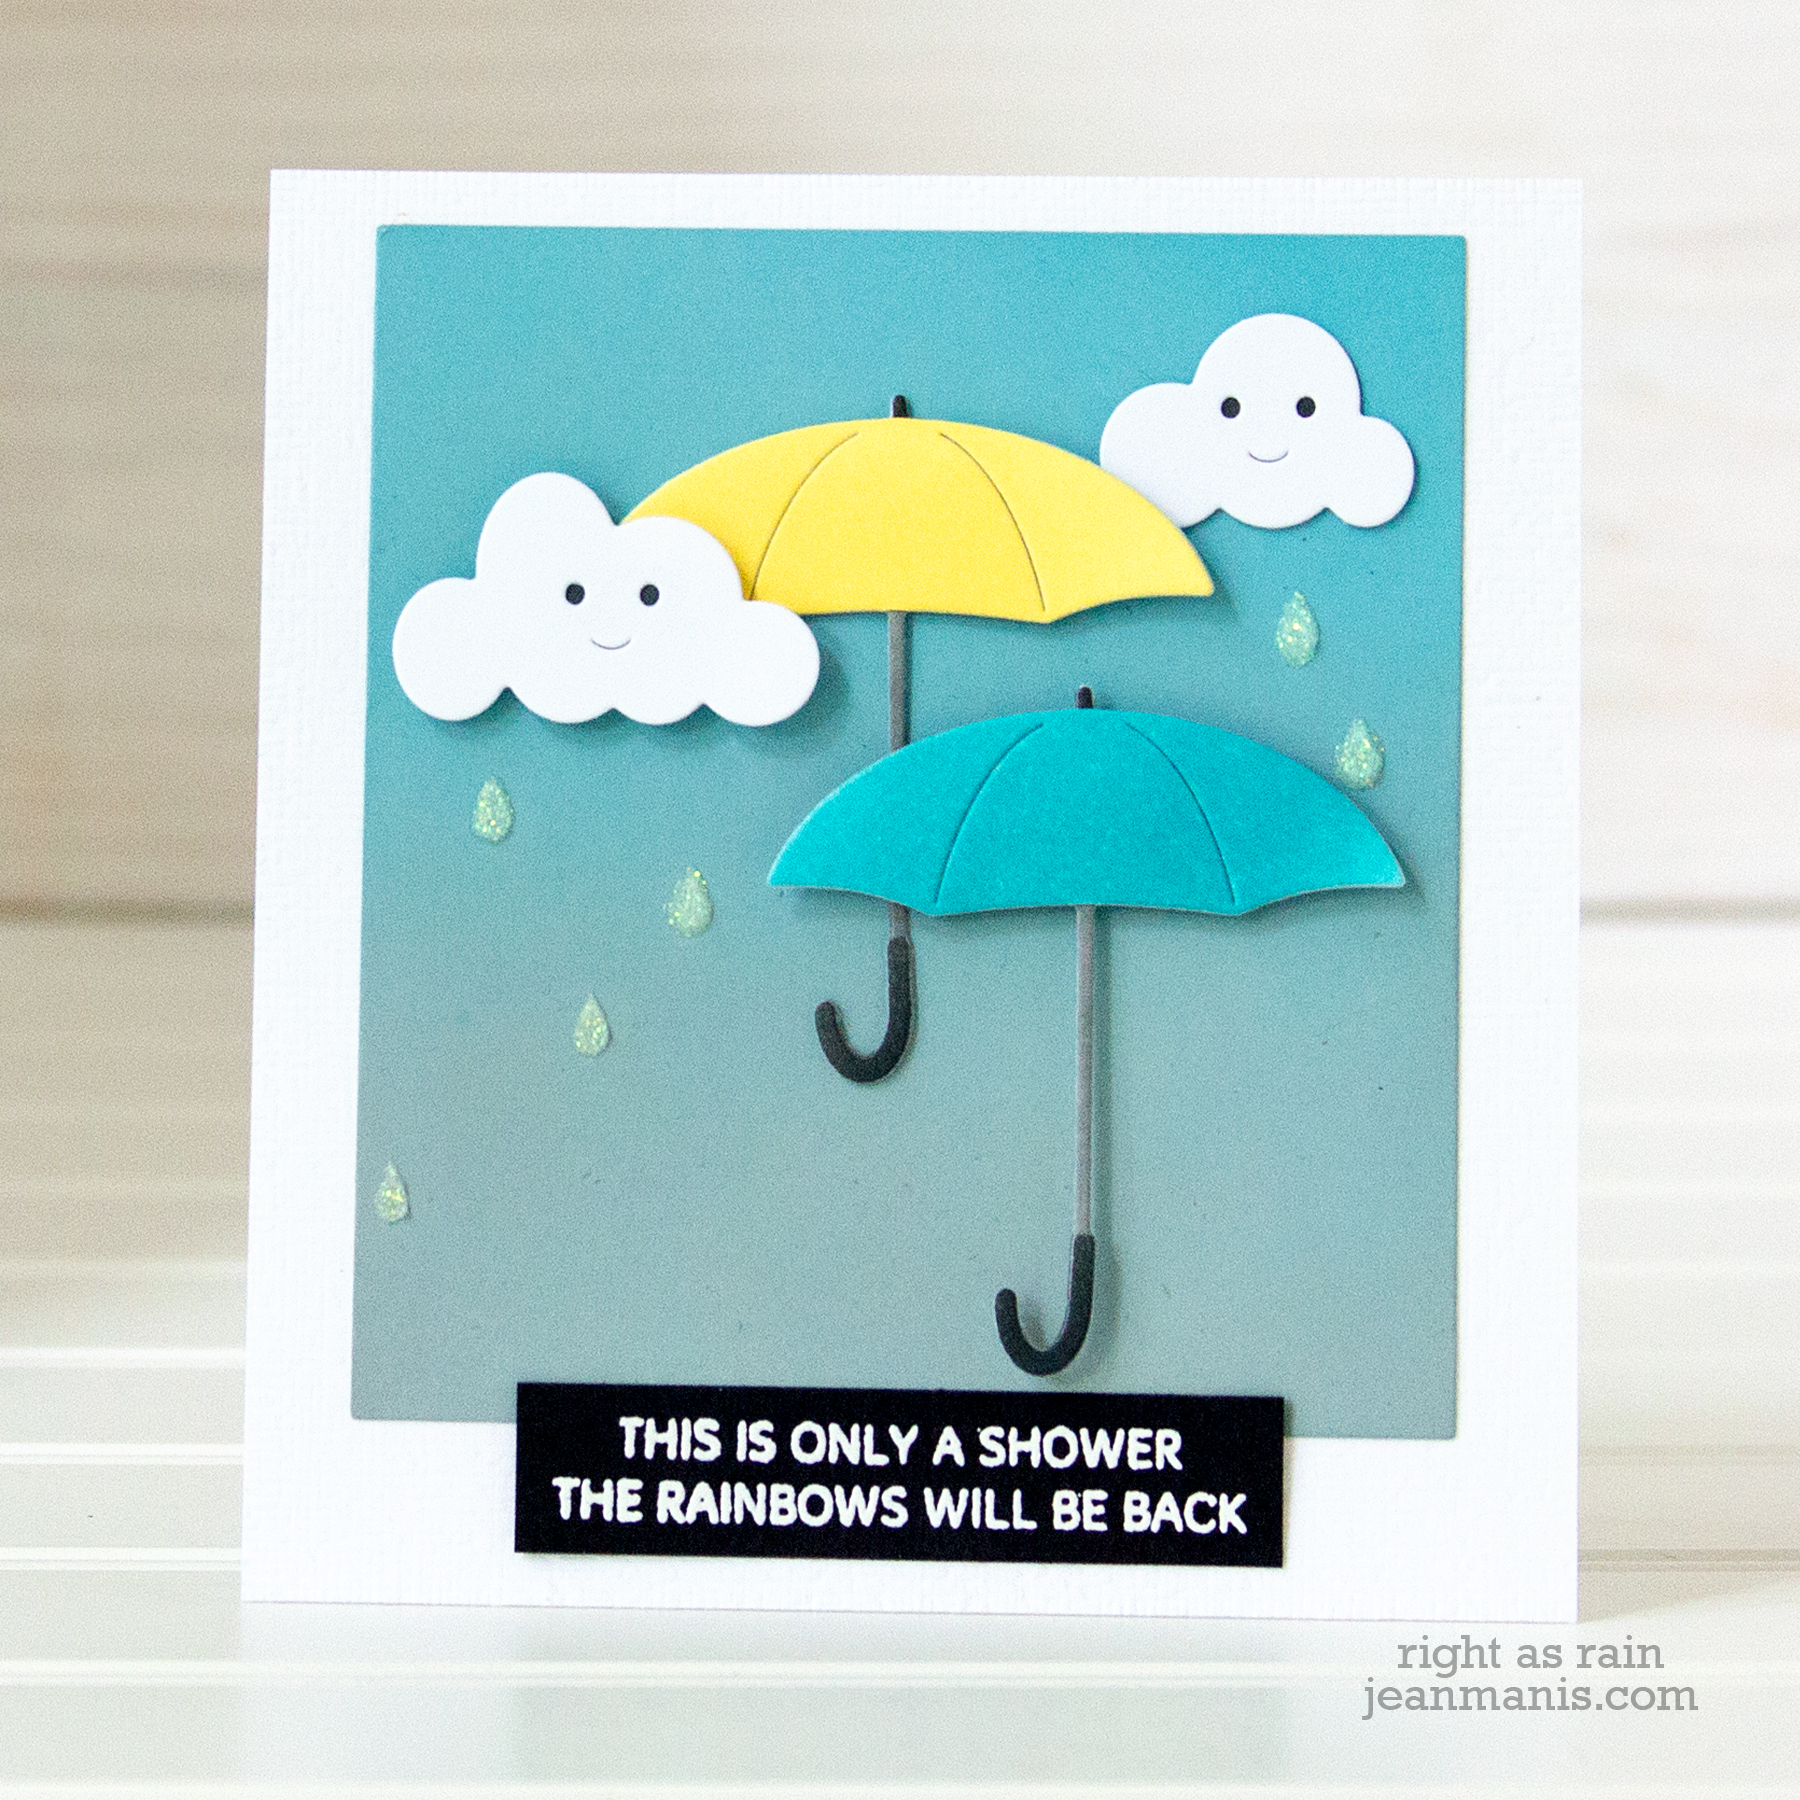
- I created the background with Distress Oxide Pumice Stone and Tumbled Glass inks. I added a little Broken China at the top of the blue and a little Hickory Smoke at the bottom of the gray. I cut the panel with a square die.
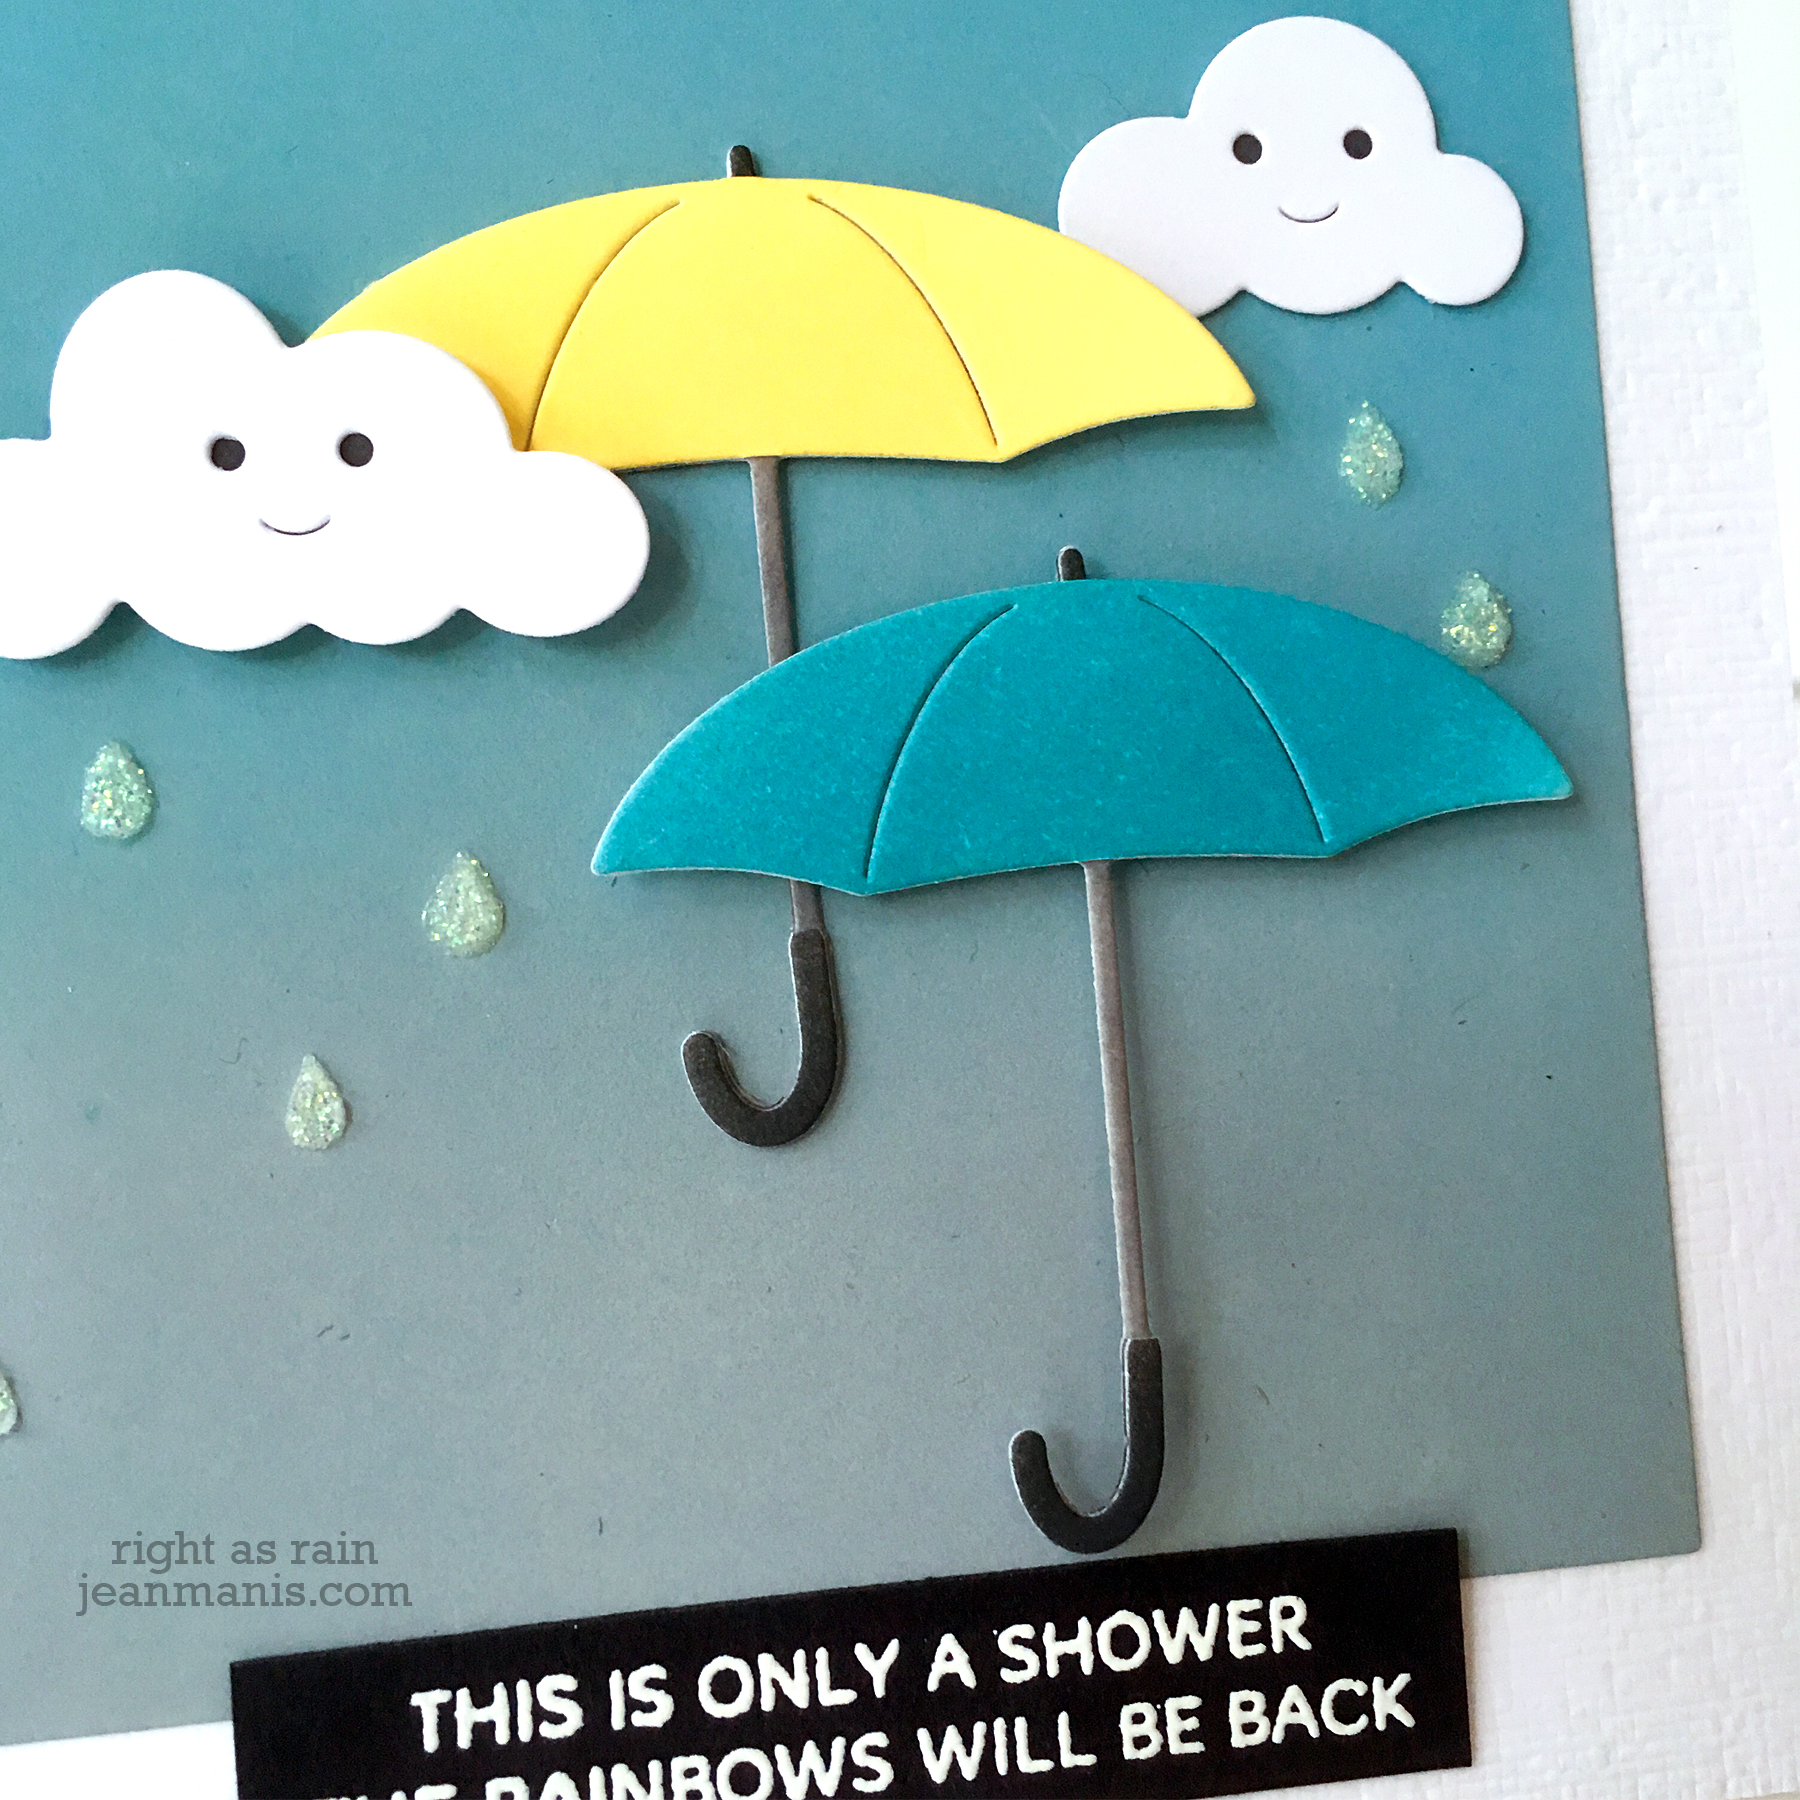
- With a now-retired Memory Box Umbrella die (one of the very first dies I ever purchased), I cut the umbrellas from cardstock colored with Hickory Smoke (umbrella shafts), Peacock Feathers and Squeezed Lemonade (umbrella canopies), and Black Soot (handles and end). I pieced the umbrellas together by performing some fussy cutting (the die is one-piece).
- I cut the Happy Clouds from white cardstock and backed them with cardstock colored with Black Soot.
- I applied Moonstone Glimmer paste through the MFT Raindrops stencil (retired) in select places. The SSS Raindrops stencil has similarly-sized raindrops.
- I heat-embossed the You Got This sentiment on black cardstock and cut it with one of the Lawn Fawn banner dies.
- I dry-embossed the card base with the Subtle Dynamic Textured Impressions Embossing Folder from Stampin Up’ (retired).
Thanks for visiting!

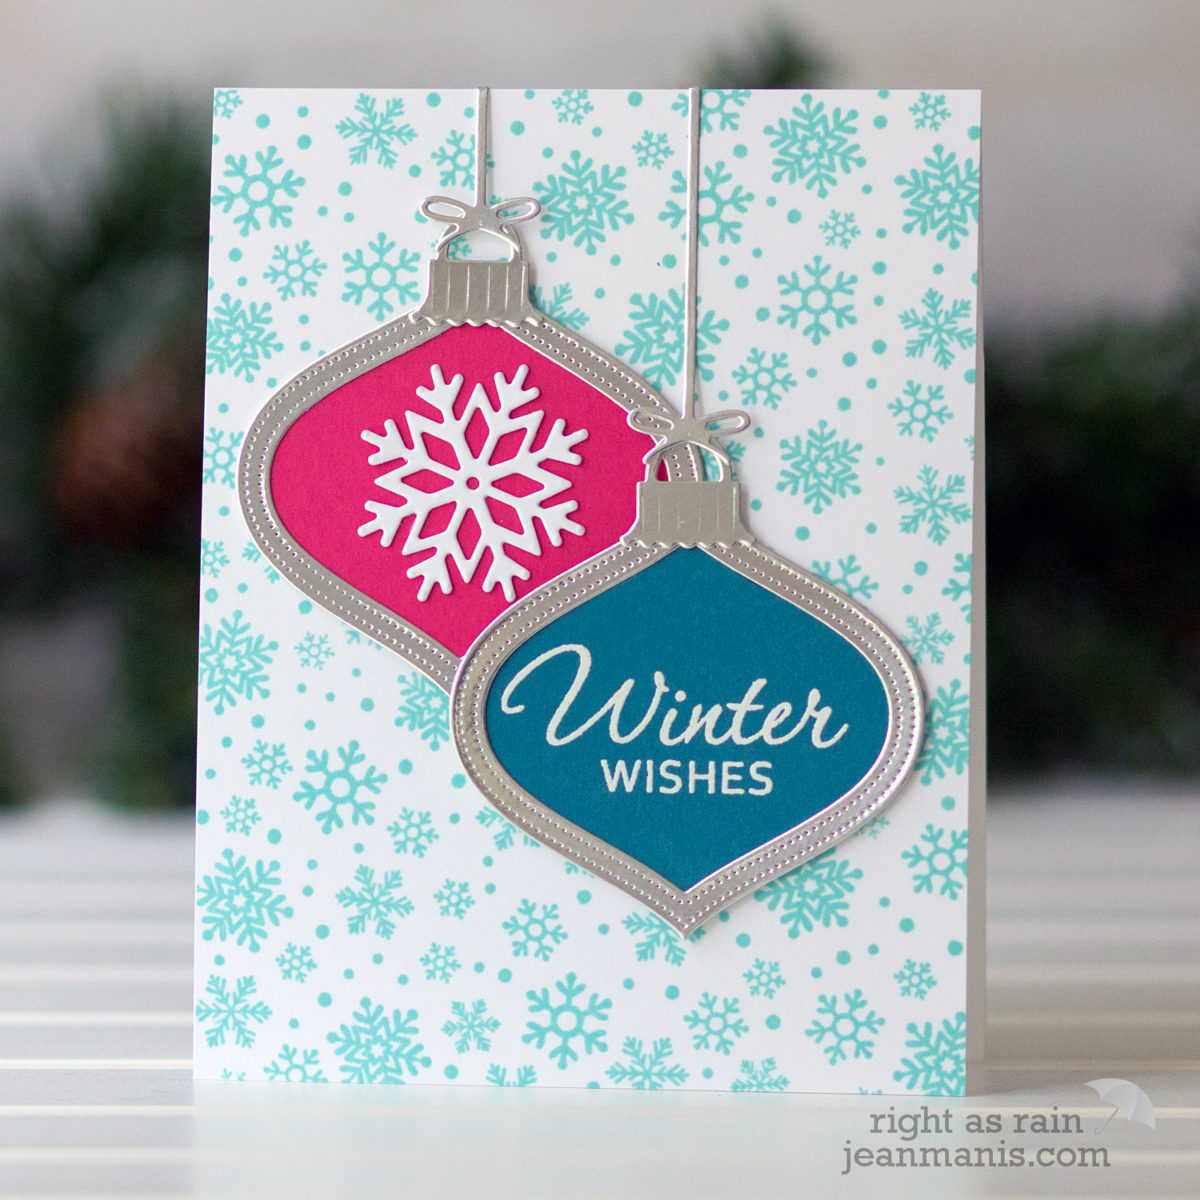
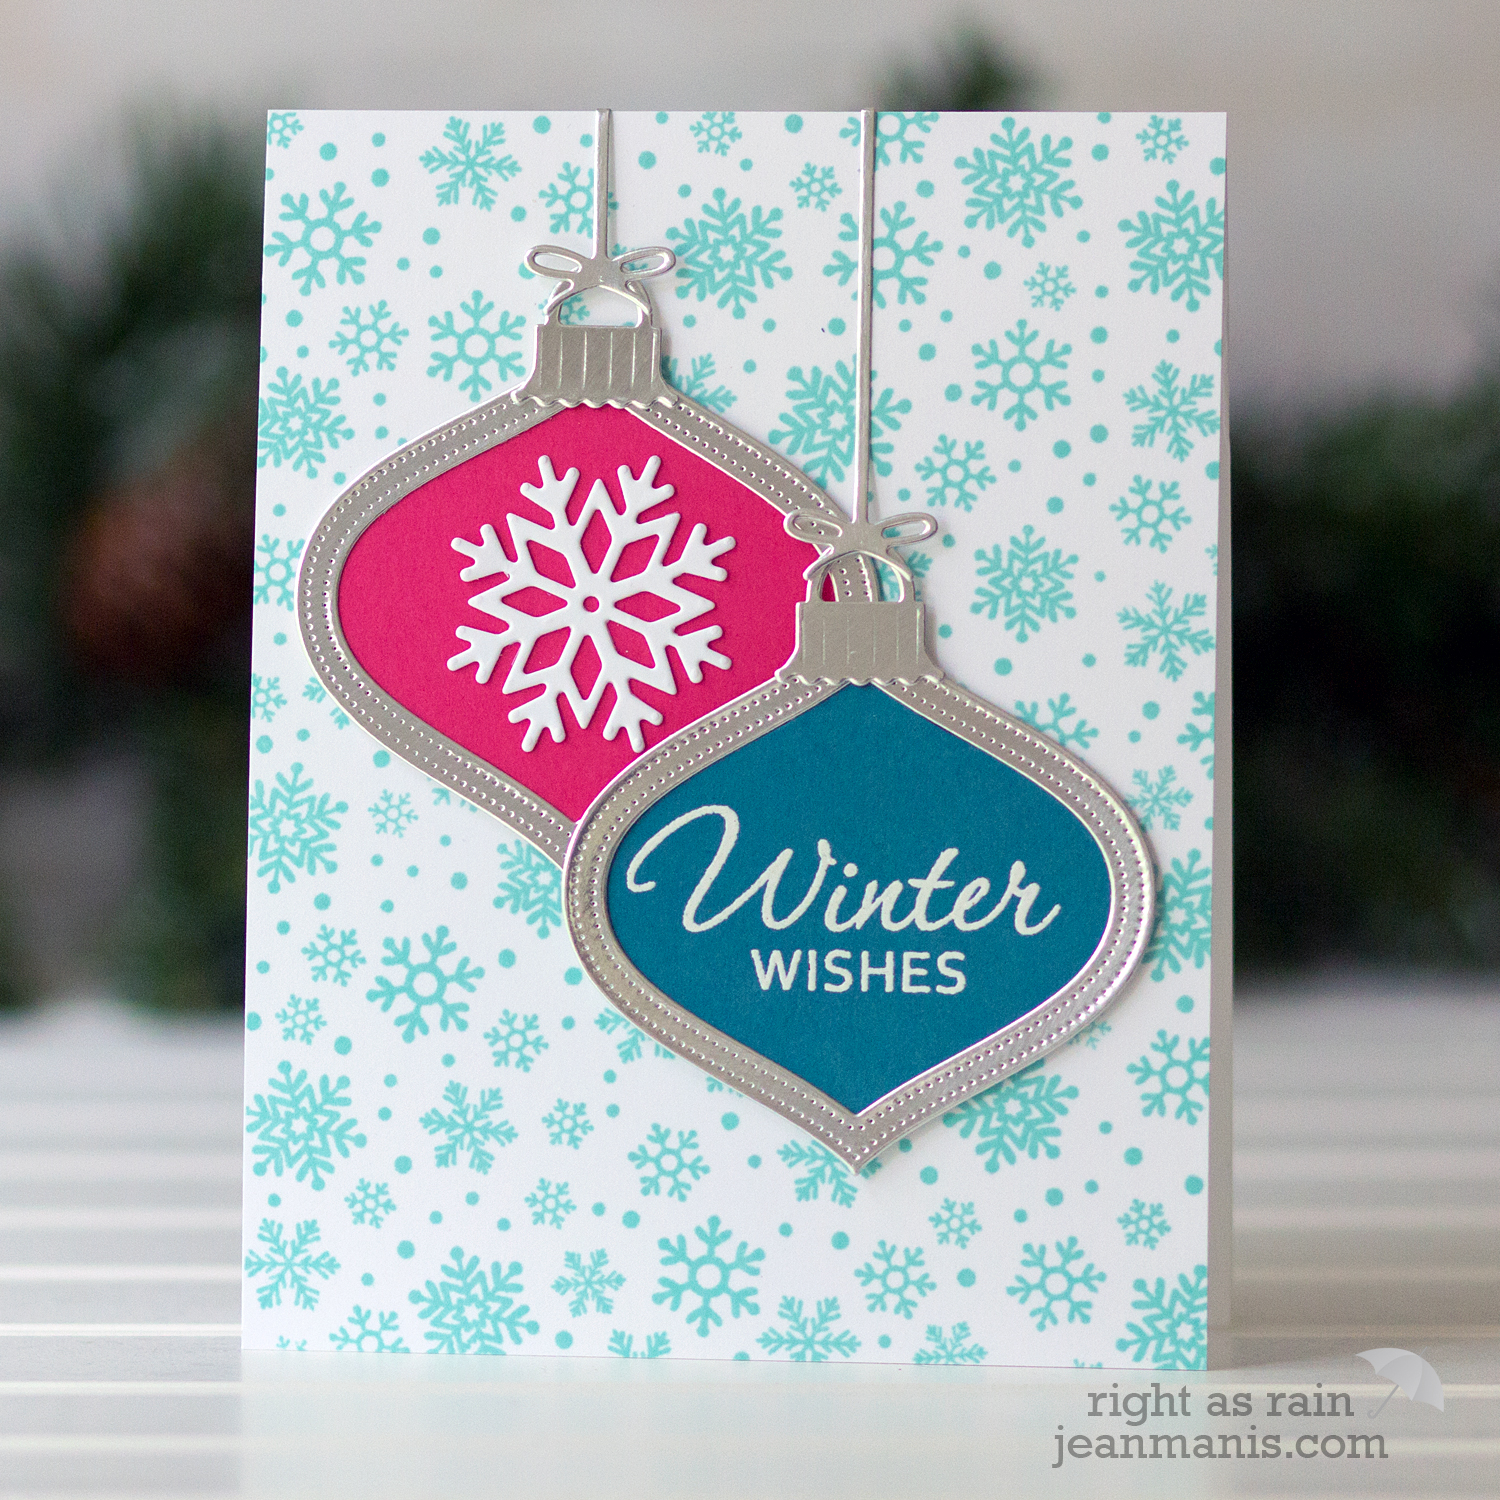 The Poppy Stamps Pinpoint Shaker Ornament die is designed to work with the Retro Ornaments die set. I don’t own that set but found that the Impression Obsession Vintage Ornament die set worked for my purposes. I white heat-embossed one of my favorite sentiments (from the now-retired Hero Arts Operation Write Home Winter Wishes set) on deep blue cardstock. I cut the other ornament from pink cardstock and added a Savvy Stamps snowflake.
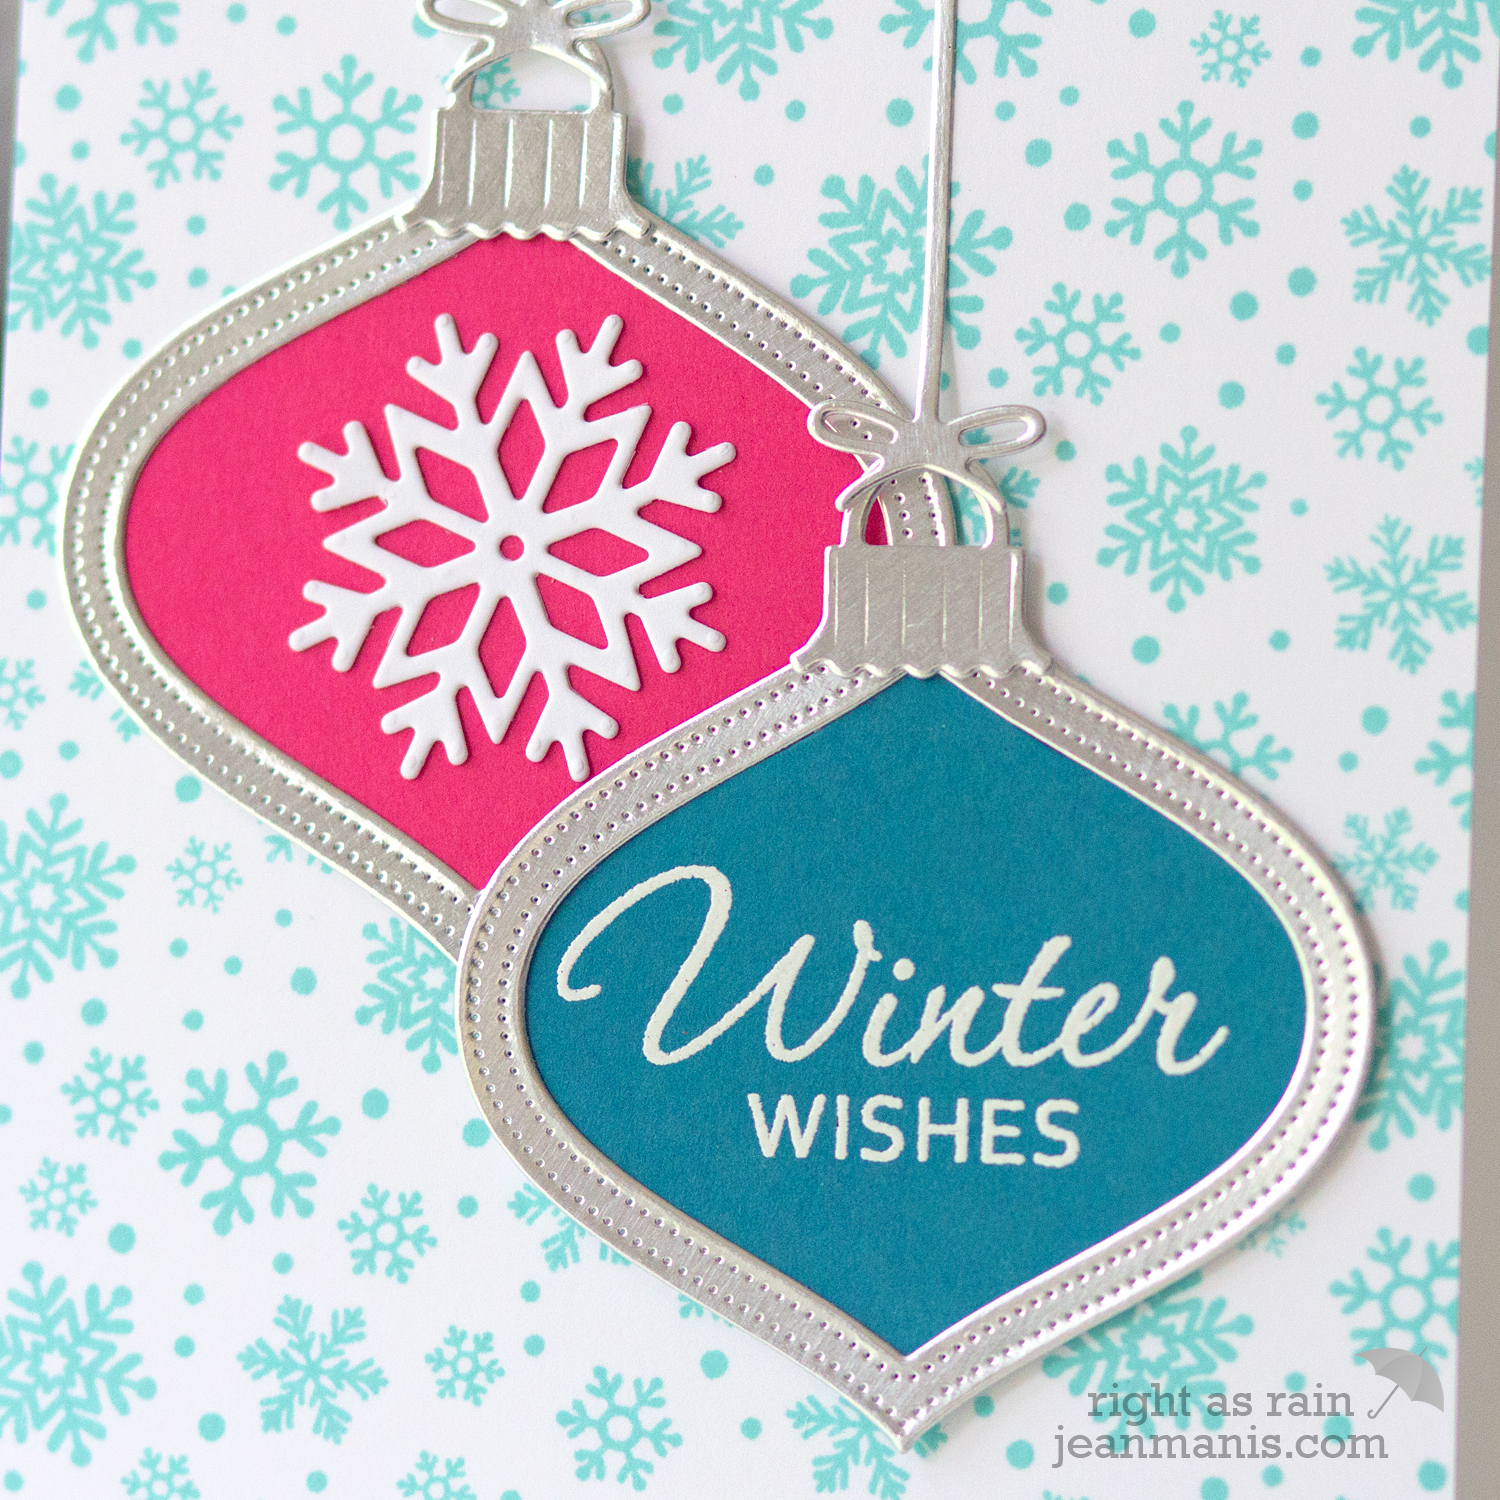
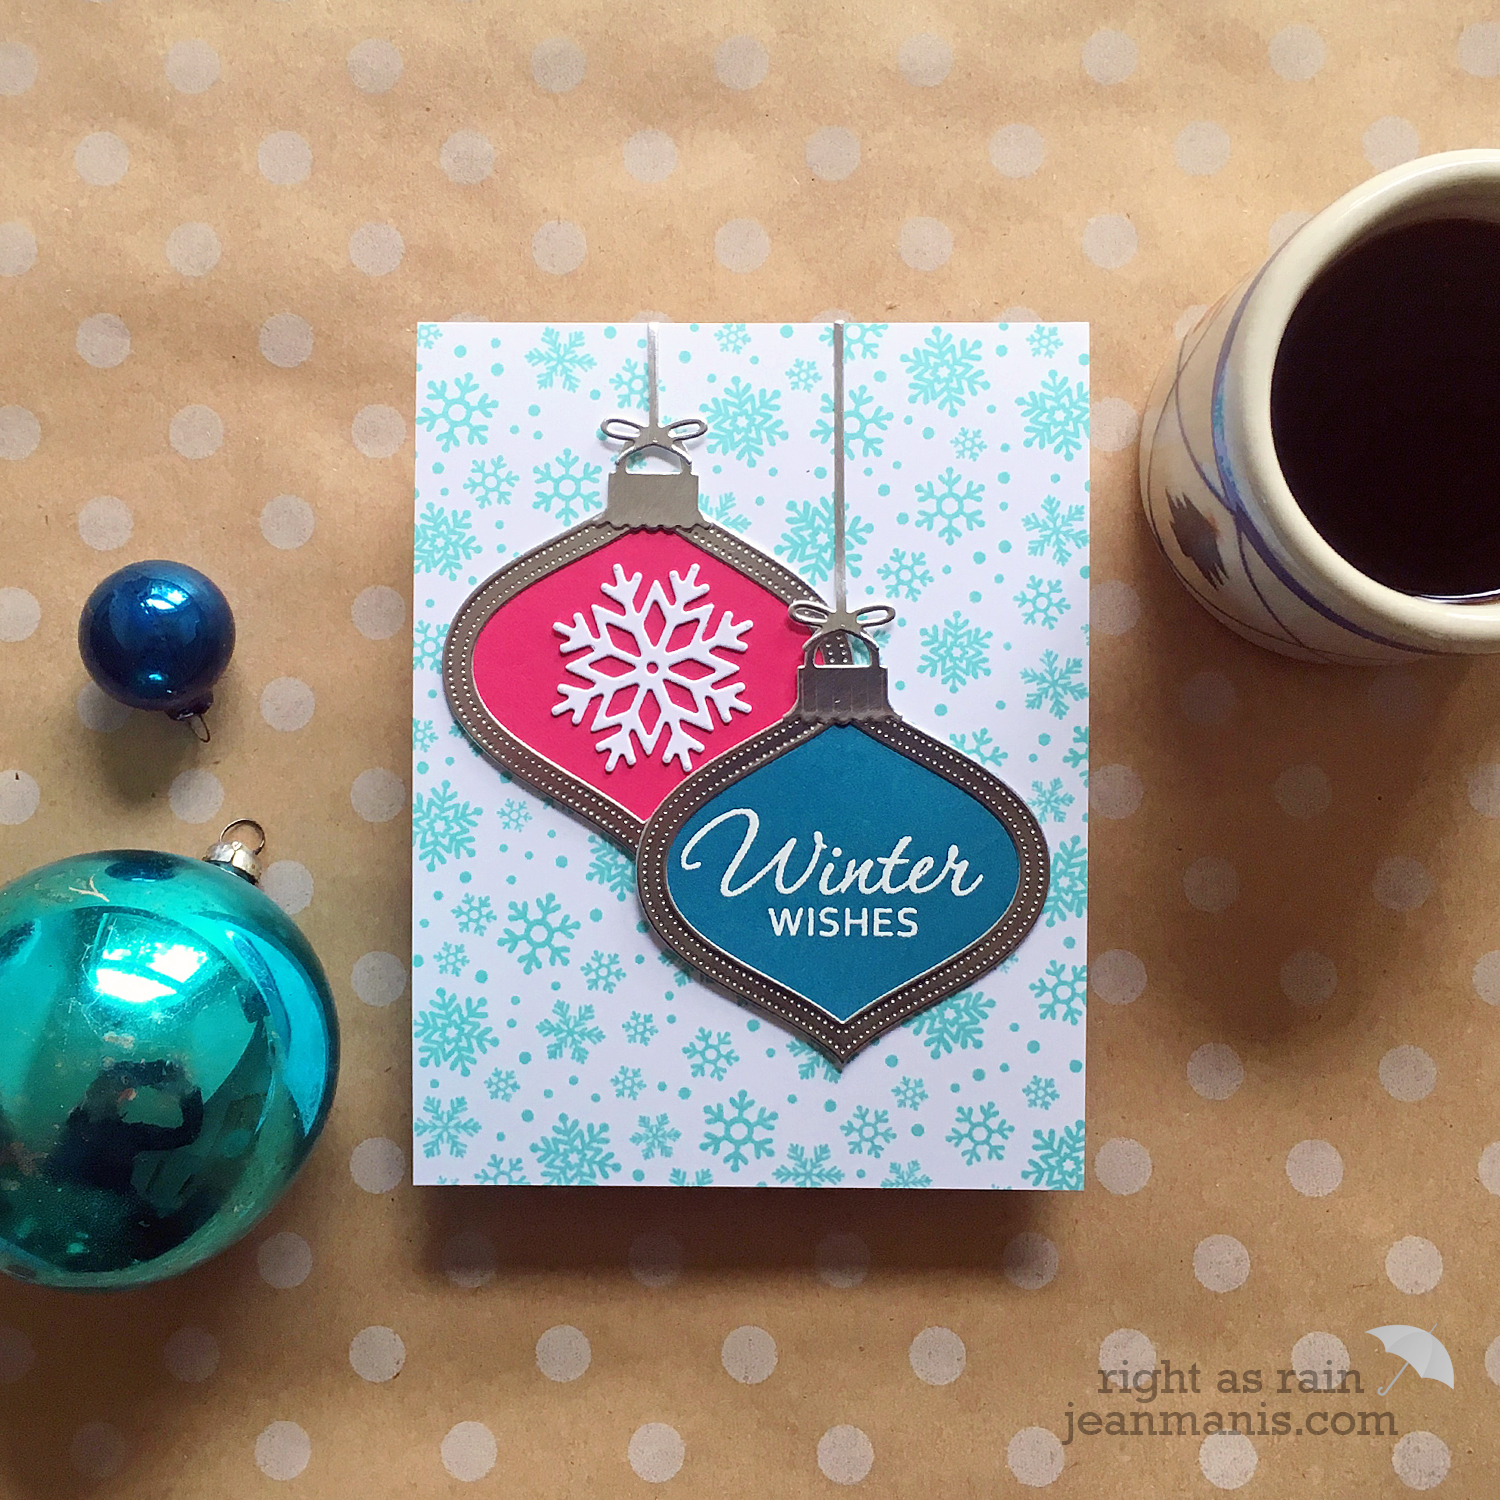 Supplies: Memory Box Pinpoint Shaker Ornament, Impression Obsession Vintage Ornament, Savvy Stamps Winter Snowflakes, Taylored Expressions Snow Day Background