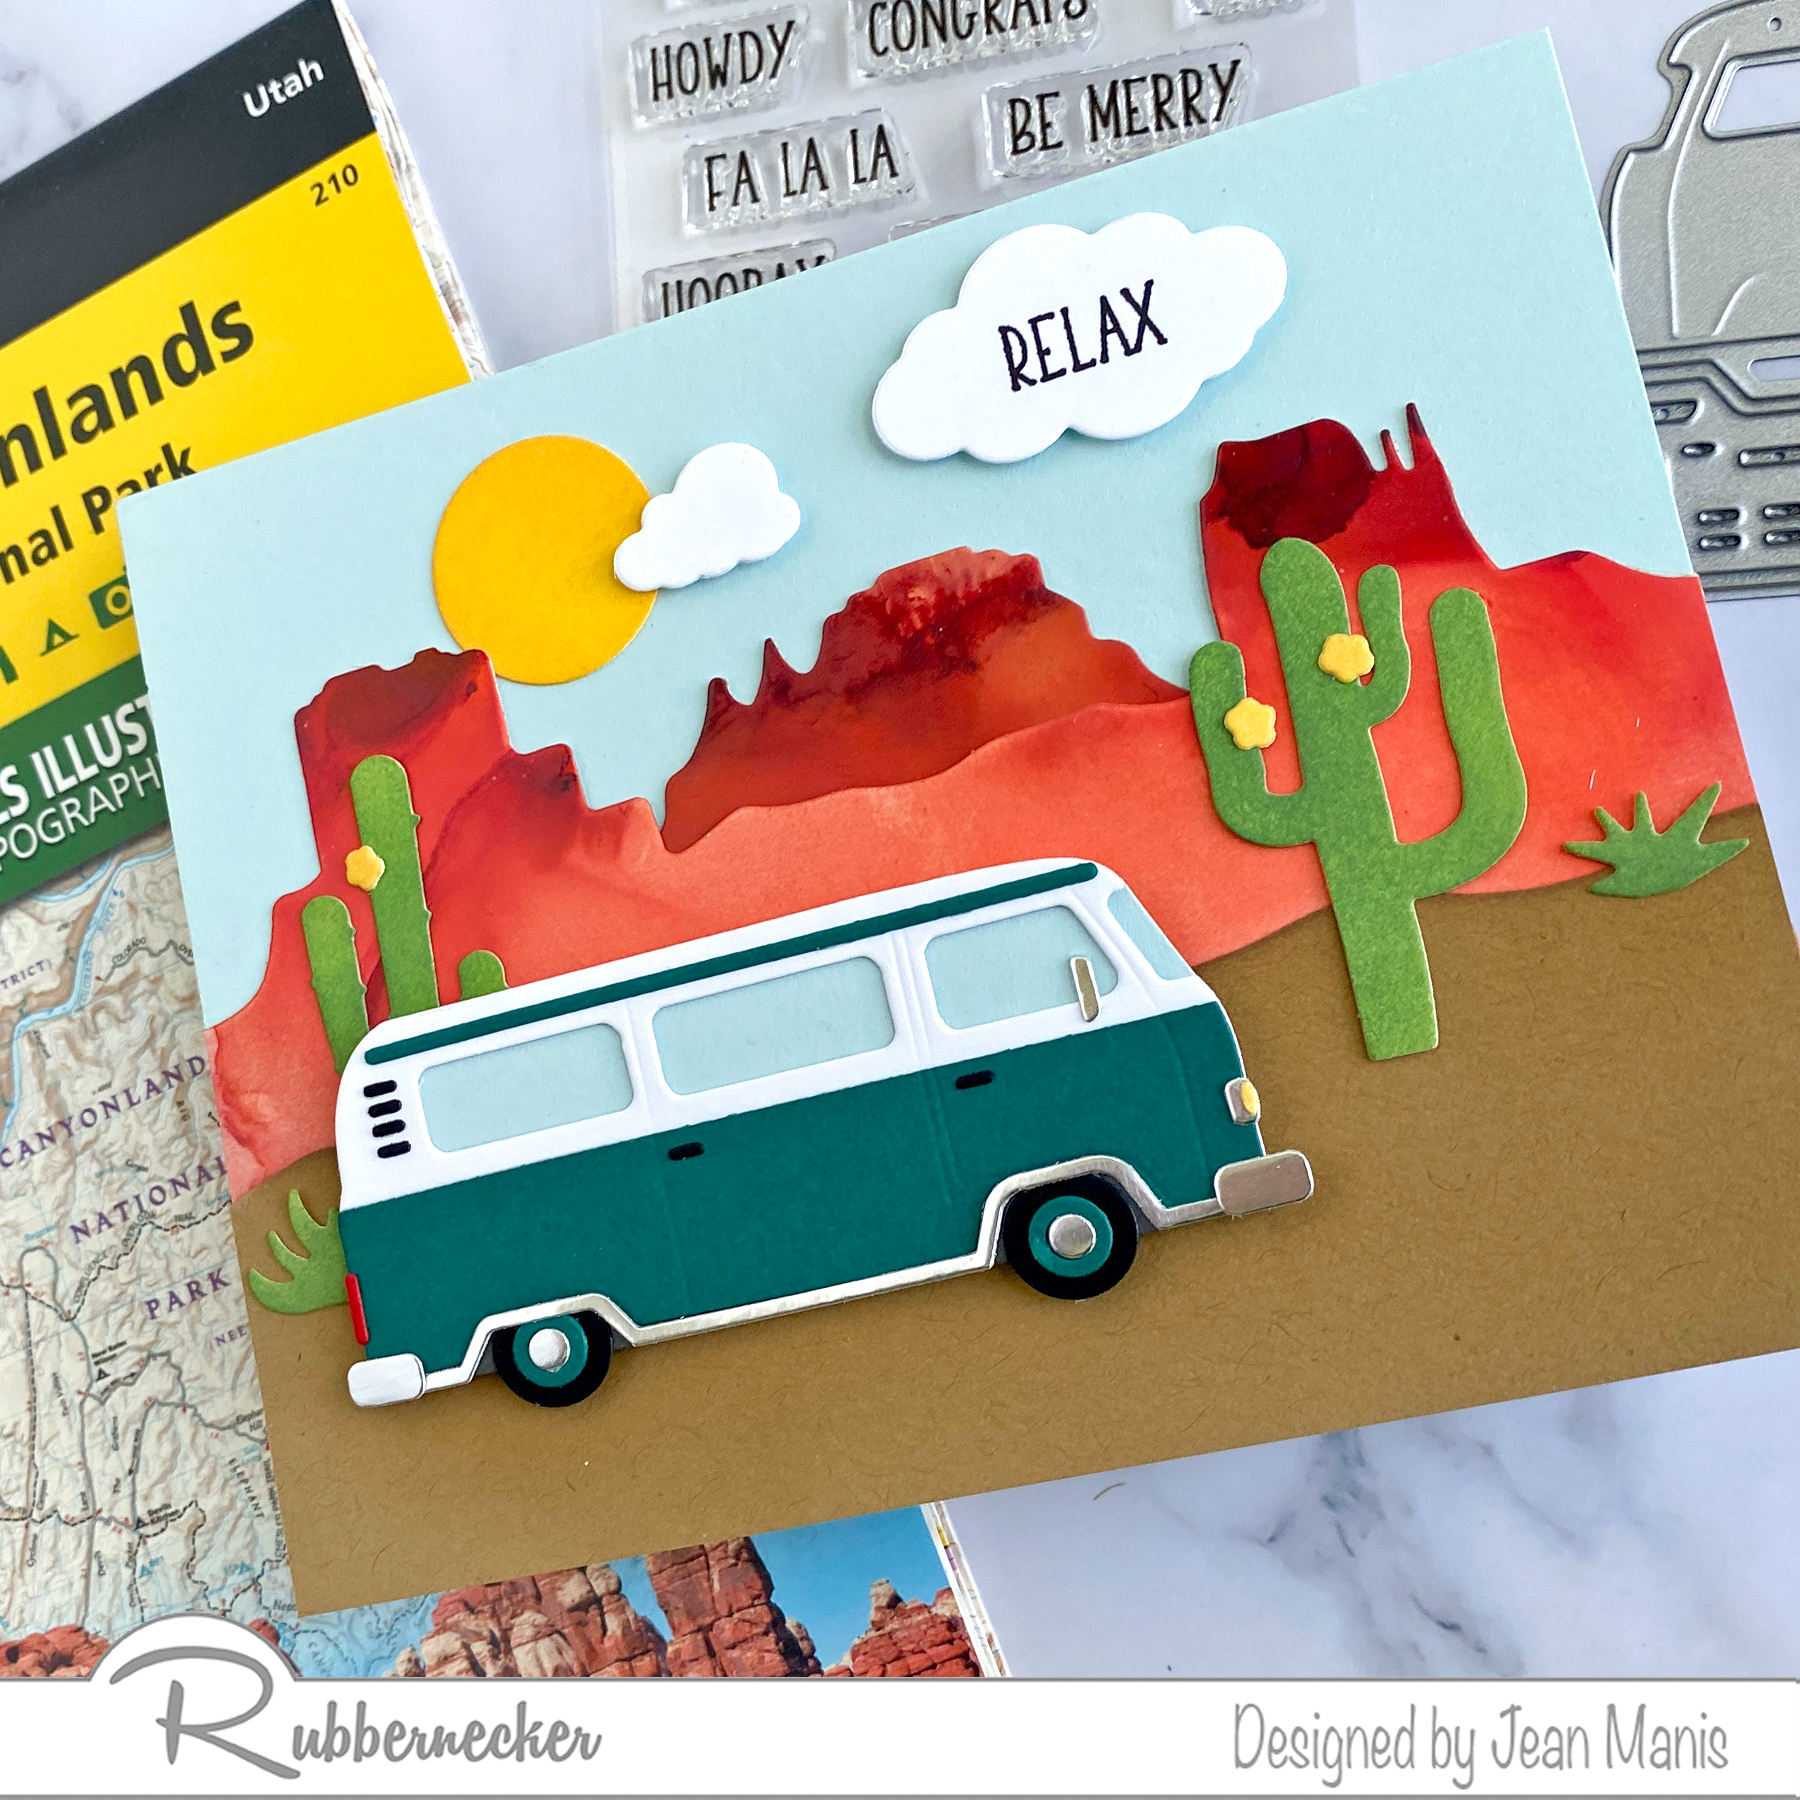
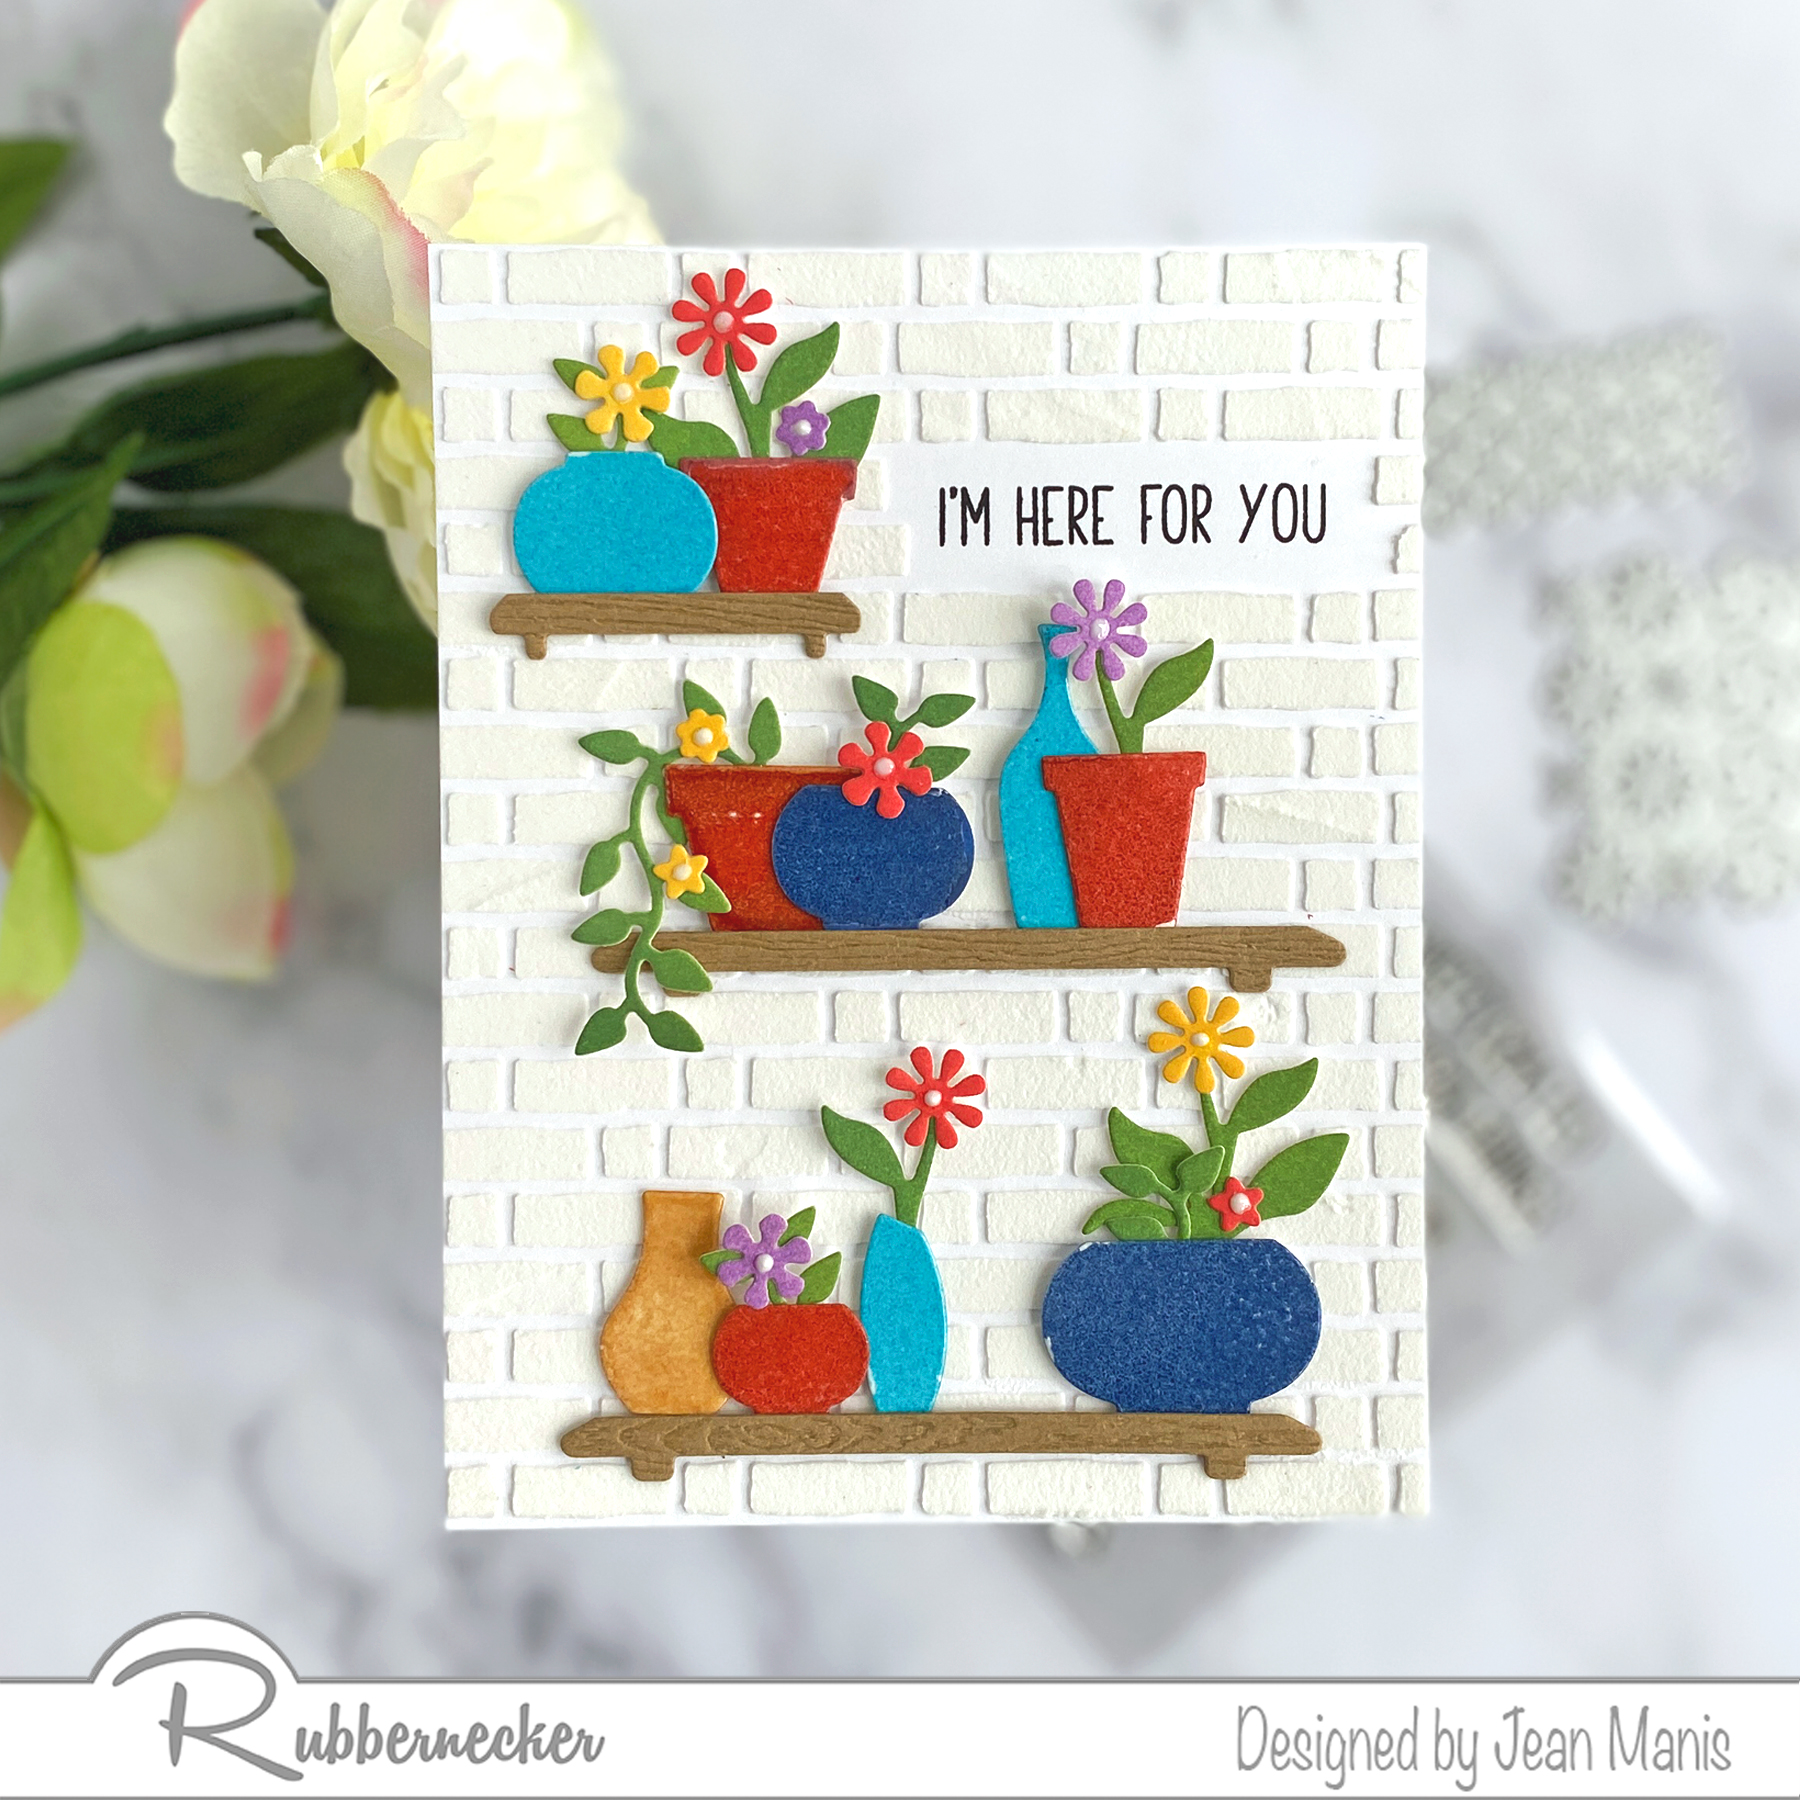
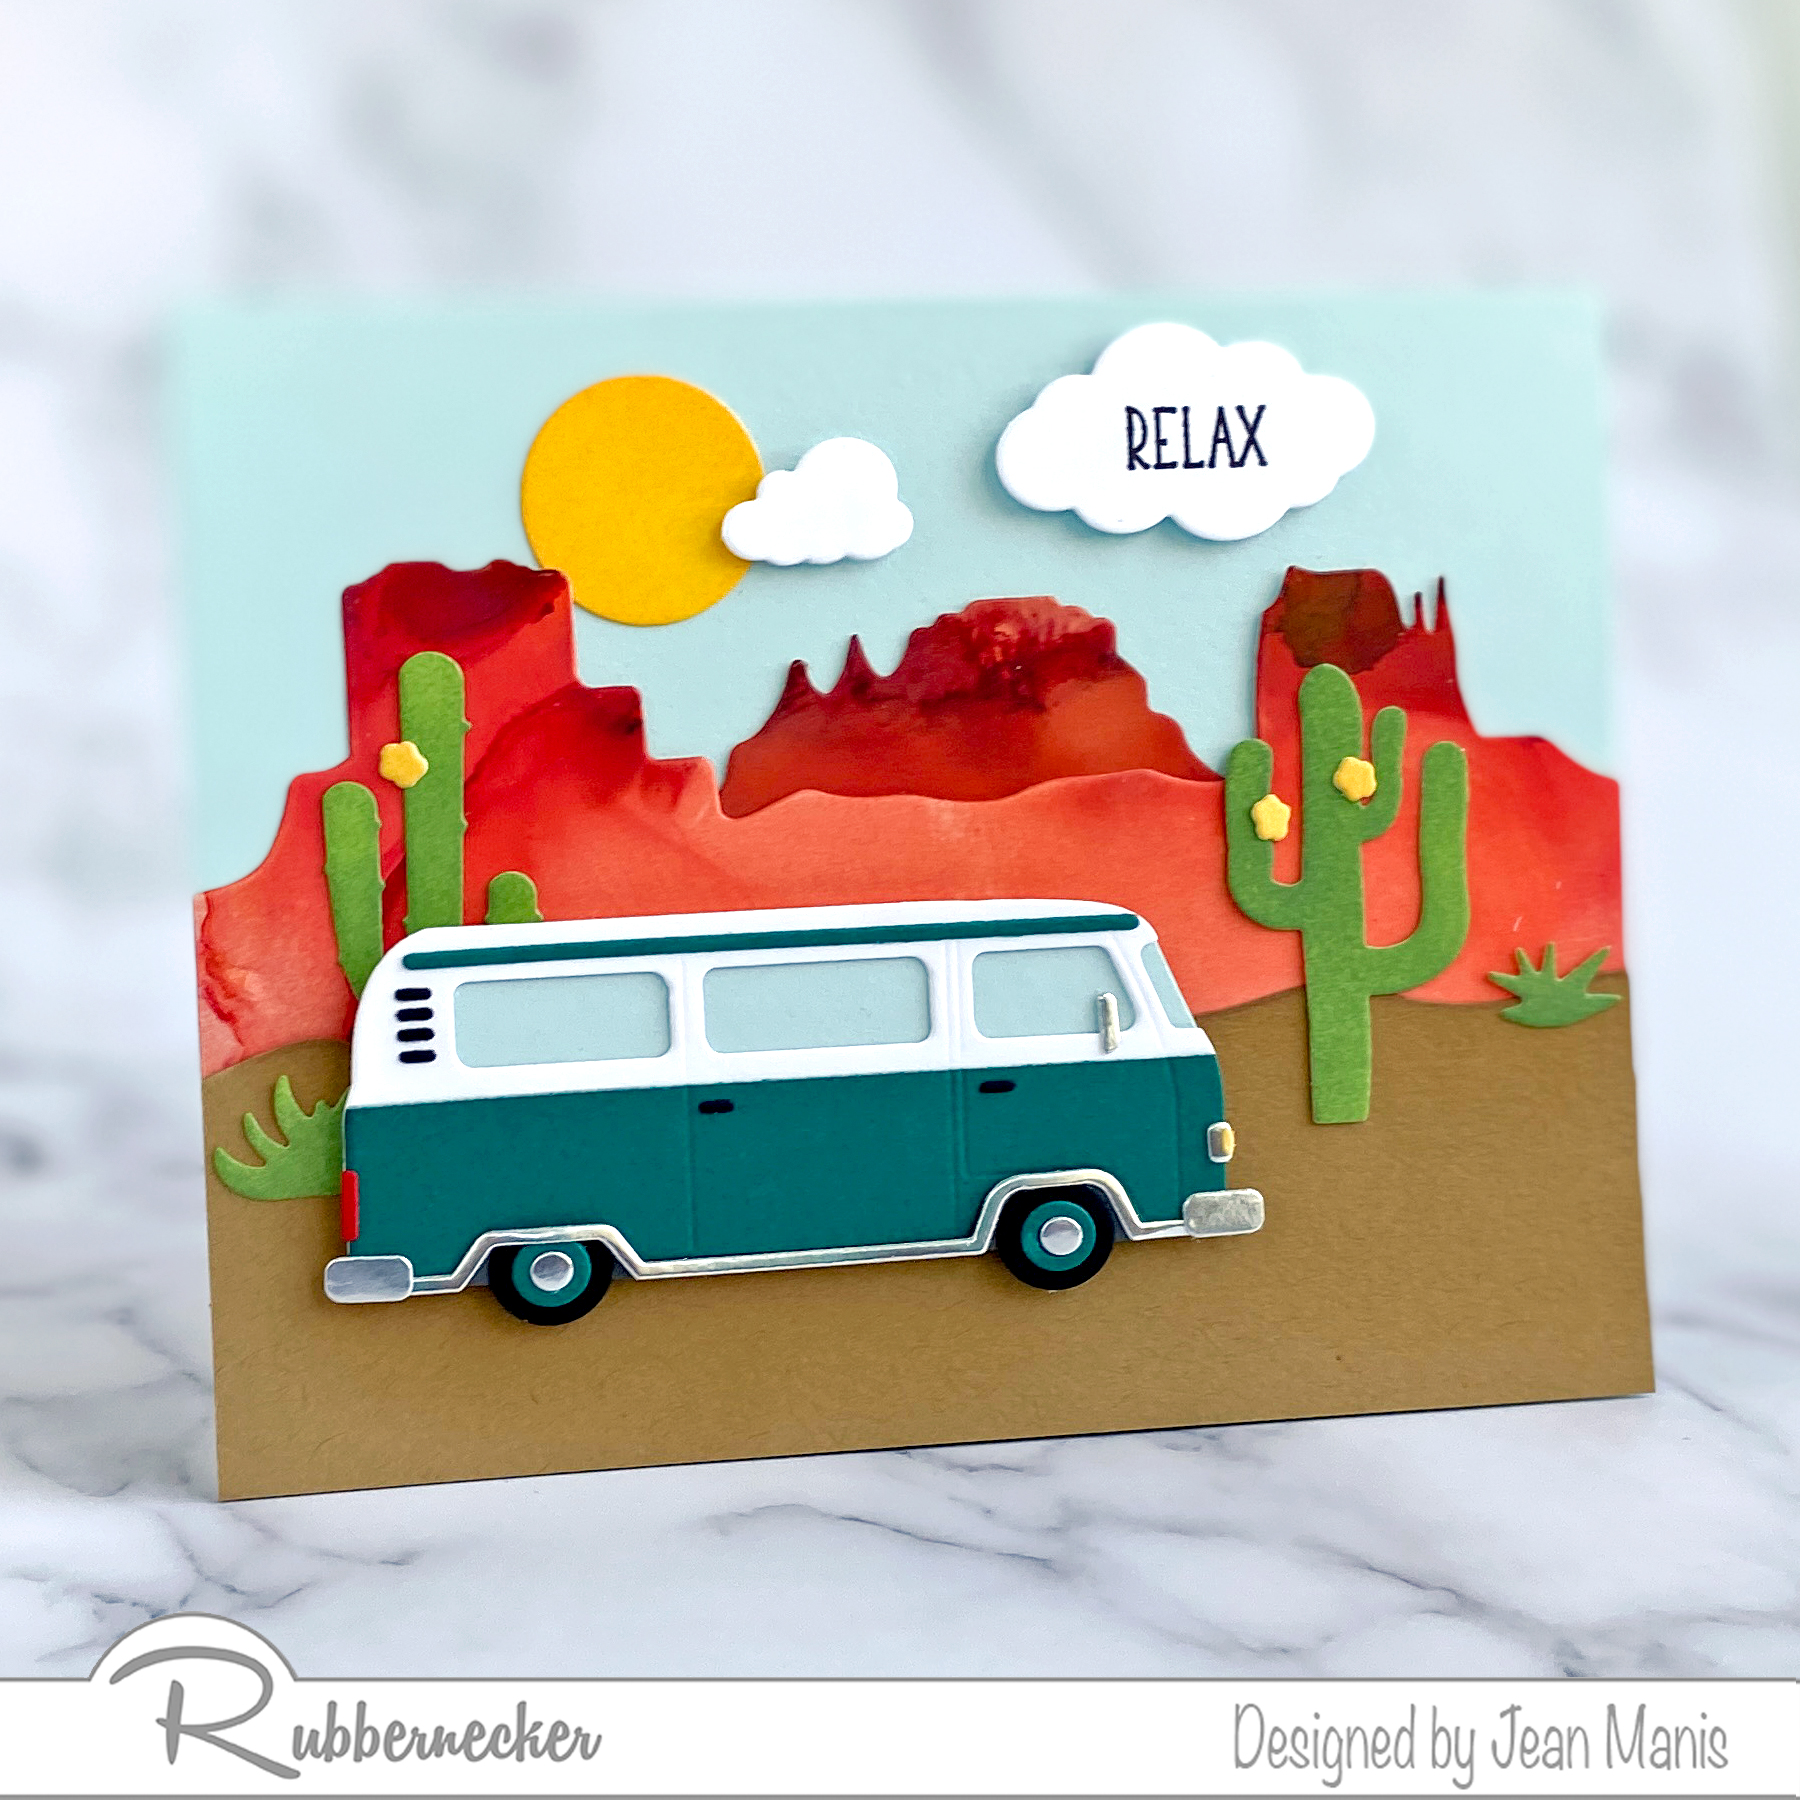
Hello! Today I am sharing a die-cut scene depicting a road trip in the American Southwest created with Rubbernecker supplies.
Create background
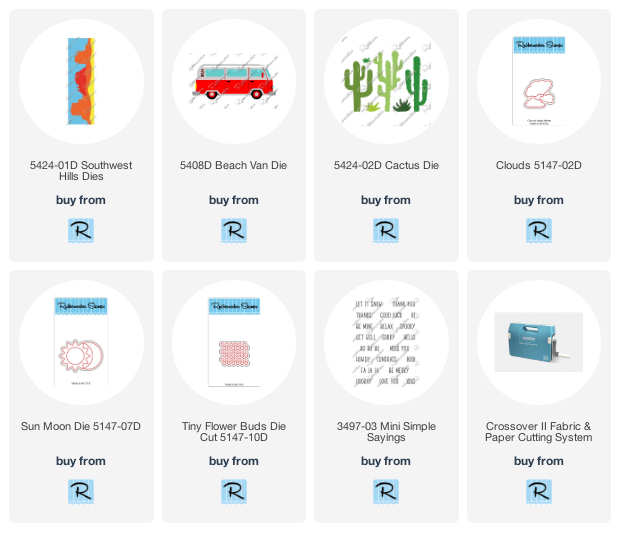
- Apply alcohol inks to Yupo paper. Cut the Double Buttes and Single Butte with dies in the Southwest Hills set.
- Cut hill from tan cardstock with die in the Southwest Hills set. Add ink to edge for definition.
Create focal elements
- Cut Beach Van from white, dark teal, gray, black, and silver foil cardstock. Assemble using instructions provided on Beach Van product page.
Assembly & Finishing Touches
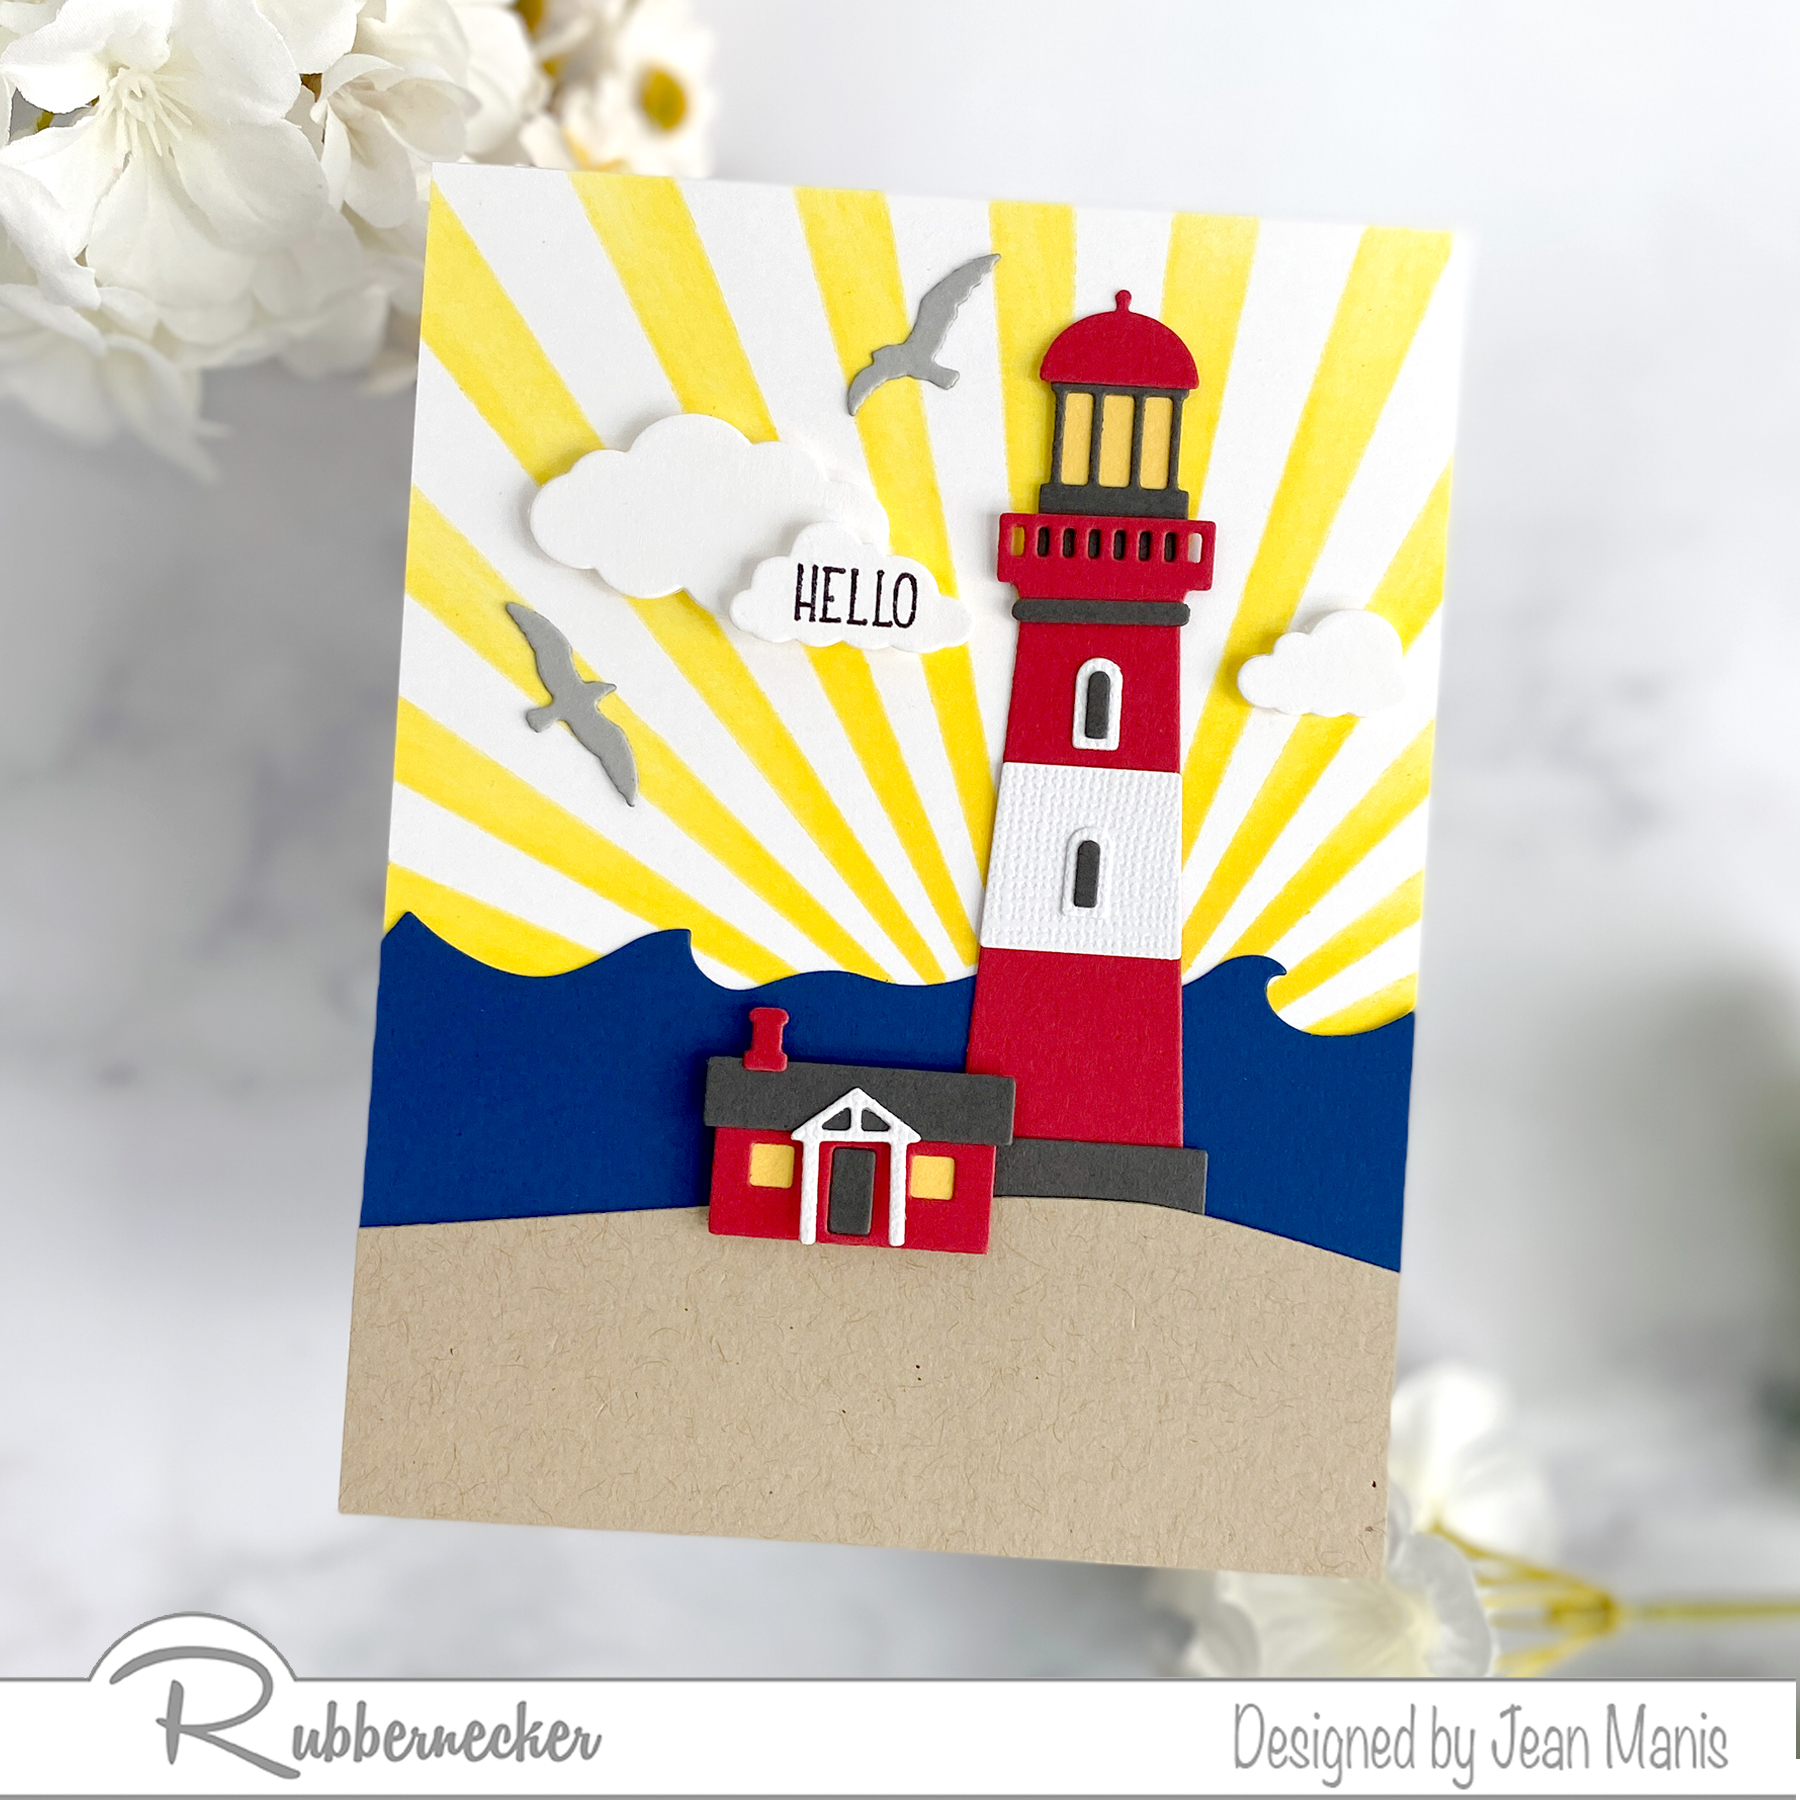
- Stamp Mini Simple Sayings “Relax” sentiment in black on white cardstock. Cut with largest Clouds die. Cut additional clouds.
- With Cactus die, cut cacti from cardstock colored with green ink.
- With Sun Moon die, cut sun from cardstock colored with yellow ink.
- Cut small flowers with Tiny Flower Buds die from cardstock colored with yellow ink; adhere to cactus plants.
- Add cacti and sun to scene with dot adhesive. Add Beach Van and clouds with foam adhesive.