Sizzix Tim Holtz | Floral Die-cut Hello

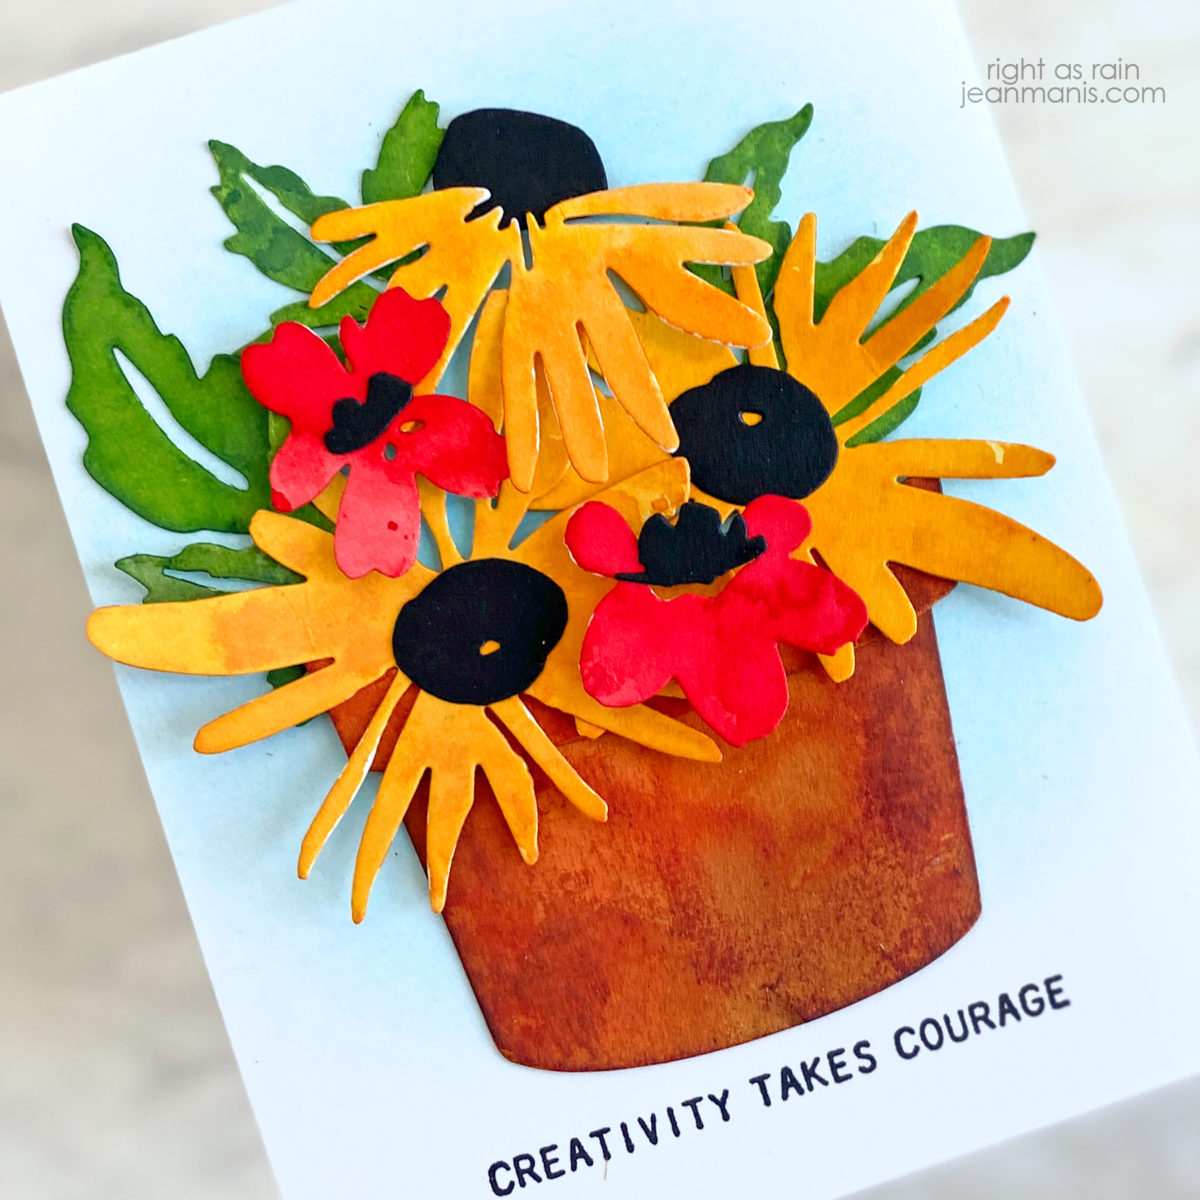
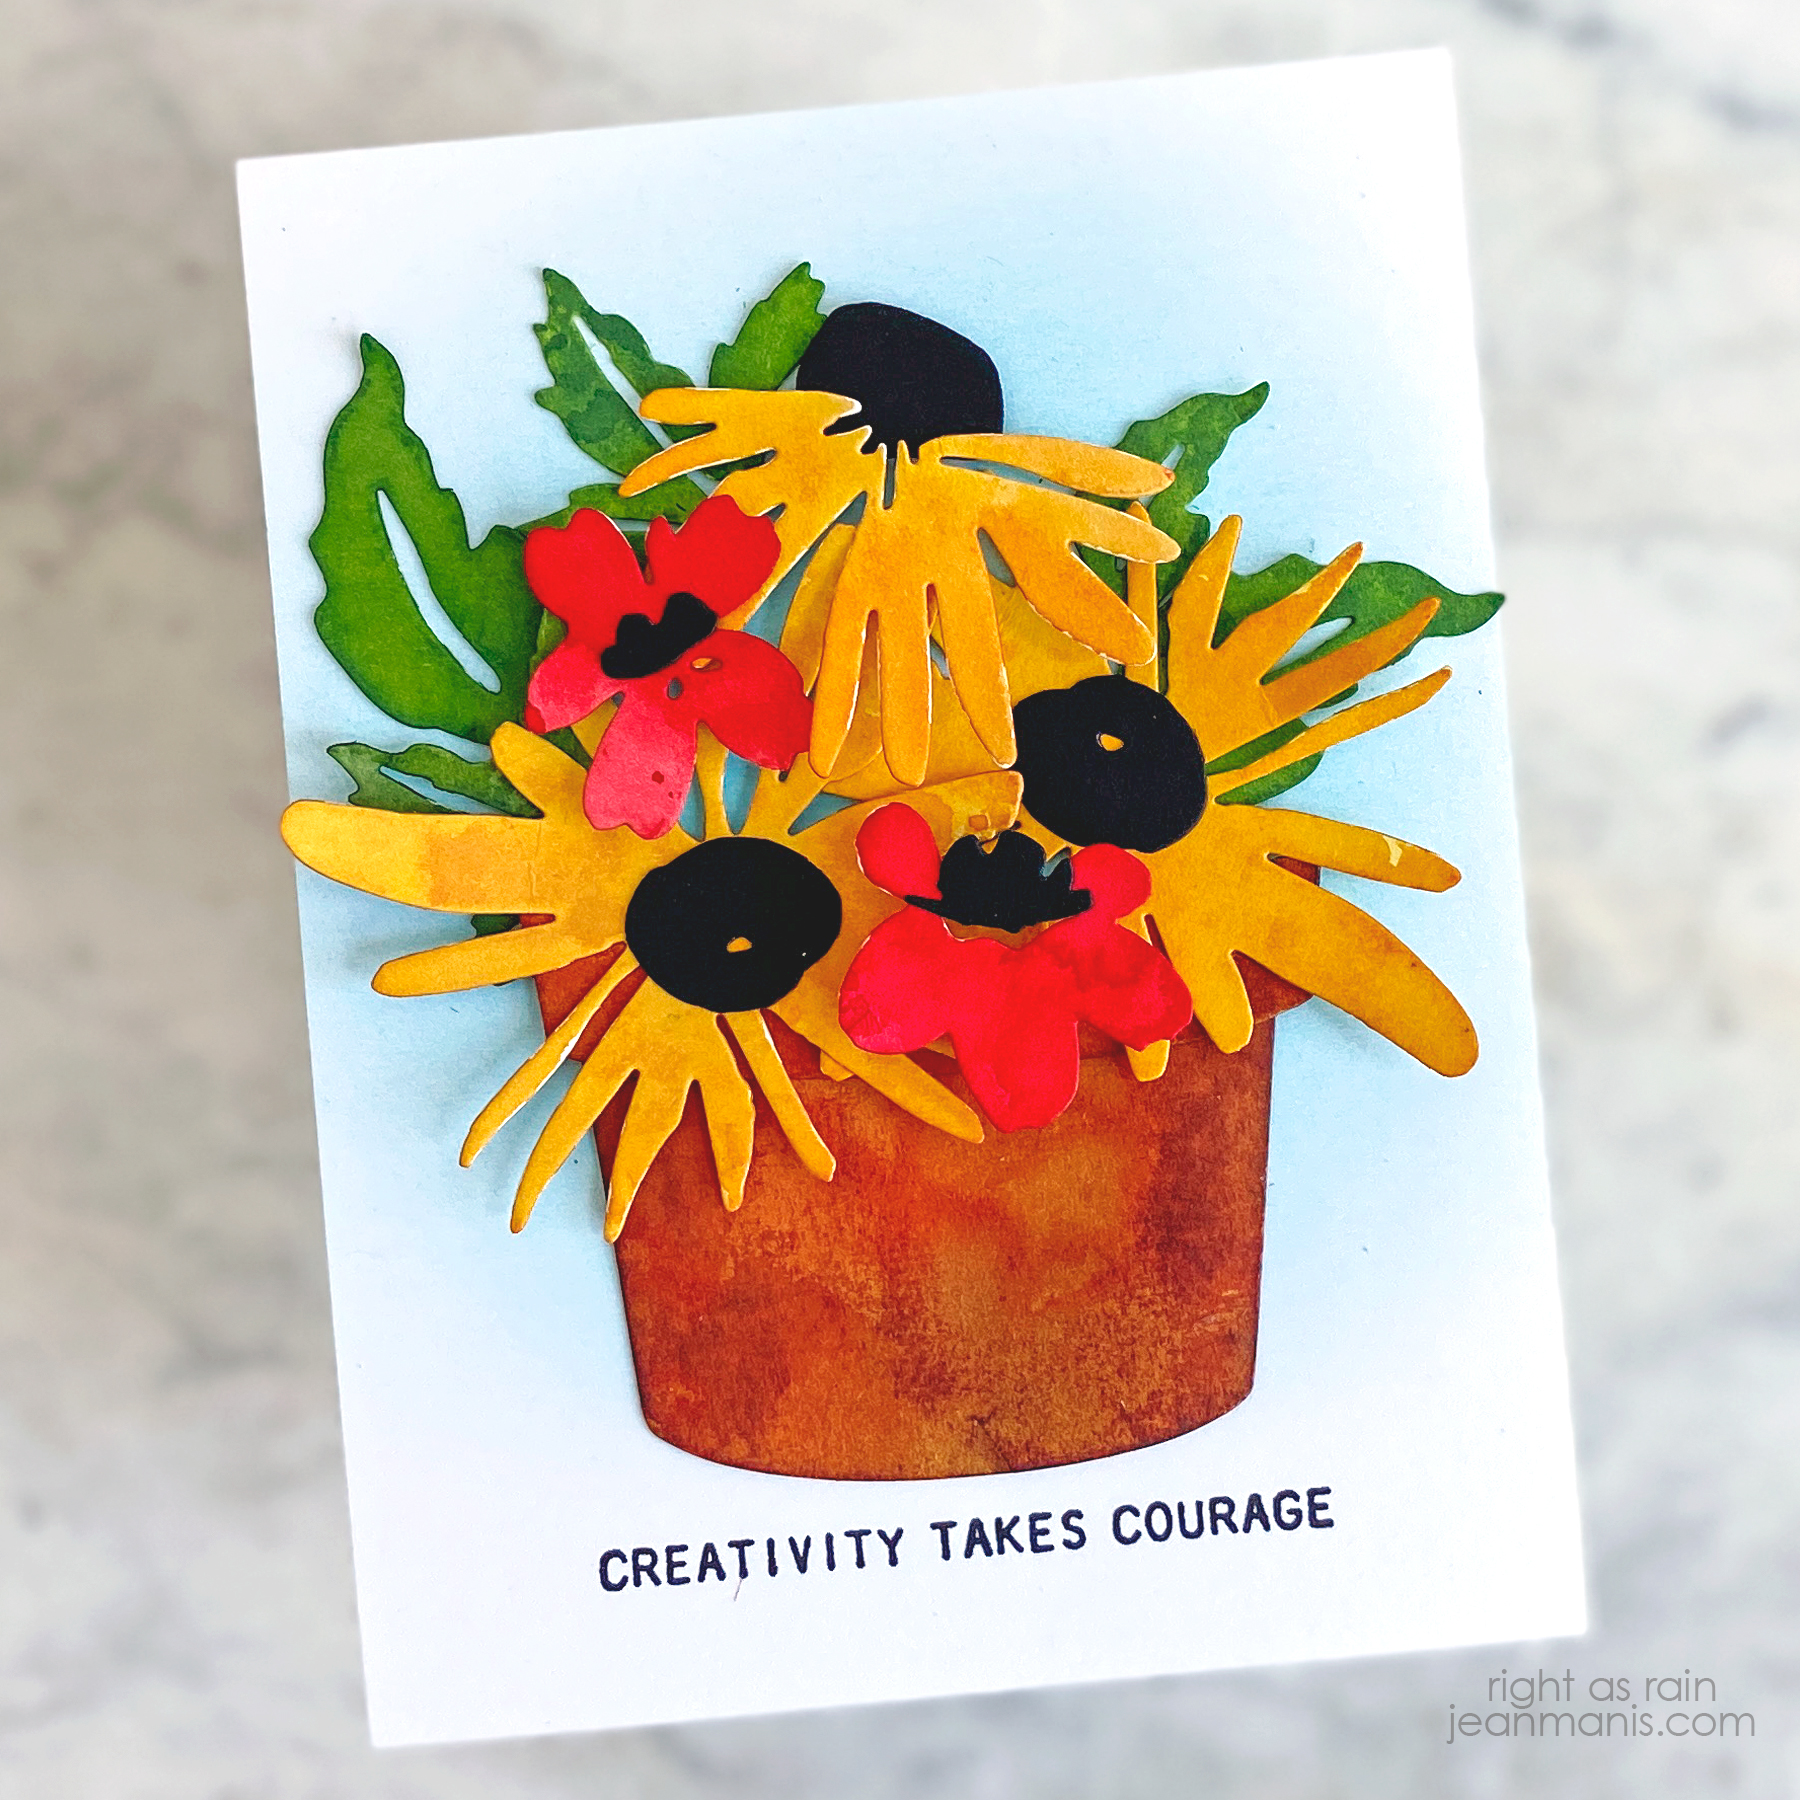
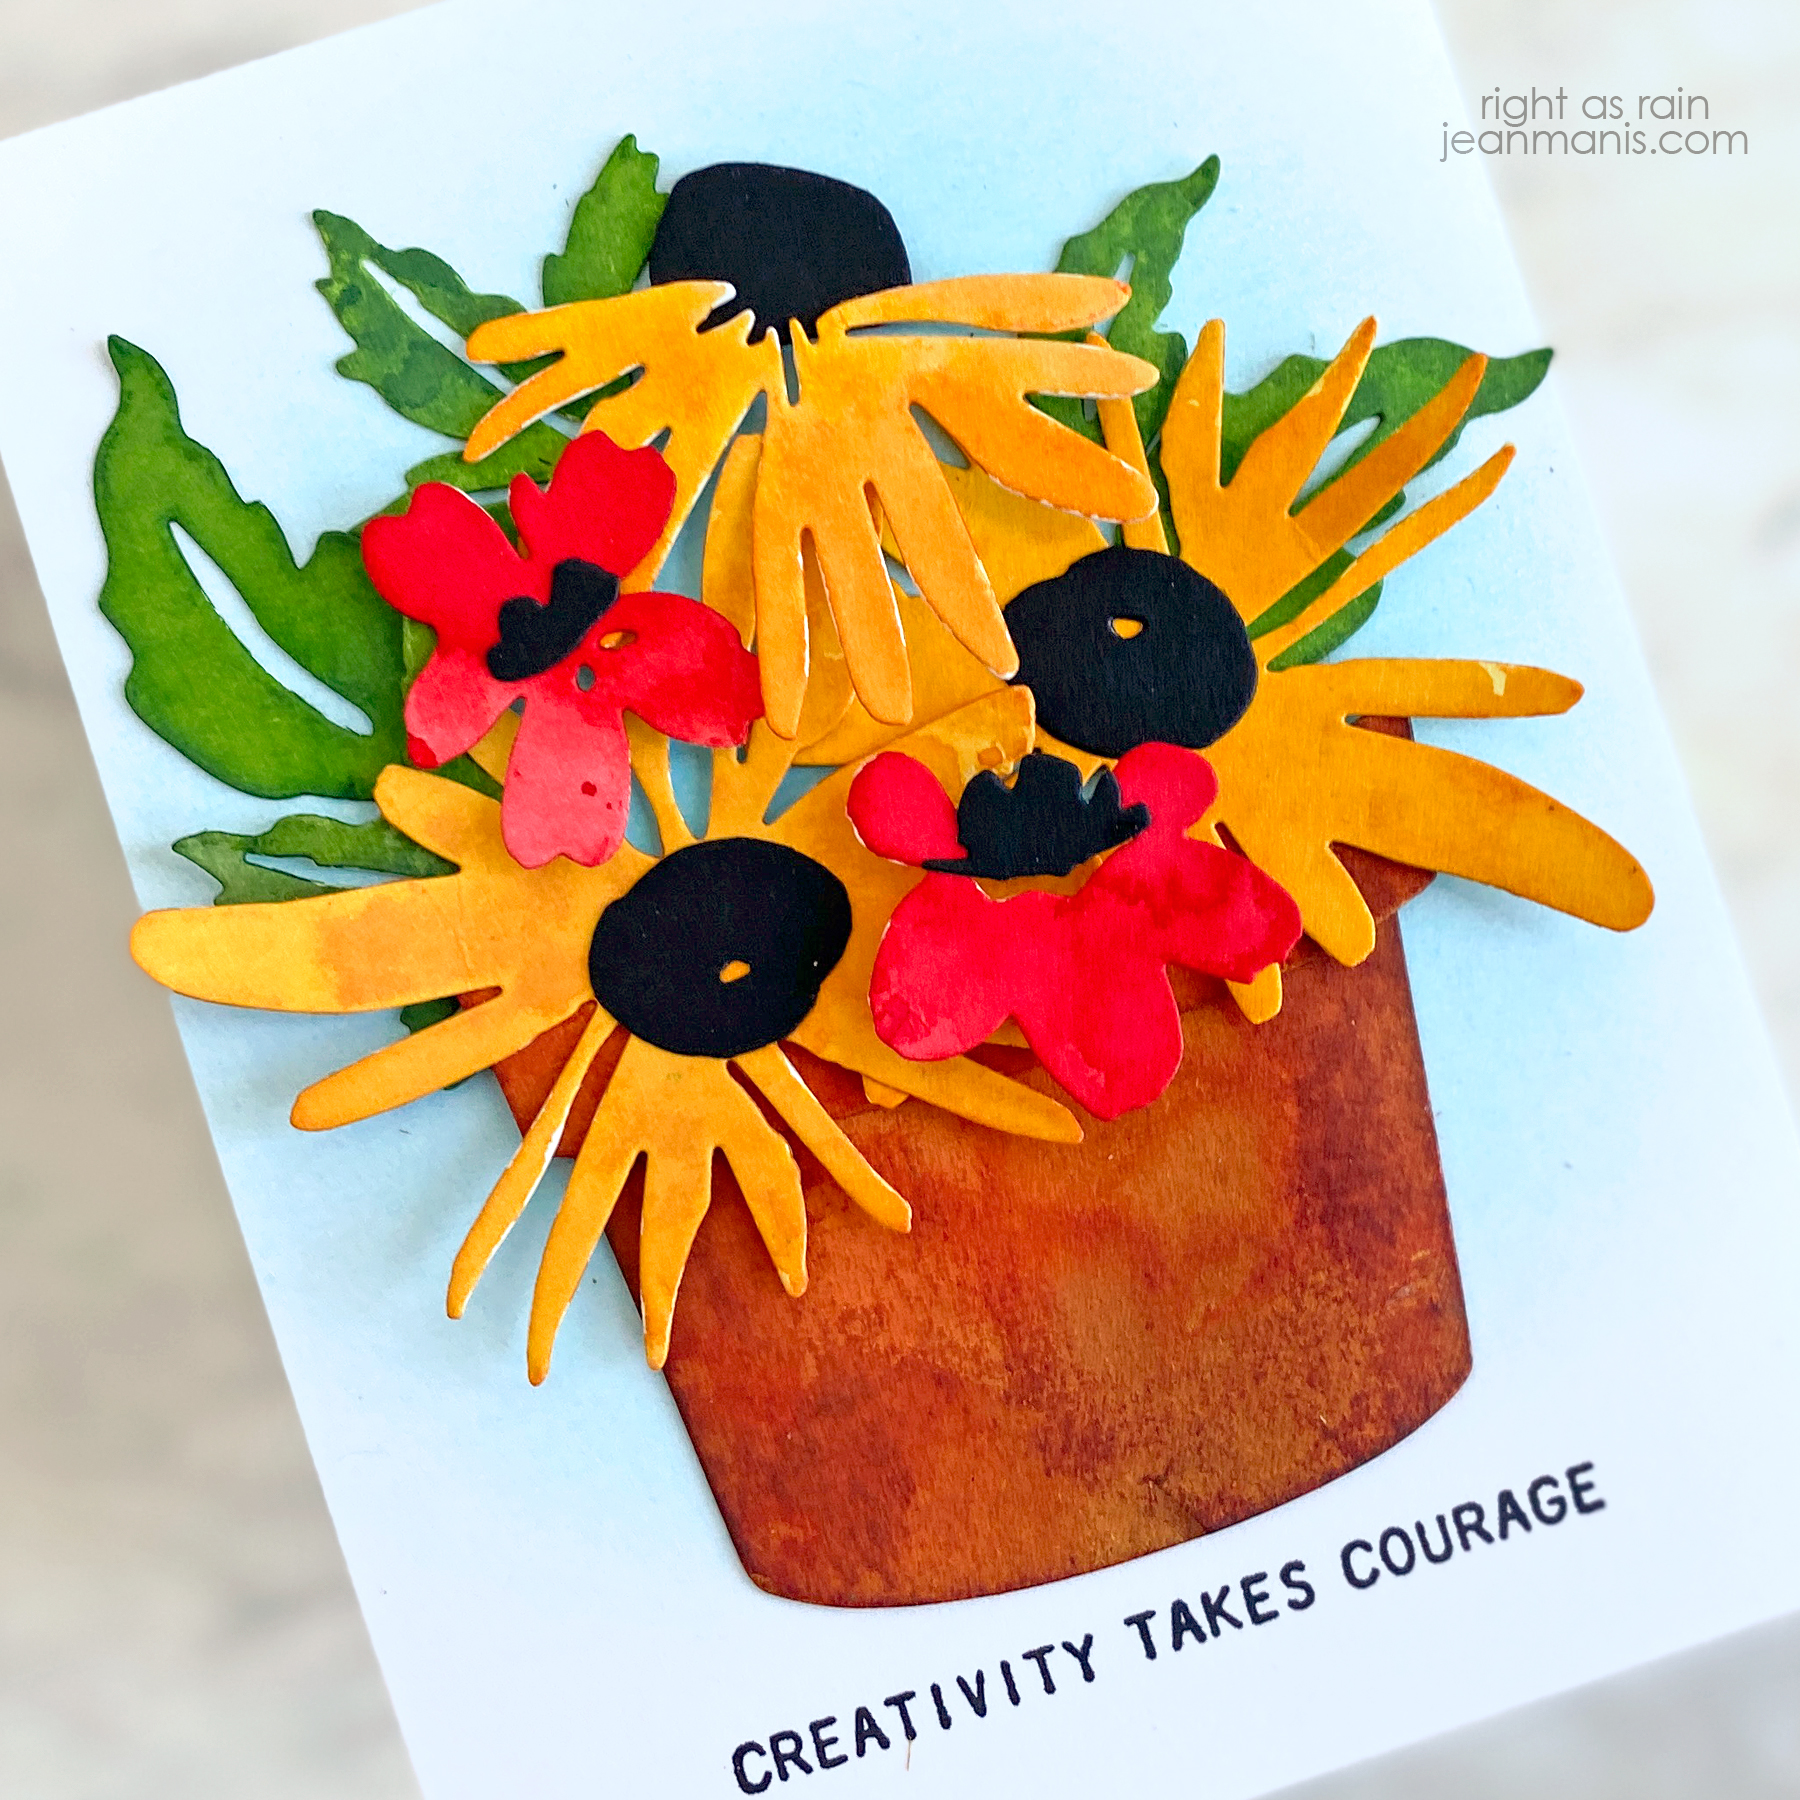
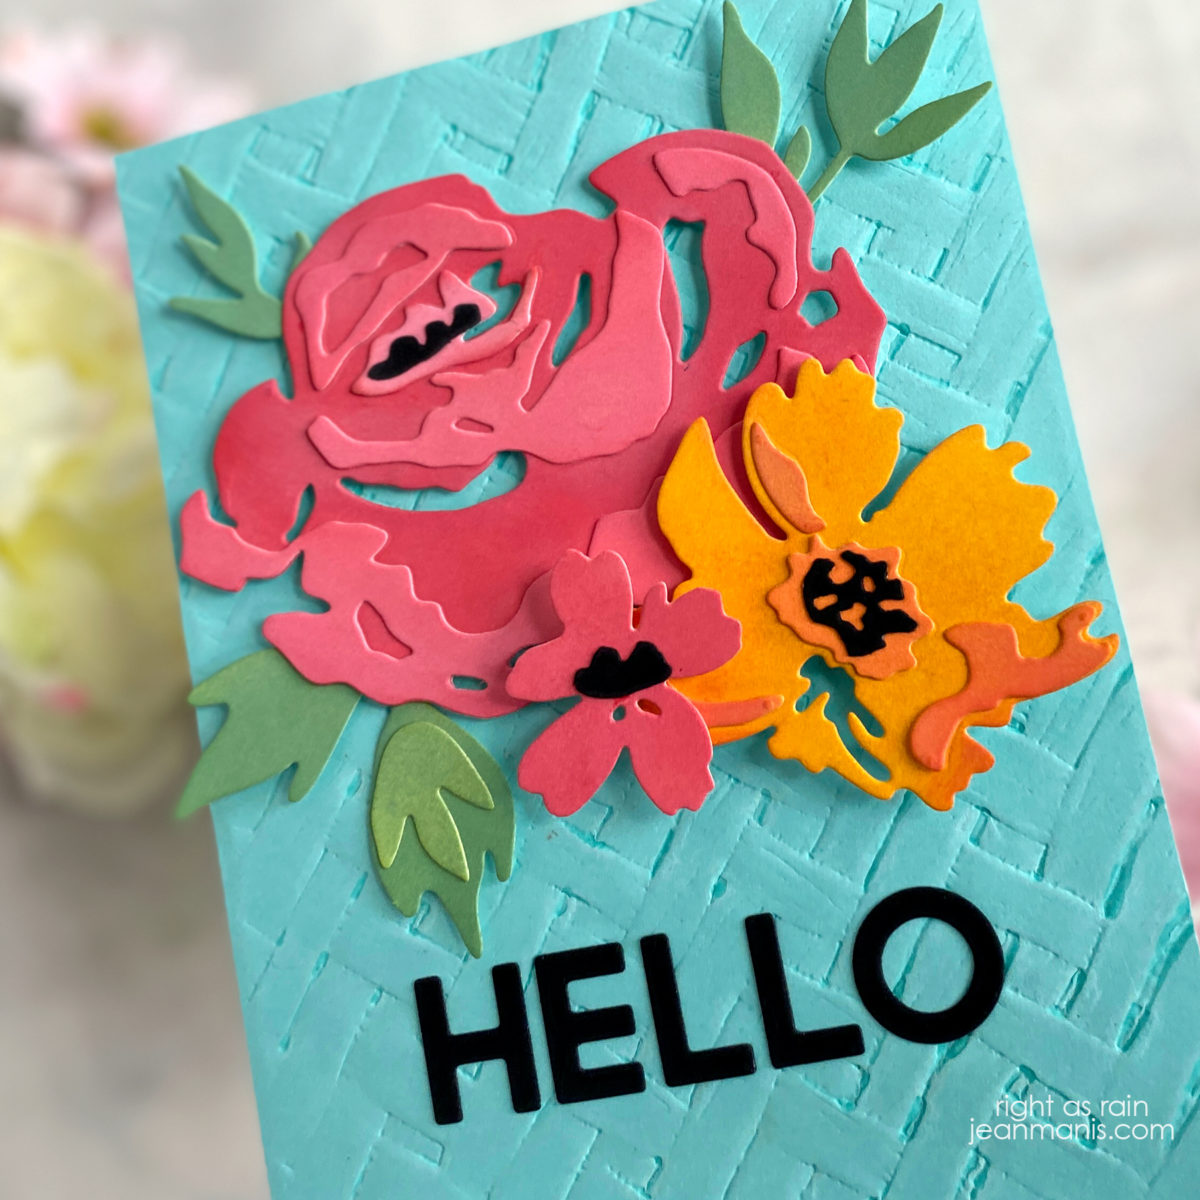
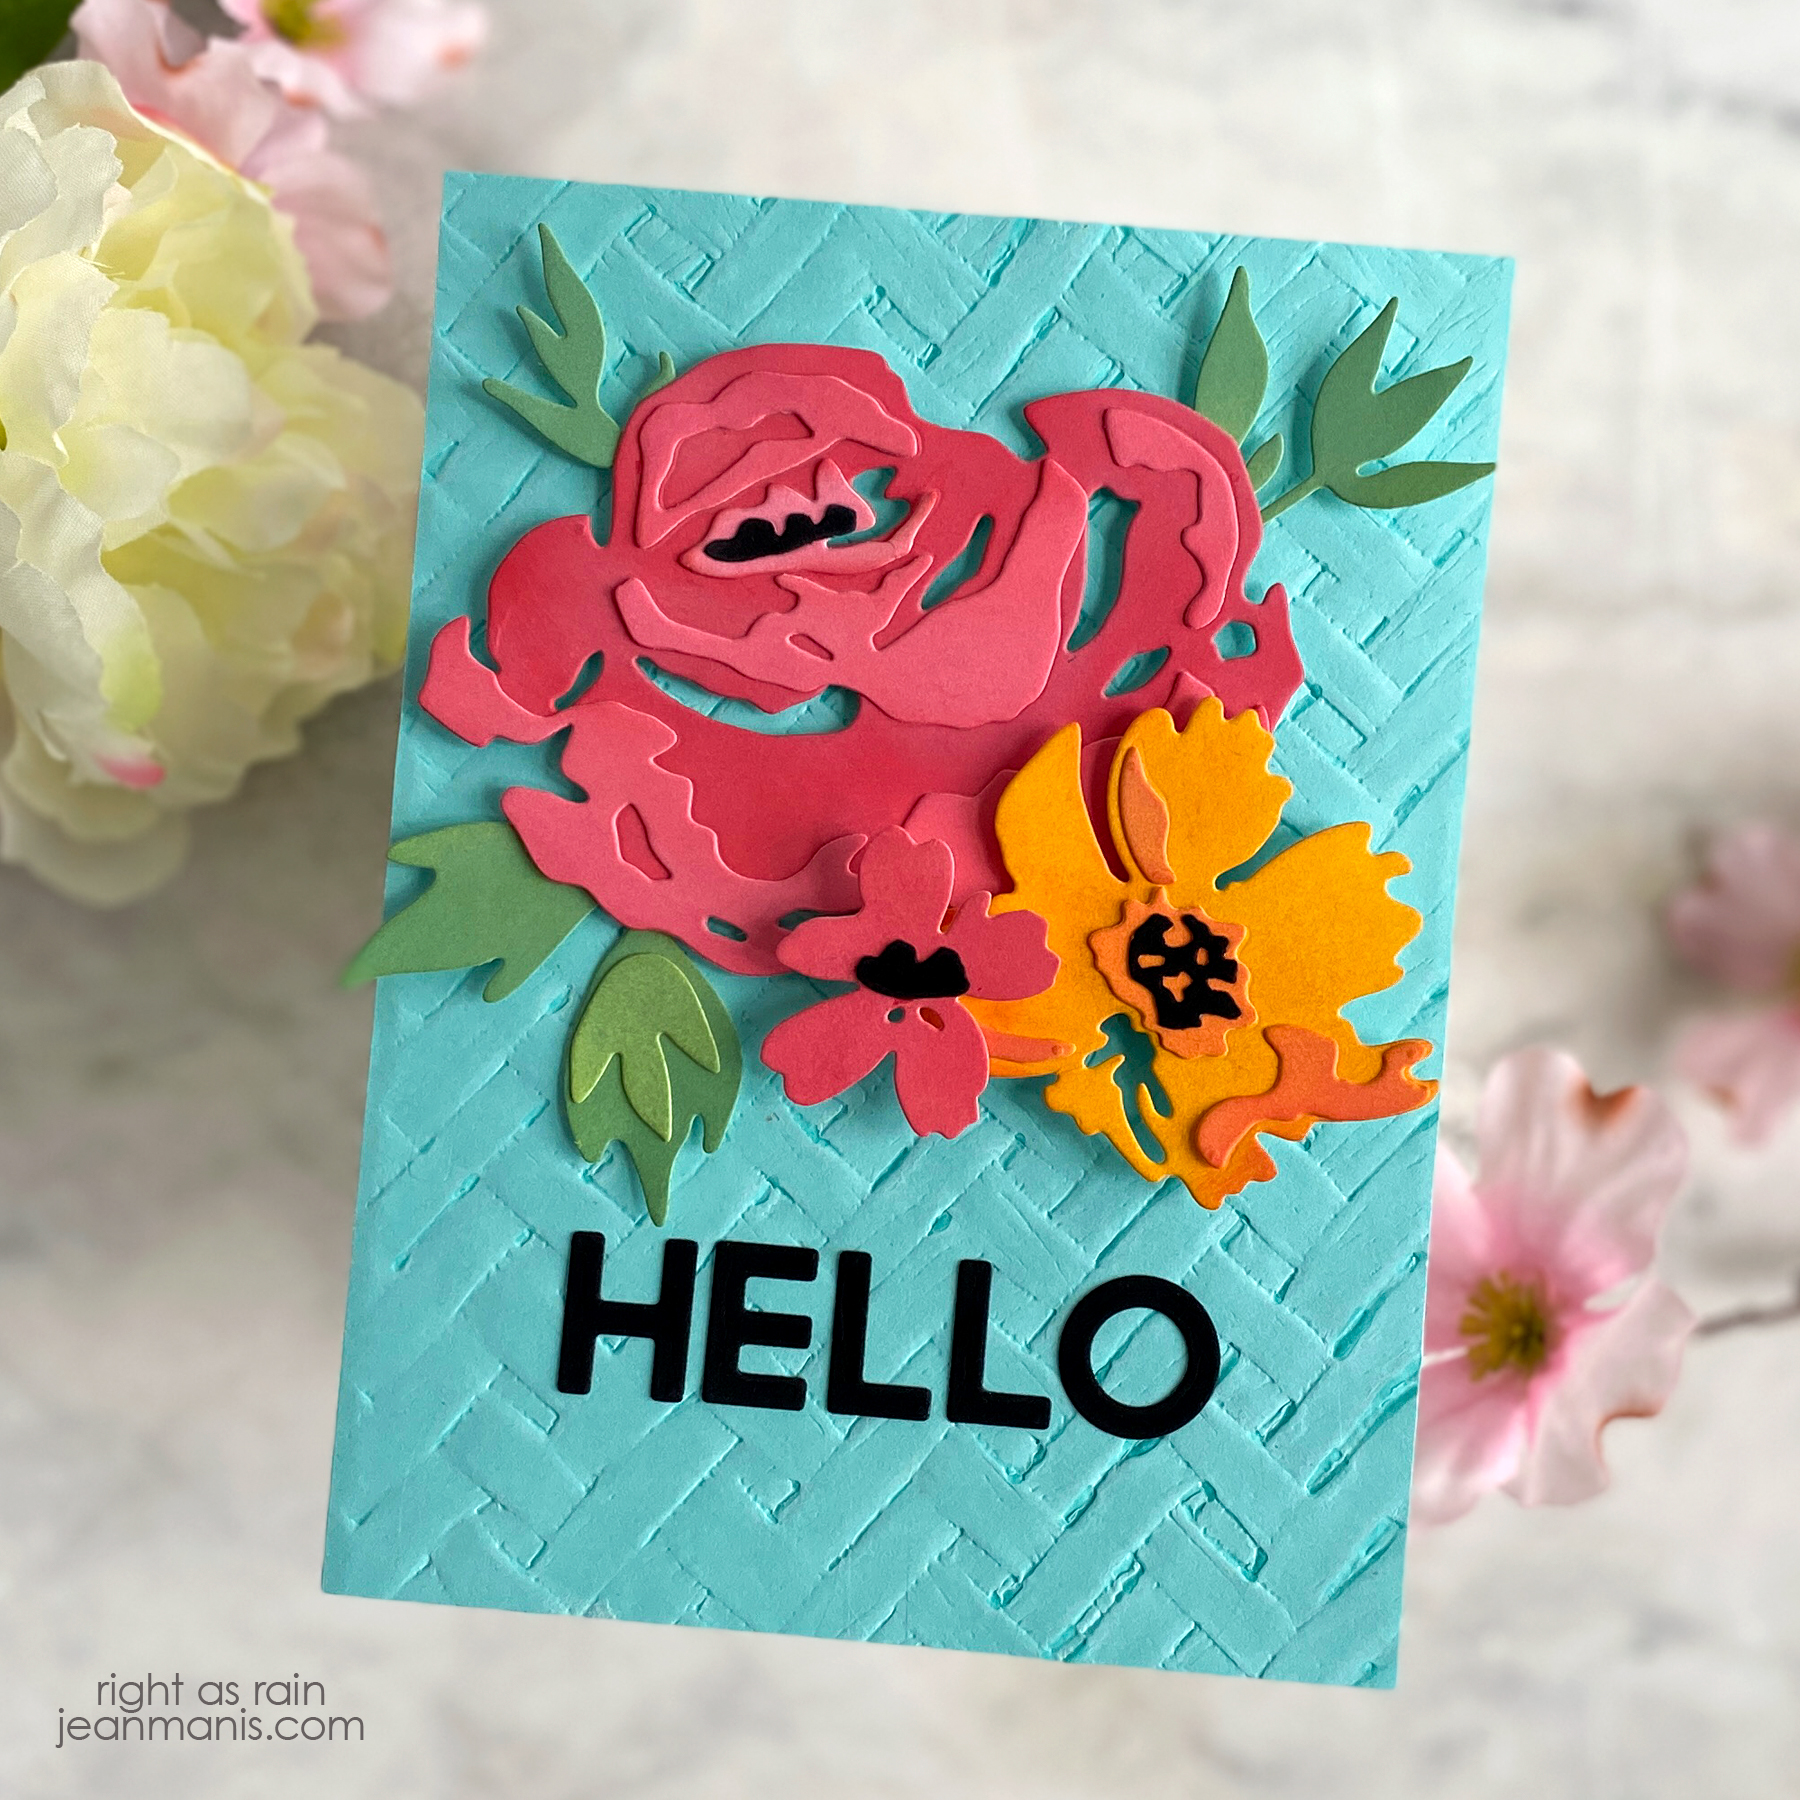
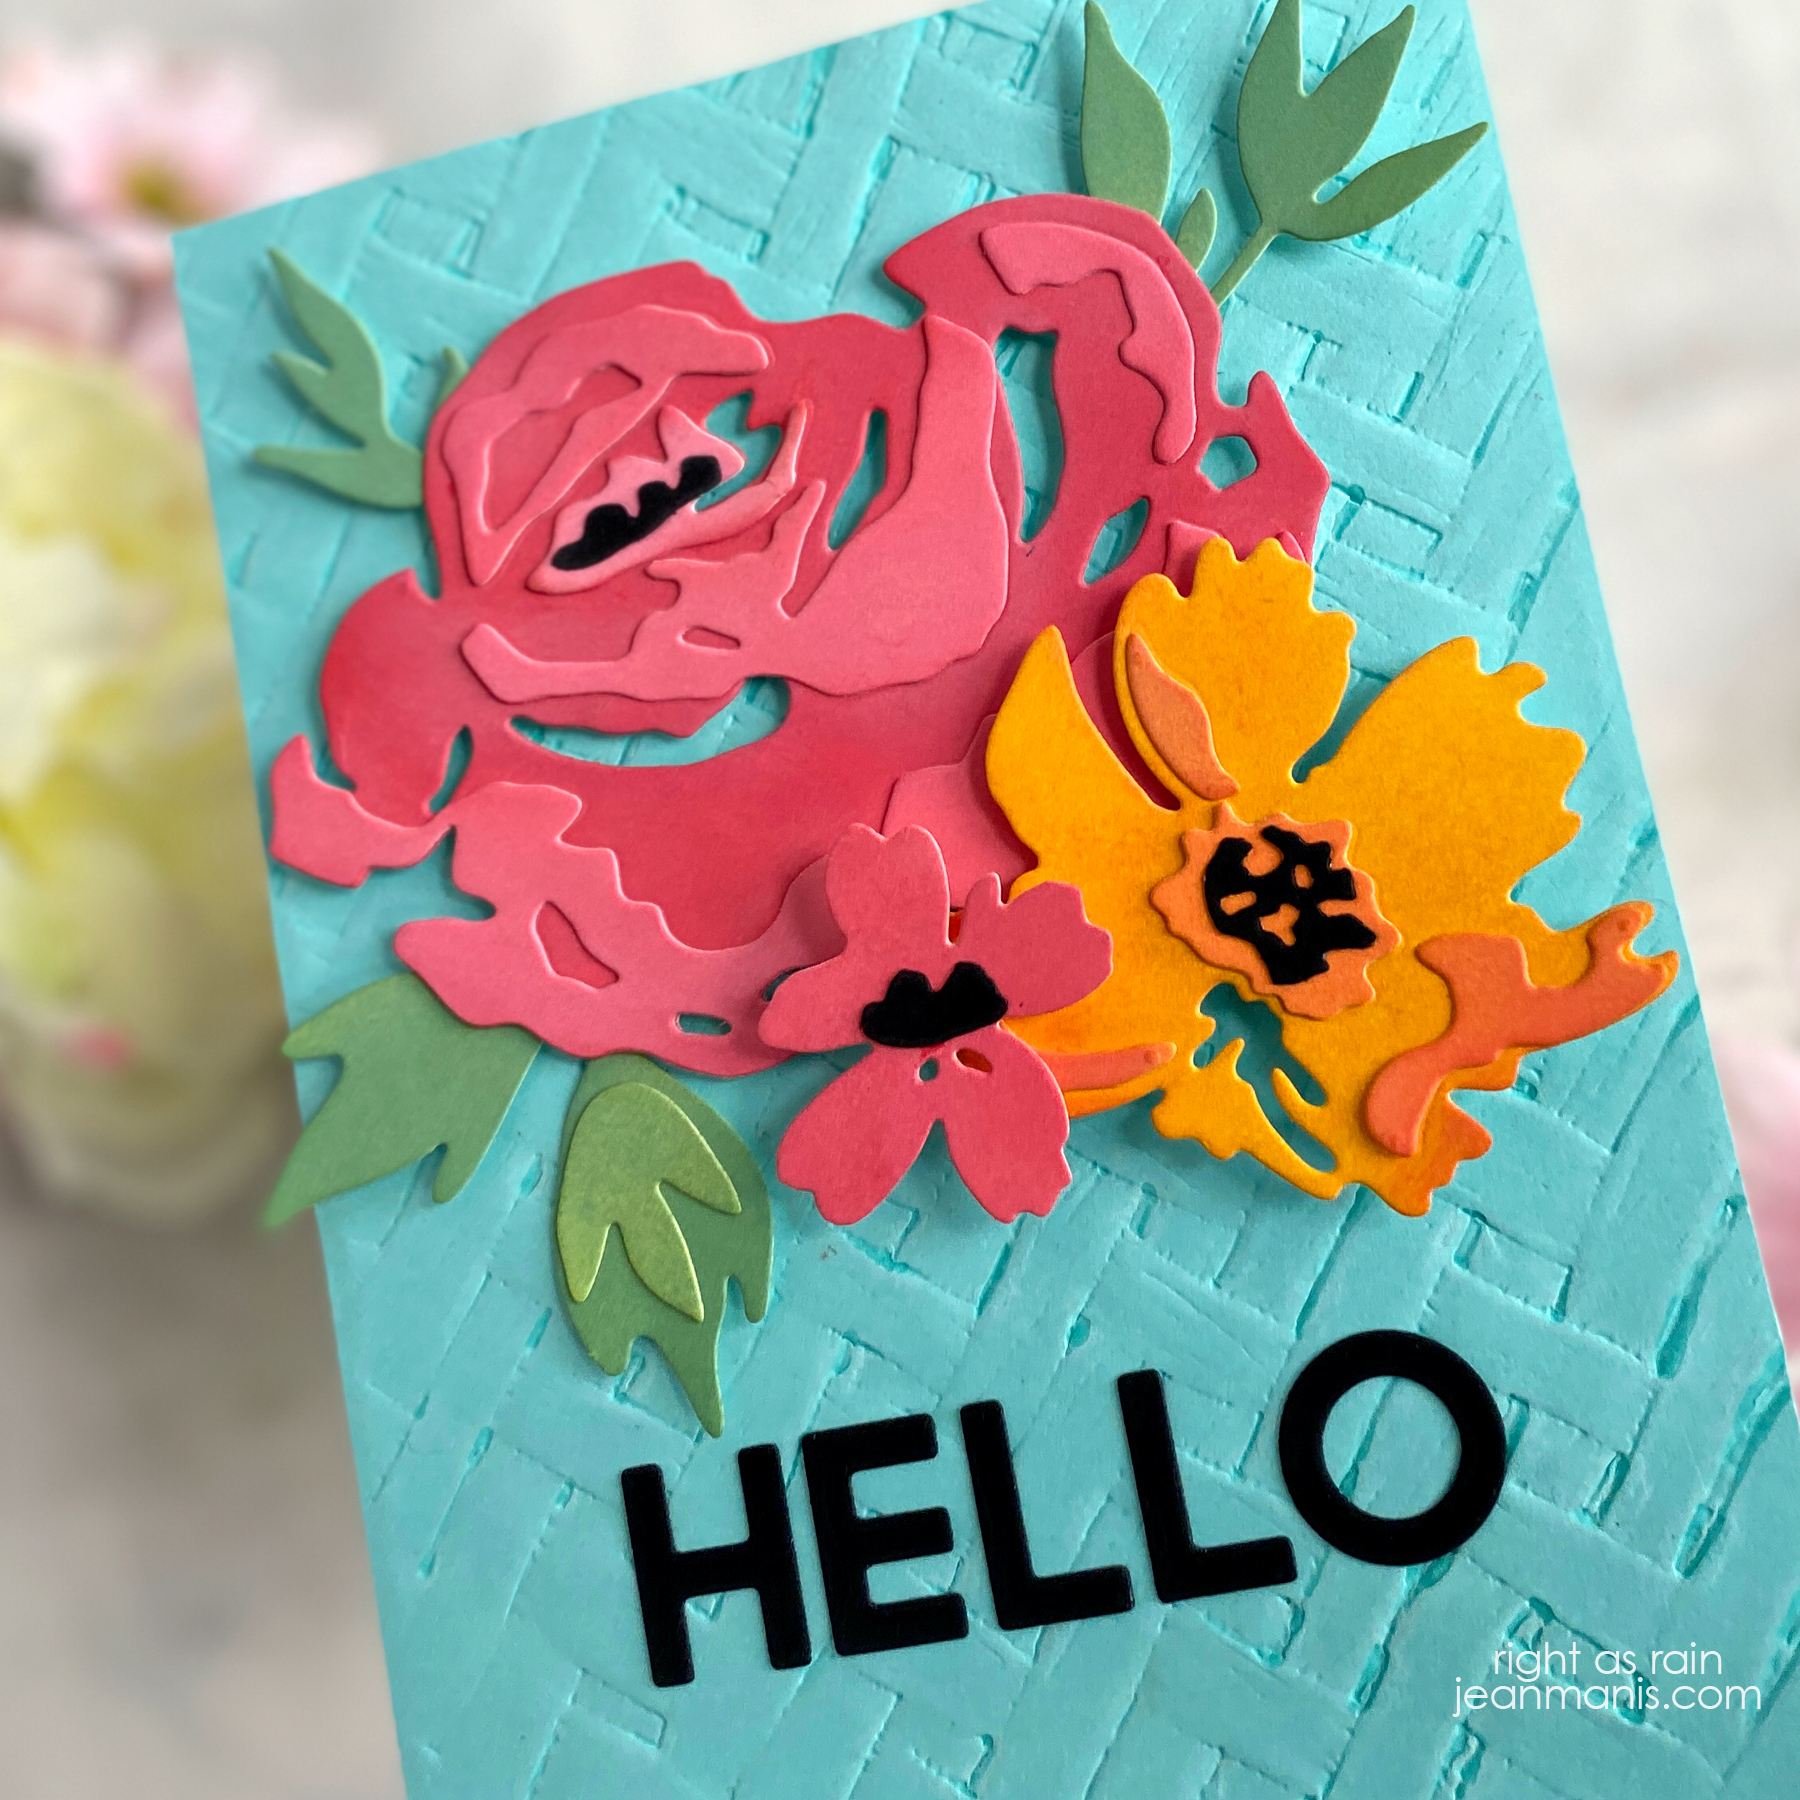
Hello! Today I am sharing a die-cut floral card created with Tim Holtz supplies.

Sizzix Tim Holtz | Floral Die-cut Hello

  • Color Bristol cardstock with a variety of Distress Oxide inks.
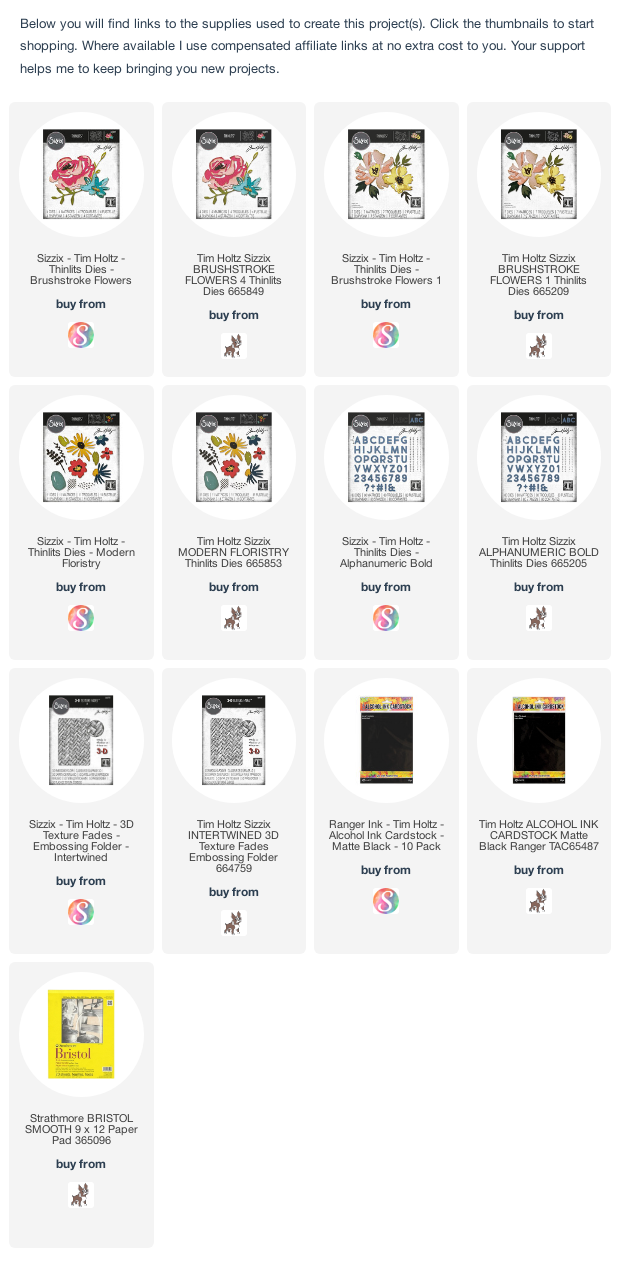
  • Cut the floral pieces with dies in the Brushstroke Flowers 1, Brushstroke Flowers 4, and Modern Floristry sets from the ink-colored Bristol and Alcohol Ink Matte Black cardstock (this cardstock has a velvet-like finish).
  • Assemble the floral pieces. The bottom layers have light embossing lines to facilitate placement of the top layers.
  • Cut the sentiment from the Alcohol Ink Matte Black cardstock with Alphanumeric Bold dies.
  • Dry-emboss Bazzill Robin’s Egg cardstock with the Intertwined folder.
  • Glue the sentiment to the card front and add the flowers and foliage with glue and foam adhesive.

Sizzix Tim Holtz | Floral Die-cut Hello


Tim Holtz Christmas Minis

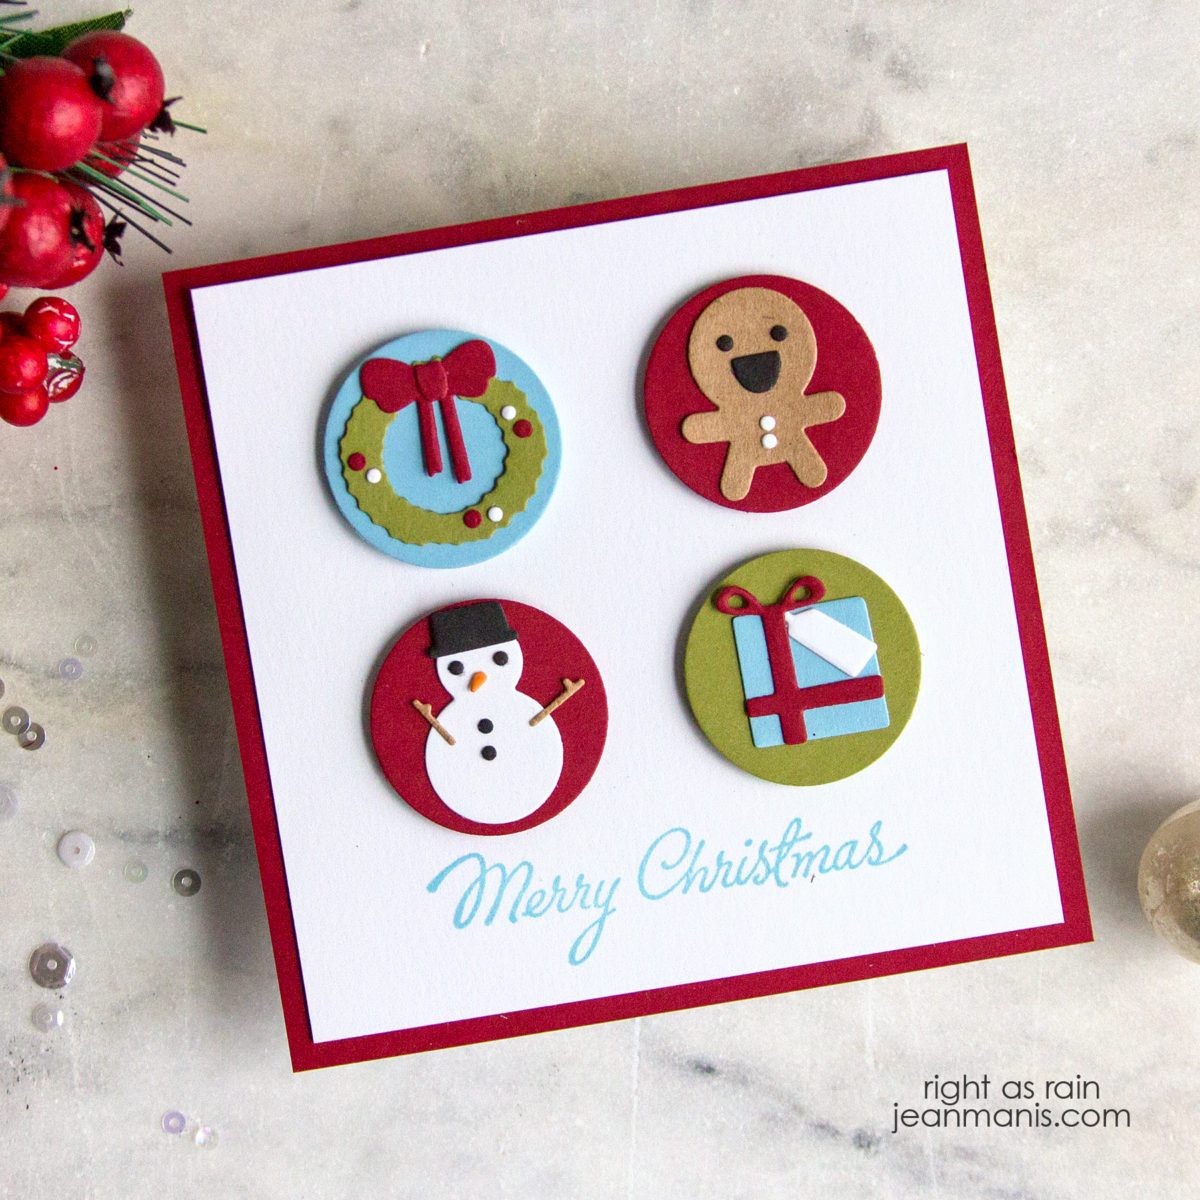
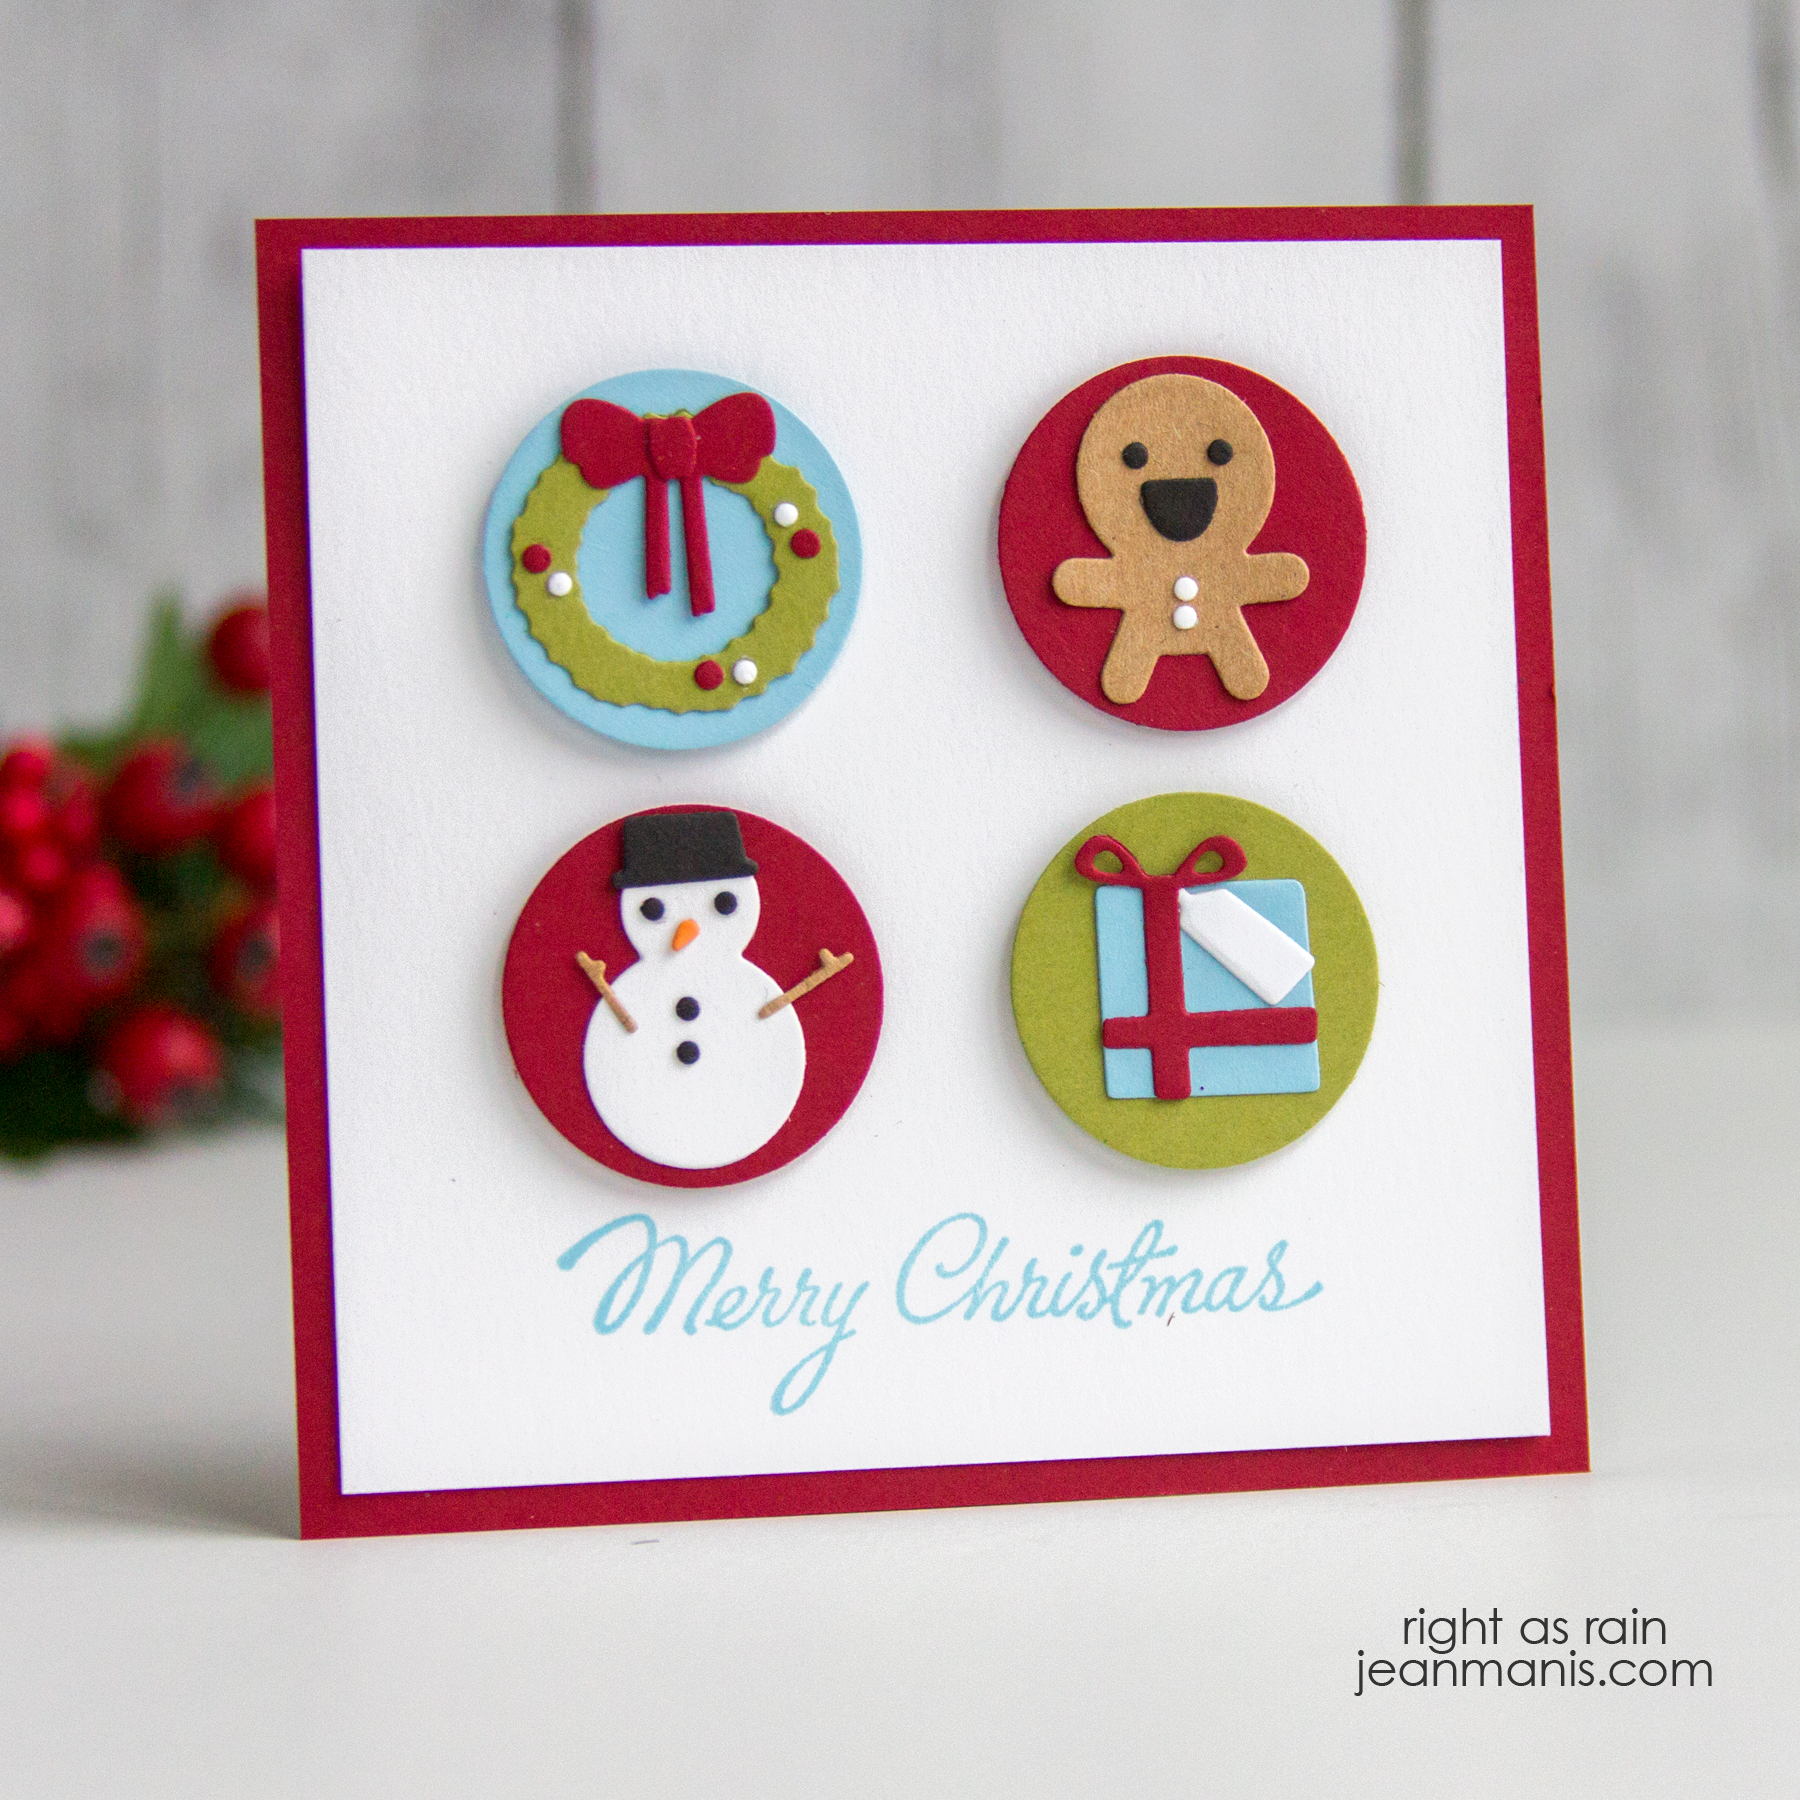
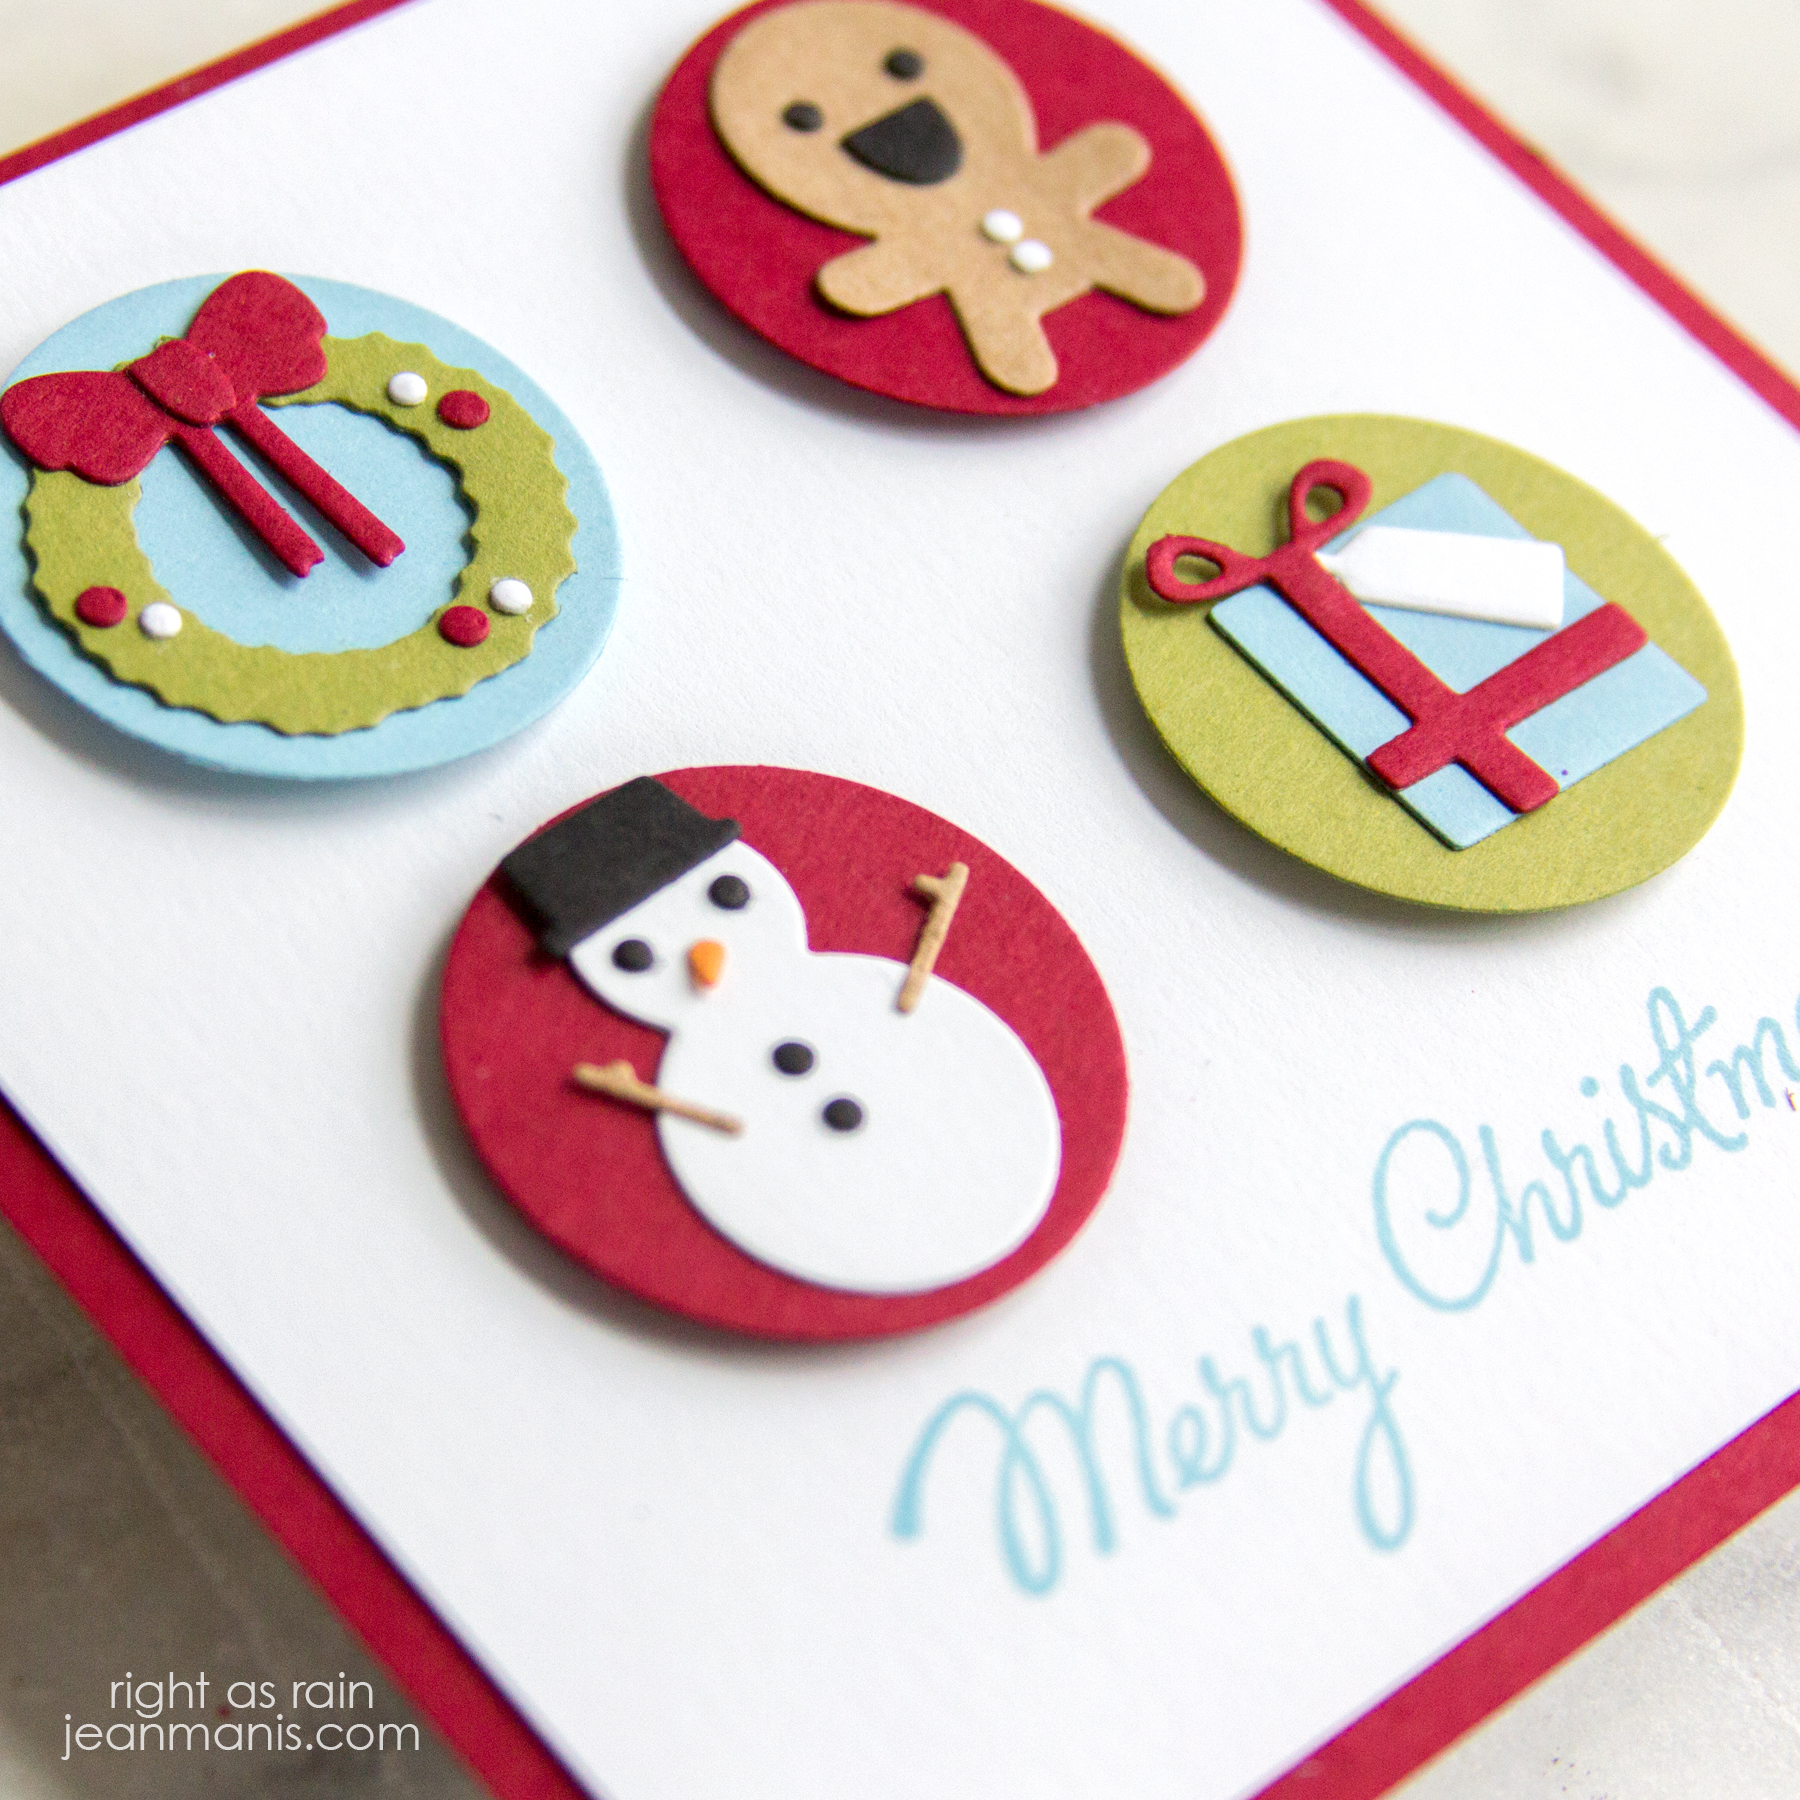
Hello! Today, I am sharing a Christmas card that features the Tim Holtz Christmas Minis die set.

Tim Holtz Christmas Minis

  • I stamped the Christmastime 3 sentiment in Tumbled Glass oxide ink on white cardstock. I trimmed the panel to 4 inches square and added it to a 4 1/4 inches SU Cherry Cobbler card base.
  • I die-cut the Christmas Minis from a variety of cardstock colors including SU Old Olive, SU Cherry Cobbler, SU Kraft, and SU Balmy Blue. I assembled the wreath, gingerbread boy, snowman, and package, added them to die-cut circles (die is in the Christmas Minis set), and popped them up with foam adhesive.

Tim Holtz Christmas Minis


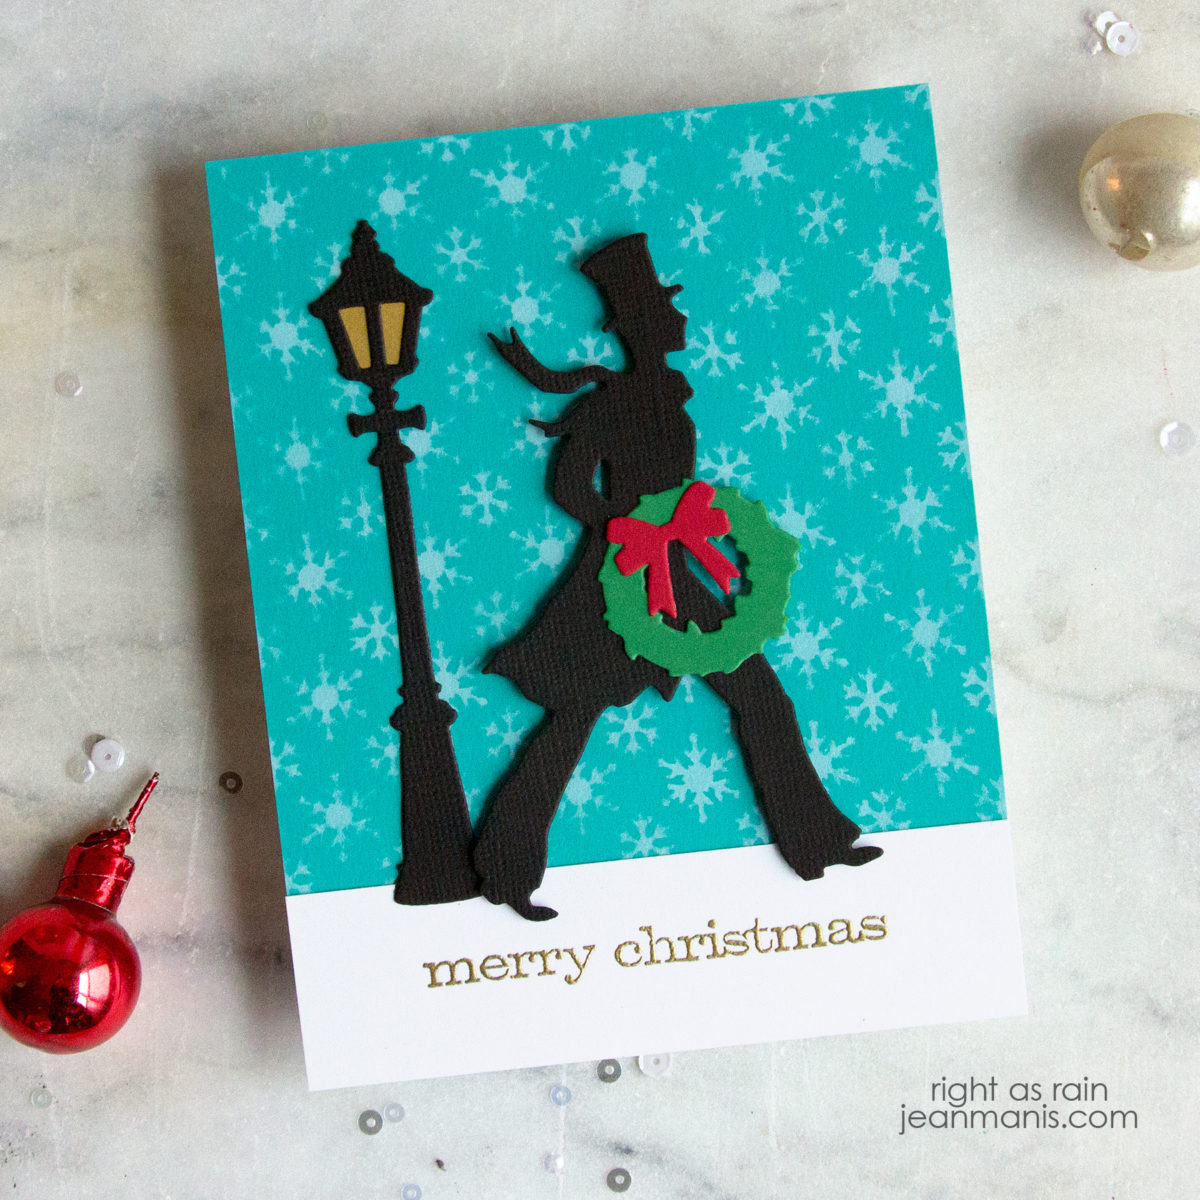
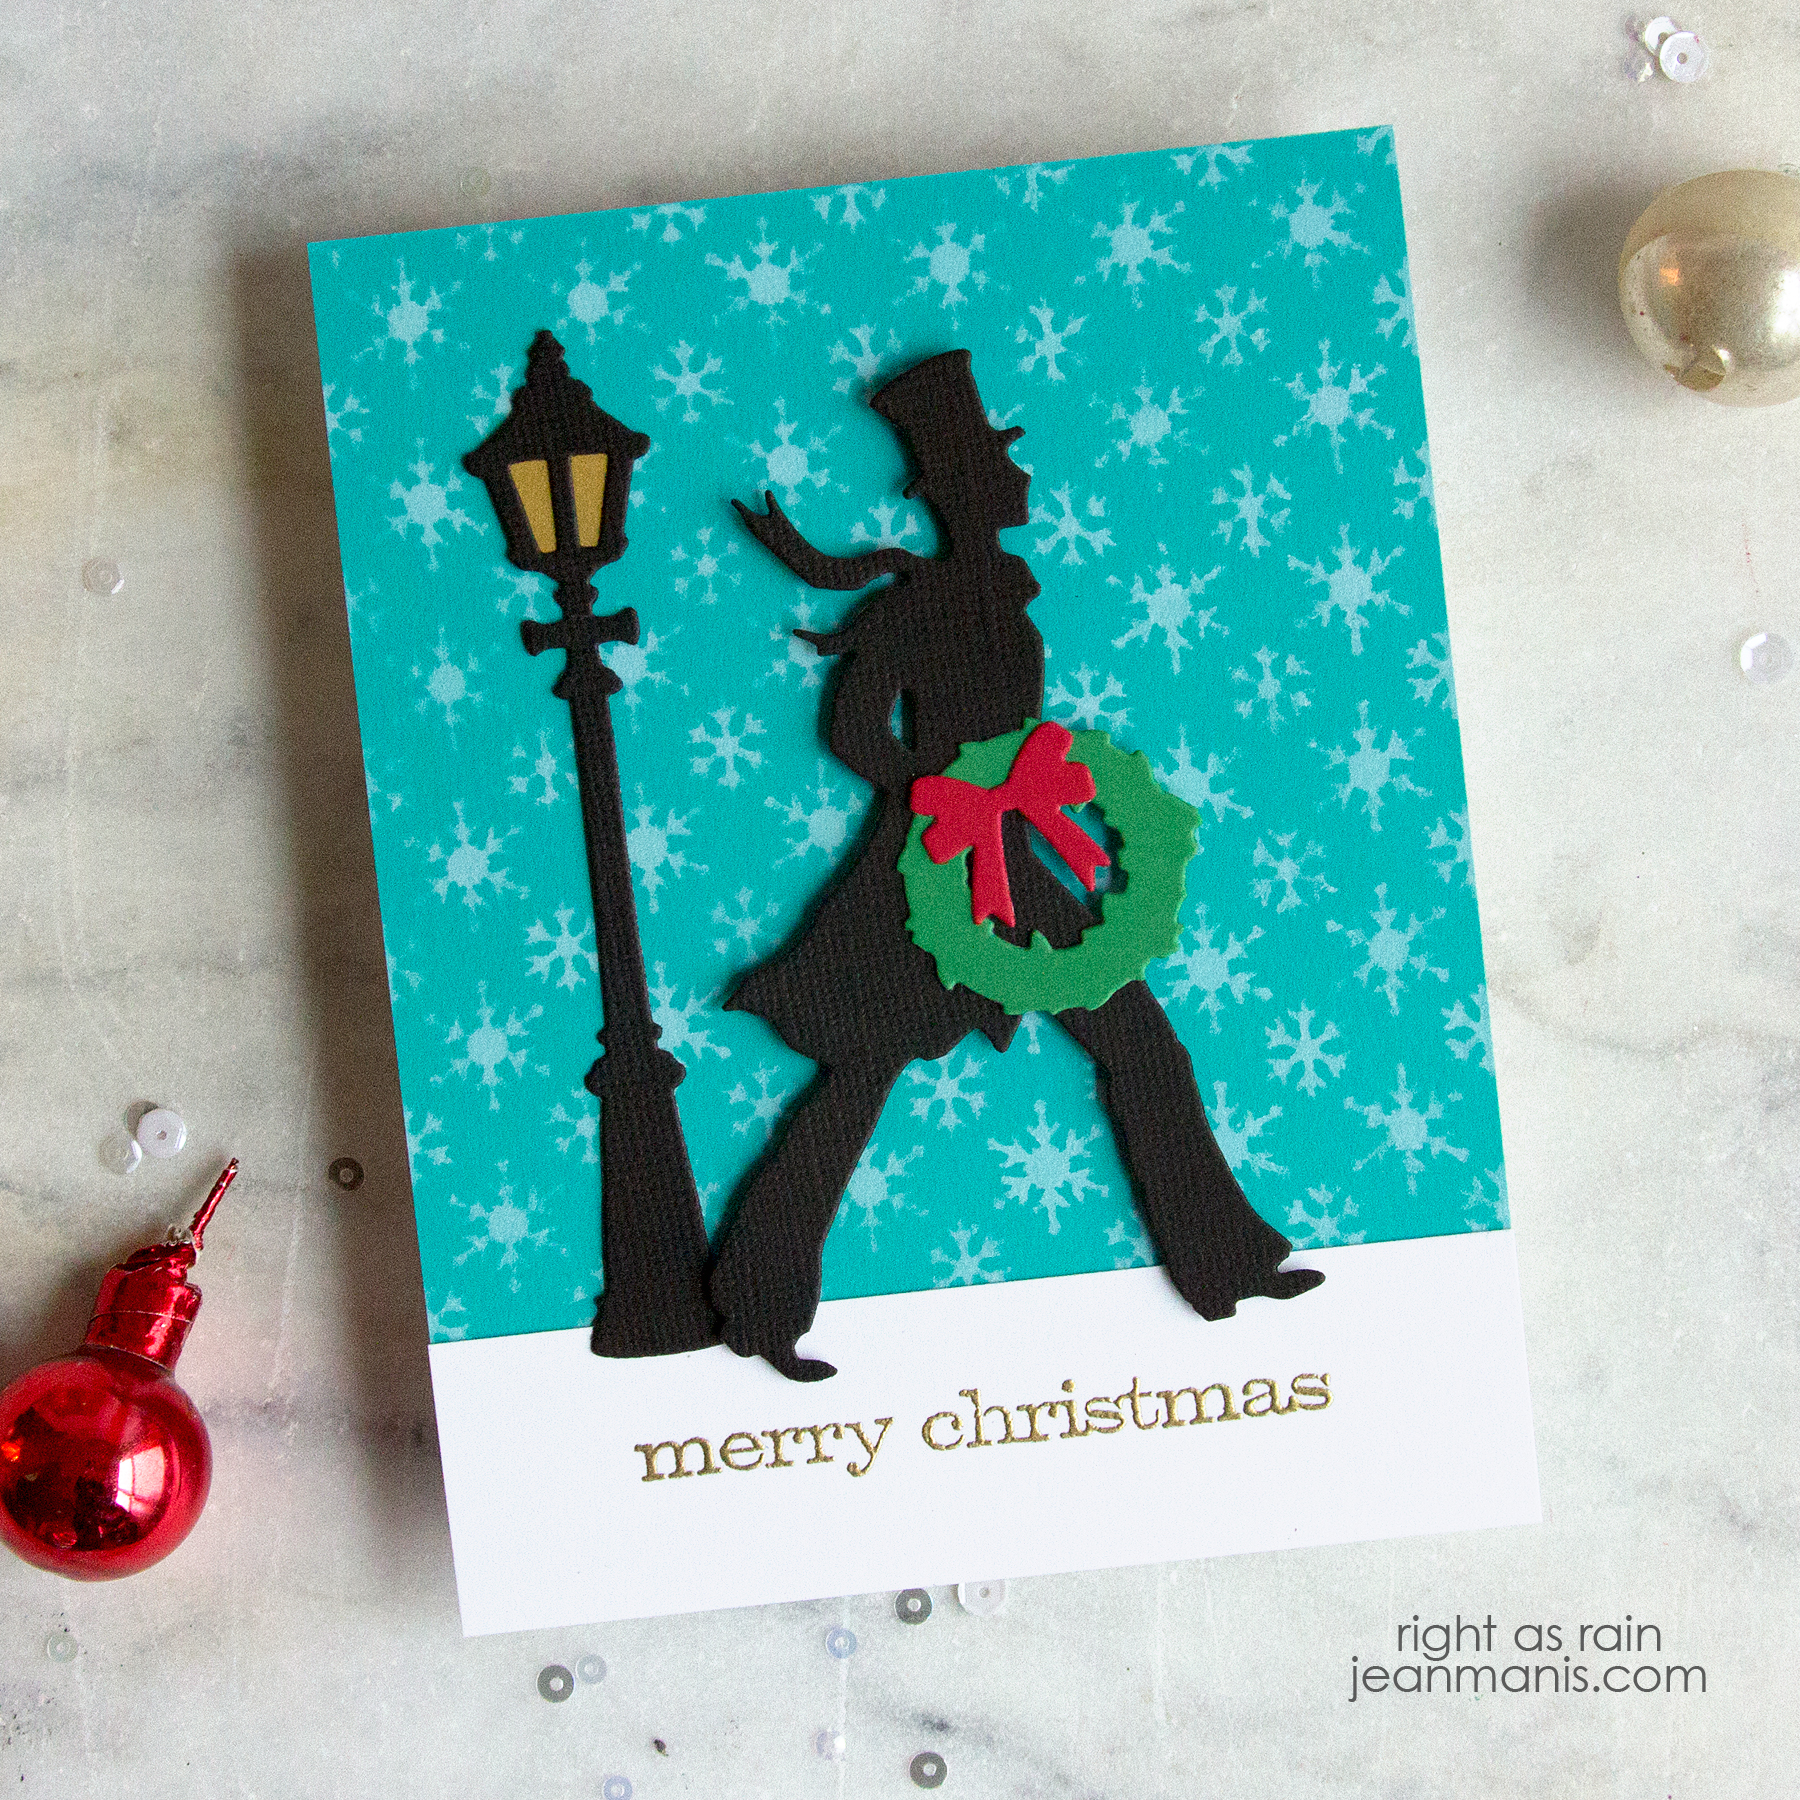
Tim Holtz Christmas Gentleman

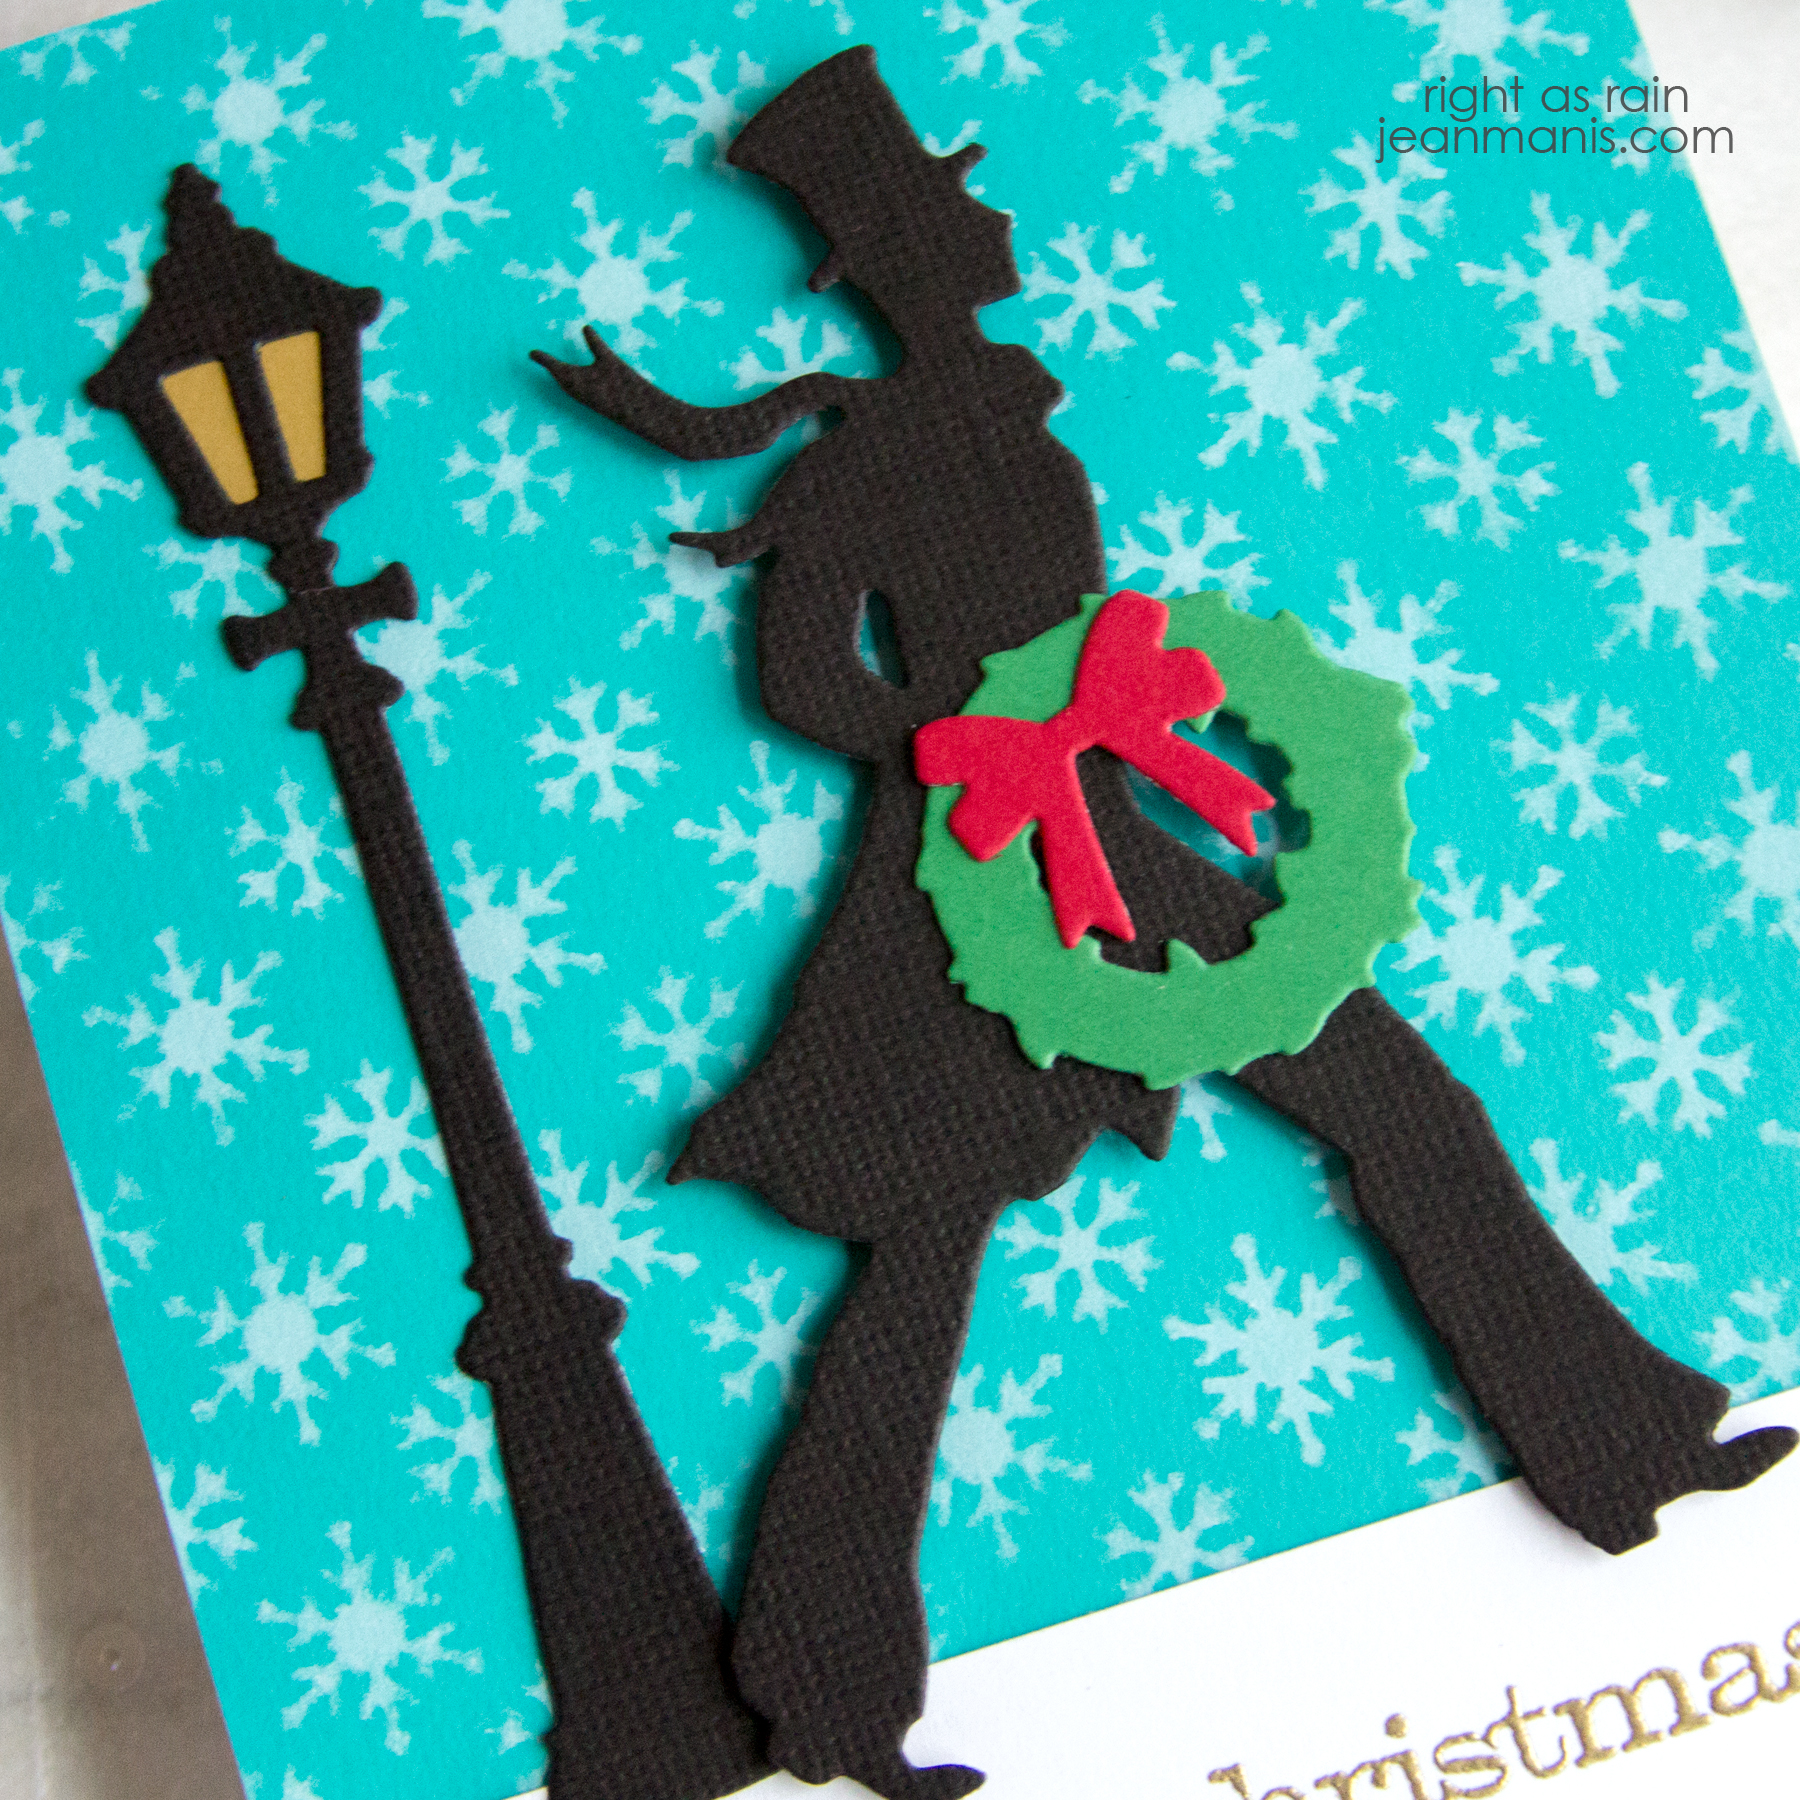
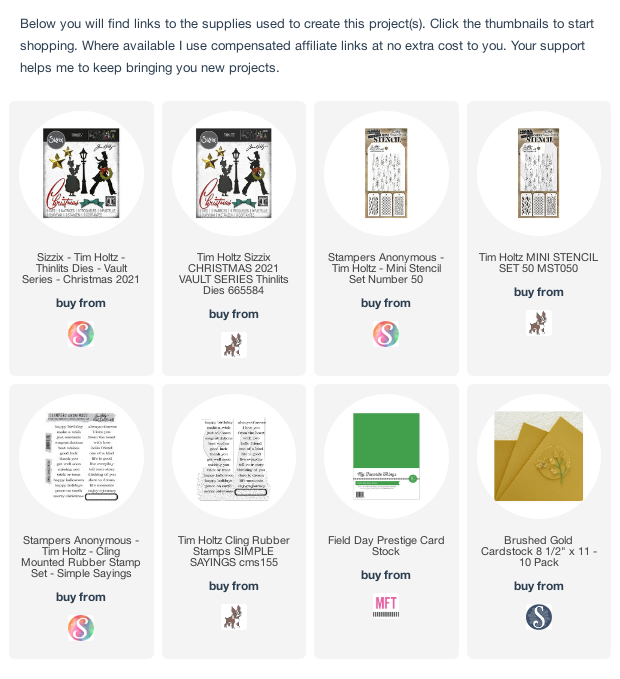
Hello! Today, I am sharing a CAS Christmas card that features a festive gentleman, who looks as if he stepped out of Dickens’ “A Christmas Carol.” The Christmas 2021 Vault Series die includes the gentleman, as well as the wreath and lamp post. (Emboldened supplies without links are available from multiple stores and are included in the supply list at the end of the post.)

Tim Holtz Christmas Gentleman

  • To begin I stenciled the snowflakes, part of Mini Stencil Set Number 50, with white pigment ink on to a teal cardstock base. I did this twice to cover the area, letting it dry between the applications.
  • I die-cut the Christmas 2021 Vault Series from cardstock and assembled them, using Brushed Gold behind the lamppost.
  • I heat-embossed the Simple Sayings sentiment on white cardstock with gold embossing powder, trimmed the panel, and added it to the stenciled background.
  • I added the lamp post, gentleman, and wreath to the scene.

Tim Holtz Christmas Gentleman


Tim Holtz Feathered Friends Christmas Tags

Hello! Today I am sharing Christmas tags created with Tim Holtz supplies featuring the Feathered Friends die set. I shared a card with this set here.

Tim Holtz Feathered Friends Christmas Tags

  • I heat-embossed the Festive Overlay sentiment on to kraft cardstock, once with Red Geranium and once with Green. I cut the cardstock using the Tag Collection die set.
  • I sponged white pigment ink through the Flurries stencil, masking the sentiment.
  • To create the small patches of snow, I stenciled embossing paste through a stencil in the Mini Set 38 and then sprinkled it with Rock Candy Glitter.
  • I die-cut the Feathered Friends birds from colored cardstock and black cardstock and assembled them; I placed white cardstock behind the wings and the bodies for greater visibility. I added the birds to the tags, as well as twine.

Tim Holtz Feathered Friends Christmas Tags

Tim Holtz Feathered Friends Christmas Tags


Tim Holtz Cozy Winter Tags

Hello! Today I am sharing two versions of a holiday tag featuring the Tim Holtz Cozy Winter bear. I previously shared a card featuring the bear here.

Tim Holtz Cozy Winter Tags

I used a die in the Tim Holtz/Sizzix Tag Collection set to create the tag base, cutting cardstock to which I had applied Distress Oxide ink.

On both tags, I used the Flurries stencil, varying the method by which I created the snowflakes. For the tag on the left, I applied Transfer Gel through the stencil. Once dry, I ran the tag through my Minc with Flock Transfer (now called Deco Foil Plush Paper, White Latte).

For the tag on the right, I applied white embossing paste through the stencil and sprinkled it with Clear Rock Candy glitter.

In addition to changing up the color of cardstocks I used to create the bears, I changed up the sentiment as well. For the first bear, I stamped the Bold Tidings Mini sentiment on to white cardstock and cut it with a Spellbinders Color Block Scenic Scape die.

Tim Holtz Cozy Winter Tags

On the other, I added Clear Rock Candy glitter to white cardstock (with double-sided adhesive), cut the cardstock with the Spellbinders Color Block Scenic Scape die, and added a sentiment cut with the Alphanumeric Bold set, from cardstock to which I had applied Broken China Glaze.

Tim Holtz Cozy Winter Tags

The Cozy Winter set includes a mug for the bear to hold. I swapped out the mug for a present, cut with the Christmas Minis set. I cut the present from cardstock to which I had applied Broken China Glaze and cardstock which I had heat-embossed with Red Tinsel embossing powder. I cut the scarf from these same two pieces.

Tim Holtz Cozy Winter Tags Tim Holtz Cozy Winter Tags

I really enjoy using the same design while varying the ways in which I create the elements.