Spellbinders | Brunch-Themed Friendship Card

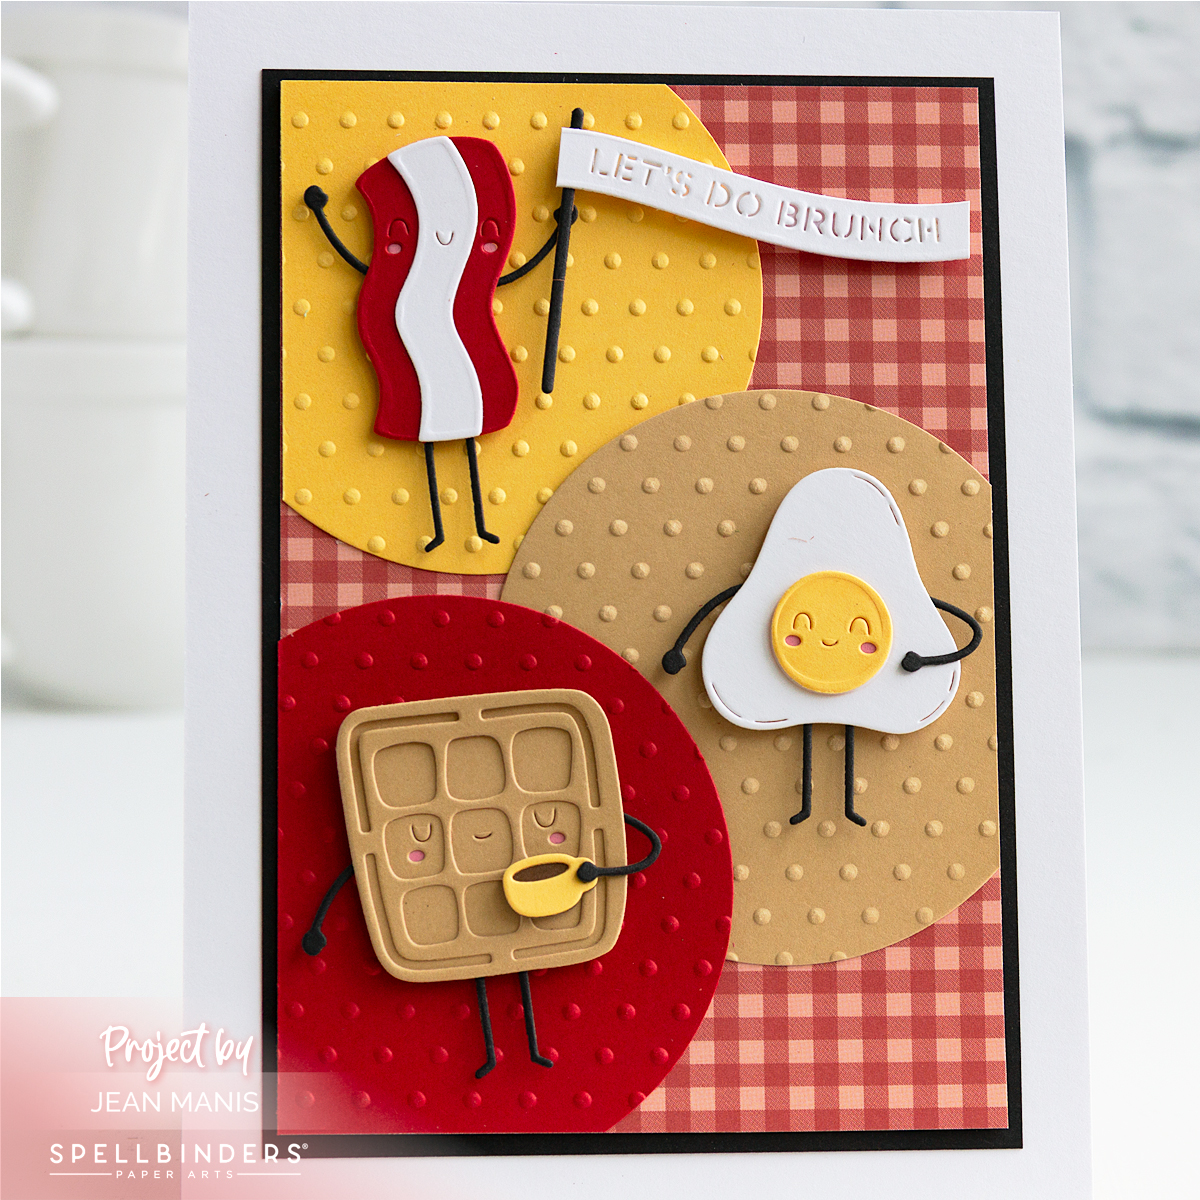
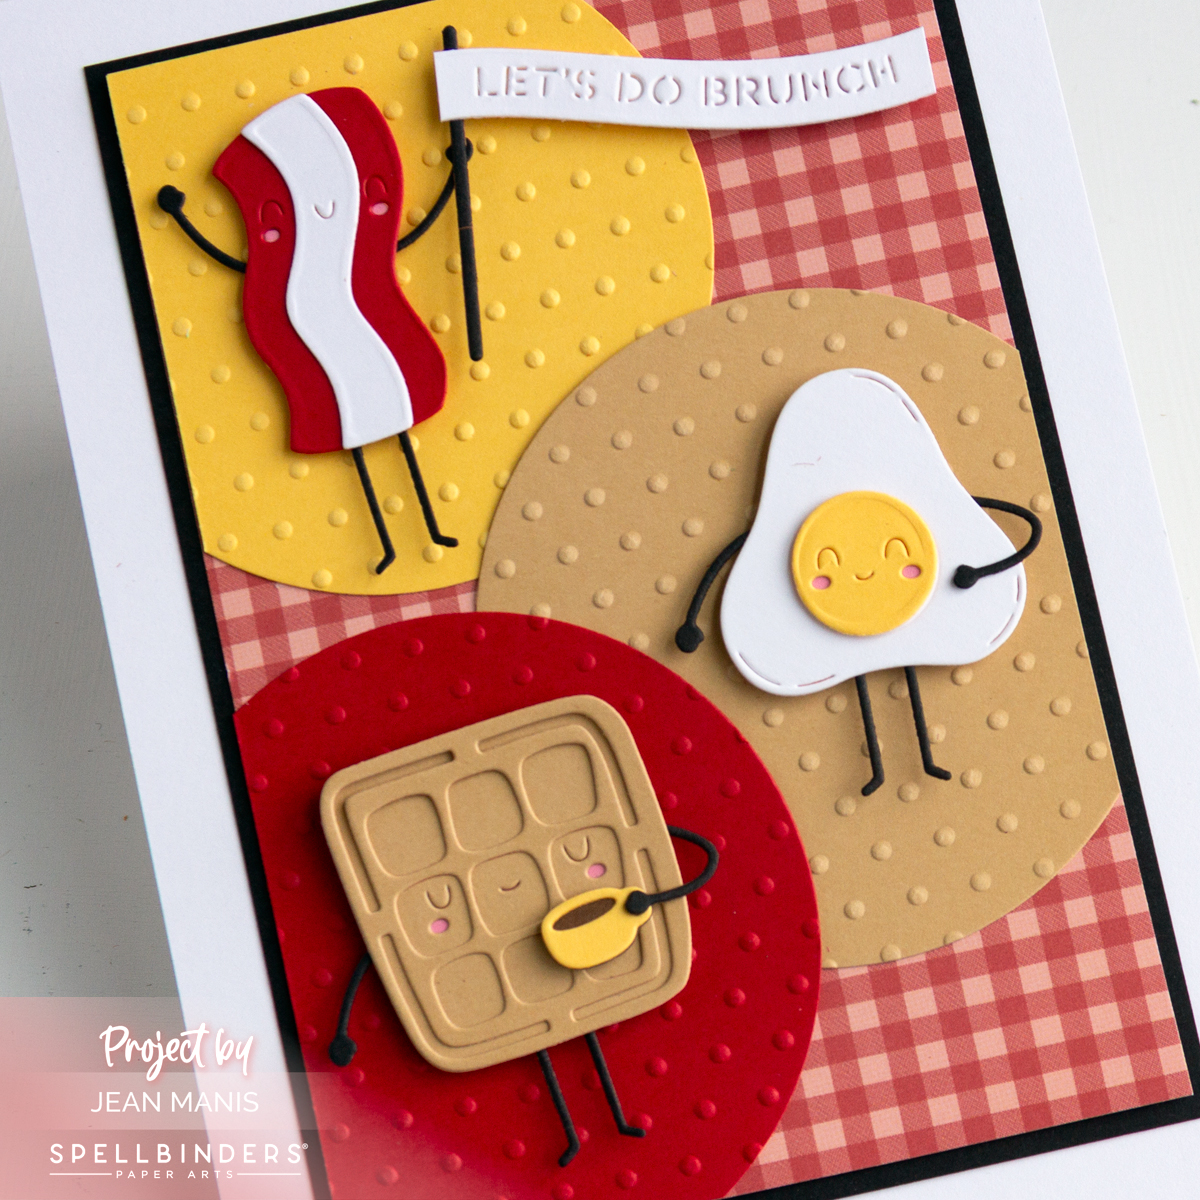
Hello! Today, I’m sharing a playful friendship card created with the Spellbinders November Small Die of the Month set, which is all about brunch! The set includes the cutest breakfast items, each complete with arms, legs, and sweet expressions. I’ve used the waffle, a strip of bacon, and a sunny-side-up egg. The card is a fun and friendly way to invite someone to catch up, share a meal, or simply brighten their day.

Spellbinders | Brunch-Themed Friendship Card

    • Create a 5″ x 7″ card base.
    • Cut a 4″ x 6″ panel of patterned paper.
    • Cut the focal items from a variety of cardstock colors with the Small Die of the Month set. Assemble. (Note: I trimmed the banner sentiment on either end to shorten it.)
    • With a circle die, cut three circles in coordinating colors and dry-emboss with the Tiny Dots folder. Attach the circles to the patterned paper and trim. Mat the panel on to a slightly larger panel of black cardstock. Add assembly to the prepared card base.
    • Add items to the circles with adhesive foam squares.

Spellbinders | Brunch-Themed Friendship Card


Spellbinders | Snow Day Friends

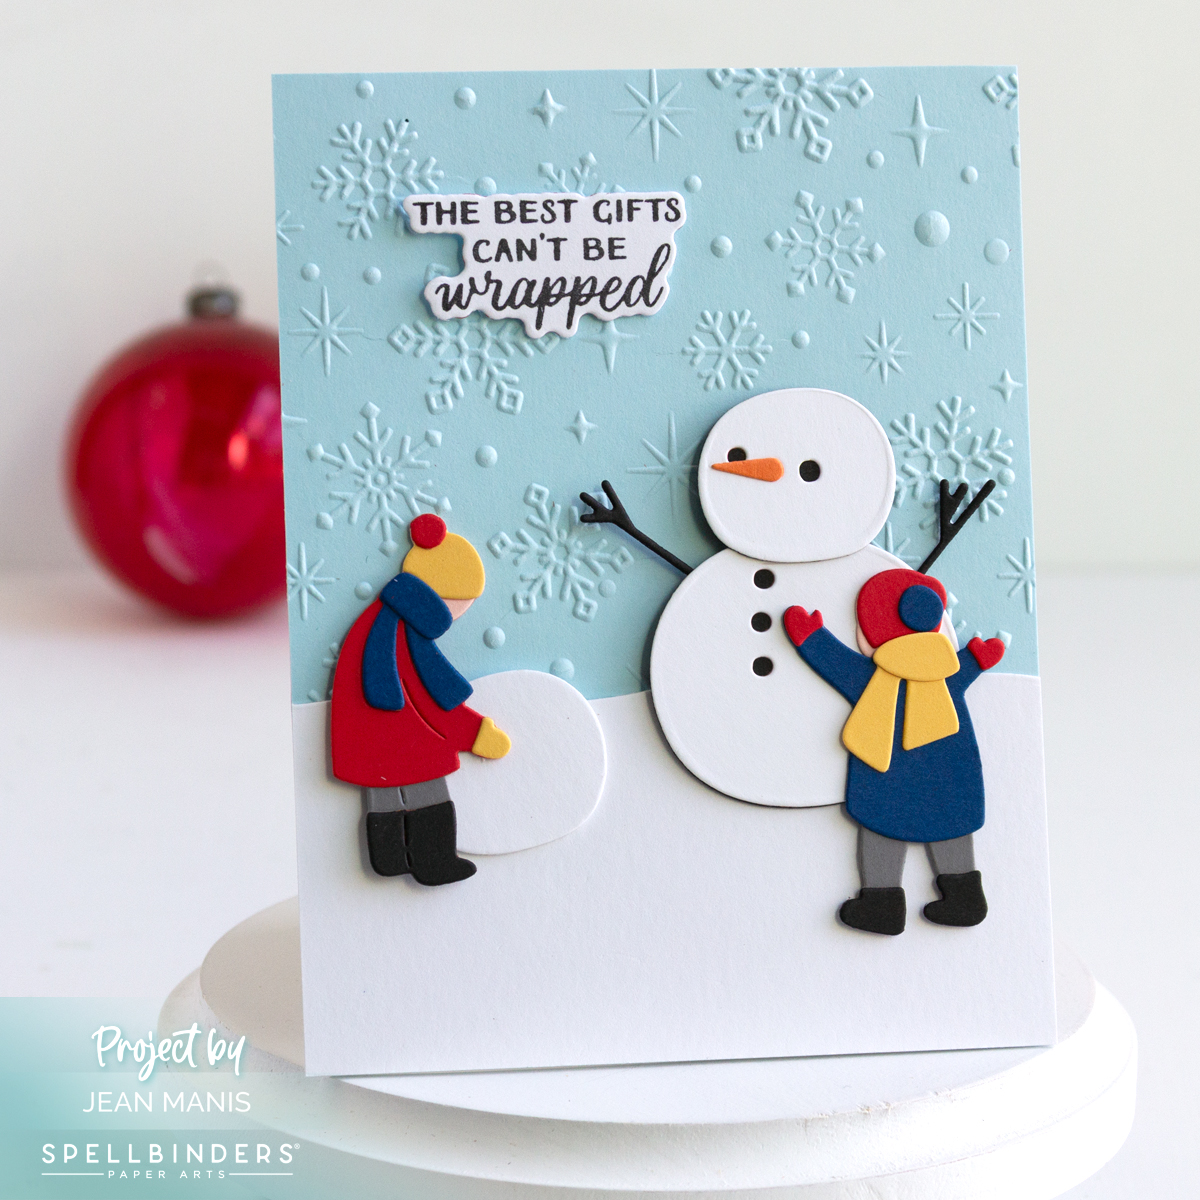
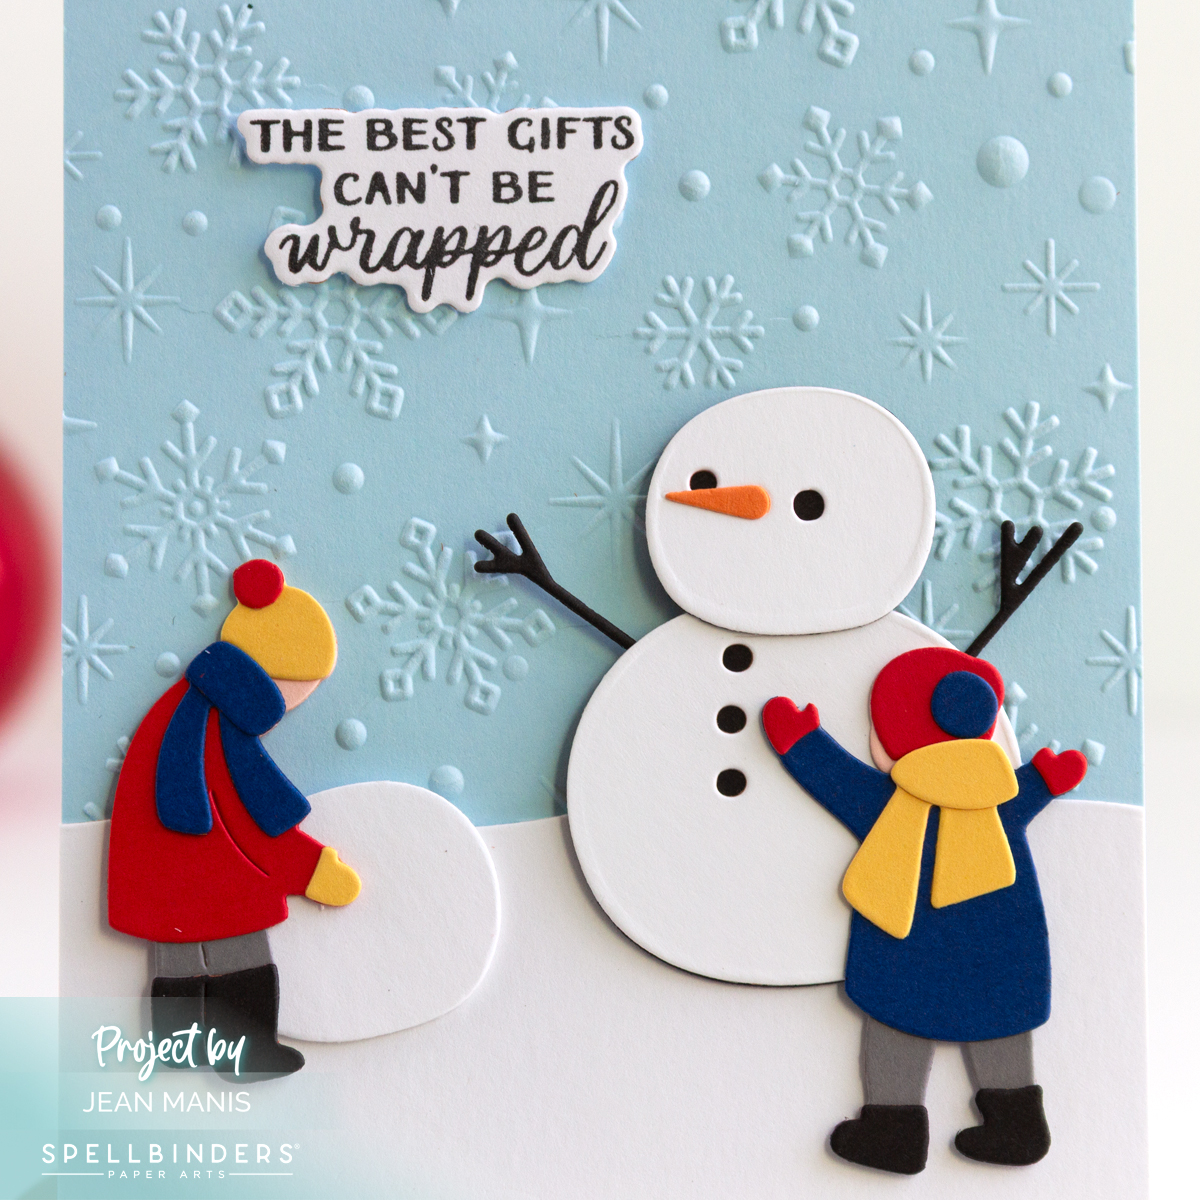
Hello! The Spellbinders October Small Die of the Month kit, Snow Day Friends, captures the playful joy of winter in the most delightful way. I used the kit to create a Christmas card showing two bundled-up children building a snowman, with a stamped sentiment from the coordinating Stamp Kit. The illustration style of the die set brings a nostalgic, storybook charm.

Spellbinders | Snow Day Friends

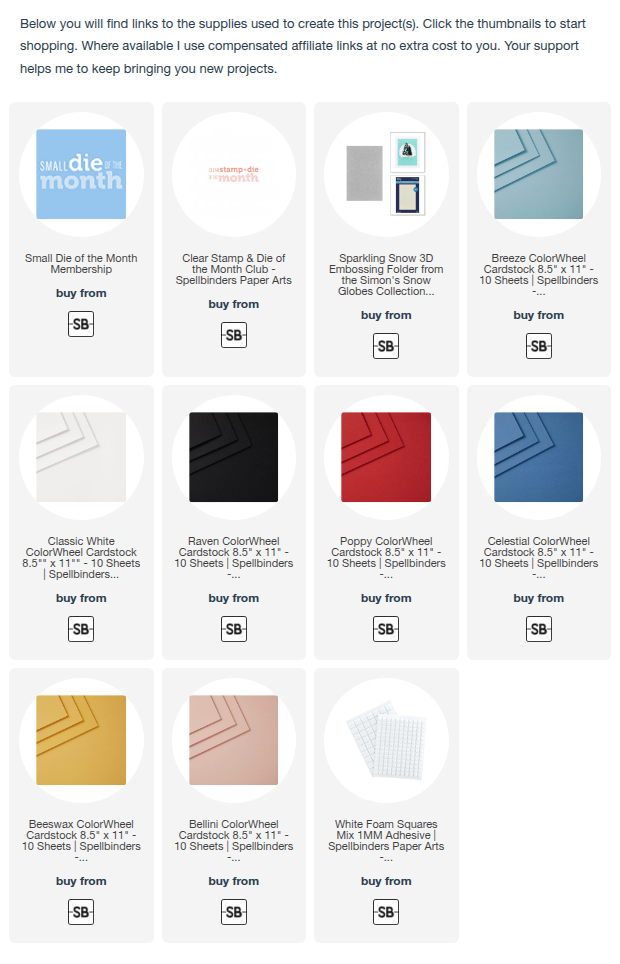
Dry-emboss a Breeze cardstock panel with the Sparkling Snow folder and add to an A2-size card base.

Cut the snowman, snowball, snowbank, and children with dies in the Small Die of the Month kit from a variety of cardstock colors. Assemble.

With the October Stamp & Die set, stamp the sentiment and cut with the coordinating die.

Add assembled elements to the card base with foam adhesive and glue.

Spellbinders | Snow Day Friends


Spellbinders | Santa Mug

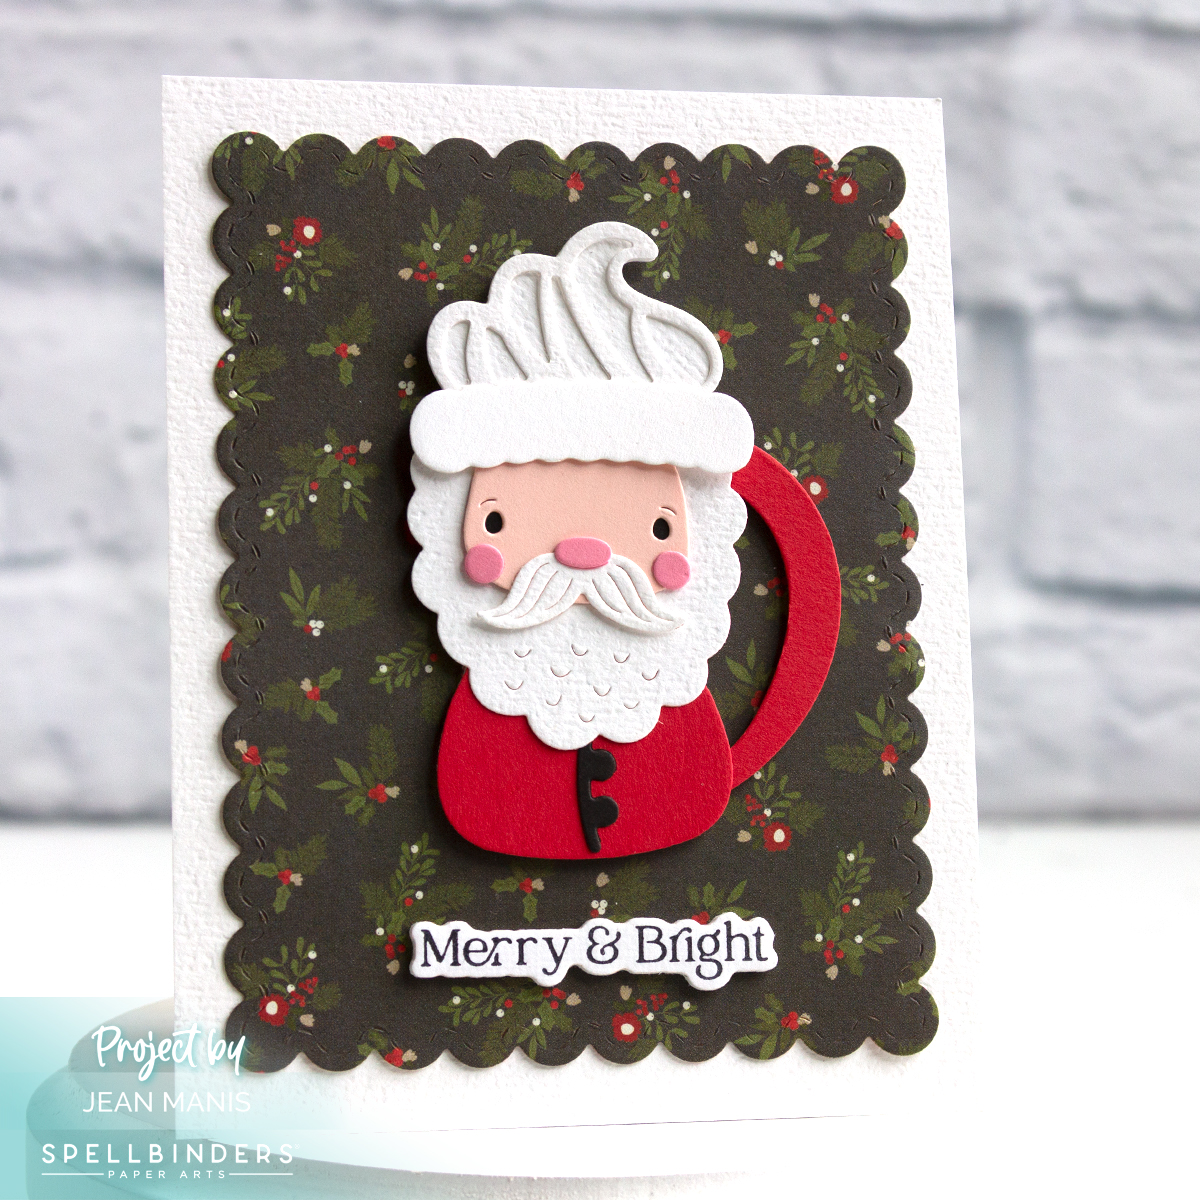
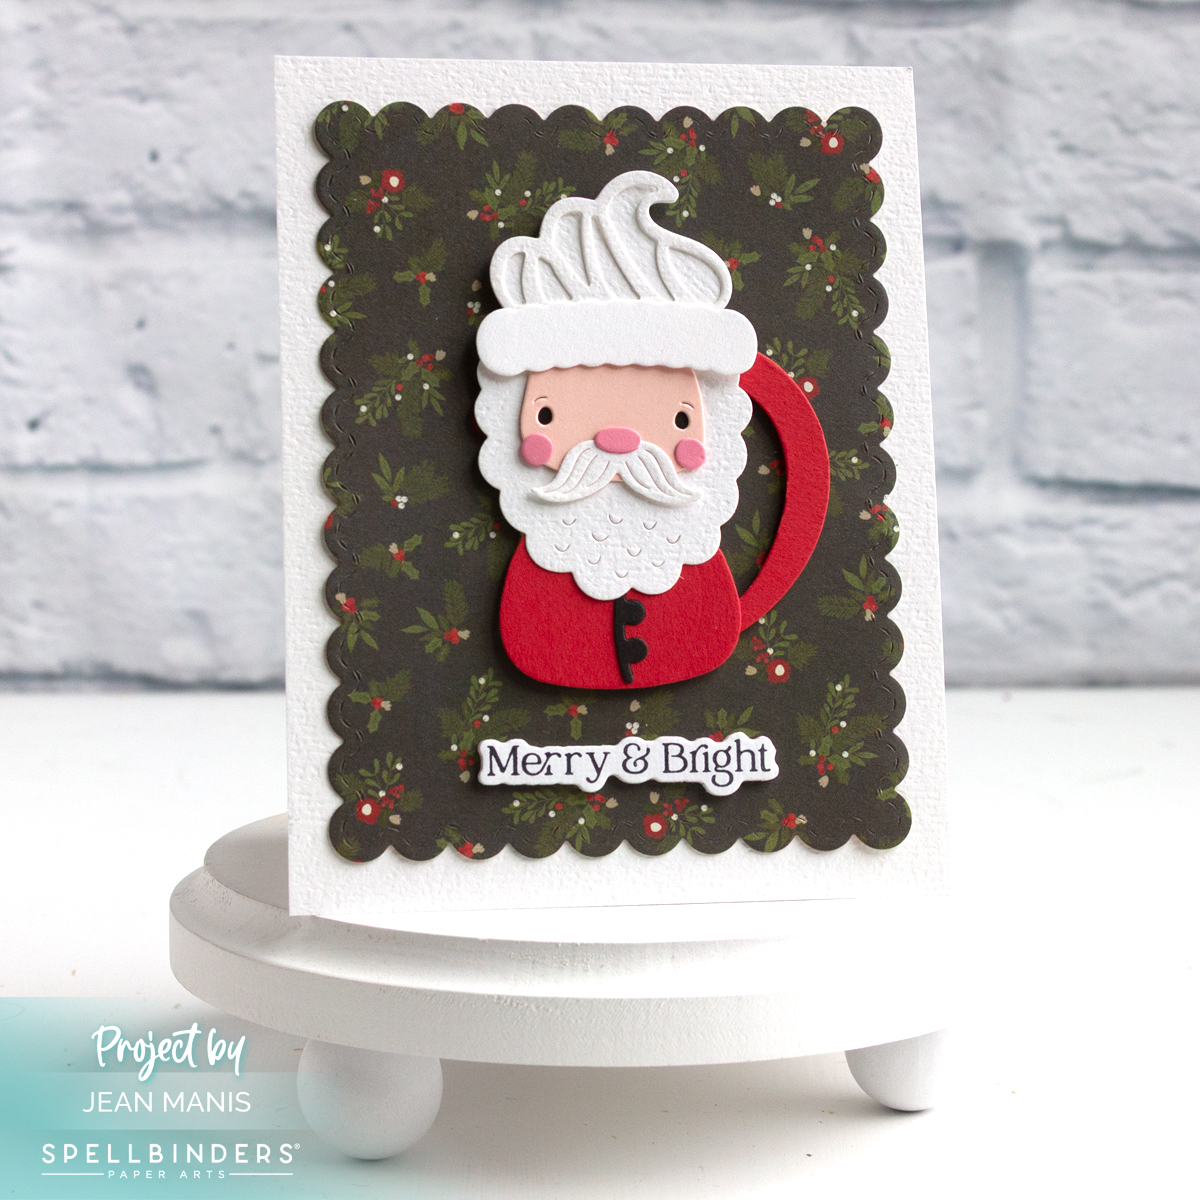
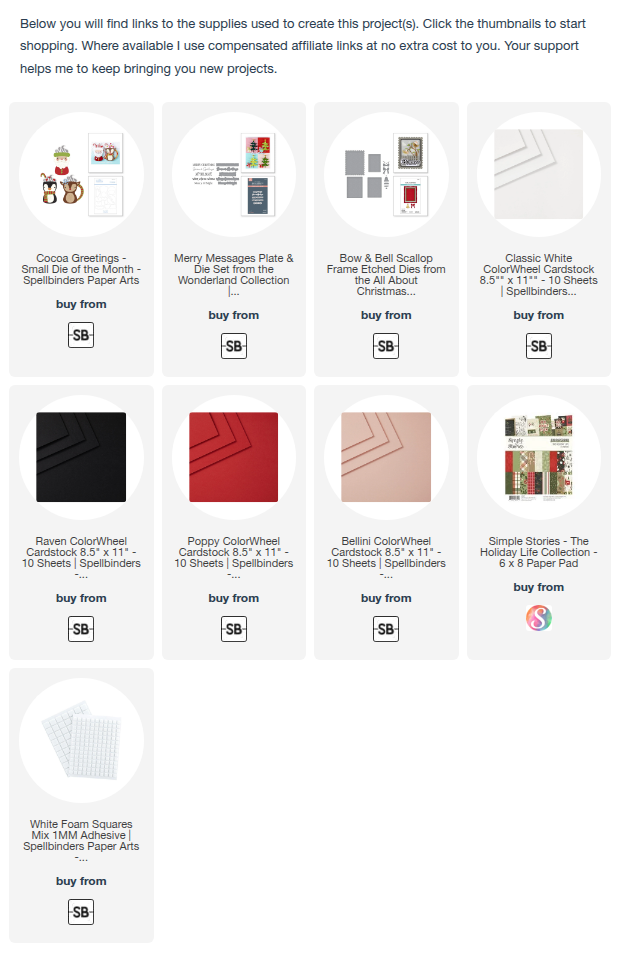
Nothing says Christmas quite like Santa himself, and this handmade card brings him to life in the most festive way—a Santa-shaped mug created with the Cocoa Greetings die set (Spellbinders July 2025 Die of the Month kit). A Christmas-themed patterned paper background and a seasonal sentiment complete the design.

Spellbinders | Santa Mug

You can see other cards created with the Cocoa Greetings die set HERE and HERE.


Spellbinders | Charming Halloween Card

Hello! Today, I’m sharing a playful Halloween card created with the Small Die of the Month for September from Spellbinders. A black cat peeks out from a pumpkin while friendly ghosts float nearby, surrounded by colorful flowers. This combination of classic Halloween icons with soft floral details makes for a card that’s charming and spooky.

Spellbinders | Charming Halloween Card

    • Dry-emboss Waterfall cardstock with the Tiny Dots folder and add to an A2-size card base.
    • Cut Bristol paper with the Small Die set and color with Distress Oxide inks. Assemble.
    • Stamp and cut the sentiment with the September Stamp & Die of the Month.
    • Add assembled items to prepared card base with glue and foam adhesive.

Spellbinders | Charming Halloween Card


Spellbinders | Dive Into Joy

Hello! Today I’m sharing a card that takes us on an underwater adventure, made with the August 2025 Small Die of the Month set from Spellbinders. I built a lively ocean scene complete with two divers, colorful fish, and flowing underwater plants. The sentiment “You Brighten My Day” adds a cheerful touch, making this card perfect for sending a little sunshine to someone special. The details in this die set make the scene come to life—it was such a joy to put together!

Spellbinders | Dive Into Joy

    • Create an A2-size card base from white cardstock.
    • With the two largest dies in the Essential Stylish Ovals set, cut a vellum oval and a Teal Topaz oval. Adhere to card base.
    • Cut Small Die elements from a variety of cardstock colors. Assemble.
    • Press sentiment and cut with coordinating die.
    • Add elements to card base with glue and foam adhesive.

Spellbinders | Dive Into Joy