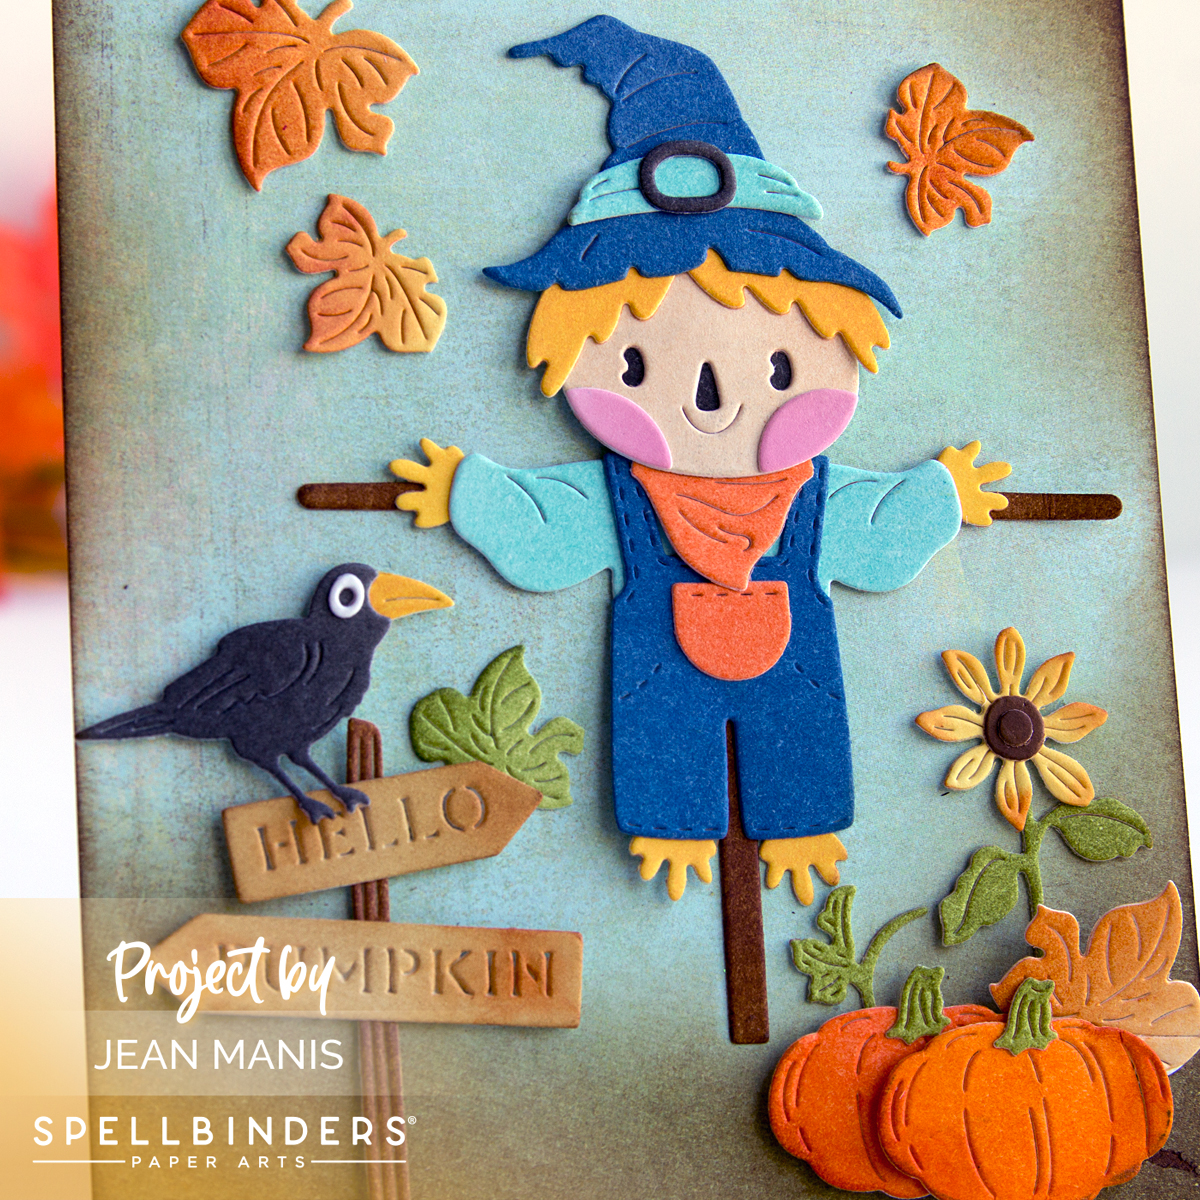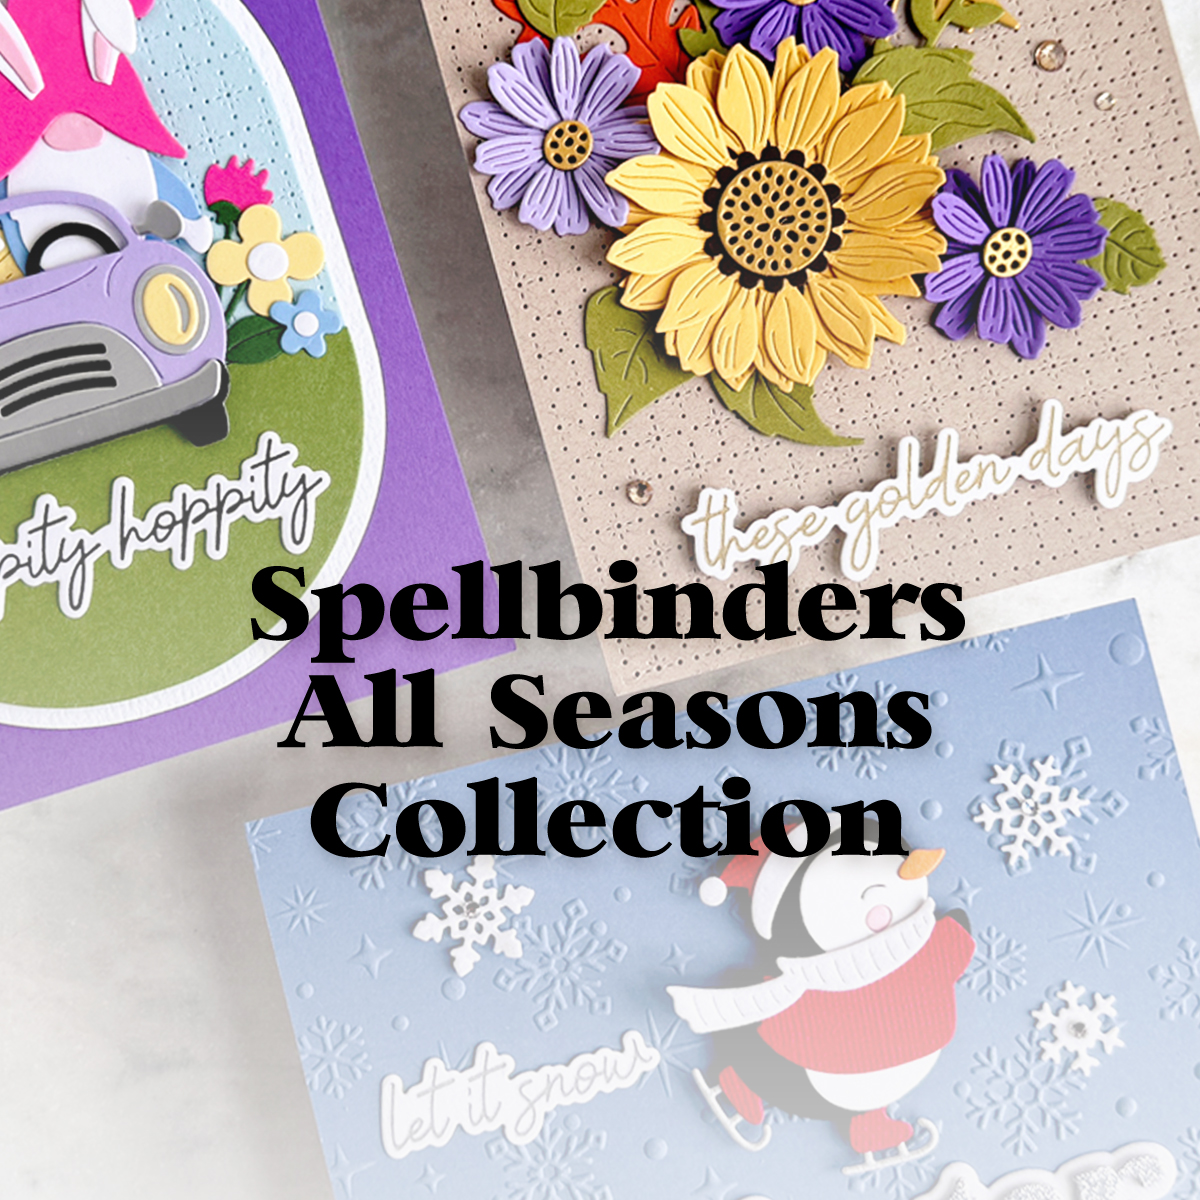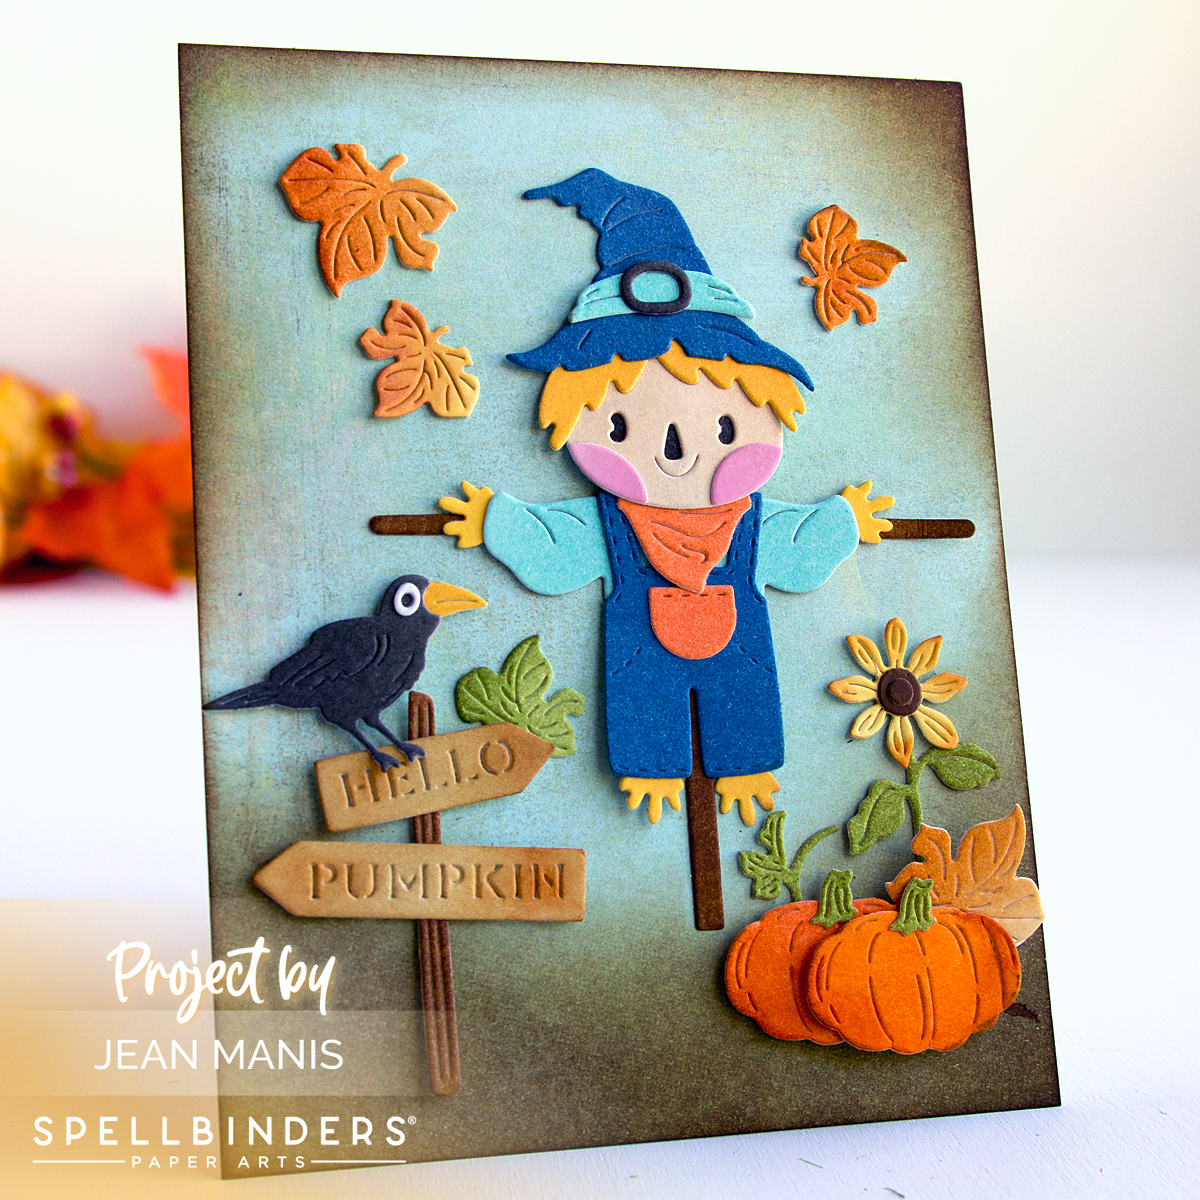
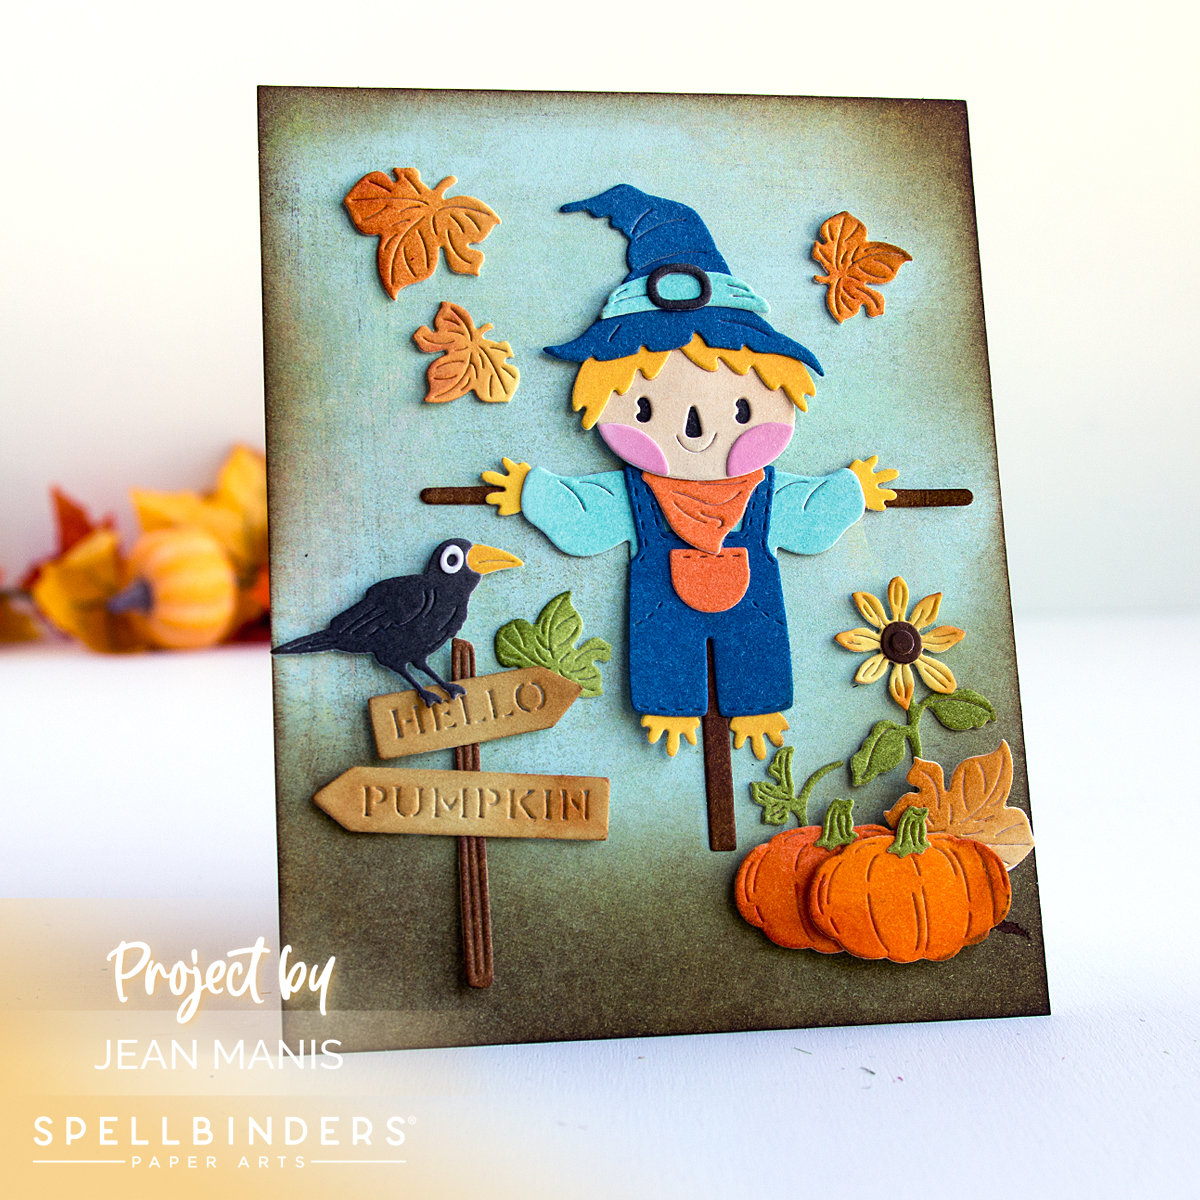
Hello! Today, I’m excited to share an autumn-themed card featuring the Spellbinders “Autumn Scare Crow” die set – this month’s Small Die of the Month offering. This card showcases a charming scarecrow standing in a field, with a pumpkin patch sign welcoming the harvest season.
-
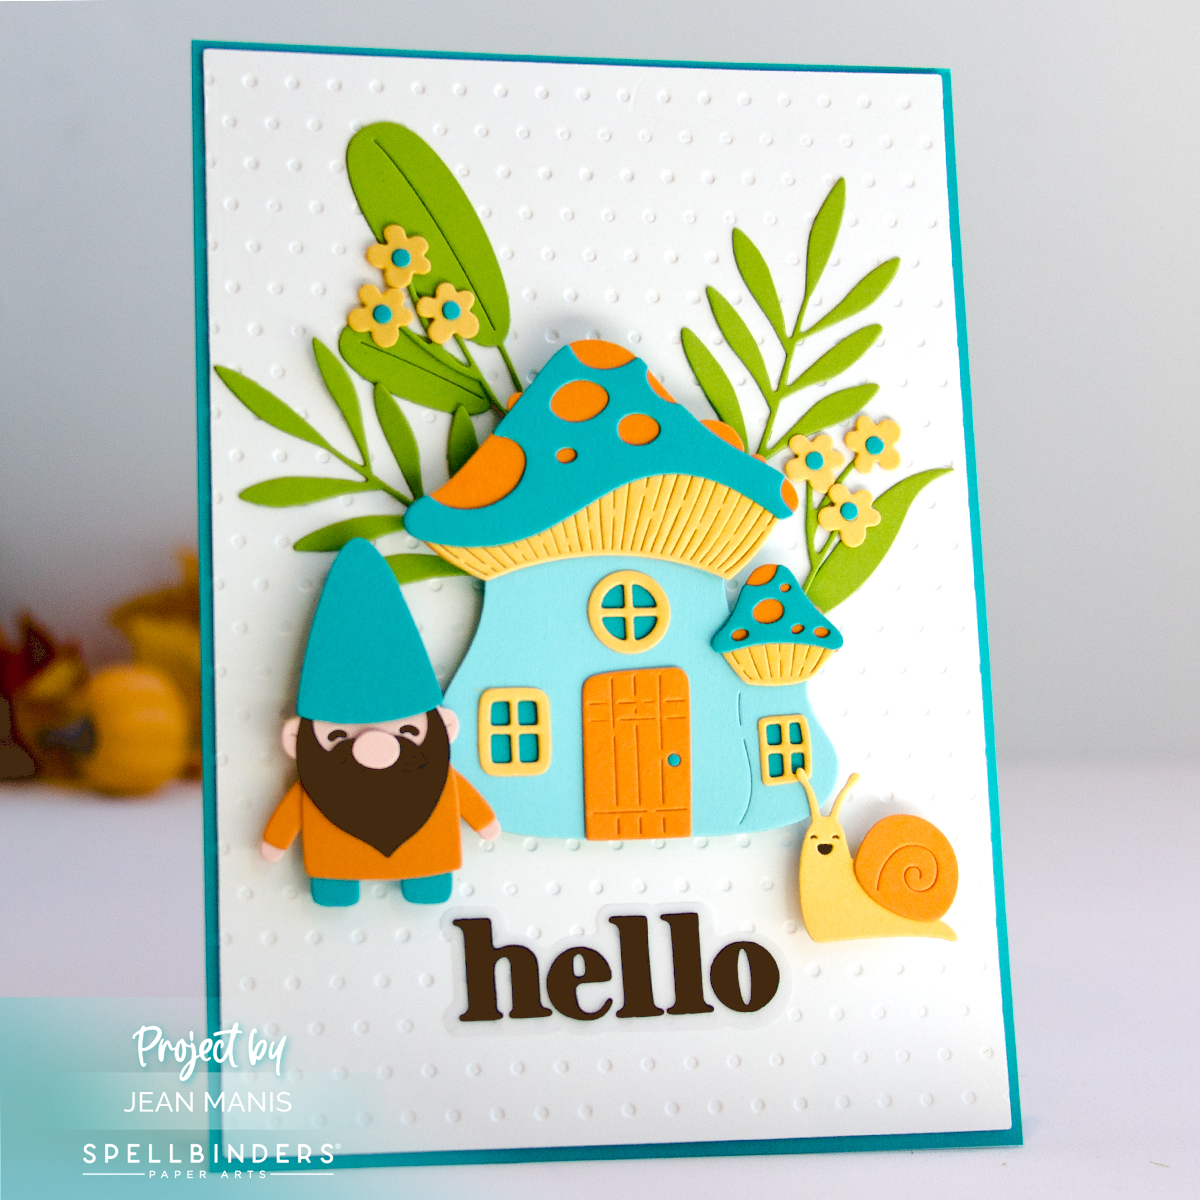
- Cover an A2-size card base with patterned paper. Ink edges, adding more ink along the bottom to create a ground.
- Color Bristol paper with Distress Inks in a variety of colors. While this is more time-consuming than cutting from color cardstock, the technique offers variety in color that is not possible with solid color cardstock.
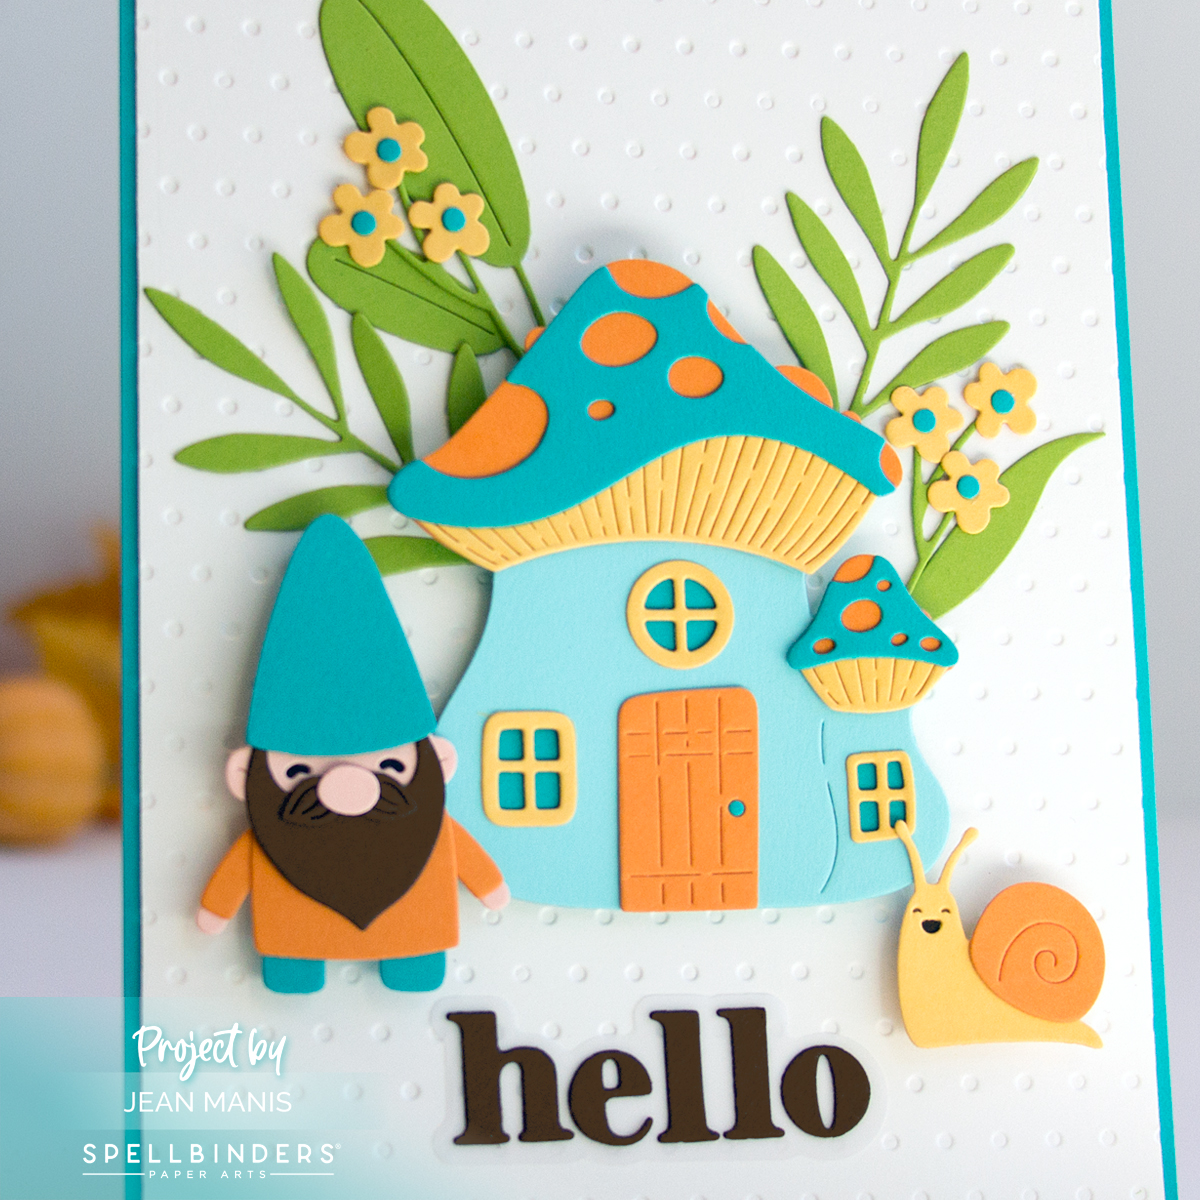
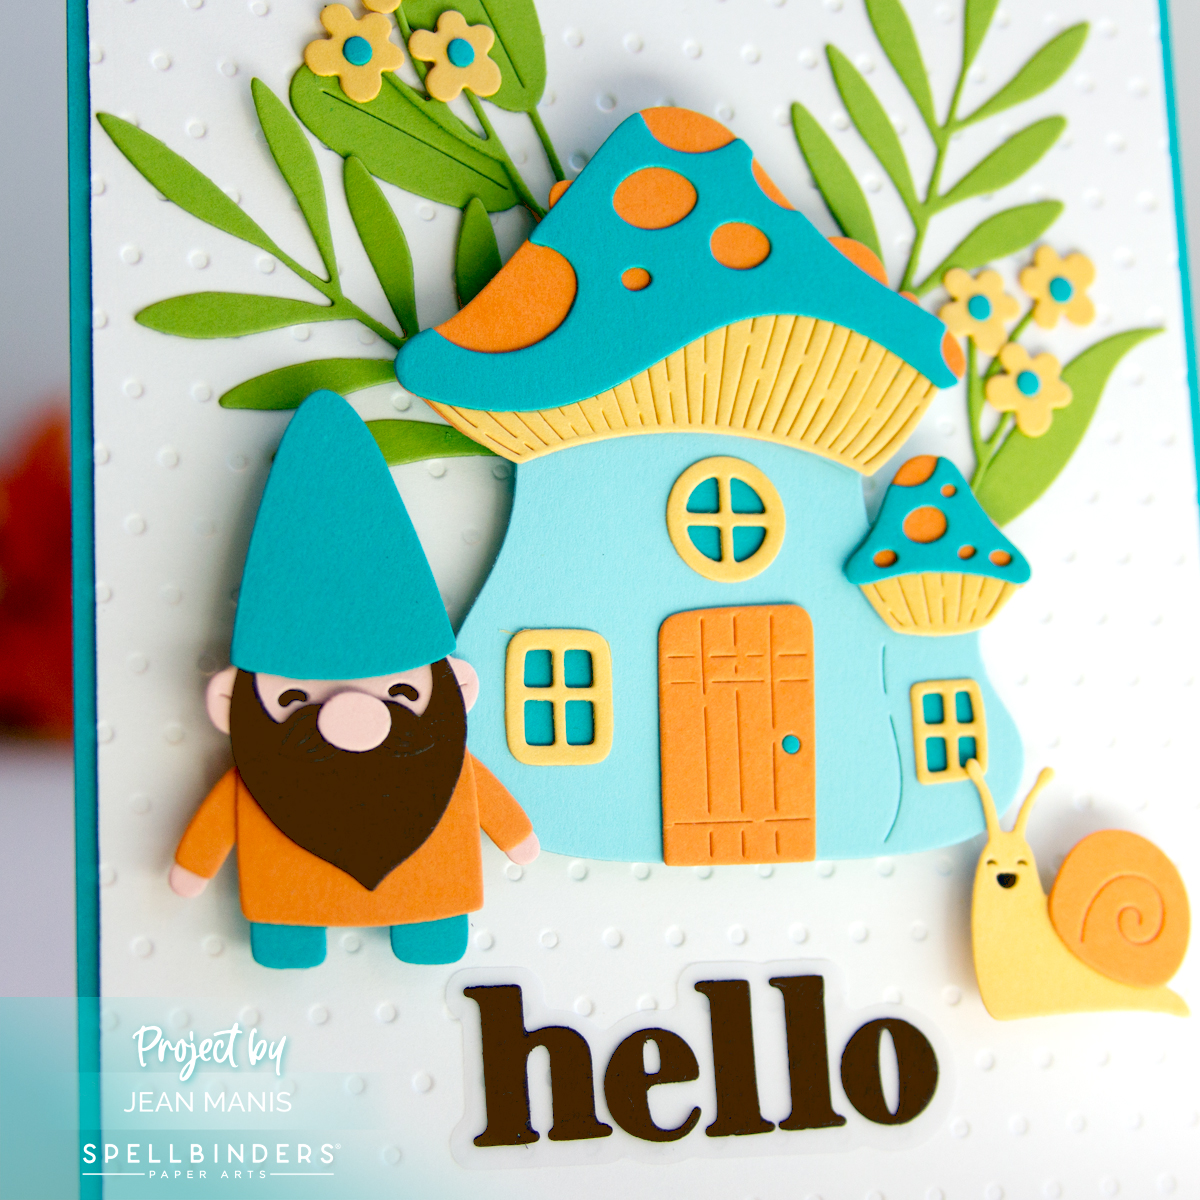
- With dies in the Small Die of the Month set, cut pieces and assemble as necessary.
- Add elements to card background, using foam adhesive to achieve dimension.