Spellbinders | Spring Birdhouse

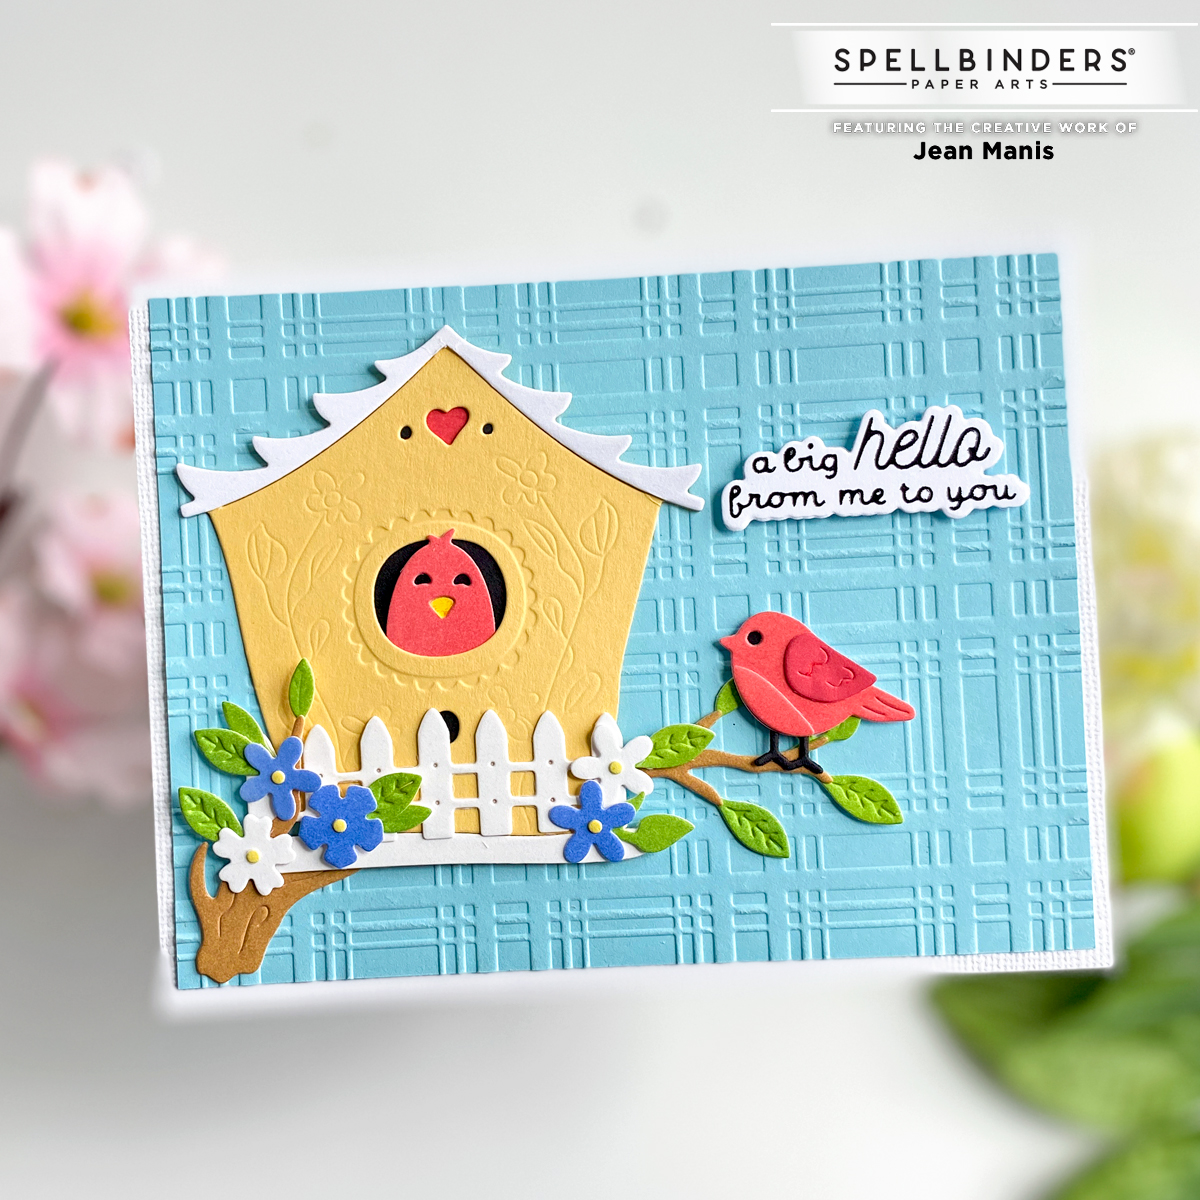
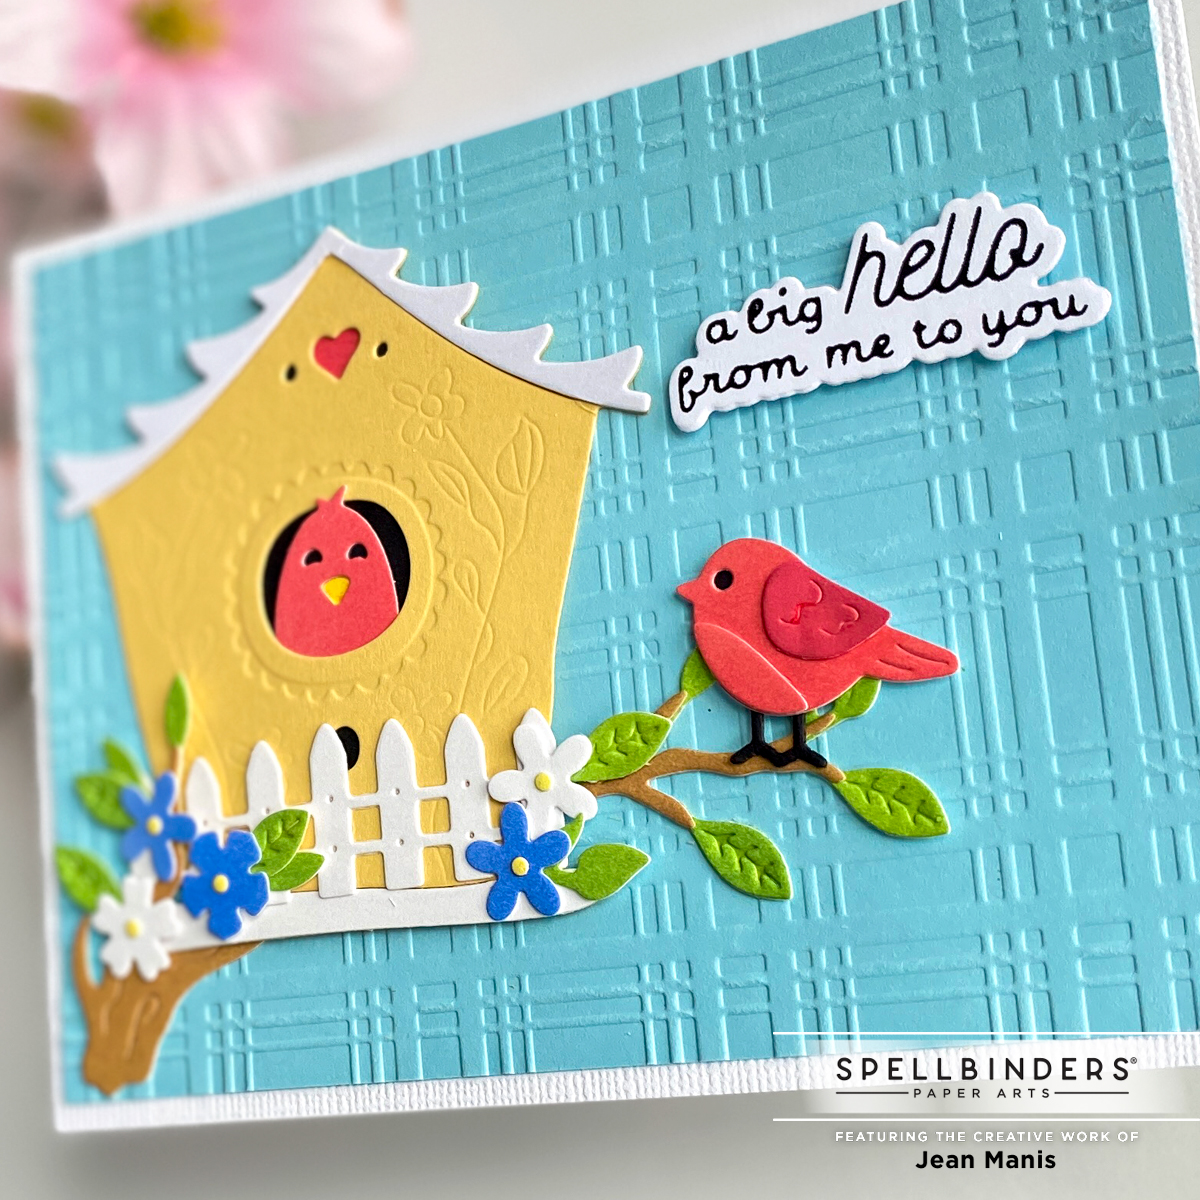
Hello! Today, I am sharing a birdhouse-themed “hello” card created with Spellbinders die sets and glimmer foil plate.

Spellbinders | Spring Birdhouse

  • Glimmer-foil the Sentiments for Everyday in Black on Snowdrift cardstock and cut with the corresponding die. This is fast becoming a go-to set for sentiments.
  • Die-cut the Build a Spring Birdhouse elements from colored cardstock, Snowdrift cardstock, and white cardstock colored with Distress Oxide inks. Die-cut birdhouse from yellow and Snowdrift cardstock. Trim roof and add to yellow birdhouse.
  • Die-cut the Sweet Birds on a Branch elements from colored cardstock and white cardstock colored with Distress Oxide inks. Add leaves to branch with glue, glue together birds and flowers, add flowers to branch, and add bird inside birdhouse.
  • Dry-emboss a light-blue cardstock panel measuring 4 x 5 1/4 inches with the Pretty Plaid folder. Attach to white textured card background (adhered to an A2-size card base).
  • Add branch, birdhouse, bird, flowers, and sentiment to dry-embossed background with glue and foam adhesive.

Spellbinders | Spring Birdhouse


Spellbinders | March 2022 Embossing Folder of the Month

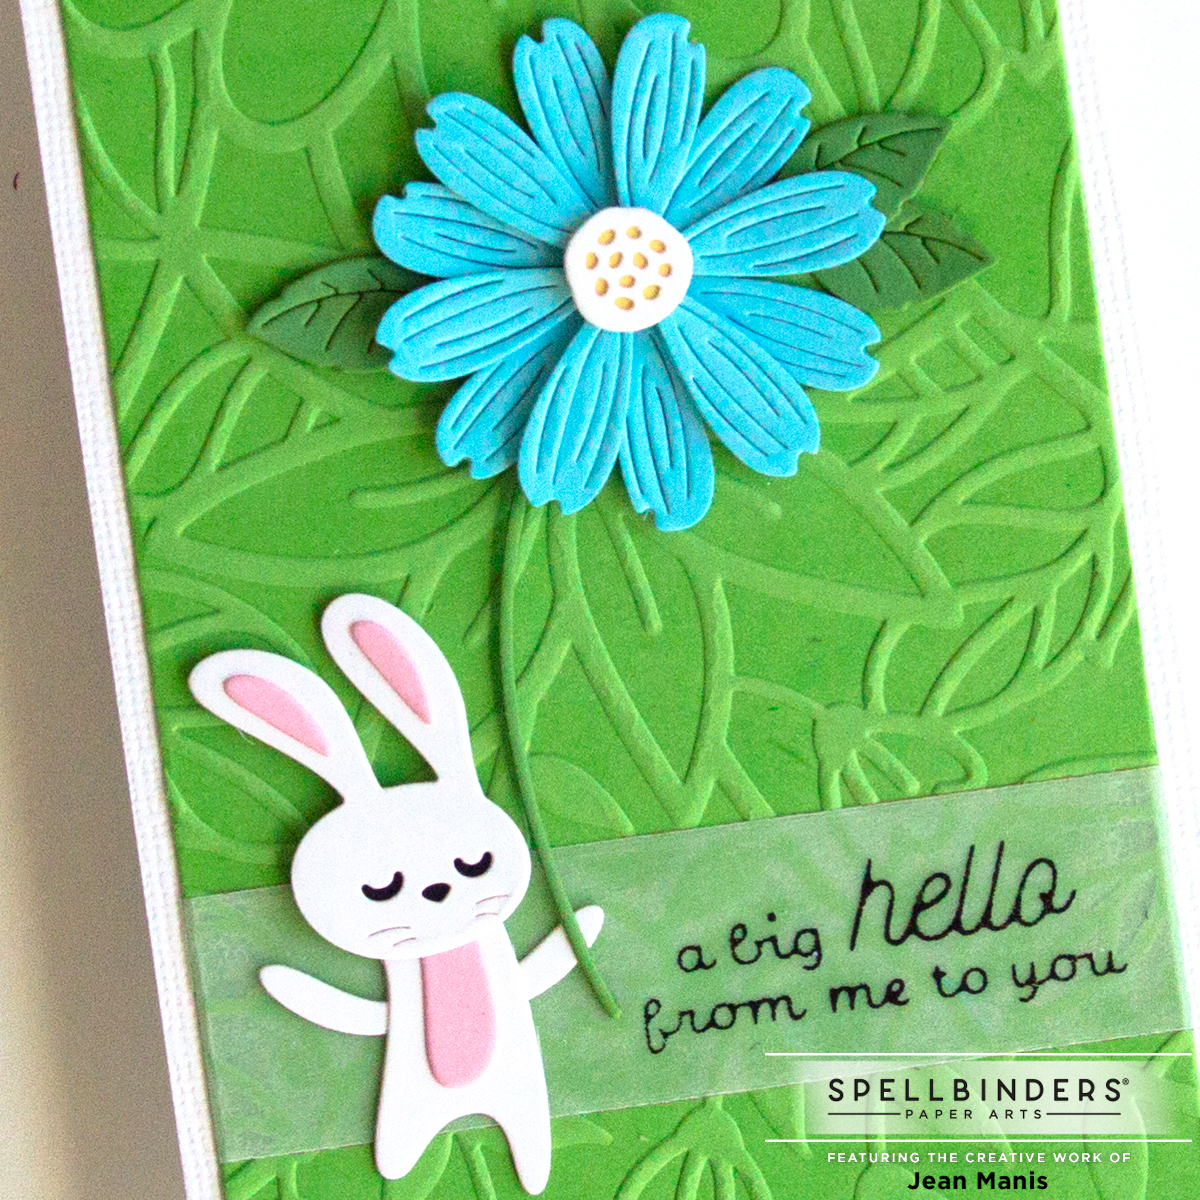
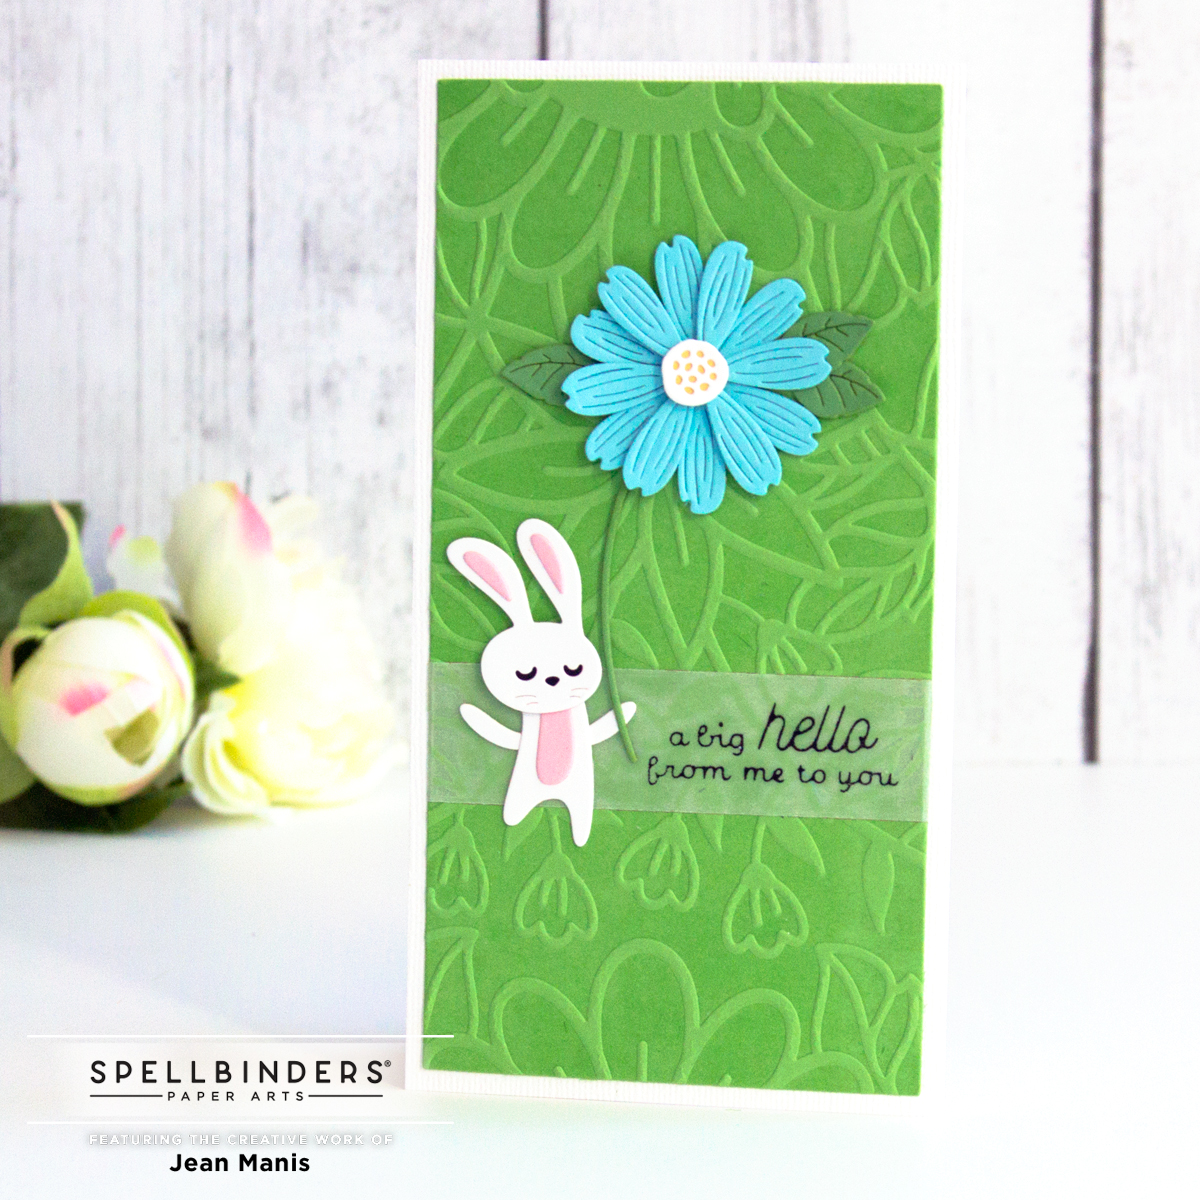
Hello! I’m sharing a CAS mini-slimline card created with the Spellbinders March 2022 Embossing Folder Kit Club “Garden Path.”
Spellbinders | March 2022 Embossing Folder of the Month

I used die-cutting, glimmer-foiling, and dry-embossing on this card – my favorite techniques!

Spellbinders | March 2022 Embossing Folder of the Month

  • I applied VersaMark ink on the embossing folder before running it through my die-cutting machine. This method enhances the contrast of the raised area on the background.
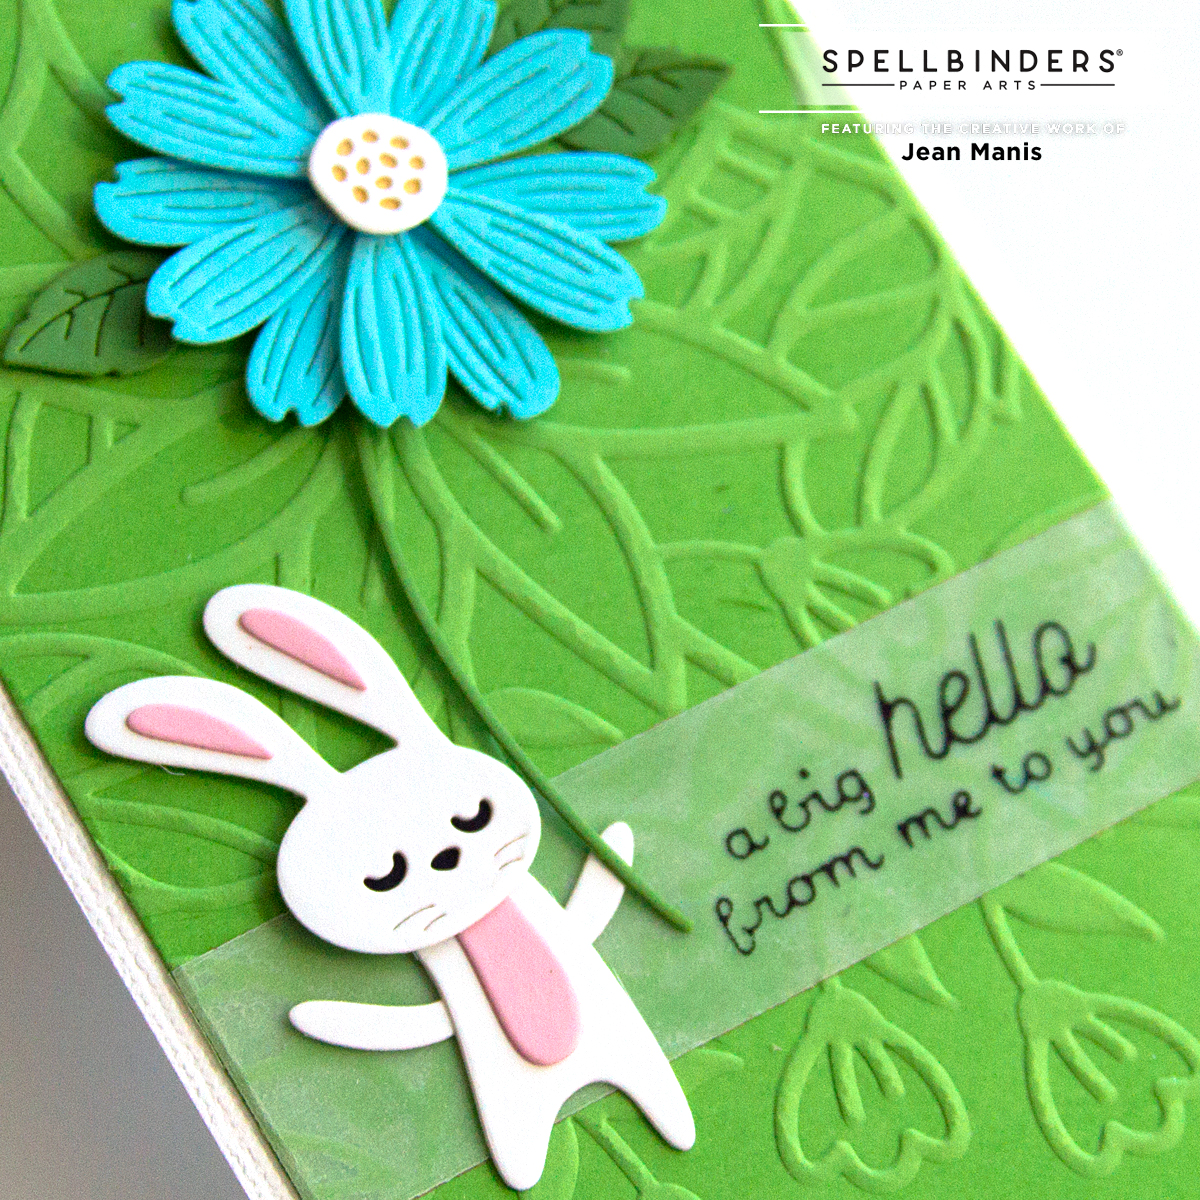
  • I glimmer-foiled in black a sentiment from the Sentiments for Everyday set on vellum. I backed the vellum with double-sided adhesive and cut it with a die in the mini slimline B set. I added the sentiment strip to the dry-embossed panel and used the largest die in the mini slimline A set to cut it. This way I knew the sentiment strip would be straight.
  • I added the dry-embossed panel with the sentiment to a white, textured cardstock card base.
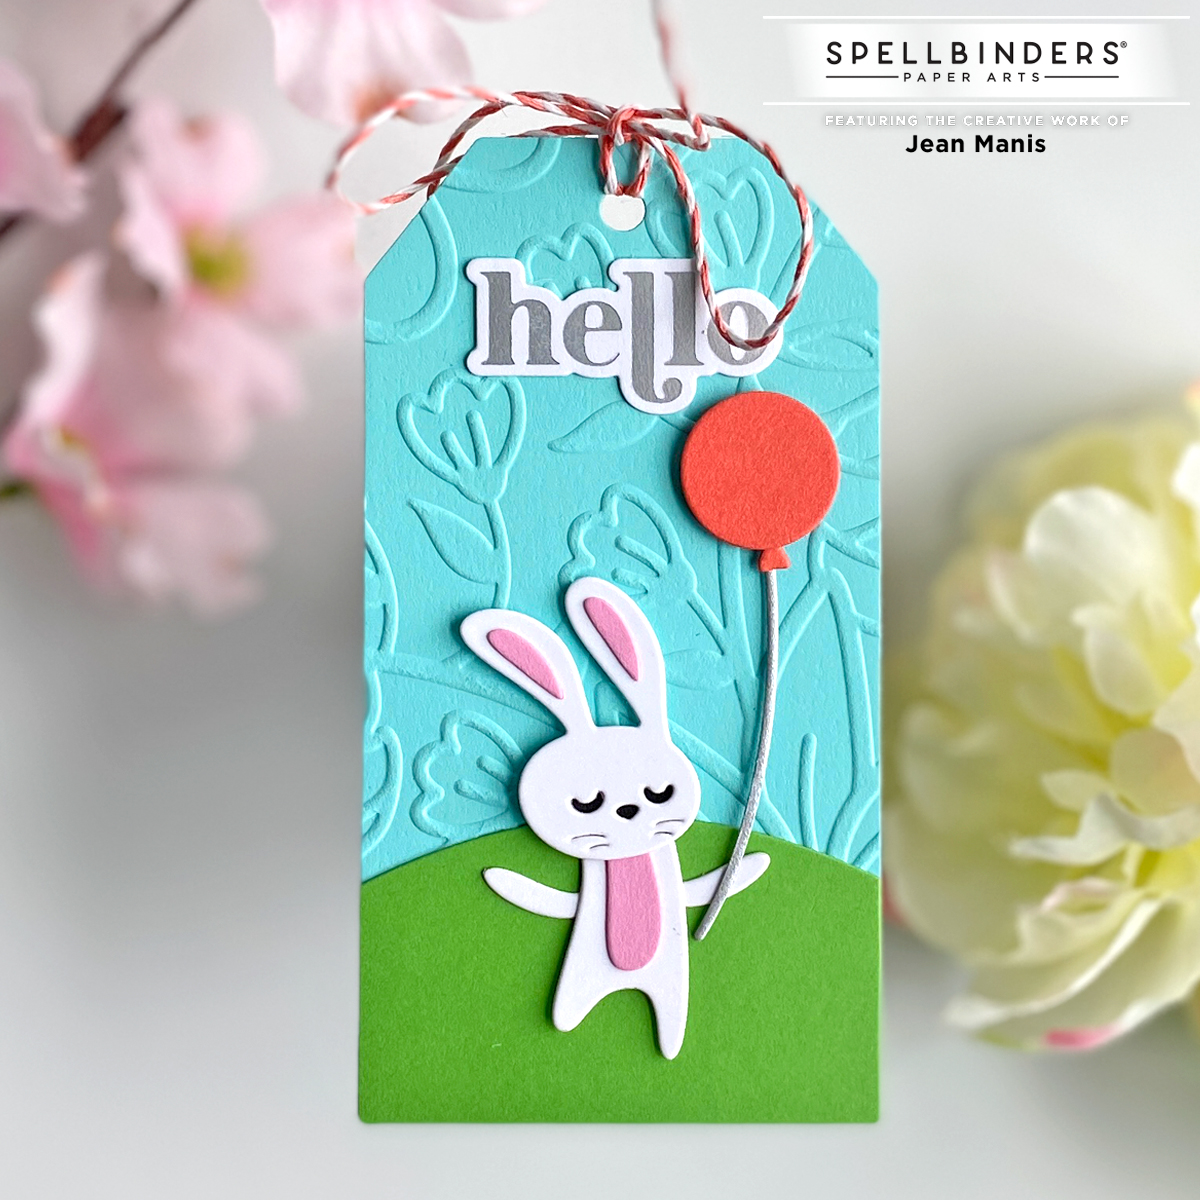
  • I die-cut the bunny and flower with dies in the Open House Spring set. You can see additional cards featuring this set here and here. I added the elements to the card base.

Spellbinders | March 2022 Embossing Folder of the Month

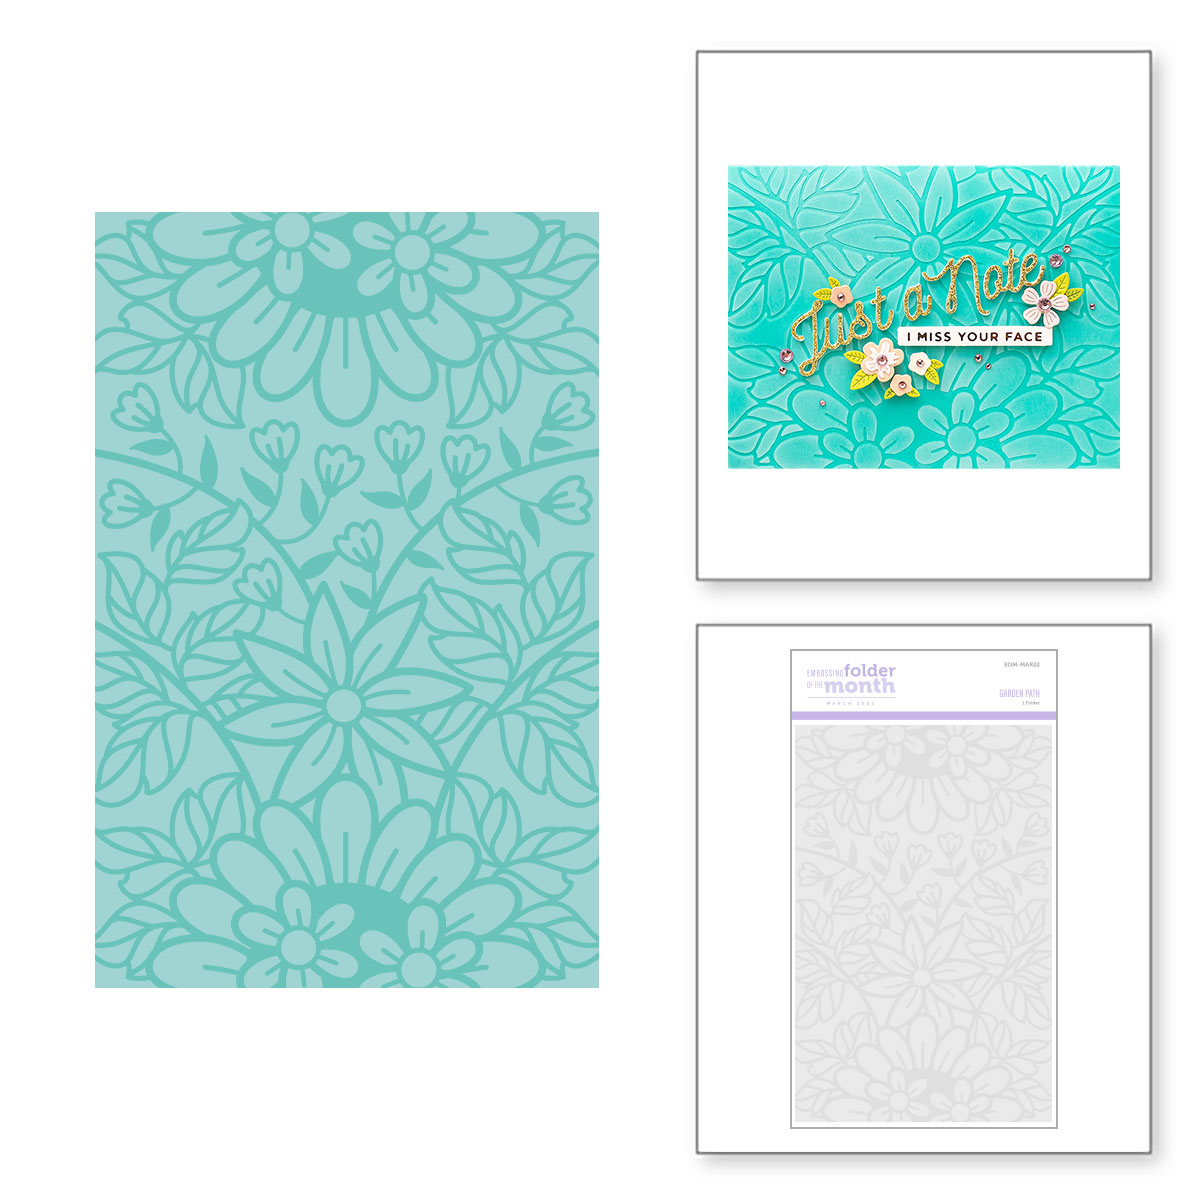
Find more Embossing Folder Kit Club inspiration here. The embossing folder, measuring 5.5 x 8.5 inches, can be used to make cards in a variety of sizes including slimline, mini-slimline, 5 x 7, and A2.

Spellbinders Surprise Bundle


Spellbinders | March 2022 Large Die of the Month

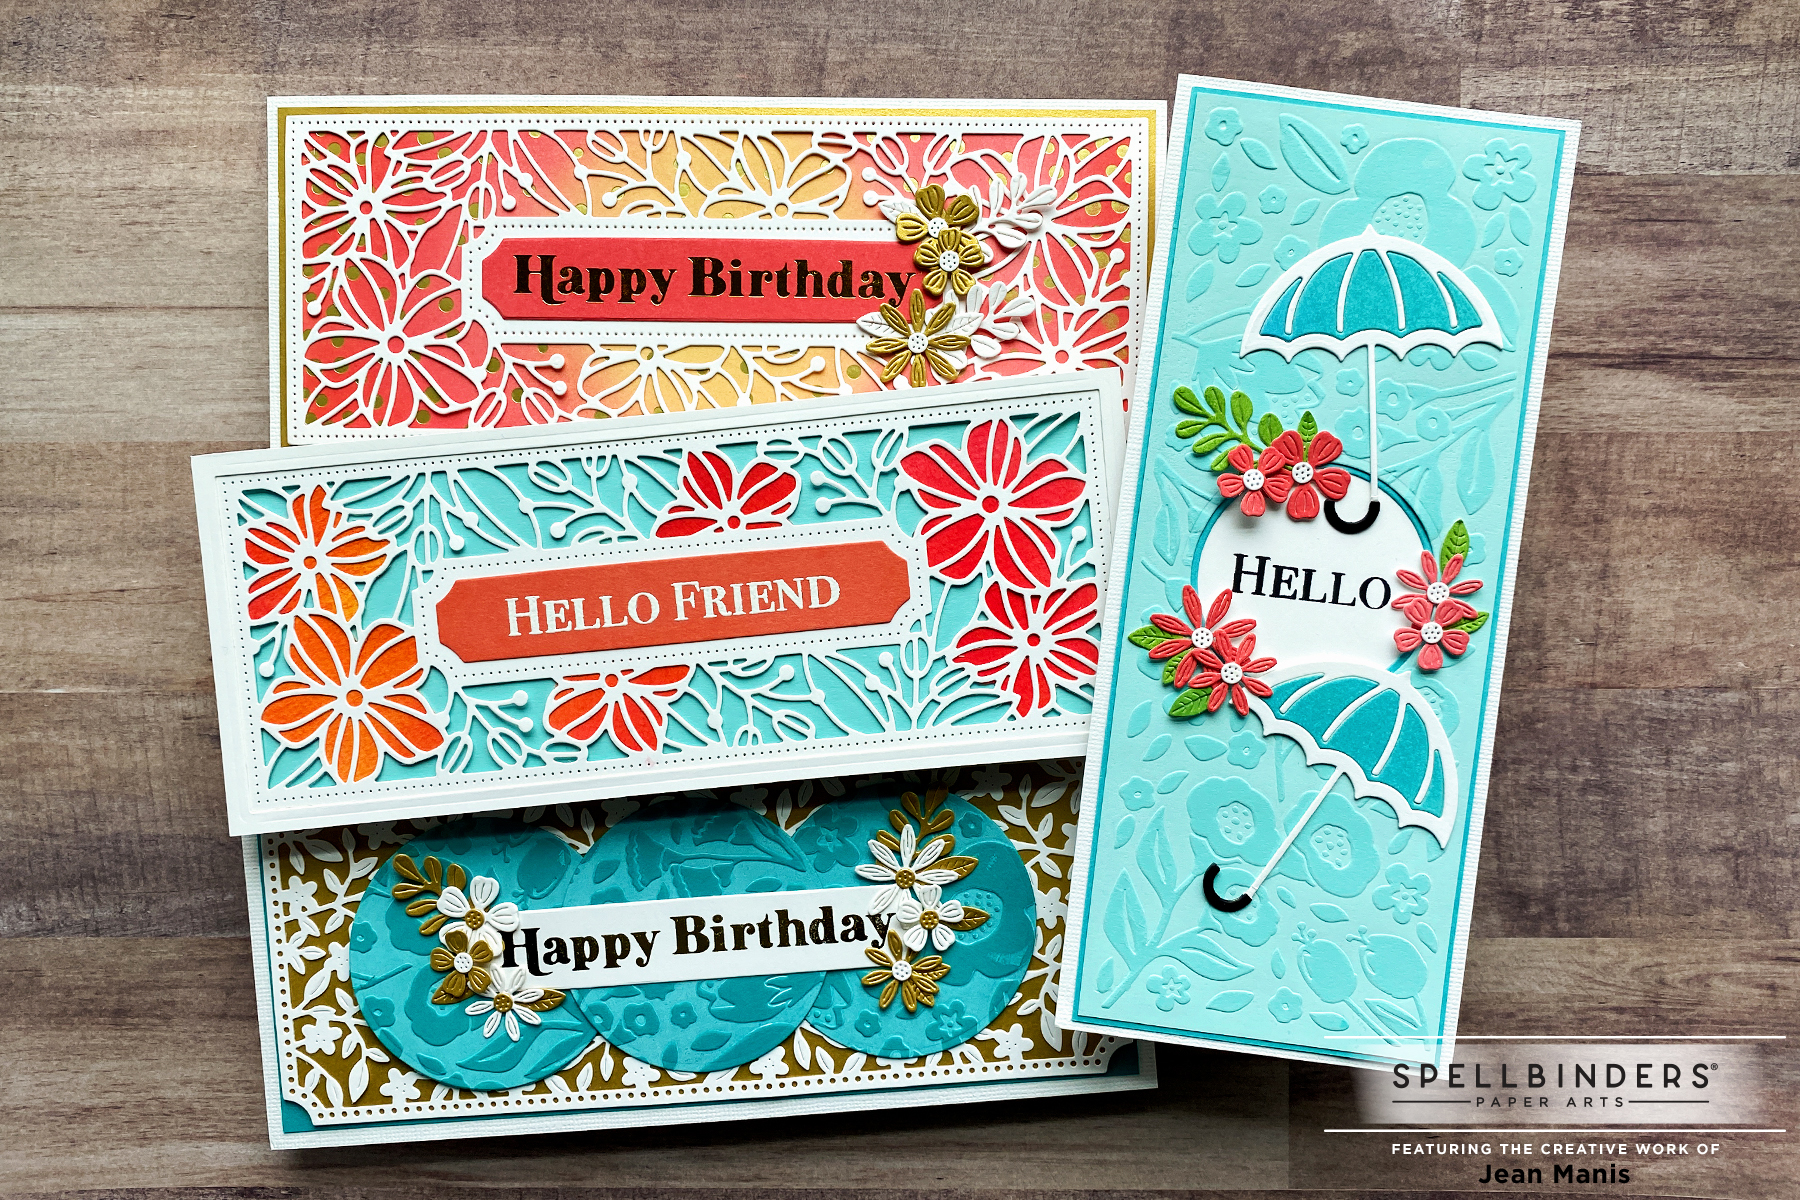
Hello crafty friends! Today I’m sharing a slimline, die-cut card created with the Spellbinders March 2022 Large Die of the Month “Kaleidoscope Floral Slimline.” Read more about this month’s club membership here.

Spellbinders | March 2022 Large Die of the Month

This set contains six dies with which to create the base layer and details. On my card, I chose a palette of spring colors.

Spellbinders | March 2022 Large Die of the Month

  • I die-cut the Large Die of the Month base piece from Snowdrift cardstock.
  • With the same set, I die-cut the kaleidoscope flowers and other flowers from Snowdrift and colored cardstock and assembled the pieces with glue.
  • I inlaid portions of the base piece with colored cardstock and added floss to the stems.
  • I adhered the floral assembly to a slimline-sized light blue card base.
  • I glimmer foiled a sentiment in Lavender Petal with the Sentiments for Everyday set and die-cut it with a corresponding die in the set.
  • I added the sentiment to the completed card with foam adhesive.

Spellbinders | March 2022 Large Die of the Month

Spellbinders | March 2022 Large Die of the Month

Spellbinders Surprise Bundle


Spellbinders | Stitched Panel Congratulations

Hello! Today I am sharing a congratulations card combining the Spellbinders Sentiments for Everyday glimmer foil set and the Layered Stitch Background die set, a past Large Die Club that is now available for separate purchase. I show two Christmas cards with this same die set in this post.

  • Spellbinders | Stitched Panel CongratulationsDie-cut panel for stitching with Layered Stitch Background dies from Snowdrift cardstock.
  • Stitch die-cut panel with floss (961 pink, 597 blue, 989 green, 744 yellow, 155 purple) using a blunt tapestry needle sized 20 or 22.
  • Die-cut top layers from Snowdrift cardstock, glue together and glue to stitched panel.
  • Glimmer foil in Black the Sentiments for Everyday sentiment on Snowdrift cardstock. Die-cut with coordinating die.
  • Dry-emboss card background with the Sun Rays folder.
  • Adhere assembled stitched panel to card background with foam adhesive.
  • Adhere glimmer-foil sentiment to center with foam adhesive.

Spellbinders | Stitched Panel Congratulations


Spellbinders | Sentiments for Everyday Glimmer Plates

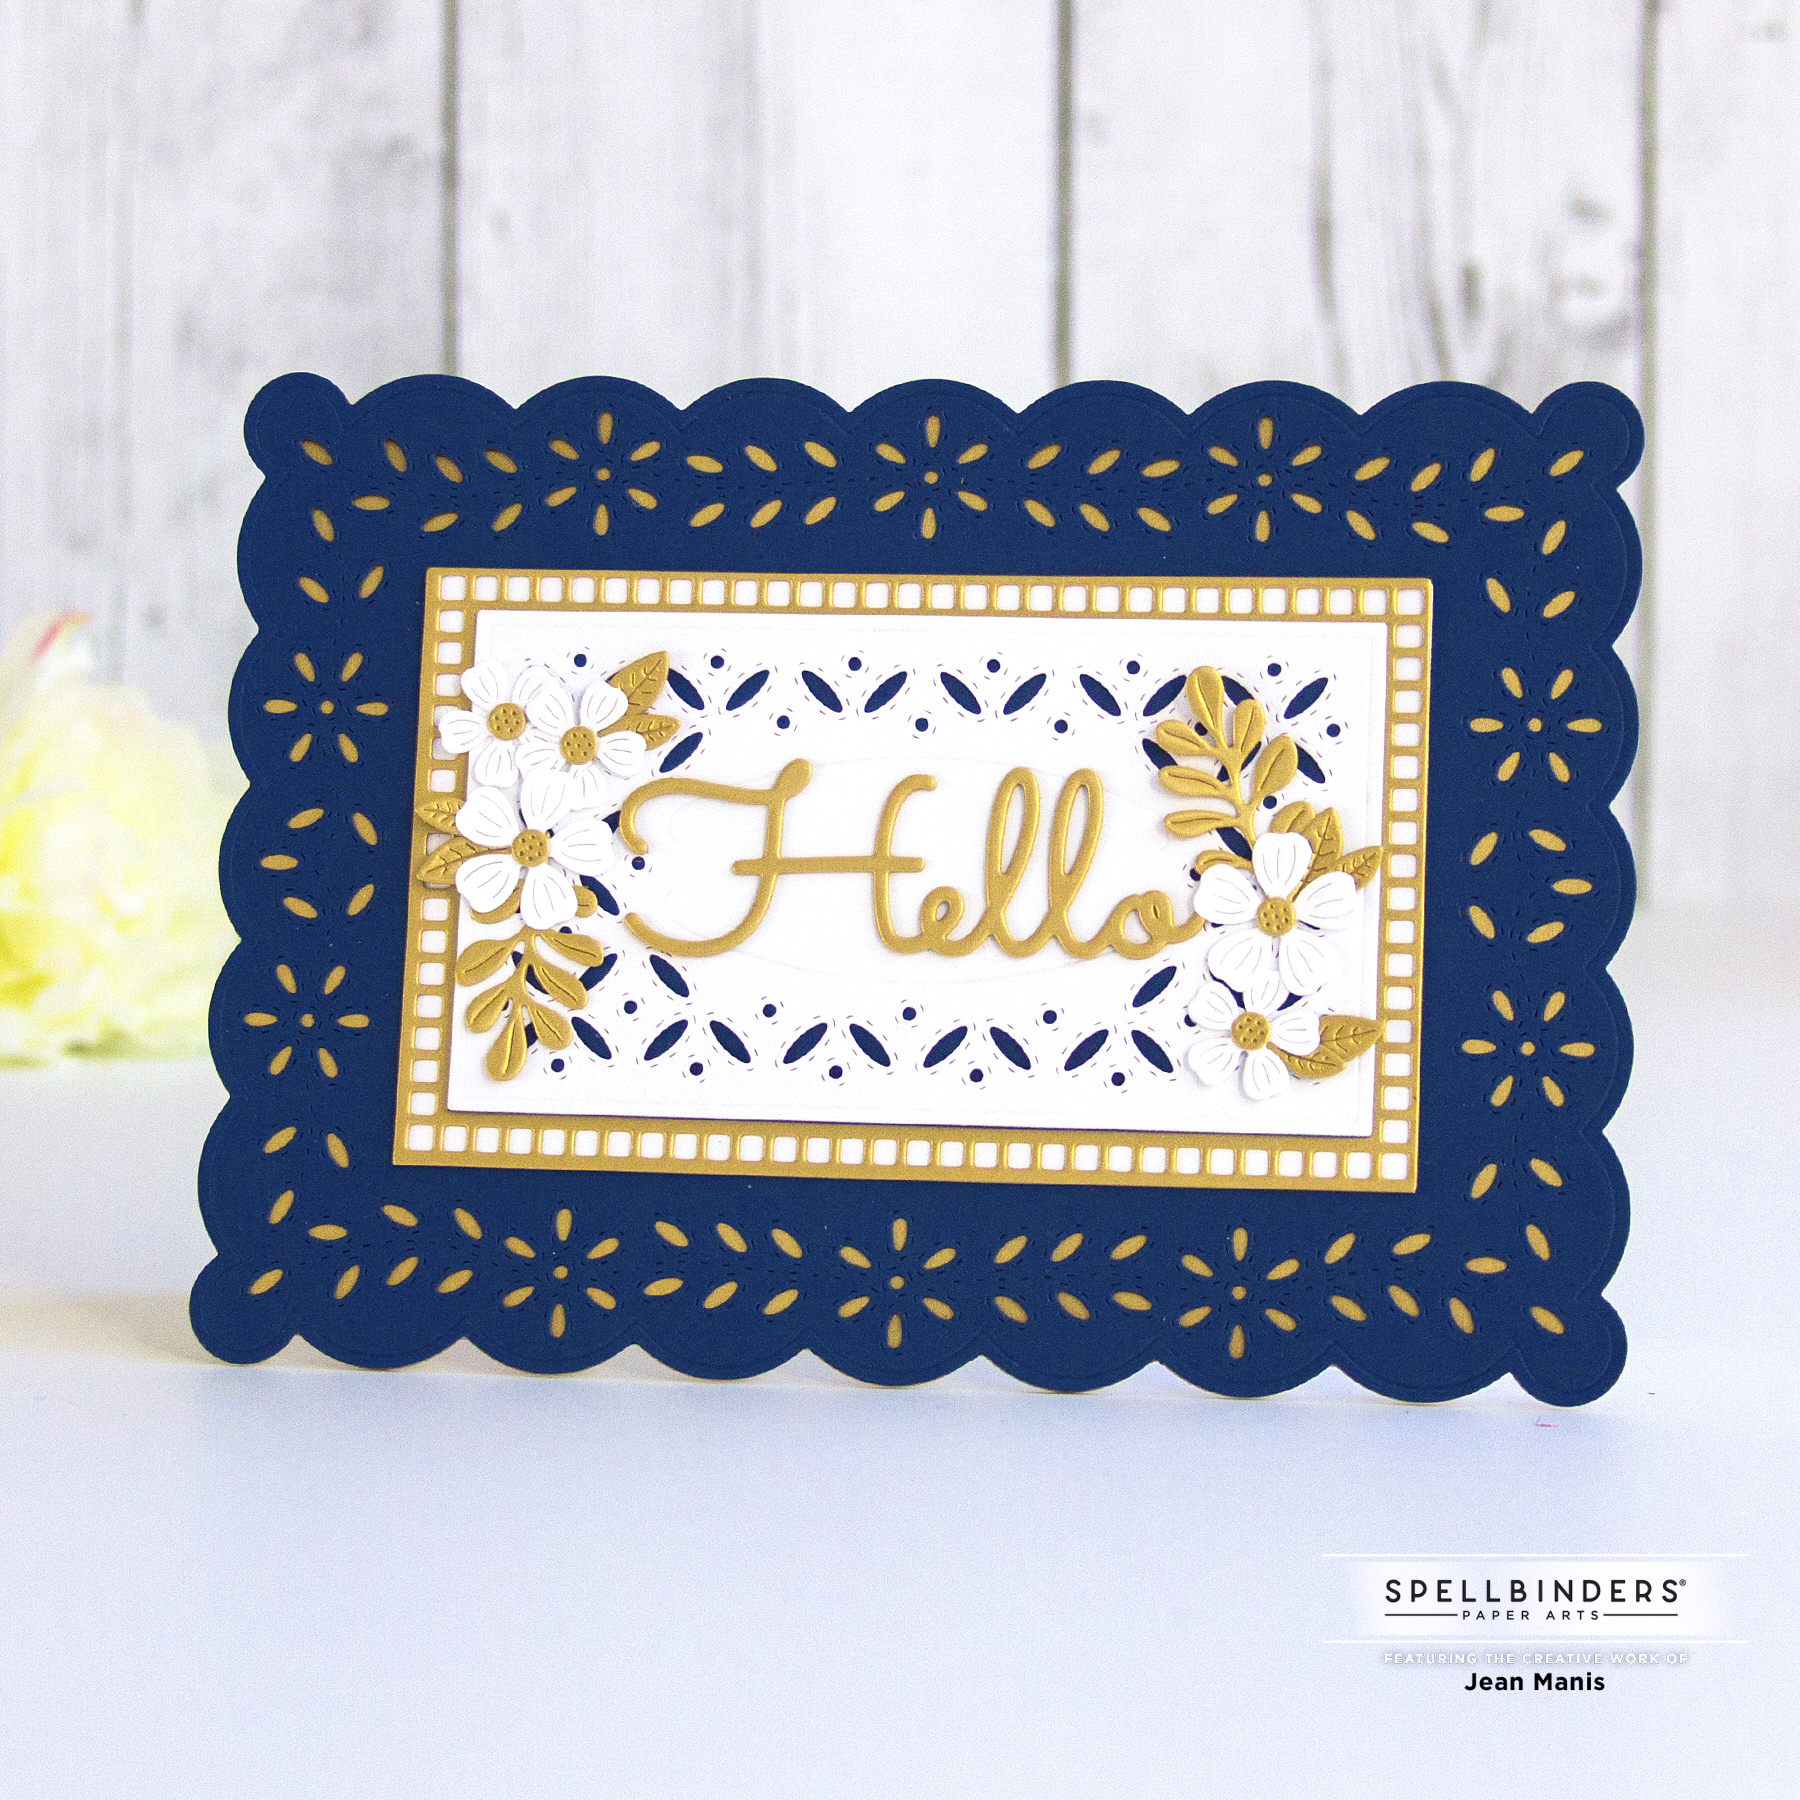
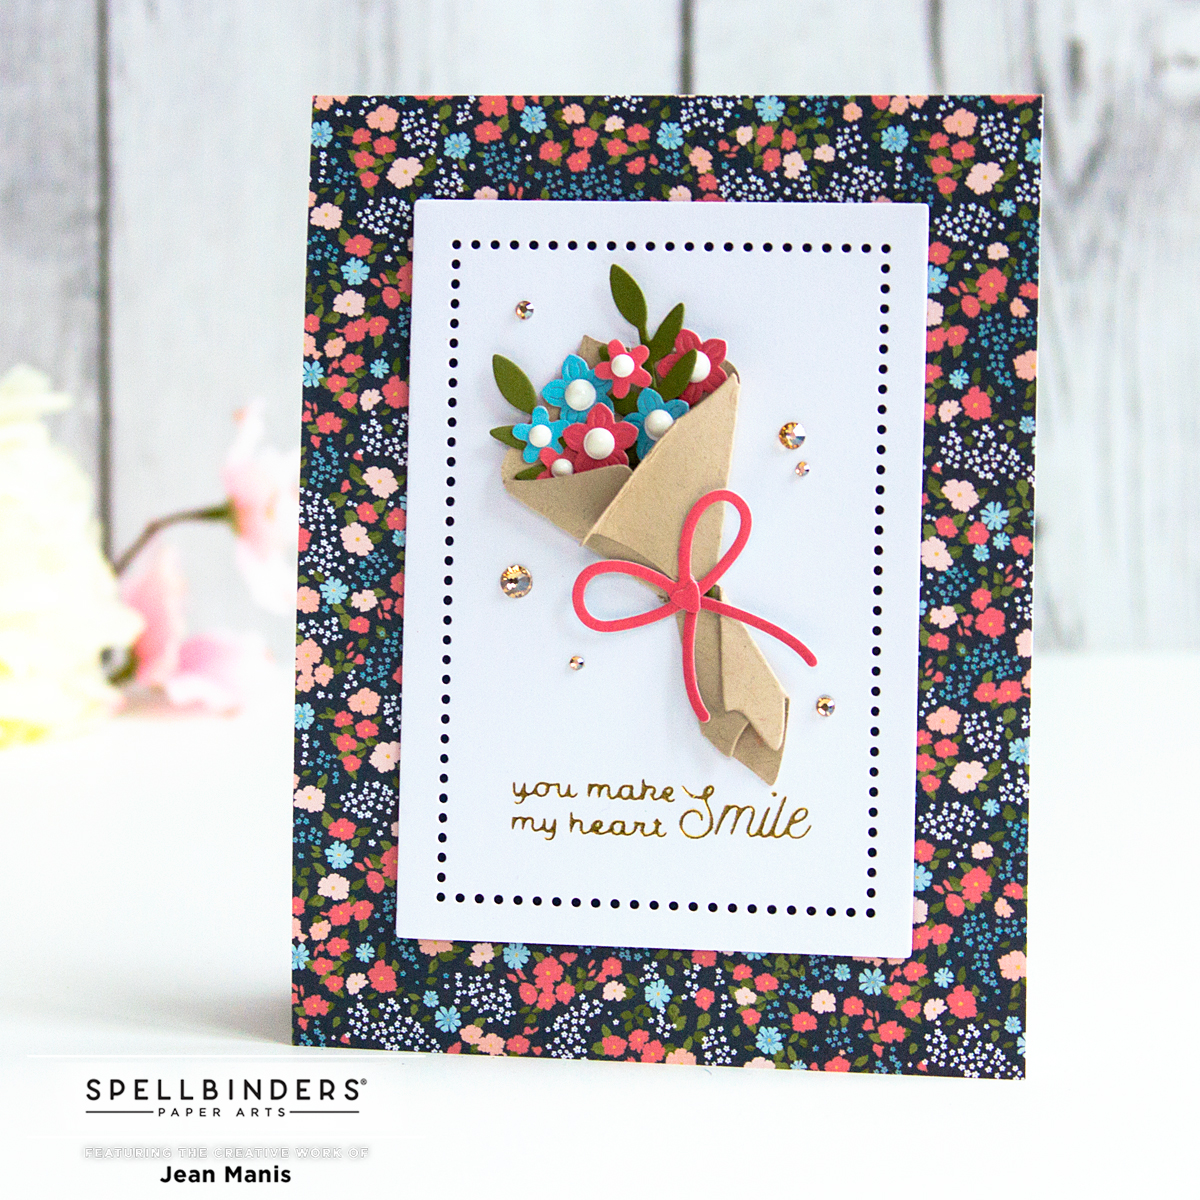
Hello! Today I am sharing a friendship card to introduce the just-released Sentiments for Everyday glimmer foil plates with dies, part of the Spring into Glimmer Collection at Spellbinders.

Spellbinders | Sentiments for Everyday Glimmer Plates

  • Create an A2-size card base and adhere patterned paper.
  • Die-cut Bouquet of Flowers from cardstock and assemble. Add Crystal Drops to the centers of the flowers; set aside to dry.
  • Glimmer-foil in gold the sentiment from the Sentiments for Everyday set on Snowdrift paper. This sentiment has a coordinating die, which I plan to use on another card. For this card design, I liked the look of the sentiment glimmer-foiled on the rectangle that was matting the focal item.
  • Die-cut sentiment panel with dies in the Essential Rectangles set. Die-cut a rectangle from navy cardstock and adhere to back. Add assembly to card base.
  • Add die-cut bouquet assembly to card and embellish with Gold Mix Gems.

Spellbinders | Sentiments for Everyday Glimmer Plates