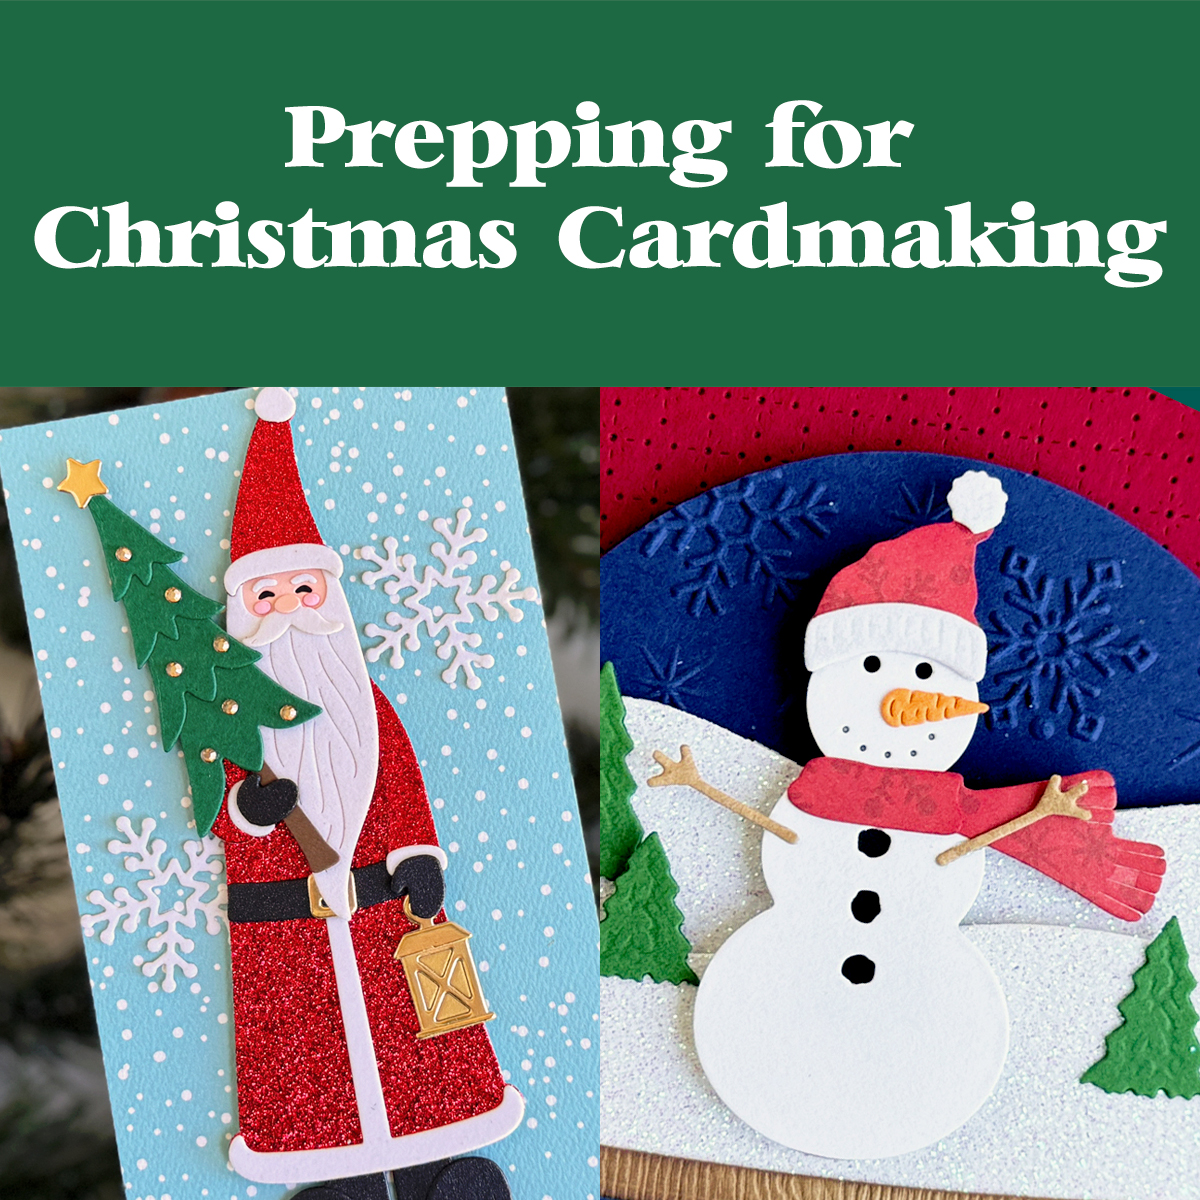
Hello! As July comes to a close, it’s a great time to prepare for Christmas card making. Stores are beginning to stock new products for holiday crafting. In fact, Spellbinders already has released a number of holiday products with more to come. Just as I did last year in this post, I am evaluating the supplies I already own and identifying any gaps. In this post, I explore Christmas-themed products including BetterPress sentiment plates, focal item dies, background options, and specialty cardstock. Spellbinders is running a sale on past Christmas products.
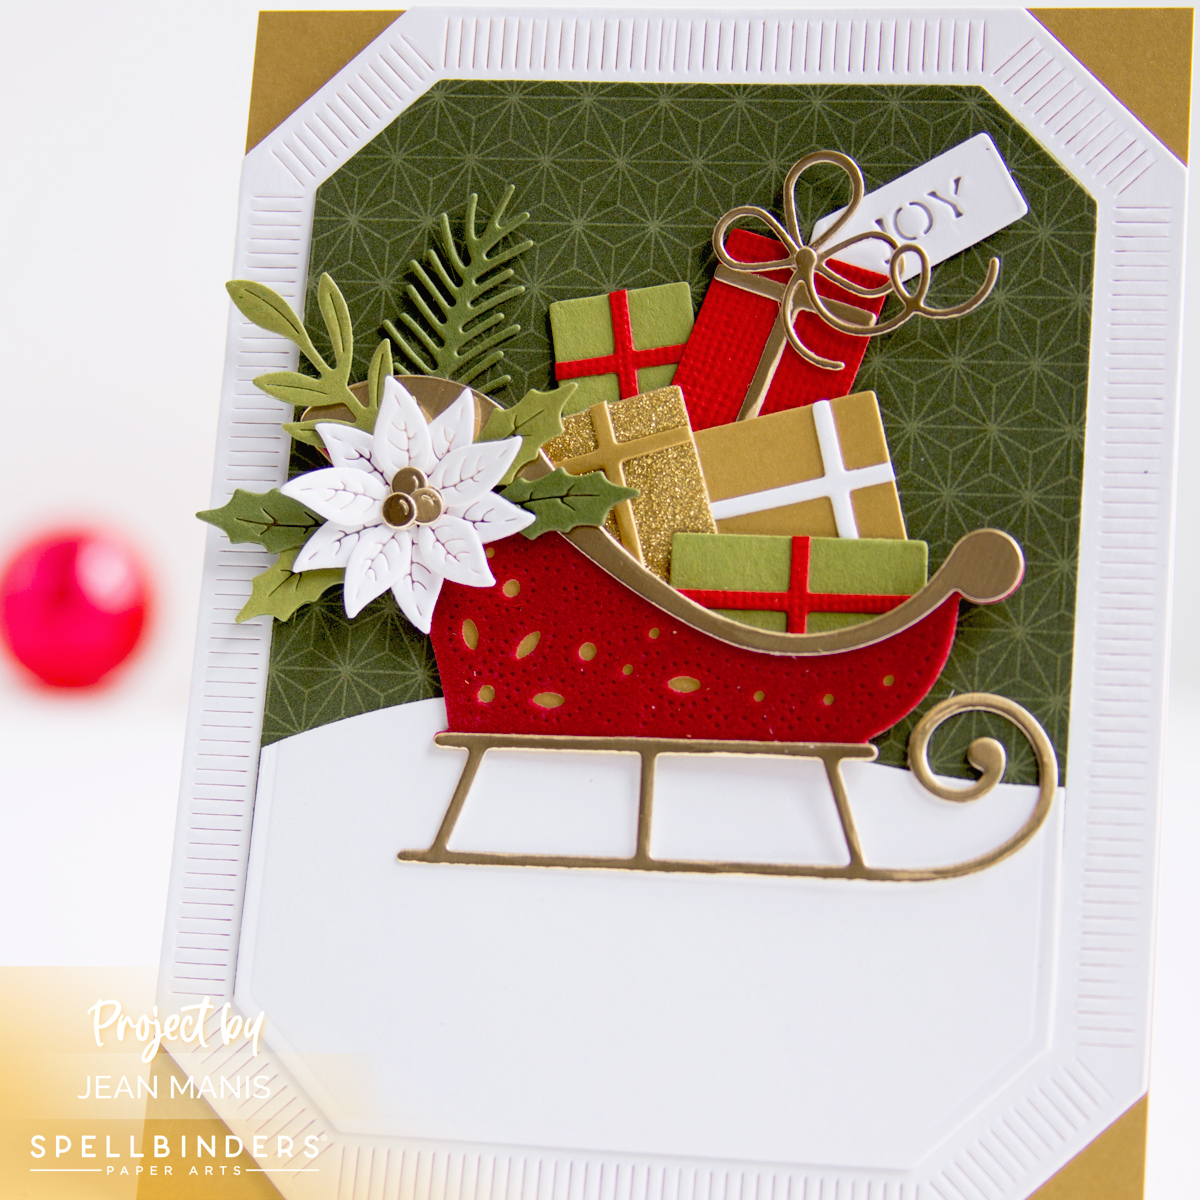
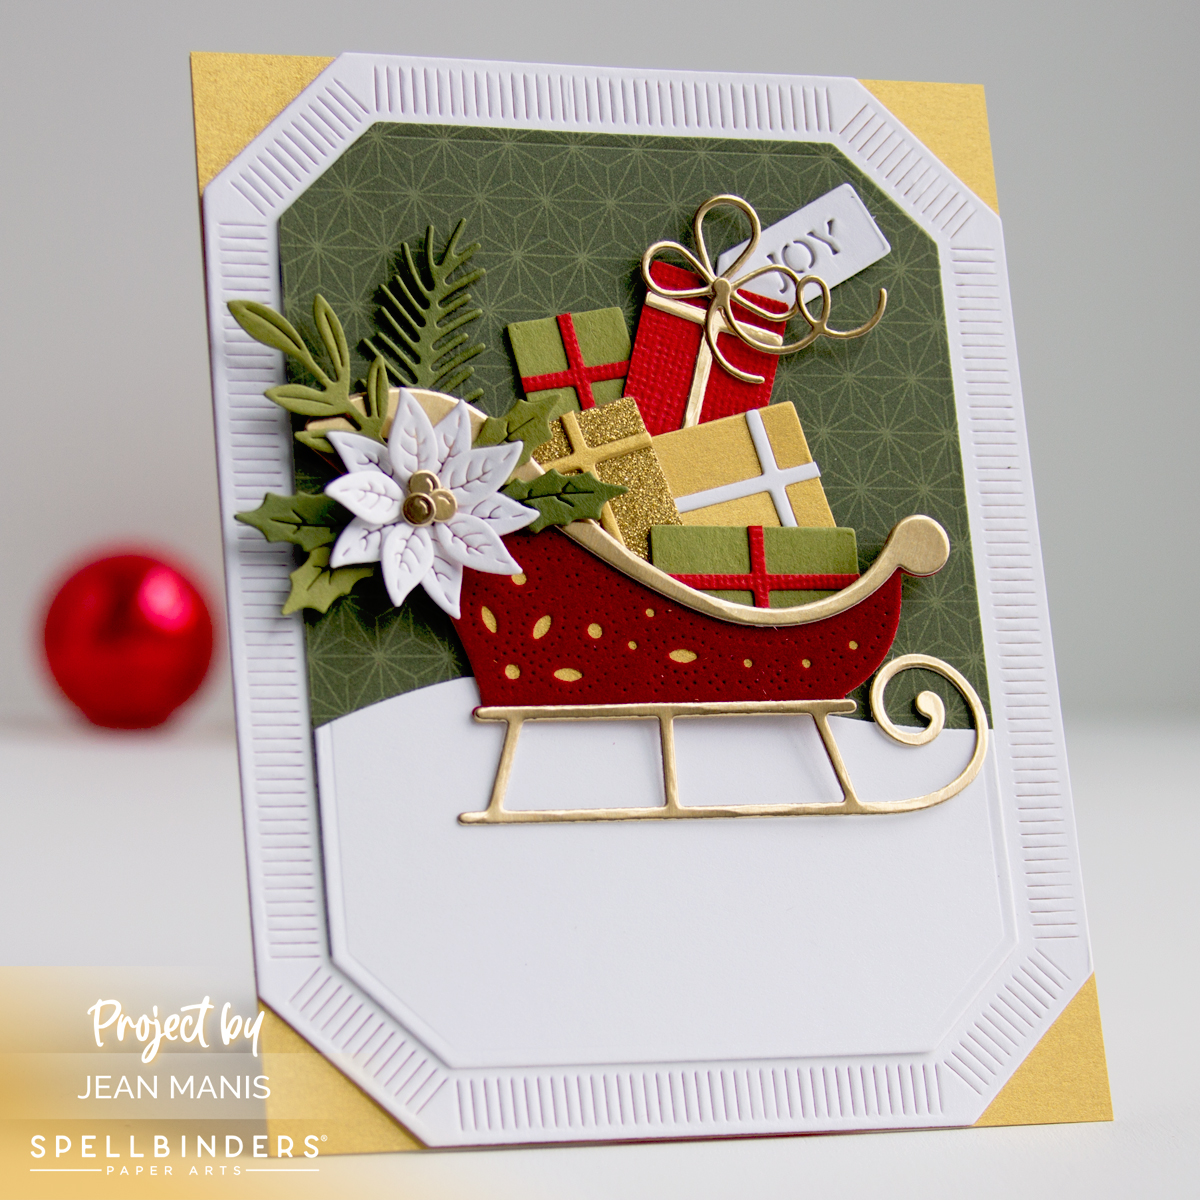
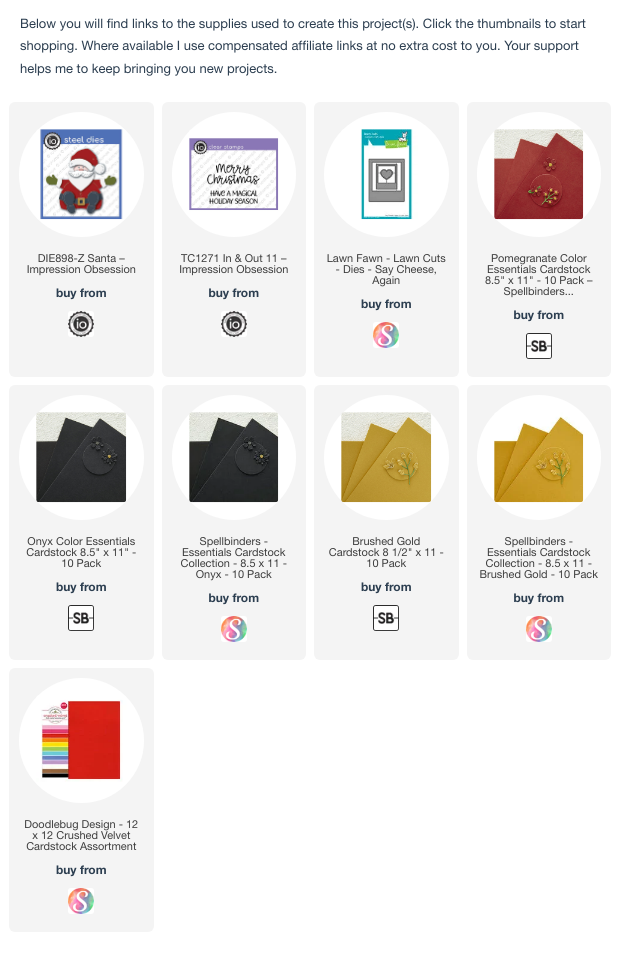
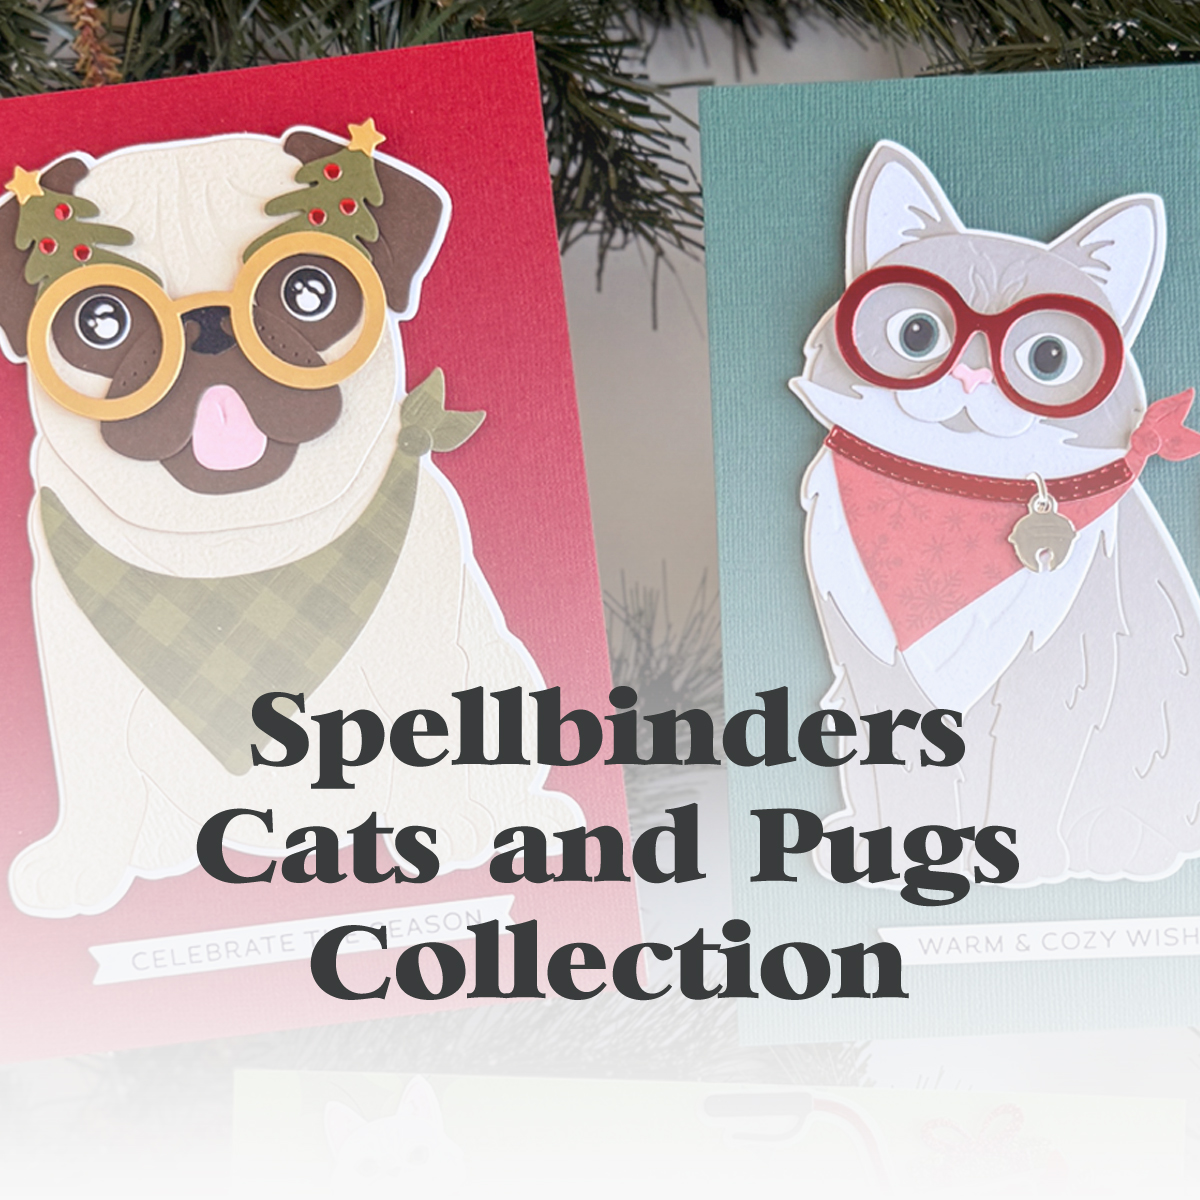
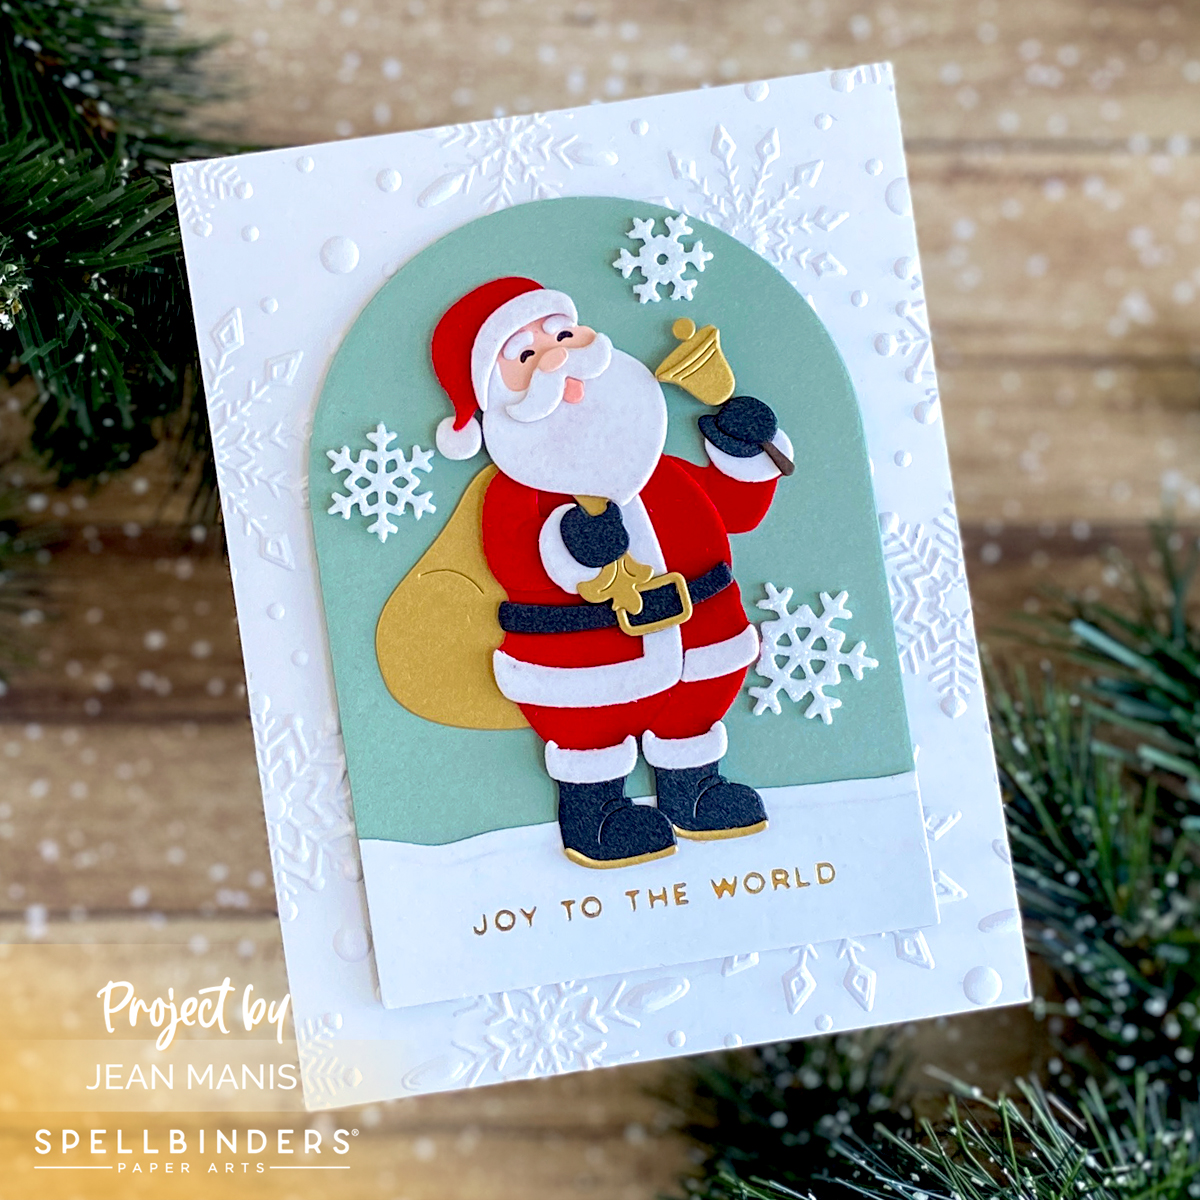
Focal Item Dies: Which holiday-themed dies are you drawn to craft with – reindeer, Christmas trees, gnomes, snowmen? Santa is a perennial favorite, and there are many Santa die sets available. Click on the image to be taken to the original post with additional details.
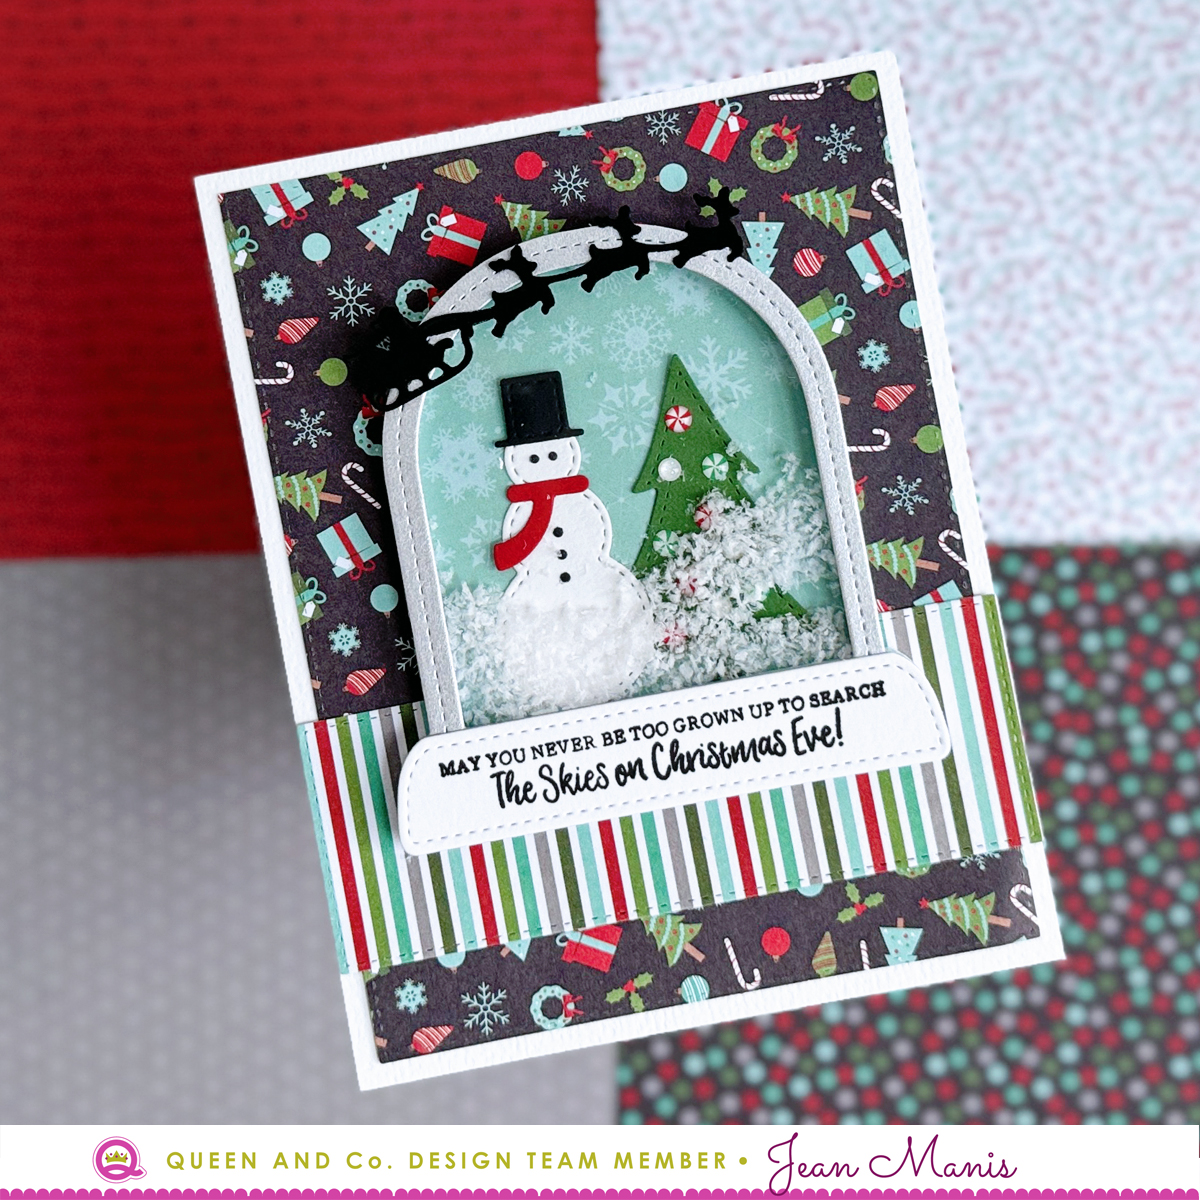
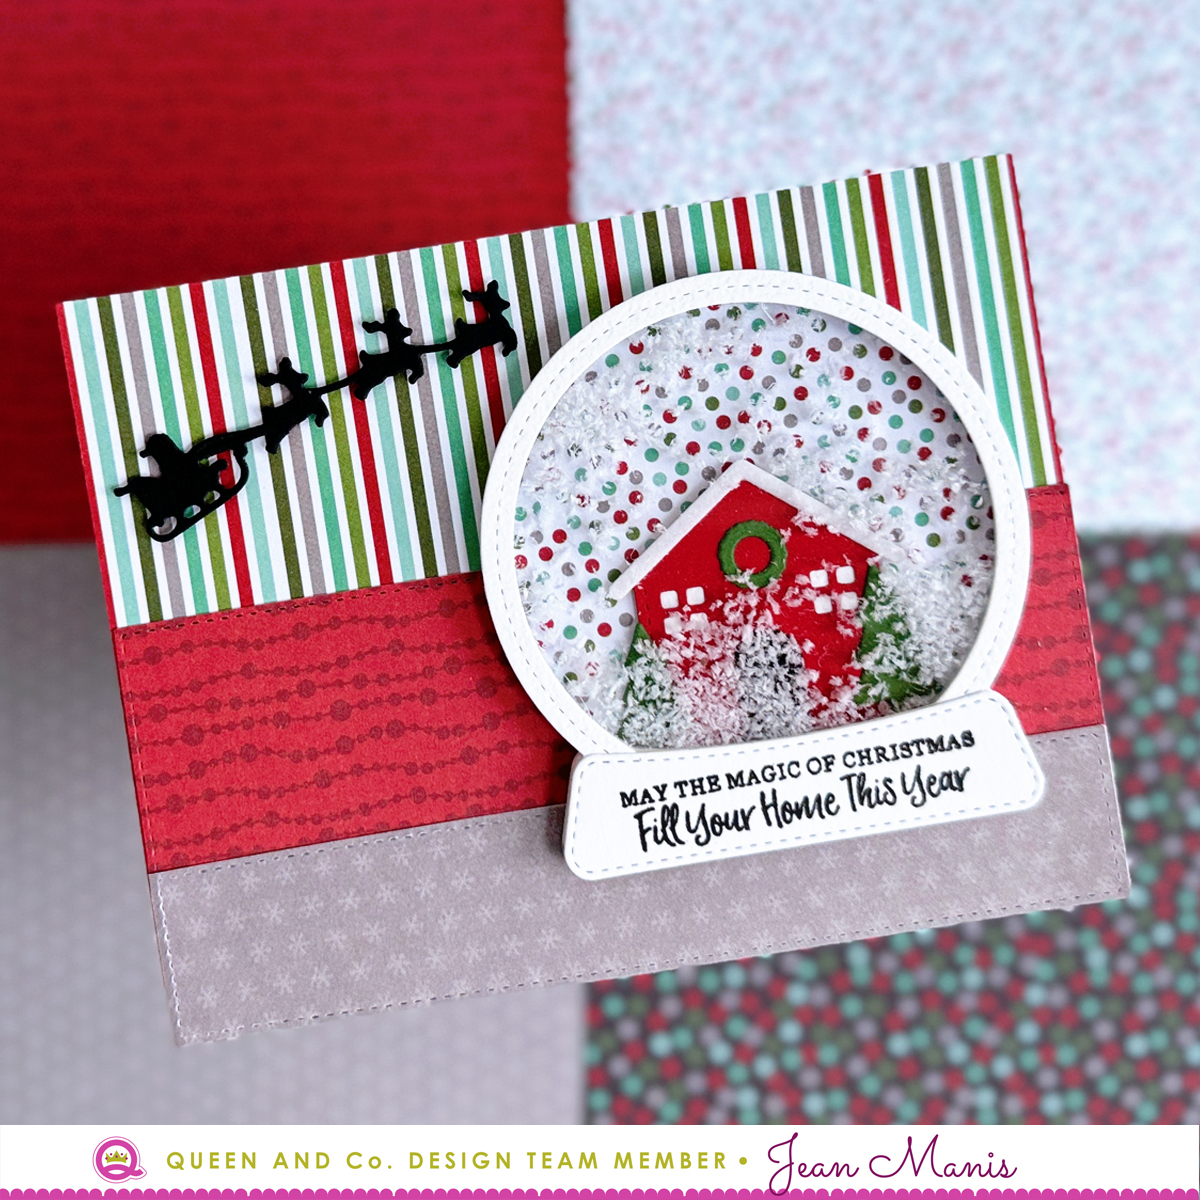
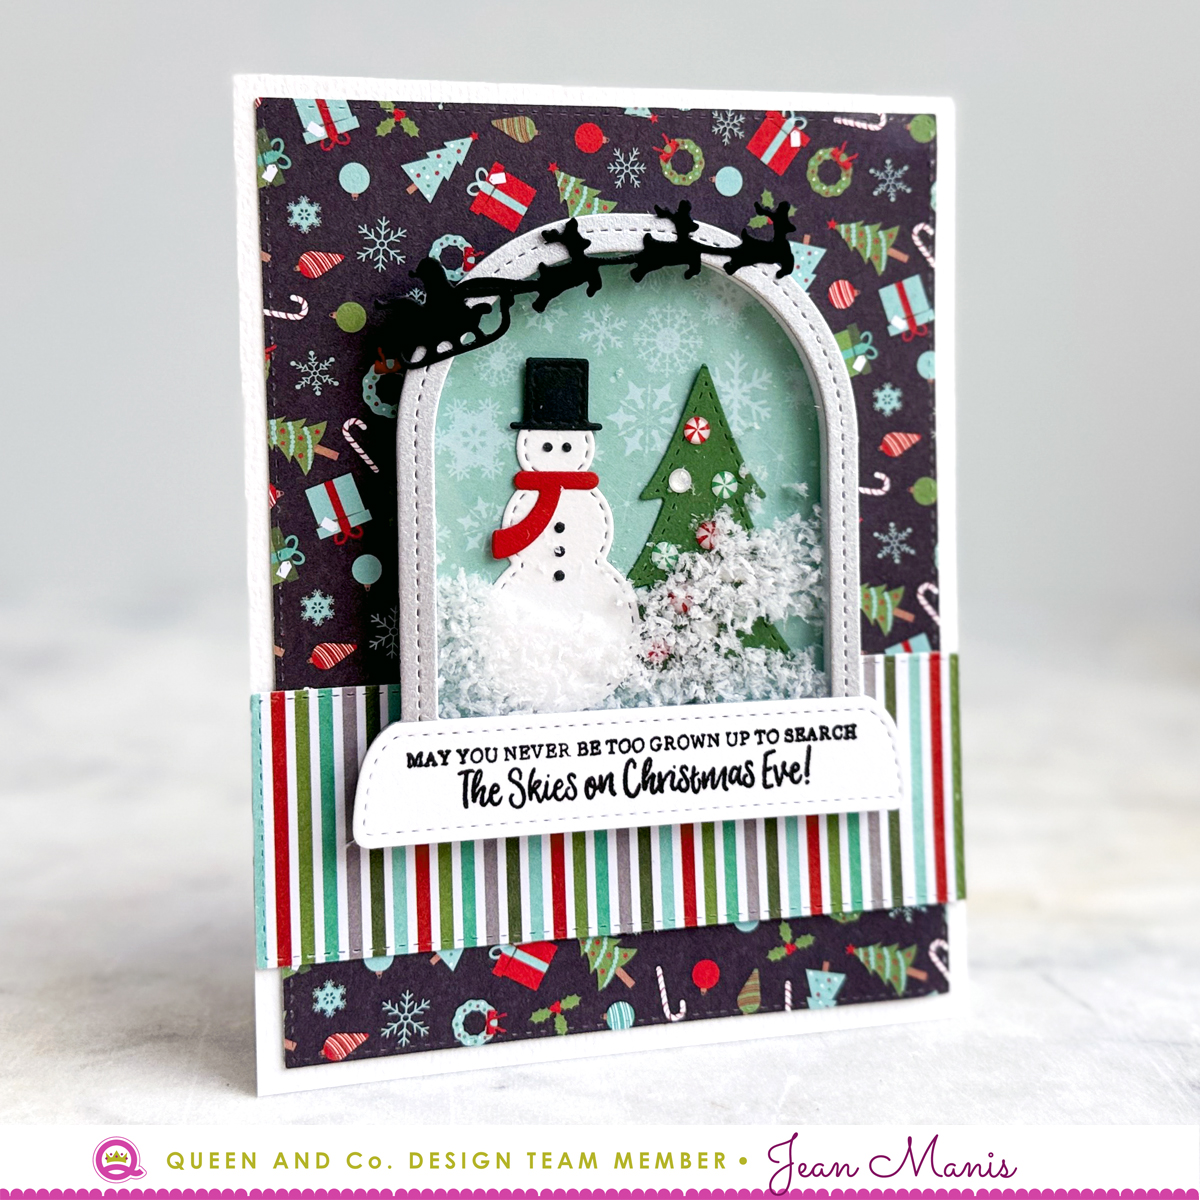
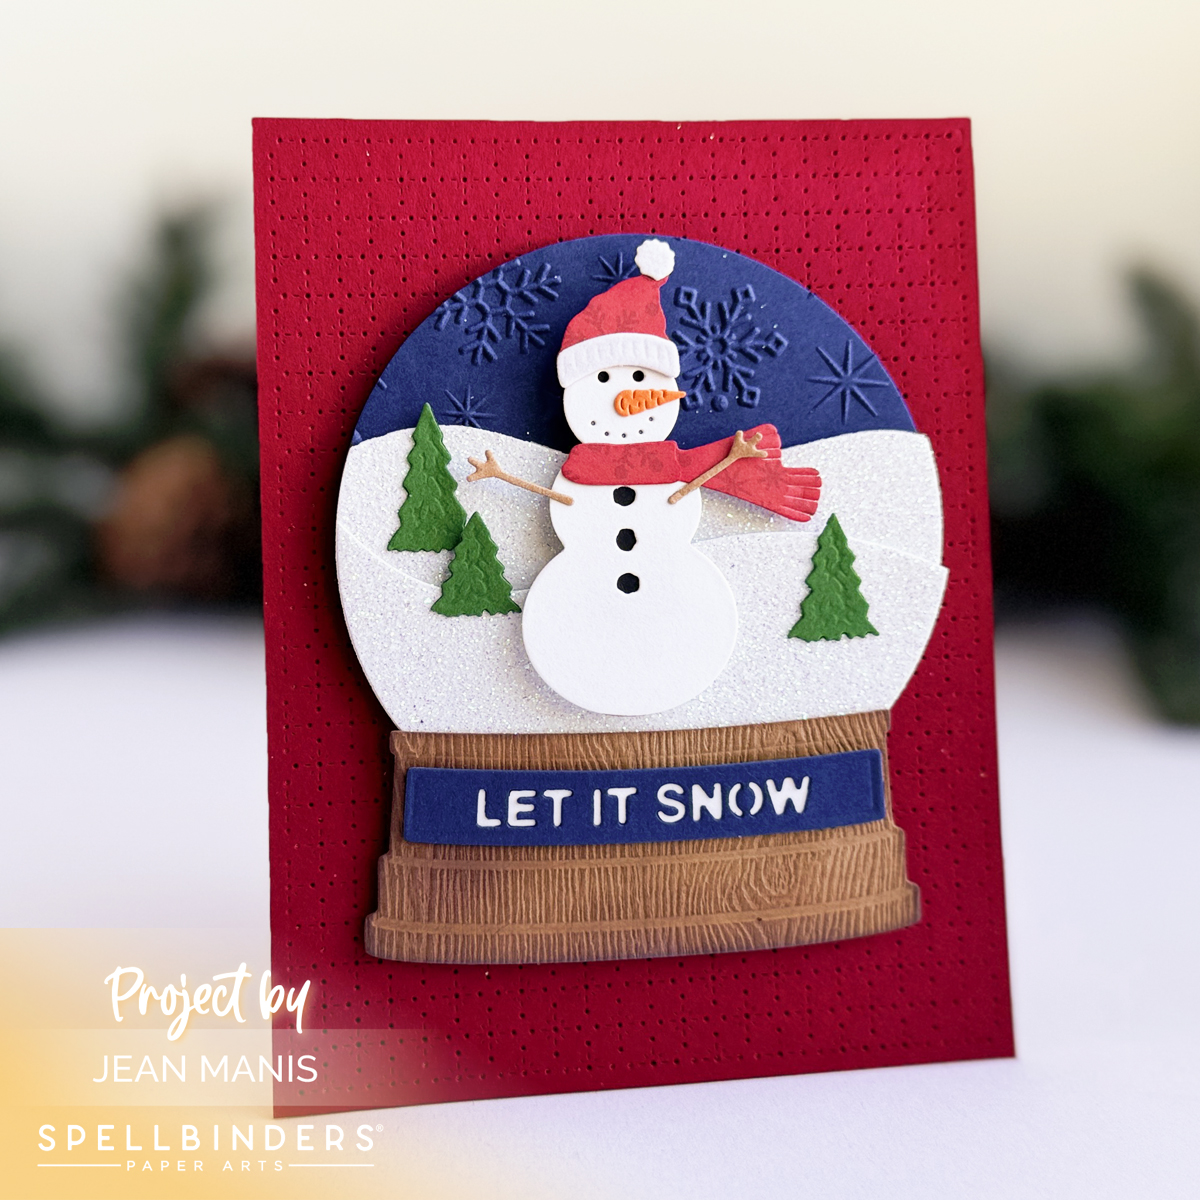
Simon’s Snow Globes Collection includes a base set and several add-ons. I have used the Snowman Scene several times. Click on the image to be taken to the original post with additional details.
Backgrounds: Snowflake embossing folders – Sparkling Snow 3D and Flurry of Snowflakes 3D – add seasonal texture. The Starshine Background is a terrific way to create a subtly textured card base for the holidays and beyond.
Sentiments: Having purchased a BetterPress, I have been using the Merry and Bright sentiment set and plan to purchase additional holiday press plates. The Red Geranium Archival Ink works well for the holidays. Click on the image to be taken to the original post with additional details.

Specialty Cardstock: Glitter cardstock enhances holiday projects by adding festive and eye-catching sparkle. The Spring Tones and Jewel Tones packs include a variety of colors. Cardstock in metal-inspired colors and finishes can add a sophisticated and luxurious touch to holiday cards. The Gold, Silver, and Rose Gold packages include sheets of glitter metallic, matte metallic, brushed metallic, mirror metallic, and pearl metallic, which pair well with traditional holiday colors like red and green.