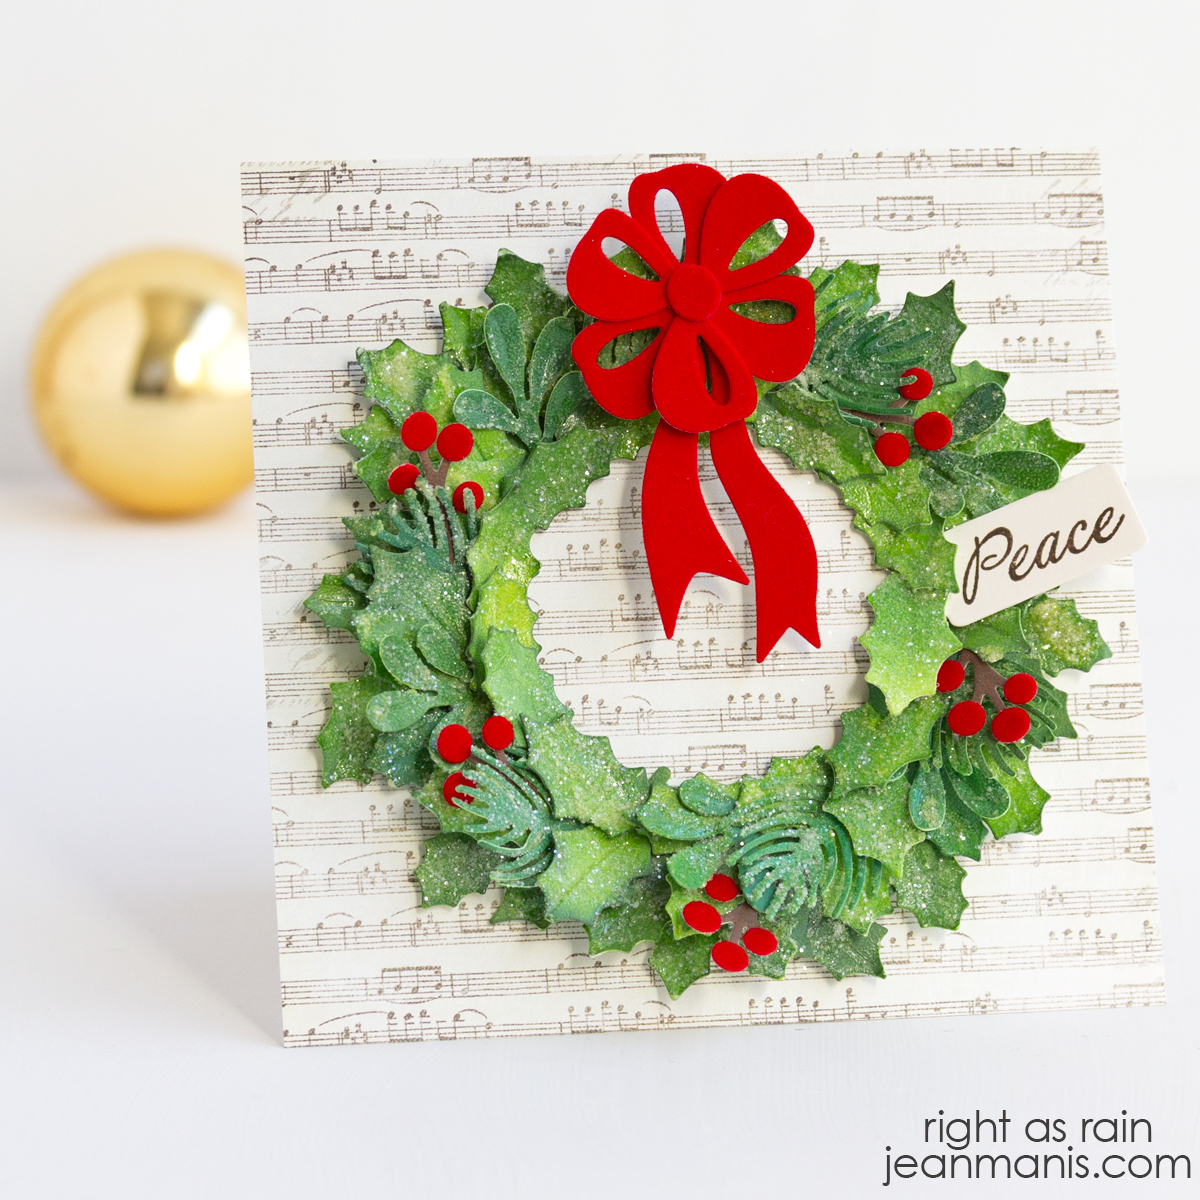
Die-cut Winter Bouquet Card

Hello! Today, I’m excited to share a Christmas card that brings the beauty of winter botanicals to life! Using Elizabeth Craft Designs stamps and dies, I crafted a floral spray featuring poinsettias, evergreen, and berry boughs. The realism of the elements makes this card a celebration of the season’s natural beauty.

Die-cut Winter Bouquet Card

When creating realistic blooms, I research the flower. Did you know that the poinsettia is the most popular flowering plant sold in the United States with more than 70 million sold nationwide each year? What we consider the petals are actually bracts, which are more like leaves than petals. The true flowers of poinsettias are the small clusters of yellow blooms in the center.

    • With the Florals 29 and Holly Greenery die sets, cut Soft Finish cardstock. Color with Distress Inks. Shape with flower tools if desired. (I have tools from Dress My Craft, Heartfelt Creations, and McGill.) Assemble.
    • Create 5″ square card base and cover with patterned paper. Cut doily shape with large die in the Joyous Ornament – Round set from white cardstock. With the circle die in the same set, cut another patterned paper. Add doily shape and circle to card base.
    • Stamp Joyous Christmas sentiment in brown ink and cut with a die in the Layered Labels set.
    • Add assembled floral items to card front. Add sentiment label with foam adhesive.

Die-cut Winter Bouquet Card

Save 10% off your entire order (with a minimum purchase of USD $25) at Elizabeth Craft Designs with the code PNWMANIS.


Penny Black | Watercolored Witchy Cat Card

Hello! Foggy mornings have returned here in the Pacific Northwest, bringing an eerie atmosphere that perfectly matches the Halloween mood I have on my mind. I’ve crafted a playful card to get into the spooky spirit! Featuring a whimsical cat in a witch’s hat, this card used a Penny Black stamp set brought to life with watercolors. The bold “Boo” and “Happy Haunting” sentiments complete the look. Penny Black has featured similar designs on their blog, YouTube channel, and in their Ebooks, (all valuable resources that I consult for inspiration on using Penny Black products).

Penny Black | Watercolored Witchy Cat Card

    • Stamp Penny Black Bewitched in VersaFine ink on Cold Press watercolor paper. Heat set. Color with watercolor mediums of choice. I used Distress Inks. Once dry, fussy-cut image.
    • Die-cut Big Boo from black cardstock. I did so twice for additional depth.
    • Stamp Halloween Builder sentiment in black ink on white cardstock. Cut with a banner die (I used one that was part of a Spellbinders Glimmer Foil set).
    • Create card background with solid cardstock and patterned paper. I used a Spellbinders die set to cut very thin strips of black cardstock to cover the seams between the solid cardstock and patterned paper for a polished look.

Penny Black | Watercolored Witchy Cat Card


CAS Halloween Card: Frog in a Witch’s Hat

Hello! Today, I am sharing a Halloween card that is fun yet minimal.  Using the Spellbinders “Hoppy Halloween” die set, this month’s Deluxe Caboodle Bonus item, I designed a clean and simple card. The adorable frog and the “Trick or Treat” sentiment take center stage. It’s a blend of spooky charm and playful simplicity!

CAS Halloween Card: Frog in a Witch's Hat

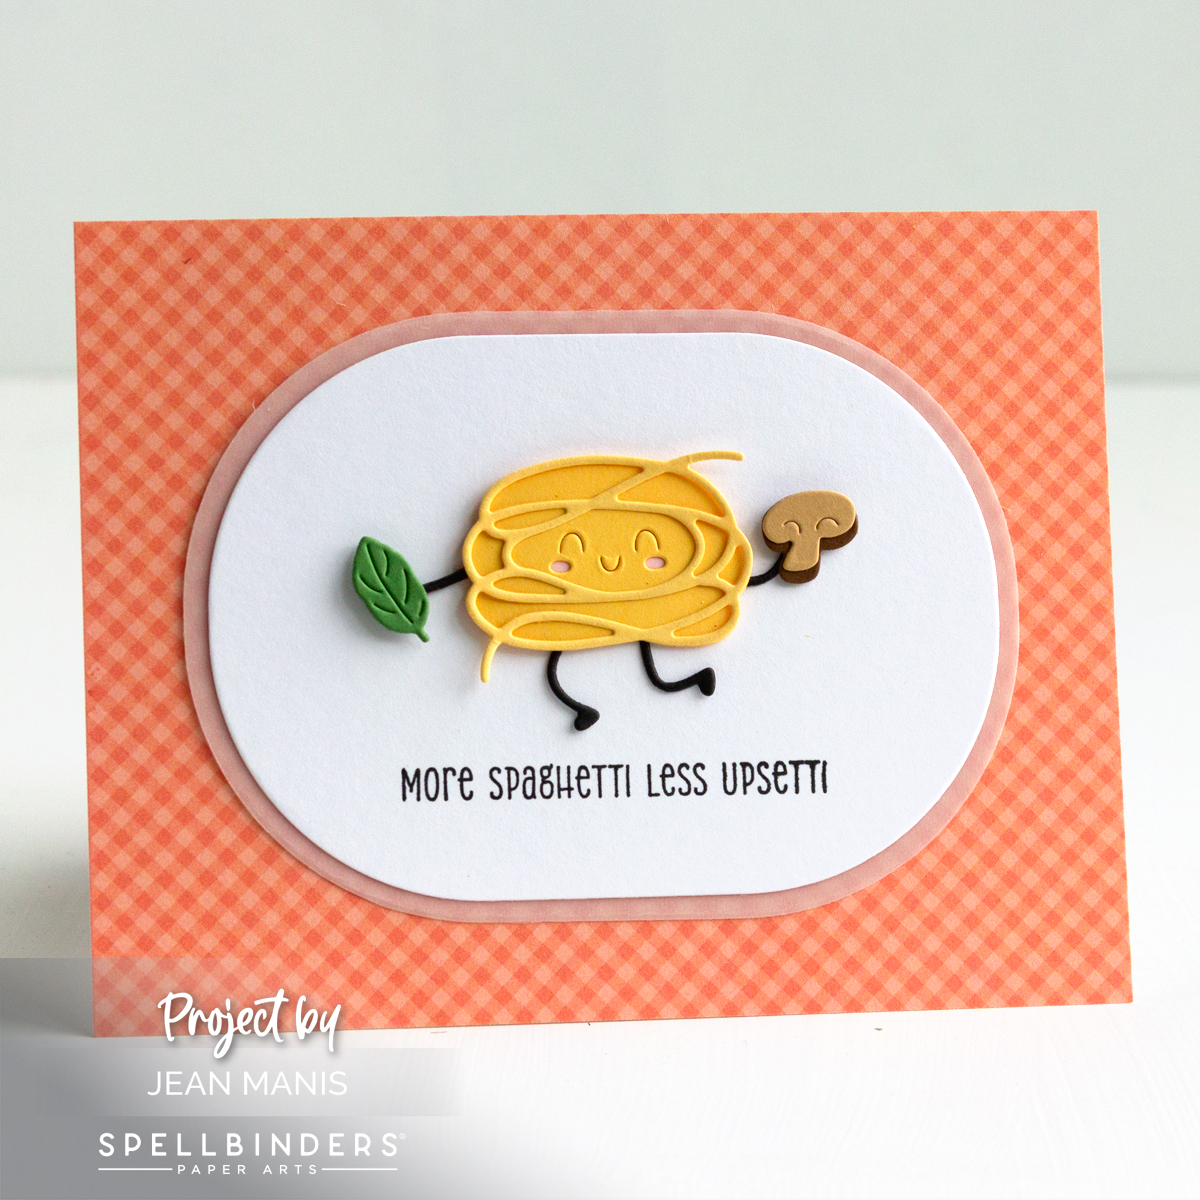
    • Cut vellum with a die in the Essential Stylish Ovals set. Add to an A2-size card base covered with patterned paper. (I used paper from a now-retired Simple Stories pad.)
    • Cut frog and sentiment with dies in the Hoppy Halloween set from a variety of cardstock colors. Assemble.
    • Add frog and sentiment to vellum oval, add oval to card base.

CAS Halloween Card: Frog in a Witch's Hat


Spellbinders | Autumn Barn Scene

Hello!  As F. Scott Fitzgerald said, “Life starts all over again when it gets crisp in the fall.” It’s the perfect time to send warm thoughts and thanks to those who’ve made a difference in your life. This card, featuring a peaceful barn nestled in an autumn landscape is ideal for expressing gratitude during the fall season. This card, created with this month’s Large Die of the Month at Spellbinders – “Picture Perfect Autumn” – is perfect for sending a thoughtful thank you during the cozy autumn months.

Spellbinders | Autumn Barn Scene

    • Create a 5″ x 7″ card base and cover with a panel of Sea Glass cardstock debossed with the Tiny Dots folder.
    • Cut elements with dies in the Large Die of the Month set from a variety of color cardstock. I used Distress Inks when necessary to add shading.
    • Assemble elements as required. Add to scene with dot and foam adhesive.

The scene created with the Large Die of the Month captures the beauty of autumn with vibrant colors and intricate details that draw you in.

Spellbinders | Autumn Barn Scene


Spellbinders | Autumn Scarecrow Card

Hello!  Today, I’m excited to share an autumn-themed card featuring the Spellbinders “Autumn Scare Crow” die set – this month’s Small Die of the Month offering. This card showcases a charming scarecrow standing in a field, with a pumpkin patch sign welcoming the harvest season.

Spellbinders | Autumn Scarecrow Card

    • Cover an A2-size card base with patterned paper. Ink edges, adding more ink along the bottom to create a ground.
    • Color Bristol paper with Distress Inks in a variety of colors. While this is more time-consuming than cutting from color cardstock, the technique offers variety in color that is not possible with solid color cardstock.
    • With dies in the Small Die of the Month set, cut pieces and assemble as necessary.
    • Add elements to card background, using foam adhesive to achieve dimension.

Spellbinders | Autumn Scarecrow Card