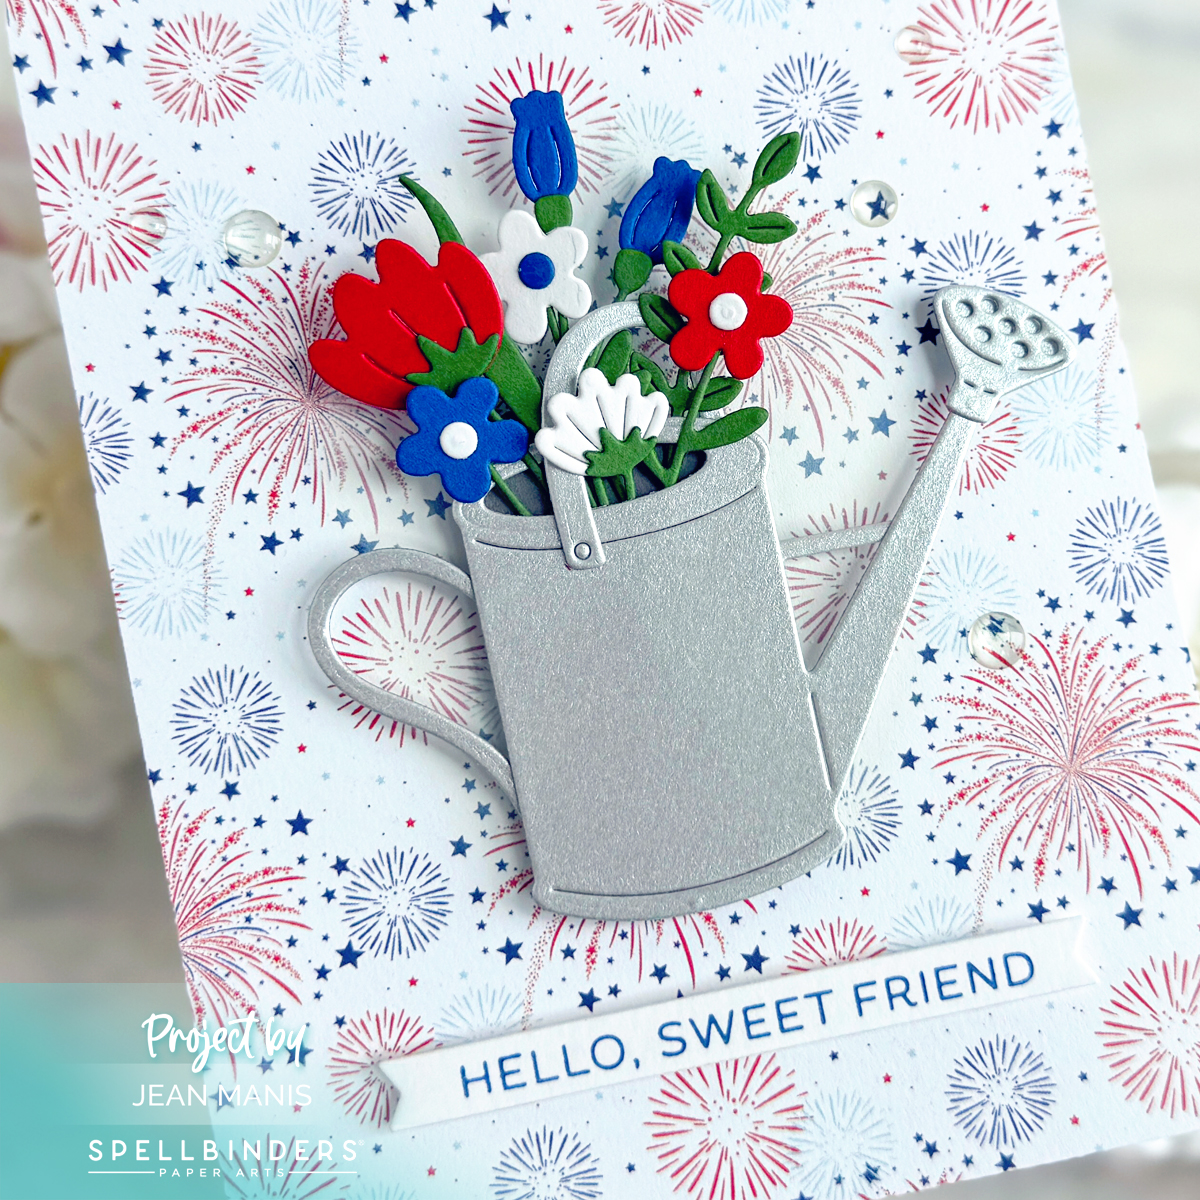
Spellbinders Country Road Vintage Wheelbarrow

Step into a serene countryside scene! The card I am sharing today showcases the Spellbinders Country Road Collection by Annie Williams, which captures the essence of rustic charm and country living. Featuring a charming vintage wheelbarrow overflowing with blooms, this card is the perfect way to send a warm and heartfelt message to someone special. Read on for step-by-step instructions on how I created the card.

Spellbinders Country Road Collection

    • Cut Country Wheelbarrow from a variety of cardstock colors including Brushed Silver and Timber. Add Aged Mahogany Distress ink to the pieces of the wheelbarrow cut from dark red cardstock. Assemble leaving the back of the wheelbarrow off.
    • Use the Garden Builder die set to create the flowers and foliage, from Fern, Snowdrift, and Beeswax cardstock. Note: While I absolutely love color and choosing the right color combinations, I can easily get bogged down with decision fatigue. To simplify things, I decided to create the flowers with white petals and yellow centers, as well as yellow petals with white centers. This color scheme worked perfectly with the vintage red wheelbarrow and captured the essence of a rustic country scene.
    • Assemble flowers, adding some to the foliage pieces for easier assembly. Glue floral assemblies to the inside of the wheelbarrow, arranging to fill the space. When finished, add the wheelbarrow back.
    • Glimmer foil the Sentiments for Everyday sentiment in Matte Silver on Snowdrift cardstock; cut with coordinating die.
    • Apply Tumbled Glass Distress and Rustic Wilderness Distress inks to a 4 x 5 1/4 inches panel of white cardstock. Add panel to white textured card base.
    • Add sentiment and wheelbarrow assembly to card.

Spellbinders Country Road Vintage Wheelbarrow


Sending Hedgehugs with Penny Black

Spring has sprung on this sweet watercolored card that shows two hedgehogs watering a daisy. Featuring the Penny Black Grown with Love stamp set, this card is suitable for sending a message of love, friendship, or just a simple hello! But there’s a twist – instead of using the flower in the original Penny Black Grown with Love stamp, I masked it and added a die-cut daisy. Read on for step-by-step instructions on how I created the card.

Sending Hedgehugs with Penny Black

    • Stamp hedgehog image on Arches Cold Press watercolor paper with VersaFine ink, masking the flower image so that it does not stamp; heat set.
    • Watercolor image. I used Zig markers in Medium Beige, Oatmeal, and Light Pink for the hedgehog faces and bodies. I used Zig Gray Brown for the hedgehog needles. For the watering can and metal portion of the spade, I used Zig Gray. I used Tombow Poppy Red for the spade handle and Zig Light Blue for the pond.
    • Stamp hedgehogs on Gina K Masking Magic. Fussy-cut hedgehogs and pond and cover watercolored portions with the masks. Apply Tumbled Glass Oxide ink for the sky and Mowed Lawn Oxide and Rustic Wilderness Oxide for the grass.
    • Stamp Grown with Love sentiment on to white cardstock and cut with large cloud die in the Silver Linings set.  Cut two small clouds with the same set.
    • Use the Daisy Delight die to cut the daisy from white cardstock. Color with Copic markers. I used Pale Yellow and Cadmium Yellow for the flower center and Moss Green for the stem.
    • Trim stamped panel to 4 x 5 1/4 inches and add to yellow card base. Add clouds and daisy to scene.

Sending Hedgehugs with Penny Black

This stamp set was part of the Refreshing release three years ago. You can see the release video here.


Lawn Fawn | Watercolored Whimsical Tea Party Scene

Get ready to be transported to a charming tea party scene featuring adorable animal attendees! I created this whimsical scene by watercoloring images from Lawn Fawn’s Tea-rrific Day stamp set, which includes a fox, hedgehog, and squirrel gathered around a tree stump for tea. The resulting card is a perfect way to send warm wishes for many occasions including birthdays, thank you, or “just because.” Read on for step-by-step instructions on how I created the watercolored tea party card.

Lawn Fawn | Watercolored Whimsical Tea Party Scene

I had so much fun bringing these adorable animal characters to life, dressed in fancy hats for the tea party gathering.

    • Stamp Tea-rrific Day animals, tree stump, and tea accessories on Arches Cold Press watercolor paper in VersaFine black ink; heat set.
    • Color items with watercolor markers using a size 4 brush:
      Fox: Sketchmarker Aqua Red Panda, Sketchmarker Aqua Flesh, Zig Persian Blue, Zig Pink, Zig Turquoise Green, Tombow Blush (Dusty Rose)
      Hedgehog: Tombow Redwood, Zig Medium Beige, Tombow Blush (Dusty Rose), Zig Violet, Zig Yellow, Zig Pink
      Squirrel: Tombow Saddle Brown, Tombow Blush (Dusty Rose), Zig Purple
      Tree Stump: Sketchmarker Aqua Brown, Zig Turquoise Green, Zig Pink, Zig Violet
      Mushrooms: Tombow Warm Red, Tombow Tan (Cappuccino)
      Tea Party Tablescape: Zig Sugar Almond Pink, Zig Lemon Yellow, Zig Light Blue, Zig Light Gray, Zig Turquoise Green, Zig Pink
    • Once dry, cut the images with their corresponding dies.
    • Cut Sea Glass cardstock with the Quilted Backdrop die to create background. Add to white cardstock card base.
    • Stamp sentiment on green cardstock, trim, and cut with Simple Stitched Hillside Borders die. Add to card background.
    • Add animals, tree stump, and tea party accessories to scene with dot and foam adhesive.

Lawn Fawn | Watercolored Whimsical Tea Party Scene

Tea parties invite us to slow down and appreciate the simple pleasures in life. In our fast-paced world, taking the time to sit down and savor a cup of tea and a slice of cake can be a refreshing break from the hustle and bustle of daily life. Looking for inspiration to host a tea party? I have mentioned the lifestyle blogger Home is Where the Boat Is in previous posts. She posted a fun tea party here and shares additional tea-themed ideas here.


Spreading Happiness: Handmade Cards with the Spellbinders Quick and Easy Club Kit

This month’s Spellbinders Quick & Easy Club Kit “Spreading Happiness” features charming fairy tale, neighborhood, floral, and tea party themes. I created four unique cards that showcase the kit’s versatility.

Spellbinders | May 2023 Quick and Easy Club Kit

Spellbinders | May 2023 Quick and Easy Club Kit

The Spellbinders Quick & Easy Club Kit provides everything you need to create handmade cards including sentiments, chipboard and die-cut elements, stickers, patterned paper, and card bases. The best part is that everything is perfectly coordinated, making it easy to mix and match elements to create a cohesive and polished look.

Spellbinders | May 2023 Quick and Easy Club Kit

Spellbinders | May 2023 Quick and Easy Club Kit

Check out this post for more inspiration!

Spellbinders Large Die of the Month Club | Balloons and Birthday Wishes

Creating a handmade card is a wonderful way to show someone you care. If you’re looking for inspiration, the Spellbinders Large Die of the Month Club set “Balloons and Birthday Wishes” features a banner that can be customized with flowers and balloons, as well as a variety of sayings from which to choose. I used the same color combination on both cards with one featuring the balloons and the other flowers.

A dark purple banner with gold letters creates an elegant and stylish look. The dark purple makes the text stand out.

Spellbinders | May 2023 Large Die of the Month

Spellbinders | May 2023 Large Die of the Month

A light purple banner with white letters gives a softer touch.

Spellbinders | May 2023 Large Die of the Month

Spellbinders | May 2023 Large Die of the Month