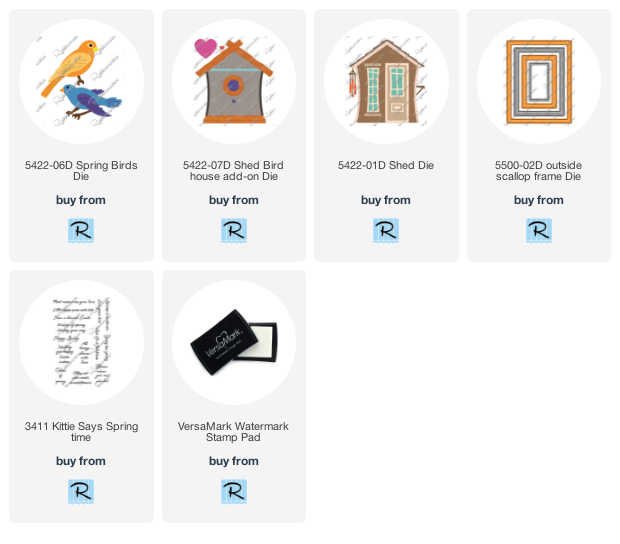
Hello! I am delighted to share two CAS cards created with new dies in the April Rubbernecker release, which includes cover plates, garden dies, and stamp sets.
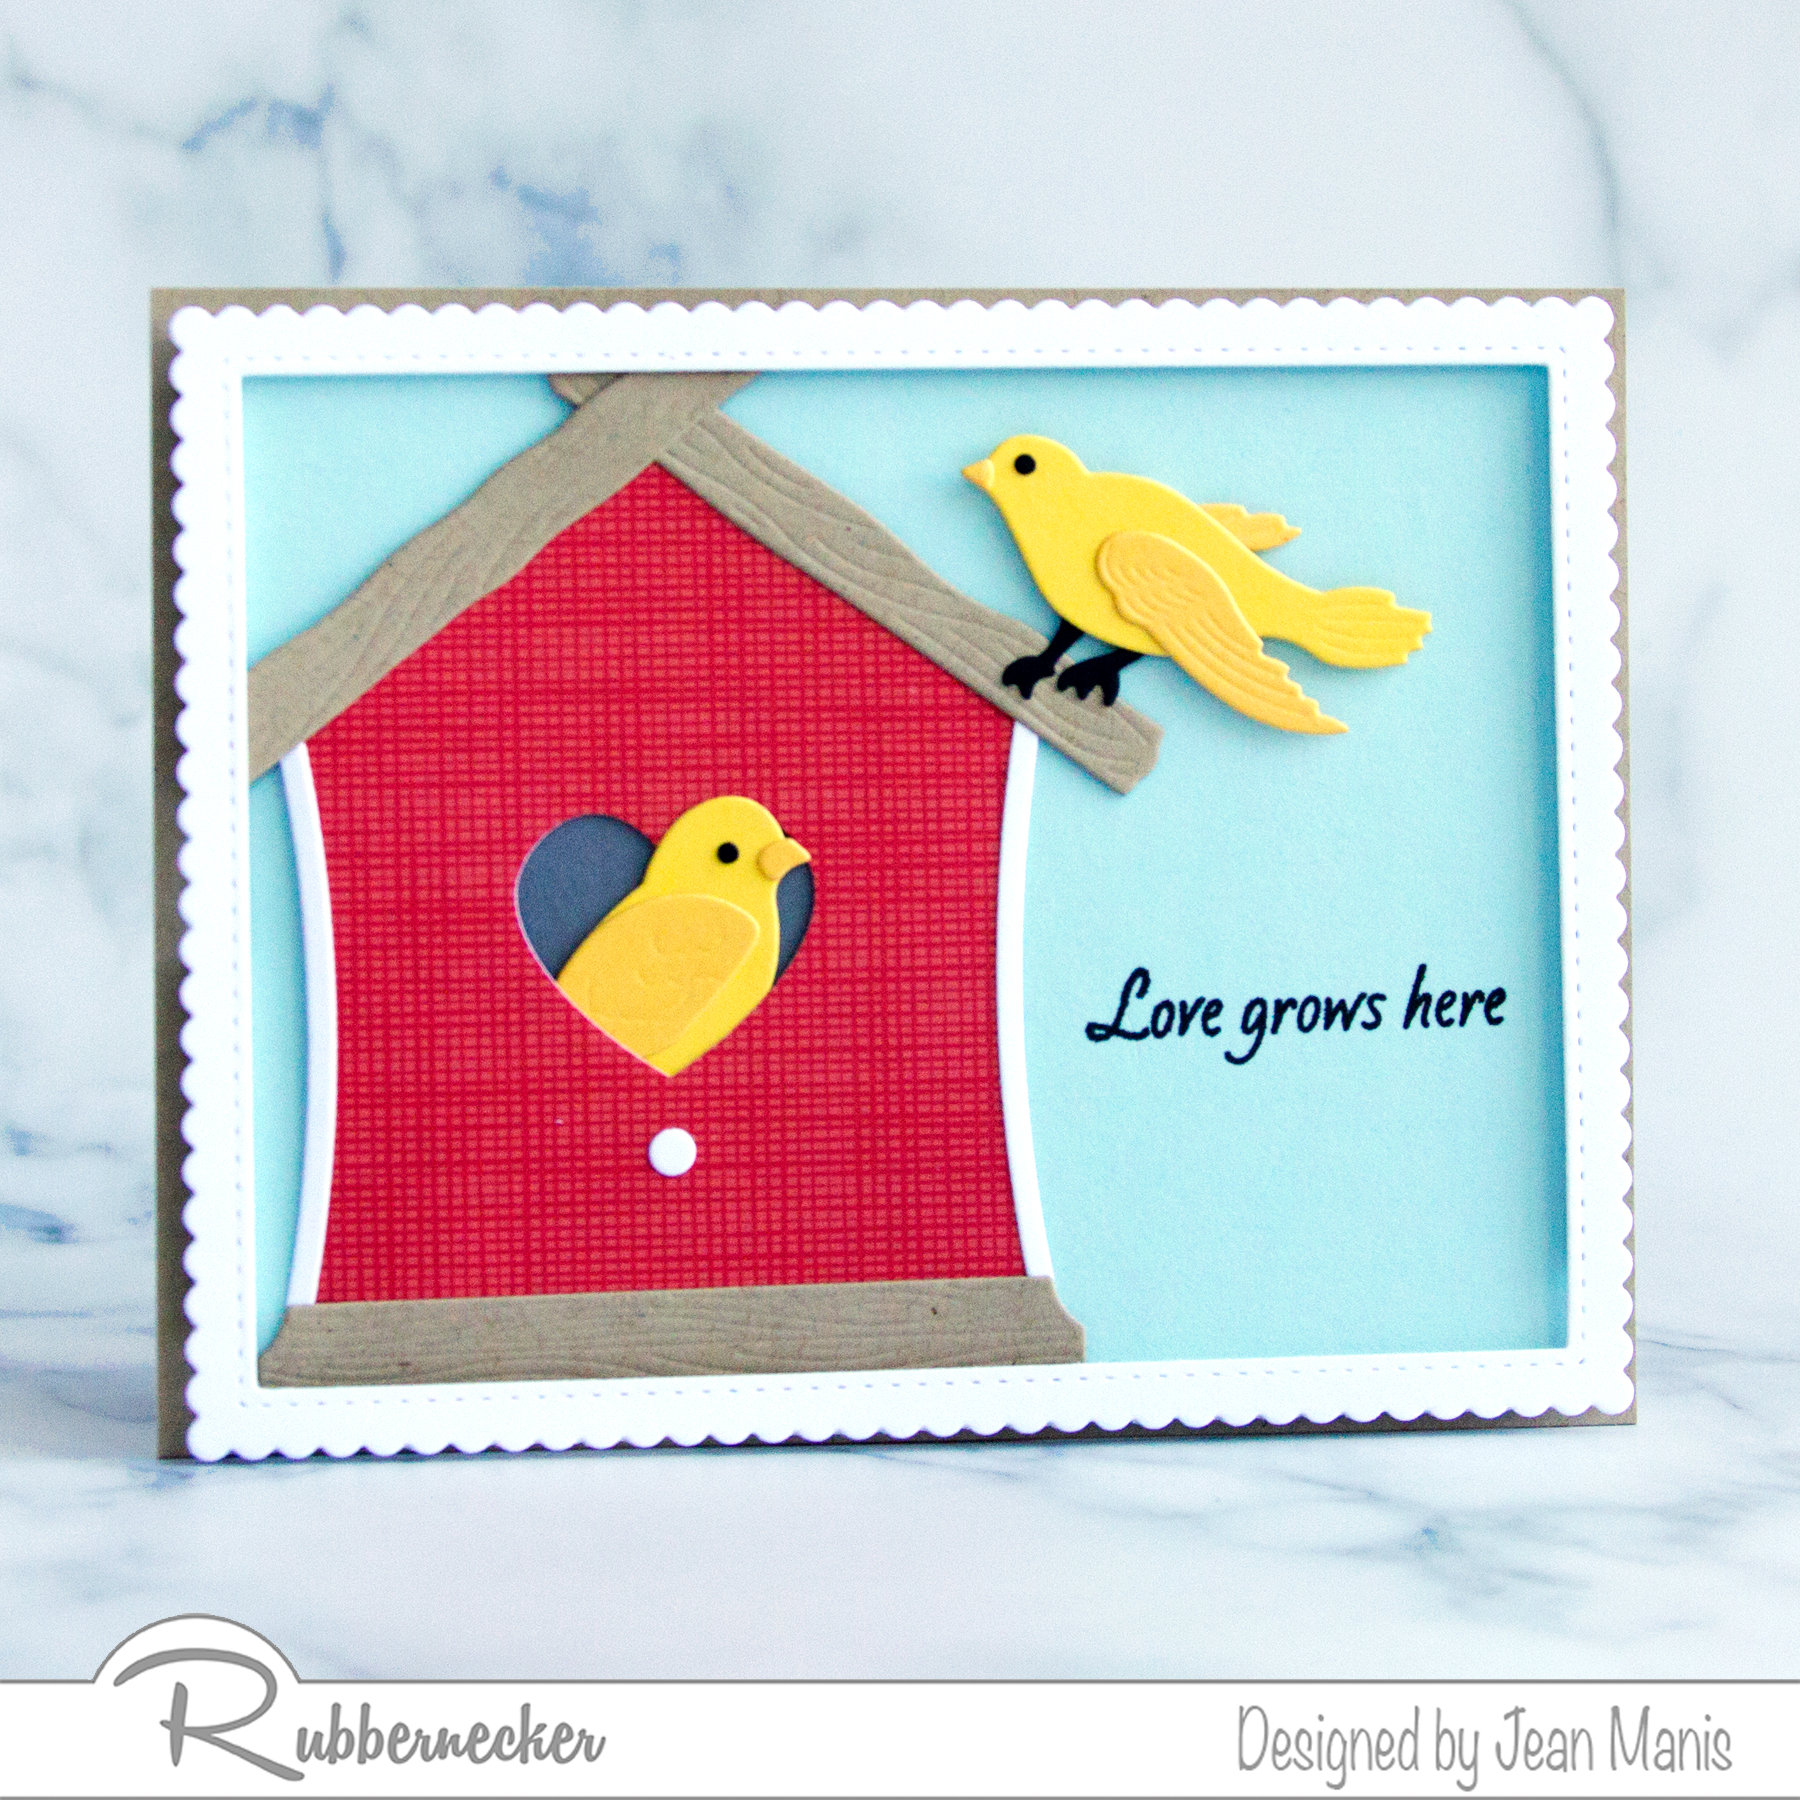
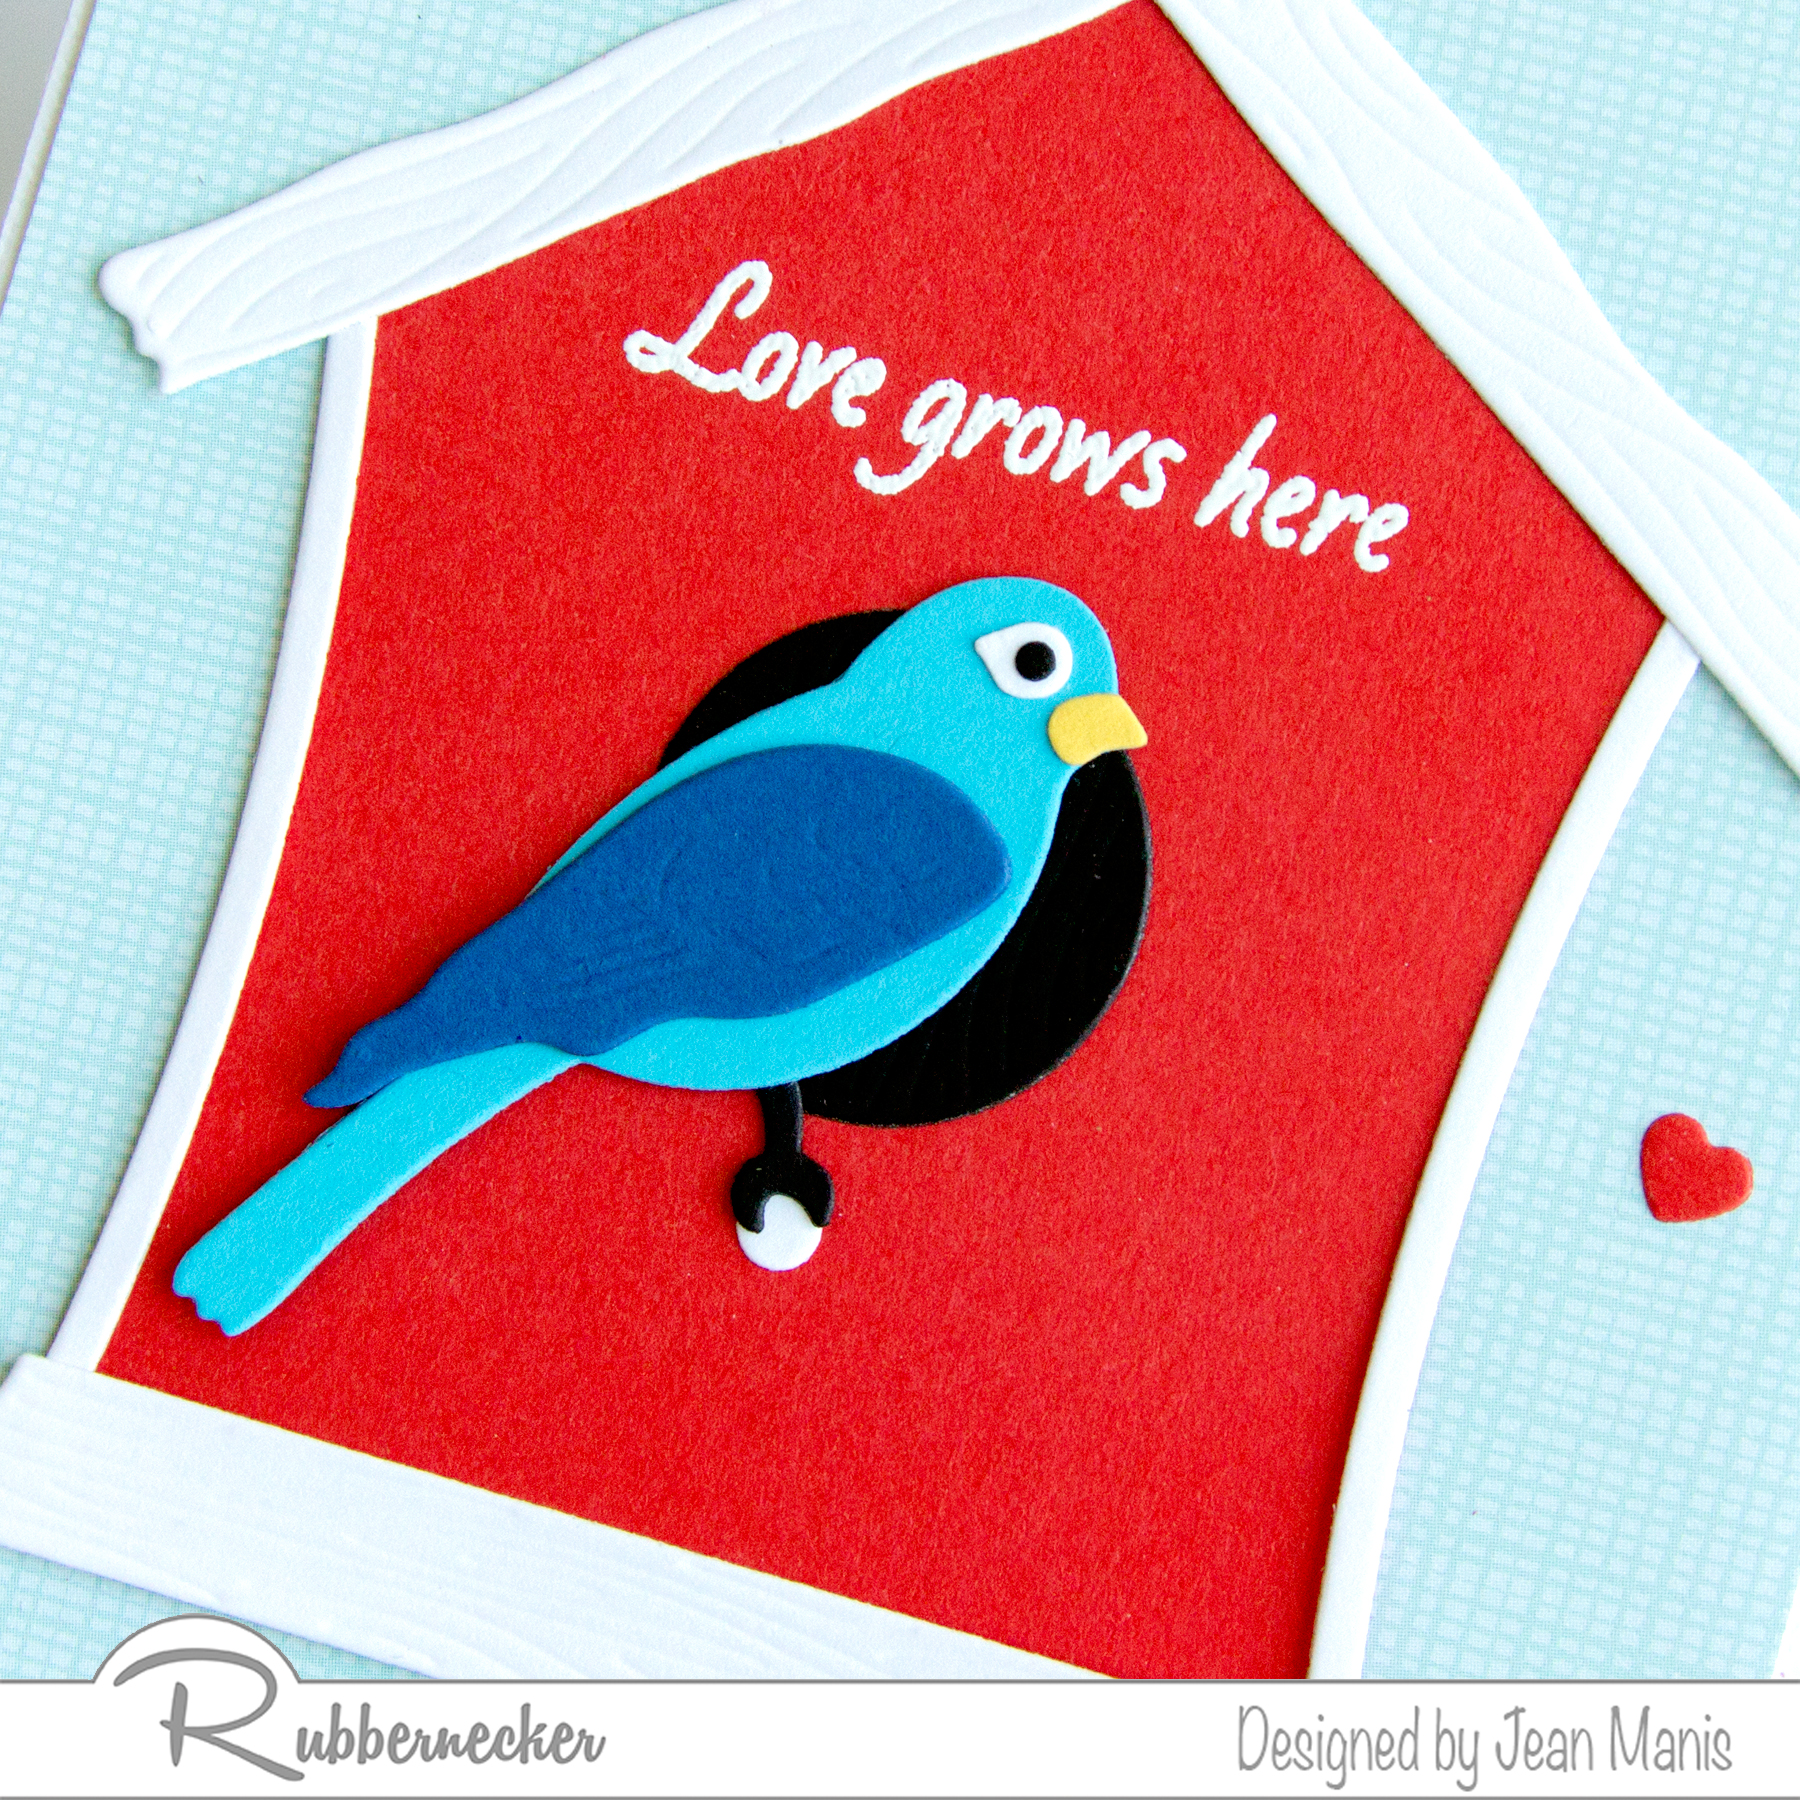
The Shed Bird House Add-On die works with the Shed die to create a large birdhouse.
I paired the birdhouse with birds created with the Spring Birds die.

On both cards, I used a sentiment from the Kittie Says Springtime set.
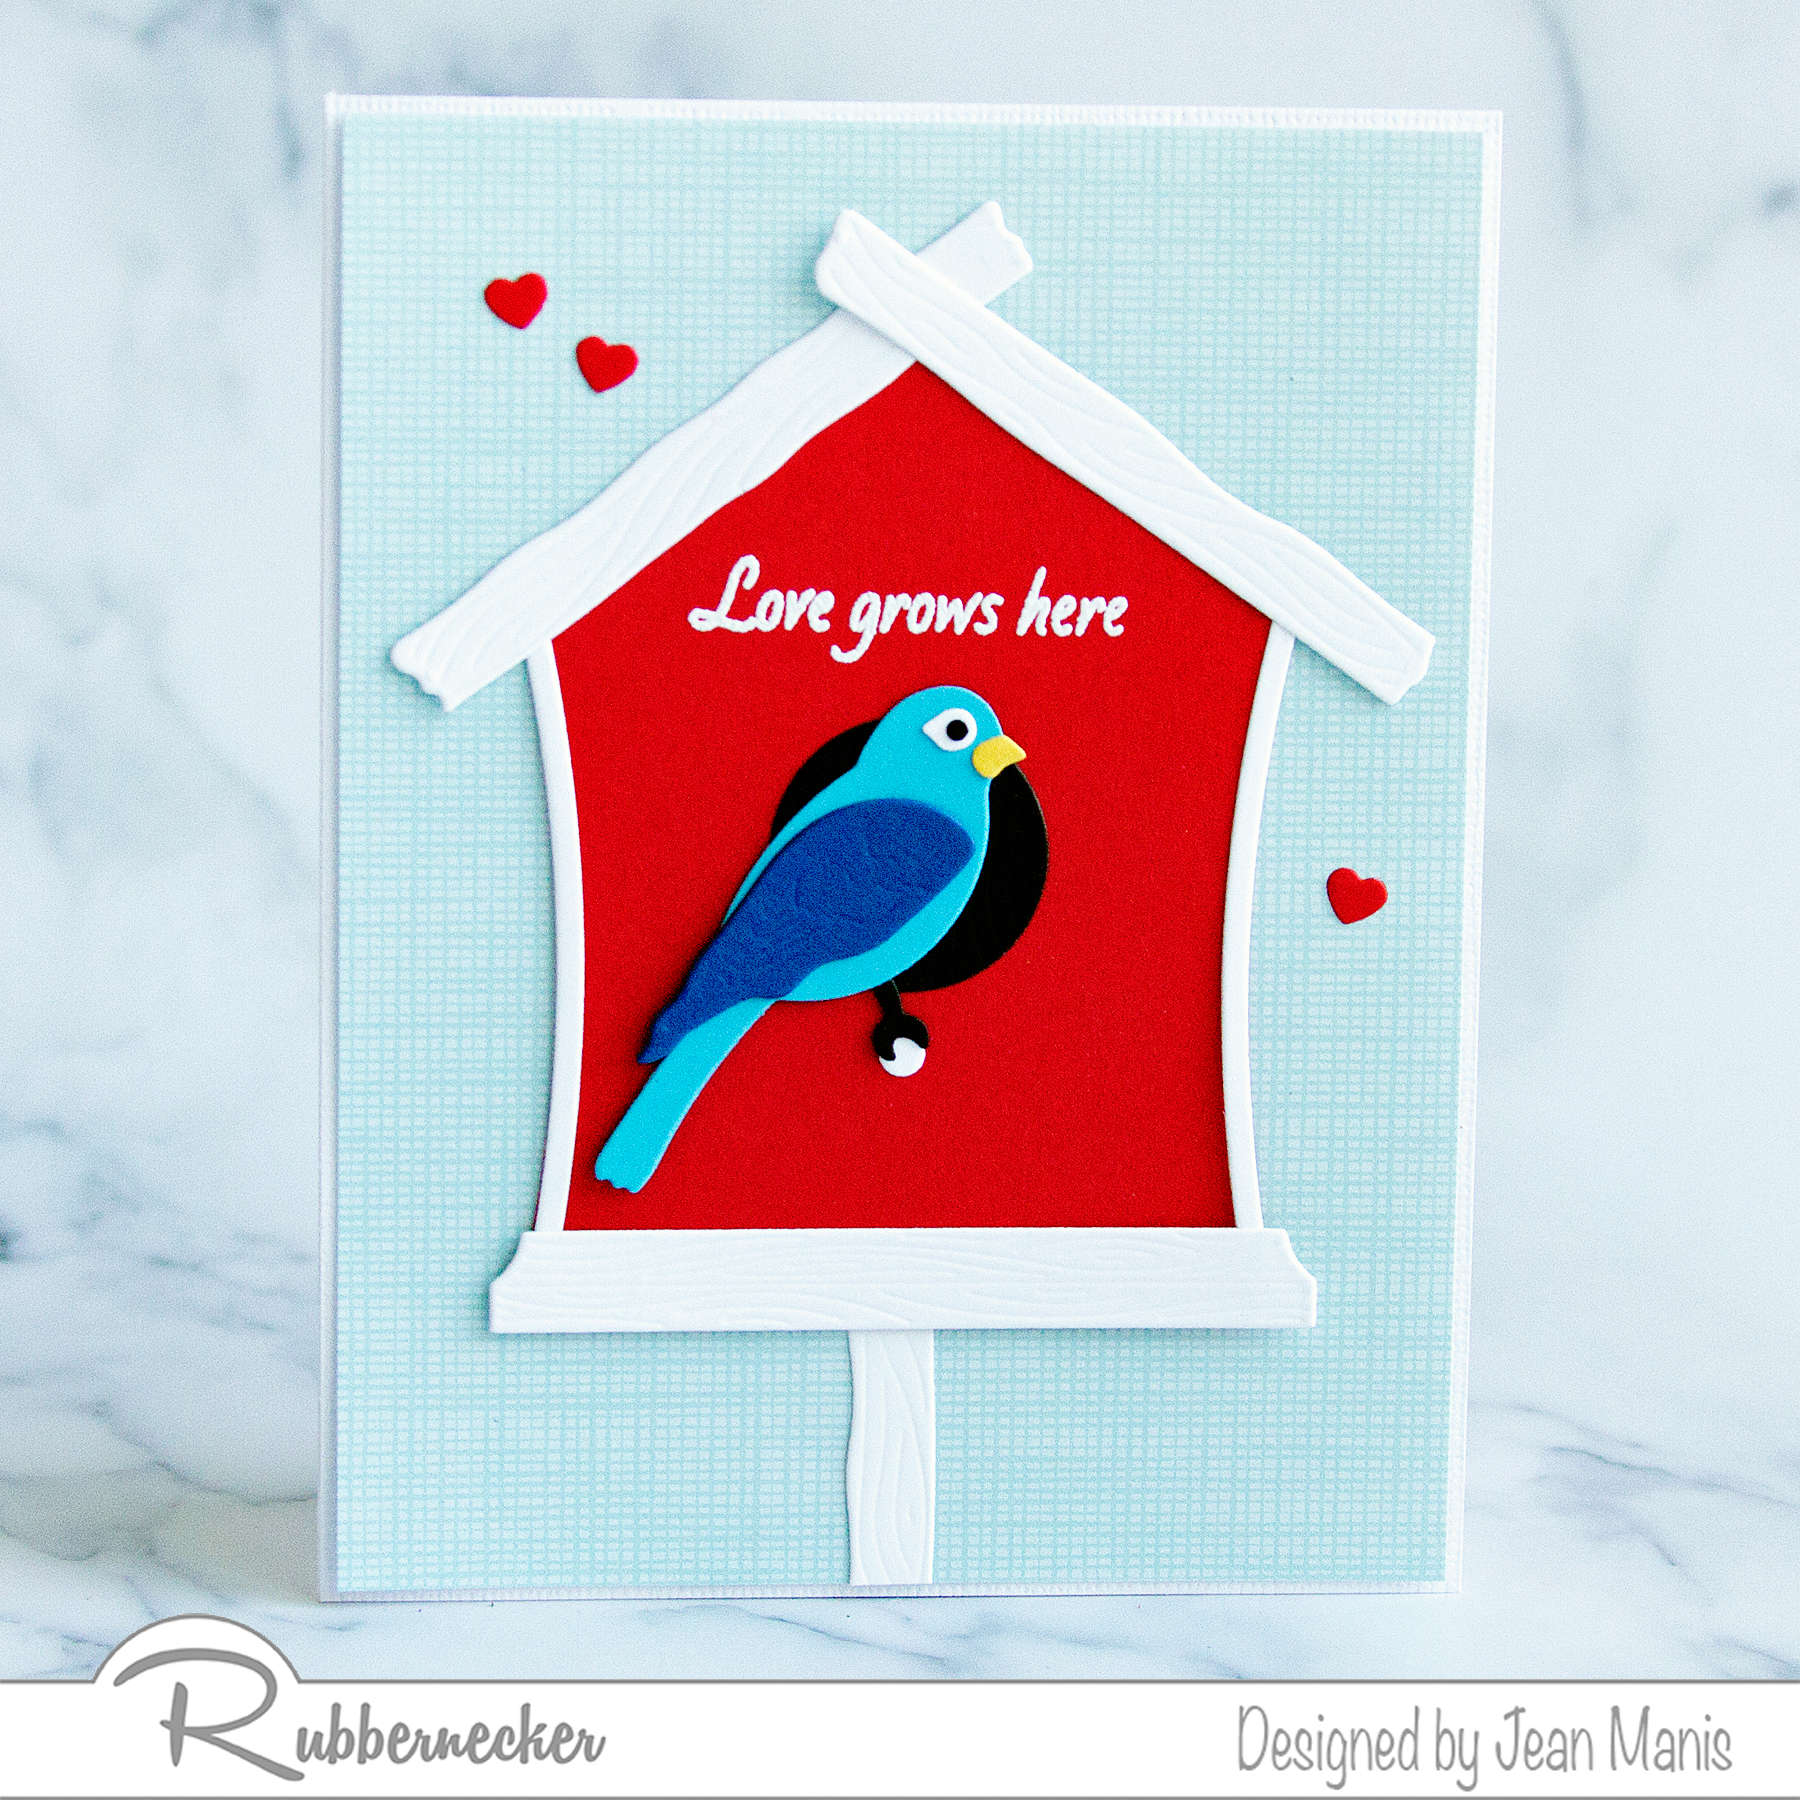
The Shed Bird House Add-On die set includes several options for the birdhouse opening and a smaller heart die. I sprinkled several hearts on the patterned-paper background to reinforce the theme.