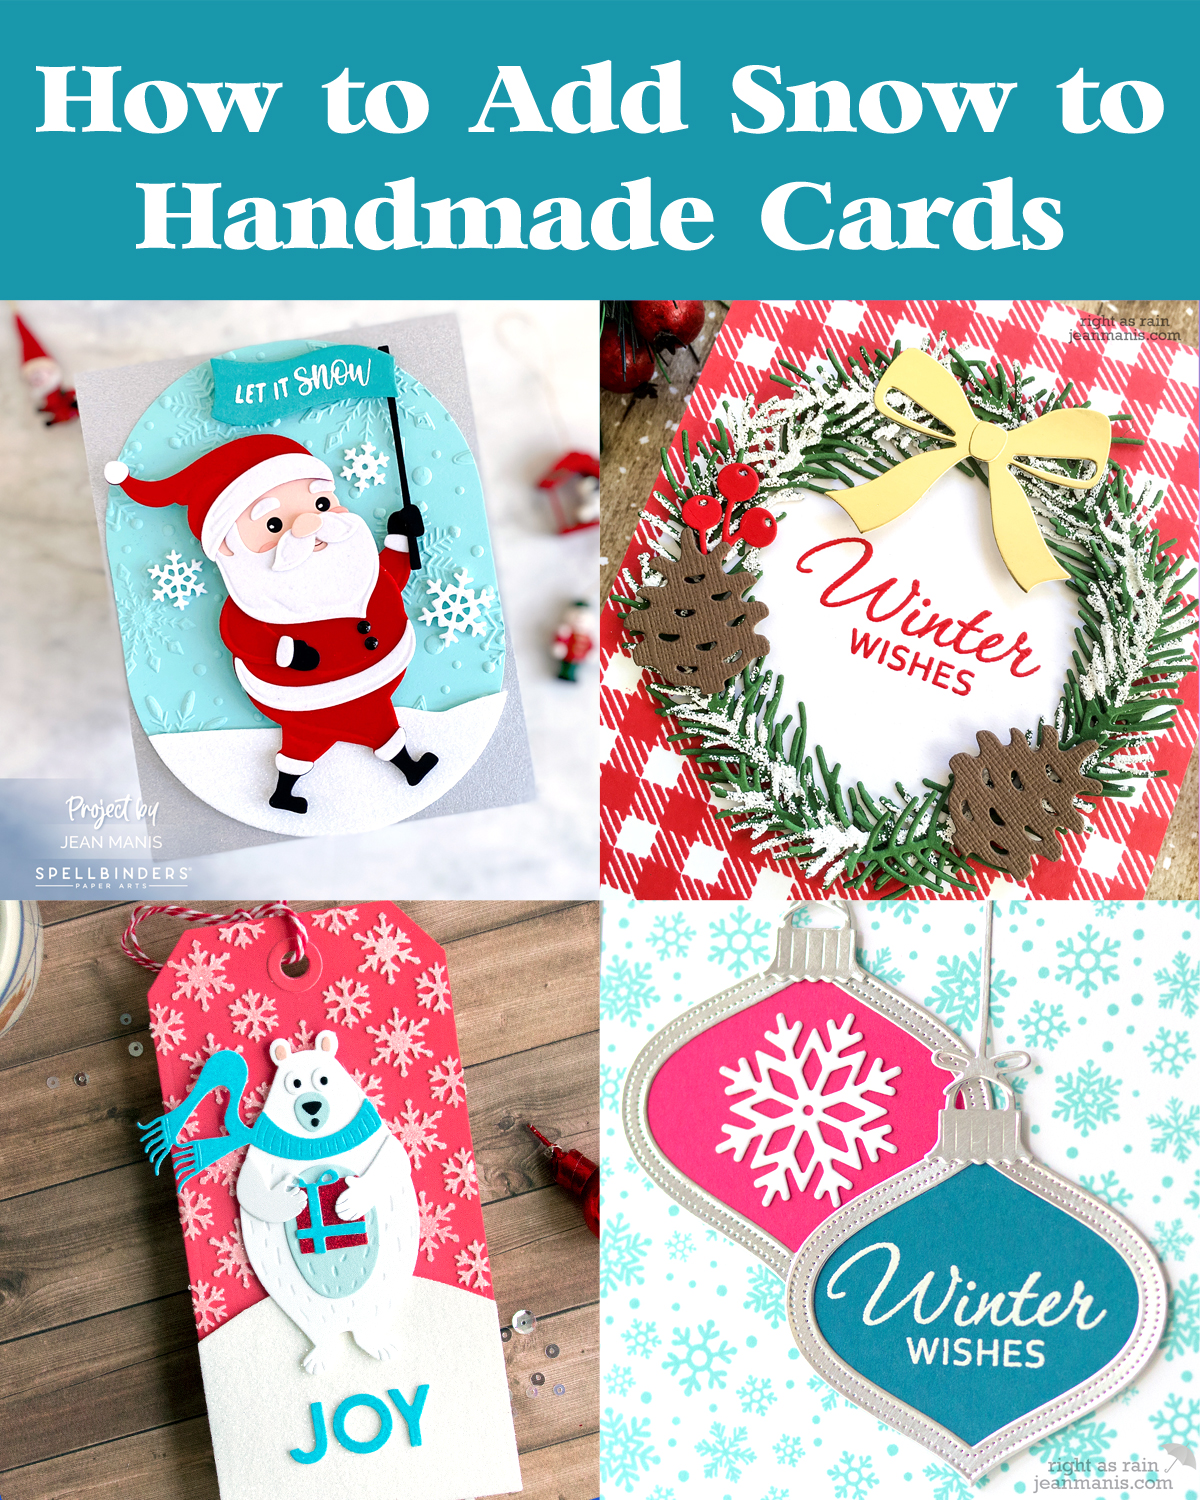
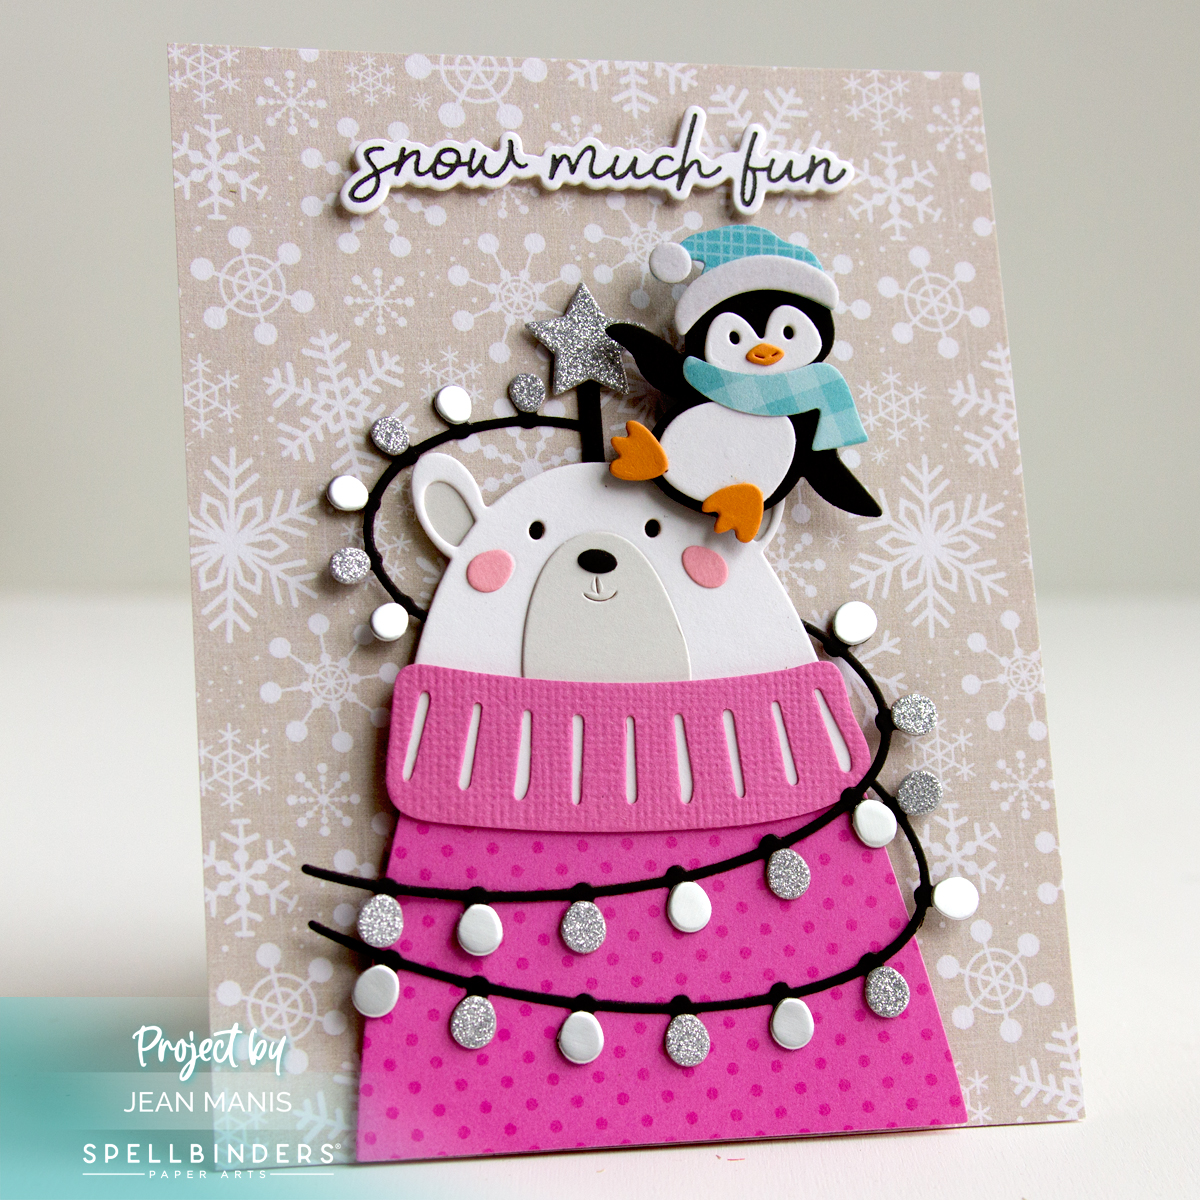
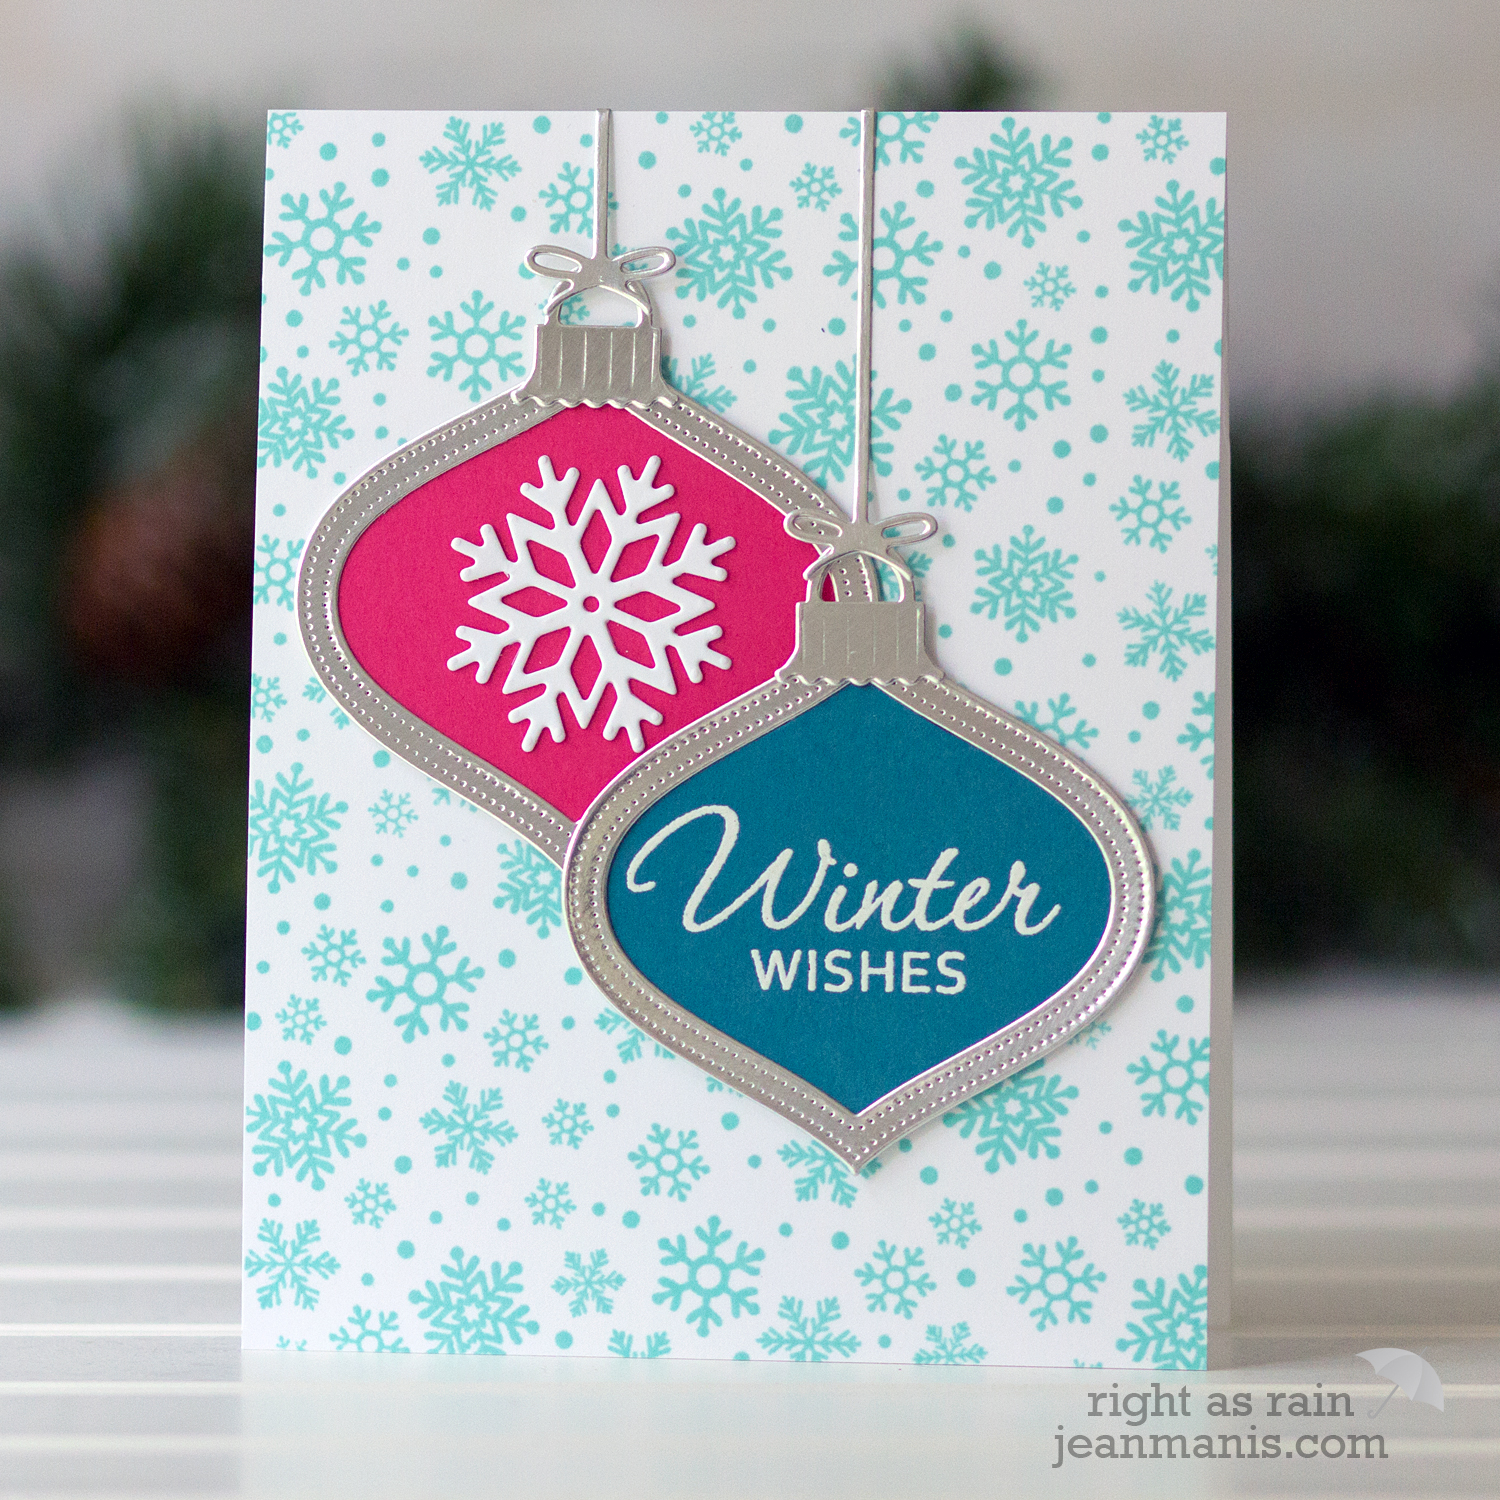
Hello! You can bring the magic of winter to your handmade cards with a variety of techniques for adding snowy details. In this roundup, I’m sharing cards from past blog posts to illustrate different methods for adding snow, offering inspiration rather than focusing on specific products.
Snow can be featured in different areas of your cards, such as softly layered on the ground, gently falling in the sky, or as striking accents and focal points with die-cut snowflakes. I won’t be specifically mentioning where dies are used to create the snowflake accents, but you’ll see them featured in many of the examples throughout. Click on the card image to be taken to the original post for additional details.
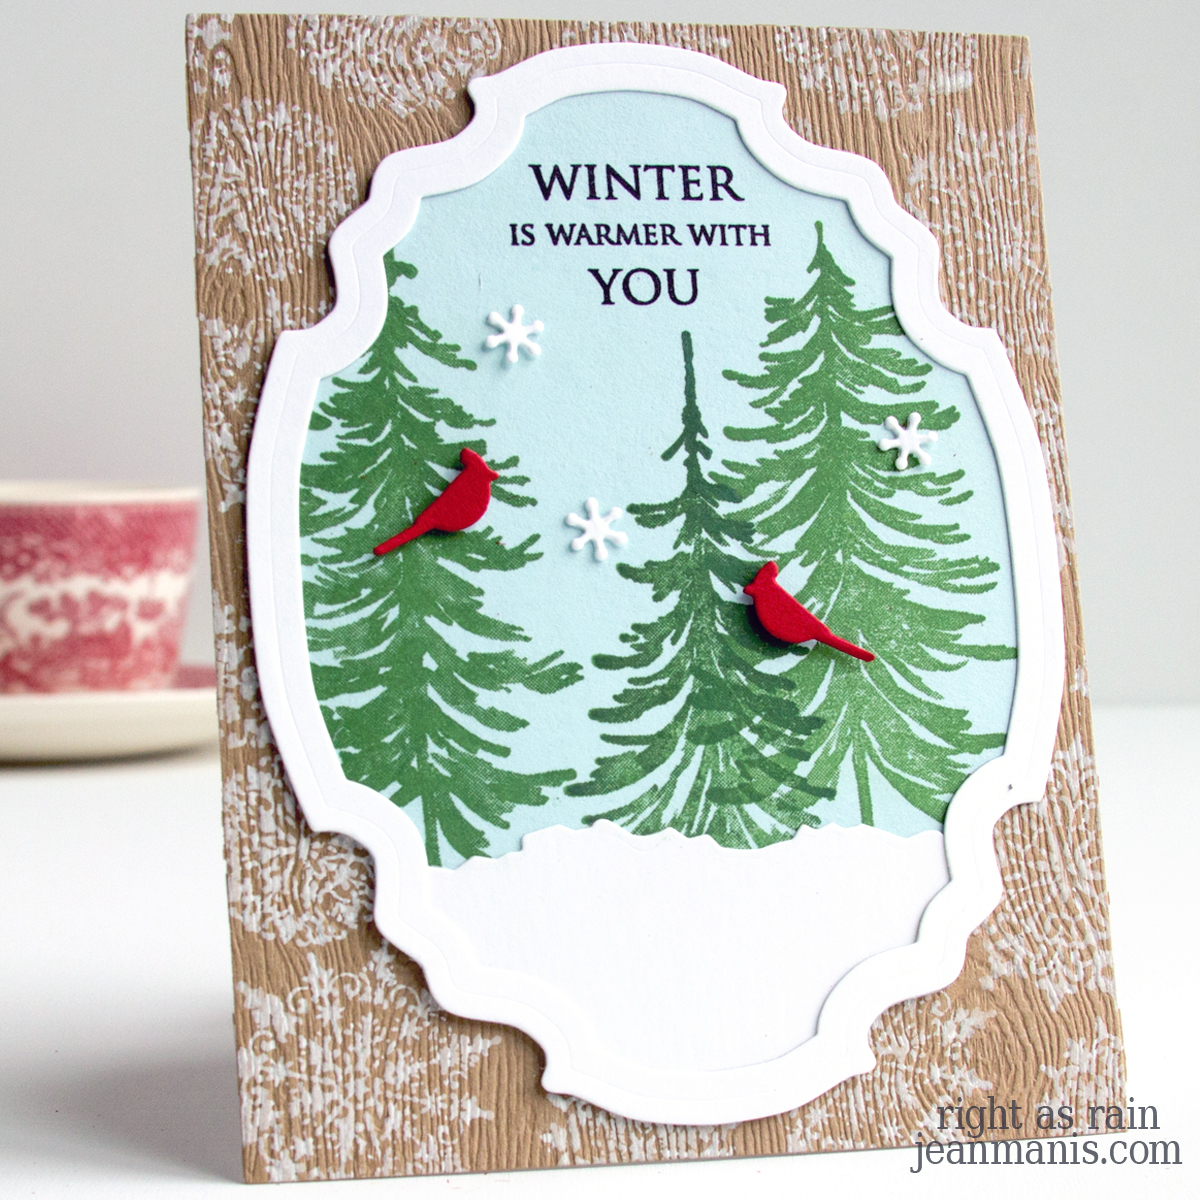
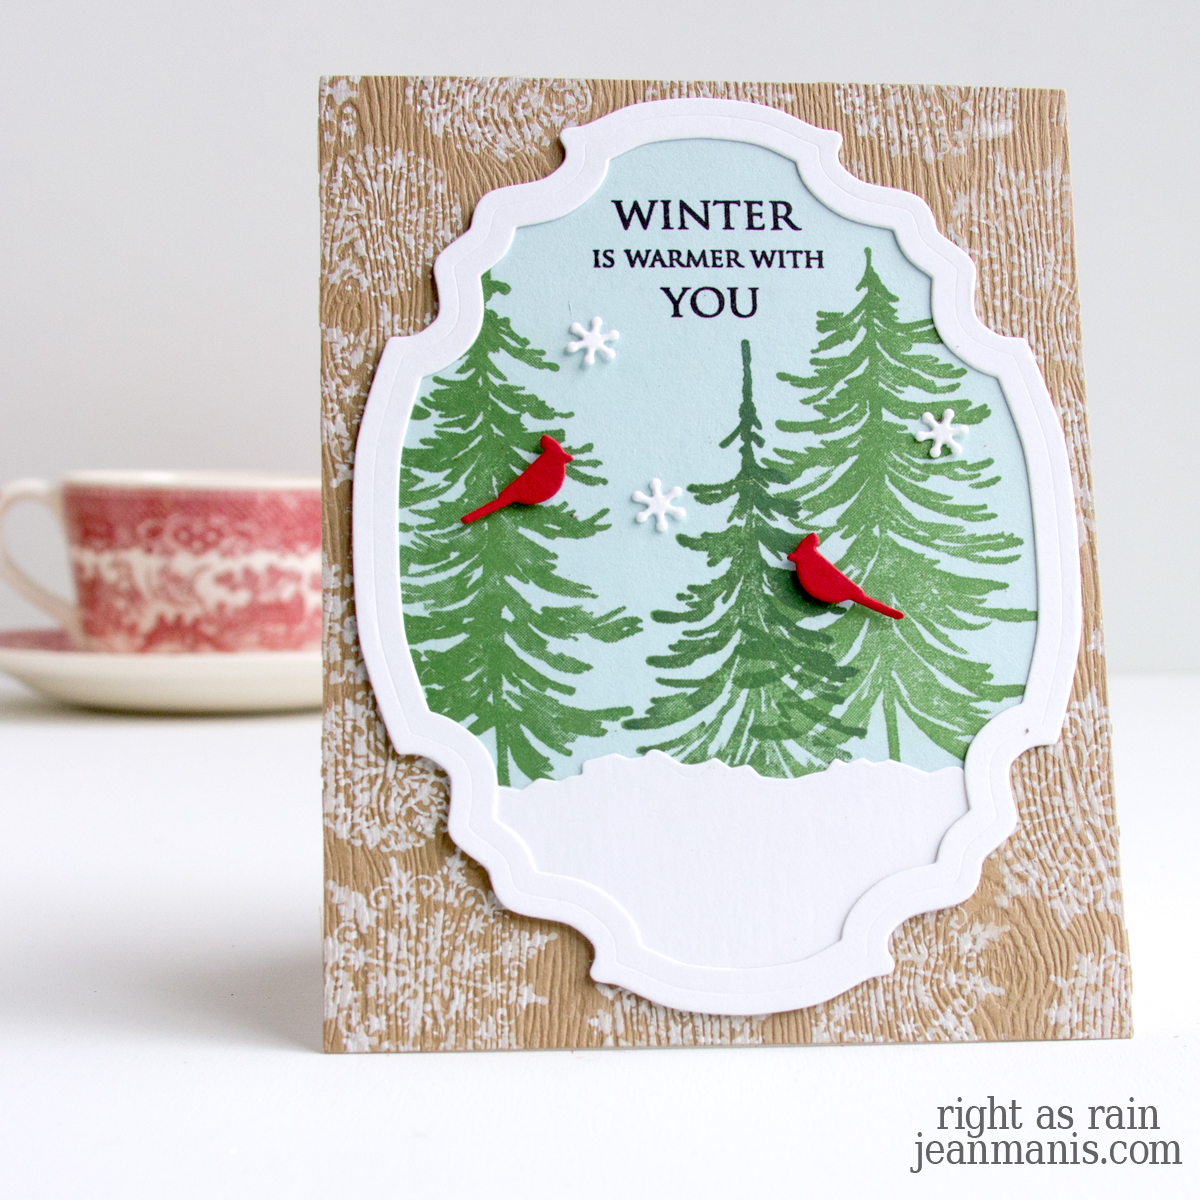
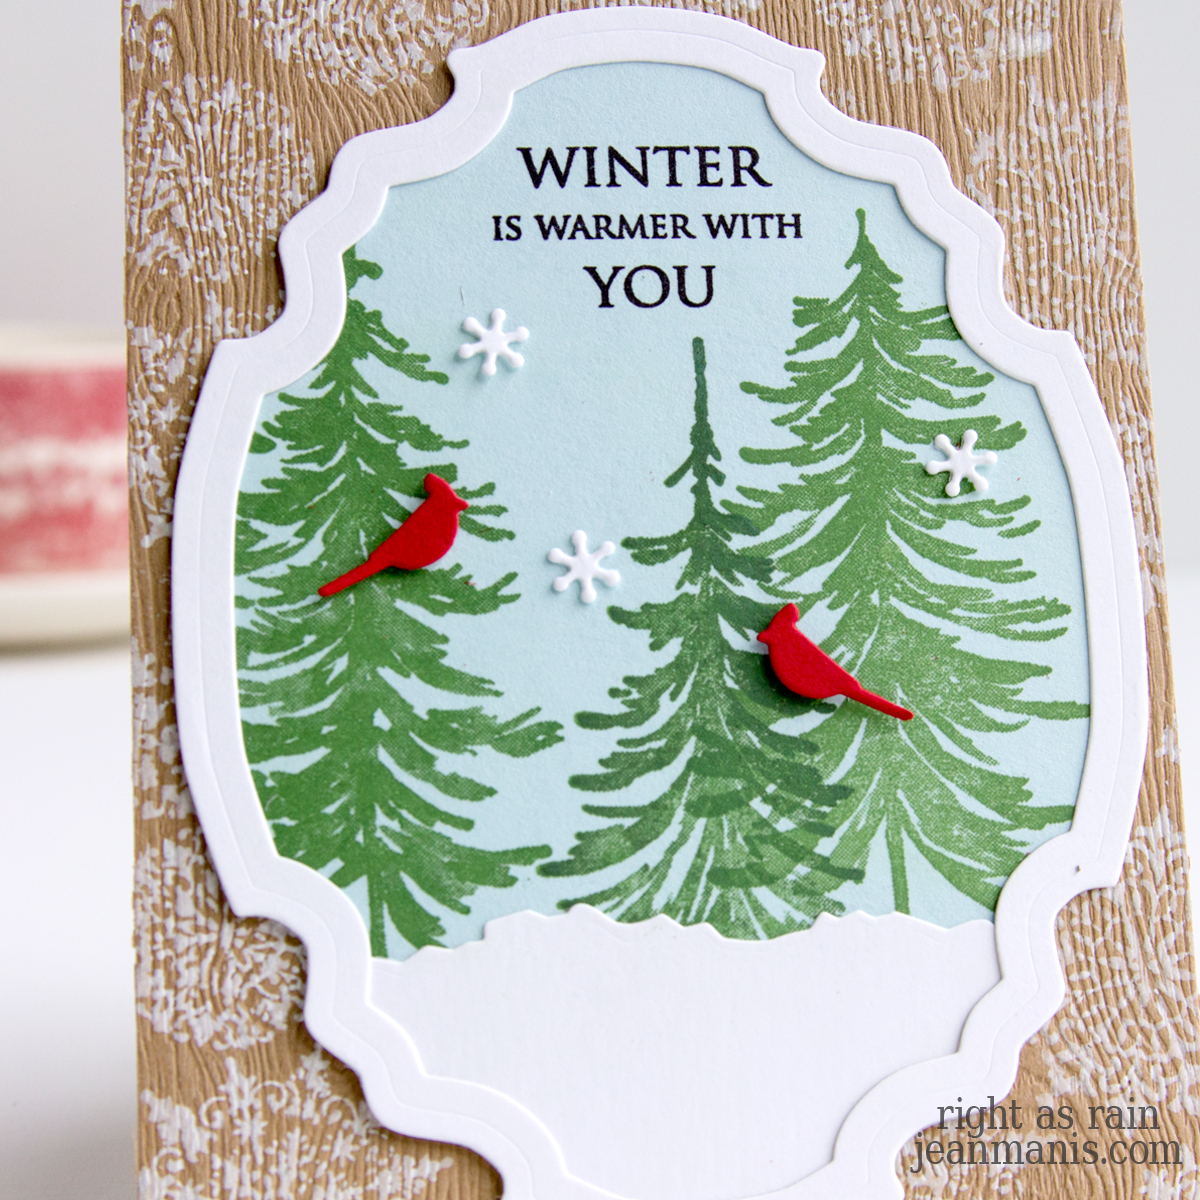
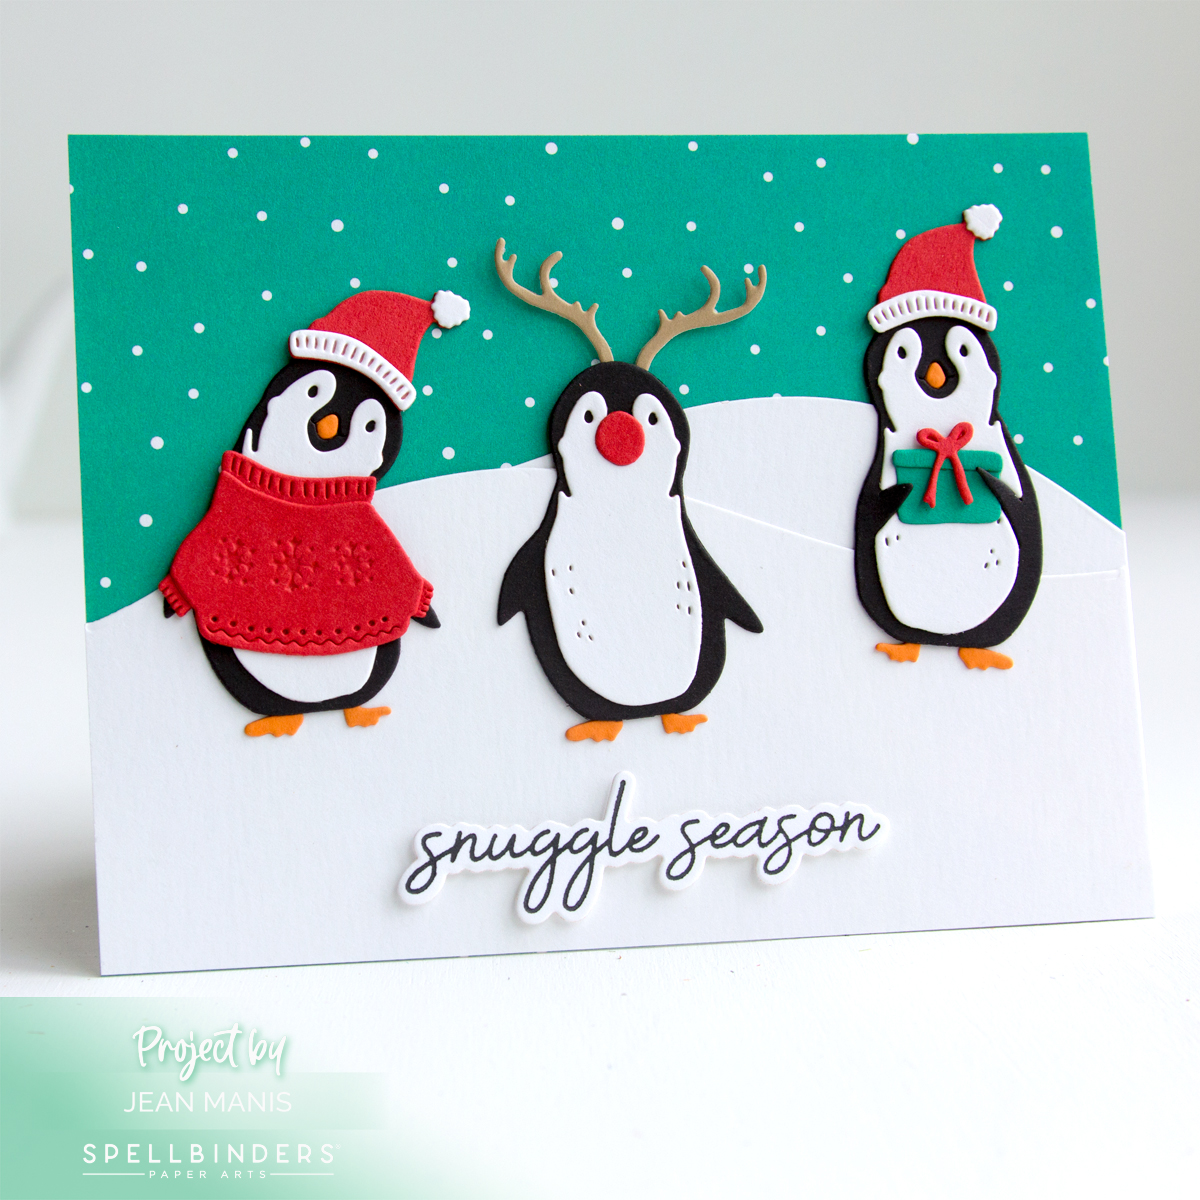
One of the simplest ways to create a snowy scene is by using a hill die to cut white cardstock, adding instant winter charm to your card.
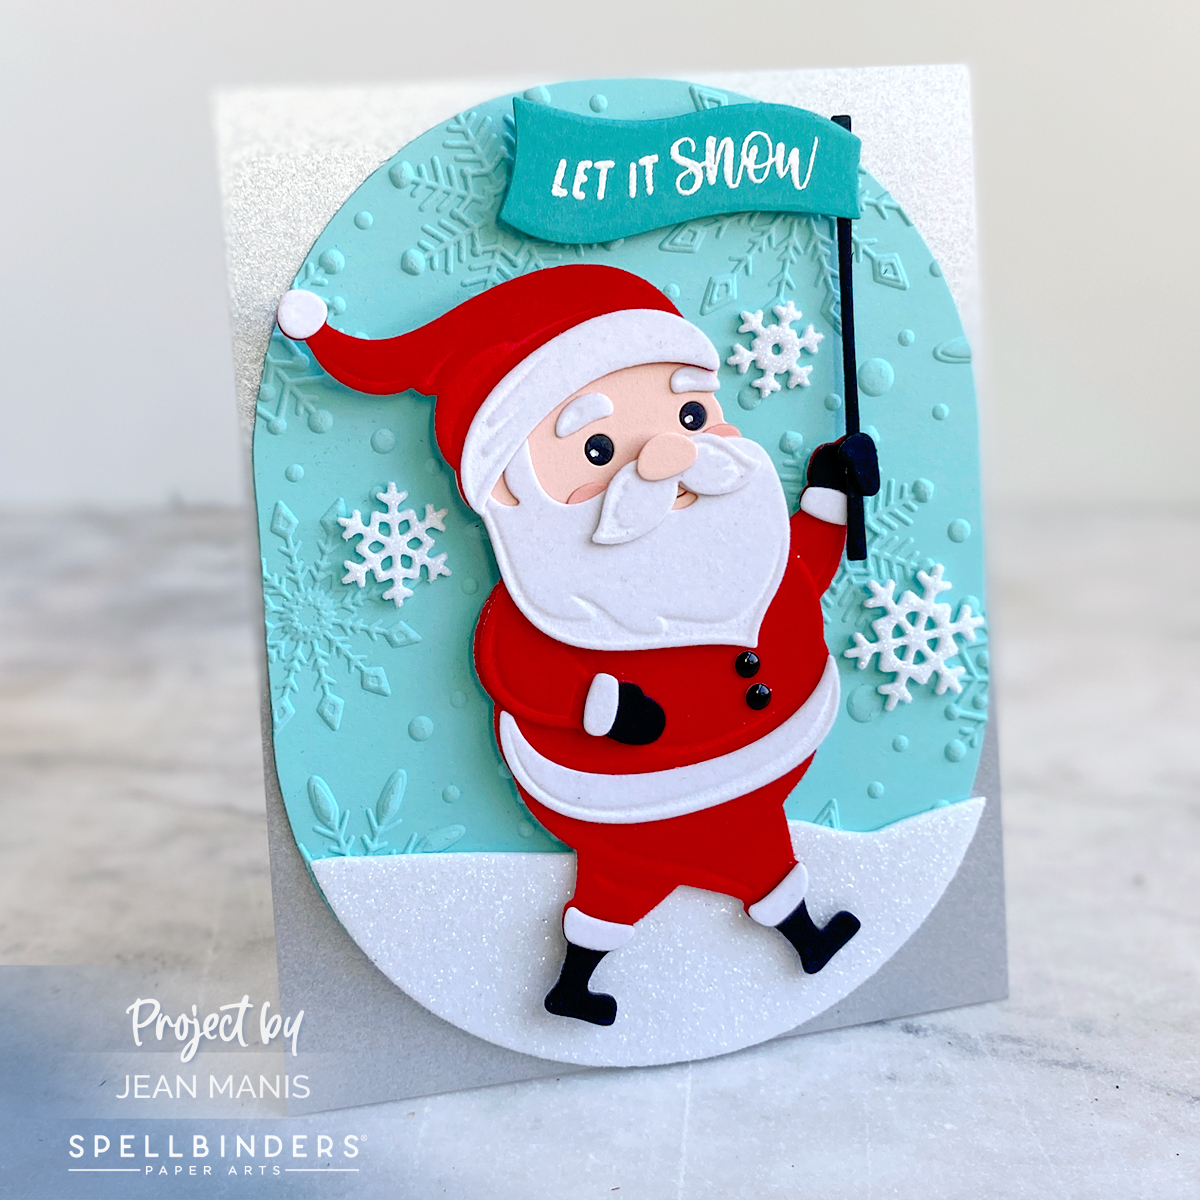
For an extra touch of sparkle, you can use glitter cardstock or glitter foam to create a snow-covered ground.
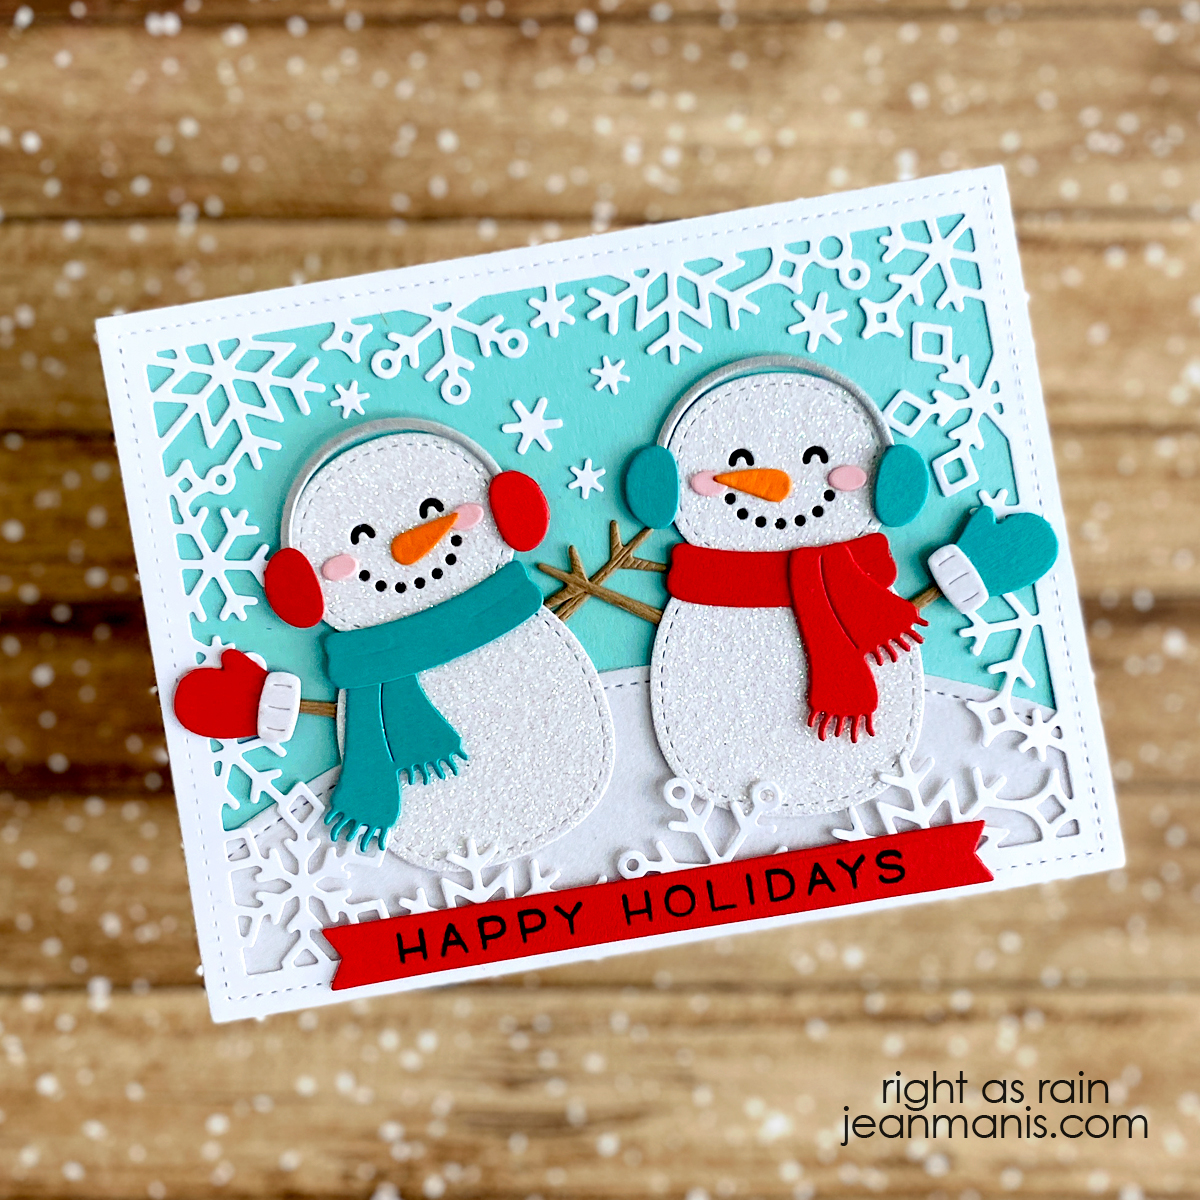
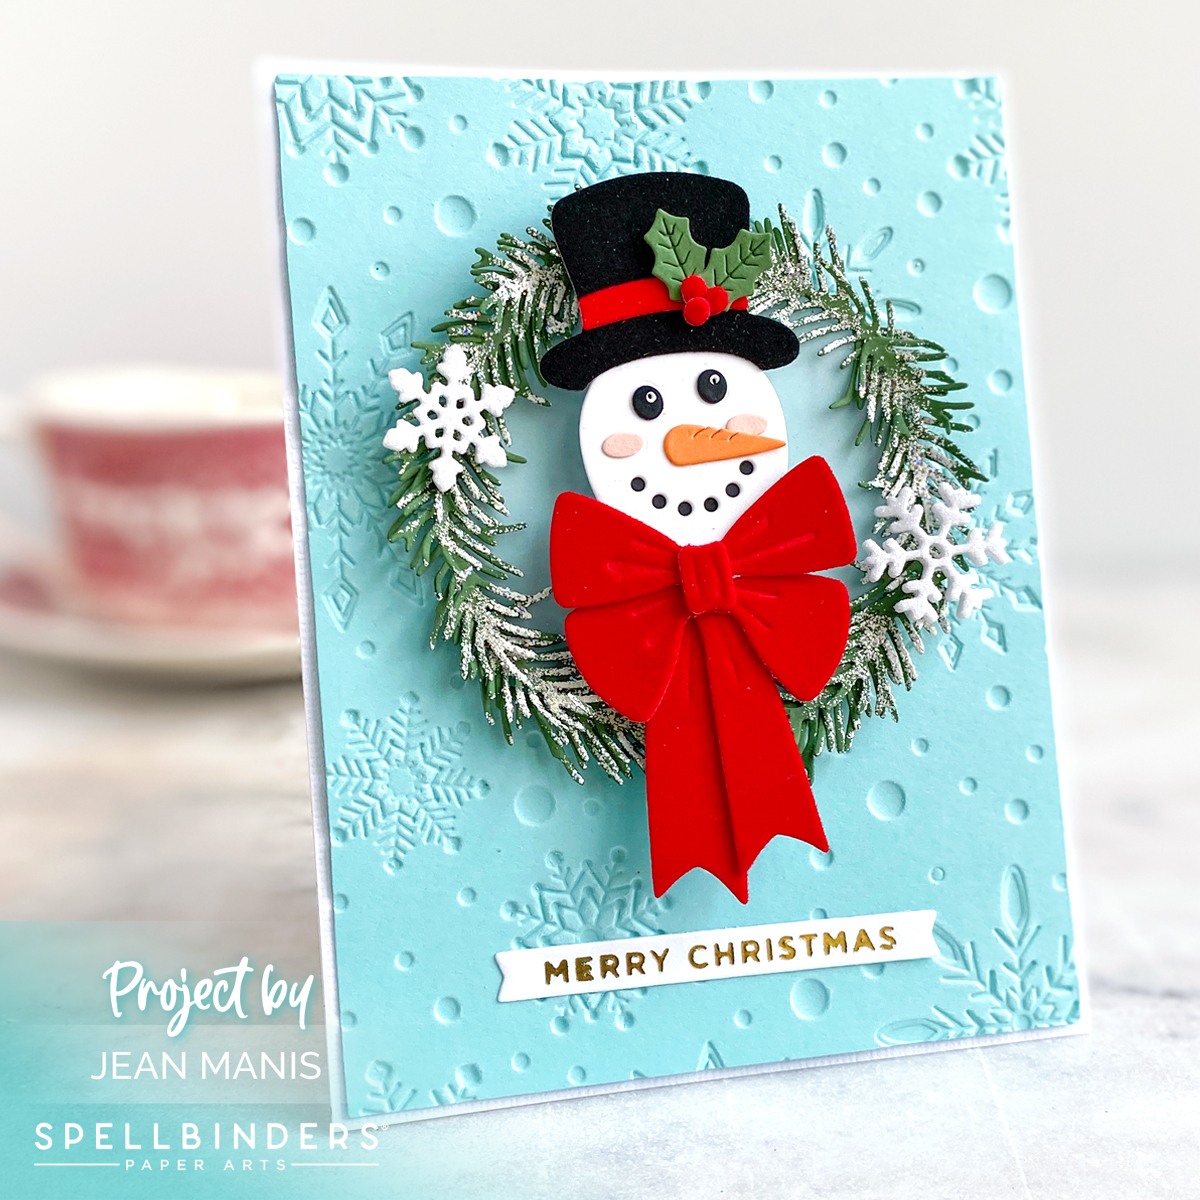
Glitter cardstock can be used to create focal items, such as sparkling snowmen, adding a festive and eye-catching touch to your card. When I use glitter cardstock for a snowman as a focal point, I don’t use it for the ground, as it would make the snowman less distinct and take away from its prominence. I own one die with snowflakes, and I used it on the card below, along with smaller die-cut snowflakes.
One easy option to use patterned paper featuring snowflakes or a gentle snowfall, instantly setting the scene for a winter feel. The style and color of the paper helps set the mood and tone for your card.
Another way to add snow is by using a background stamp. The ink color, along with the style and scale of the snowflakes, shapes the overall feel of the card, with subtle changes creating entirely different effects.
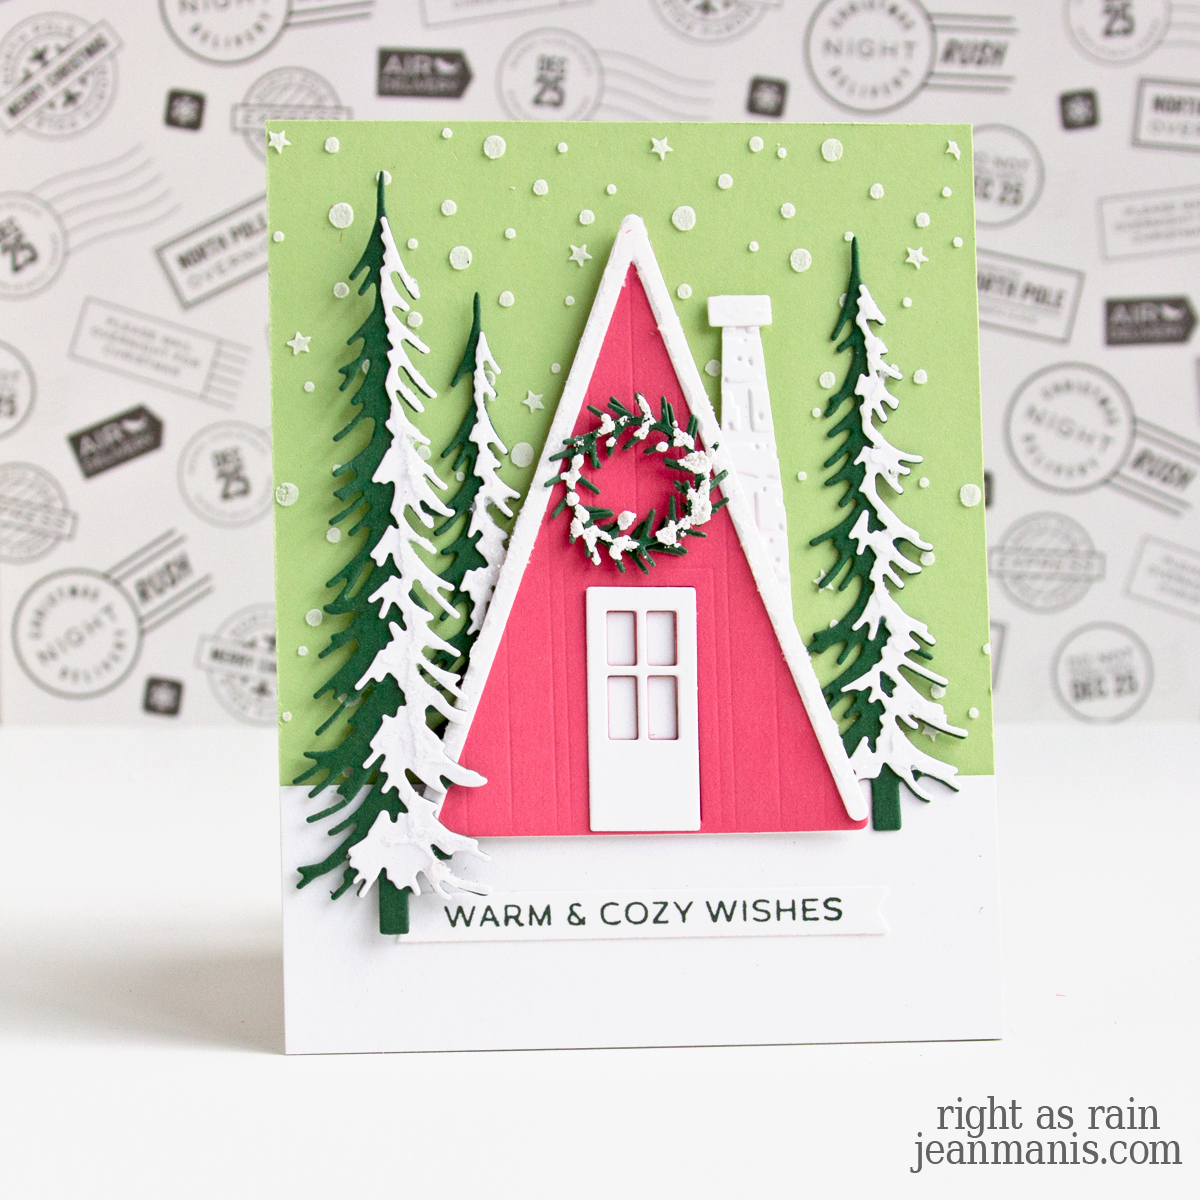
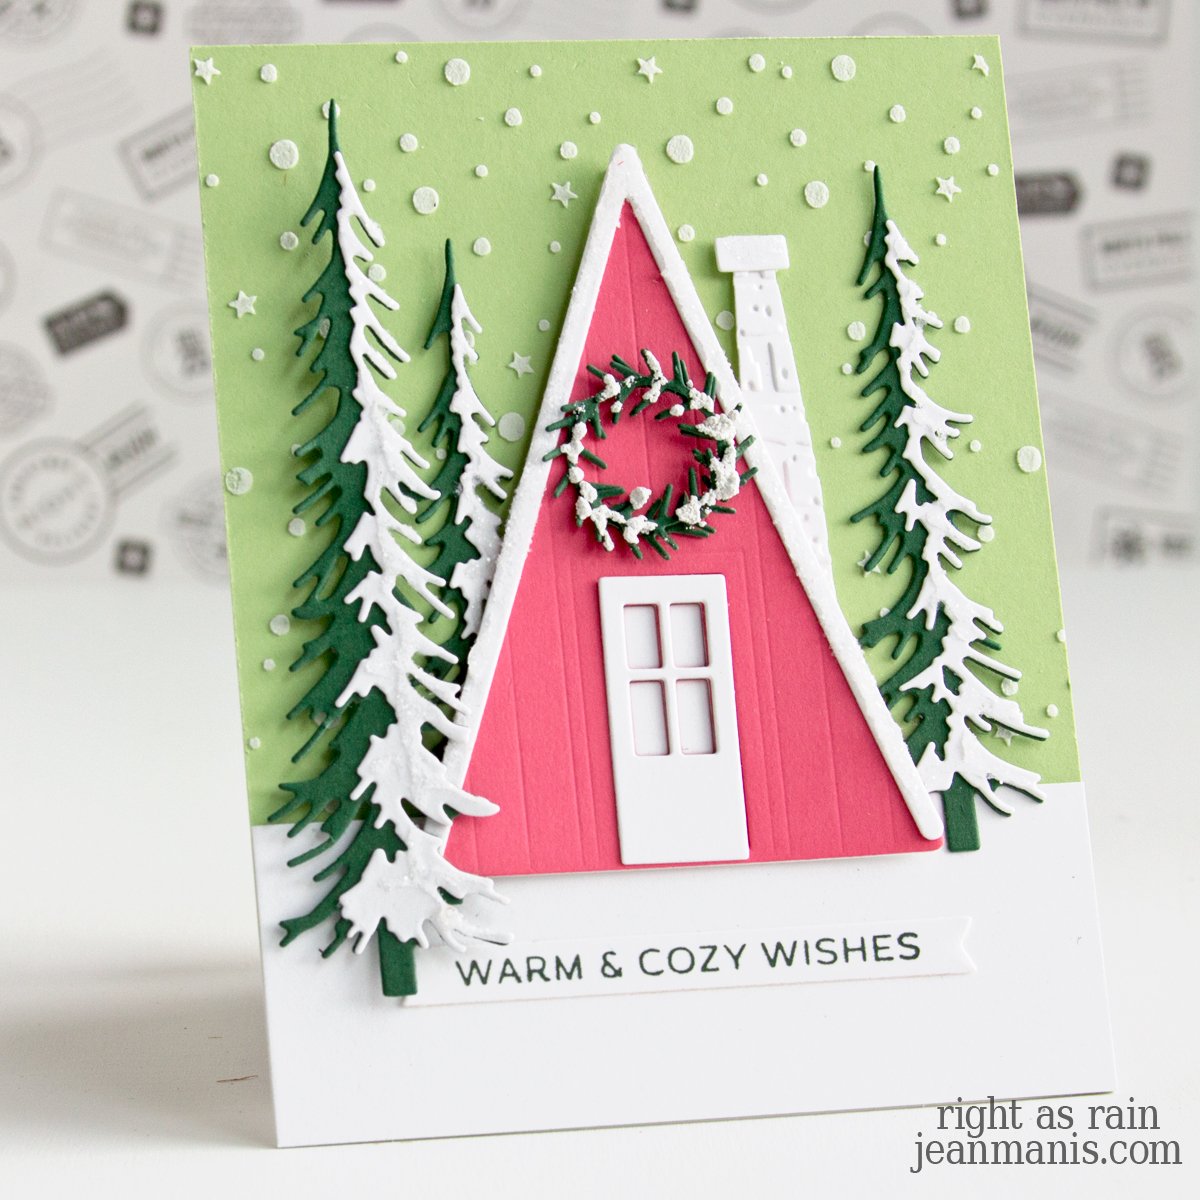
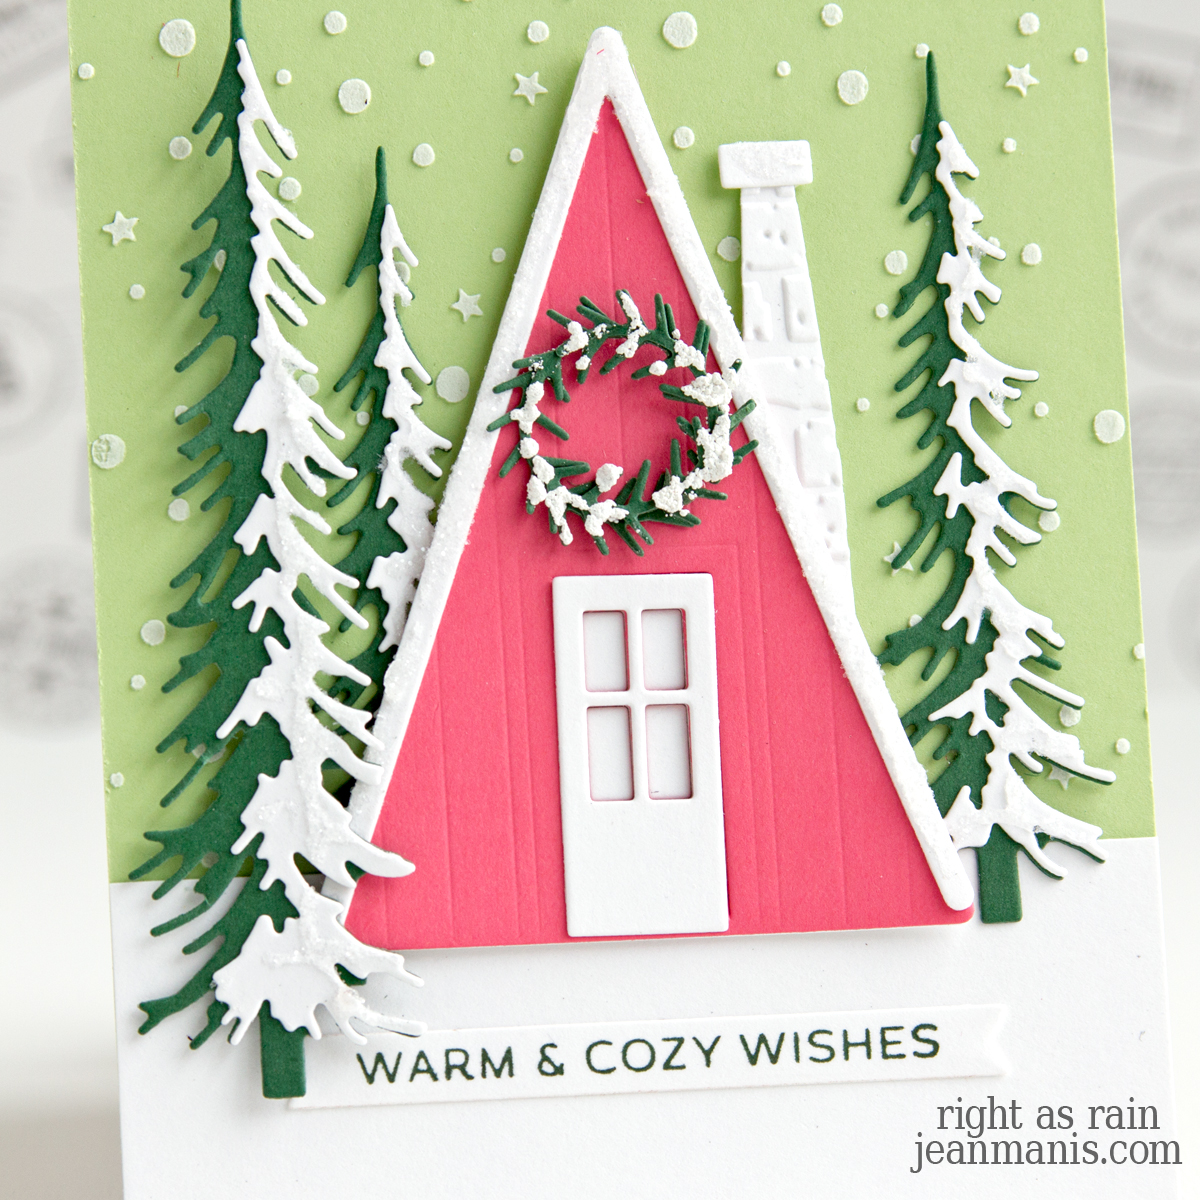
An embossing folder can add texture to create a snowy sky or overall background, with the style of the snow adding character to your card.
Stencils are a great way to add a snowy sky, whether you’re using designs like snowflakes, snowfall, or flurries. Applying white stencil paste through the stencil creates a textured, dimensional effect.
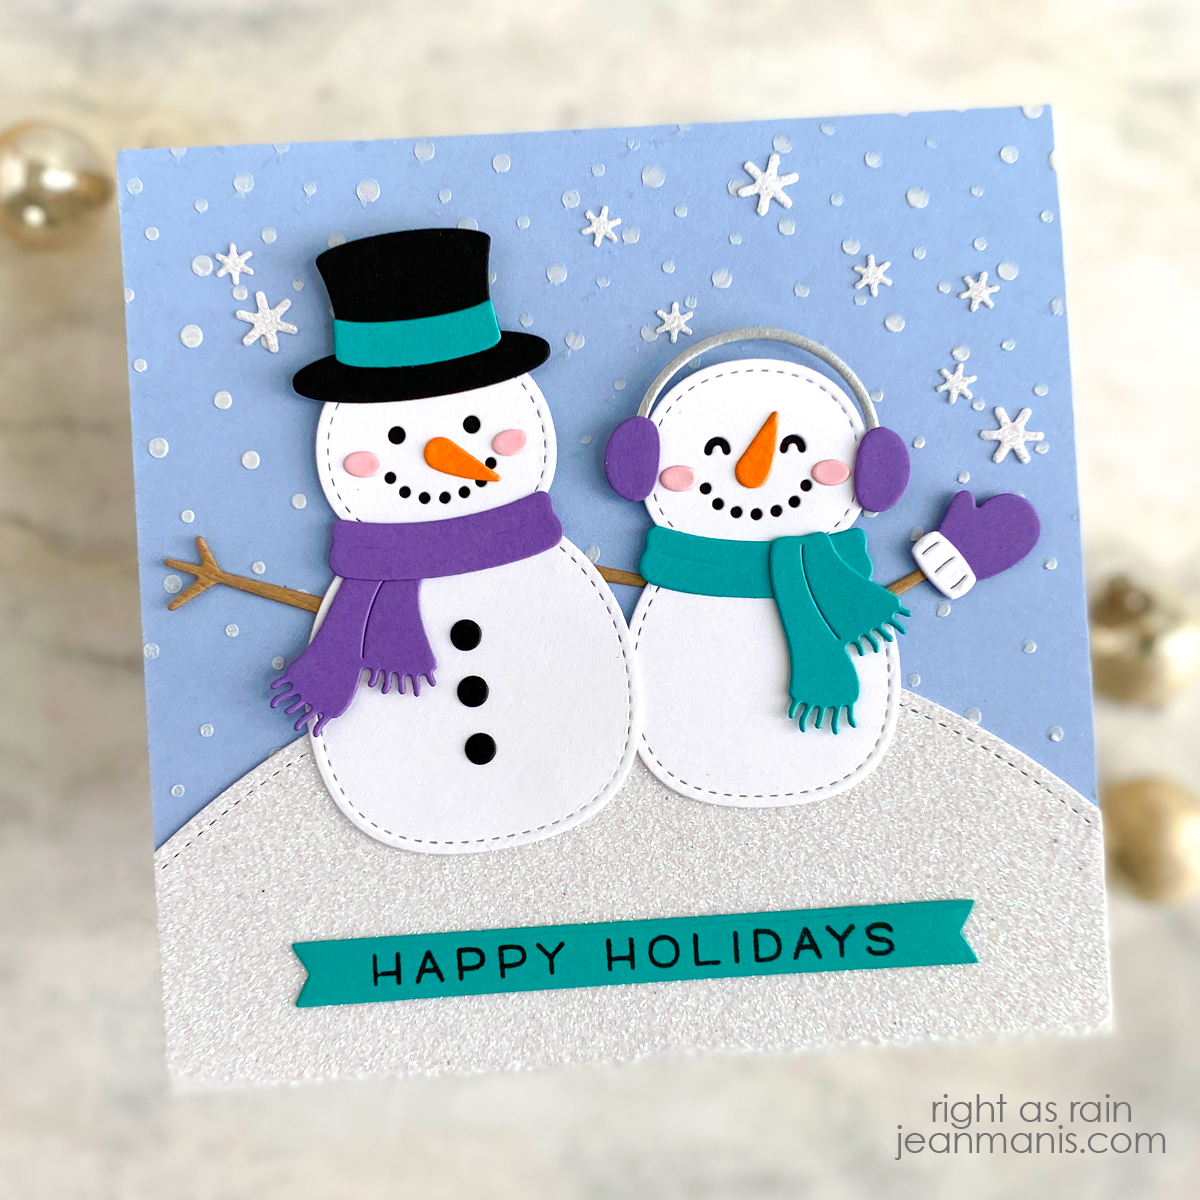
White embossing paste can be sprinkled with glitter before it dries, creating a beautiful, sparkly effect that enhances the snowy scene.

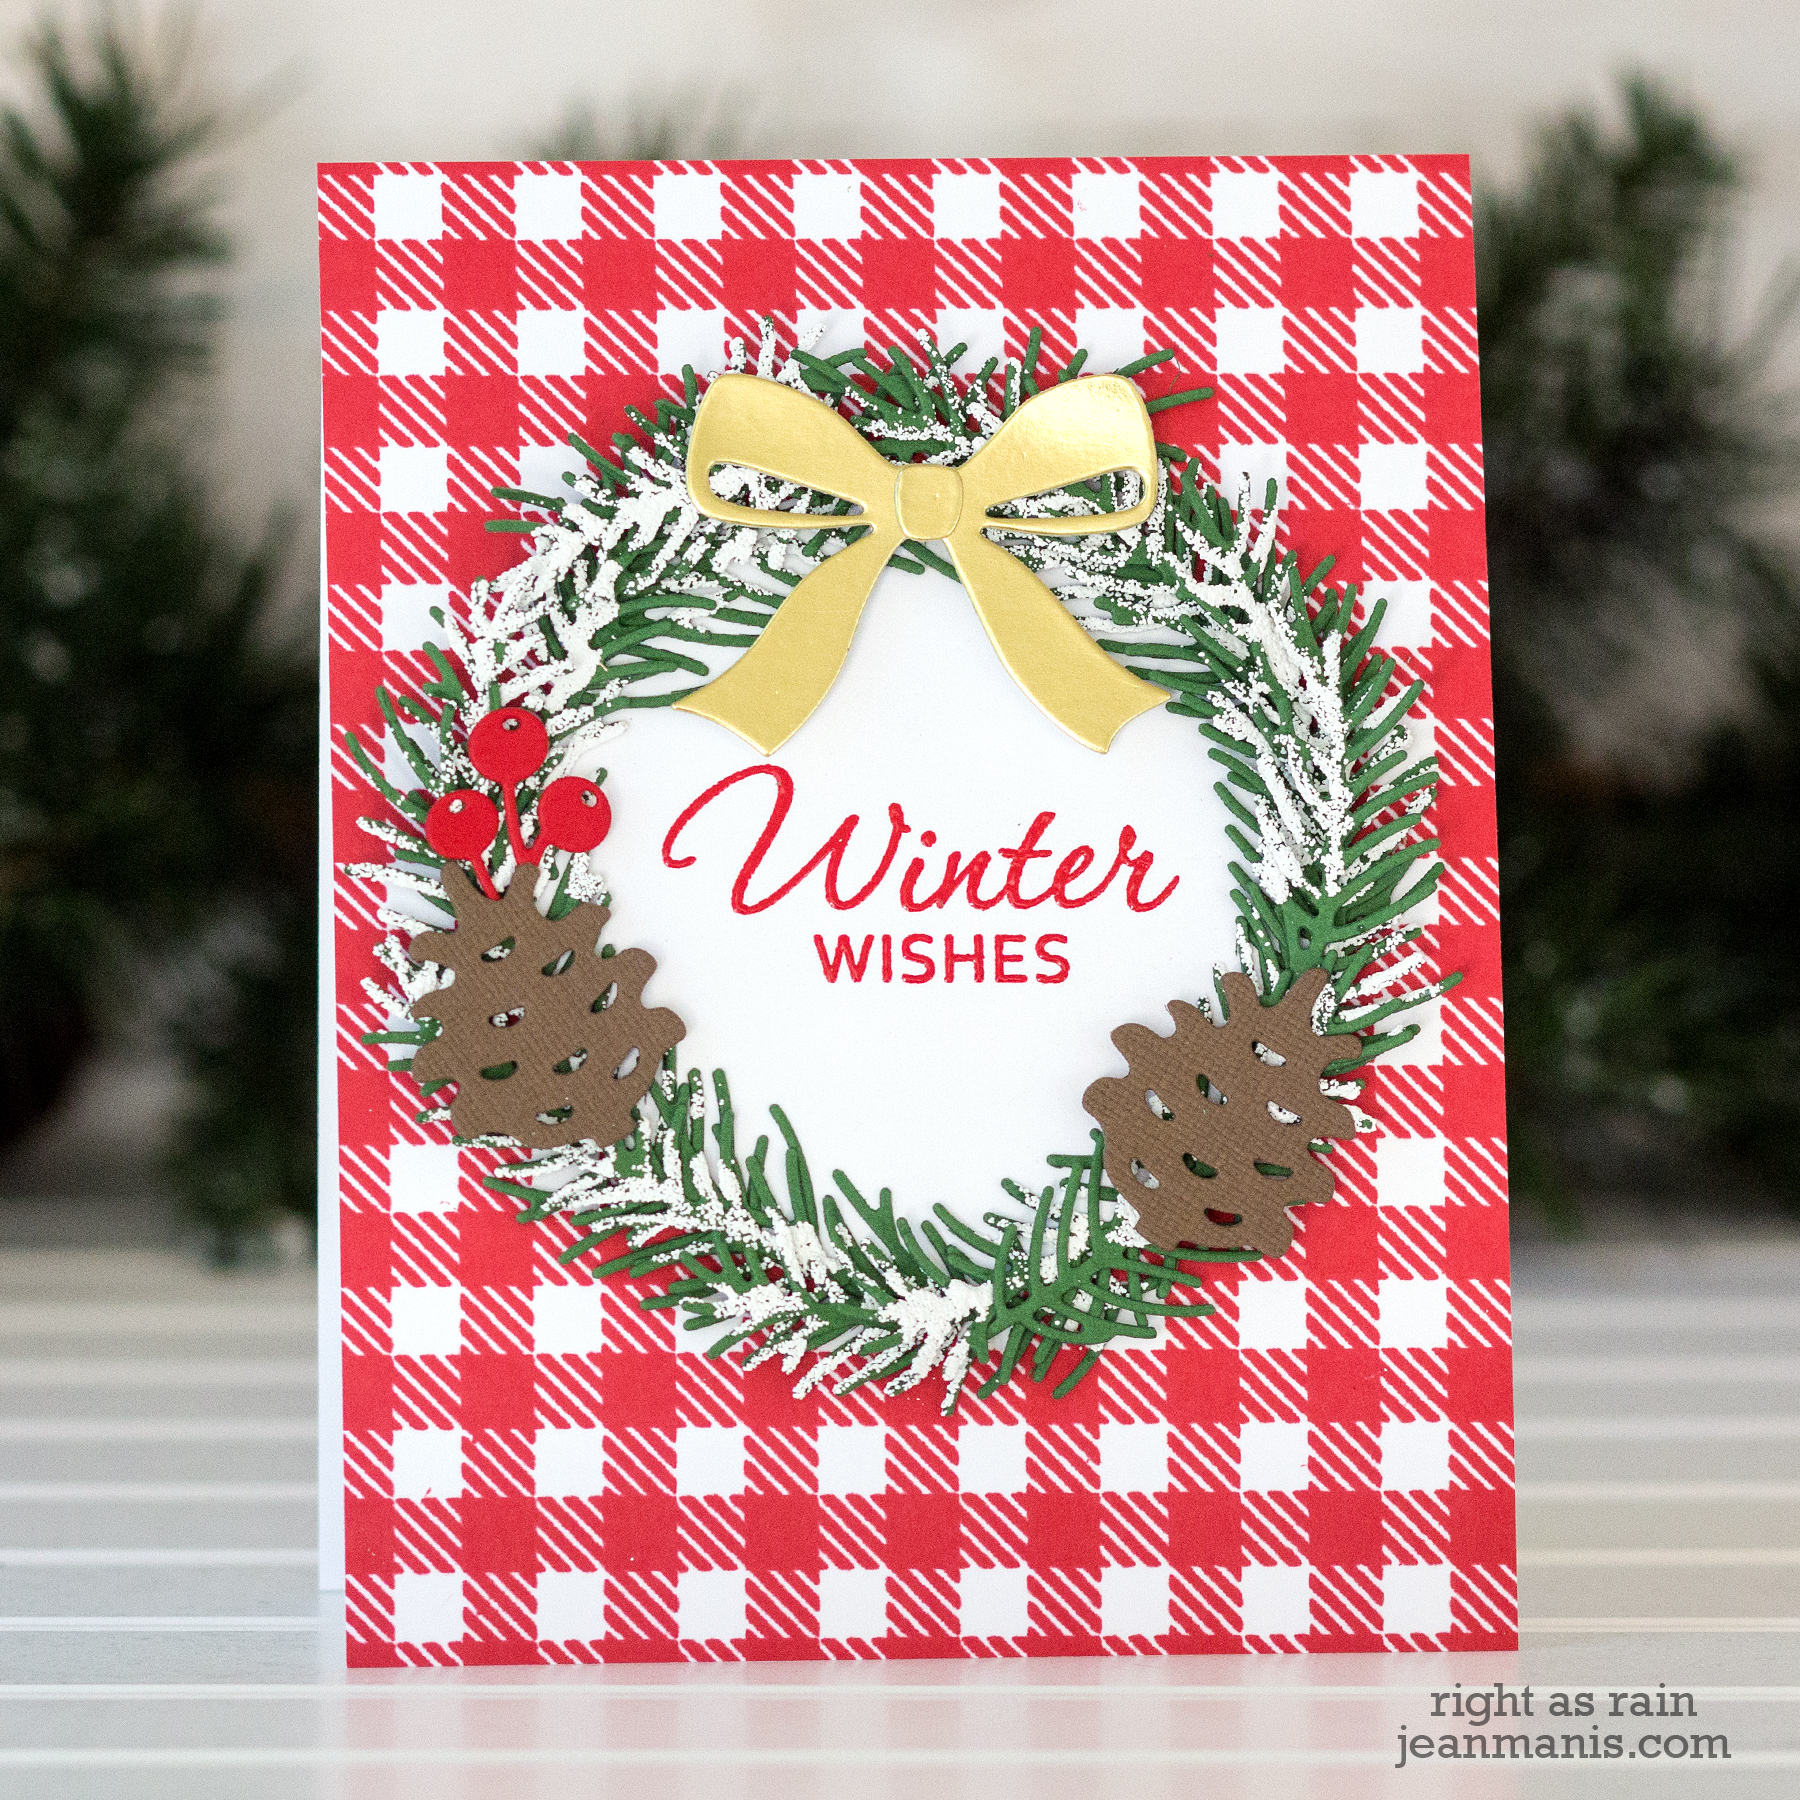
When I want to achieve the look of snow on greenery, such as evergreen trees or sprigs, I use various embossing powders to make the greenery look as though fresh snow has gently settled on it.
I hope these examples inspire you to get creative with adding snow to your cards. There are many ways to capture the magic of winter—how will you add snow to your next card?