Capturing Holiday Magic: Spellbinders Santa’s Here

Welcome! Today, I am thrilled to showcase the Santa’s Here die set, part of the Classic Christmas Collection at Spellbinders on a delightful Christmas card featuring the beloved Santa Claus himself. Scroll for information on the Christmas in July sale at Spellbinders.

Capturing Holiday Magic: Spellbinders Santa's Here

With a touch of elegance and a dash of whimsy, I have assembled Santa from a variety of materials, including sumptuous velvet cardstock, to make him truly enchanting. Nestled upon a snowbank-shaped die-cut, glimmer foiled with the heartwarming words “Joy to the World” in gold, Santa takes center stage against a background of sage cardstock, arched to capture the magic of the season. The assembly is placed upon an A2-size snowflake-embossed card base, adding a touch of wintry wonder. Completing the scene, snowflakes crafted from white glitter foam dance around.

Capturing Holiday Magic: Spellbinders Santa's Here

I have previously used the A Merry Little Christmas Sentiments set HERE and HERE.


Spellbinders | Stitched Christmas Tree Card

Hello! I’m thrilled to share a Christmas card featuring the delightful Stitched Christmas Tree die set from the Stitched for Christmas Collection by Spellbinders. Scroll for info on the Christmas in July Sale at Spellbinders – now through July 16.

Spellbinders | Stitched Christmas Tree Card

With its intricate details, the Stitched Christmas Tree set of dies allows you to create a festive holiday tree. As a creative touch, I cut the tree from rich purple cardstock and stitched it with gold thread, lending sparkle. The base, cut from teal cardstock, and the star, cut from brushed gold, were also stitched with the same gold thread. The stitched pieces were backed with solid brushed gold pieces.

To complement the tree, I glimmer foiled the sentiment “Joy to the World” in gold on Snowdrift cardstock, using a glimmer foil plate from the A Merry Little Christmas Sentiments set. You can see another card using a different sentiment in that set HERE. I cut the sentiment panel in the shape of a snowbank using a die from the Warm Wishes Camper set, providing a ground for the tree. The light teal background adds a touch of serene elegance, thanks to the dry embossing achieved with the Flurry of Snowflakes 3D embossing folder.

To add an extra dose of winter magic, the card is adorned with snowflakes using dies from the Holiday Decorations set cut from white glitter foam.

Spellbinders | Stitched Christmas Tree Card

Save up to 50% on select Christmas products until July 16. You can read my exploration of Christmas-themed products from Spellbinders HERE.

Christmas in July


Spellbinders | Merry and Bright

Today, I’m thrilled to showcase a card that captures the essence of a Merry Little Christmas crafted with products in the Spellbinders De-Light-Ful Collection by Yana Smakula.

I’ve crafted a card featuring glimmer foiling, embossing, and charming die-cut elements.

  • In gold, glimmer foil the sentiment “May Your Days Be Merry and Bright” with a plate in the A Merry Little Christmas Sentiments set on green cardstock.
  • To create a frame for the large sentiment, cut a brushed gold A2-size panel with the three-inch Everlasting Circles die and dry-emboss with the Holly & Foliage 3D folder. The beautiful holly and foliage pattern adds a touch of elegance to the card.
  • Position the glimmer-foiled sentiment behind the frame, ensuring it is centered and aligned to your liking. Adhere it securely to the card and add to an A2-size card base.

Spellbinders | Merry and Bright

  • To enhance the holiday theme and add a touch of natural beauty, incorporate greenery cut with dies from the Winter Welcome Sled and Parcel and Post Christmas Decorations sets. Arrange and adhere elements around the sentiment frame.
  • Lastly, add the finishing touches by embellishing with snowflakes cut using dies from the Holiday Decorations set from white glitter foam. Arrange the snowflakes around the sentiment and greenery, placing them strategically to create a balanced and visually appealing composition.

Spellbinders | Merry and Bright

Christmas in July


Lawn Fawn | Seaside Escape

Hello! I am delighted to share a seaside-themed card featuring the recently released Lawn Fawn Build-A-House – Beach Add-On die set. Picture a charming Robin’s Egg Blue beach house, adorned with pristine white trim and delicate coral accents. The card reflects the charm of the coastal lifestyle.

Lawn Fawn | Seaside Escape

  • With the Build-A-House and Build-A-House – Beach Add-On sets, I cut the house pieces. Although I had envisioned a tropical setting, the colors of the assembled house suggested something more subtle. You can see a tropical beach house scene HERE.
  • Next, I stamped the Car Critters Road Trip Add-On sentiment “Adventure Awaits” on Kraft cardstock, cutting the stamped panel with a die in the Stitched Hillside Borders set. I cut additional dunes using a different die in the same set and a die in the Simple Stitched Hillside Borders set. I cut the wave from darker teal cardstock using a die in the Ocean Wave Borders set.
  • To embellish, using the Scalloped Treat Box Beach House Add-On set, I cut the seagull from white and light gray cardstock. I colored the beak and legs with a Copic marker (Y38). With the Simple Puffy Cloud Frames I cut two clouds to embellish the scene.

Lawn Fawn | Seaside Escape


Prepping for Christmas Card Making: Evaluating Your Existing Supplies and Anticipating New Holiday Products

Hello! The holiday season is fast approaching, and it’s the perfect time to gear up for Christmas card making. As stores begin to stock new products for holiday crafting (for example, Spellbinders has a number of holiday products releasing July 10), it’s important to evaluate the supplies you already own and identify any gaps. In this blog post, I am exploring Christmas-themed products from Spellbinders: sentiment glimmer foil plates, focal item dies, embossing folders for backgrounds, embellishments, and cardstock. By knowing what supplies you already have, you can make informed decisions about what new products you might want to add to your collection.

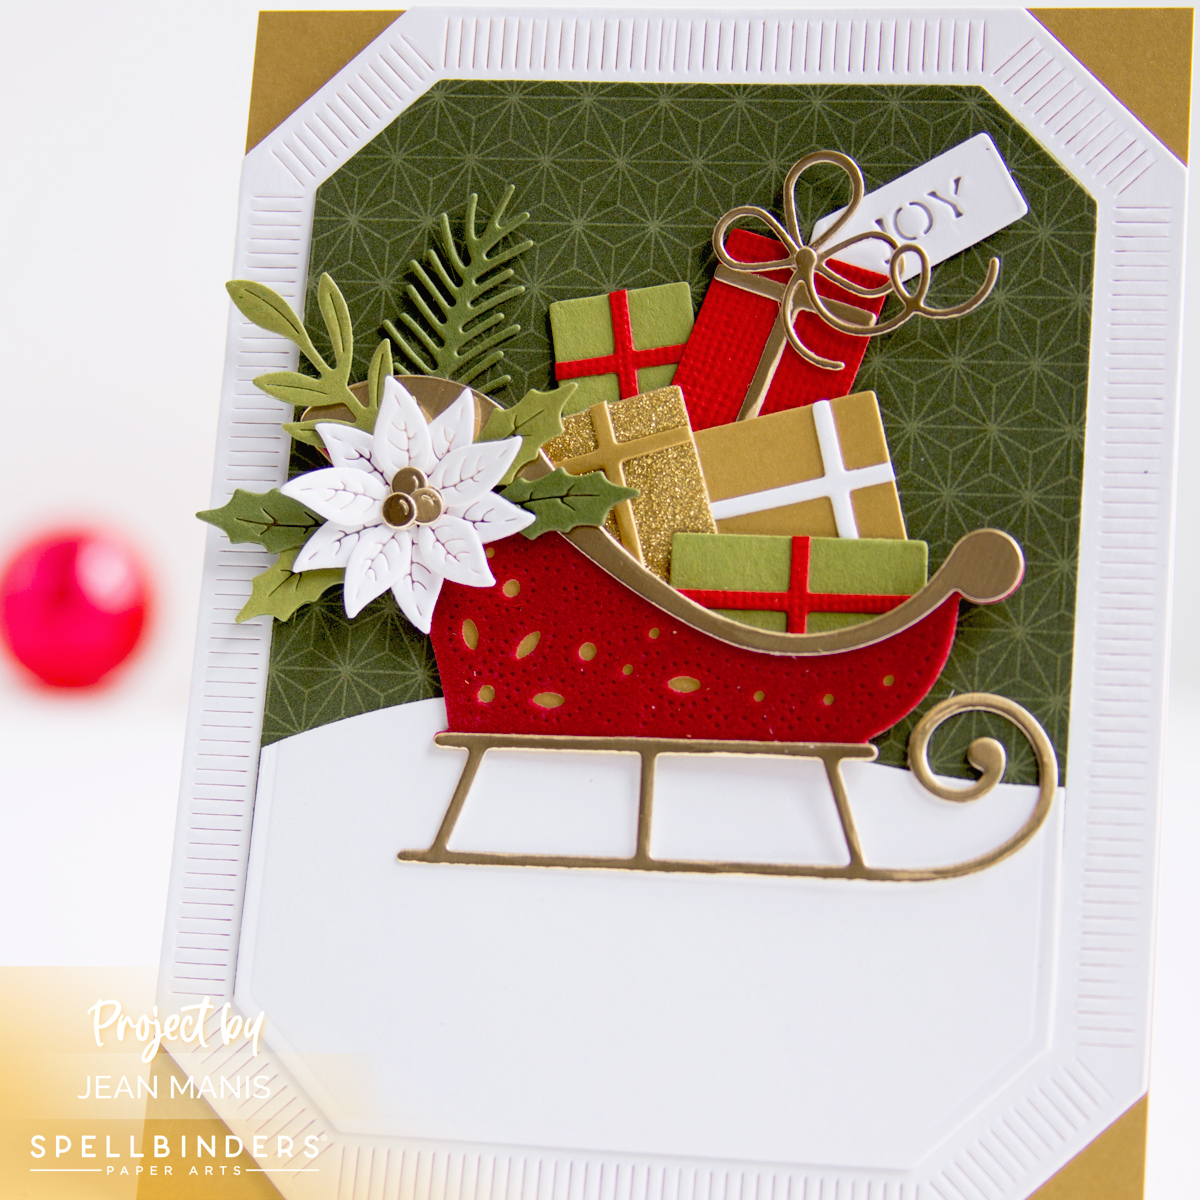
Sentiments: Consider whether you have a variety in font style, size, and sentiment type (traditional, punny) in stamps or glimmer foil plates. As I look back on the cards I made last year, I primarily used the Glitter Wishes and Mini Christmas Sentiment Strips glimmer foil plate sets. On the card below, I used a sentiment from the Glitter Wishes set with the Winter Welcome Sled. Click on the image to be taken to the original post with additional details.

Glimmer Foil: Evaluate your foil colors and fill any color gaps or restock the ones you use the most. During the holidays I lean on Gold, Silver, Matte Gold, and Matte Silver.

Focal Item Dies: Ensure you have a variety of holiday-themed dies, featuring popular motifs such as Christmas trees, Santa, gnomes, reindeer, and stockings. Do you need additional motifs? On the tags below, I used Dancin’ Deer, Create a Decorative Tag, Color Block Scenic Scape, and Glitter Wishes. Click on the image to be taken to the original post with additional details.

Embossing Folders for Backgrounds: Embossing folders add texture and depth to card backgrounds. Patterns such as snowflakes and holiday greenery add a festive look to your Christmas crafts and can help reinforce the theme. Consider acquiring new patterns to expand your creative options. On the cards below, I used the Let It Snowman die set and the Flurry of Snowflakes 3D embossing folder. Click on the image to be taken to the original post with additional details.

Embellishments: Adhesive gems in gold and silver add sparkle and elegance to your handmade Christmas cards. Take stock of the embellishments you currently own and ensure you have a variety of sizes and colors. Do you have enough gems to last through your holiday card-making sessions?

Cardstock: Cardstock forms the foundation of your Christmas cards, and having a selection of festive colors – gold, silver, green, red, white – is crucial for your crafting projects.

Remember, crafting for the holidays doesn’t have to break the bank. Whether you’re a seasoned crafter or just starting out, taking inventory of the supplies you already own is a smart and budget-friendly idea. By assessing your existing collection and identifying any gaps, you can make thoughtful choices about new products to add to your holiday crafting arsenal. Additionally, going through this process may give you a fresh perspective on the supplies you already have!