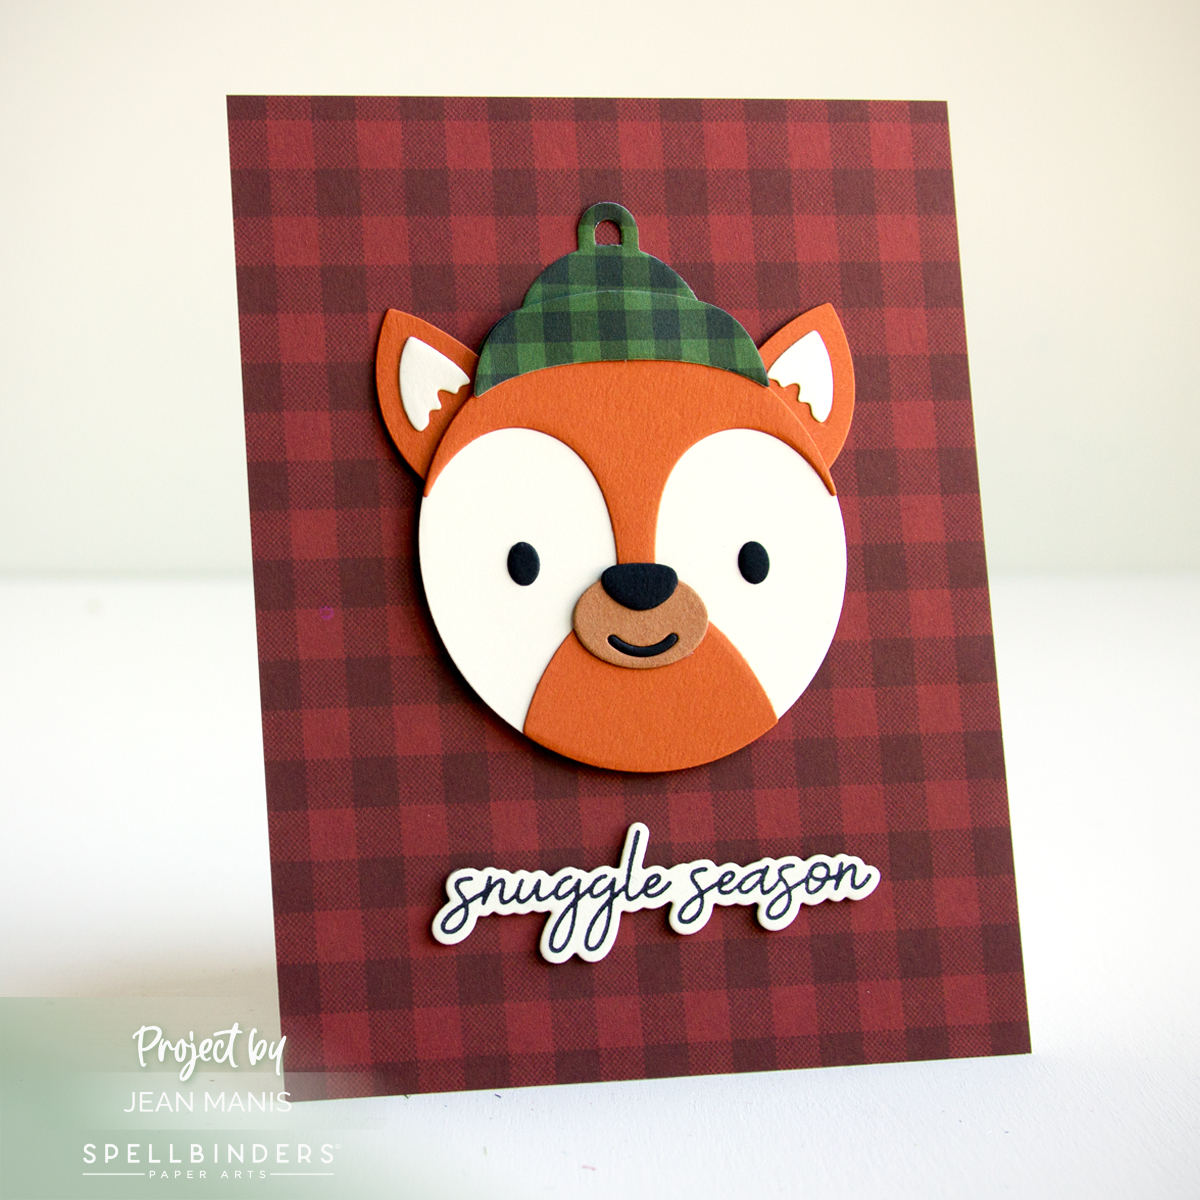
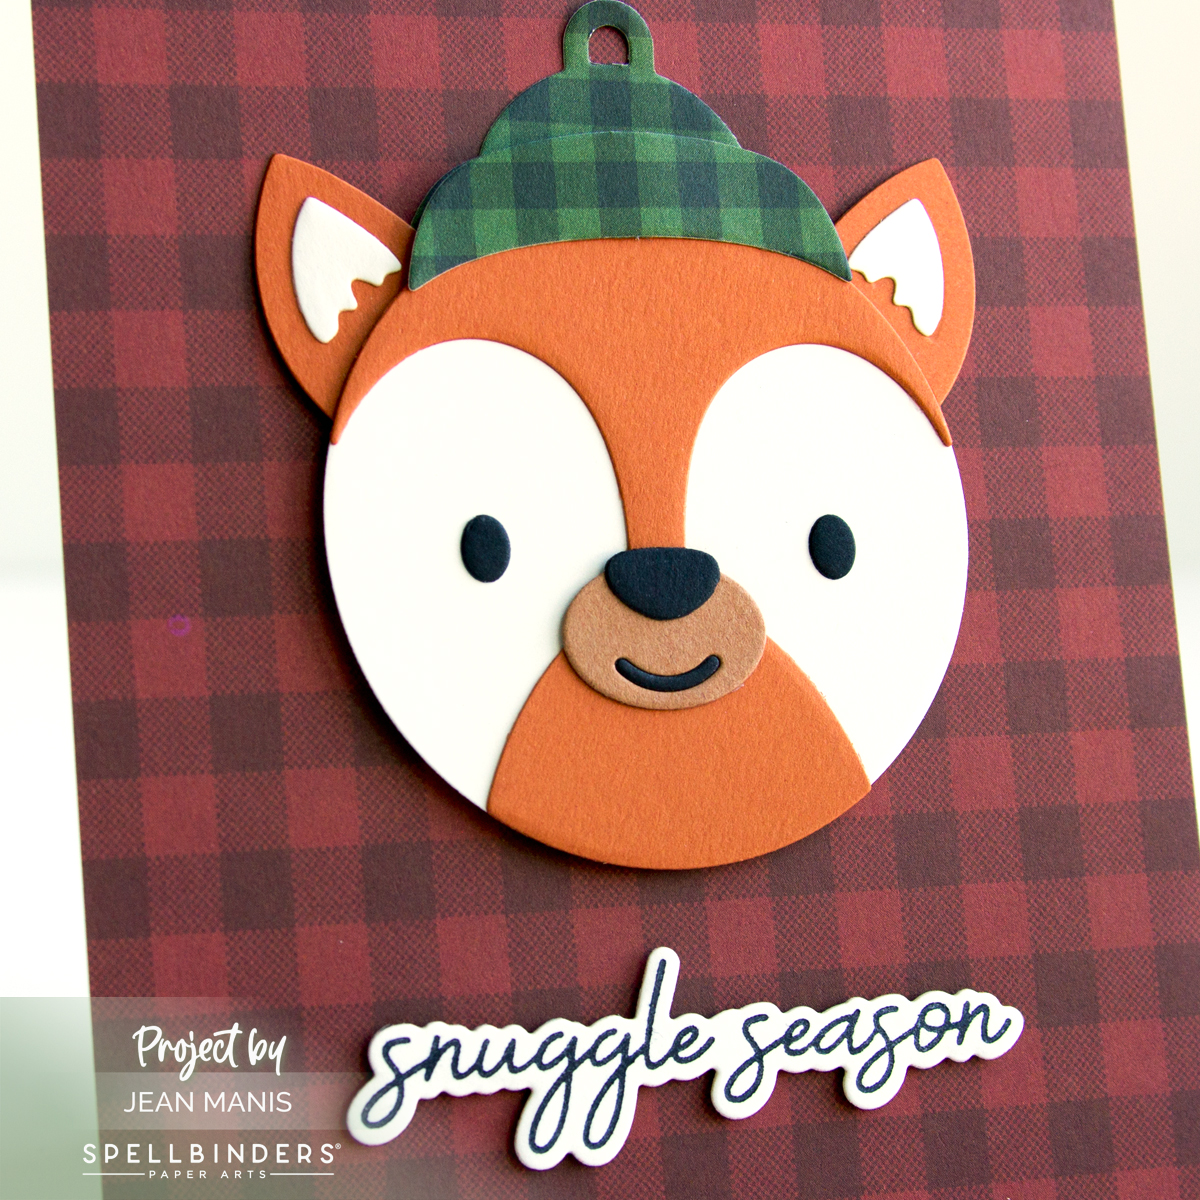
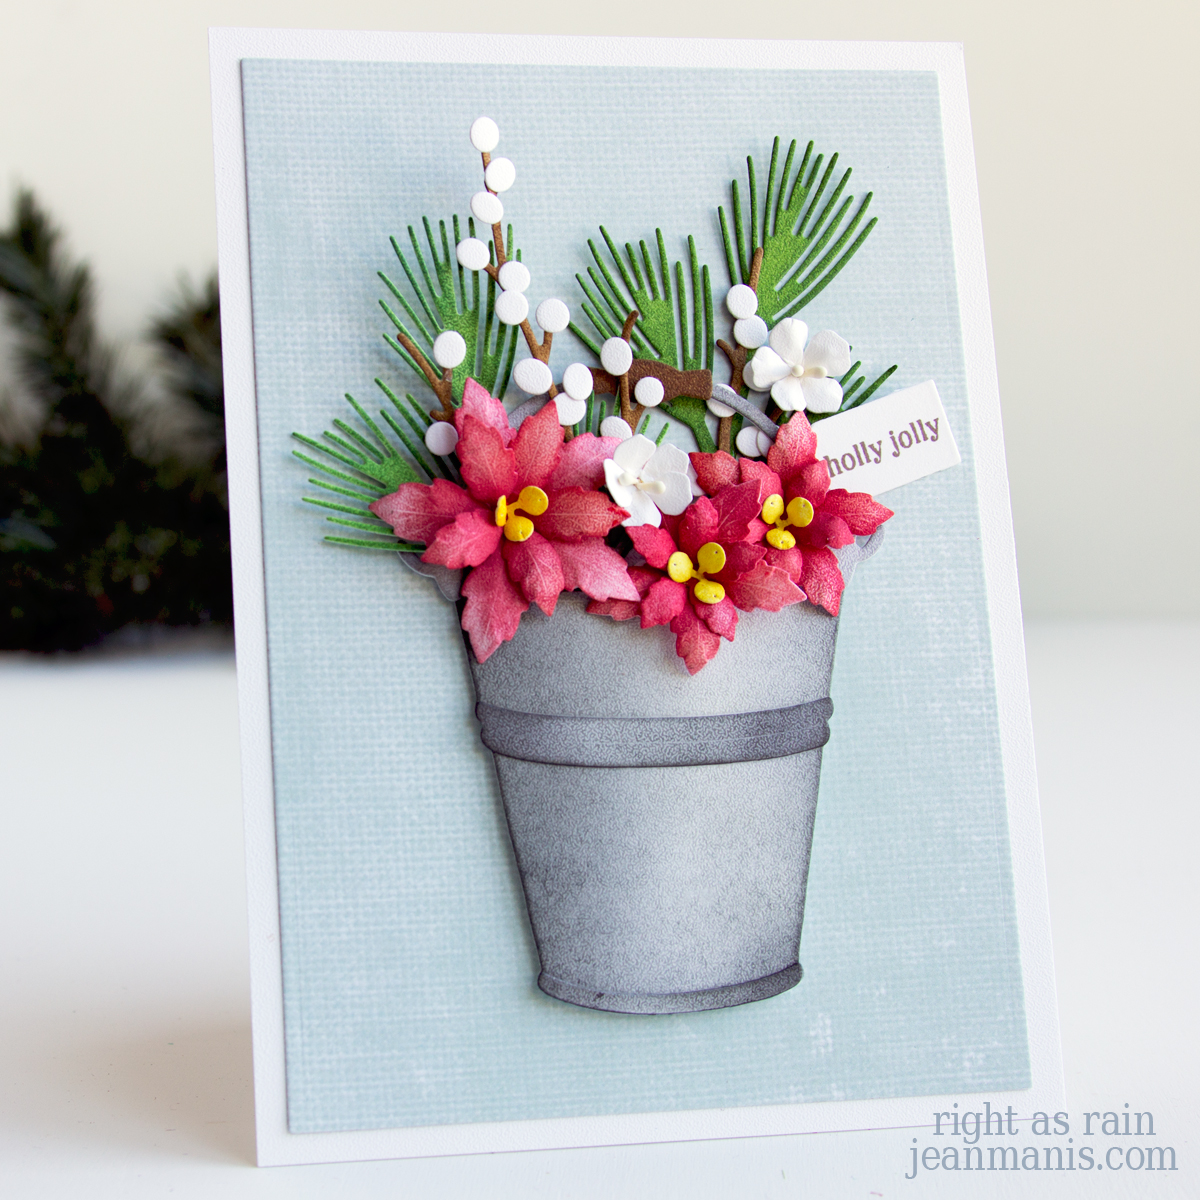
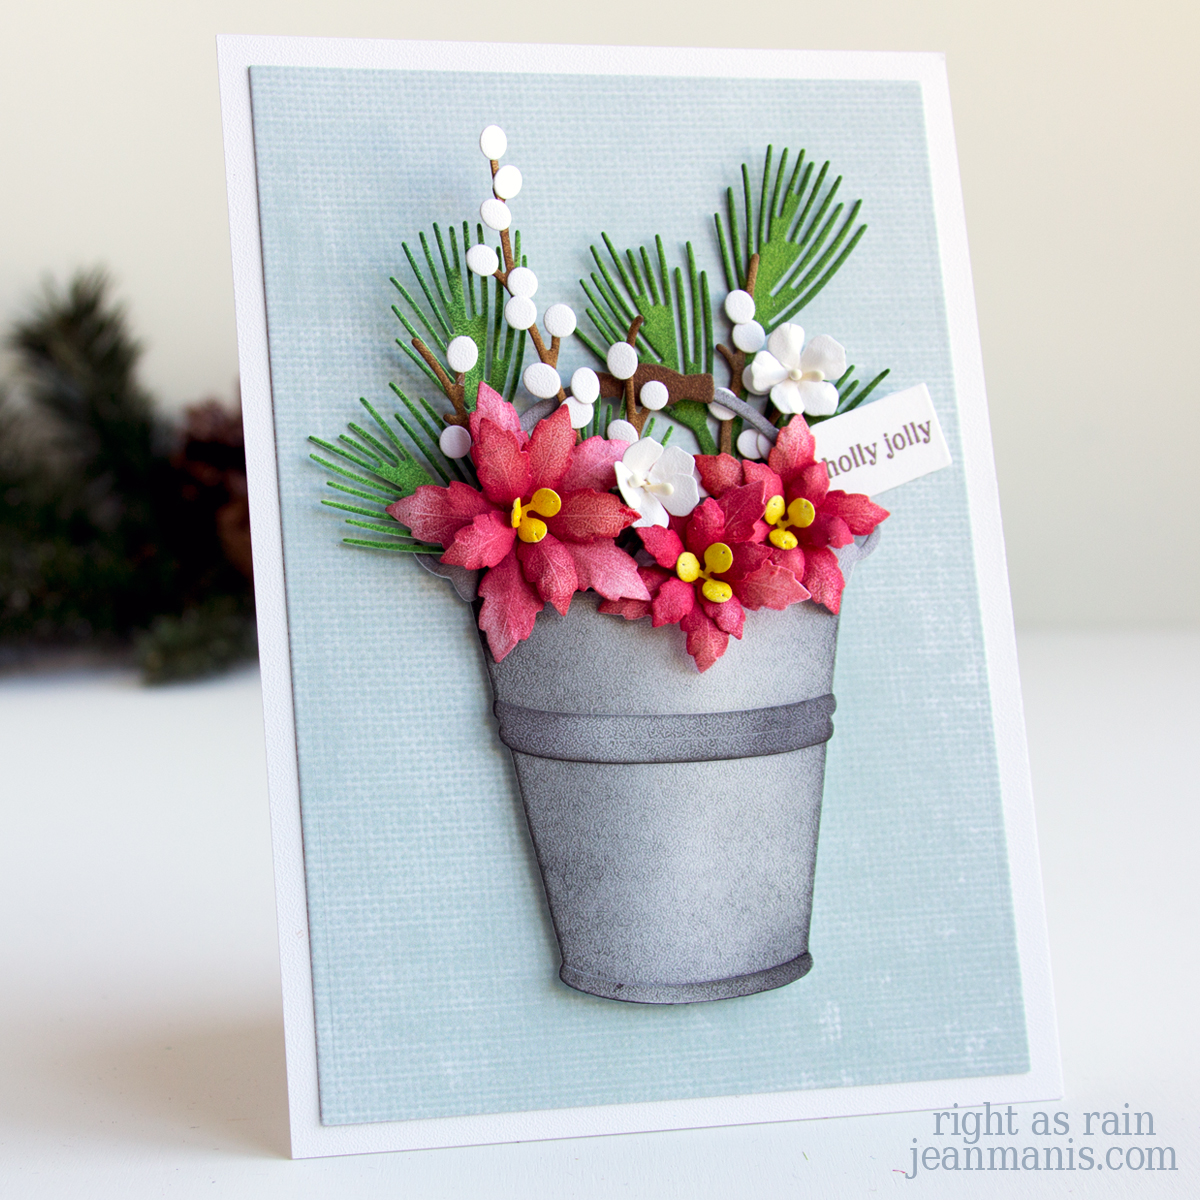
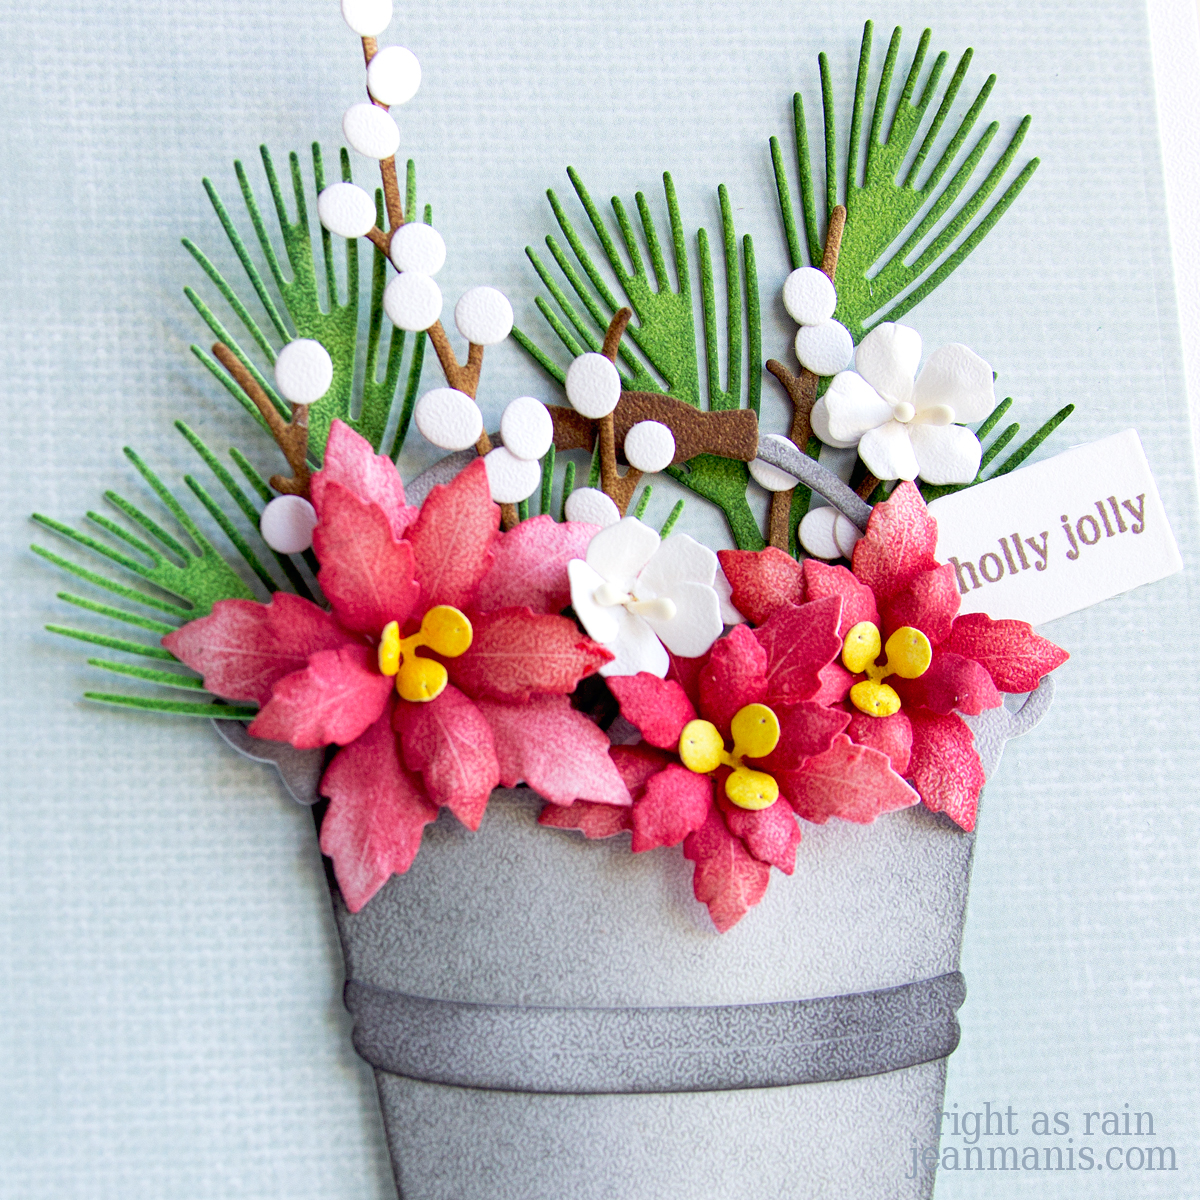
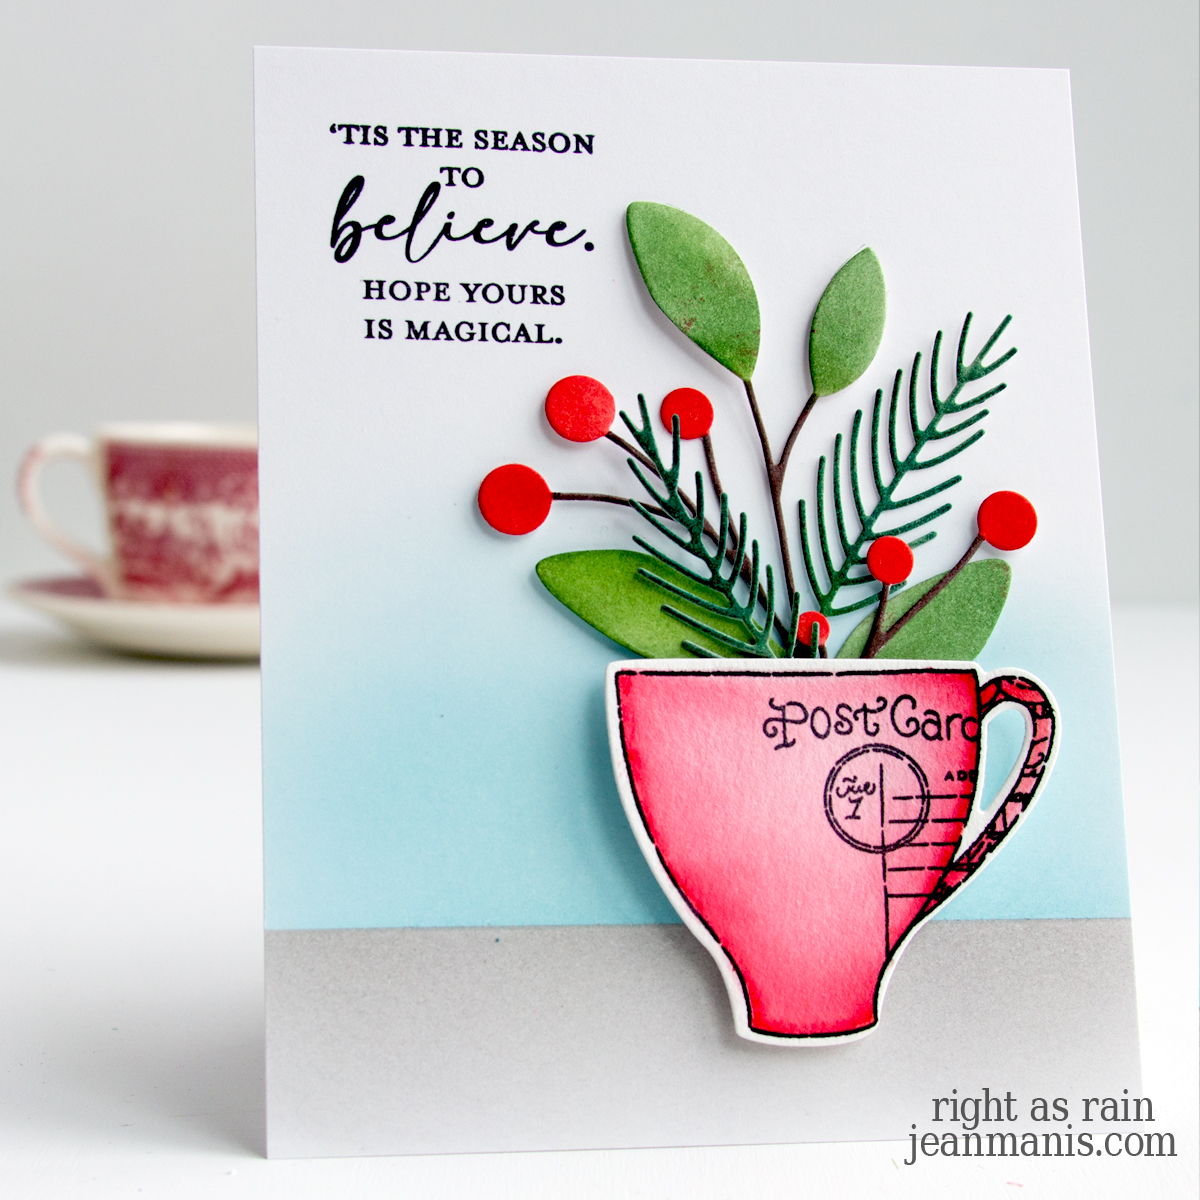
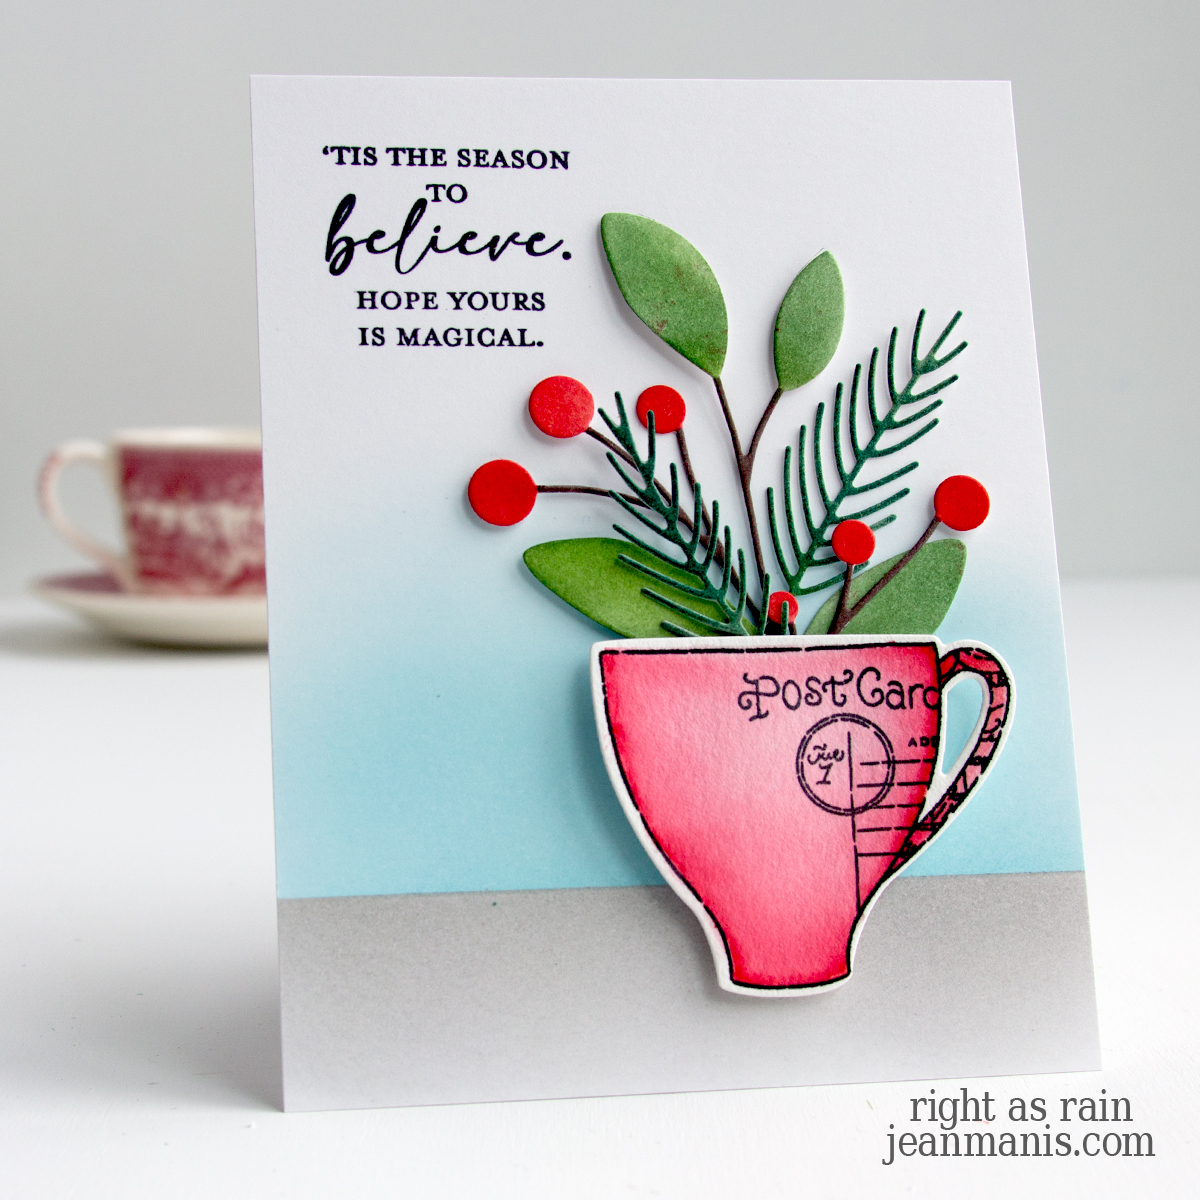
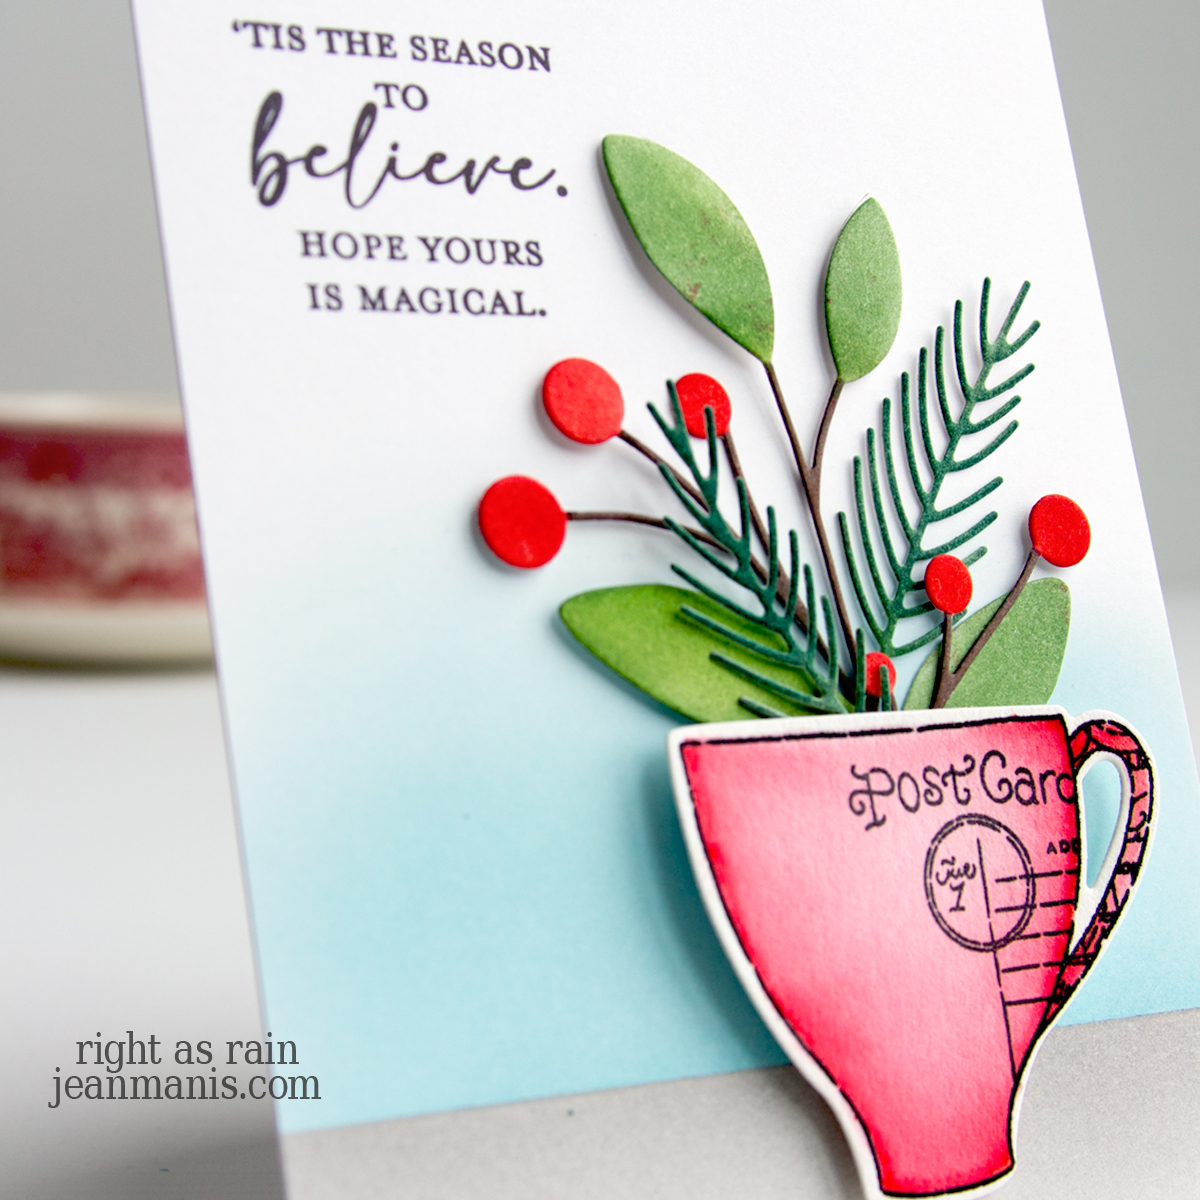
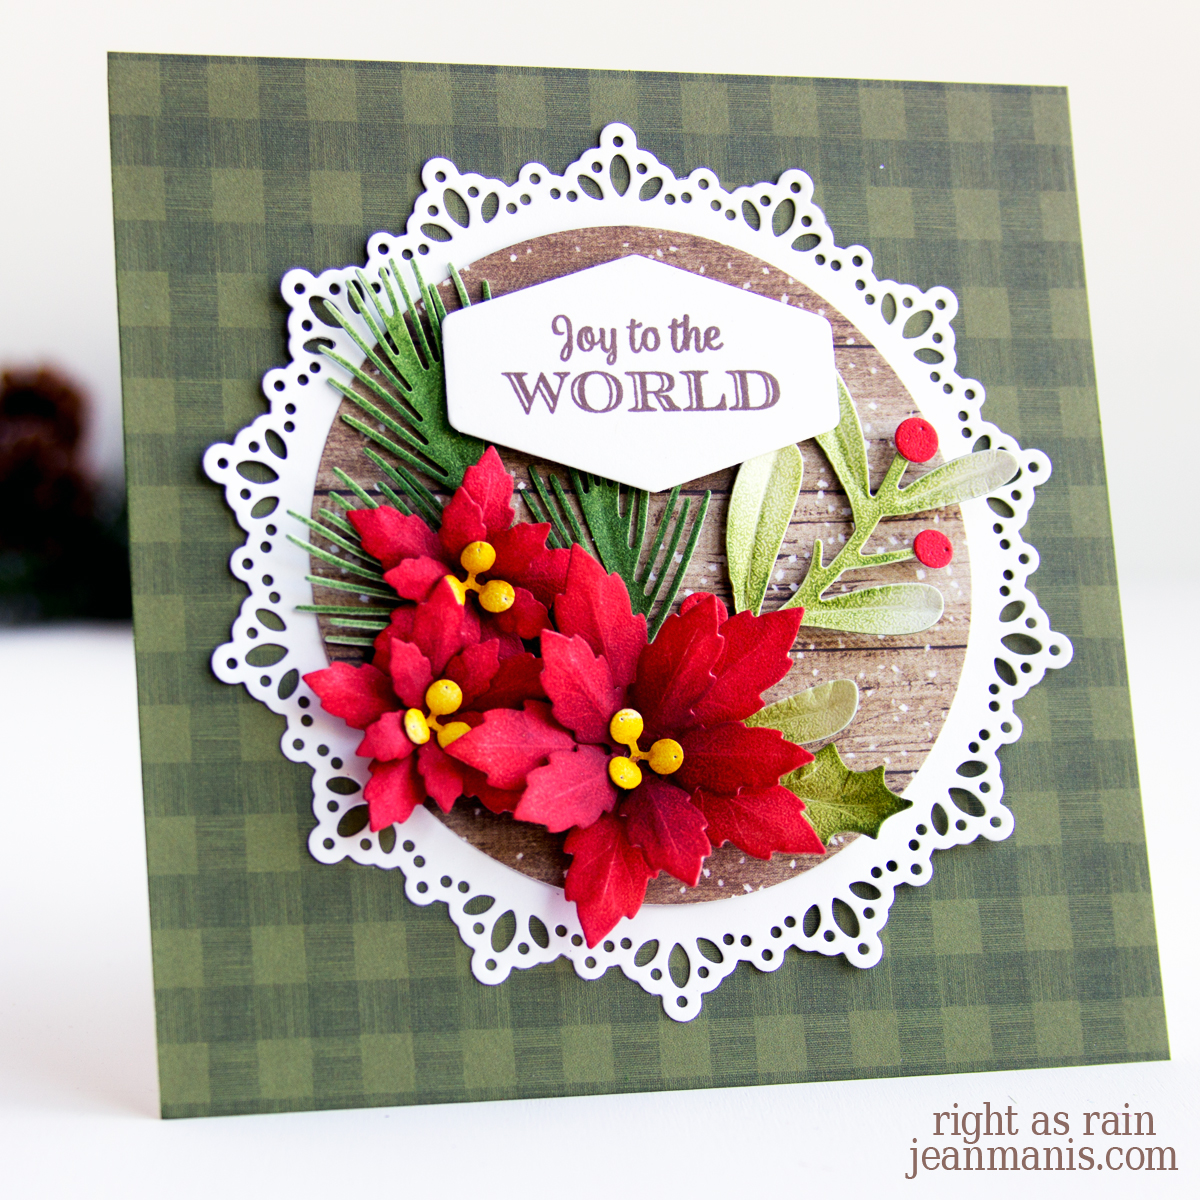
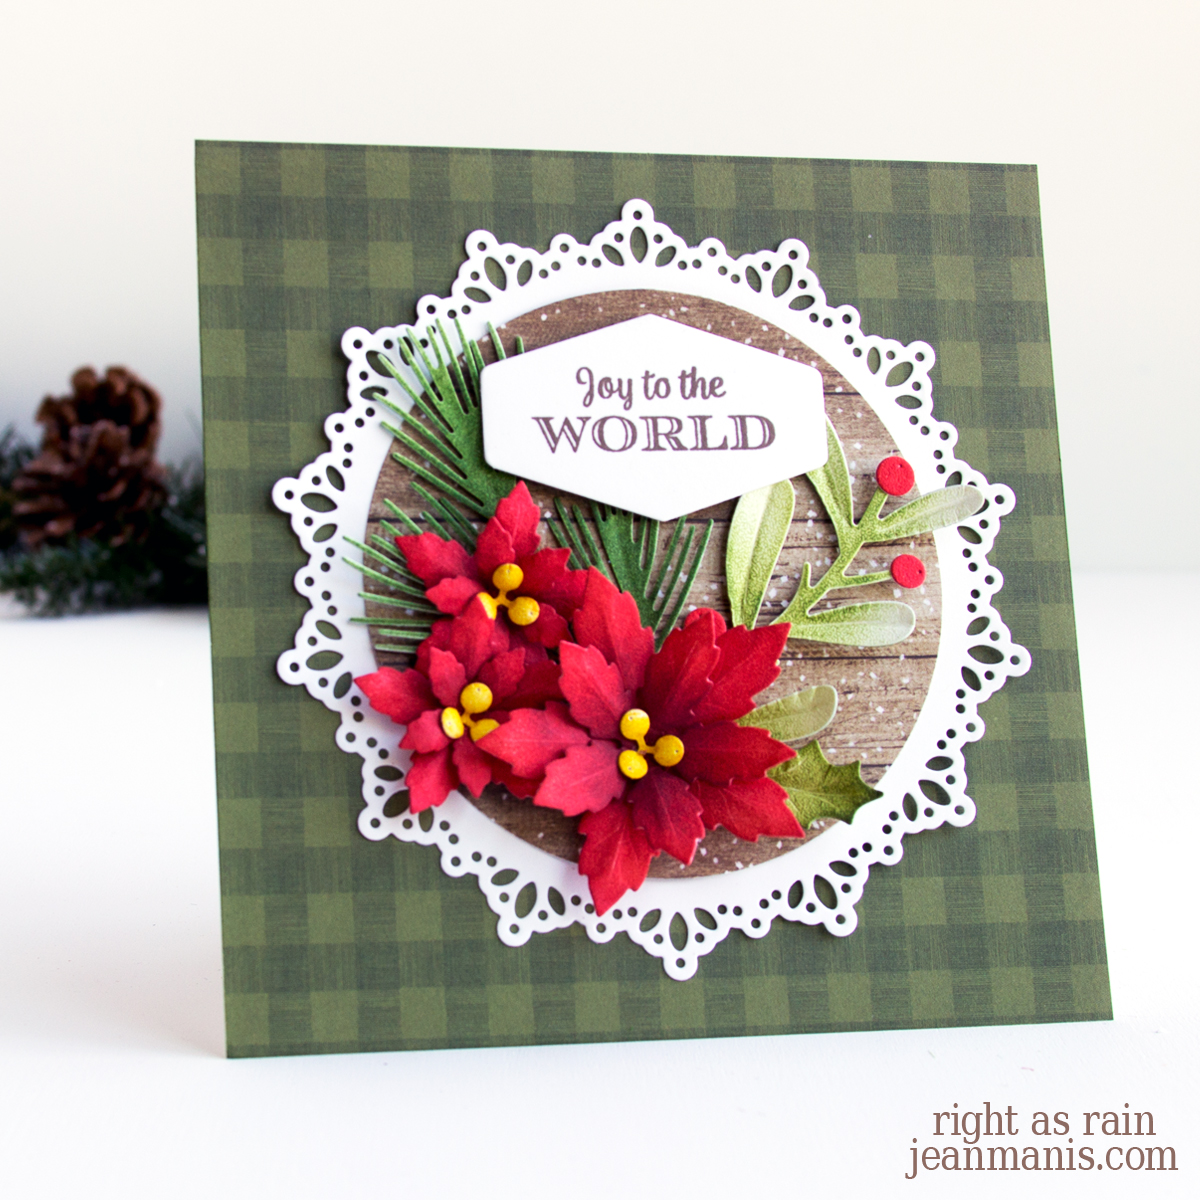
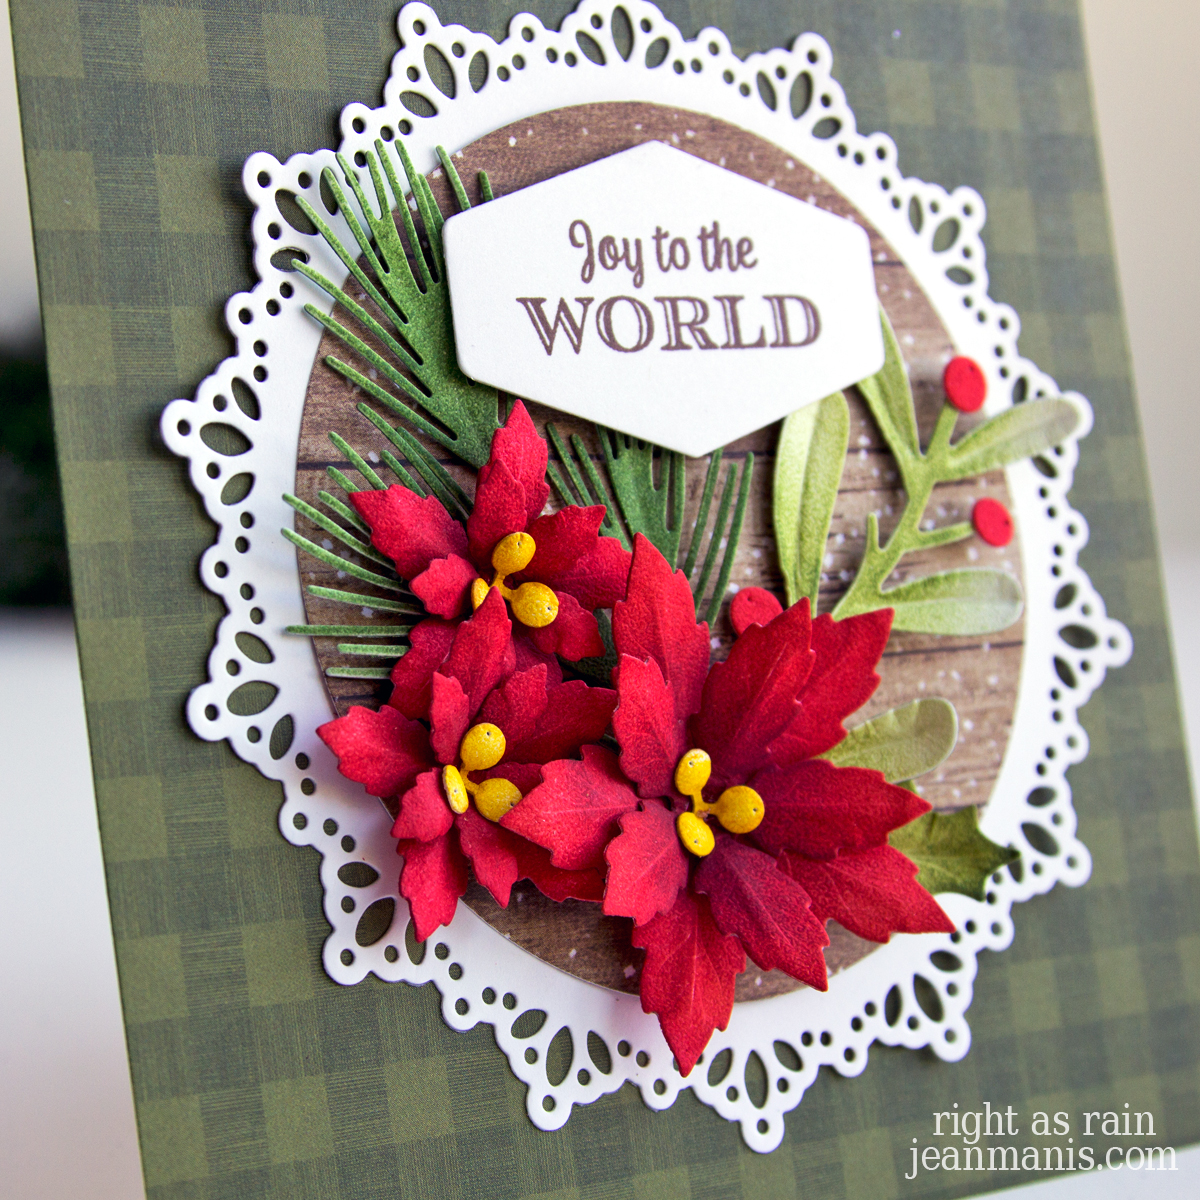
Hello! Today, I’m excited to share a Christmas card that brings the beauty of winter botanicals to life! Using Elizabeth Craft Designs stamps and dies, I crafted a floral spray featuring poinsettias, evergreen, and berry boughs. The realism of the elements makes this card a celebration of the season’s natural beauty.
When creating realistic blooms, I research the flower. Did you know that the poinsettia is the most popular flowering plant sold in the United States with more than 70 million sold nationwide each year? What we consider the petals are actually bracts, which are more like leaves than petals. The true flowers of poinsettias are the small clusters of yellow blooms in the center.
-
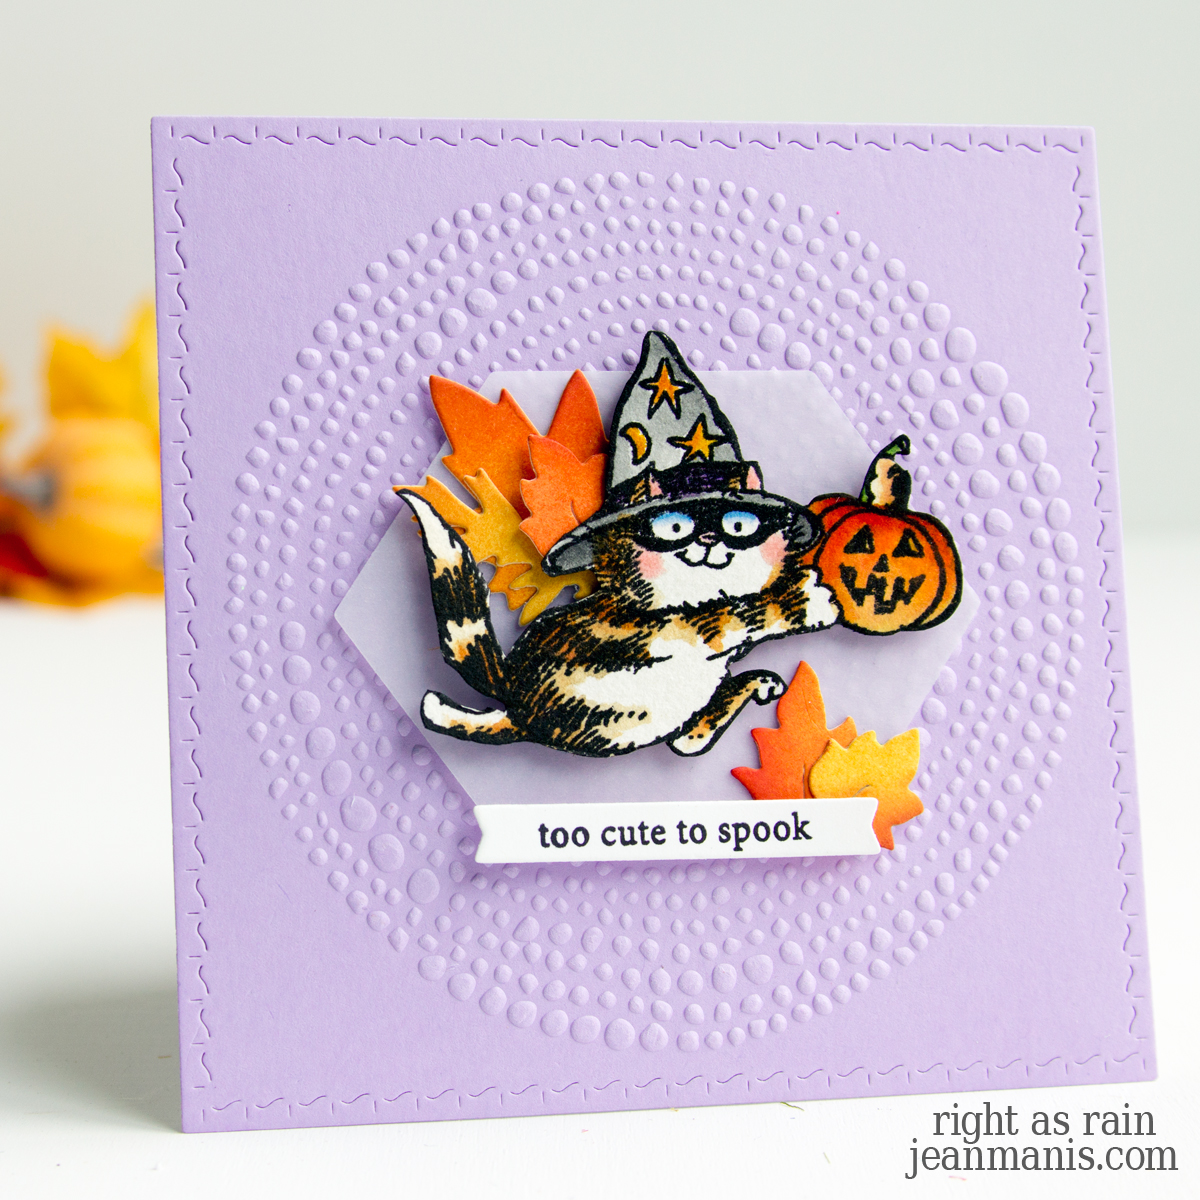
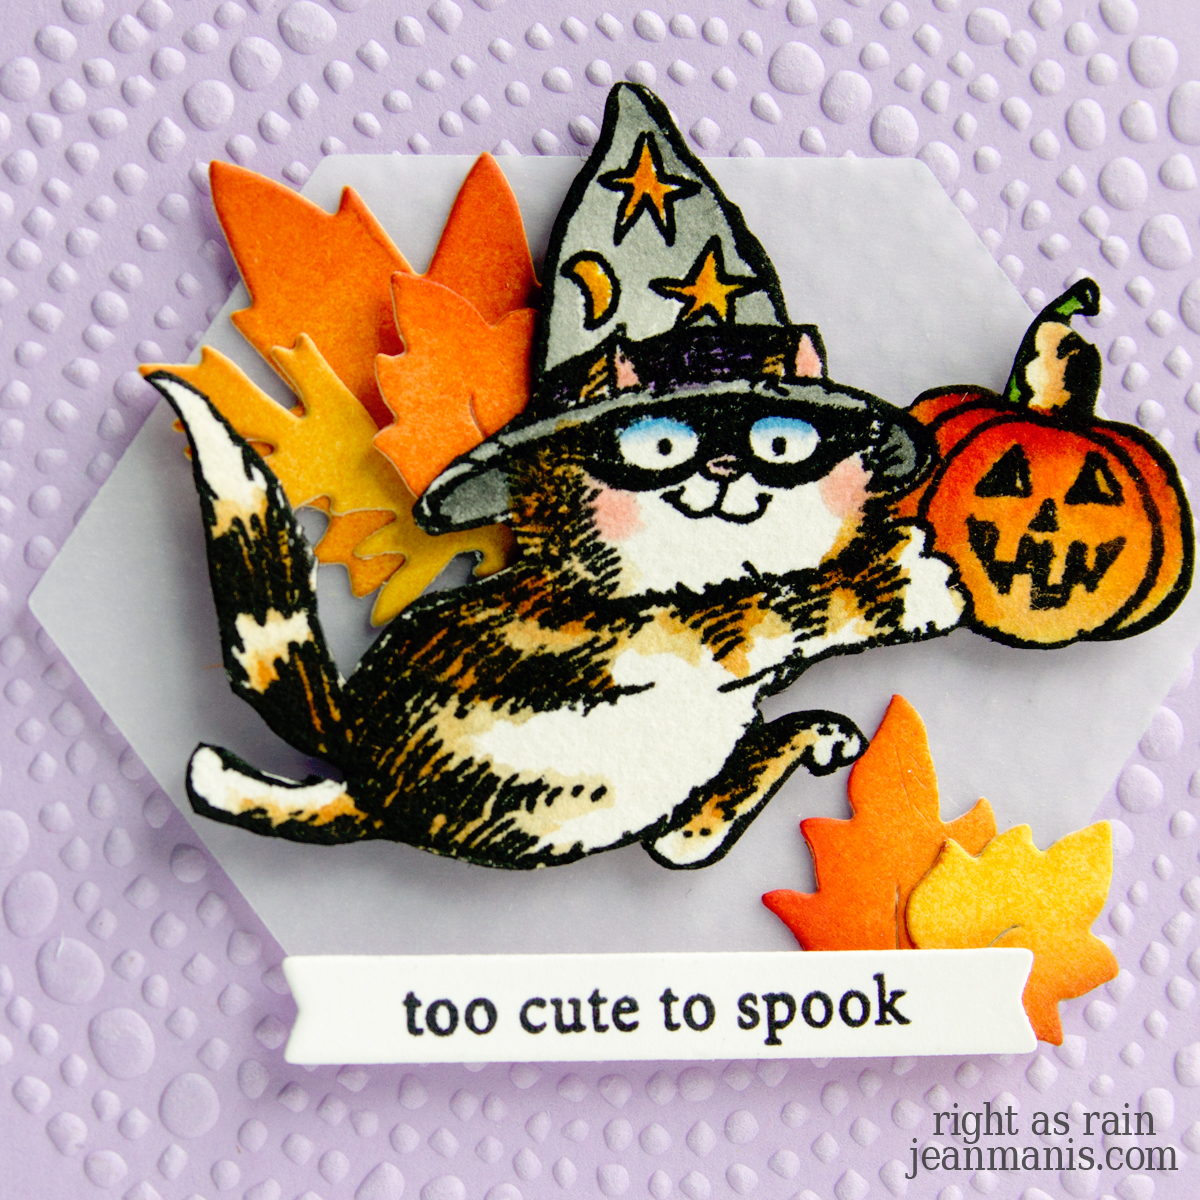
- With the Florals 29 and Holly Greenery die sets, cut Soft Finish cardstock. Color with Distress Inks. Shape with flower tools if desired. (I have tools from Dress My Craft, Heartfelt Creations, and McGill.) Assemble.
- Create 5″ square card base and cover with patterned paper. Cut doily shape with large die in the Joyous Ornament – Round set from white cardstock. With the circle die in the same set, cut another patterned paper. Add doily shape and circle to card base.
- Stamp Joyous Christmas sentiment in brown ink and cut with a die in the Layered Labels set.
- Add assembled floral items to card front. Add sentiment label with foam adhesive.
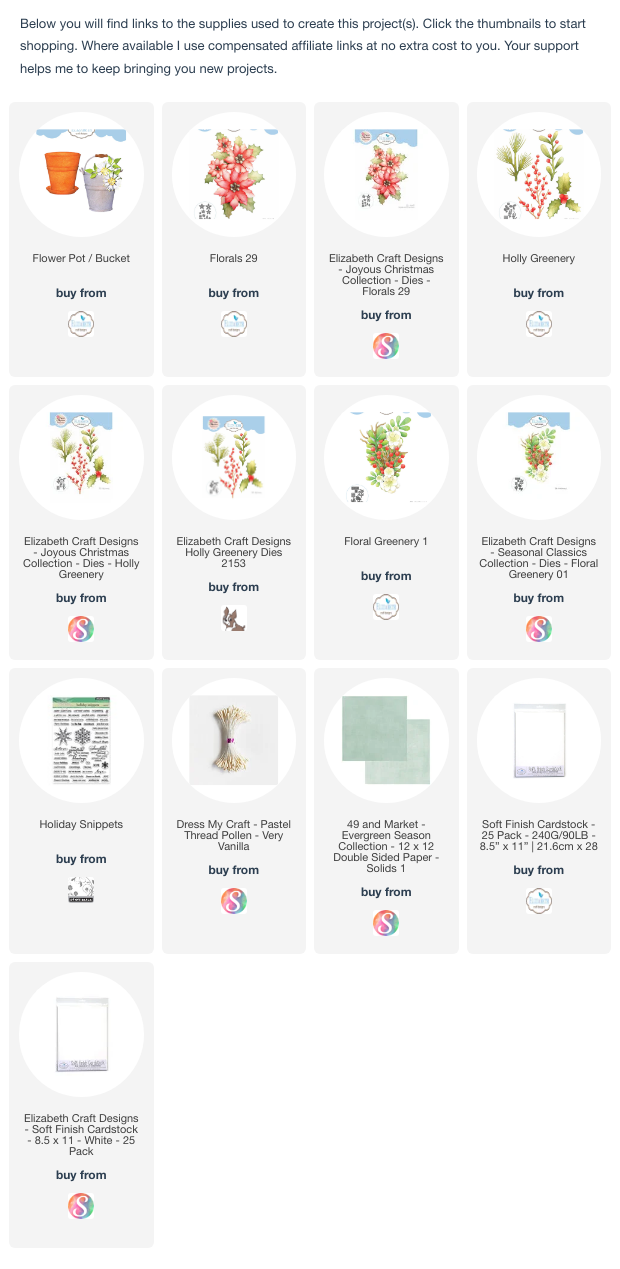
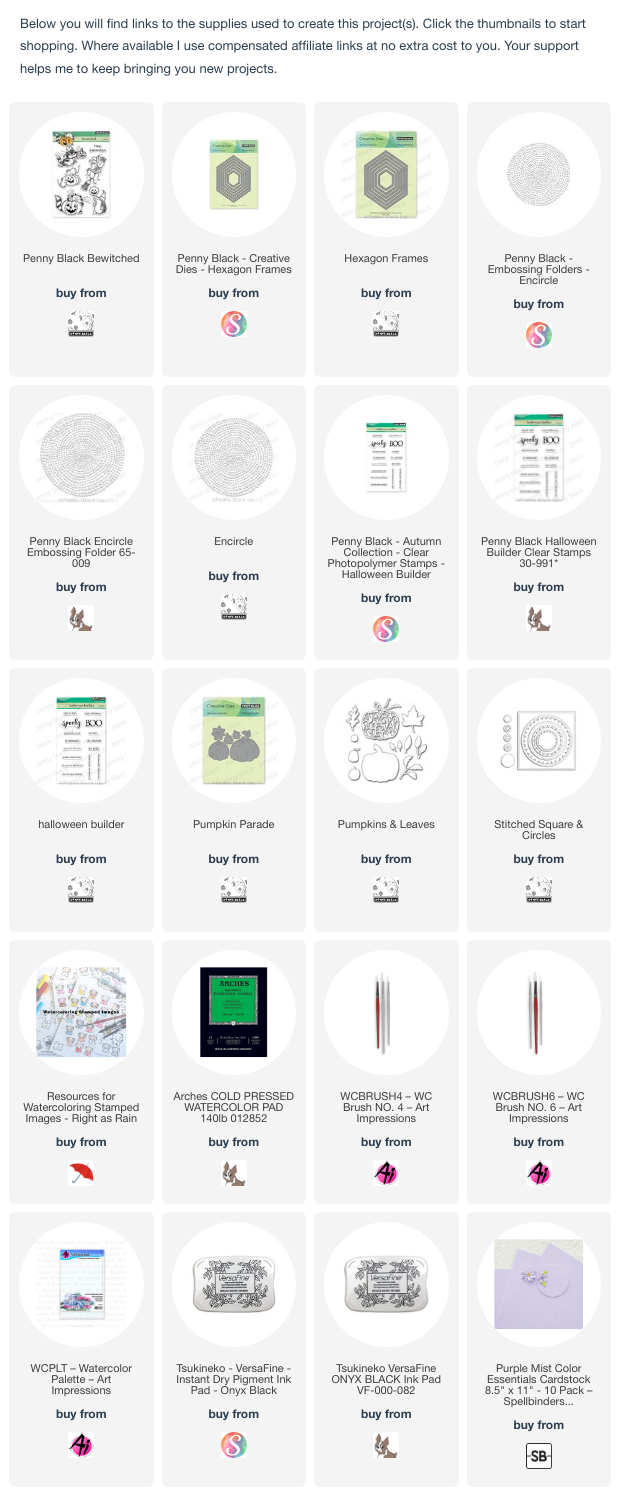
Save 10% off your entire order (with a minimum purchase of USD $25) at Elizabeth Craft Designs with the code PNWMANIS.