Spellbinders | Canoe Adventure Hedgehog

Hello! This cheerful summer card features an adorable hedgehog paddling in a stenciled mountain lake scene, ready for adventure in his bright life jacket. The “Hot Days, Cool Vibes” sentiment captures the relaxed spirit of the Spellbinders Summer Camp Collection, which includes dies, stencils, and stamps designed for building playful outdoor scenes. This collection is perfect for sending a child off to camp, tucking into care-package letters, or creating scrapbook pages and photo albums that celebrate summer memories.

Spellbinders | Summer Camp Collection

    • Use the Lakeside Memories stencil set to ink a white cardstock panel. Trim to A2 size and adhere to a card base. Ink a portion of cardstock with the same ink used for the sand. Stamp the Summertime Sentiments sentiment on the inked paper and trim to a strip.
    • Use the Woodland Trio to cut the hedgehog from cardstock. Assemble.
    • Use the Splash Days die set to cut the canoe and accessories. Assemble and attach the paddle to the hedgehog, then place the hedgehog in the canoe.
    • Place the assembly and sentiment onto the prepared base.

Spellbinders | Summer Camp Collection


Spellbinders | Strawberries Hello Card

Hello! This jar of strawberries card has a fresh mason jar vibe, paired with checked patterned paper and a simple “Hello” label. Created with the Spellbinders April 2026 Crate offering, this design is especially fun for a die-cutting enthusiast. The pieces come together quickly, yet the layered jar and bright strawberries make an impactful finished card that feels both playful and polished.

Spellbinders | Strawberries Hello Card

    • Cover an A2-size card base with patterned paper.
    • Cut the jar, label, and strawberries from cardstock with dies in the Crate offering set. Assemble.
    • Add assembly to the prepared card base.

Spellbinders | Strawberries Hello Card


Spellbinders | Market Shopping

Hello! Today, I am sharing a card created with this month’s Large Die of the Month Kit at Spellbinders. The shopping bag filled with produce, flowers, bread, milk, and cheese has a French market feel that makes it easy to build a scene full of everyday beauty. For this card, I used patterned paper for the bag to add a bit of personality and set it against a dry-embossed background for a soft texture.

Spellbinders | Market Shopping

    • Dry-emboss an A2-size cardstock panel and add it to a card base.
    • With dies in the Large Die of the Month Kit, cut the shopping bag pieces from patterned paper. Add the back piece to the card base. I cut the front panel 1/2″ longer than the amount shown. I scored the panel twice and adhered a 1/4″ flap to the back of the card. By doing so, I created a bottom for the bag.
    • With dies in the Large Die of the Month Kit, cut the shopping bag contents and assemble as required. Add to the inside of the bag.
    • Better Press the sentiment and cut with its coordinating die. Add to the front of the shopping bag.
    • Adhere the bag closed with foam square adhesive.

Spellbinders | Market Shopping


Spellbinders | Potted Pansies Card

Hello! If you’re waiting on this month’s Spellbinders Die of the Month Kit, you’re in for something special. The pansies are beautifully designed, with bloom variations that make arranging them feel both easy and expressive.  paired the arrangement with a dry-embossed background for subtle texture and added a patterned paper mat. The sentiment, “You’re in My Thoughts,” makes this a card perfect for reaching out with a quiet moment of care and connection.

Spellbinders | Potted Pansies Card

    • Dry-emboss an A2-size panel of Classic White cardstock and add it to a card base.
    • Cut patterned paper with the largest die in the Mirrored Arch Labels set and add to the card base.
    • Cut the pansies, greenery, and pot from a variety of cardstock colors using dies in the Small Die set. Assemble as required.
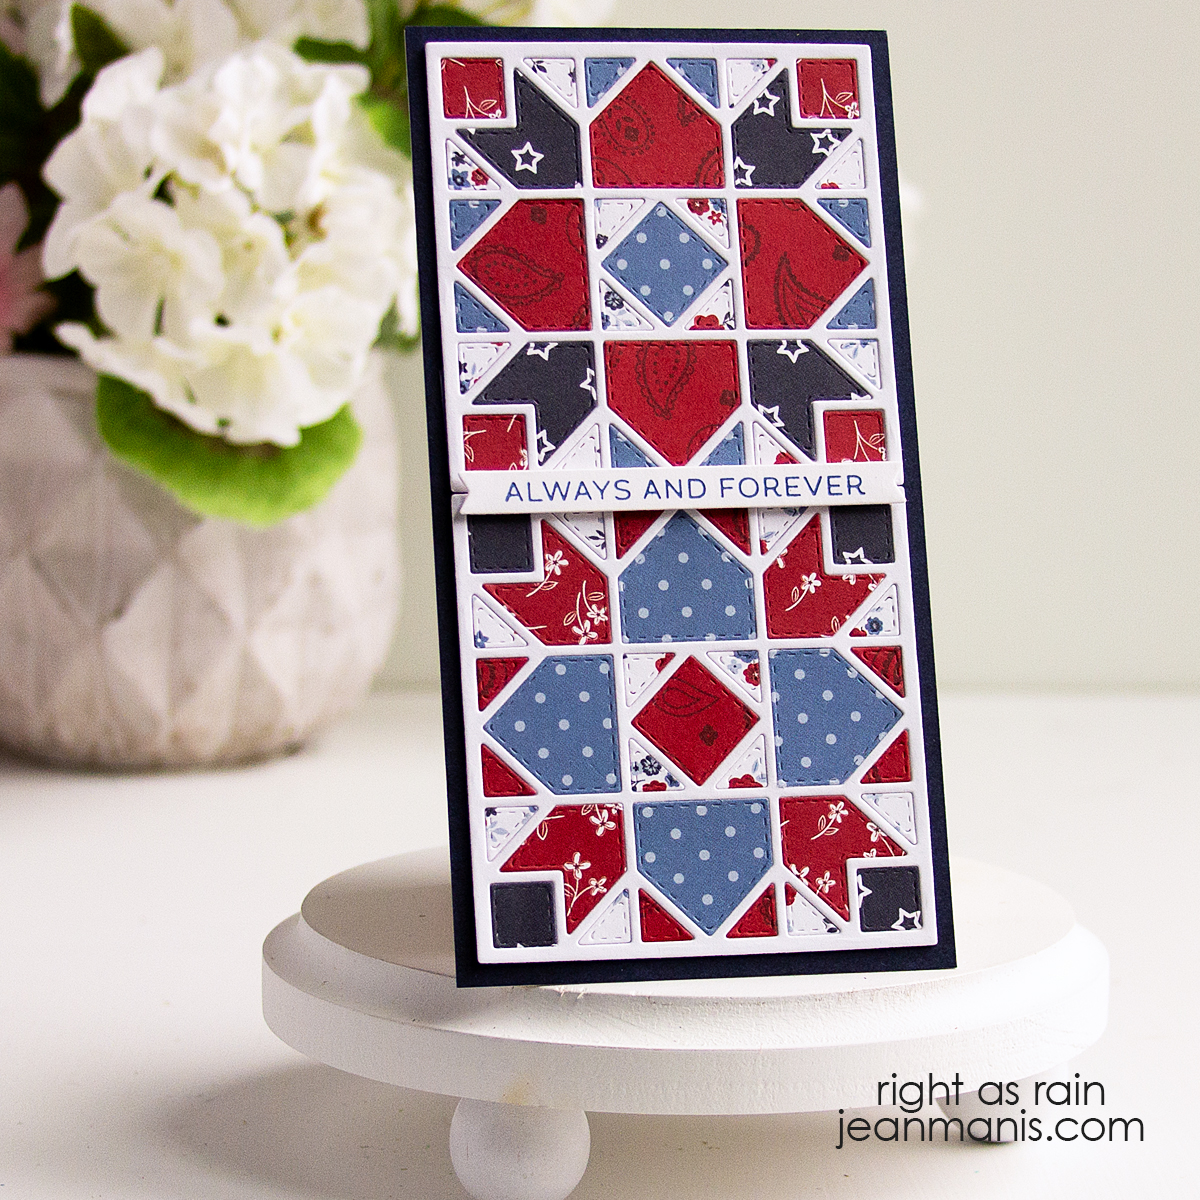
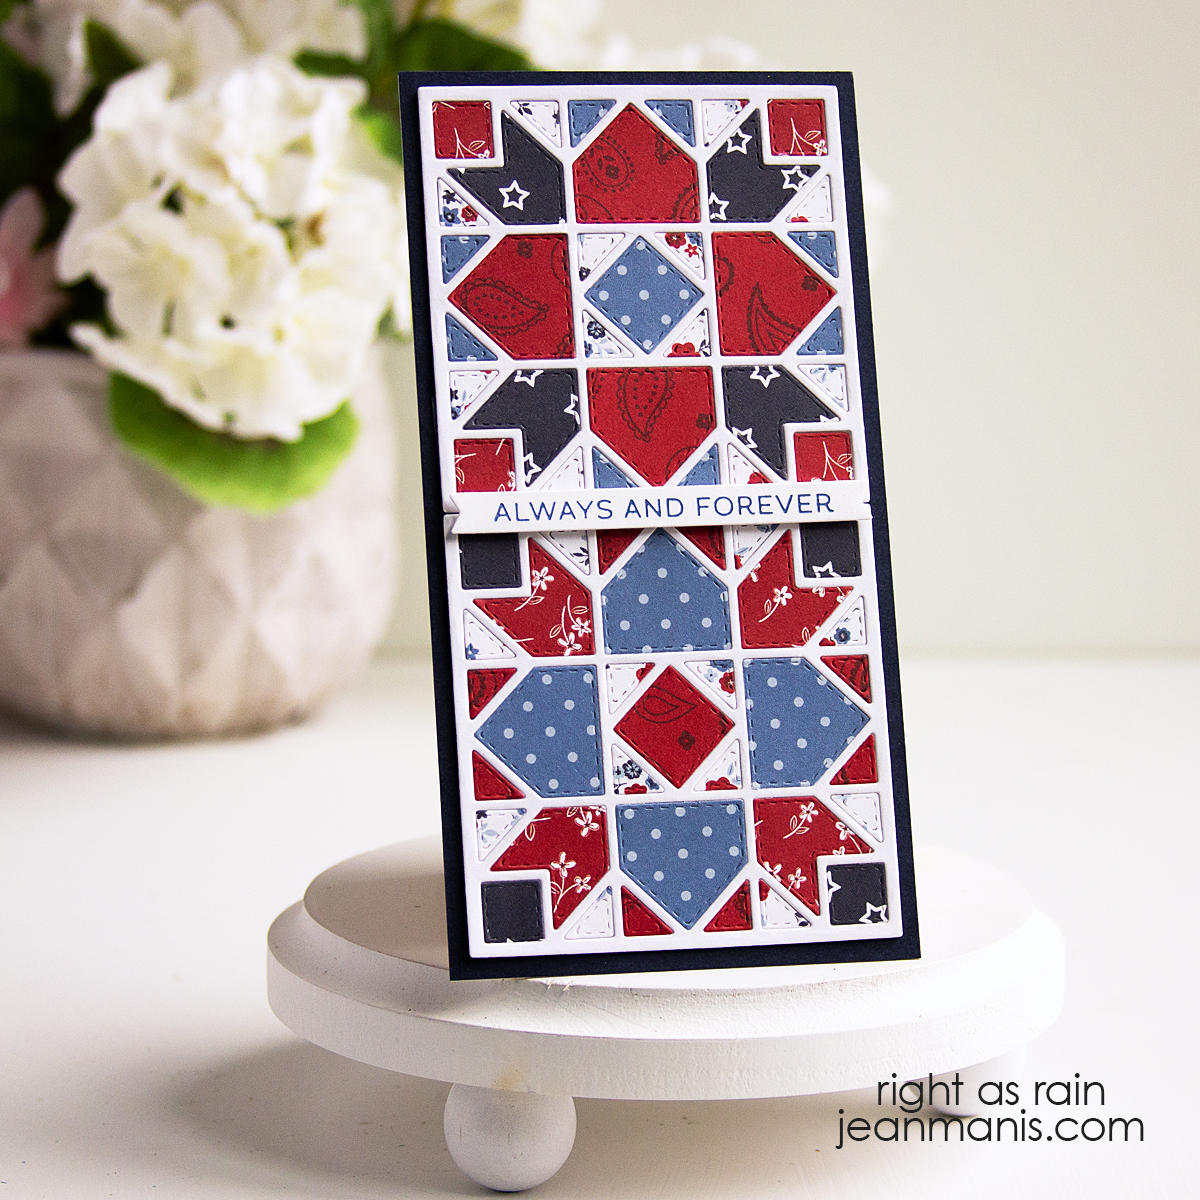
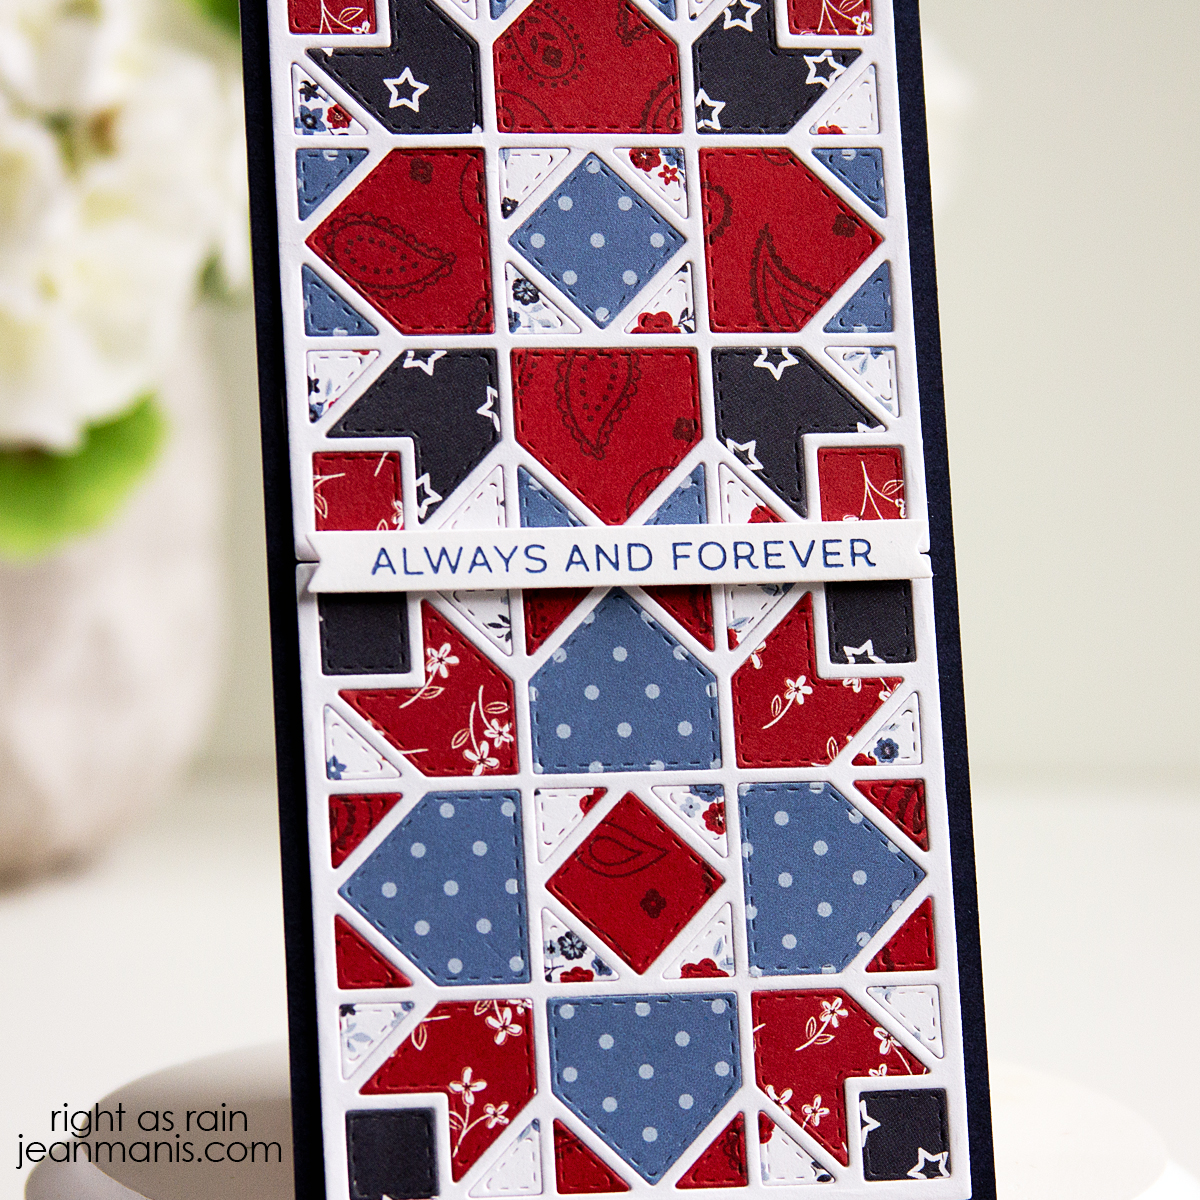
    • Better Press the Always and Forever sentiment and cut with the coordinating die.
    • Add the elements to the card base with glue, dot adhesive, and foam adhesive.

Spellbinders | Potted Pansies Card


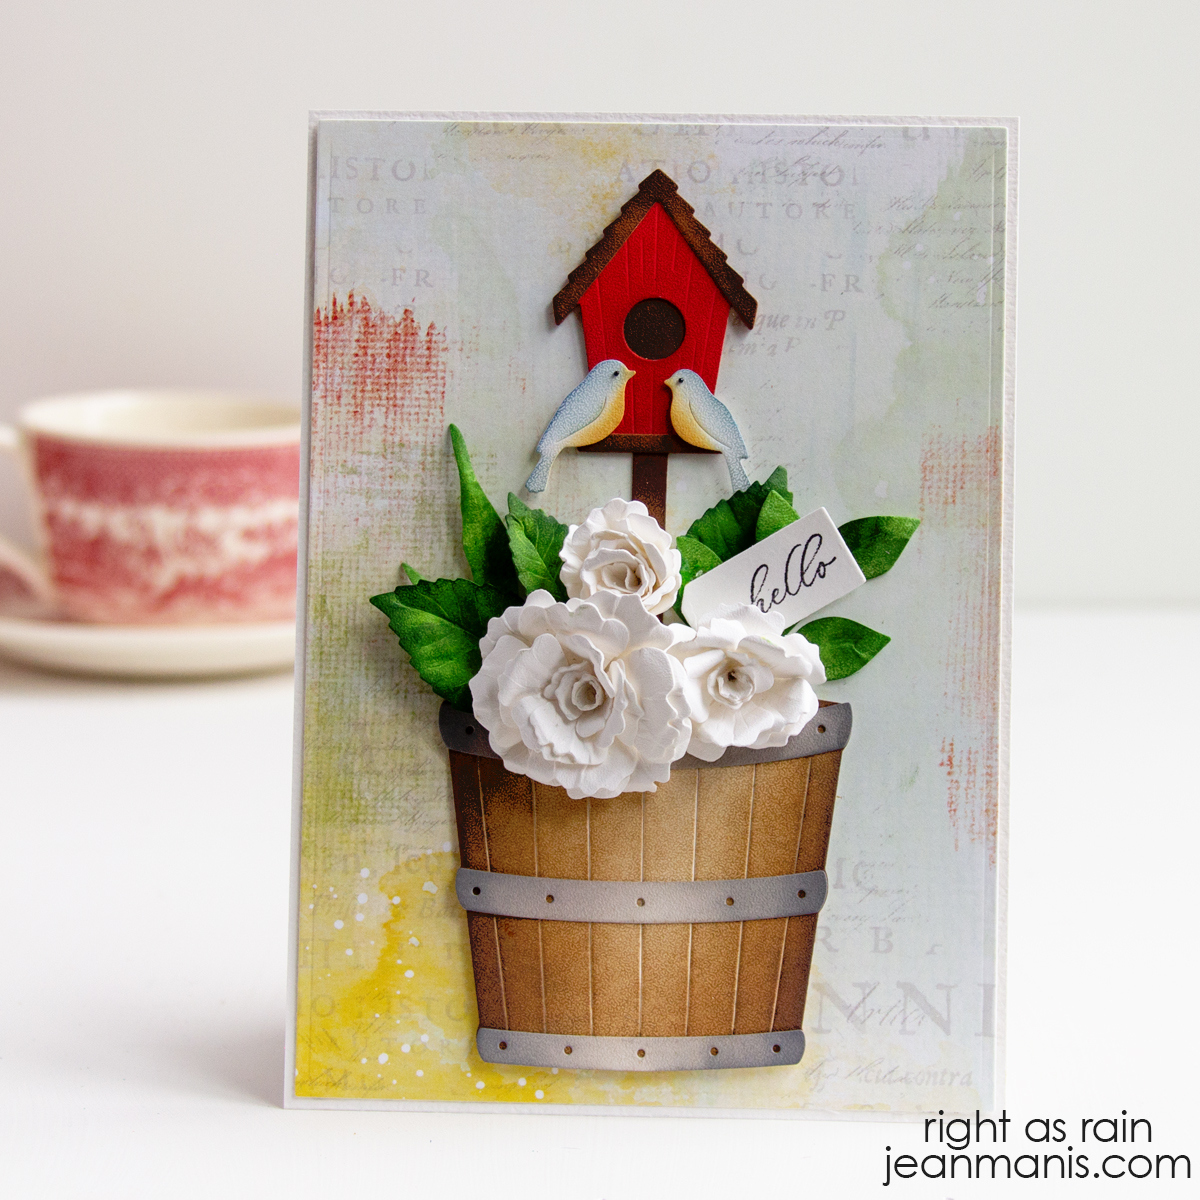
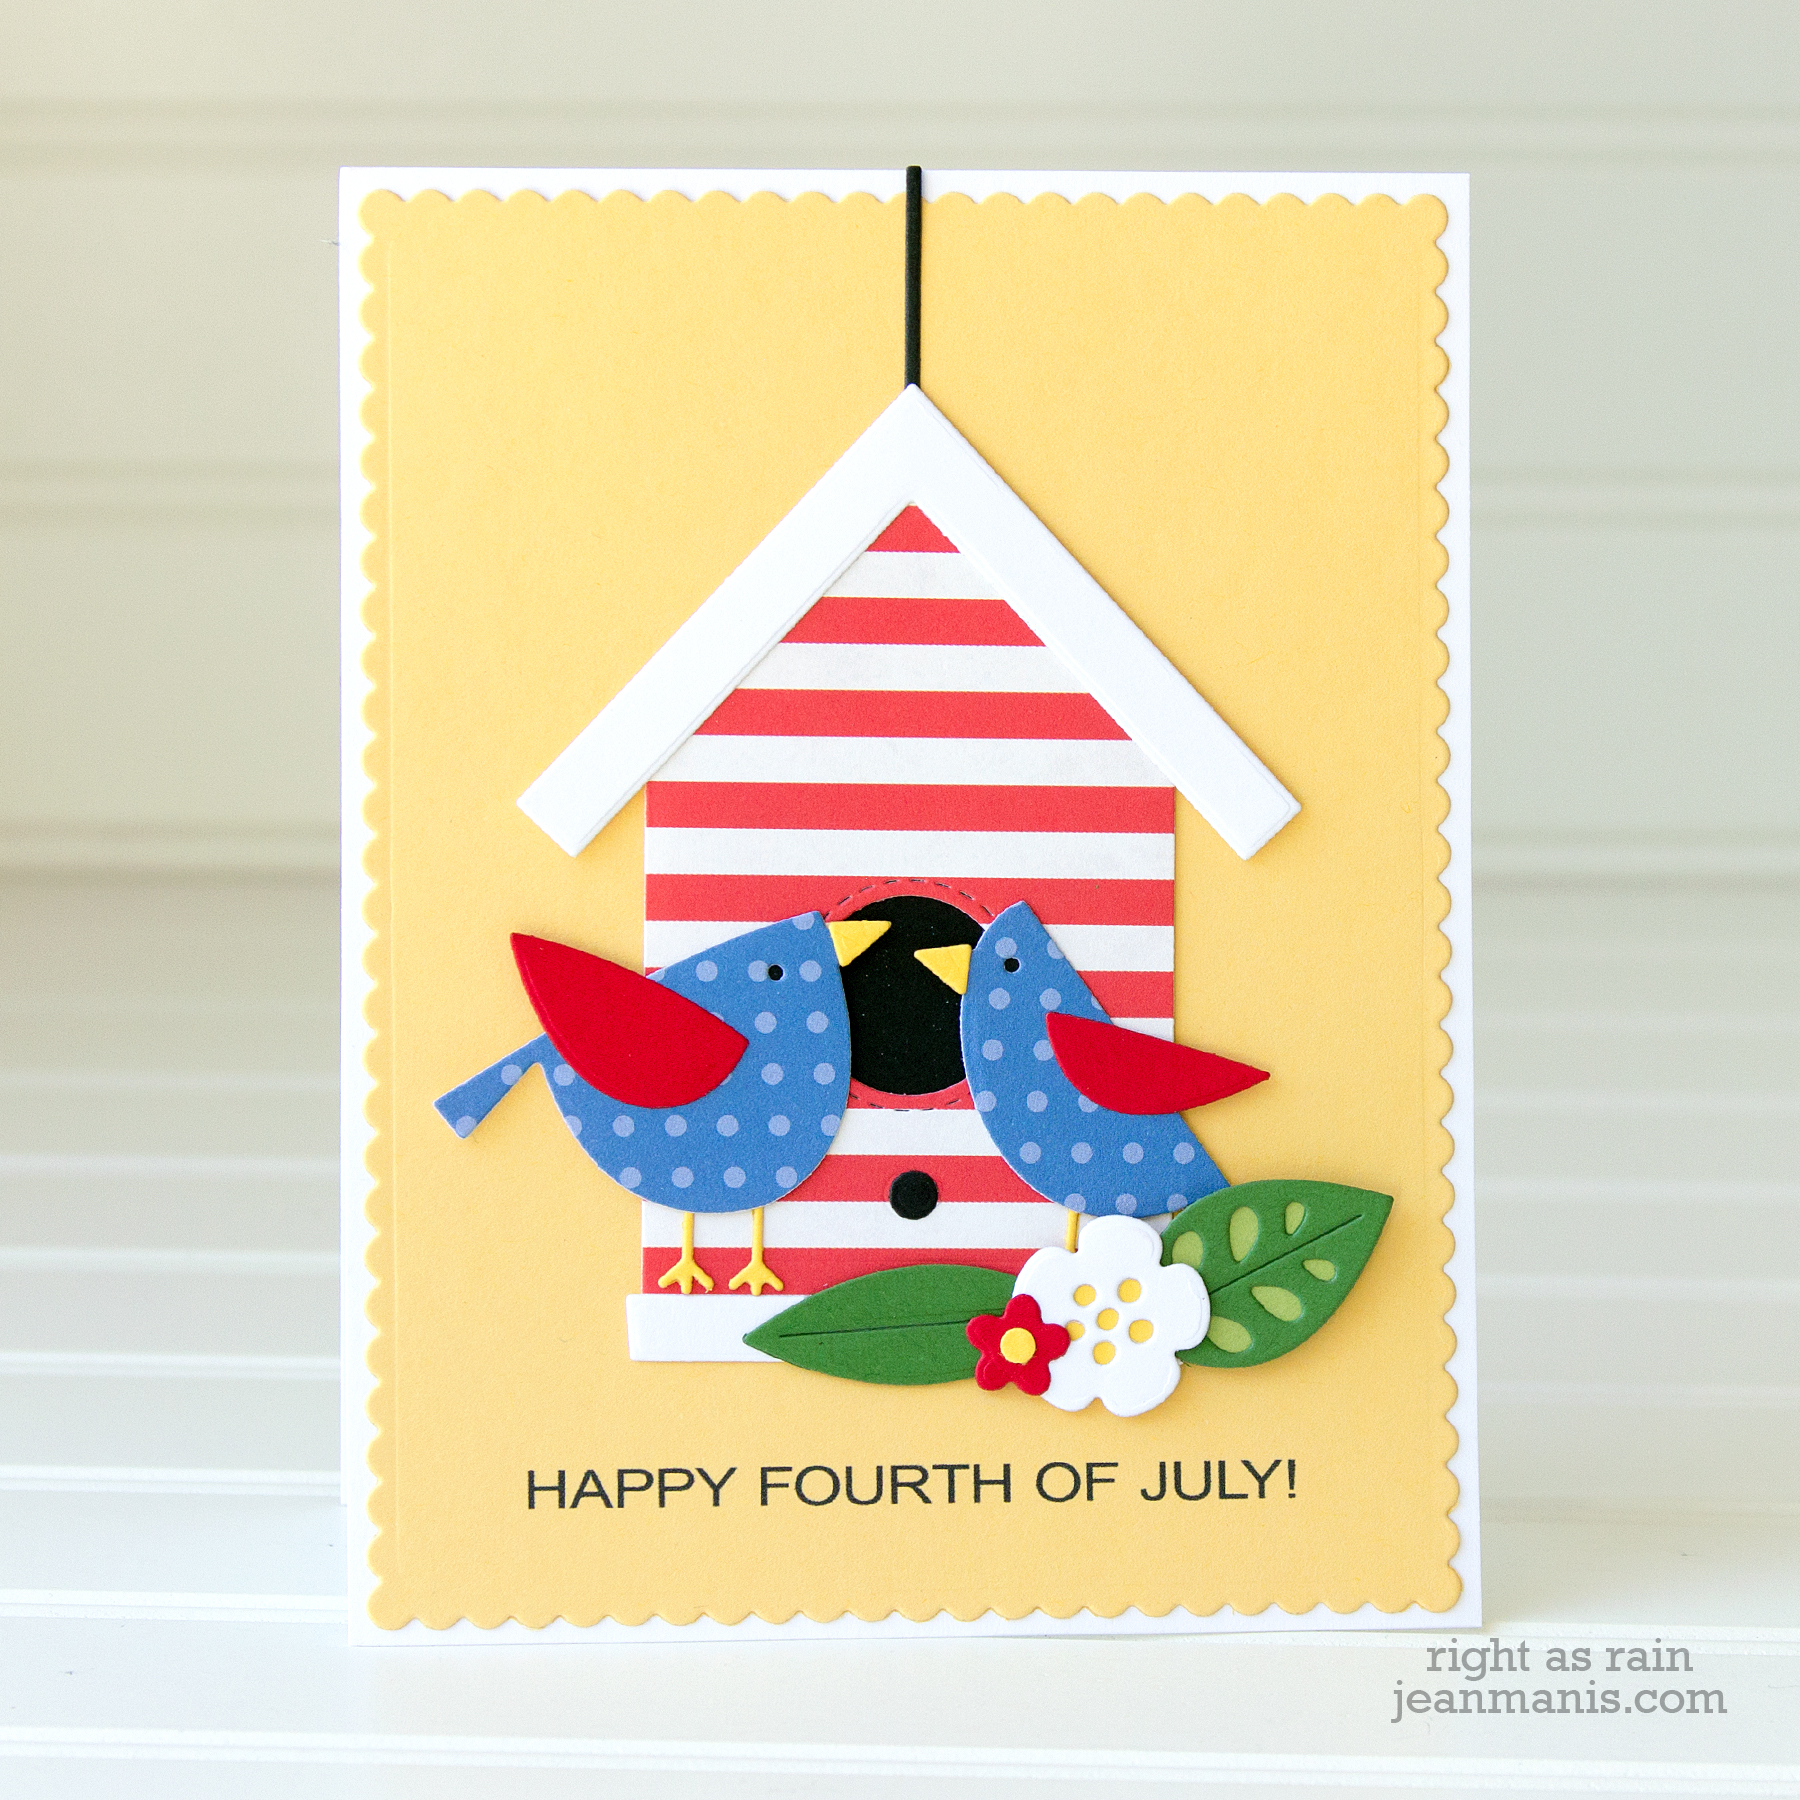
Elizabeth Craft | Charming Birdhouse Scene

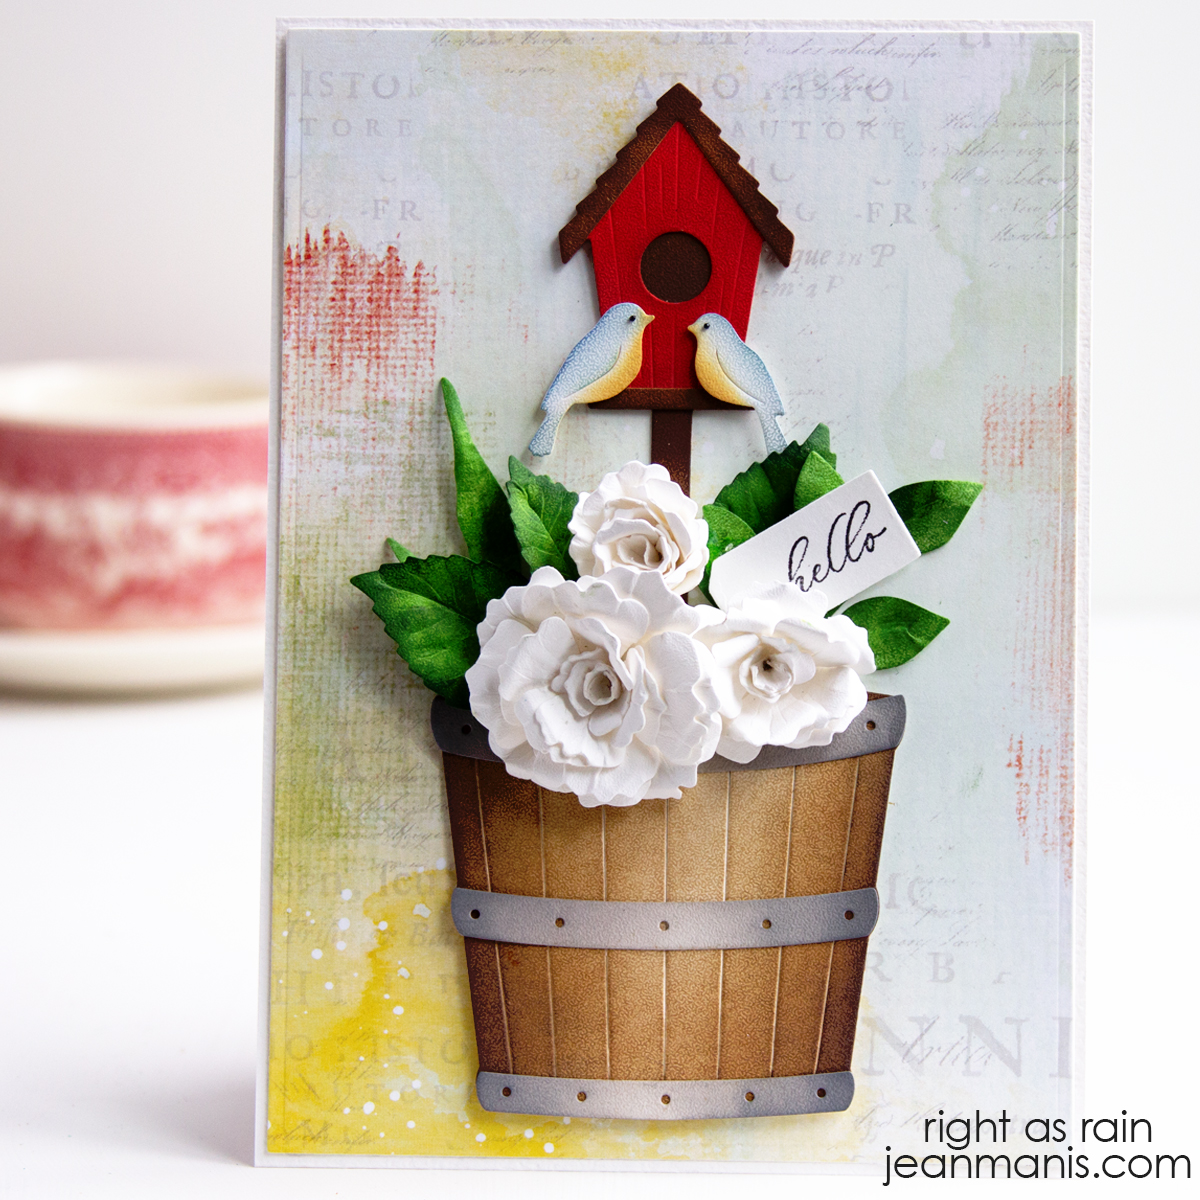
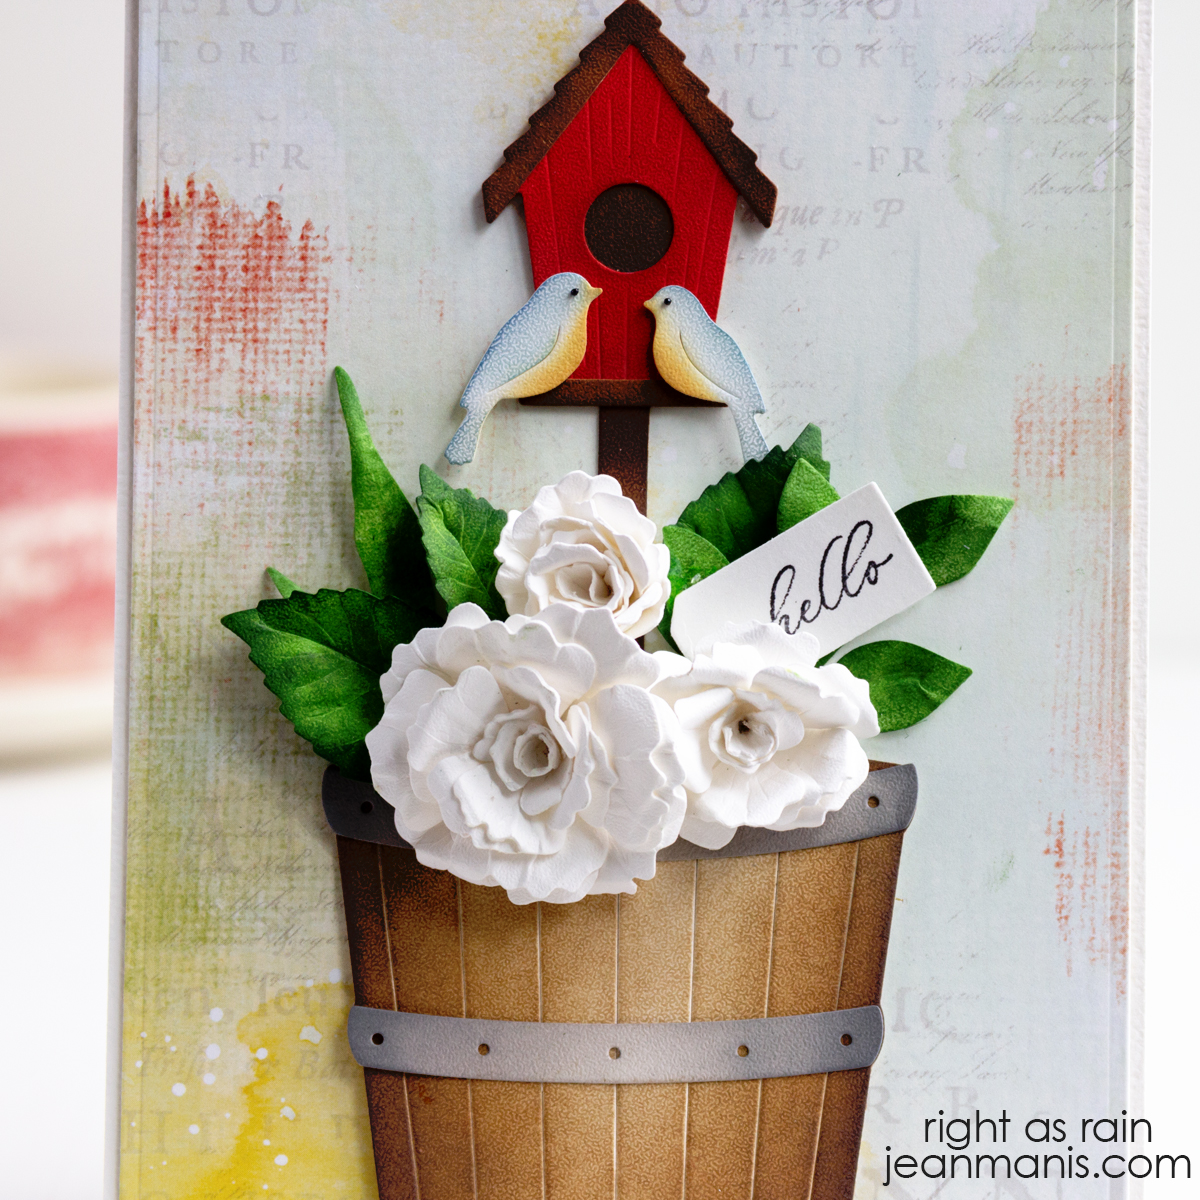
Hello! I’m excited to share a scene I created using Elizabeth Craft Designs die sets. This card features a charming birdhouse with birds and floral elements. I layered everything onto patterned background paper and framed the scene with an elegant frame die. To finish it off, a Hello sentiment on a tag is tucked into the scene. I love the combination of the die-cut elements with the patterned paper.

Elizabeth Craft | Charming Birdhouse Scene

    • To begin, cut the frame from textured white cardstock.
    • Cut the patterned paper (I used a now-retired paper from 49 & Market) to 3 3/4″ x 5 3/4″ and adhere to the frame piece. The frame set contains a die of this size.
    • Cut the birds, birdhouse, and floral elements with dies in the Birds & Dwellings set from Distress watercolor paper that has been colored with Distress Sprays. This technique gives the die-cut pieces a painterly look. Assemble elements and add to the scene. I used a scrap for the birdhouse body that had been colored, stamped, and dry-embossed. (Here is the link to the tag I made with the same supplies 12 years ago! The piece I used for the birdhouse was one of my failed tags.)

Elizabeth Craft | Charming Birdhouse Scene

This was my first time using products in the Everyday Memories Collection (formerly Everyday Elements), and I look forward to using more.