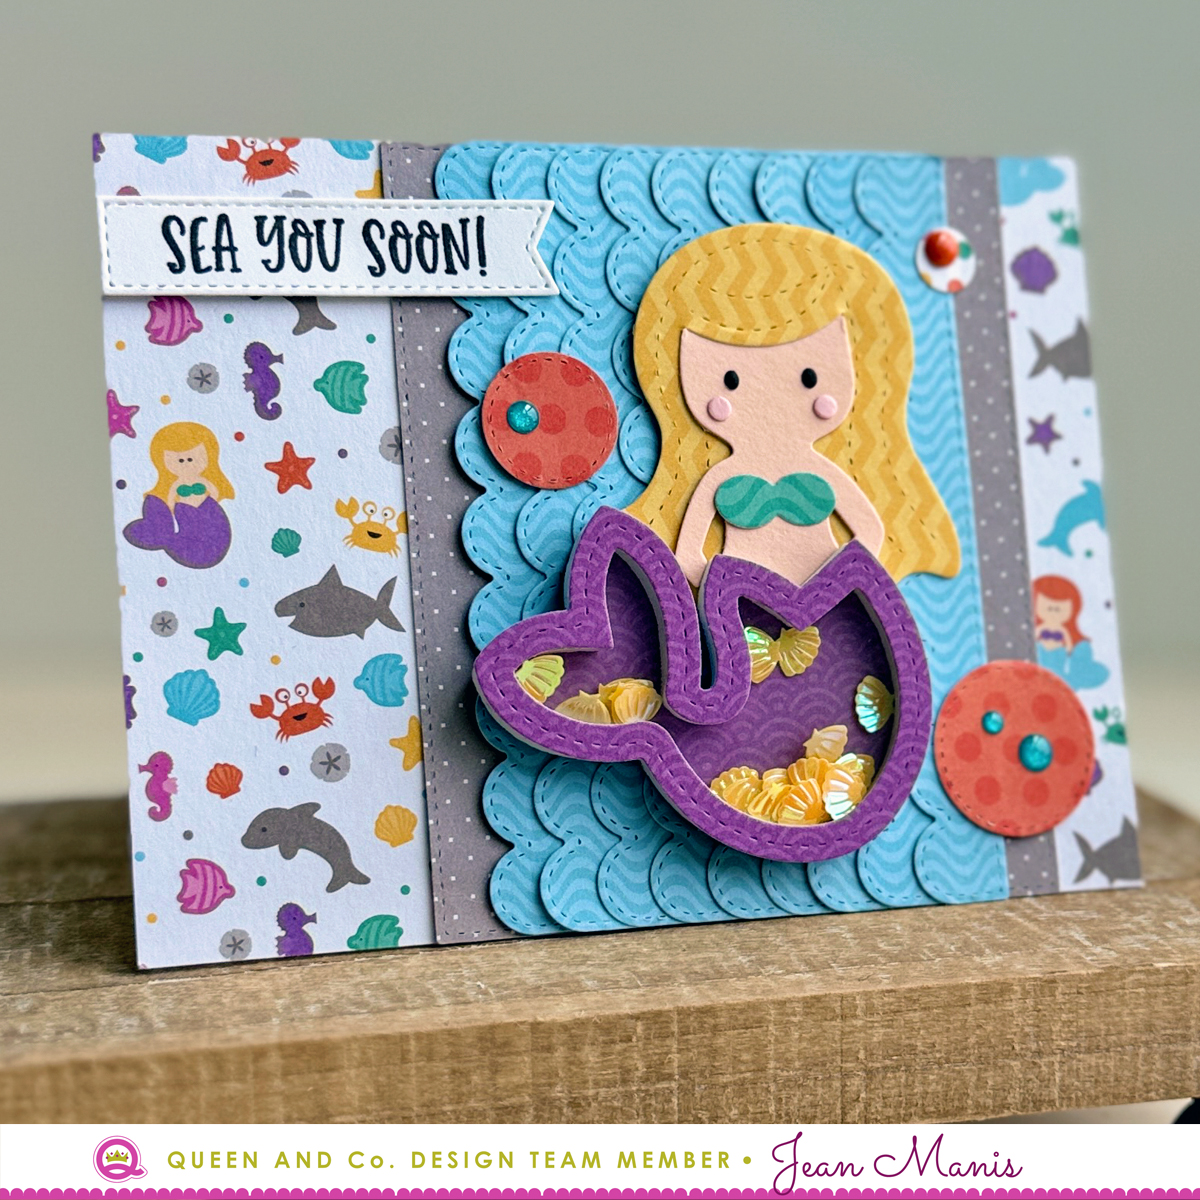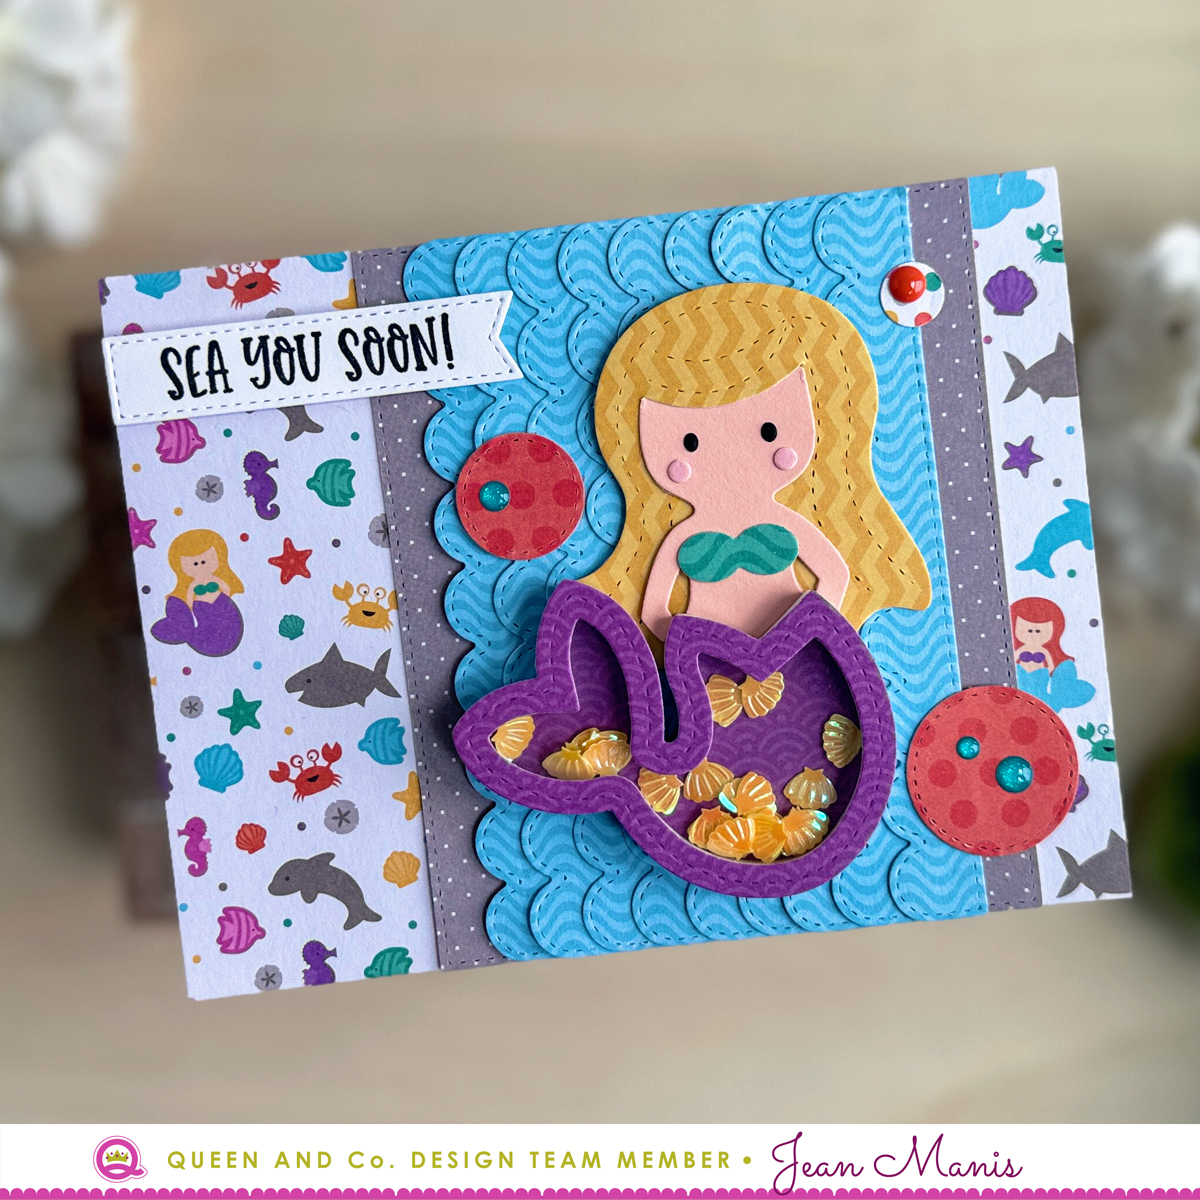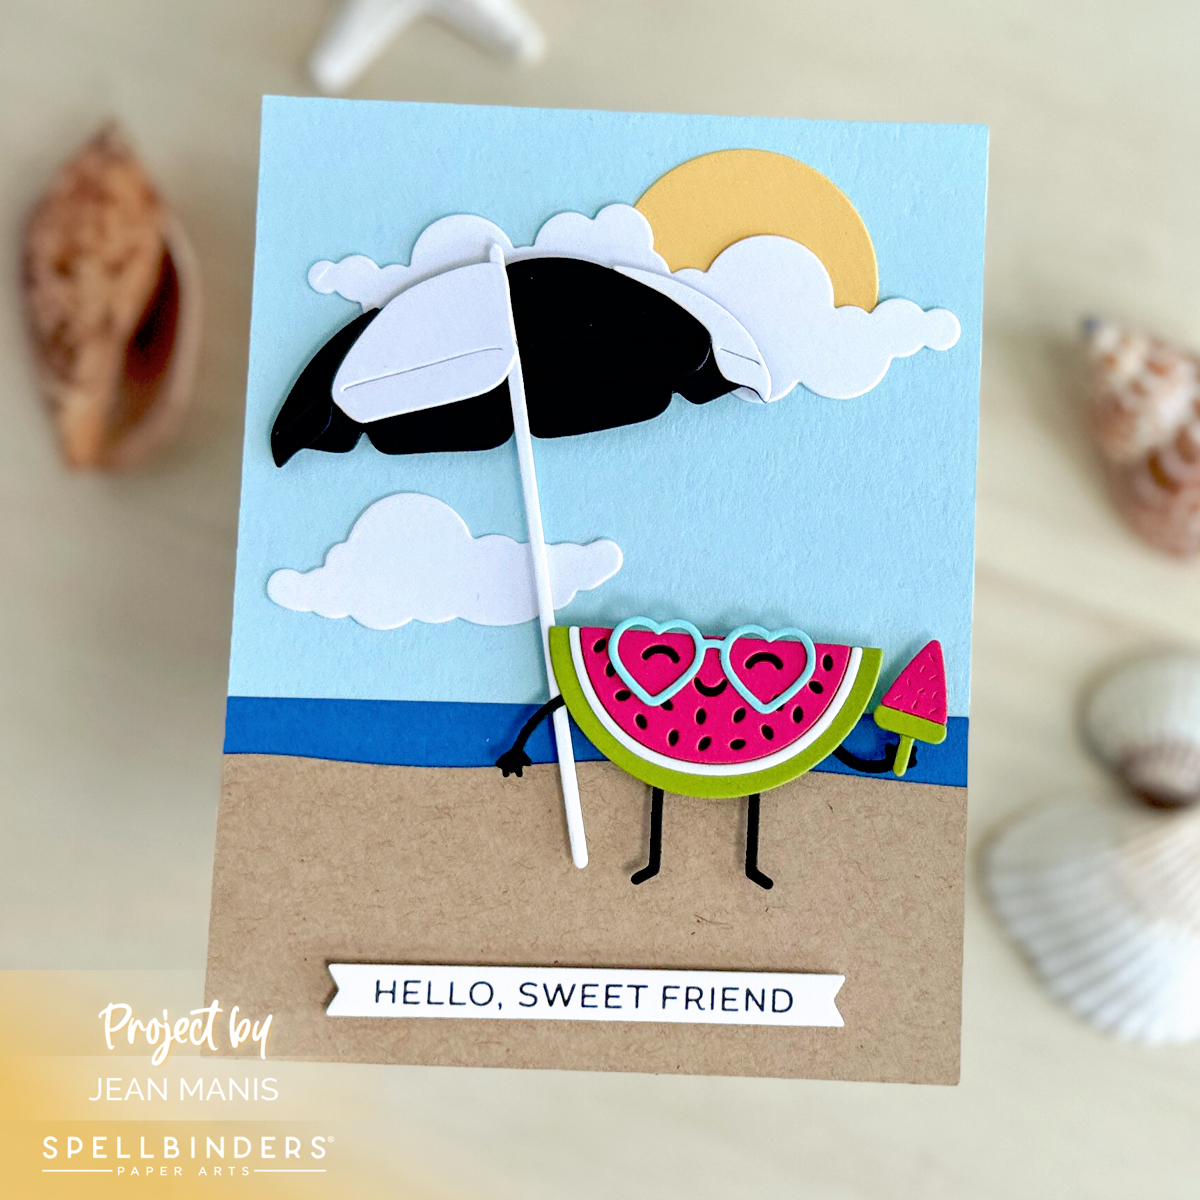
Hello! Today, I am sharing a bright and cheerful summertime card that combines the Deluxe Caboodle Value Club exclusive “Summertime Slice” die set with the Spellbinders June 2024 Large Die of the Month Club Kit. The card features a playful, personified slice of watermelon with the sentiment “hello, sweet friend.” You can see the friendship card I created with the Large Die of the Month Club Kit – “Summertime Vacay” – HERE.
-
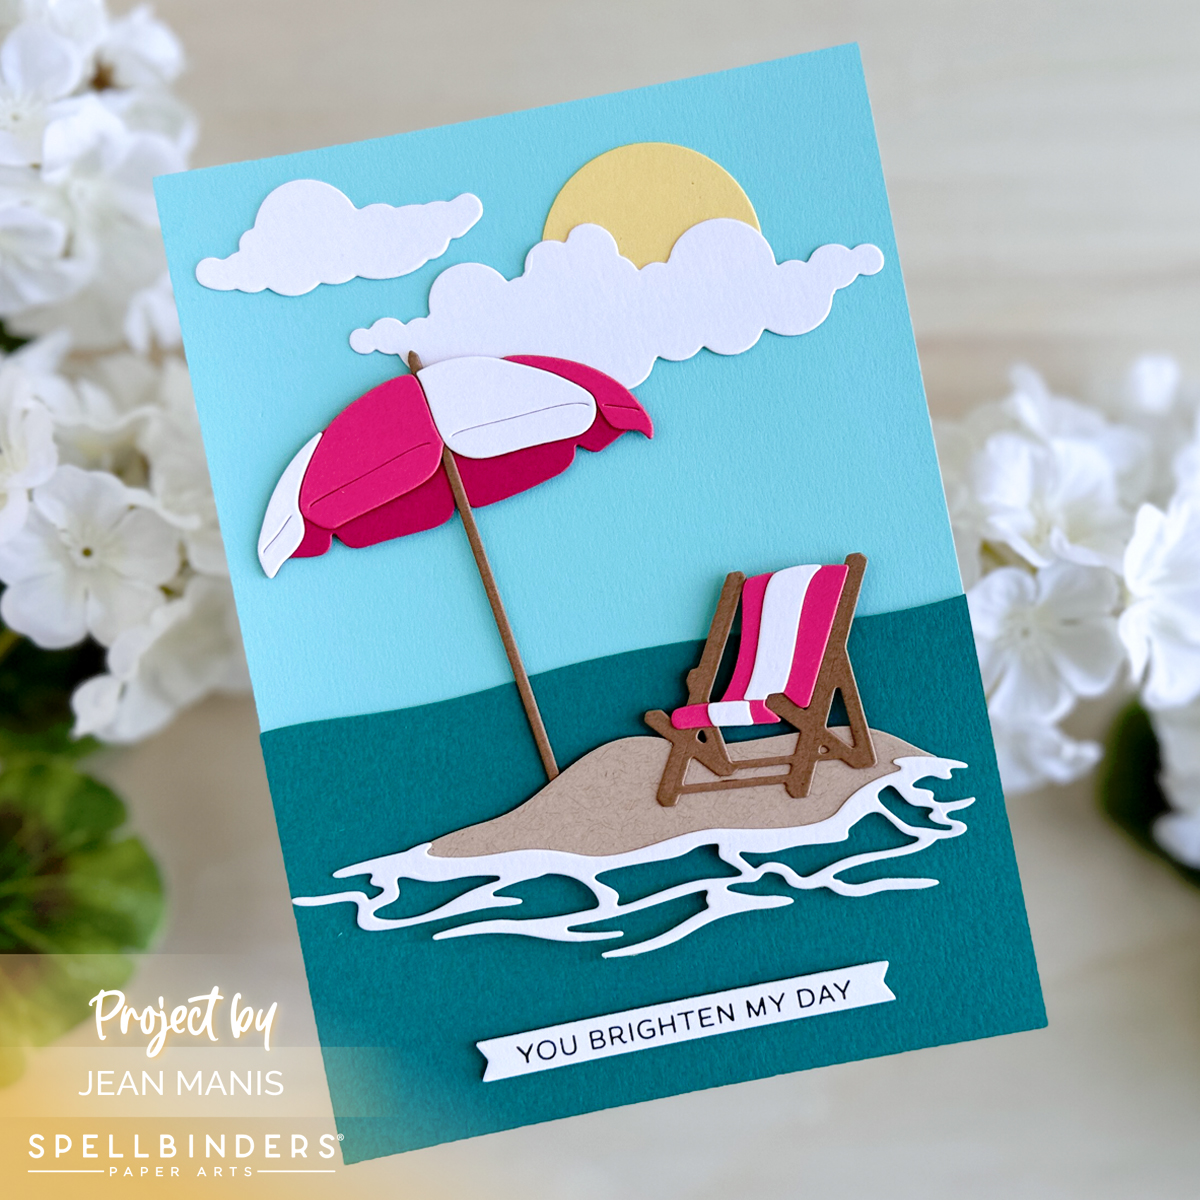
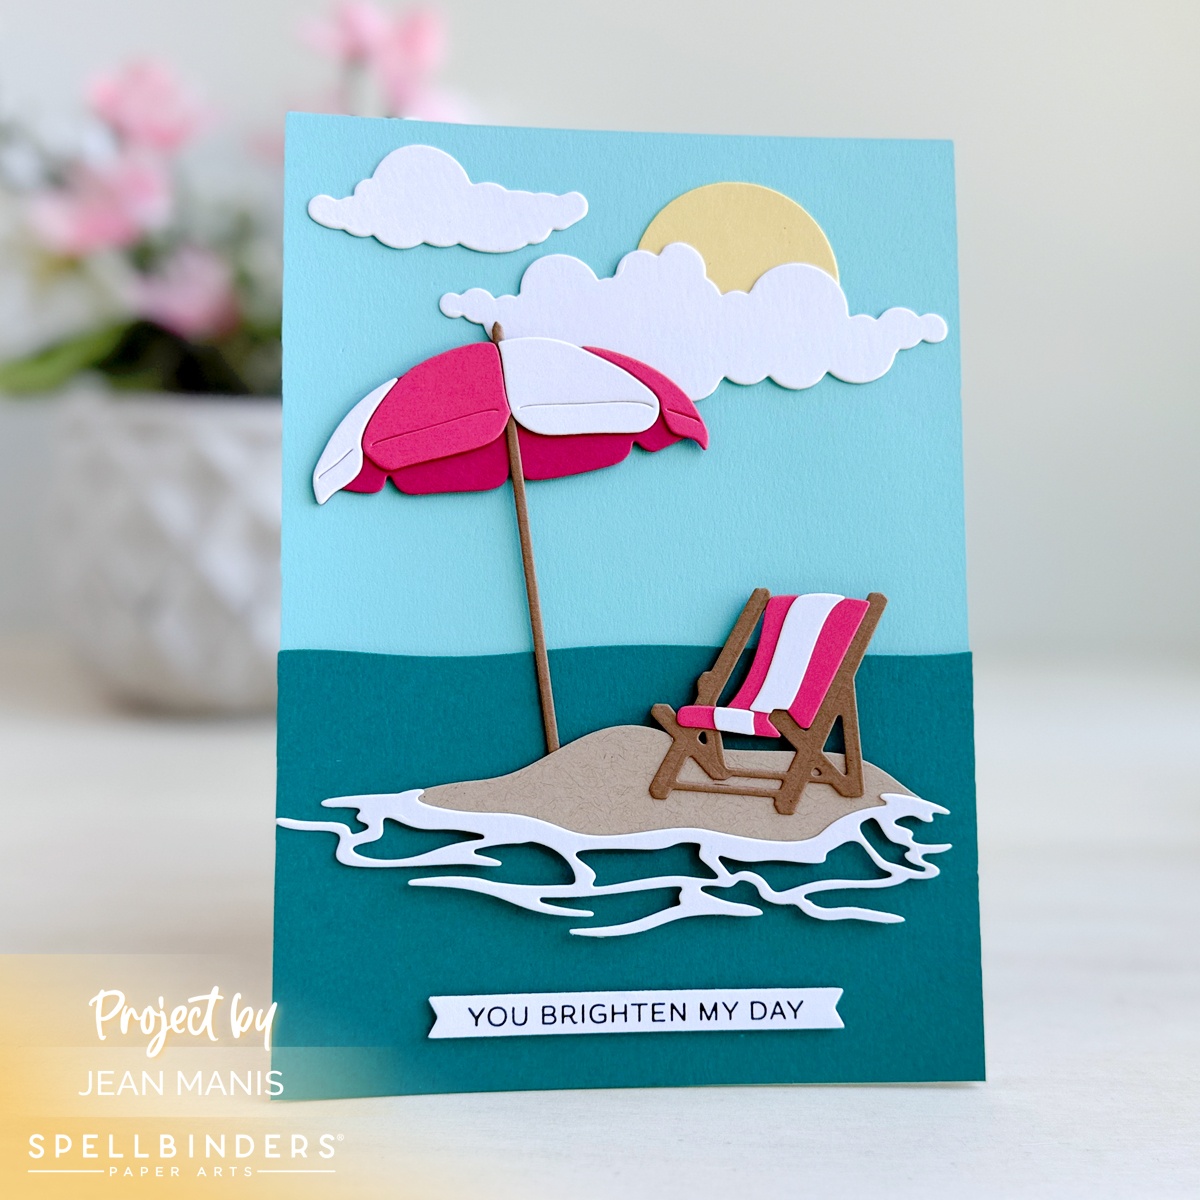
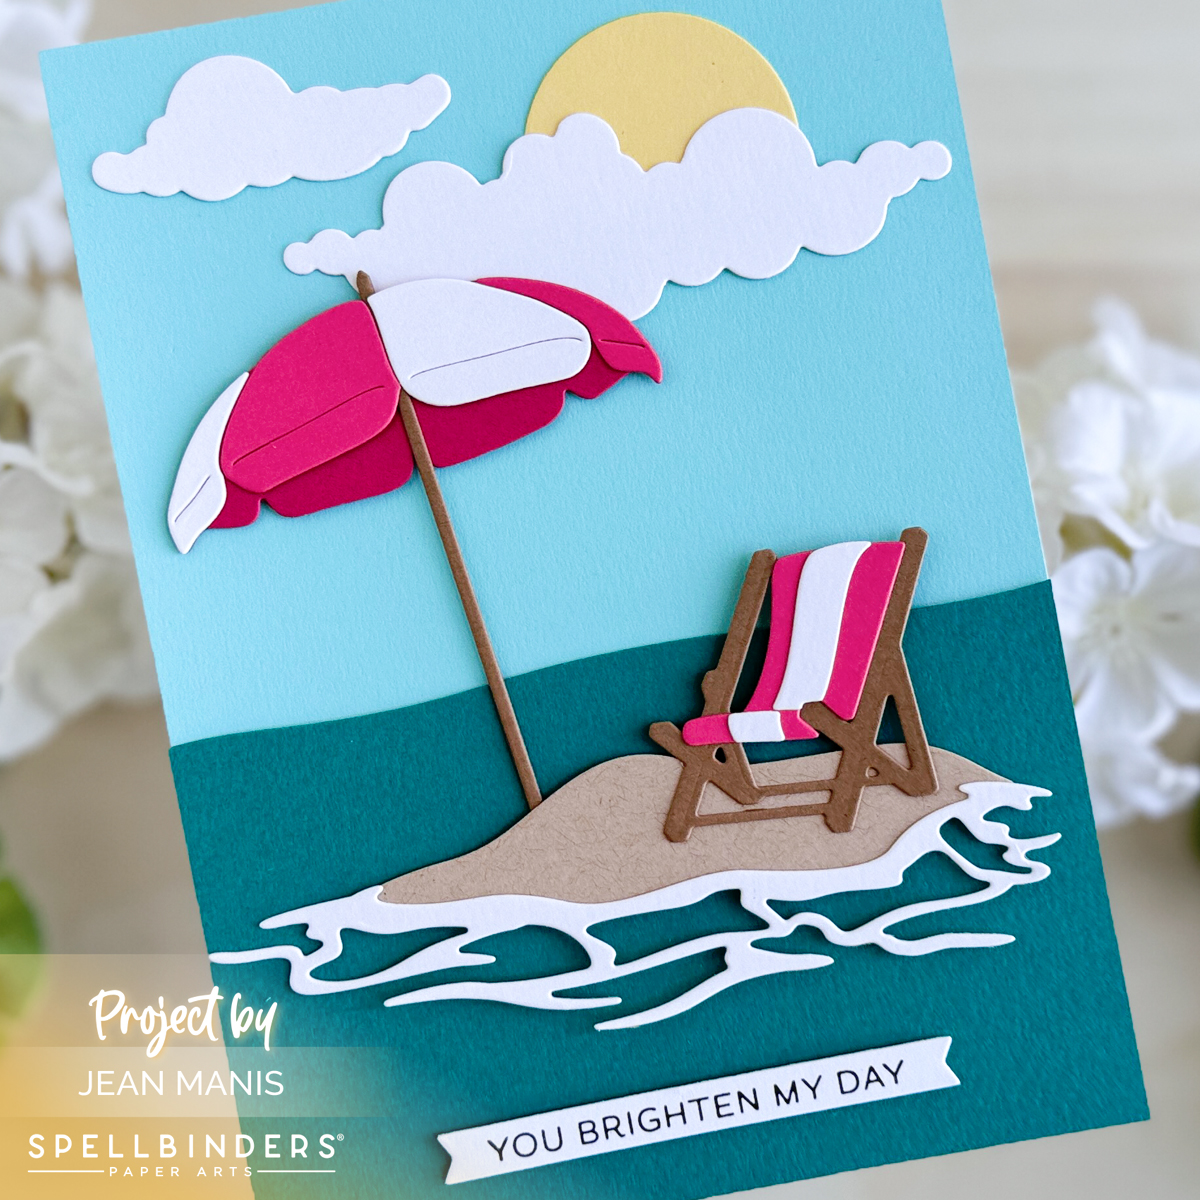
- Create A2 card base using the sky color cardstock.
- Use the wavy die in the Large Die of the Month Club Kit set to cut a sand bank. Add a strip of blue cardstock to represent the ocean behind the sand. Trim the elements to 4 1/4″ wide and add the assembly to the card base.
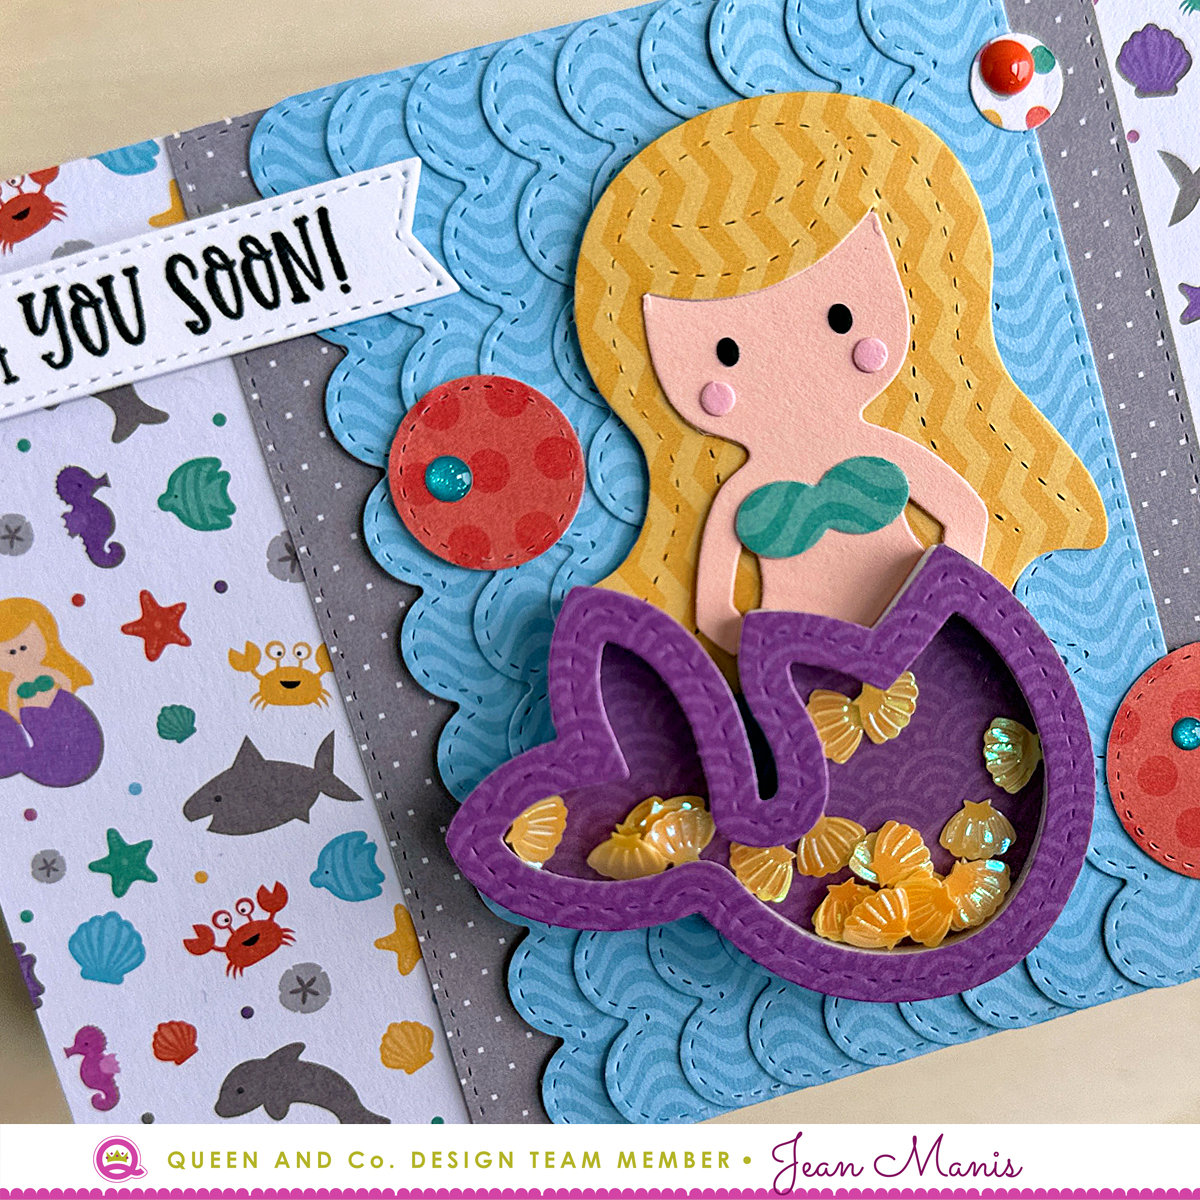
- Use the “Summertime Slice” die and Large Die of the Month Club Kit to create the watermelon slice, umbrella, sun, and clouds; assemble.
- Press the Always and Forever sentiment on Snowdrift cardstock in Black ink; cut with coordinating die set.
- Add elements to card with dot and foam adhesive.
Spellbinders is giving away one Lilac Shimmer Scout & Platinum 6 Die Cutting Machine Bundle! The entry period for the sweepstakes is June 3-30, 2024.