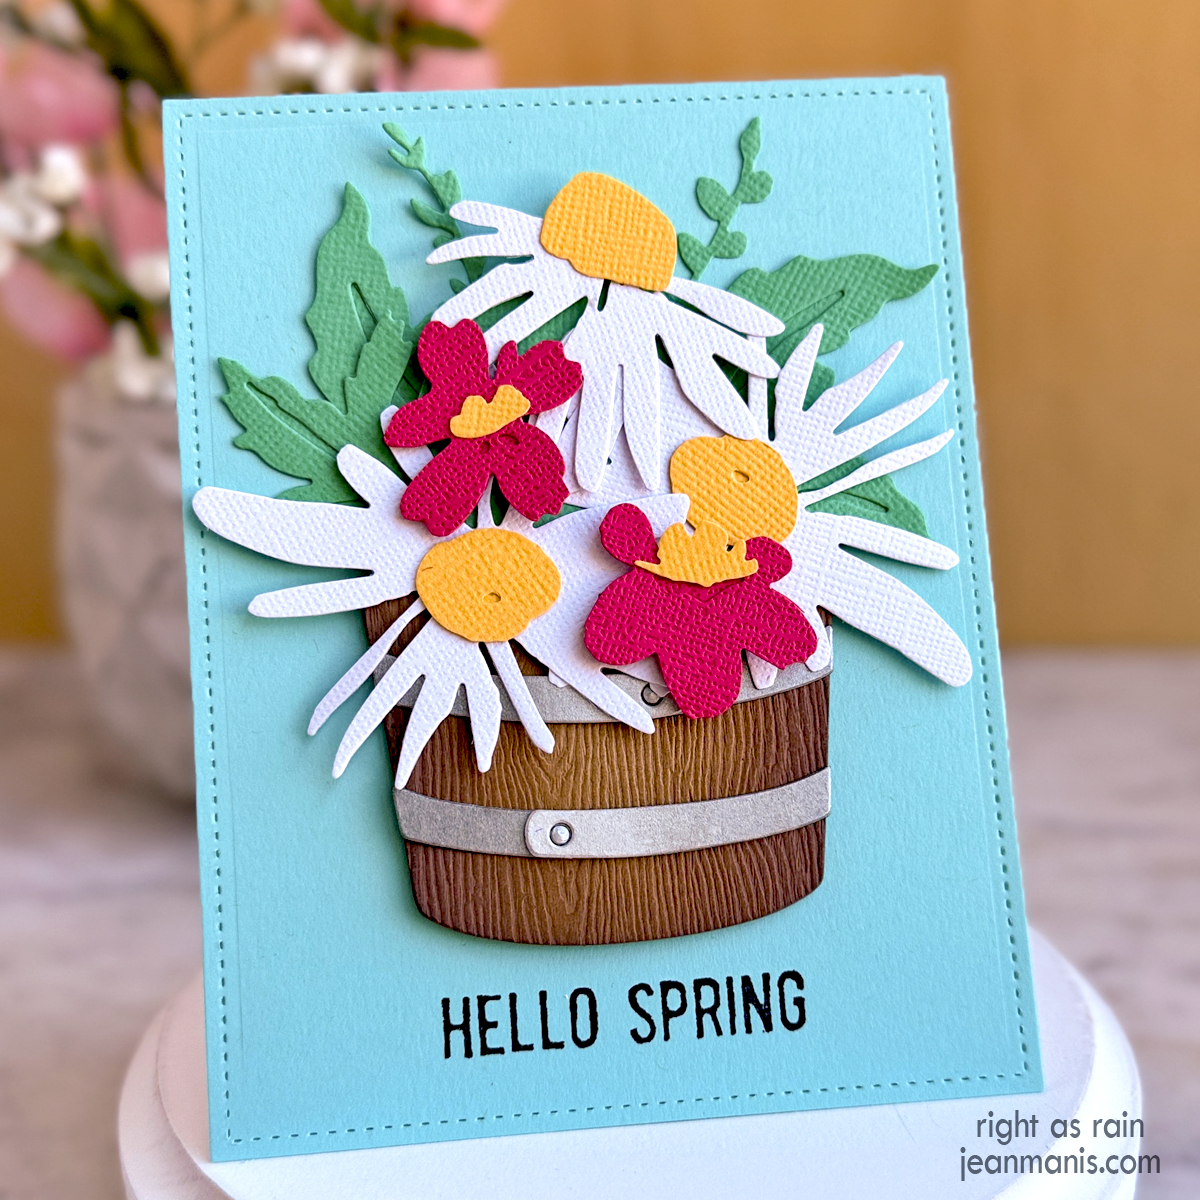
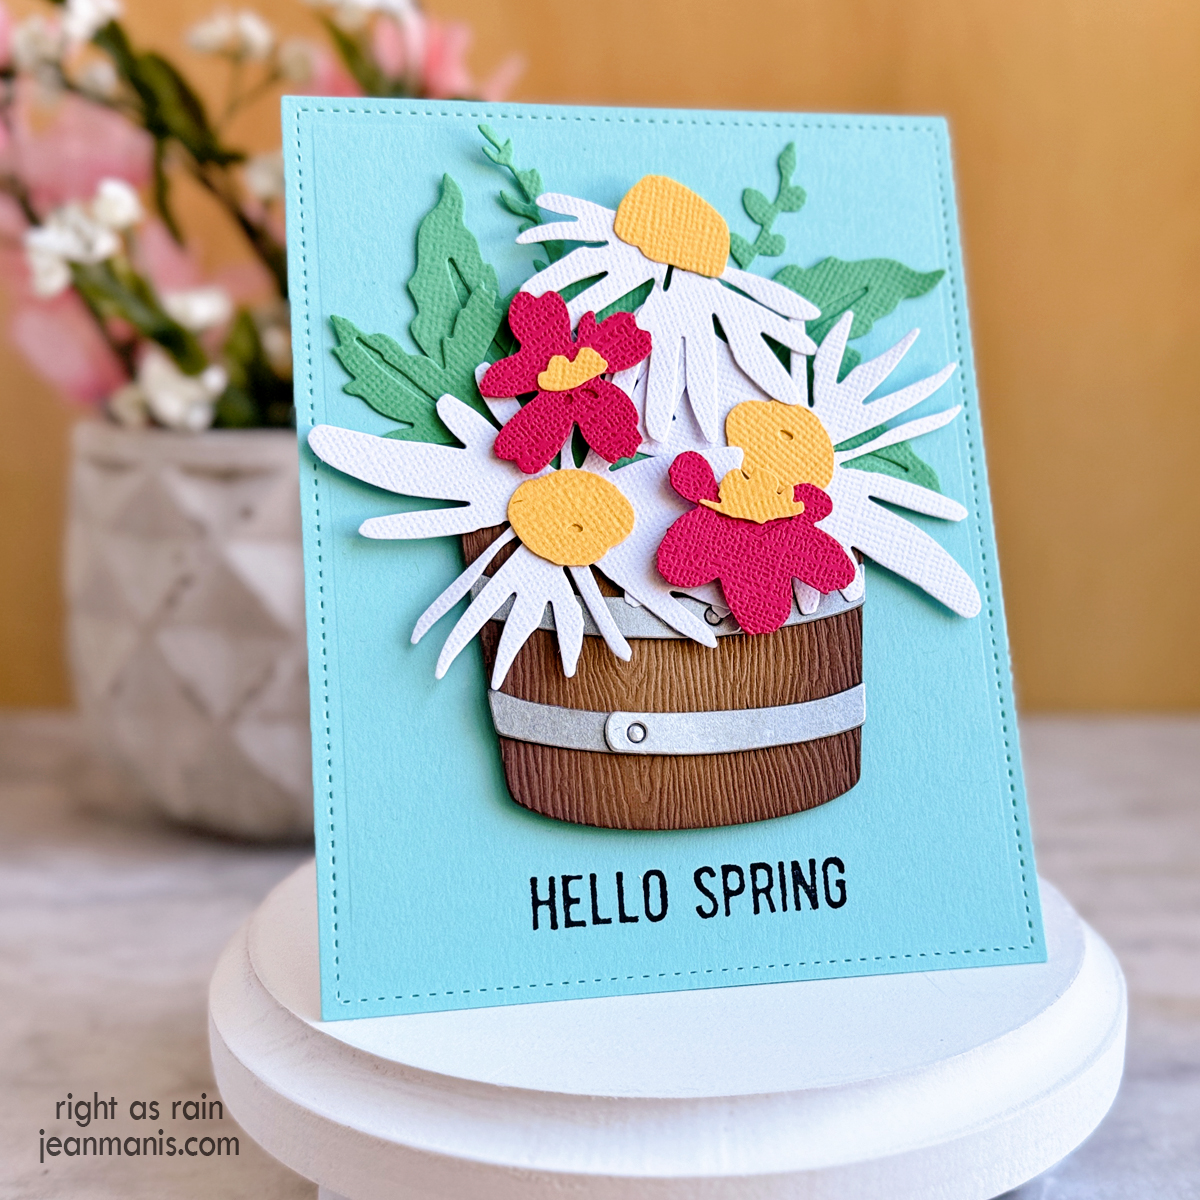
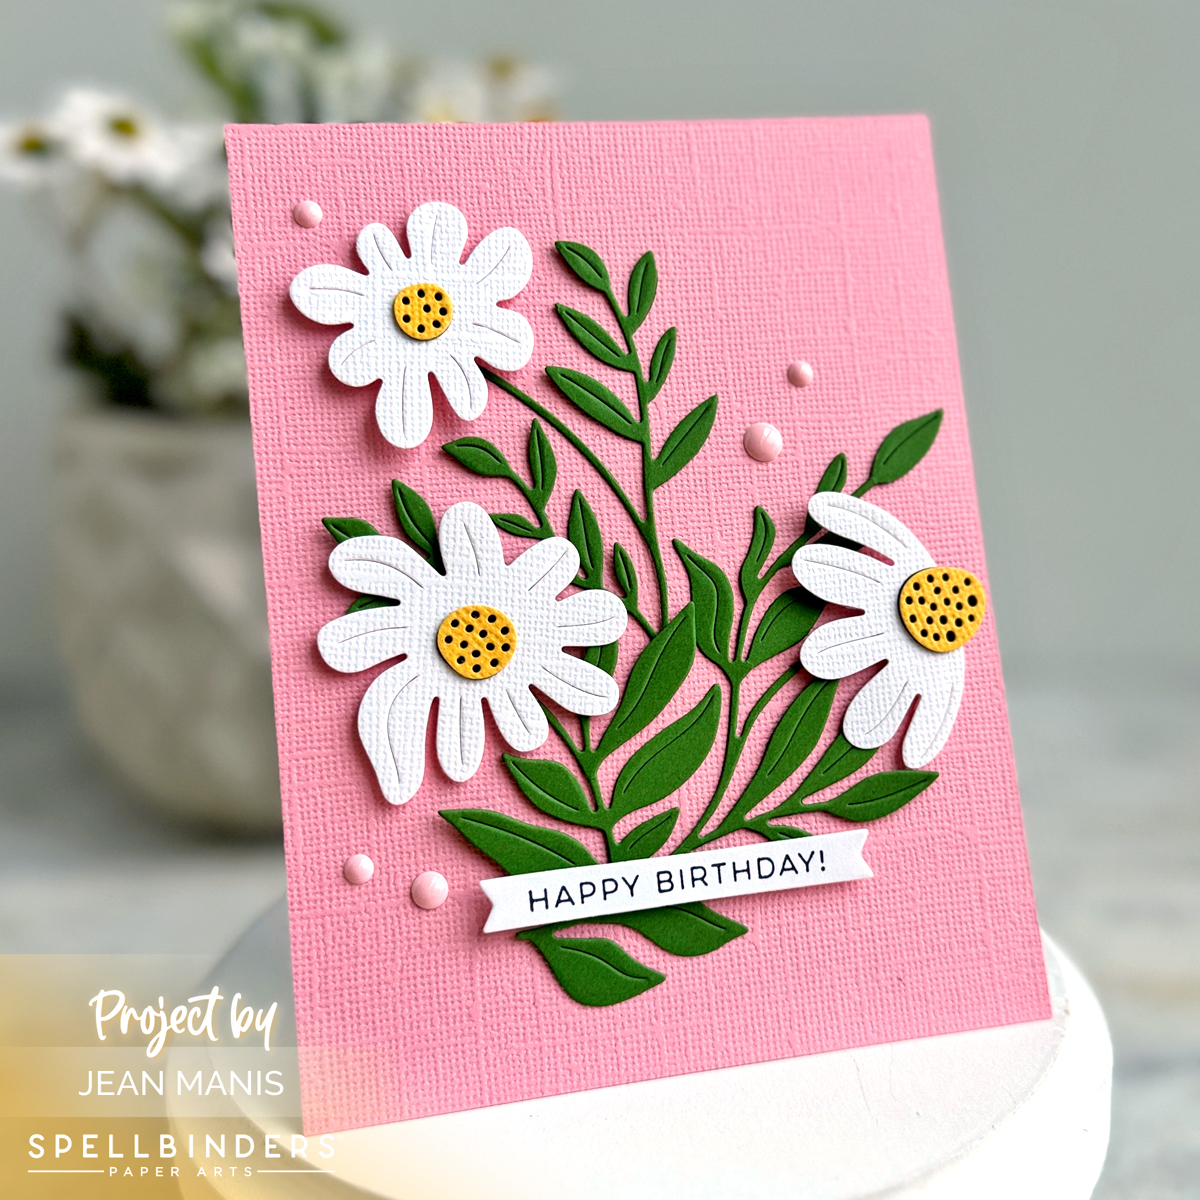
Hello! Today, I am sharing a floral birthday card created with the Spellbinders Fresh Picked Daisies die set paired with a BetterPressed sentiment. As I have mentioned before, following Christmas cards, birthday cards are the type I send most frequently.
-
- Create an A2-sized card base and cover with textured pink cardstock.
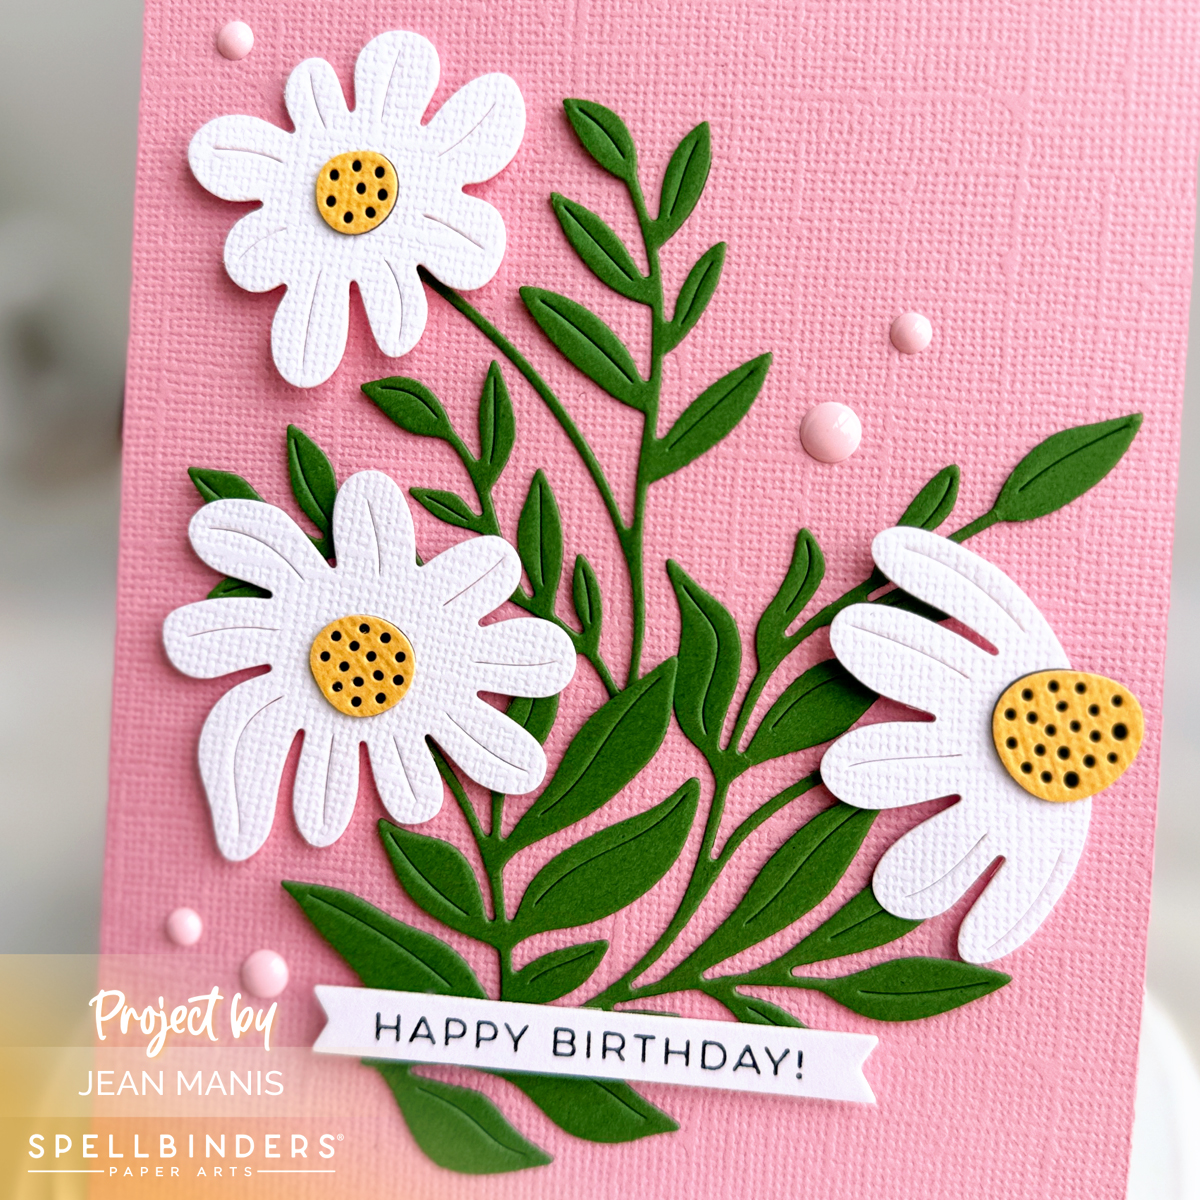
- With the Fresh Picked Daisies set, cut the daisy flowers and stems from cardstock. Assemble. Fussy-cut stems. Add assembled florals to card base.
- Press the Let’s Celebrate Sentiments sentiment in black on Snowdrift cardstock. Cut with a banner die (I used a die included in a glimmer sentiment set).
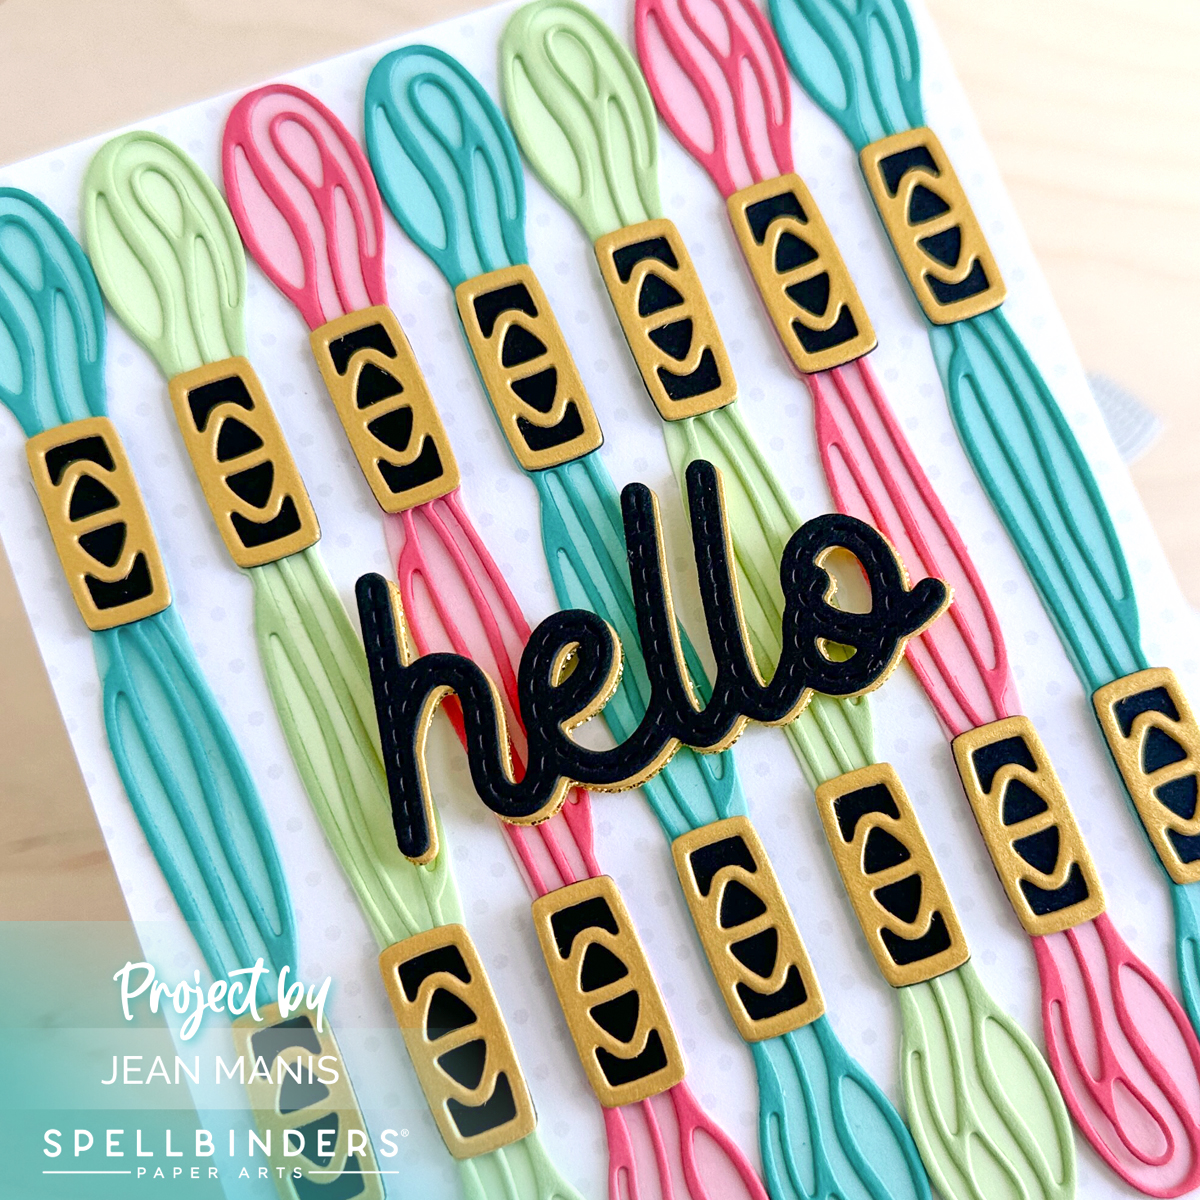
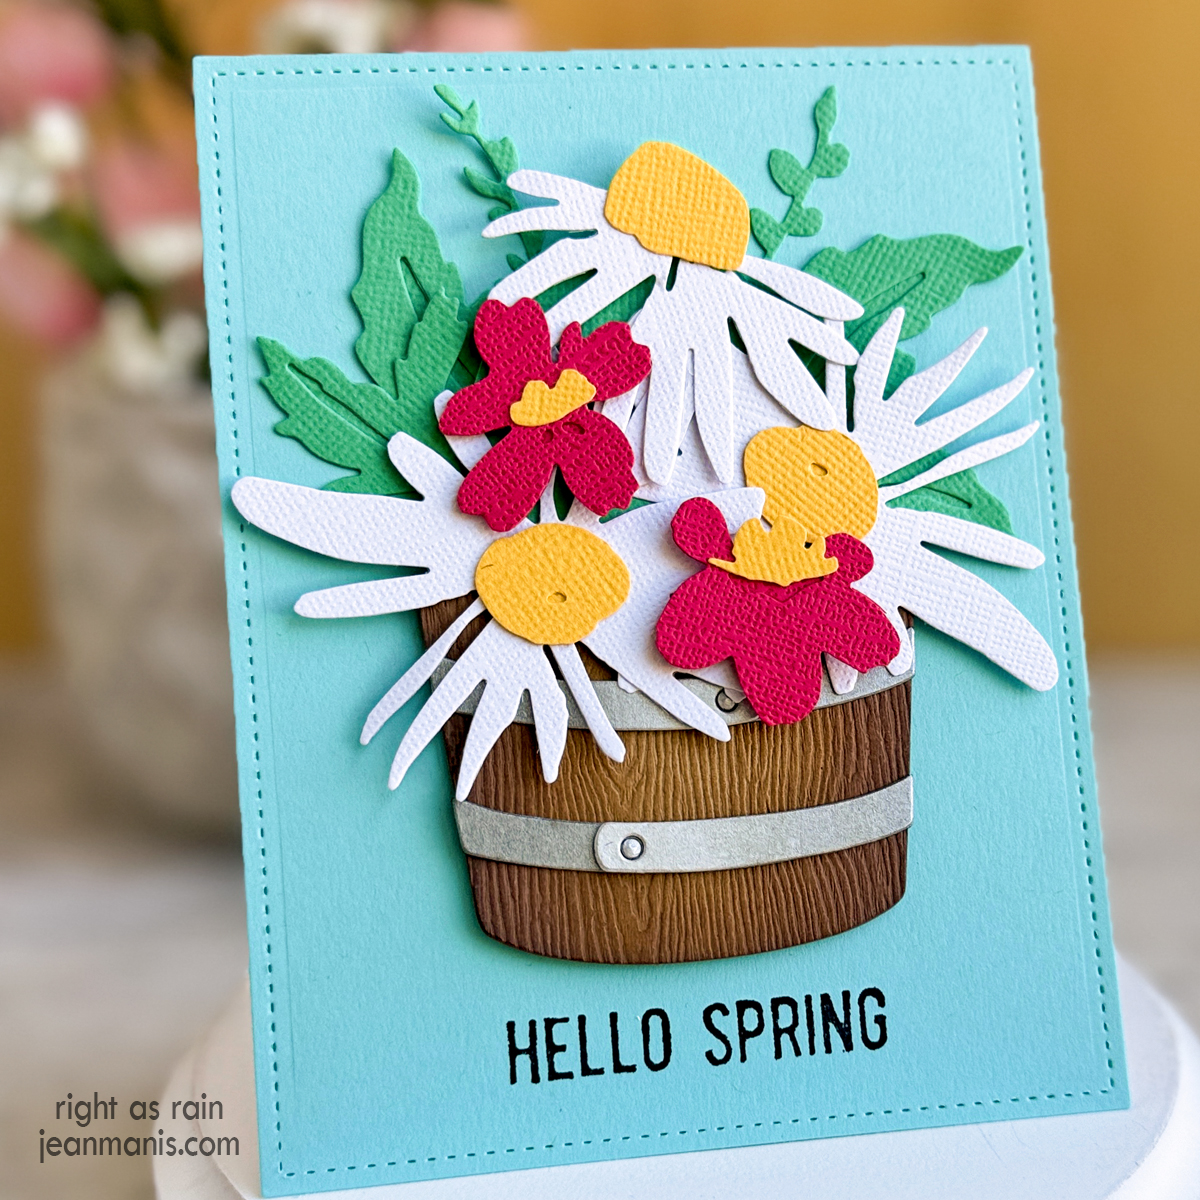
- Step into a world of daisy-infused birthday delight! With intricate die cuts and heartfelt sentiments, our handmade card promises to add a touch of warmth and charm to any celebration. Let’s dive into the creative journey behind this exquisite creation!
- Add the sentiment to the card with foam adhesive.
- Embellish with enamel dots.

 The
The