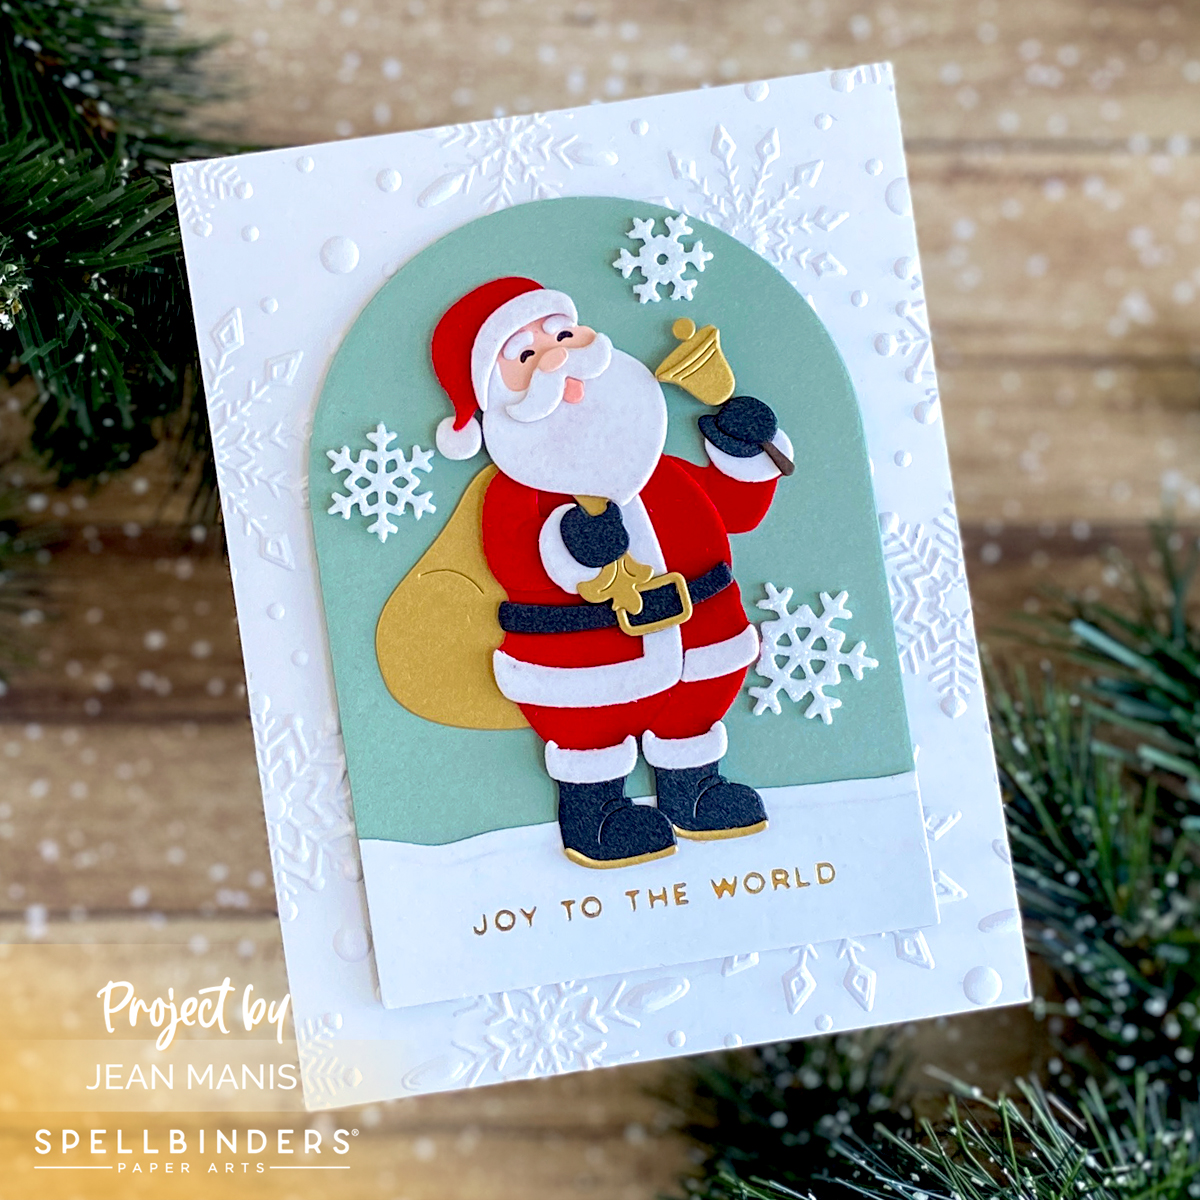
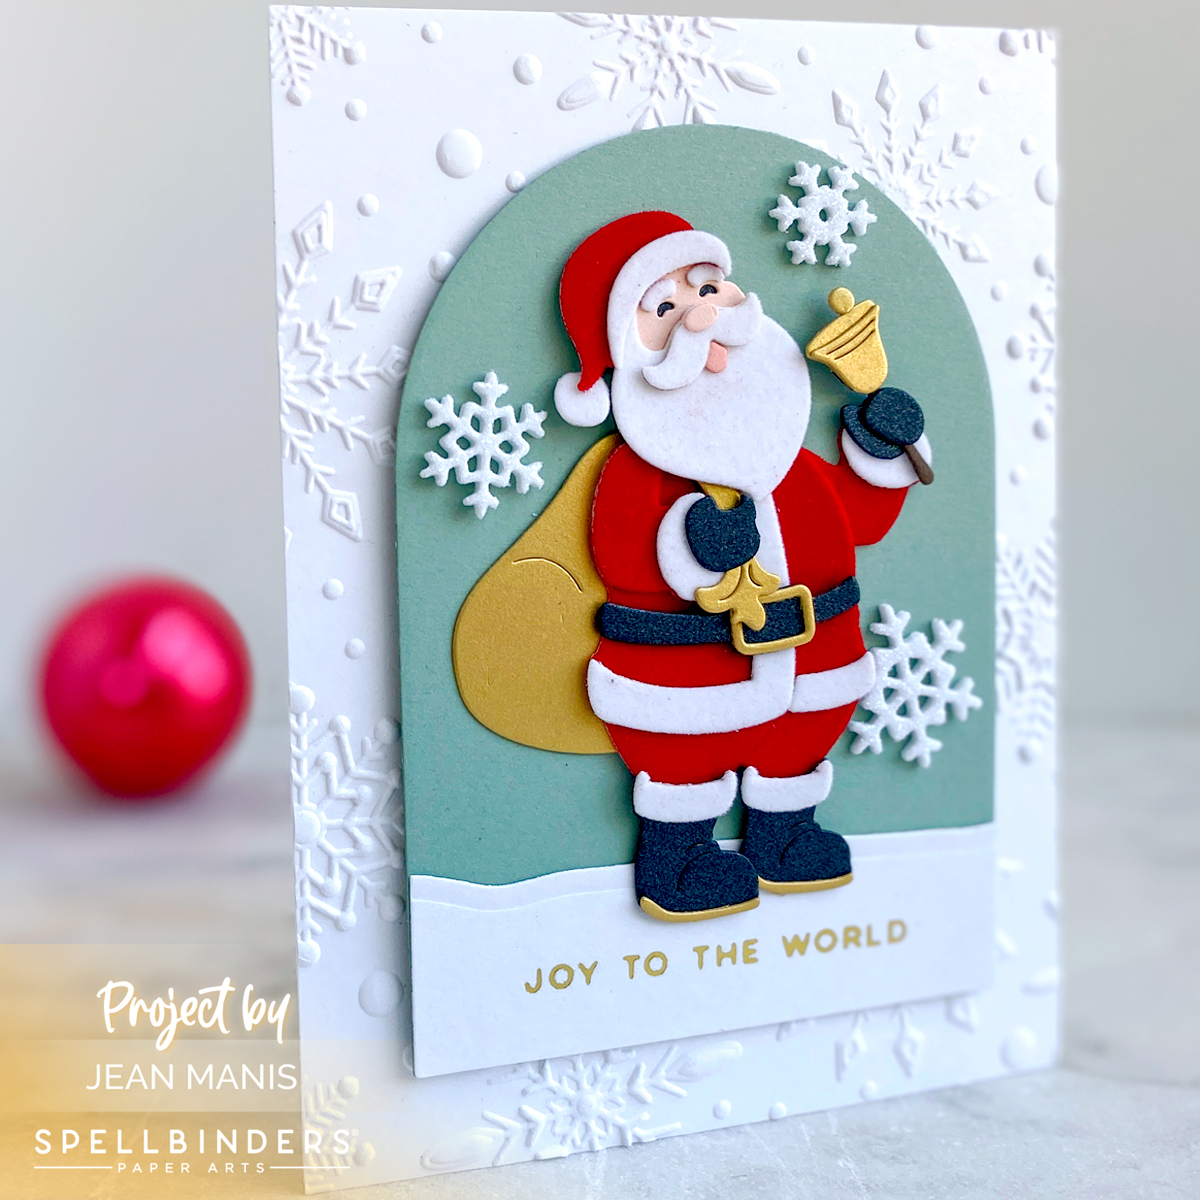
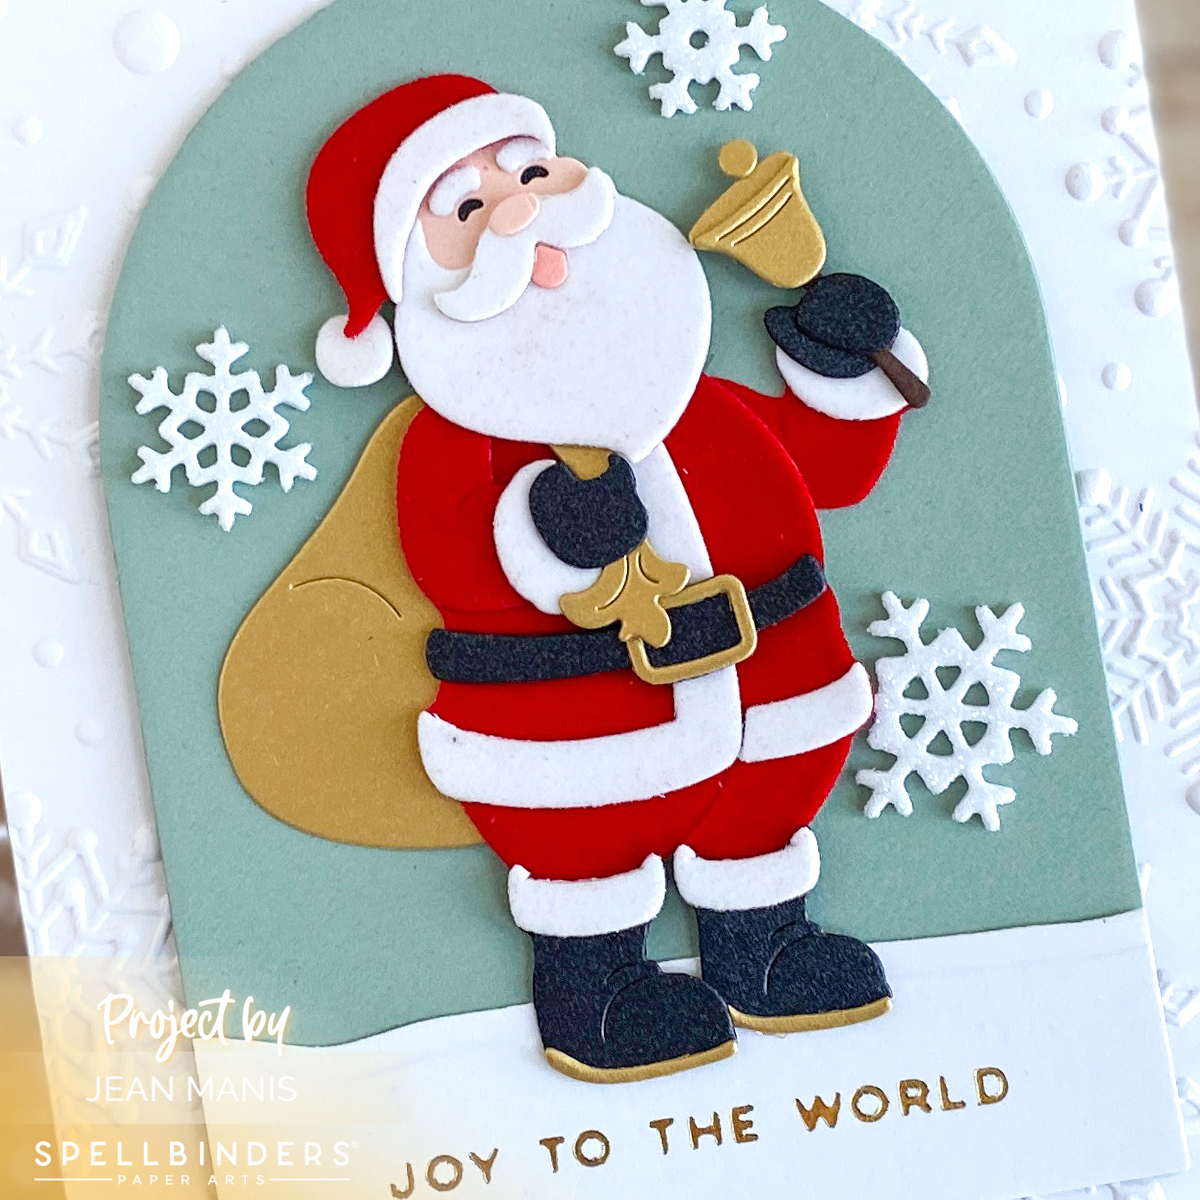
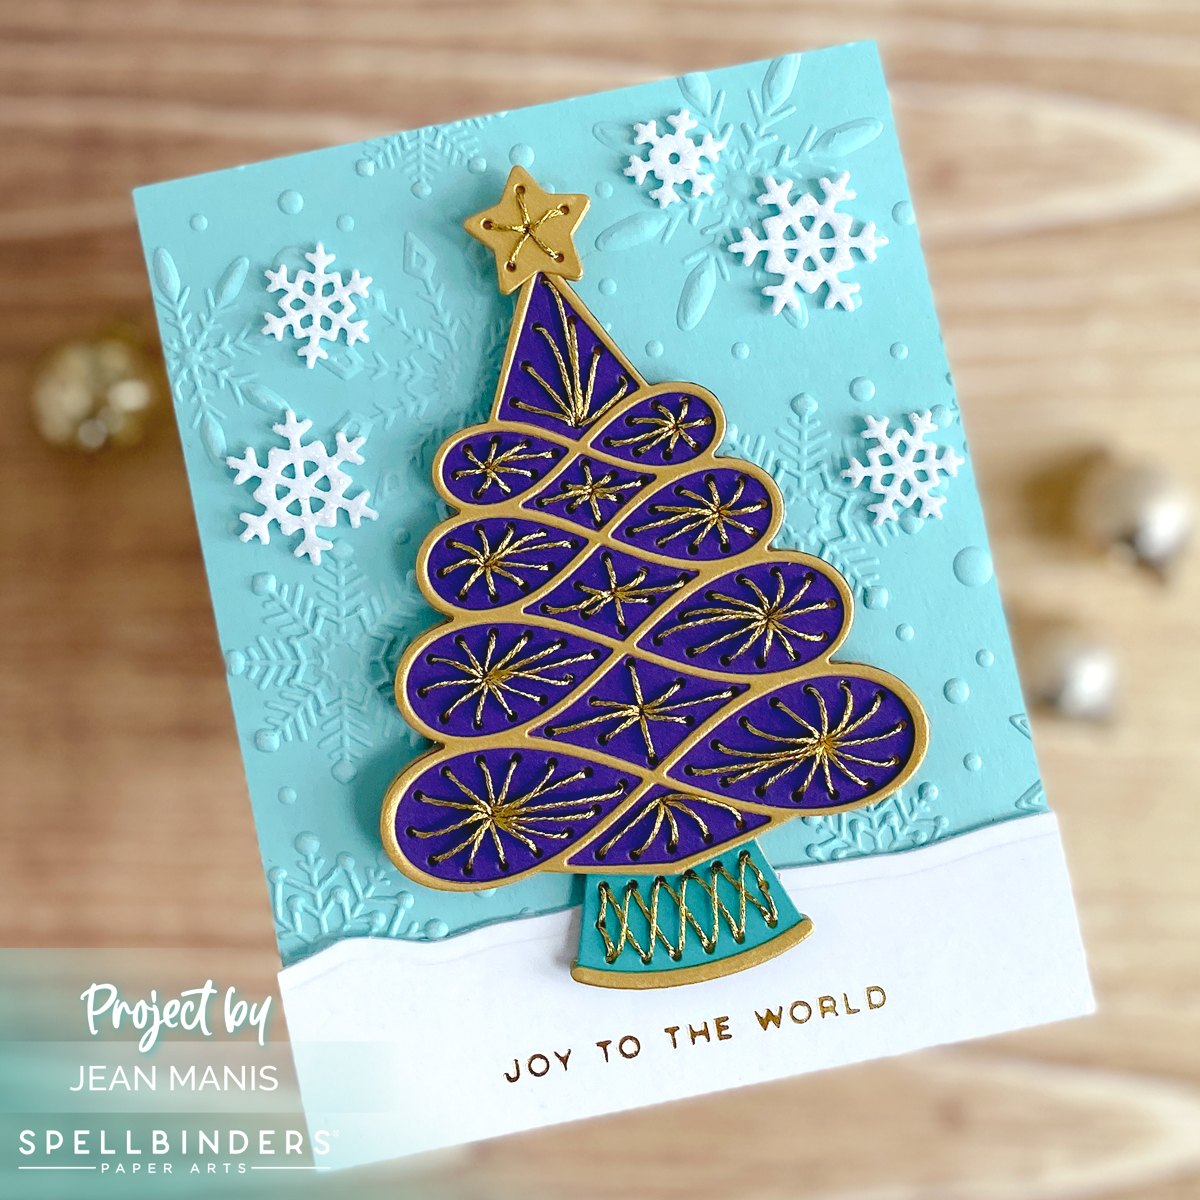
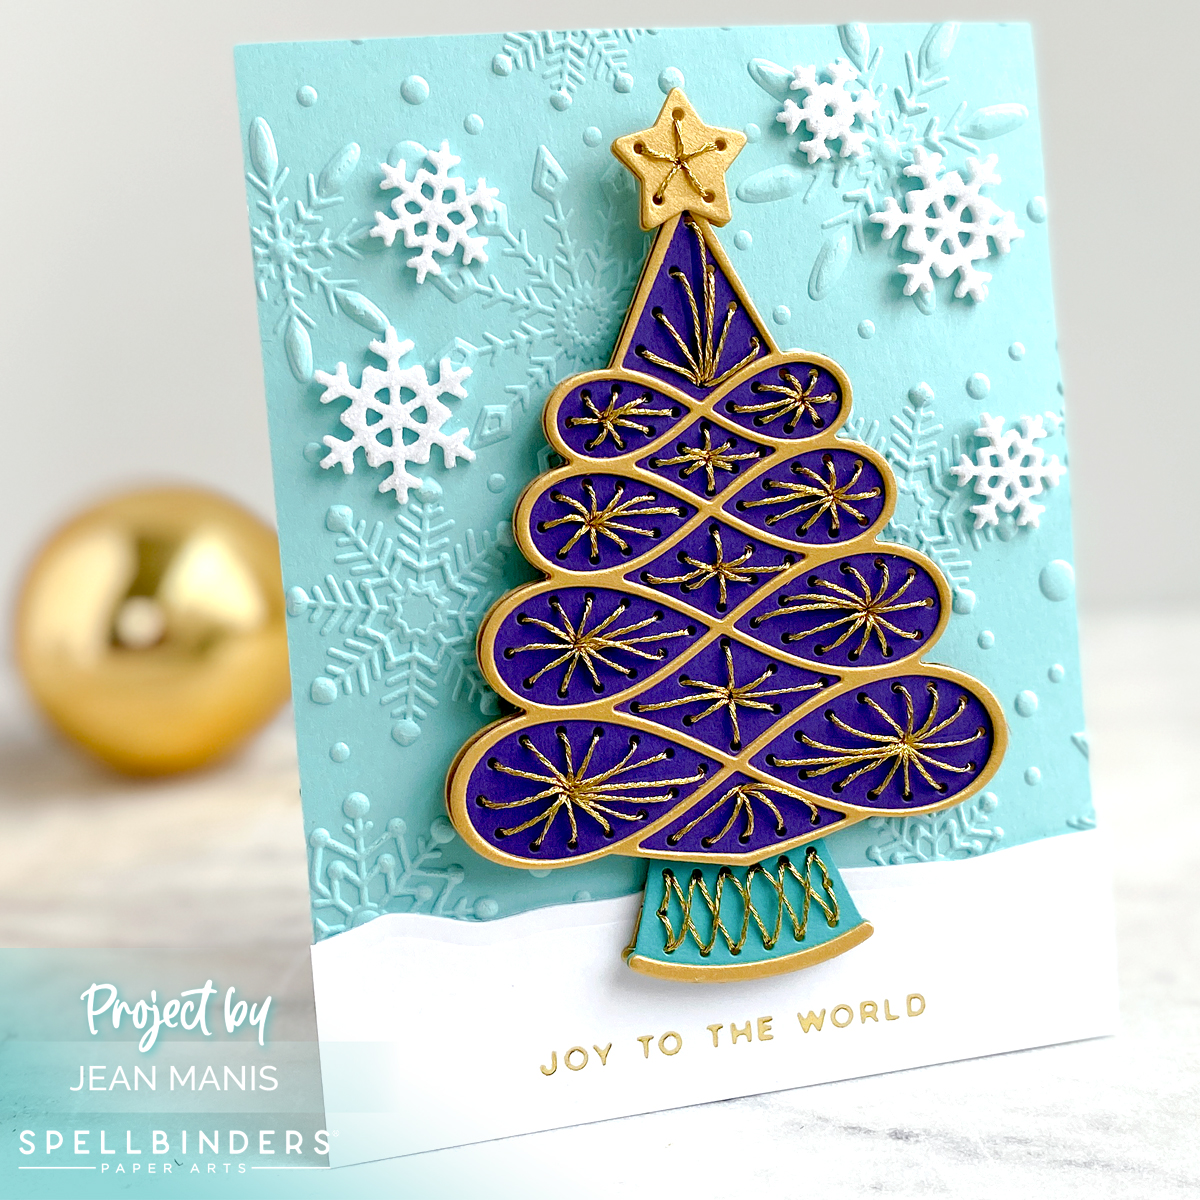
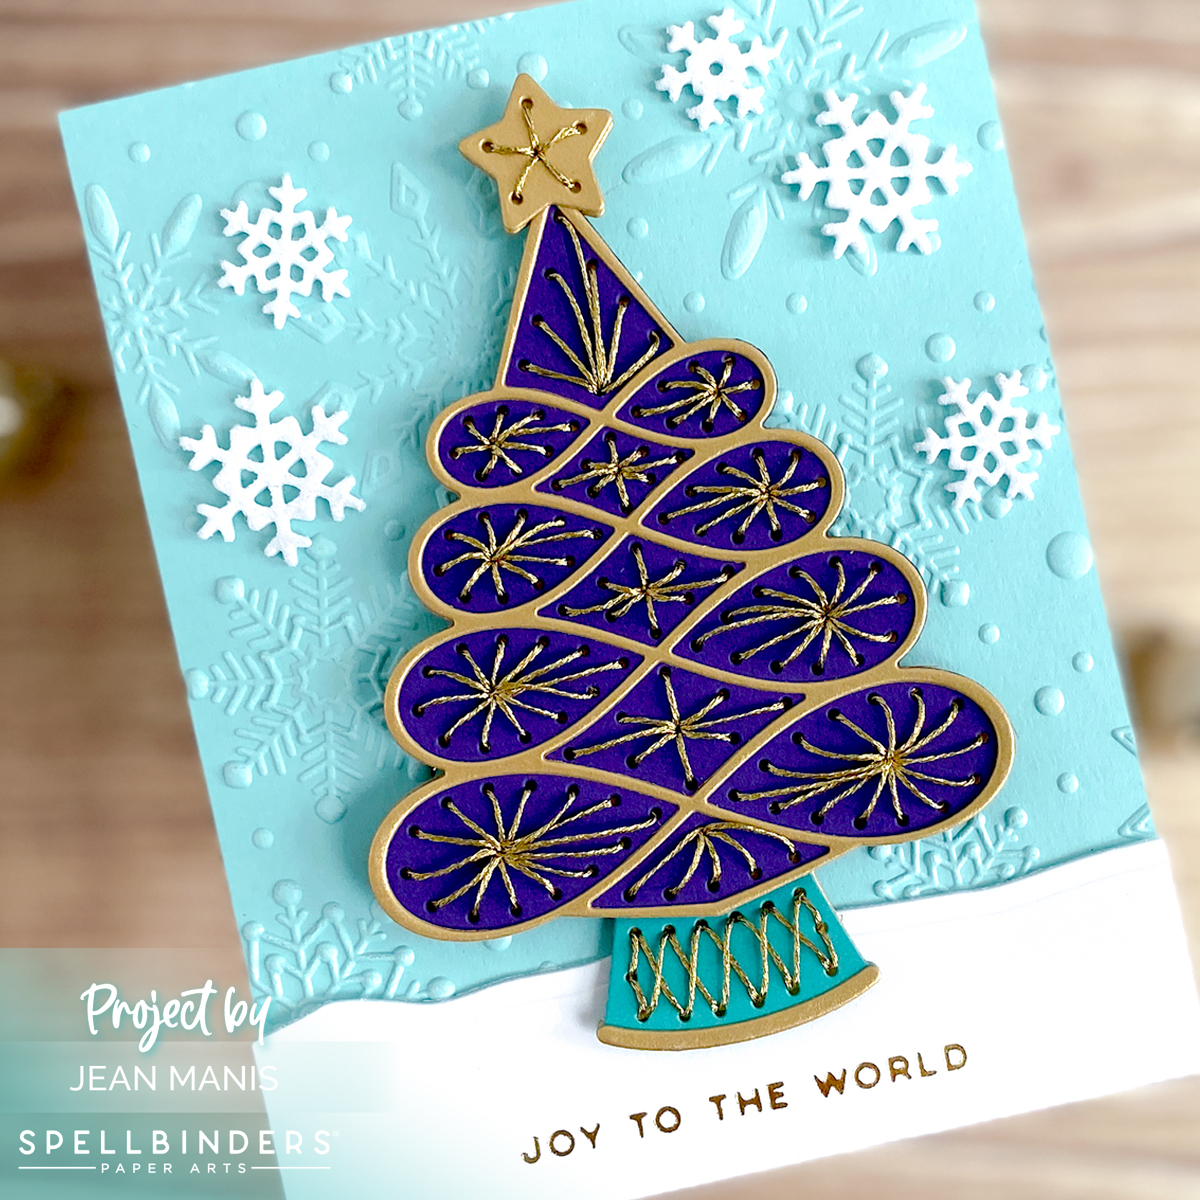
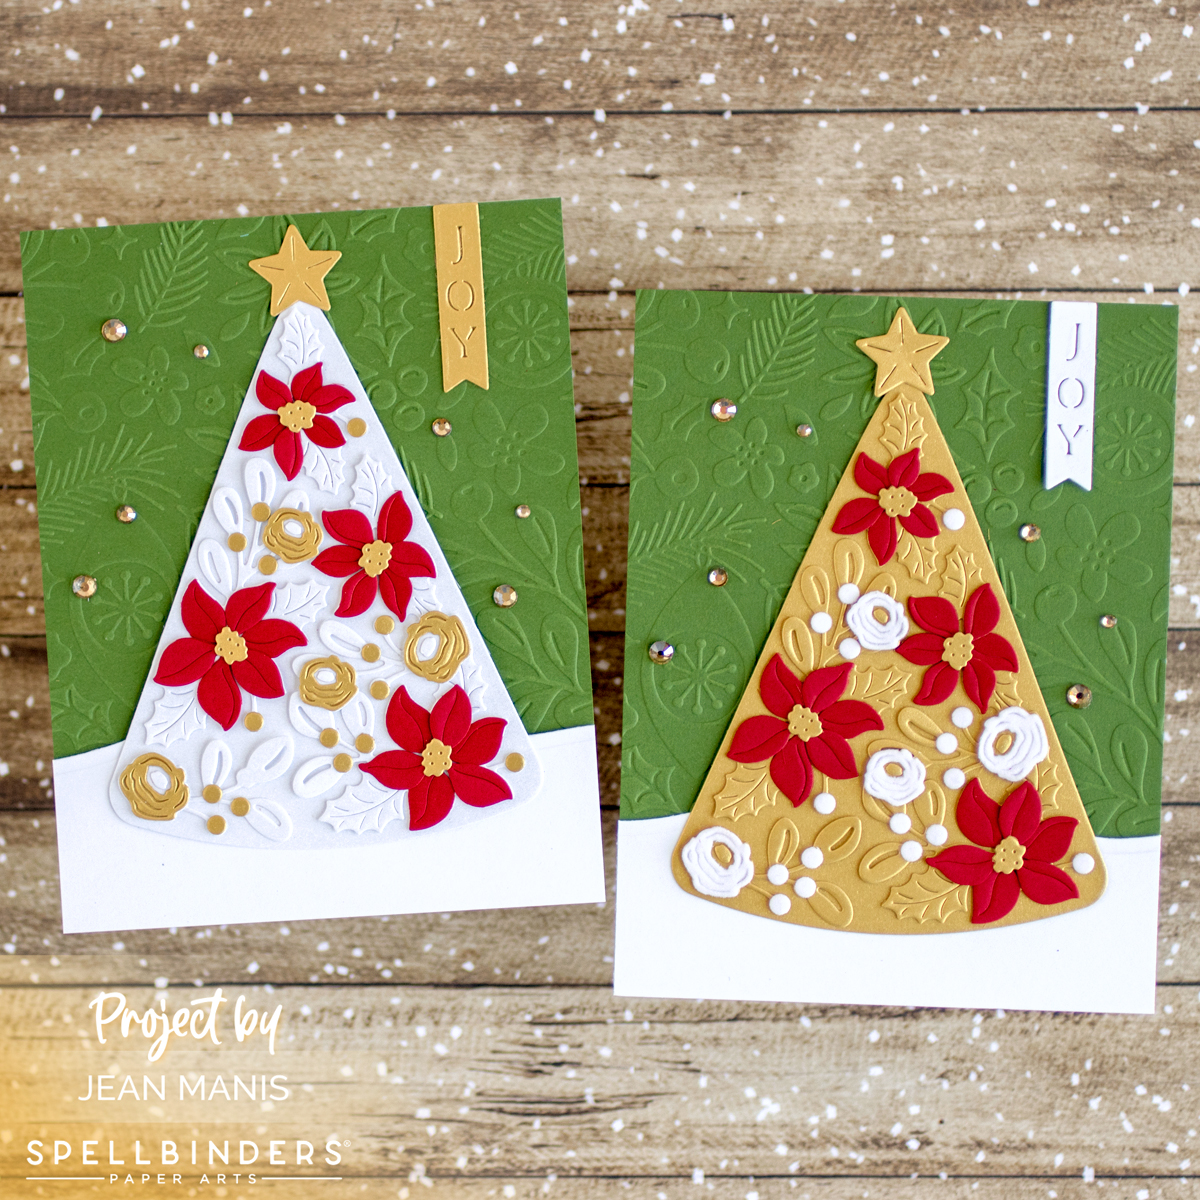
Welcome! I am thrilled to be participating in a blog hop showcasing the July 2023 Spellbinders Club Subscriptions. For this occasion, I created two holiday cards with the Small Die of the Month Club set, aptly named “Layered Poinsettia Tree.” You should have reached me from the blog of Sara Lihz Staroska. (The entire list of blog hop participants is included at the end of my post.)
Spellbinders is giving away a $25 gift certificate to three lucky blog readers – selected from the comments on the Spellbinders blog. Giveaway closes Sunday, July 23, 11:59 pm MST. The winner will be announced in the blog hop post the following Wednesday. The winner is responsible for shipping cost, duties and taxes. Please note, store credit (gift certificate) cannot be applied to Club Subscriptions; store credit can be applied to shop past Club products, Club extras, and regular releases.
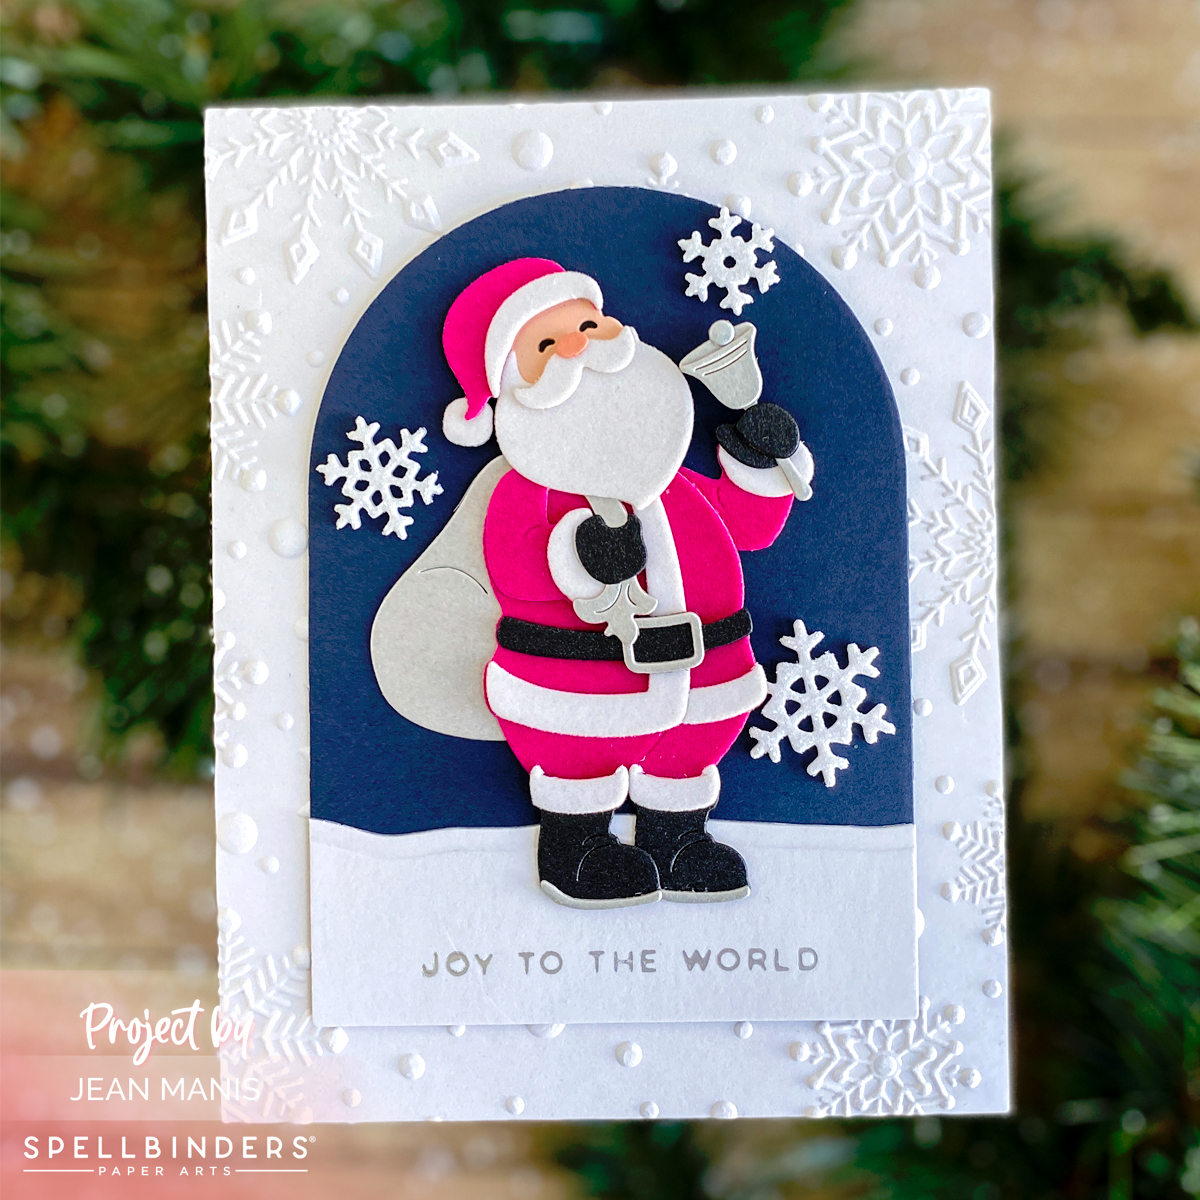
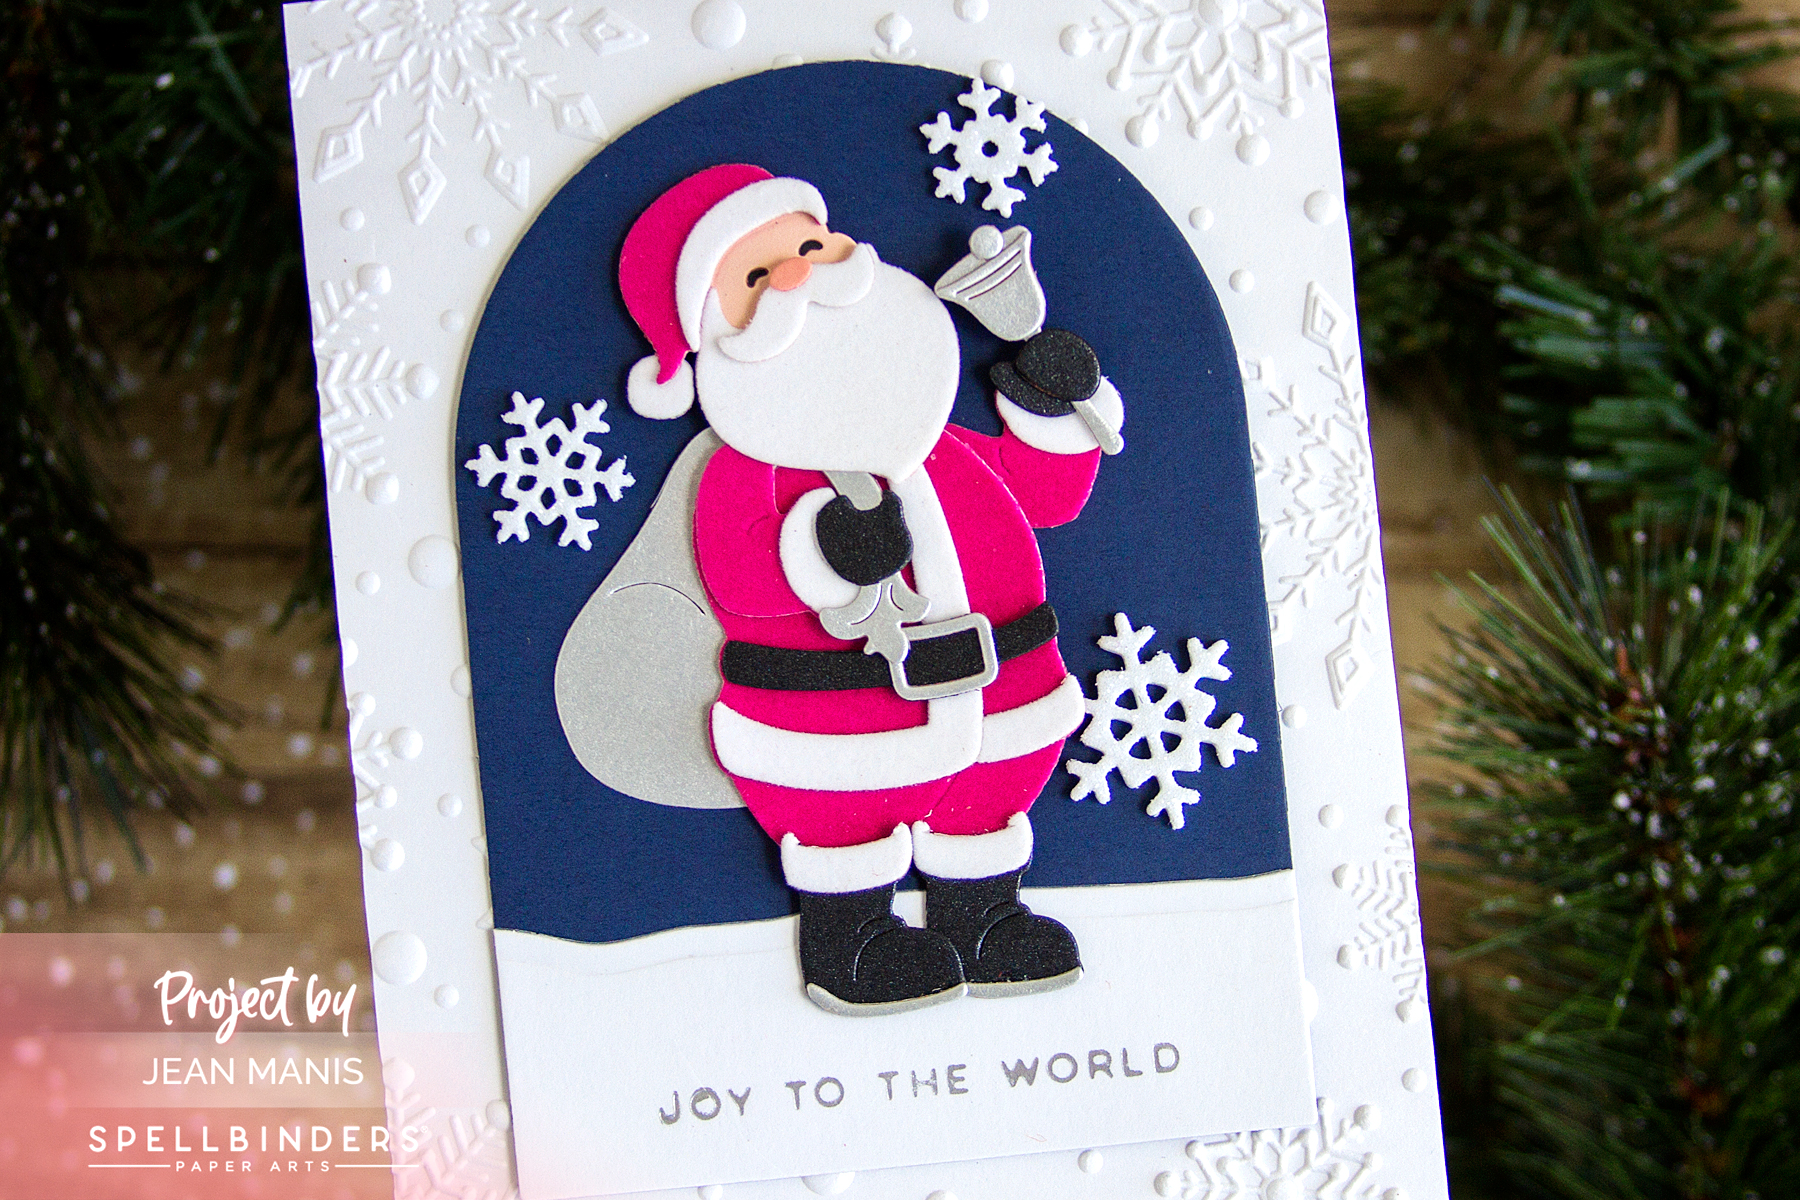
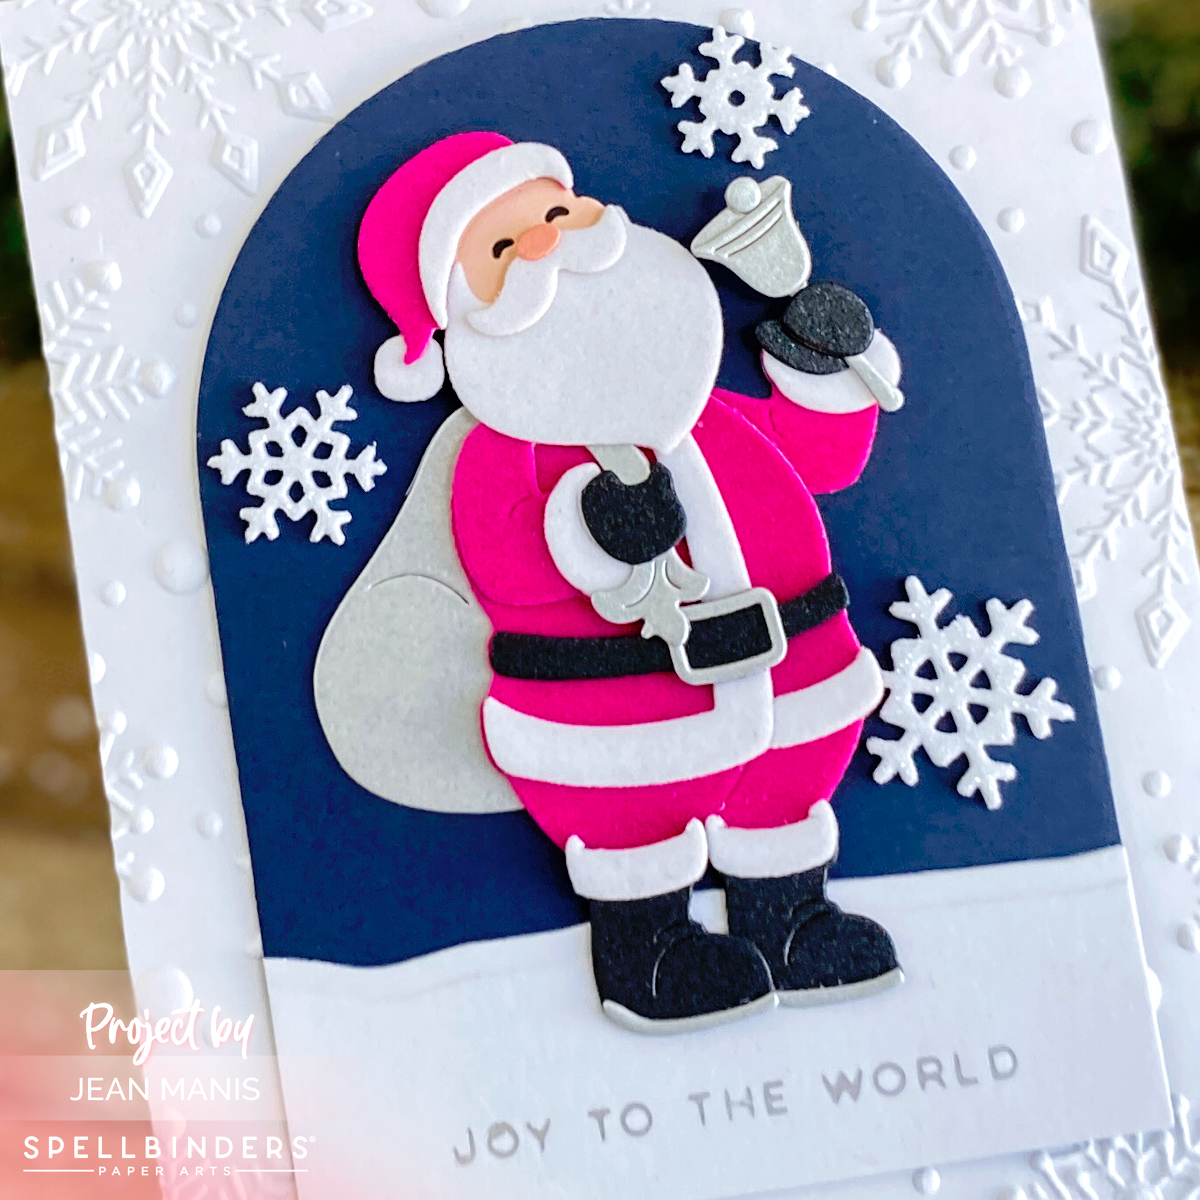
With just a change of colors and texture of the cardstock, the Small Die of the Month Club set makes it effortlessly simple to create uniquely charming cards. Previously, I shared a holiday card created with the same set HERE.
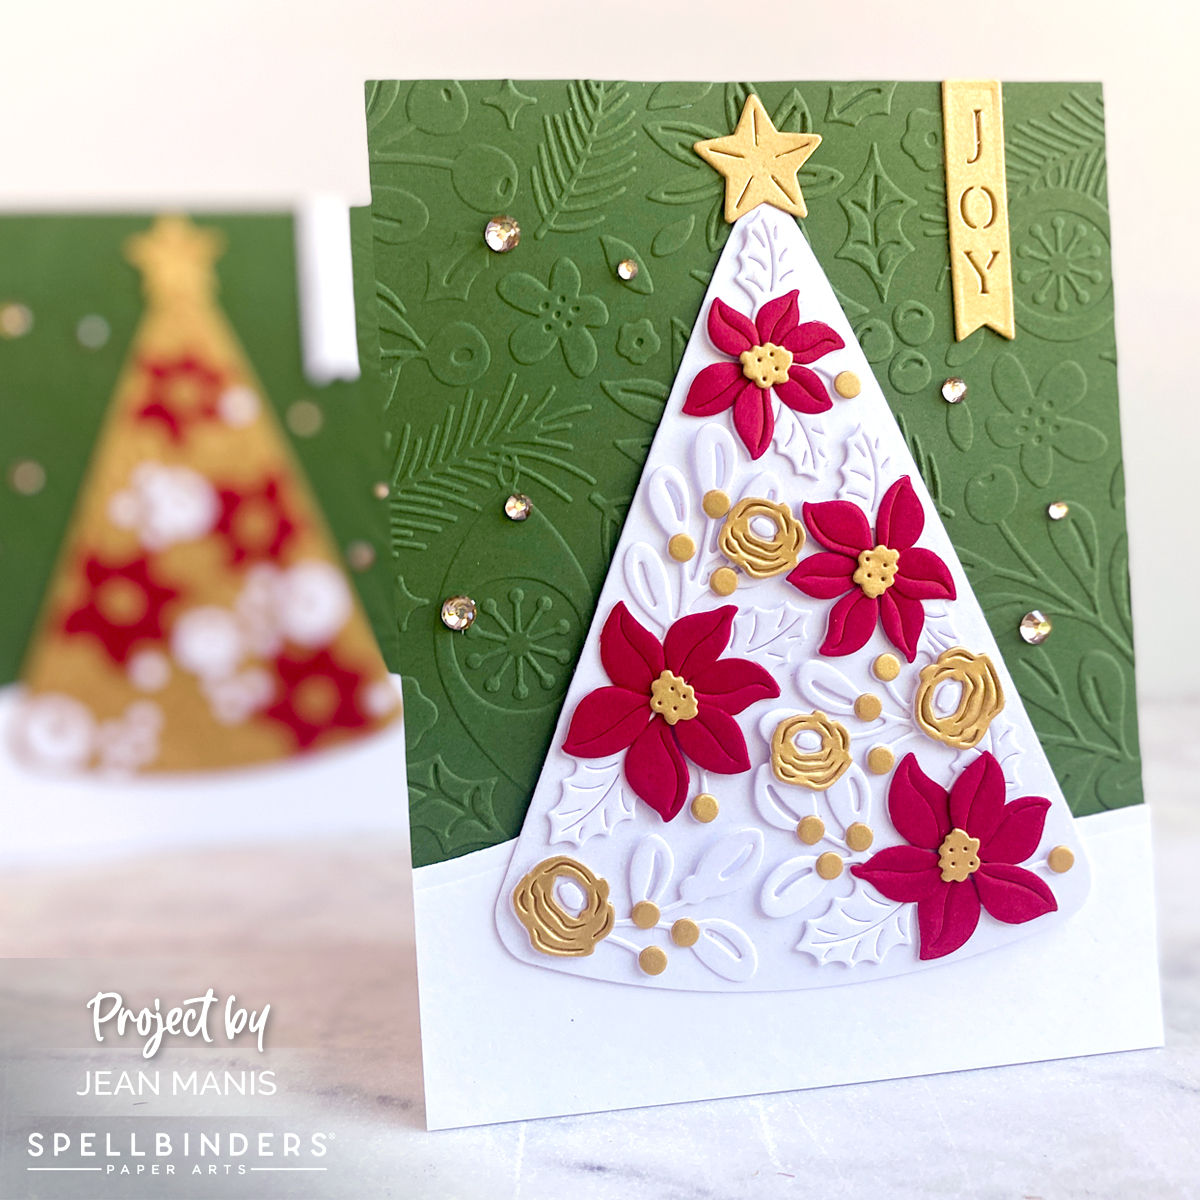
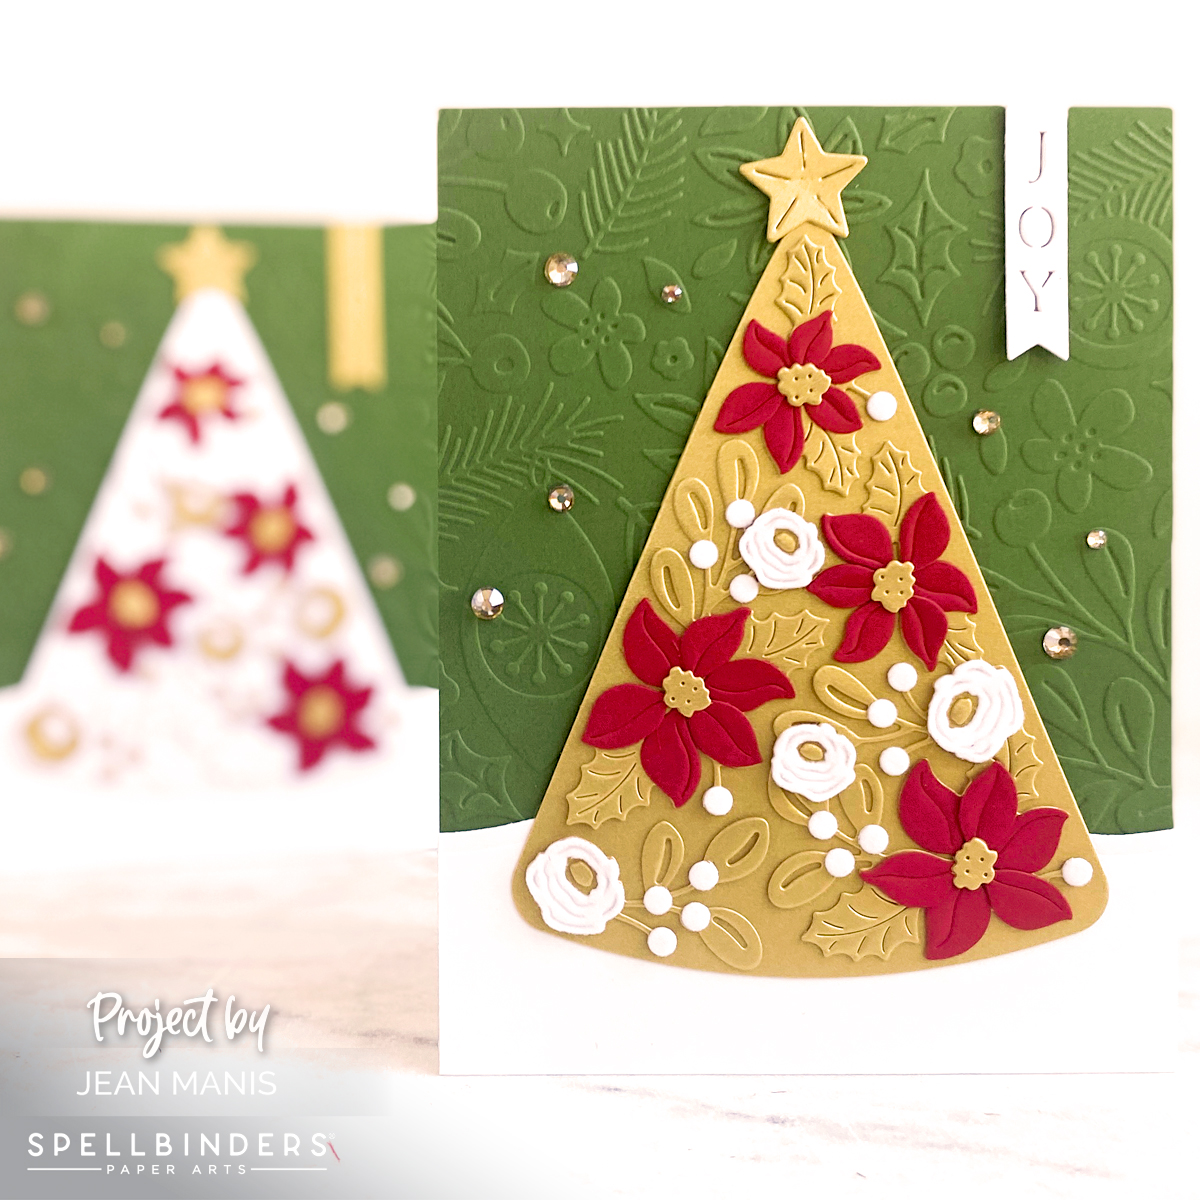
- With the Small Die of the Month Club set, Cut the tree, greenery, small flowers, poinsettias, sentiment banner, and star from a range of materials including brushed white, brushed gold, brushed velvet, and red cardstock. Assemble.
- Dry-emboss a fern cardstock A2-size panel with the Scattered Christmas folder. (This folder was the October 2022 Embossing Kit offering.) Add to A2-size card base.
- Next, add a snowbank, cut with a die in the Warm Wishes Camper set from snowdrift cardstock, which serves as a grounding element for the tree.
- Finally, embellish with adhesive gold gems.
Thanks for visiting! Head next to the blog of Joy Wilson. Scroll for the full blog hop list.
Spellbinders Blog
Sandi MacIver
Sara Lihz Staroska
Jean Manis<– You are here
Joy Wilson
Jennifer Kotas
Linh Van
Deepa Robbins
Heejung Hunsberger
Michelle Short
Allison Frazier
Lin Brandyberry
Sheri Gilson
Deborah Jenkins
Lisa Tilson
Alanna Moses
Jill Hilliard
Teri Duncan
Ilina Crouse
Pam Sparks
Carrie Rhoades
Mindy Eggen
Vera Yates
Rebecca Keppel


