Hero Arts | Playful Ghost Birthday Card

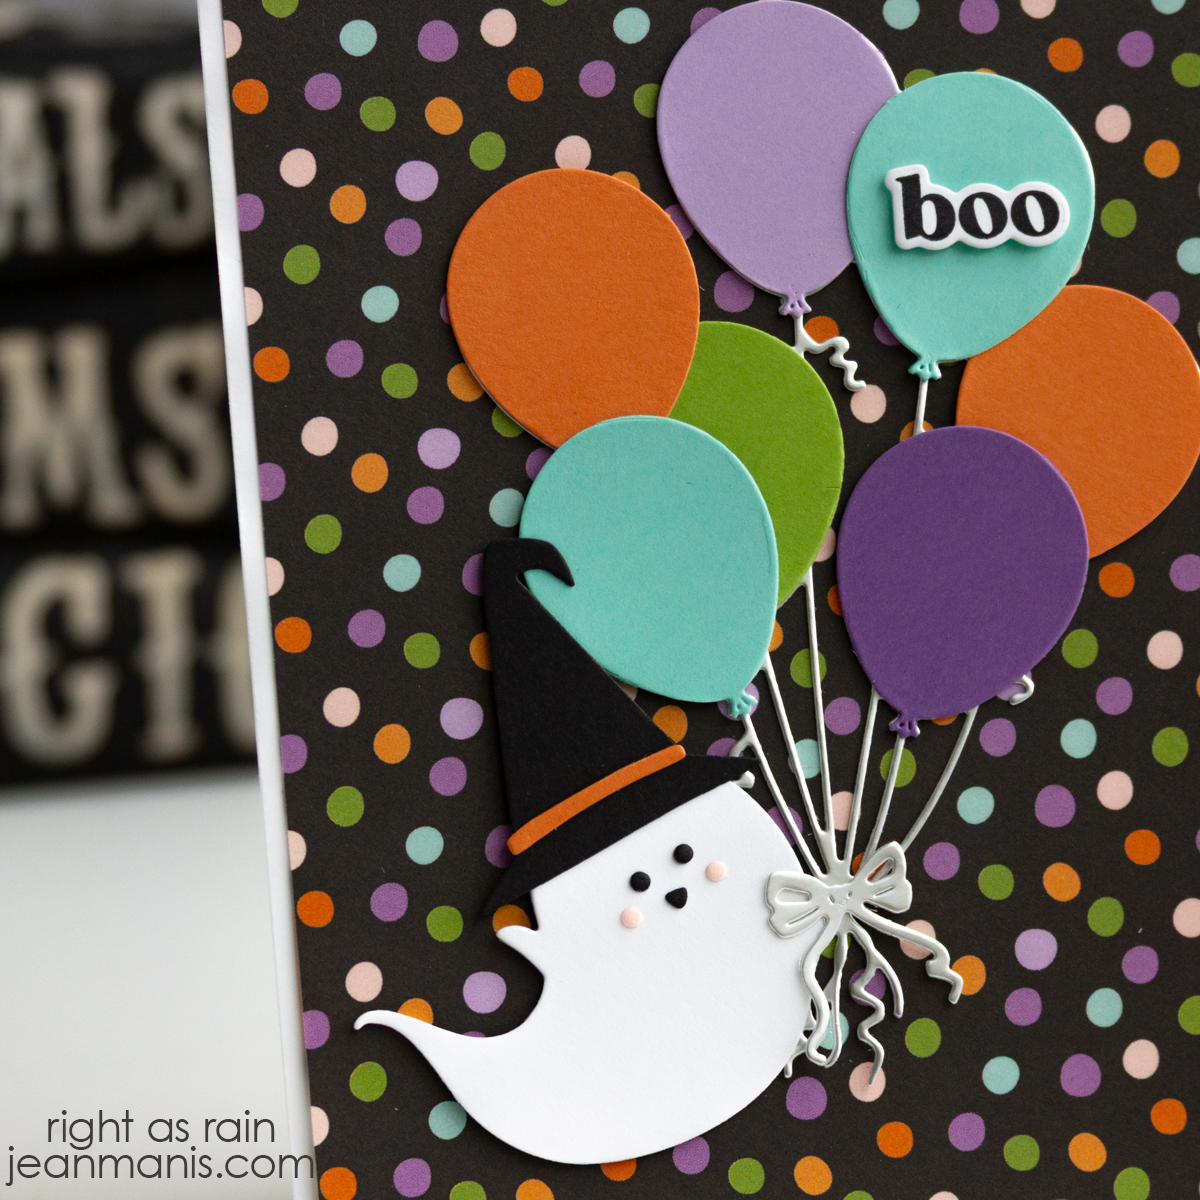
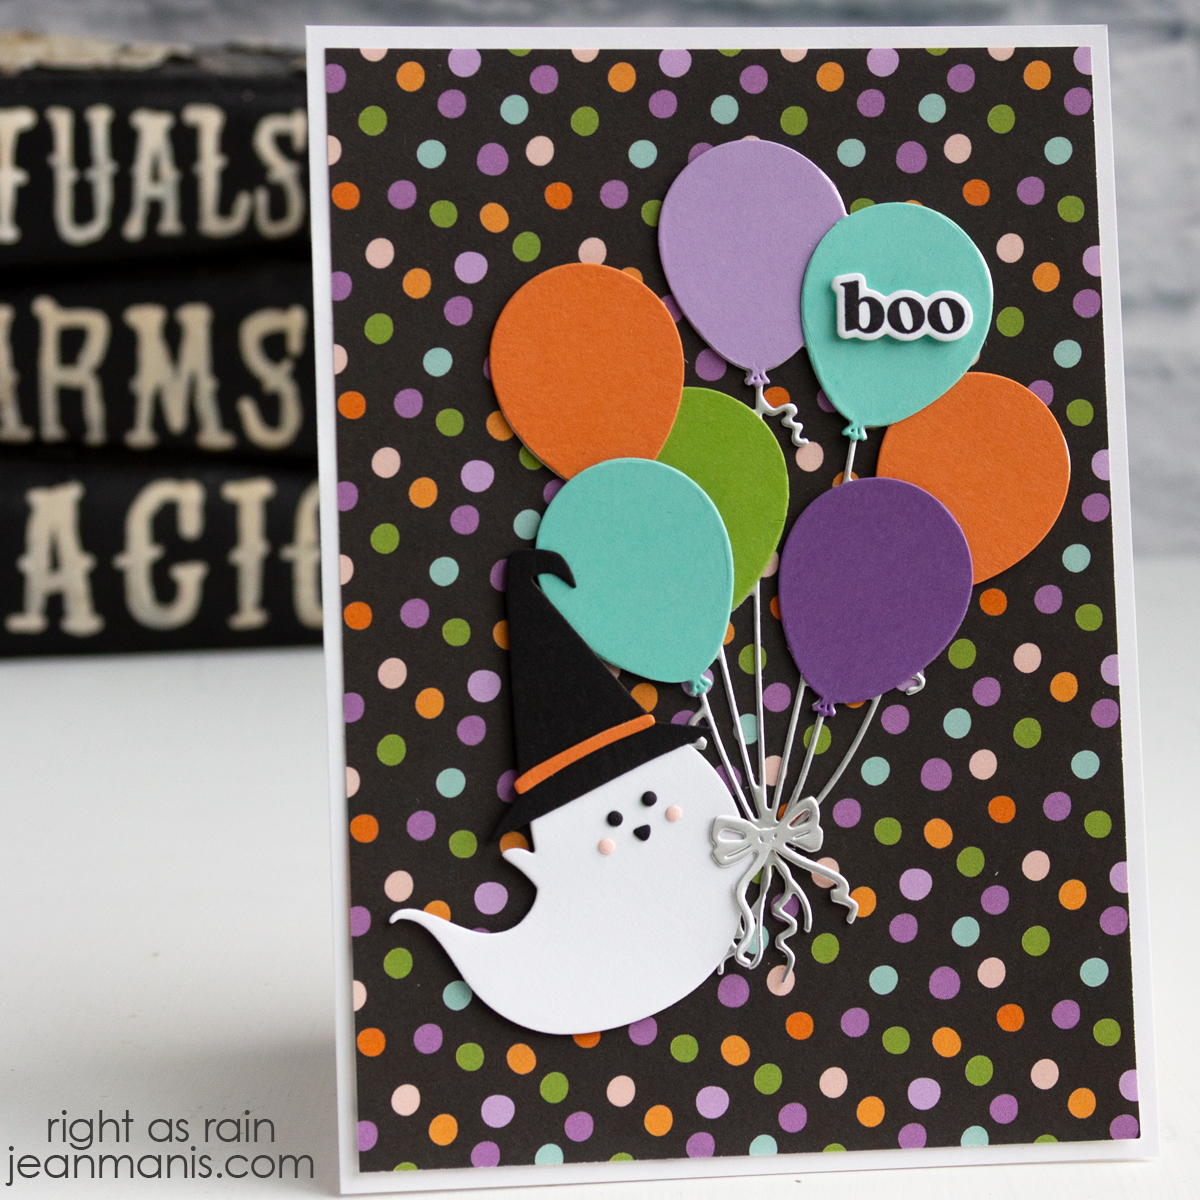
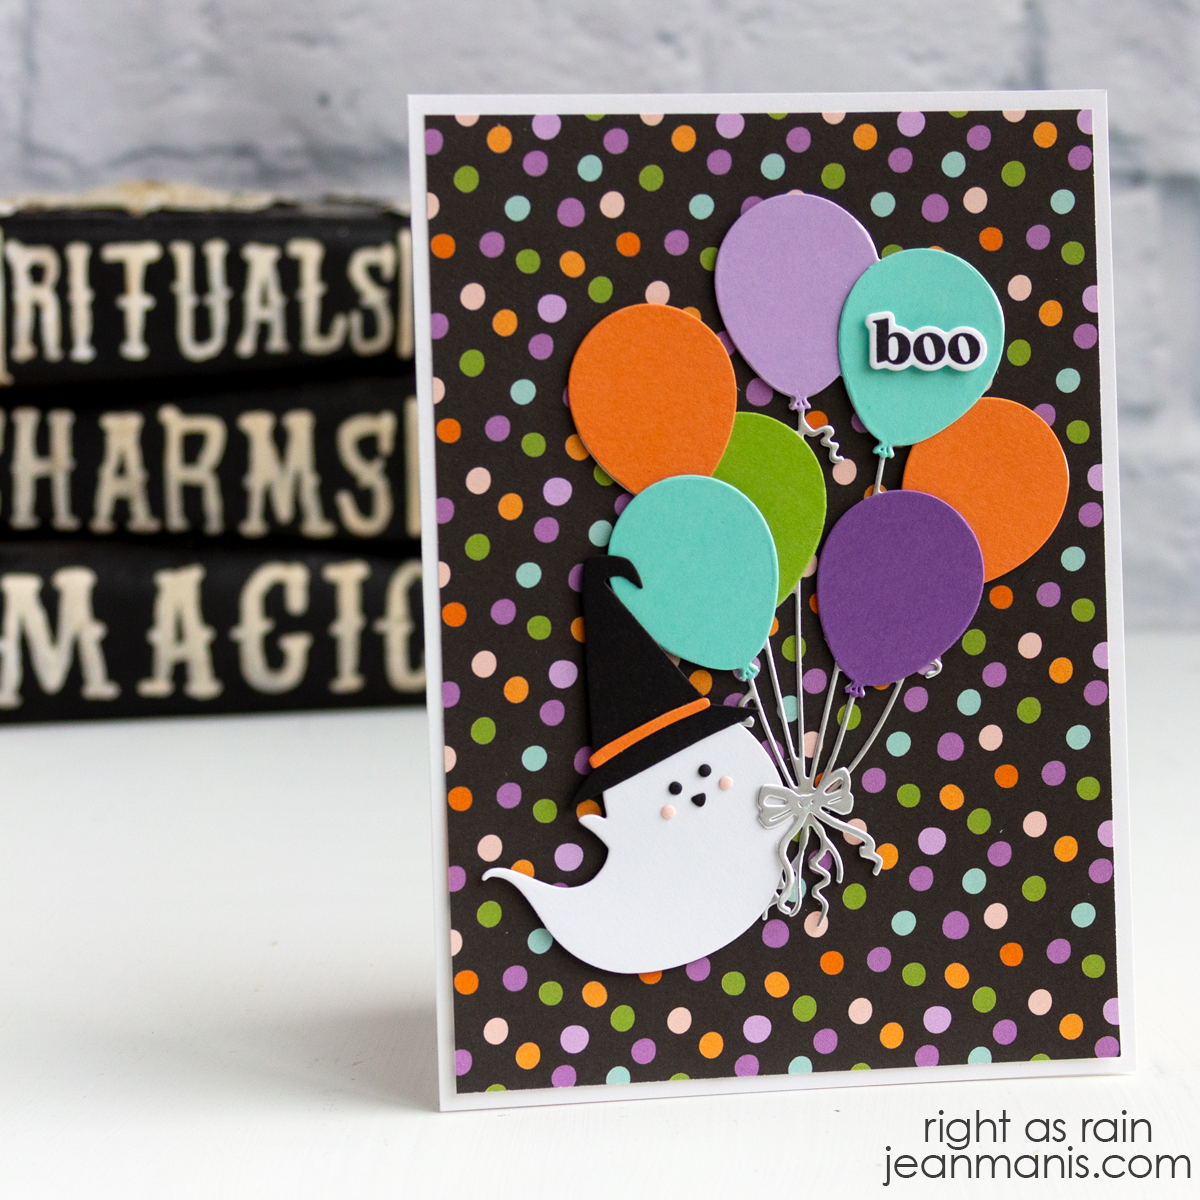
Hello! For an October birthday, I wanted to create something festive with a hint of Halloween fun. Using several Hero Arts products, I put together a playful card featuring a ghost holding a bundle of bright balloons. The background is full of color, and the simple “boo” sentiment ties it all together. What’s great about this design is its flexibility—you can easily change the balloon colors to suit any season or celebration, and in this case, the ghost adds a perfect nod to the time of year.

Hero Arts | Playful Ghost Birthday Card

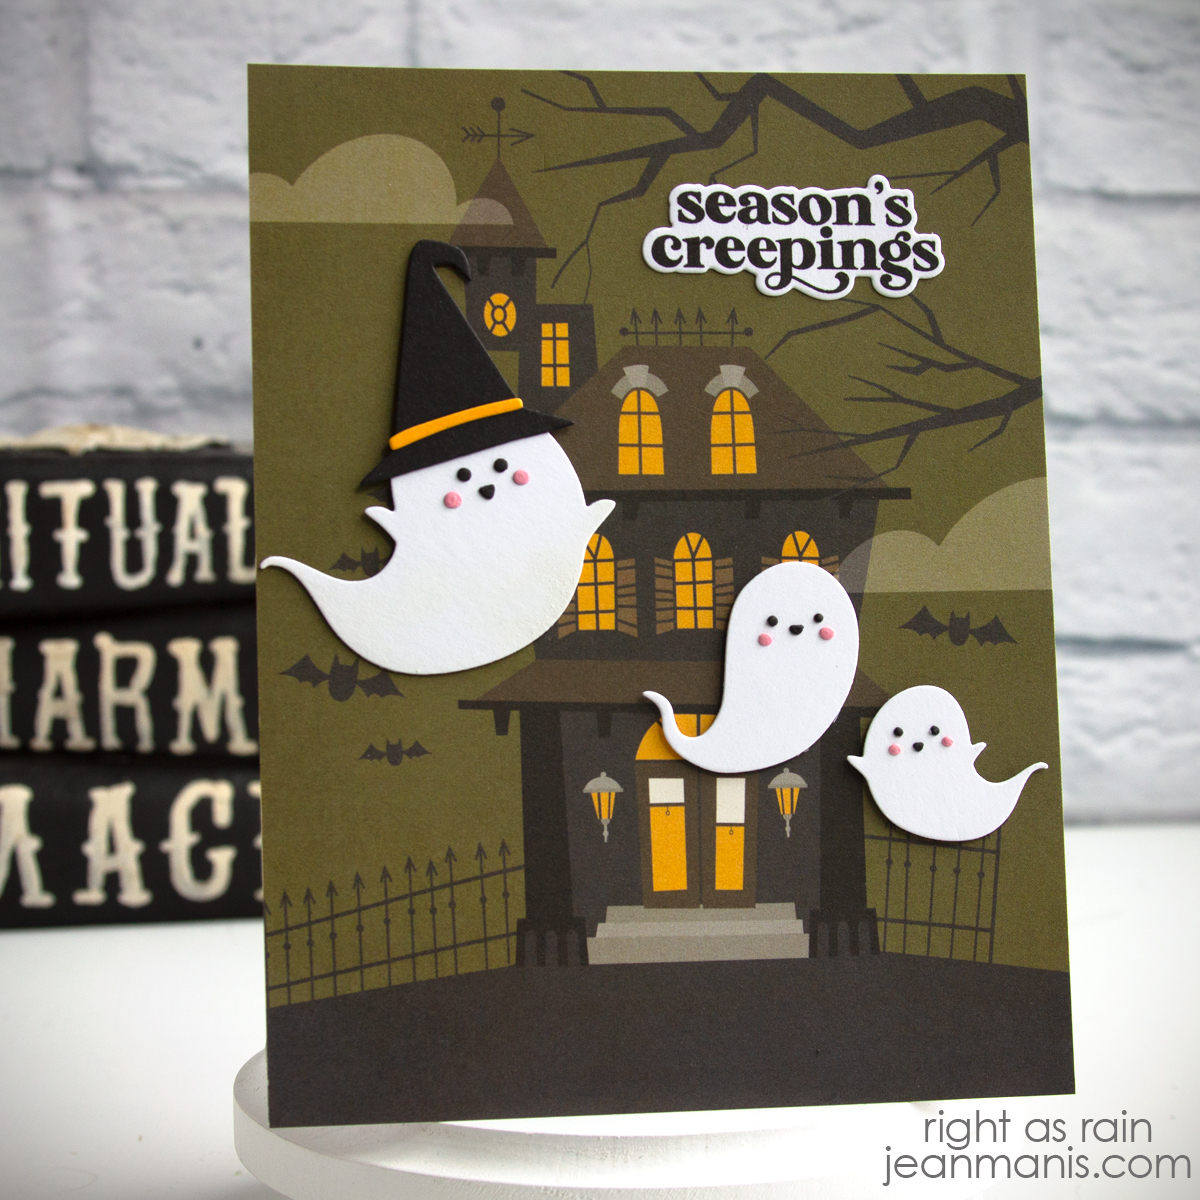
    • Cover a 5″ x 7″ card base with a patterned paper panel.
    • Cut the balloons and strings with the Balloon Bunch die set and assemble. (I previously used the balloon die HERE.)
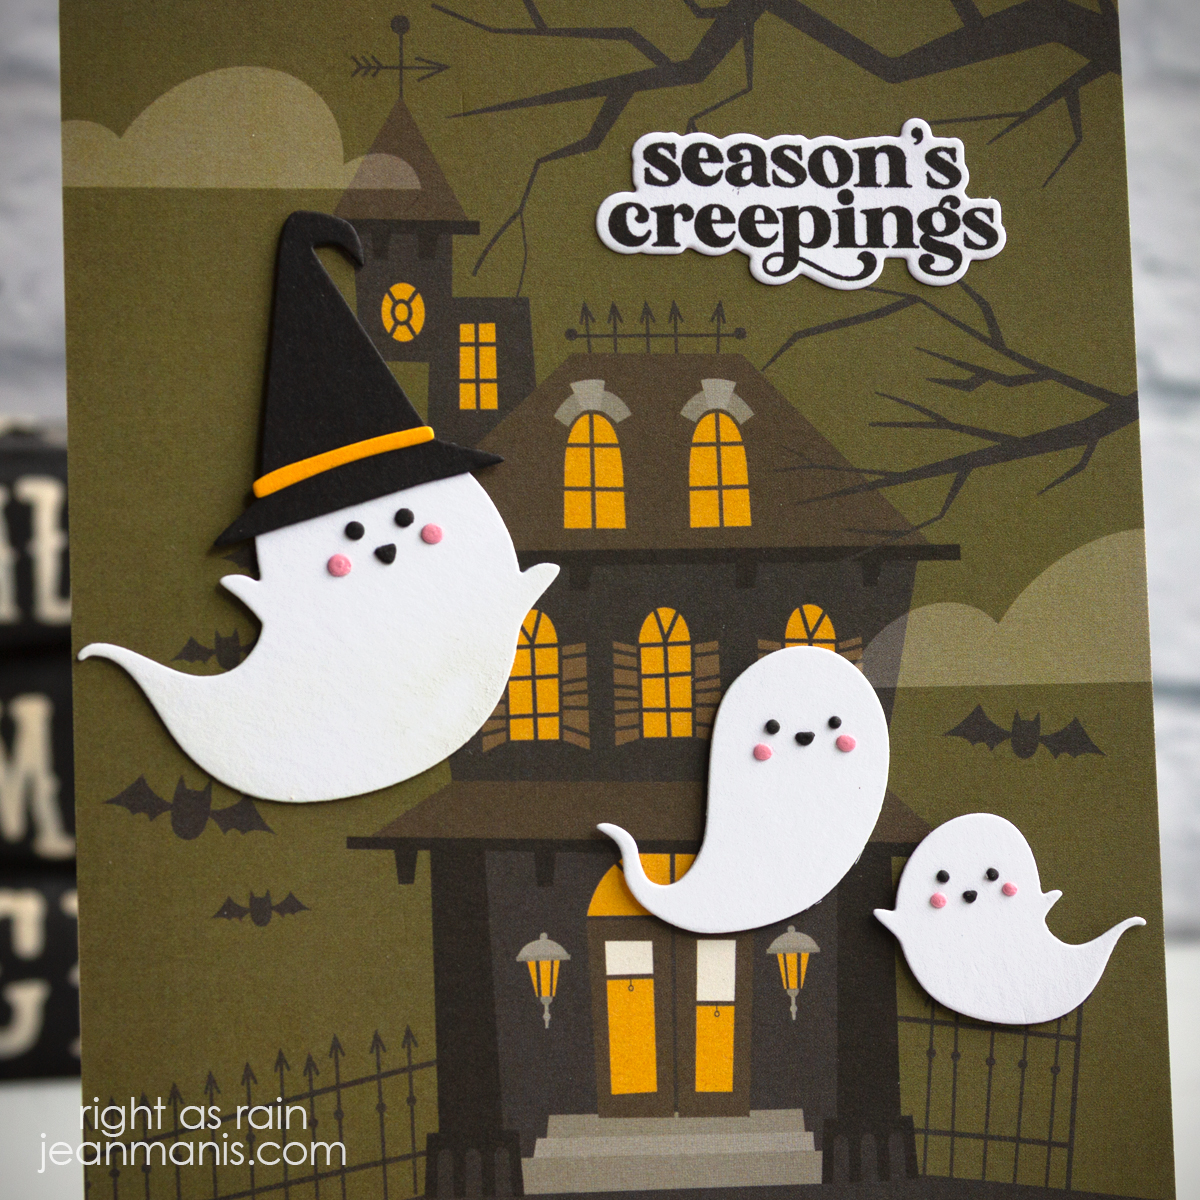
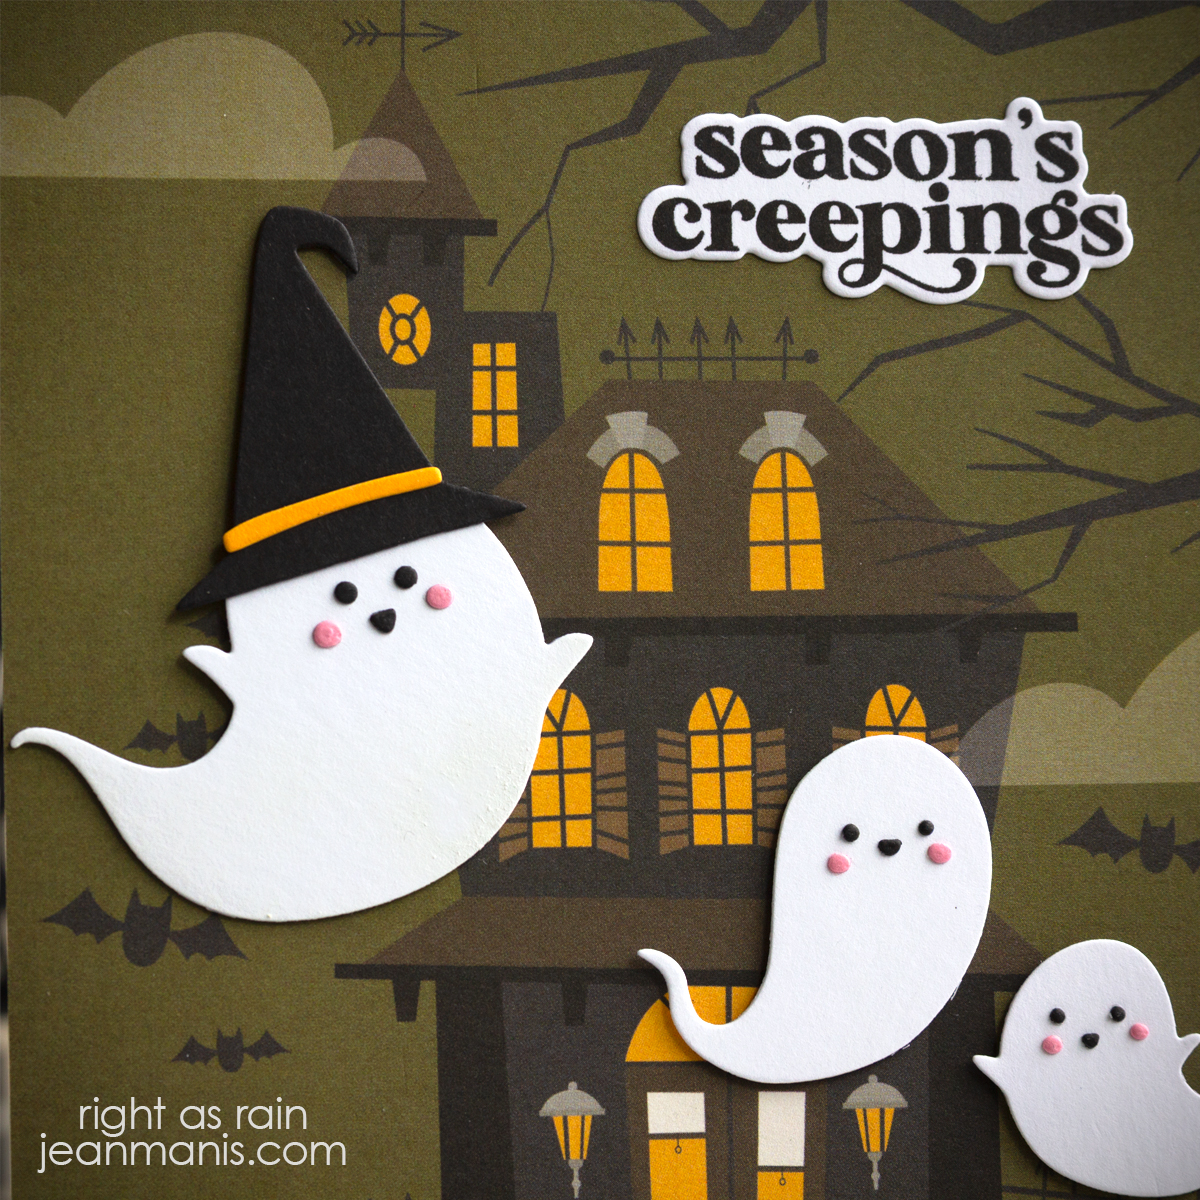
    • Cut the ghost with dies in the Boo to You set and assemble.
    • Stamp the Season’s Creepings sentiment and cut with the coordinating die.
    • Add balloons, ghost, and sentiment to prepared base with dot and foam adhesive.

Hero Arts | Playful Ghost Birthday Card


Hero Arts | Twinkle Lights Christmas Tree

Hello! Today’s card captures the holiday magic of a Christmas tree, sparkling with lights, in die-cut form. I featured the Twinkle Lights die set from Hero Arts, the October Hero Studio Die Set of the Month, as the star of the design and paired it with additional supplies from Hero Arts and Spellbinders to complete the scene.

Hero Arts | Twinkle Lights Christmas Tree

    • Cover an A2-size card base with patterned paper.
    • Dry-emboss Classic White cardstock that has been cut with an arch with the Sparkling Snow folder. With the Festive Tree Die set, cut a tree shape from the center of the arch.
    • With the Twinkle Lights set, cut light strands and bulbs from cardstock. Trim as necessary to fit within the tree shape. Assemble.
    • Add a Fern cardstock panel behind the ornaments. Add the assembly to a Poppy cardstock arch and adhere to card base.
    • Cut sentiment with dies in the North Pole Sentiments set. Add to the card.

Hero Arts | Twinkle Lights Christmas Tree

October 2025 Hero Studio


Hero Arts | Apple Frame

Hello! Today I am sharing a fall-themed card that highlights the Hero Arts I Pick You Collection, which includes the Apple Frame die set designed to create a frame of layered apples, leaves, and flowers. I die-cut the pieces from Bristol cardstock and colored the pieces with Distress Oxide inks. The design is finished with a stamped sentiment, “You’re So Golden,” for an uplifting touch.

Hero Arts | Apple Frame

    • To begin, cut the Apple Frame, leaves, apples, flowers, and flower centers from Bristol cardstock.
    • Color frame with Distress Oxide inks, masking areas for different colors as needed.
    • Apply blue ink to a Bristol cardstock A2-size panel. Add to the back of the inked frame panel. Attach assembly to card base.
    • Color leaves, flowers, flower centers, and apples with Distress Oxide inks. Assemble flowers as needed. Add elements to the card front.
    • Stamp the You’re Golden sentiment and cut with the coordinating die. Add to the card with foam adhesive.

Hero Arts | Apple Frame

Just like apple picking brings a wave of nostalgia and marks the cozy arrival of fall, this apple vine border card celebrates the simple joys of the season.


Hero Arts | Season’s Creepings

Hello! For my second card with the Boo to You die set from Hero Arts, I wanted to show how patterned paper can do the heavy lifting when creating a background. I chose a spooky yet playful haunted house design and placed the die-cut ghosts floating in the scene. The stamped sentiment “Season’s Creepings” ties everything together for a fun Halloween greeting. Using patterned paper like this sets the mood instantly, without needing to build an entire scene from scratch.

Hero Arts | Season’s Creepings

    • Create 5″ x 7″ card base and cover with patterned paper.
    • Cut ghosts and hat with dies in the Boo to You set. Assemble.
    • Stamp sentiment in black on white cardstock. Cut with the coordinating die in the set.
    • Add assembled ghosts to the base with foam squares and the sentiment with adhesive.

Hero Arts | Season’s Creepings

With the scene already built into the patterned paper, this card comes together quickly and easily. You can see my first card created with products in the Hocus Pocus Collection HERE.


Hero Arts | Cozy Critter

Hello! There’s nothing better than snuggling under the covers when the days turn crisp, and this handmade card captures that cozy feeling perfectly. I used the Hero Arts September 2025 Die Set of the Month Cozy Critters to create a whimsical design that feels straight out of a fairy tale.

Hero Arts September 2025 Die Set of the Month Cozy Critters

    • Cover an A2-size card base with patterned paper.
    • Cut bed, pillow, quilt, and fox from a variety of cardstock colors using dies in the Hero Arts Studio Cozy Critters set. Assemble.
    • Stamp the sentiment on white cardstock and cut with a banner die.
    • Assemble card elements and add to the card base.

Whether you’re crafting for friends, family, or just enjoying some creative time, this set is sure to bring smiles and a touch of storybook charm to your fall projects.

Hero Arts September 2025 Die Set of the Month Cozy Critters