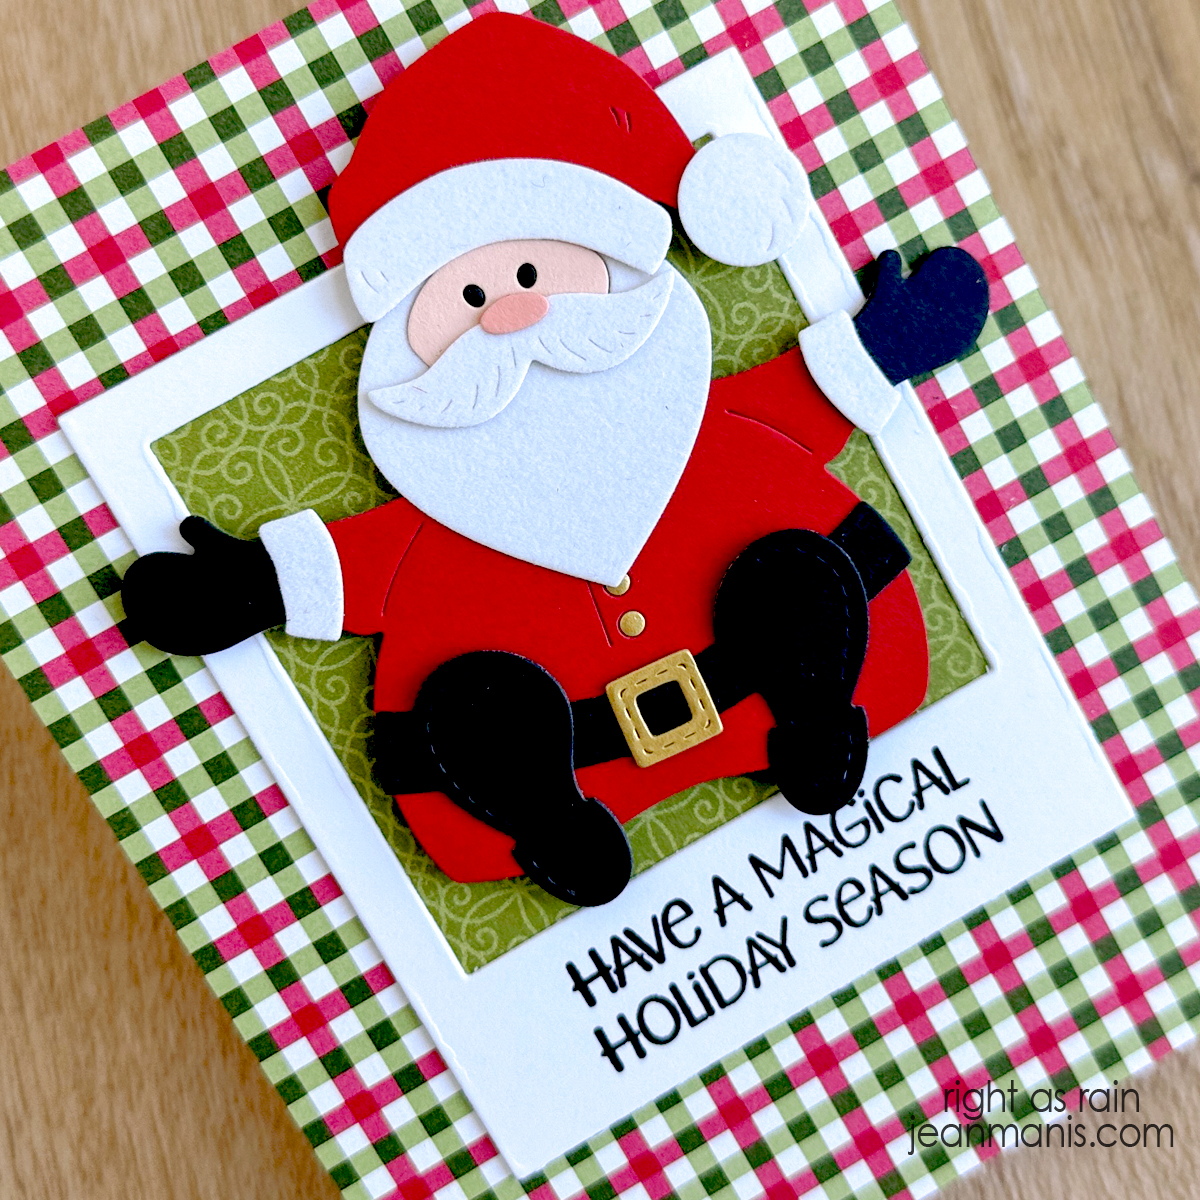
Impression Obsession | Santa Christmas Card

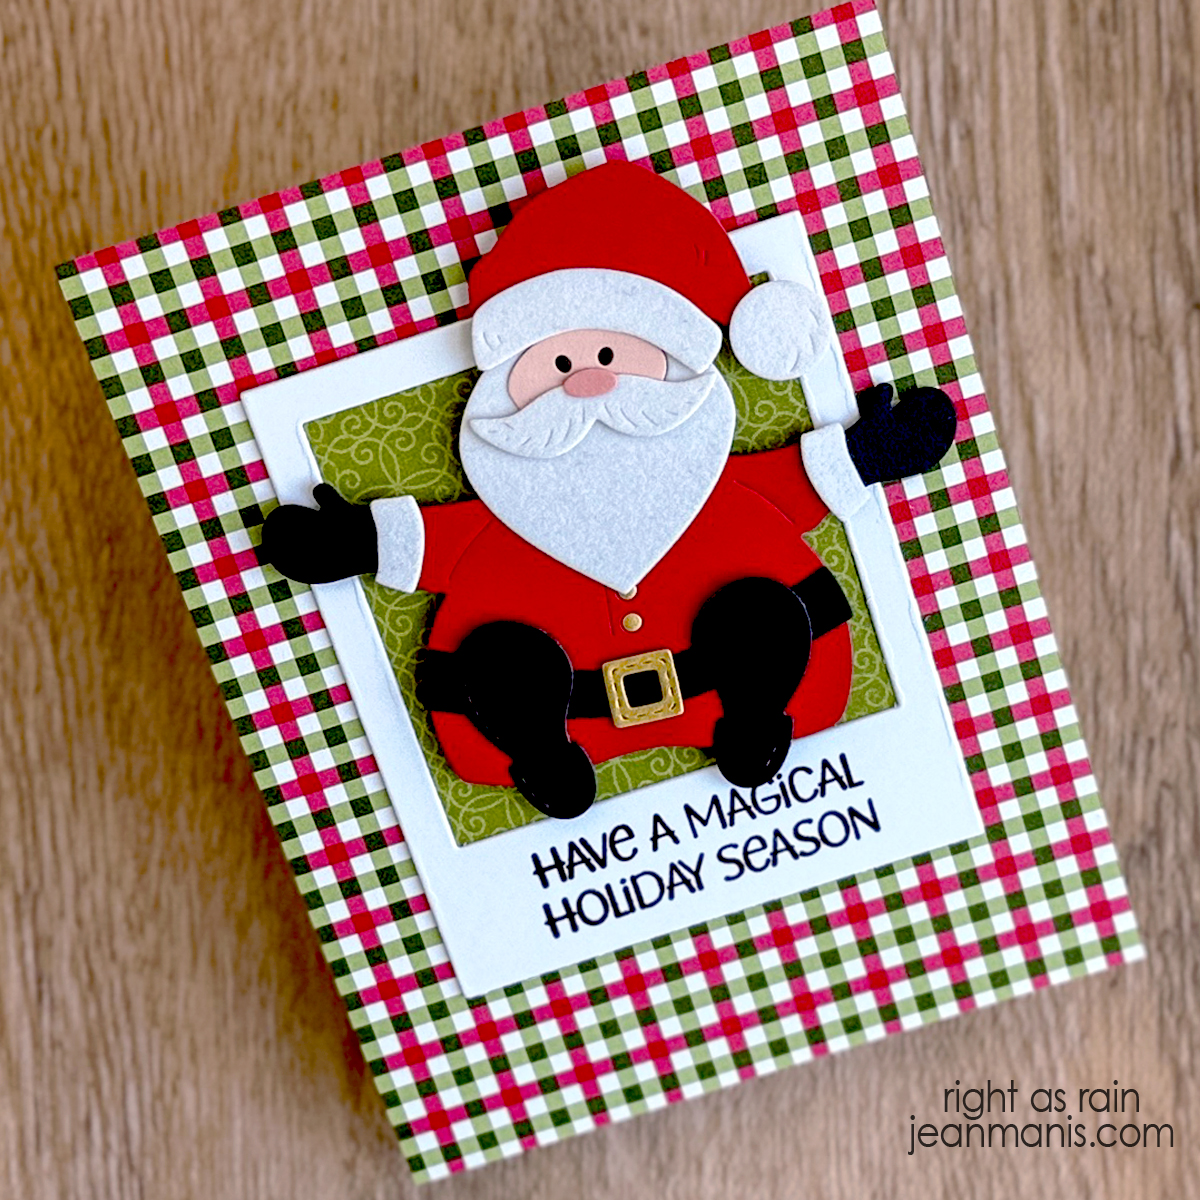
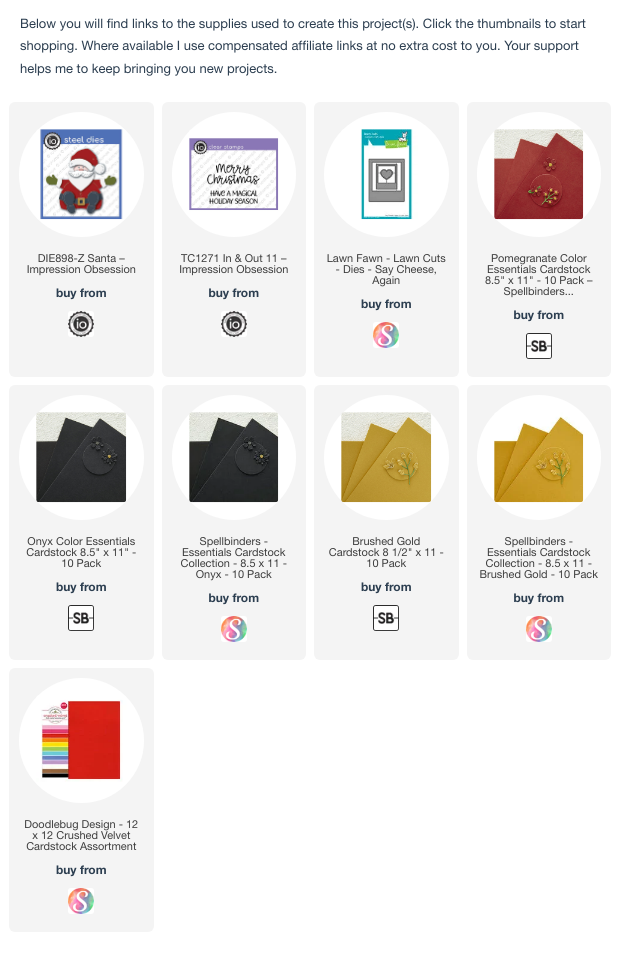
Hello! As I have been creating a number of cards for a “Christmas in July” event, I was in the mood to continue Christmas card crafting. I purchased the Santa die set in March, from Impression Obsession, and it has never been used before. Sadly, Impression Obsession closed their doors in the fall of 2024. Some of their products are still available at online stores such as Frantic Stamper.
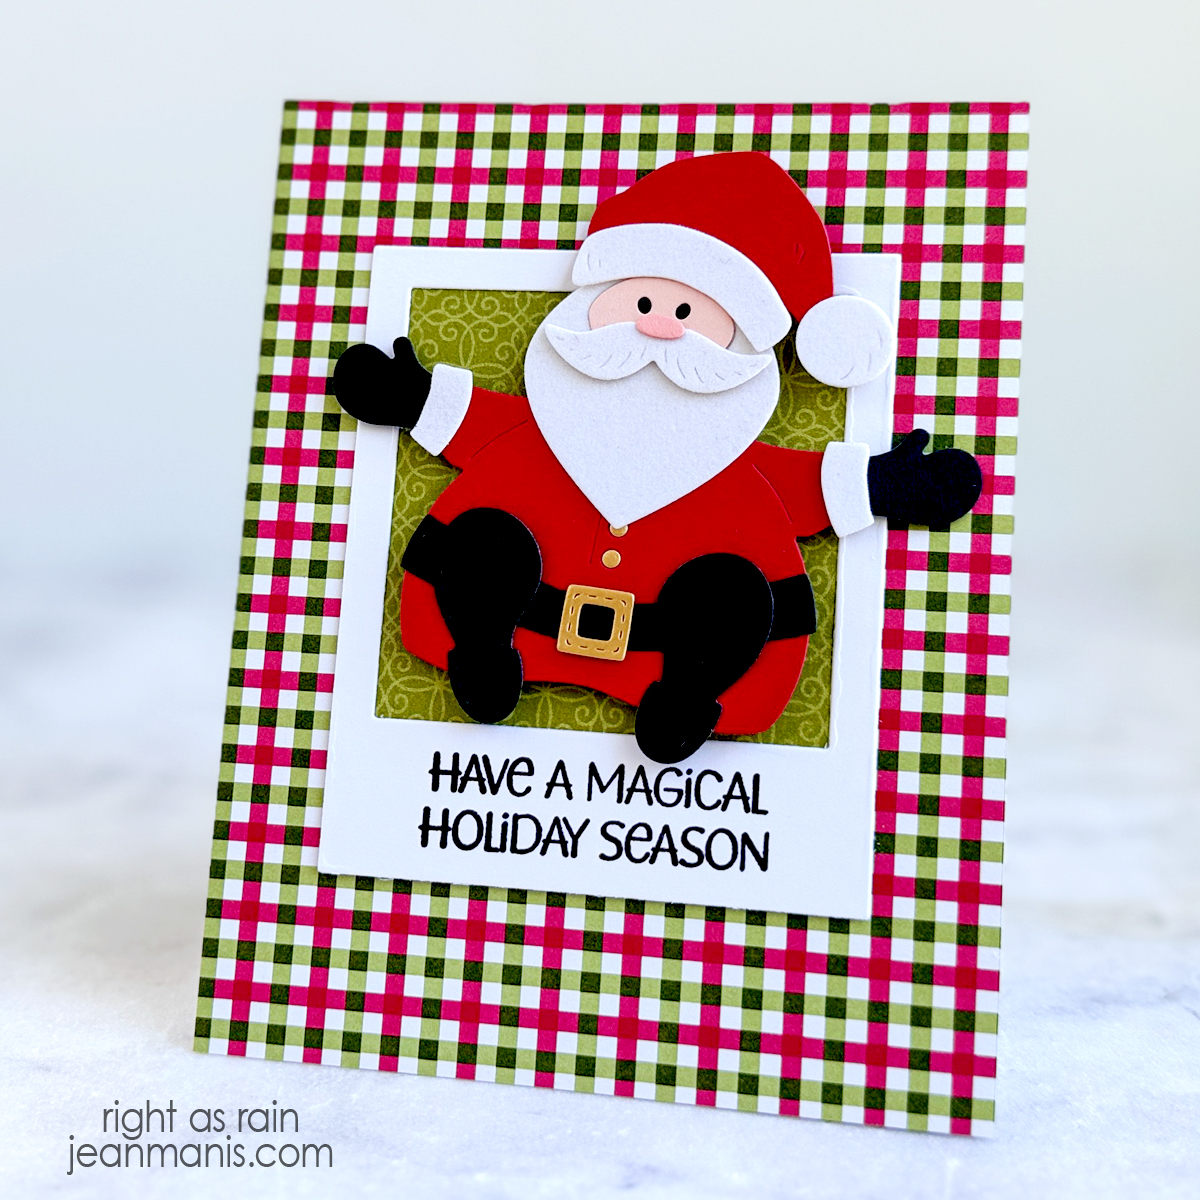
Impression Obsession | Santa Christmas Card

    • I used one of my favorite card design formulas, framing the focal point item with a Polaroid-style frame (Lawn Fawn Say Cheese, Again). I stamped the Impression Obsession TC1271 In & Out 11 sentiment on to the frame after I cut it.
    • I used patterned paper from Stampin’ Up to cover the A2-size card base and to go behind the frame. I discuss how patterned paper is a quick and convenient way to add character to card backgrounds HERE.

Impression Obsession | Santa Christmas Card


Die-cut Nautical “AHOY” Card

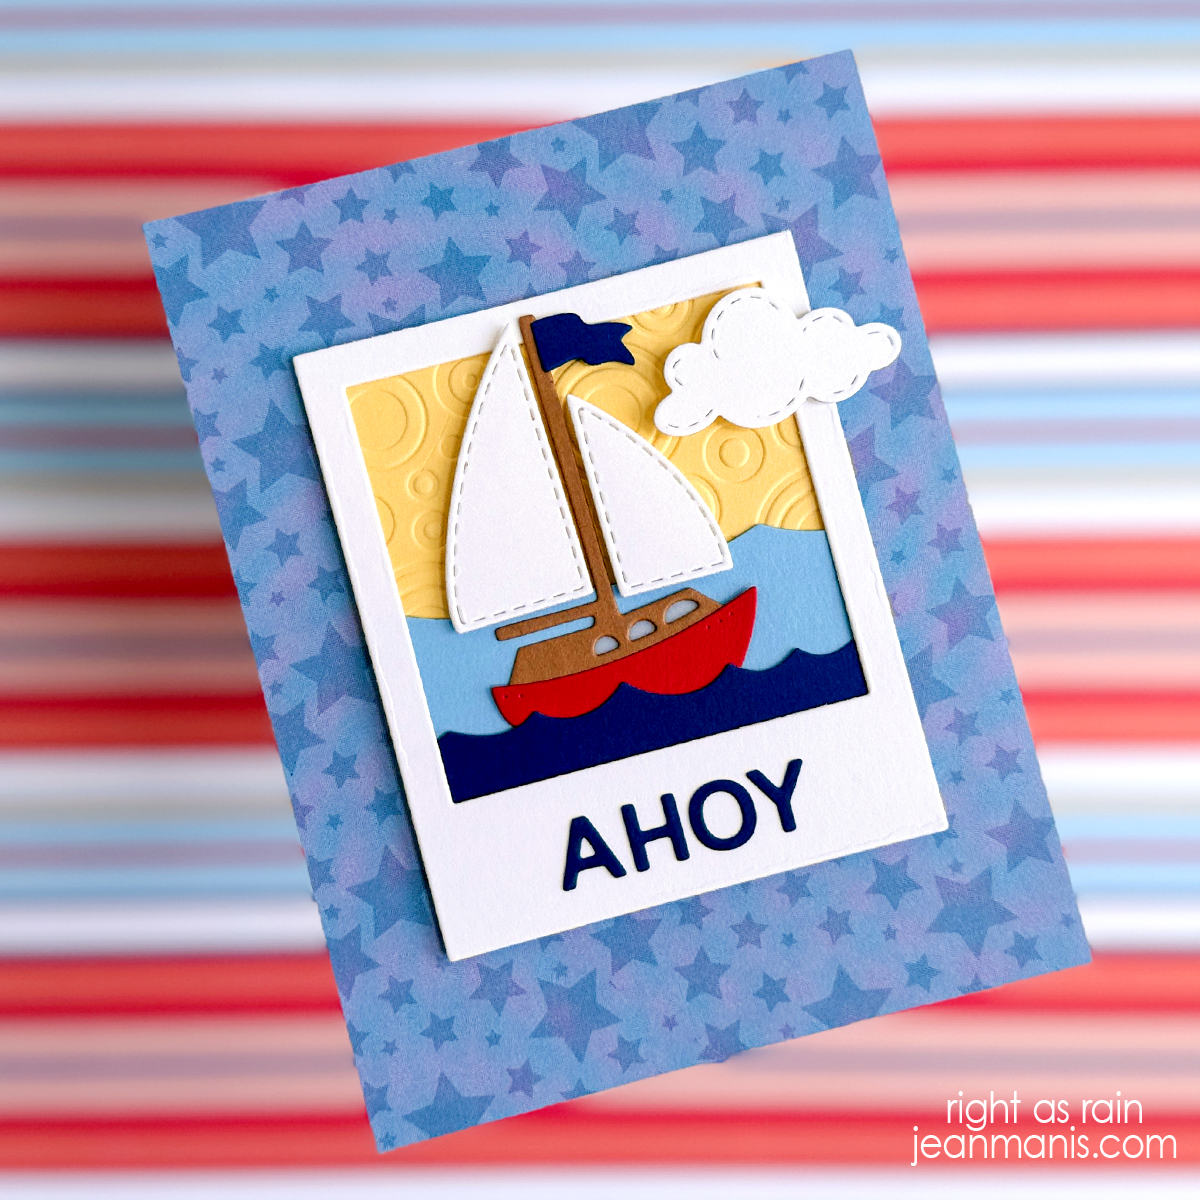
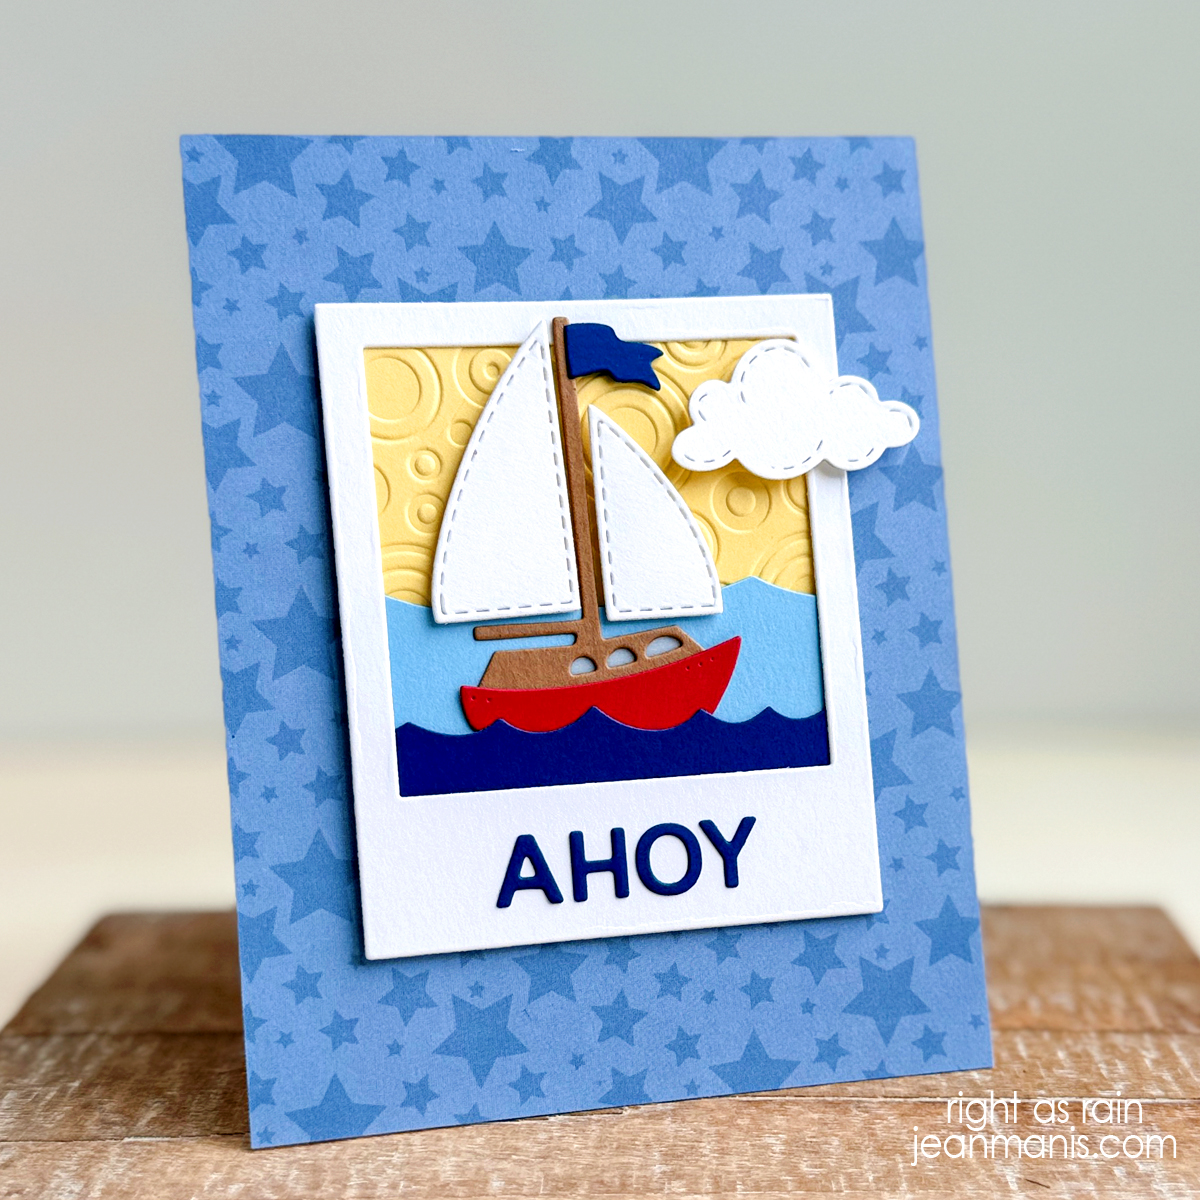
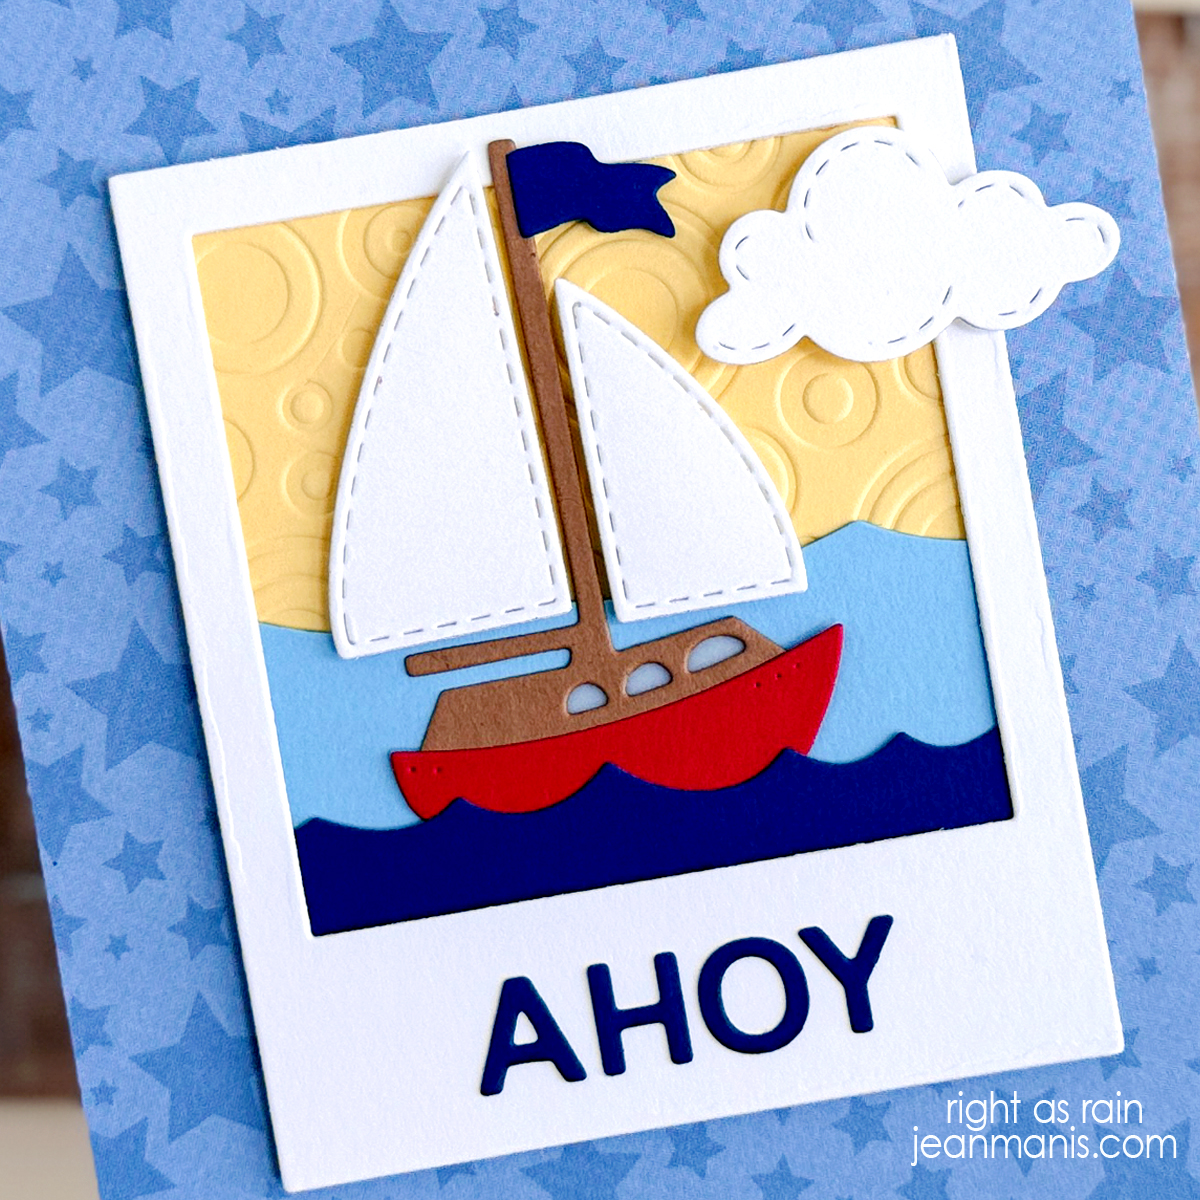
Hello! At the beginning of the month, I shared a round-up of summer-themed cards. Inspired by the post, I created a nautical-themed card that features a charming Impression Obsession sailboat. The cheerful “AHOY” is a perfect choice for sending warm wishes to any sea lover in your life and works for a multitude of occasions.

Die-cut Nautical "AHOY" Card

    • I used Echo Park patterned paper in my stash for the card base background. I discuss how patterned paper is a quick and convenient way to add character to card backgrounds HERE.
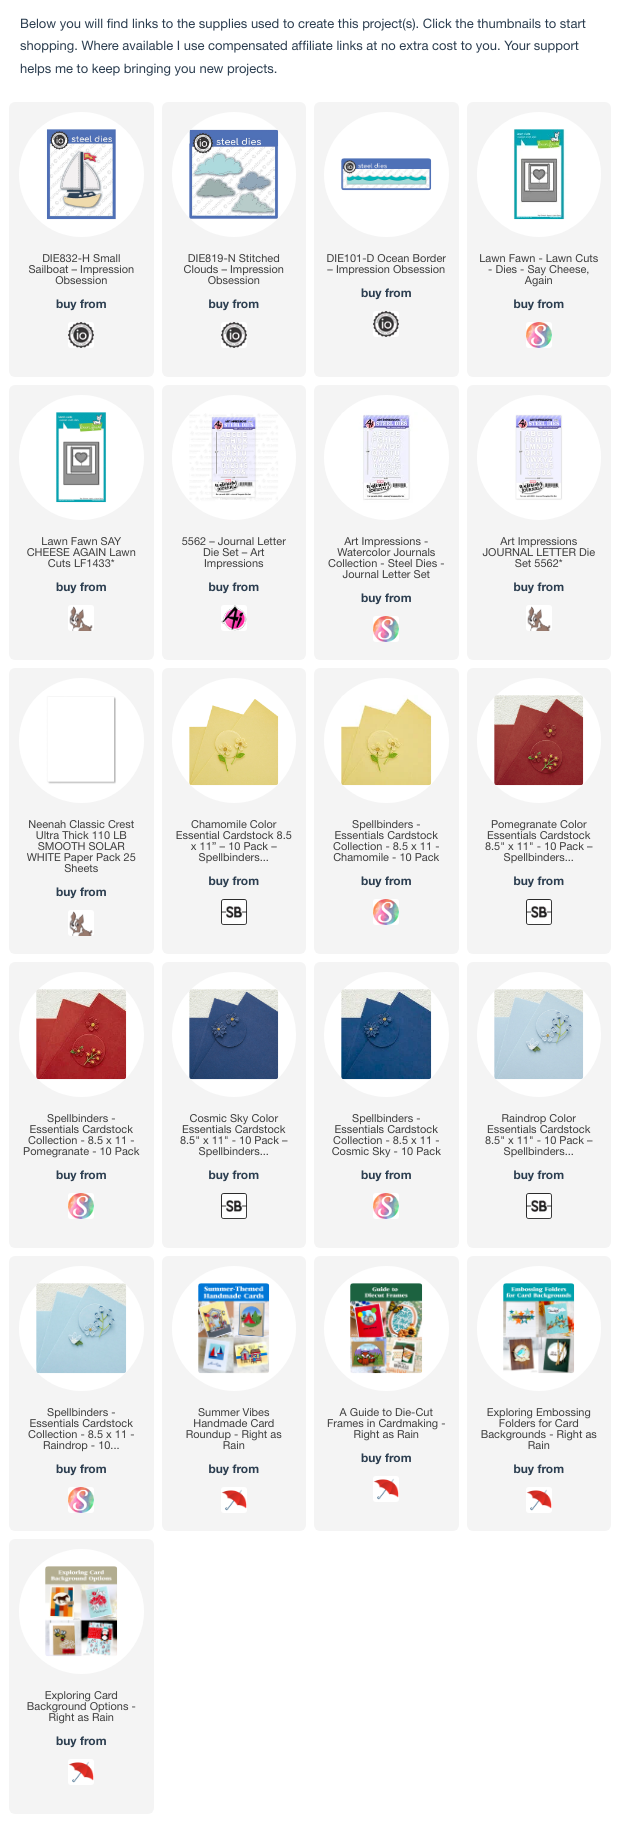
    • While designing the card, I thought back on the impact of a frame, which I discuss HERE. I chose the Lawn Fawn Say Cheese, Again die set to cut the Polaroid-style frame.
    • To create the background behind the frame, I used the now-retired, Taylored Expressions “On the Spot” embossing folder. I wrote about the use of embossing folders in cardmaking HERE.
    • I cut the sailboat, waves, and cloud from a variety of color cardstocks, and assembled as required. I used the Art Impressions Journal Letter die set to cut the letters that I glue to the frame.

Die-cut Nautical "AHOY" Card


Impression Obsession | Flower Cart Hello

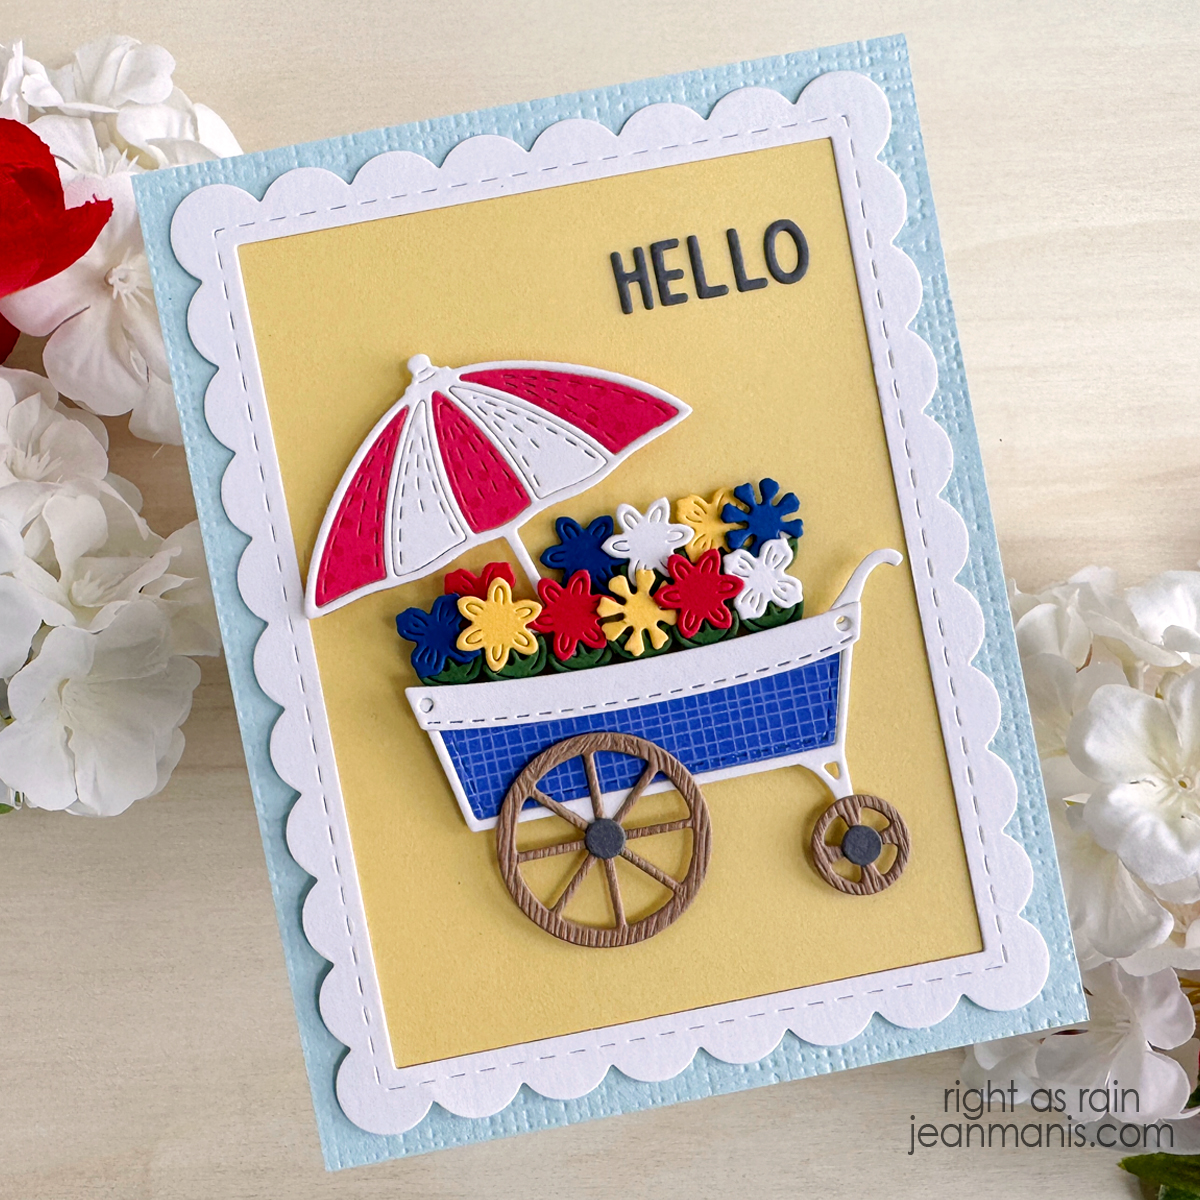
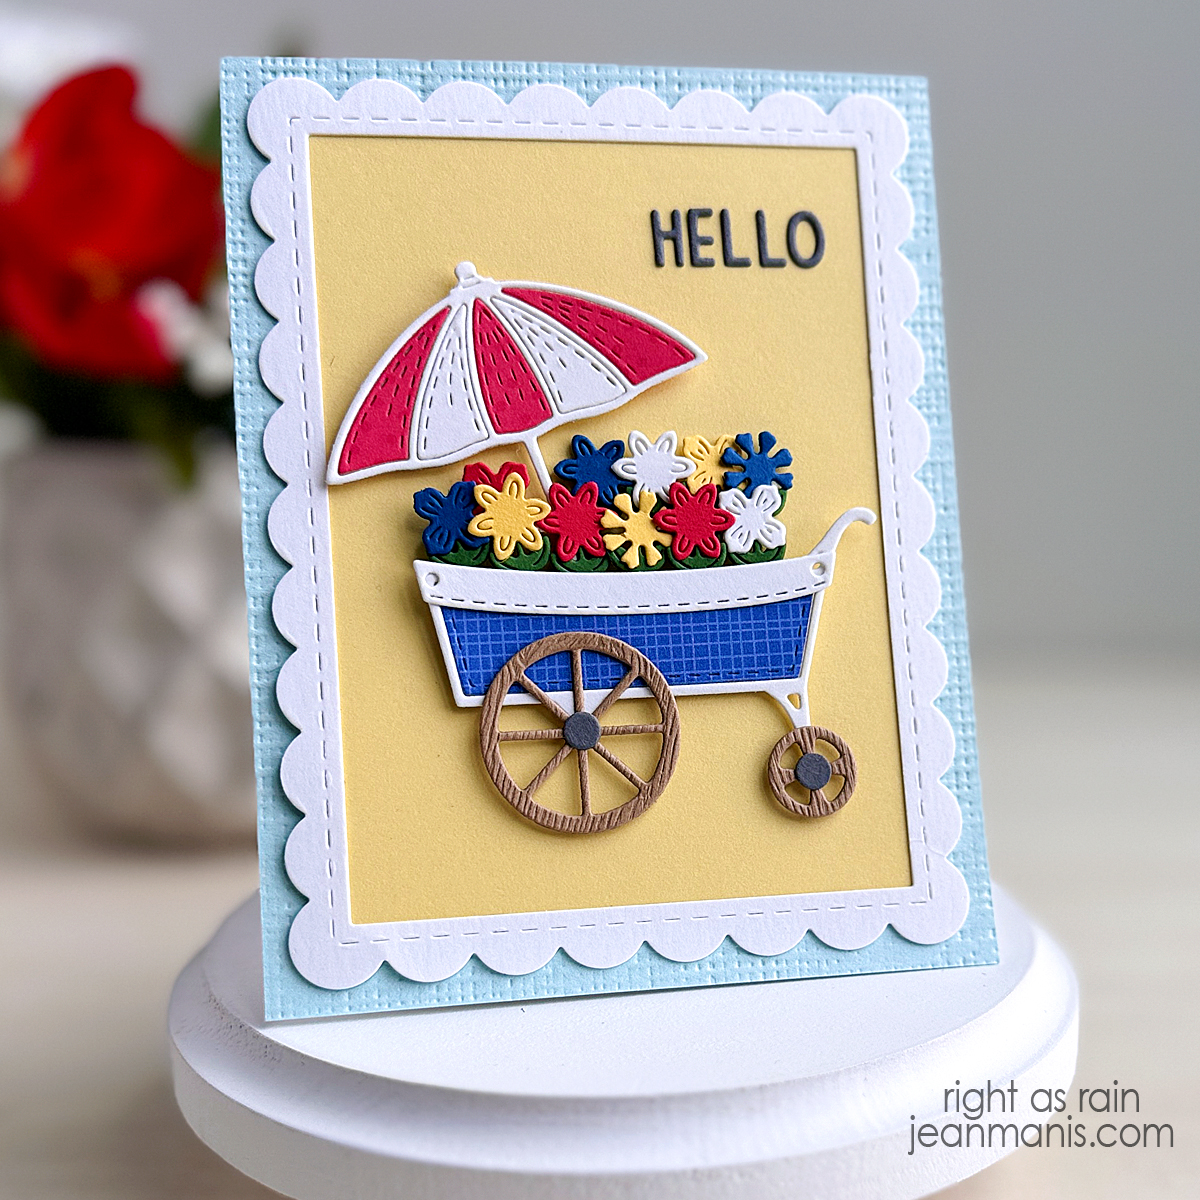
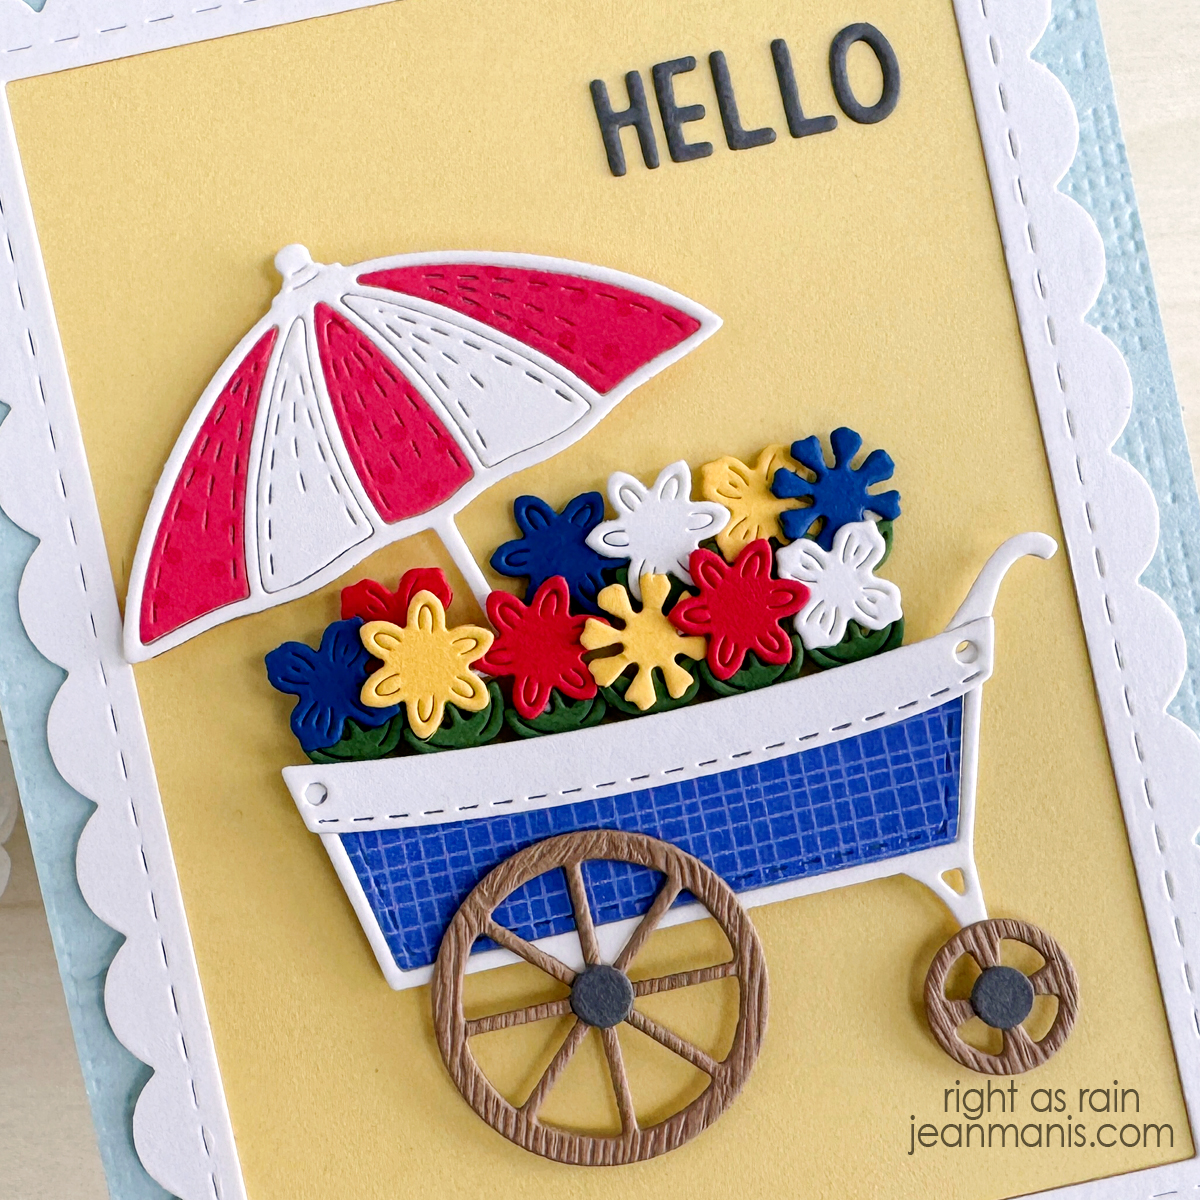
Hello! Today, I am sharing a CAS friendship card featuring several Impression Obsession die sets. The focal point of the design is a quaint flower cart full of colorful flowers. Brighten someone’s day with a little unexpected joy!

Impression Obsession | Floral Cart Hello

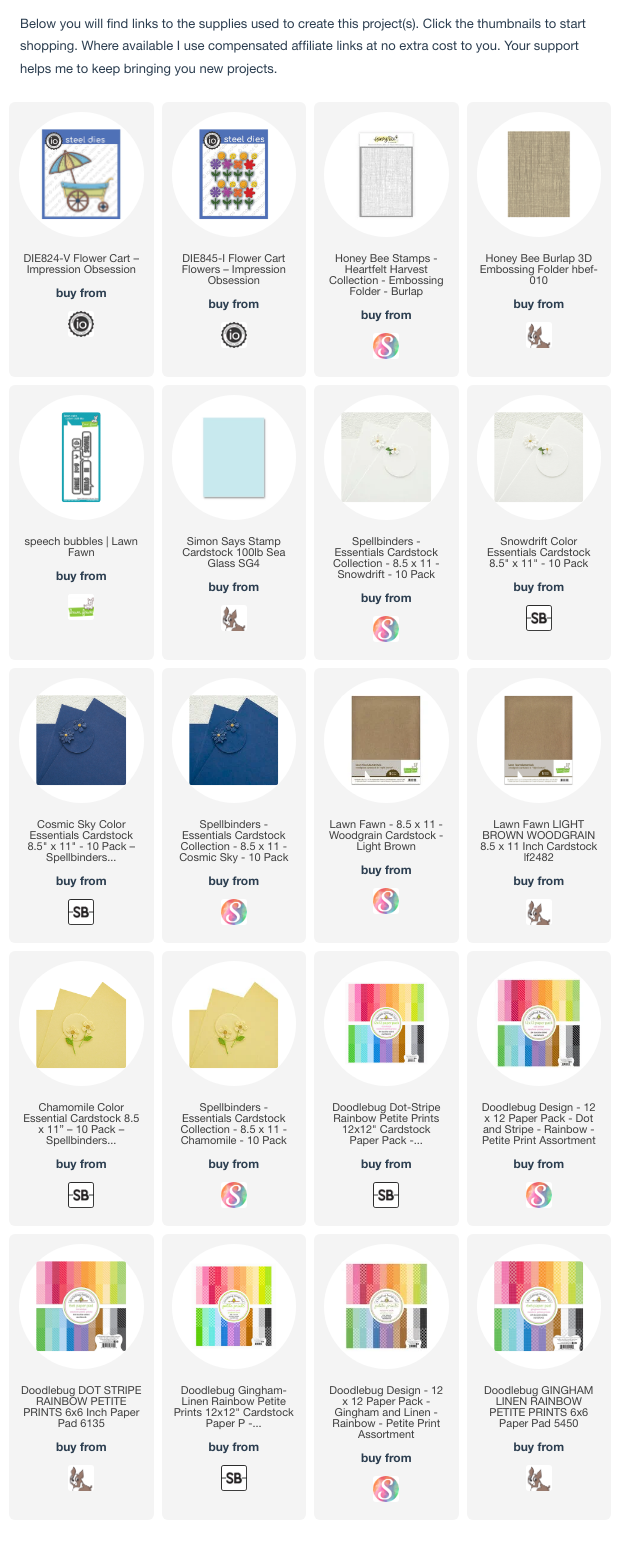
    • Dry-emboss Sea Glass cardstock with the Burlap embossing folder. Add to an A2-size base.
    • Cut frame from Snowdrift cardstock with largest die in the Frame in Frame 2 set. (The scalloped frame enhances the charm of the flower cart.) Back frame with Chamomile cardstock.
    • Cut sentiment with the Speech Bubbles set. (I really like the size of these letters.) Add sentiment to background panel. Add assembly to card base.
    • Cut cart and flowers from a variety of cardstock colors. Assemble and add to card with foam adhesive.

Impression Obsession | Floral Cart Hello


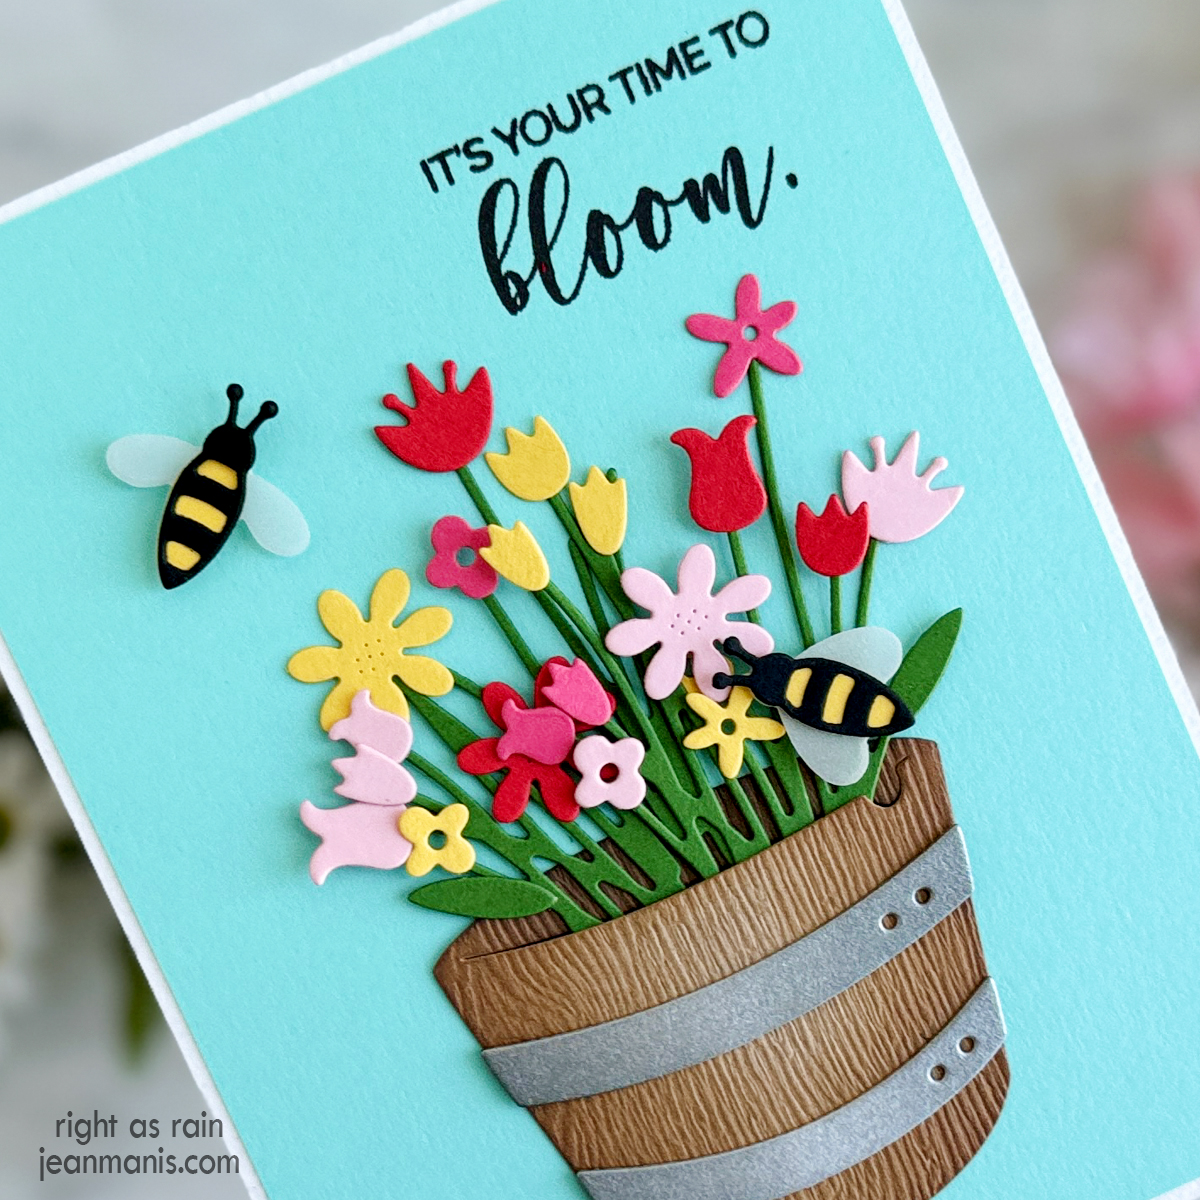
Impression Obsession | Friendship in Bloom

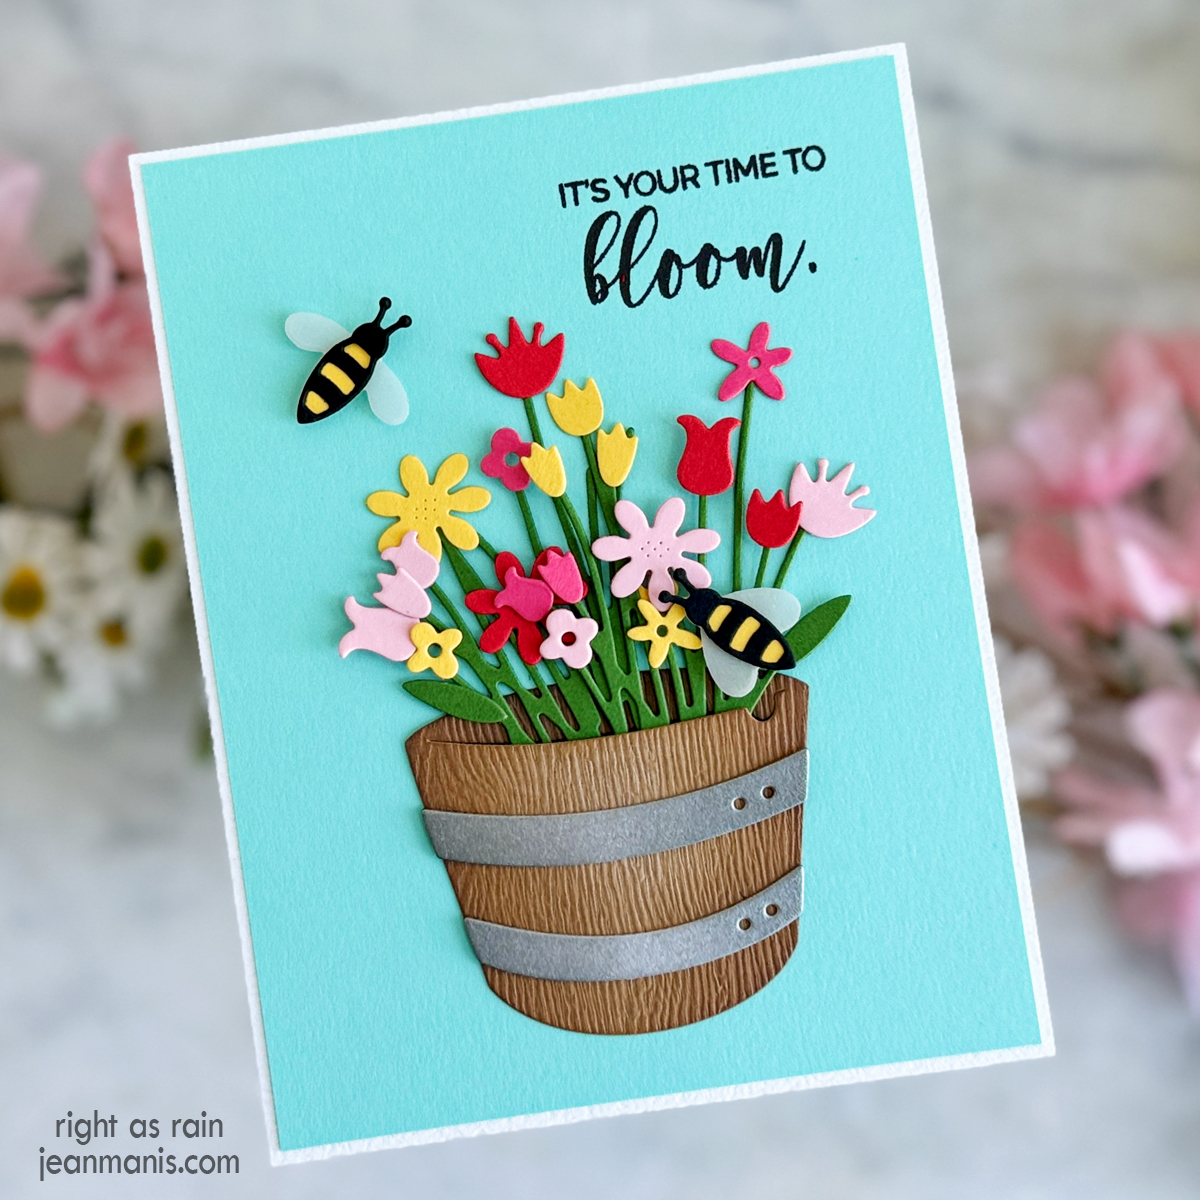
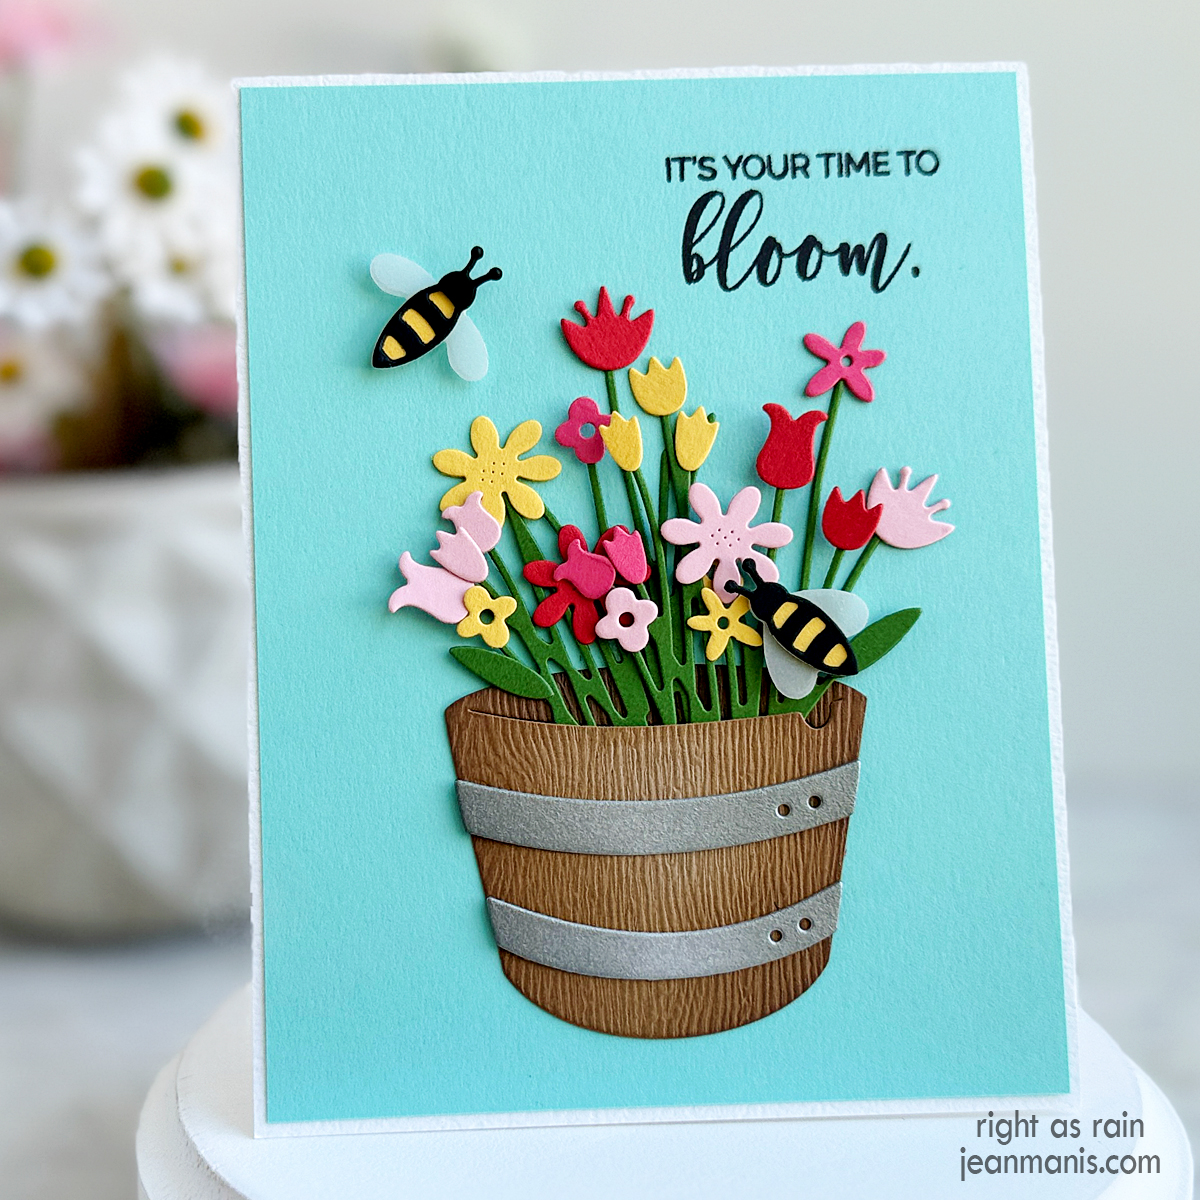
Hello! Today, I am sharing a friendship/encouragement card that features a barrel of blooming flowers and a heartfelt sentiment, “It’s your time to bloom.” The phrase can remind a friend to seize an opportunity, embrace growth, and achieve their potential. To see more cards with the encouragement theme head HERE.

Impression Obsession | Friendship in Bloom

    • Stamp the Penny Black sentiment on Waterfall cardstock. Trim panel to slightly smaller to A2 size and add to an A2-size card base.
    • Cut the Impression Obsession Bouquet and Whiskey Barrel pieces from a variety of cardstock colors. Assemble and add to card base.
    • Embellish with die-cut bees. (I used a now retired Elizabeth Crafts set.)Impression Obsession | Friendship in Bloom


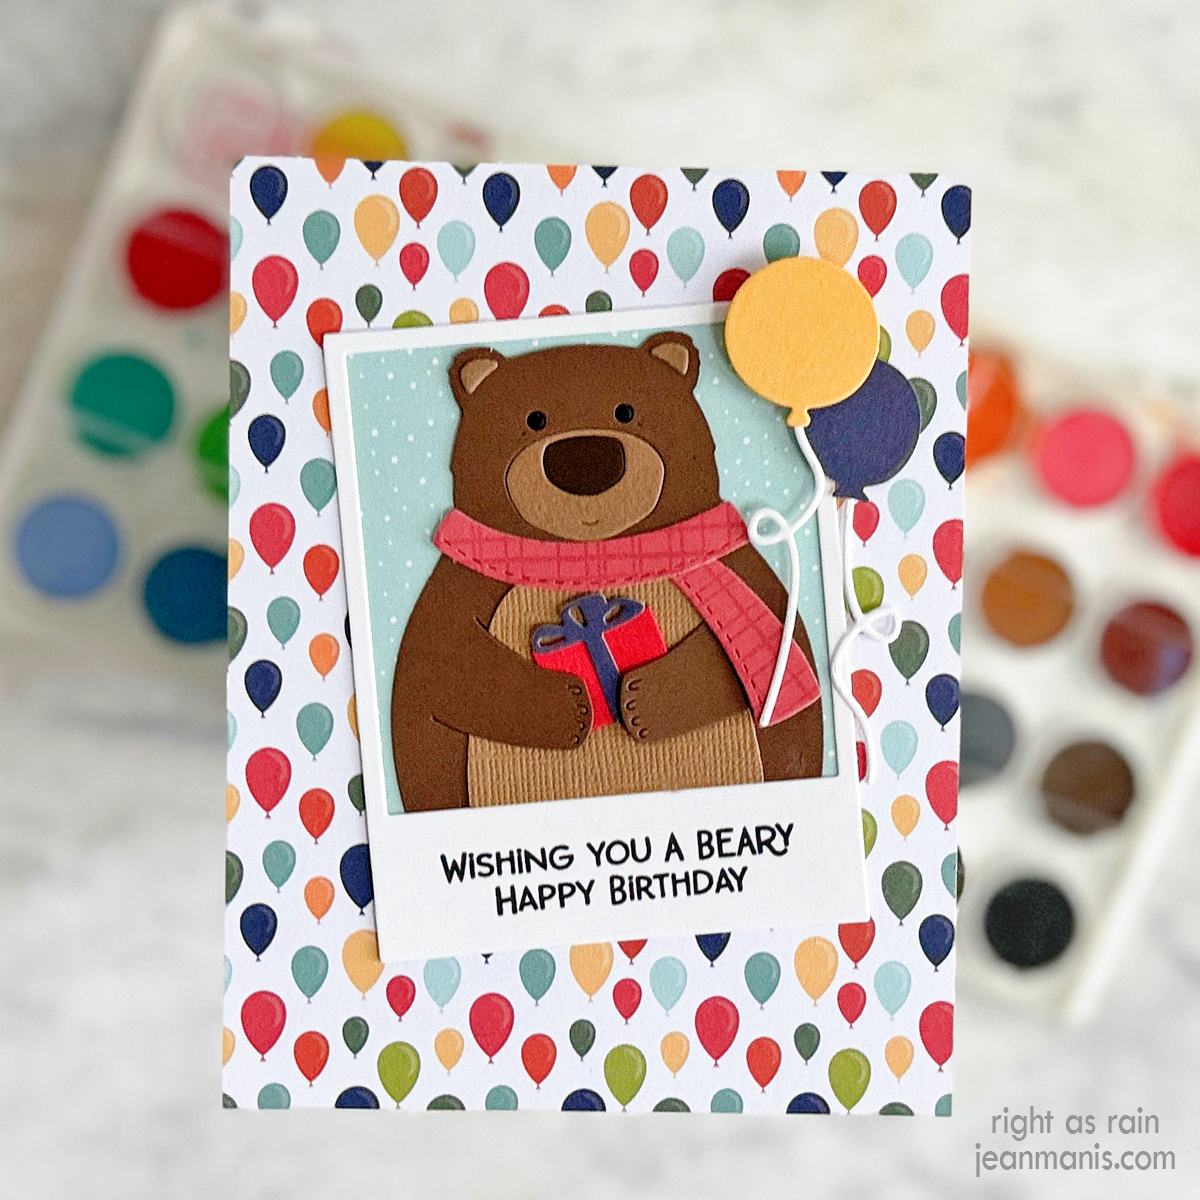
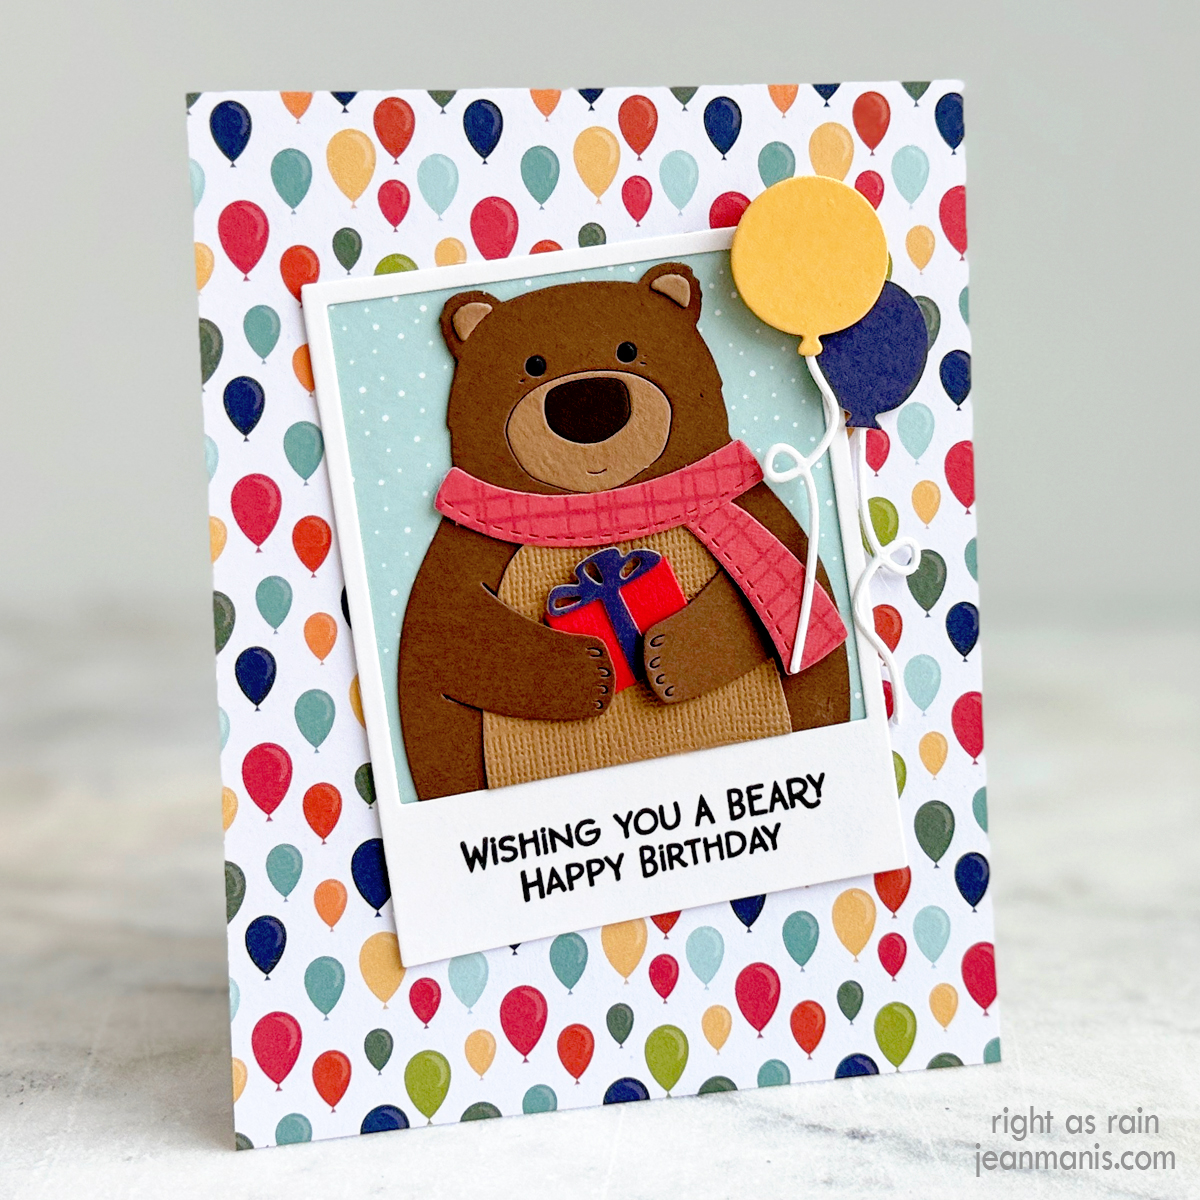
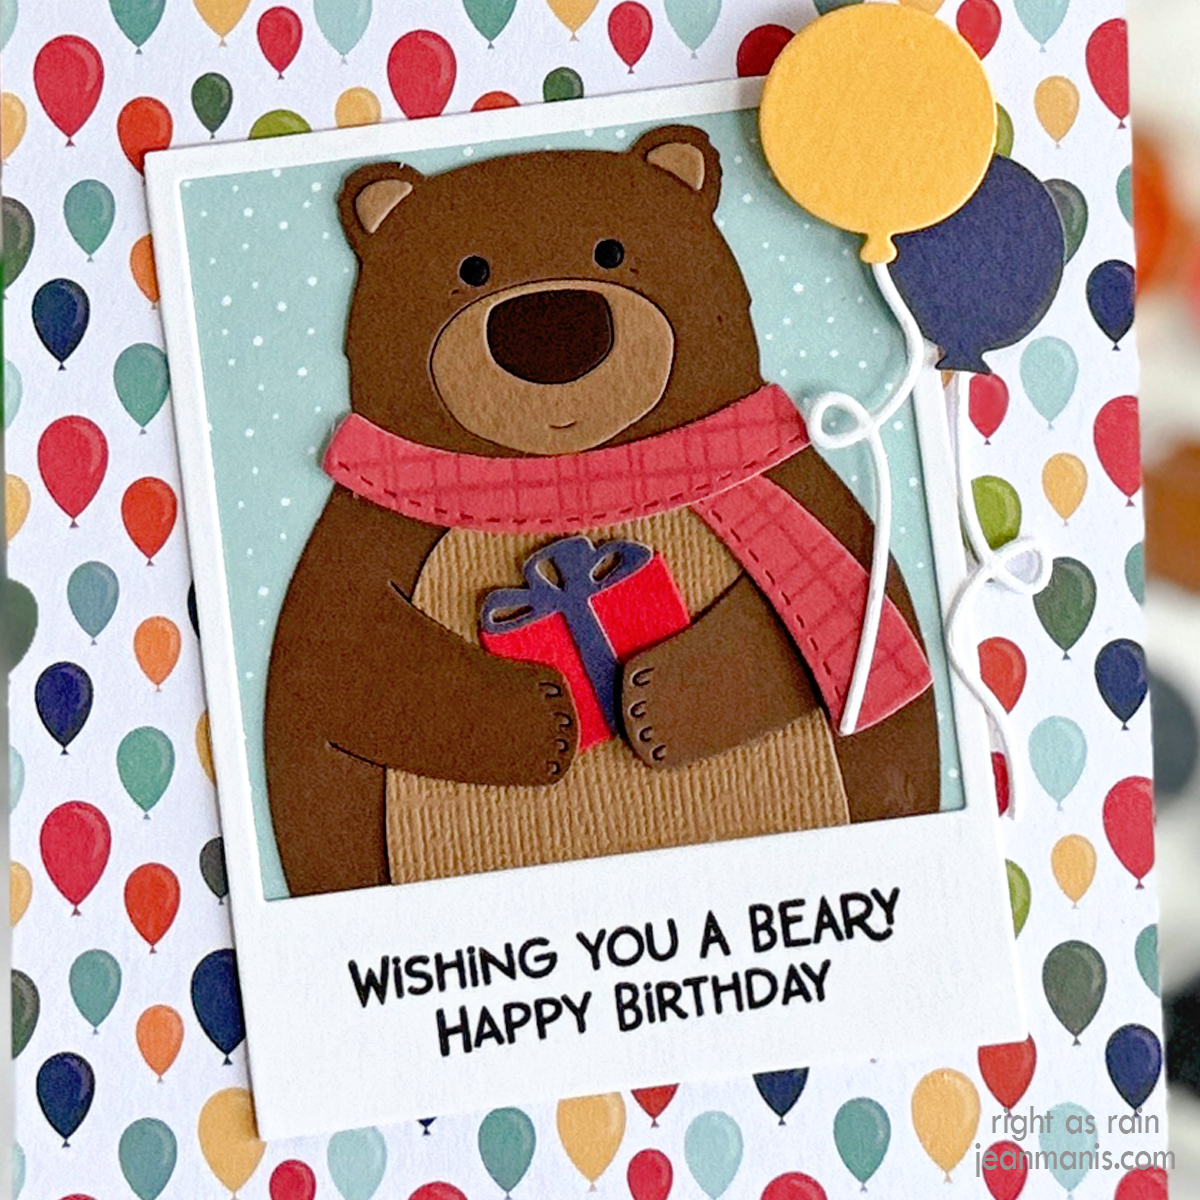
Birthday Cheers with Bear Hugs

Hello! Today, I am sharing a birthday card created with the charming Impression Obsession Cocoa Bear die set, which I was inspired to create  after curating a roundup of birthday cards. Previously, I shared a winter-themed friendship card created with the Cocoa Bear die set HERE.

Birthday Cheers with Bear Hugs

    • Attach patterned paper from the Echo Park A Birthday Wish Boy Collection pad on to an A2-size card base.
    • Cut Cocoa Bear from a variety of cardstock colors and textures (I cut the scarf from paper in the A Birthday Wish Boy Collection pad). Assemble. Cut a present for the bear to hold with a die in the Elizabeth Craft Designs Gnomes die set.
    • Stamp the Bear Sayings sentiment on to a die-cut Polaroid frame. (I used one from Paper Smooches, which is now retired.) Back the frame with patterned paper.
    • Add the frame to the card base. Add assembled bear to the front of the frame.
    • Embellish with balloons cut with Penny Black dies – Uplifting and Balloons (strings).

Birthday Cheers with Bear Hugs