Sending Hedgehugs with Penny Black

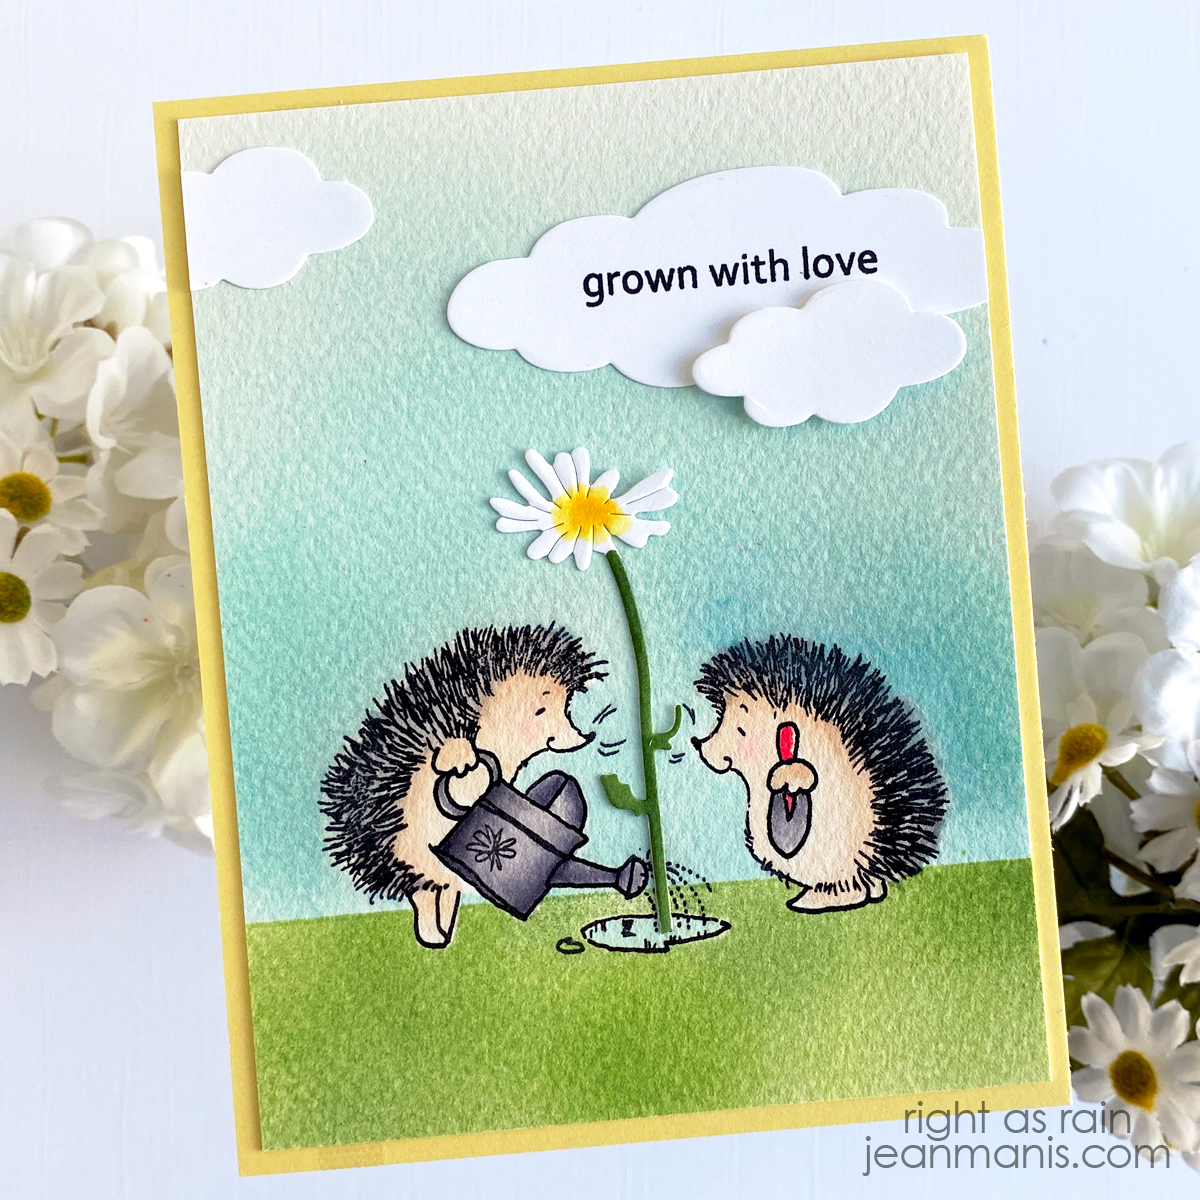
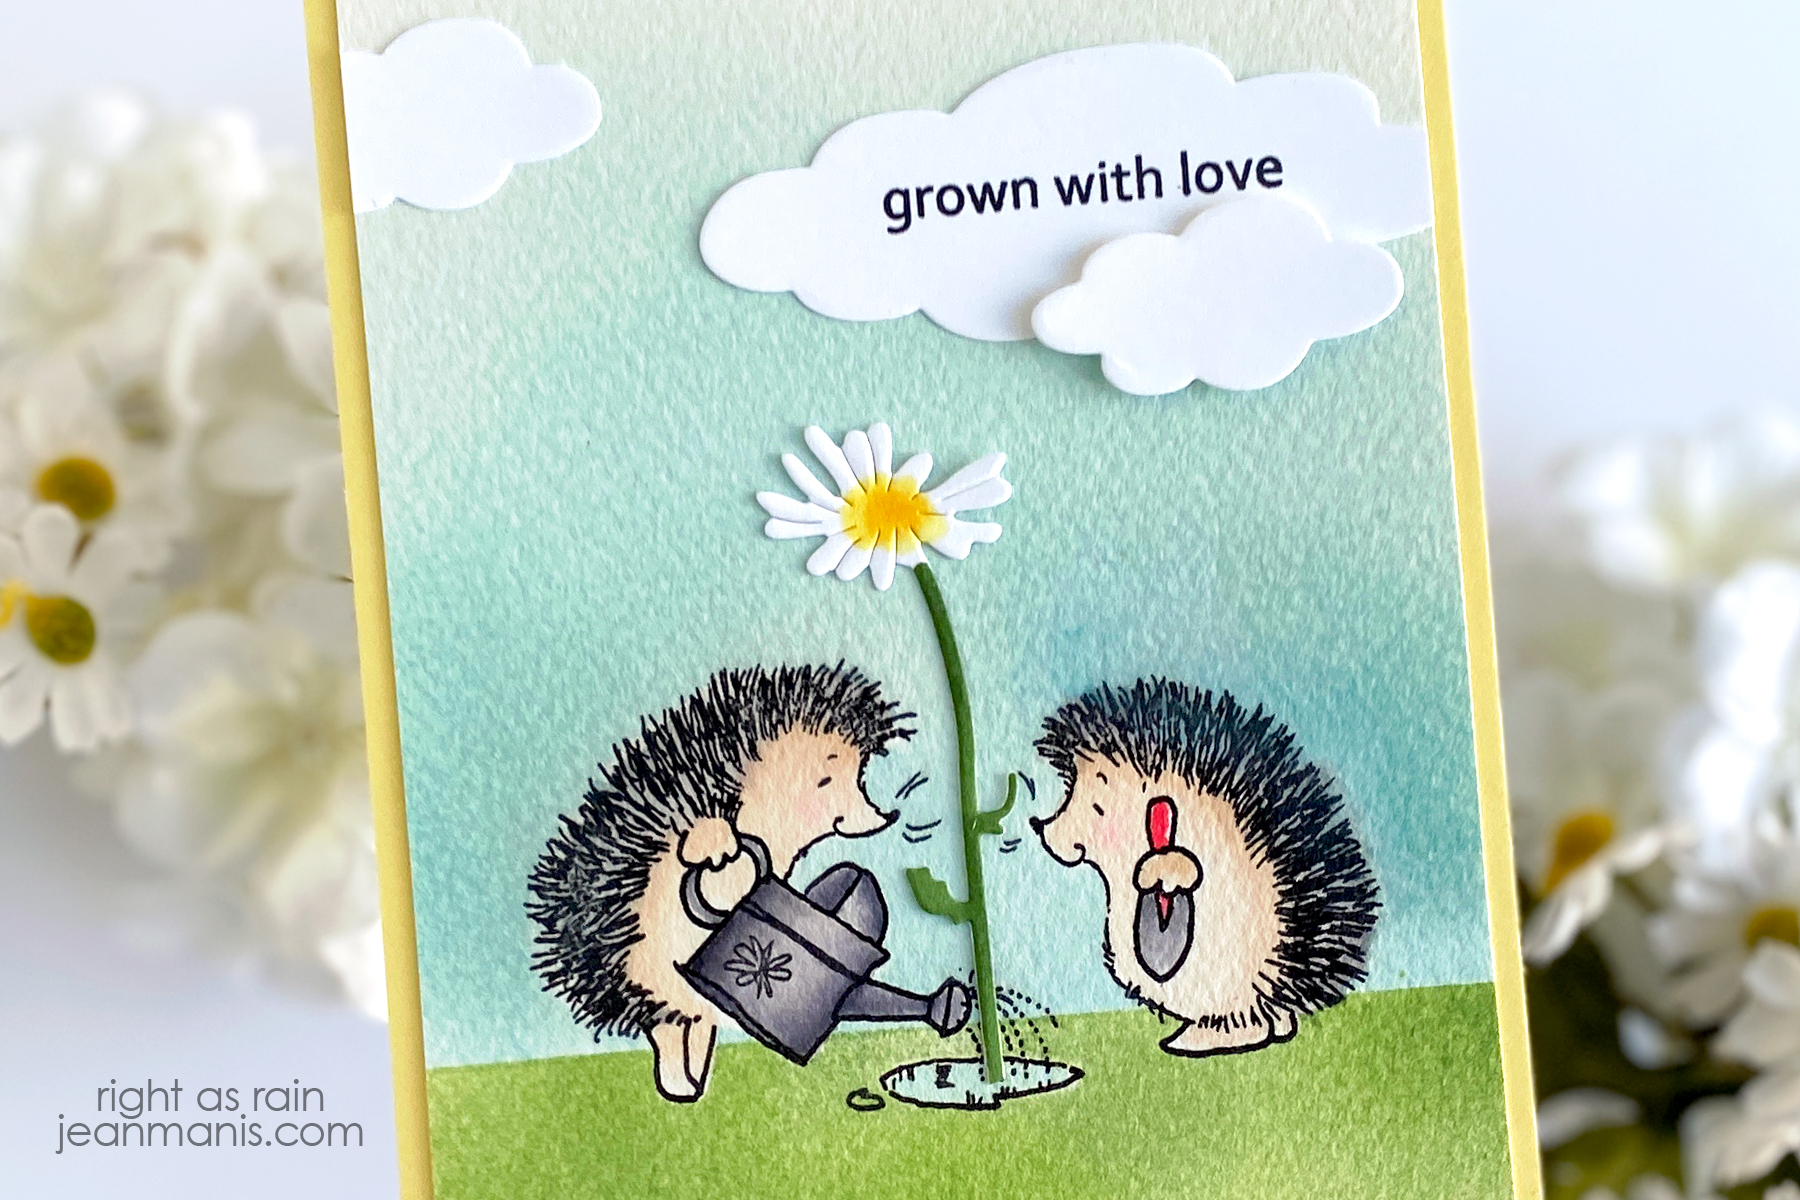
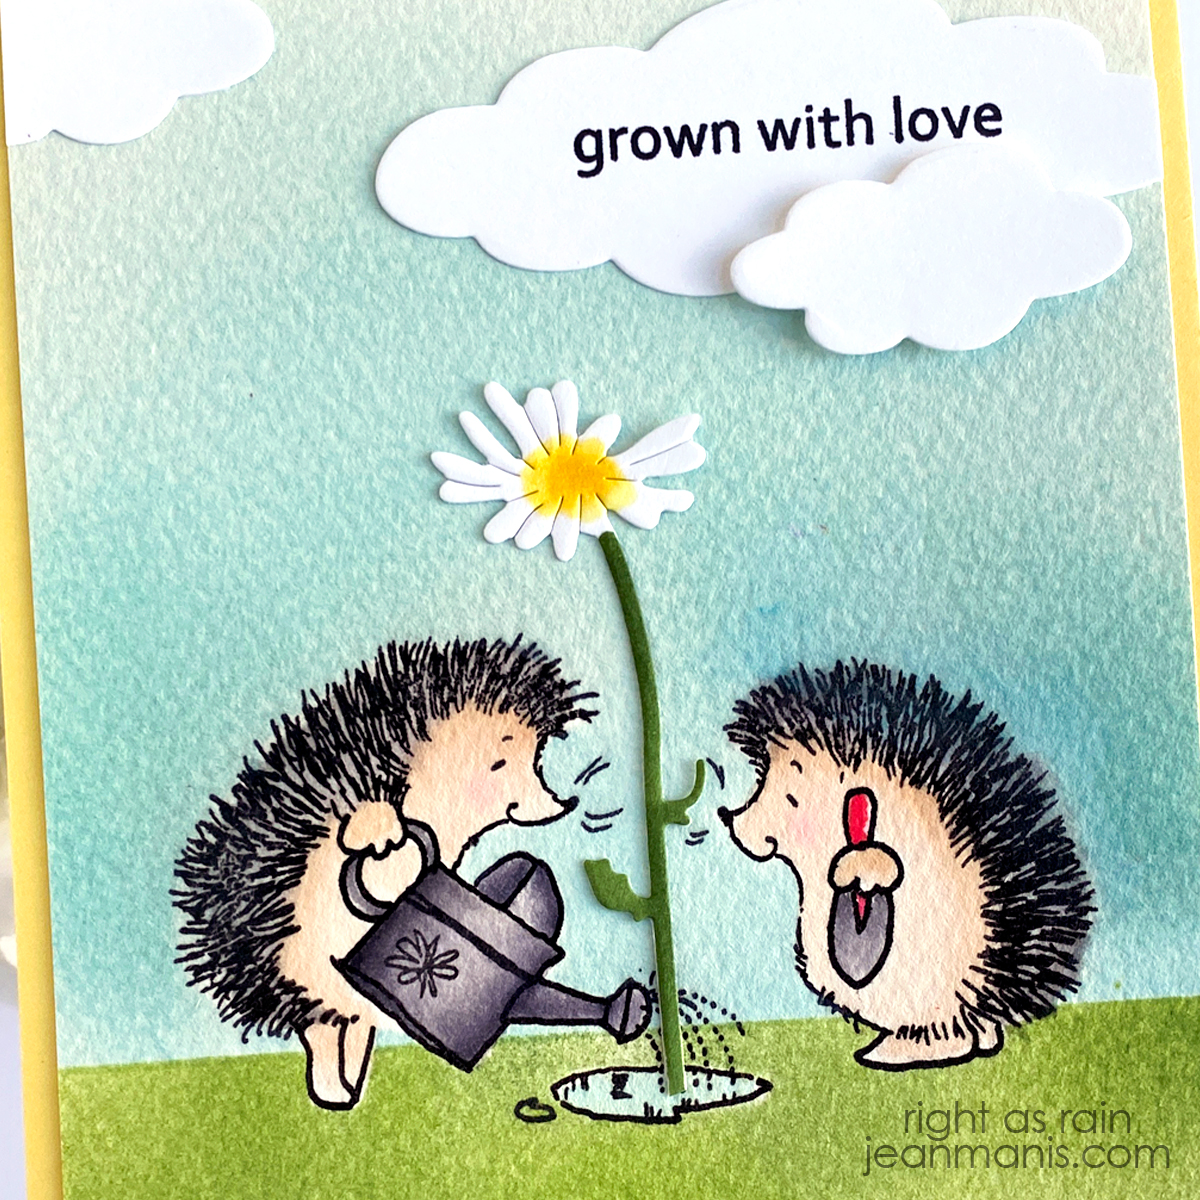
Spring has sprung on this sweet watercolored card that shows two hedgehogs watering a daisy. Featuring the Penny Black Grown with Love stamp set, this card is suitable for sending a message of love, friendship, or just a simple hello! But there’s a twist – instead of using the flower in the original Penny Black Grown with Love stamp, I masked it and added a die-cut daisy. Read on for step-by-step instructions on how I created the card.

Sending Hedgehugs with Penny Black

    • Stamp hedgehog image on Arches Cold Press watercolor paper with VersaFine ink, masking the flower image so that it does not stamp; heat set.
    • Watercolor image. I used Zig markers in Medium Beige, Oatmeal, and Light Pink for the hedgehog faces and bodies. I used Zig Gray Brown for the hedgehog needles. For the watering can and metal portion of the spade, I used Zig Gray. I used Tombow Poppy Red for the spade handle and Zig Light Blue for the pond.
    • Stamp hedgehogs on Gina K Masking Magic. Fussy-cut hedgehogs and pond and cover watercolored portions with the masks. Apply Tumbled Glass Oxide ink for the sky and Mowed Lawn Oxide and Rustic Wilderness Oxide for the grass.
    • Stamp Grown with Love sentiment on to white cardstock and cut with large cloud die in the Silver Linings set.  Cut two small clouds with the same set.
    • Use the Daisy Delight die to cut the daisy from white cardstock. Color with Copic markers. I used Pale Yellow and Cadmium Yellow for the flower center and Moss Green for the stem.
    • Trim stamped panel to 4 x 5 1/4 inches and add to yellow card base. Add clouds and daisy to scene.

Sending Hedgehugs with Penny Black

This stamp set was part of the Refreshing release three years ago. You can see the release video here.


Penny Black | Watercolored Scooter

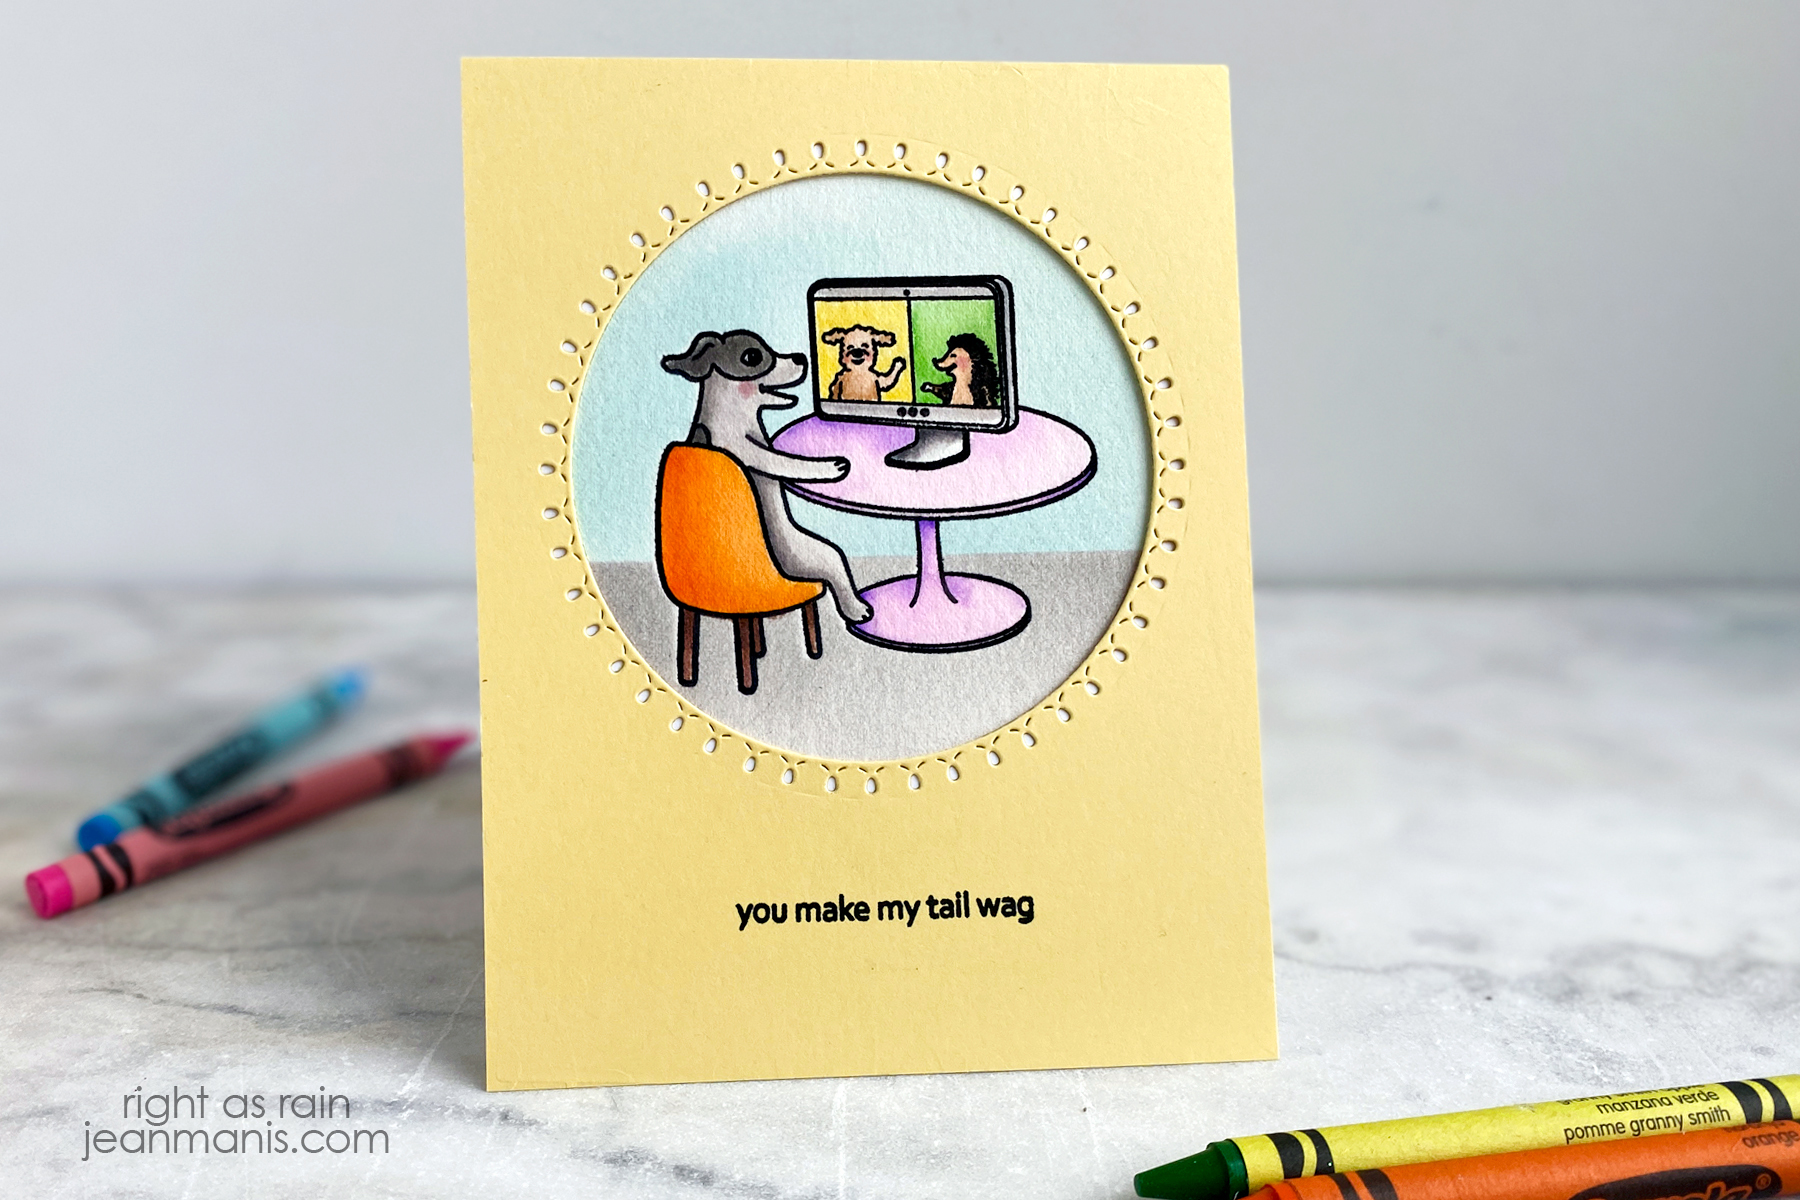
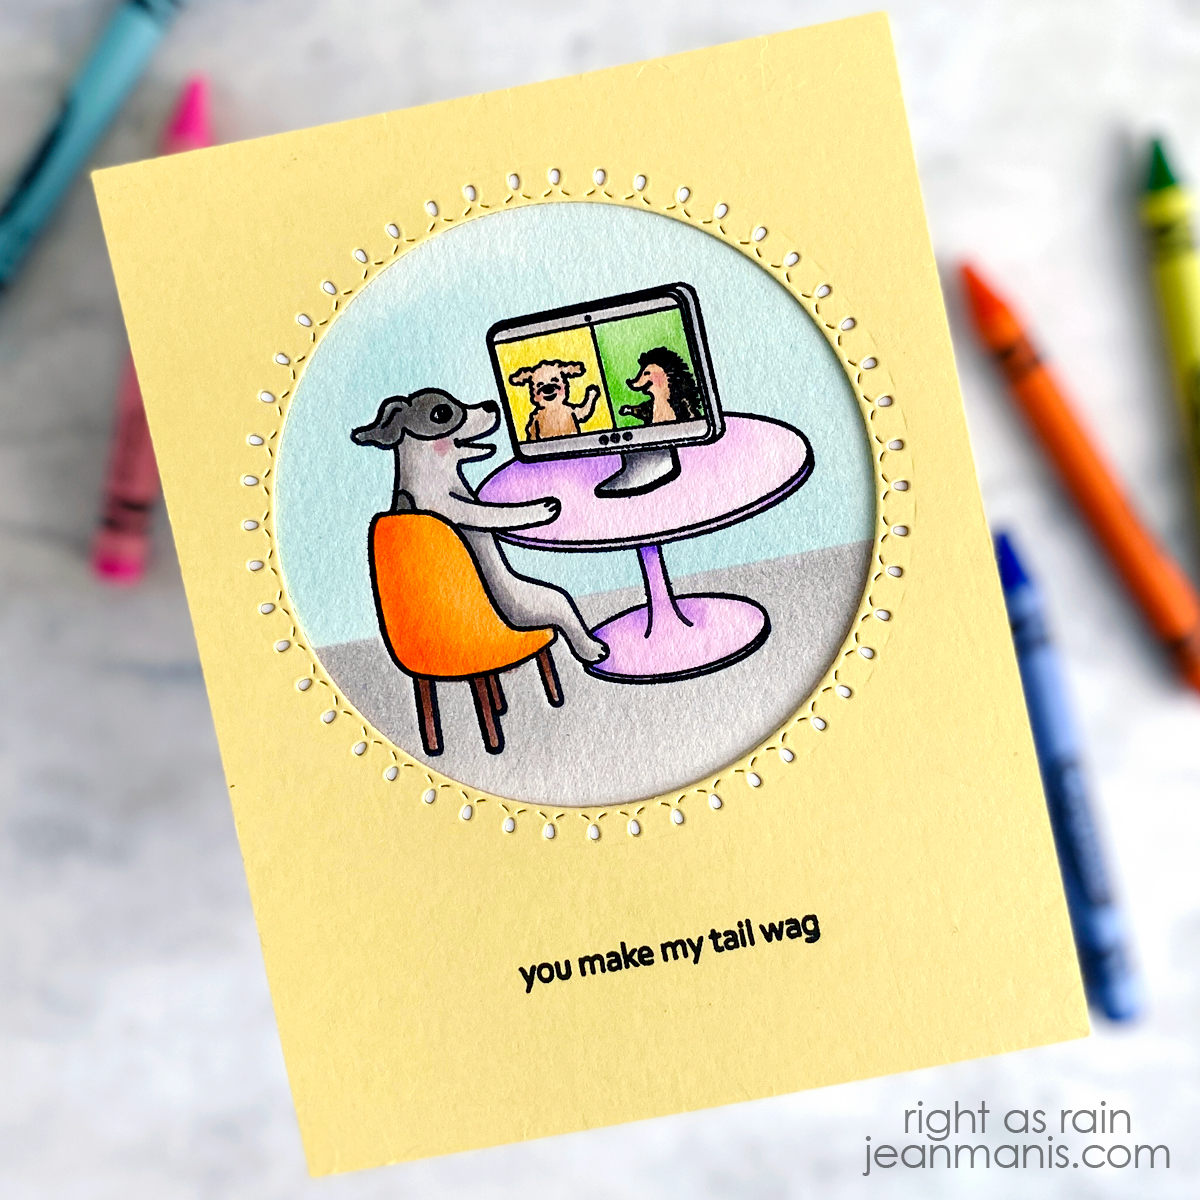
Hello! Today I am sharing a watercolored card, featuring an adorable scene of a critters that will bring a smile to the recipient’s face, created with Penny Black supplies. The card features an image from the Stamping with Scooter release of June 2021. You can view the Stamping with Scooter catalog HERE. I did not play enough with these products then, and I am making up for that now. Read below for details on how I made the card.

Penny Black | Watercolored Scooter

The whimsical Zooming By image shows three creatures in the midst of a Zoom call – one dog is in conversation with another furry friend and a friendly hedgehog. The set was designed during the height of the pandemic, when we turned to Zoom to communicate with others. That being said, this set is by no means outdated as virtual communication in our modern world is still relevant, even as in-person interactions resume.

  • Stamp Zooming By image on Arches Cold Press watercolor paper with VersaFine ink; heat set. Color image with watercolor markers. Set aside to dry. Stamp image on Masking Magic Sheets and fussy-cut. Cover watercolored image with mask; apply Tumbled Glass and Hickory Smoke inks for the background.
  • Stamp Puptastic sentiment on Chamomile cardstock. Trim panel to A2-size and cut with a die in the Stitched Circles set. Add the circle frame panel to the watercolored image and add assembly to card base.

Penny Black | Saying Hello with Scooter


Penny Black | Watercolored Floral Birthday

Hello! Today I am sharing a watercolored birthday card featuring stamp sets from the most recent Penny Black release – Cherished.

Penny Black | Watercolored Floral Birthday

  • Stamp Sweetly with VersaFine ink on Arches Cold Press watercolor paper. Set ink with heat gun.
  • Color floral image with mediums of choice. Set aside to dry.
  • Stamp image on to Masking Magic Sheets and fussy-cut. Apply mask to dry image and ink the background with Tumbled Glass Oxide. Add May Green ink to small stems. (This color worked with the greens I used to color the leaves. Ideally, you have a marker with a small enough tip to color the small stems that matches the greens used for the other stems and leaves.)
  • Remove masking and stamp Delightful Day sentiment in upper-left corner. Trim panel to A2-size and add to card base.

Penny Black | Watercolored Floral Birthday


Penny Black | Watering Can and Blooms

Hello! Today I am sharing a spring-themed card created with Penny Black supplies, new and old. As I mentioned in this post, featuring a card of the same design, I have been watching the video series created by Jill Foster for Penny Black, which has been incredibly instructive.

Penny Black | Watering Can and Blooms

  • Using the two largest Stitched Frames dies, cut frame from white cardstock. (This set cuts on the inside and creates a cut pattern on the outside. By using the two dies together, I get a frame with the cut pattern on the frame.)
  • Ink white cardstock panel with Tumbled Glass and Mowed Lawn. Stamp Flower Teddy sentiment with VersaFine Onyx ink. Trim panel and adhere frame to top. Add assembly to yellow card base.
  • Cut Watering Can elements and tulips from Arches Cold Press watercolor paper. Color with watercoloring medium and colors of choice (some of the markers that I used to color the watering can and tulip blooms are listed below). I used the May Green Pitt Artist Pen to color the greenery and stems. Trim tulips as needed and add to inside of the watering can.
  • Add assembly to card with foam adhesive.

<img class="aligncenter size-full wp-image-22404" src="https://jeanmanis.com/wp-content/uploads/2023/03/JeanManis-PennyBlack-WateringCanandTulips-3.jpg" alt="" width="1200" height="1200" />


Penny Black | Boots and Blooms

Hello! Today I am sharing a spring-themed card created with Penny Black supplies, new and old. I have been watching the video series created by Jill Foster for Penny Black, which has been incredibly instructive.

Penny Black | Boots and Blooms

    • Cut Boots from Arches Cold Press watercolor paper and color with markers. (I colored by scribbling a mat with the marker color and picking it up with a wet Round Size 8 brush. I did not apply the marker directly to the watercolor paper.)
    • Cut Burst of Blooms from Arches Cold Press watercolor paper (twice) and color with markers. Use the May Green Pitt Artist Pen to color the stems (this was one of the many tips shared by Jill in the videos). Once dry, adhere centers cut from white cardstock with the Dots die. Trim stems, fussy-cutting as necessary, and place blooms into the boots.
    • With two largest Stitched Frames dies, cut frame from white cardstock. (This set cuts on the inside and creates a cut pattern on the outside. By using the two dies together, I get a frame with the cut pattern on the frame.)
    • Ink white cardstock with Tumbled Glass ink, applying more ink at one end. Stamp with Flower Teddy sentiment. Trim panel to fit behind frame and adhere.
    • Create card base from Purple Mist cardstock. Add frame and sentiment panel. Add assembled boots with foam adhesive.

Penny Black | Boots and Blooms