Hero Arts | Candy Cane Collection

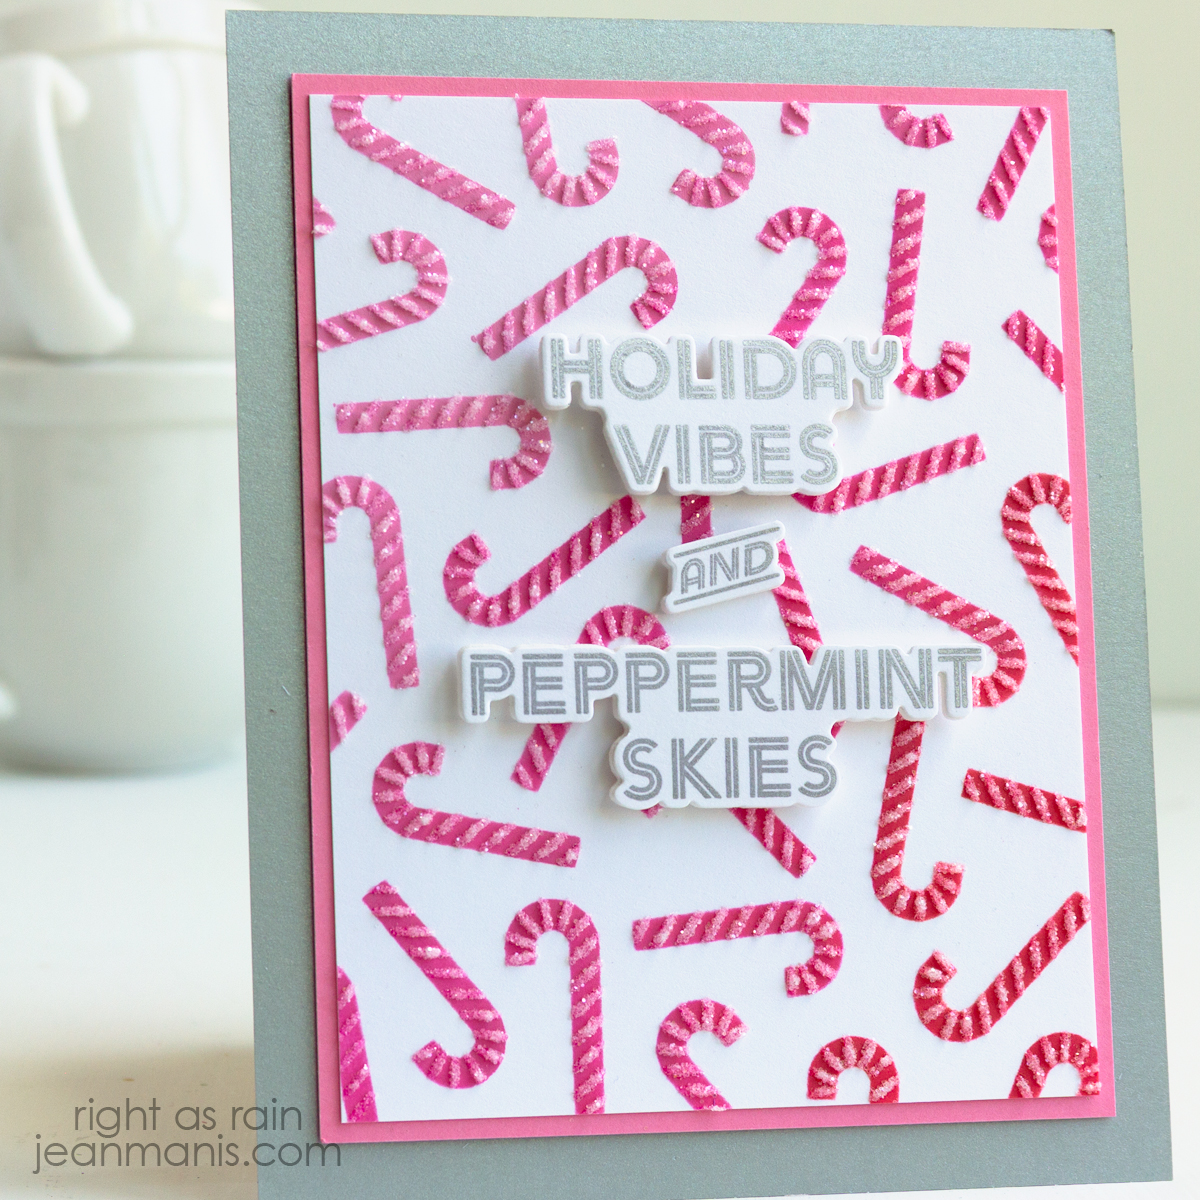
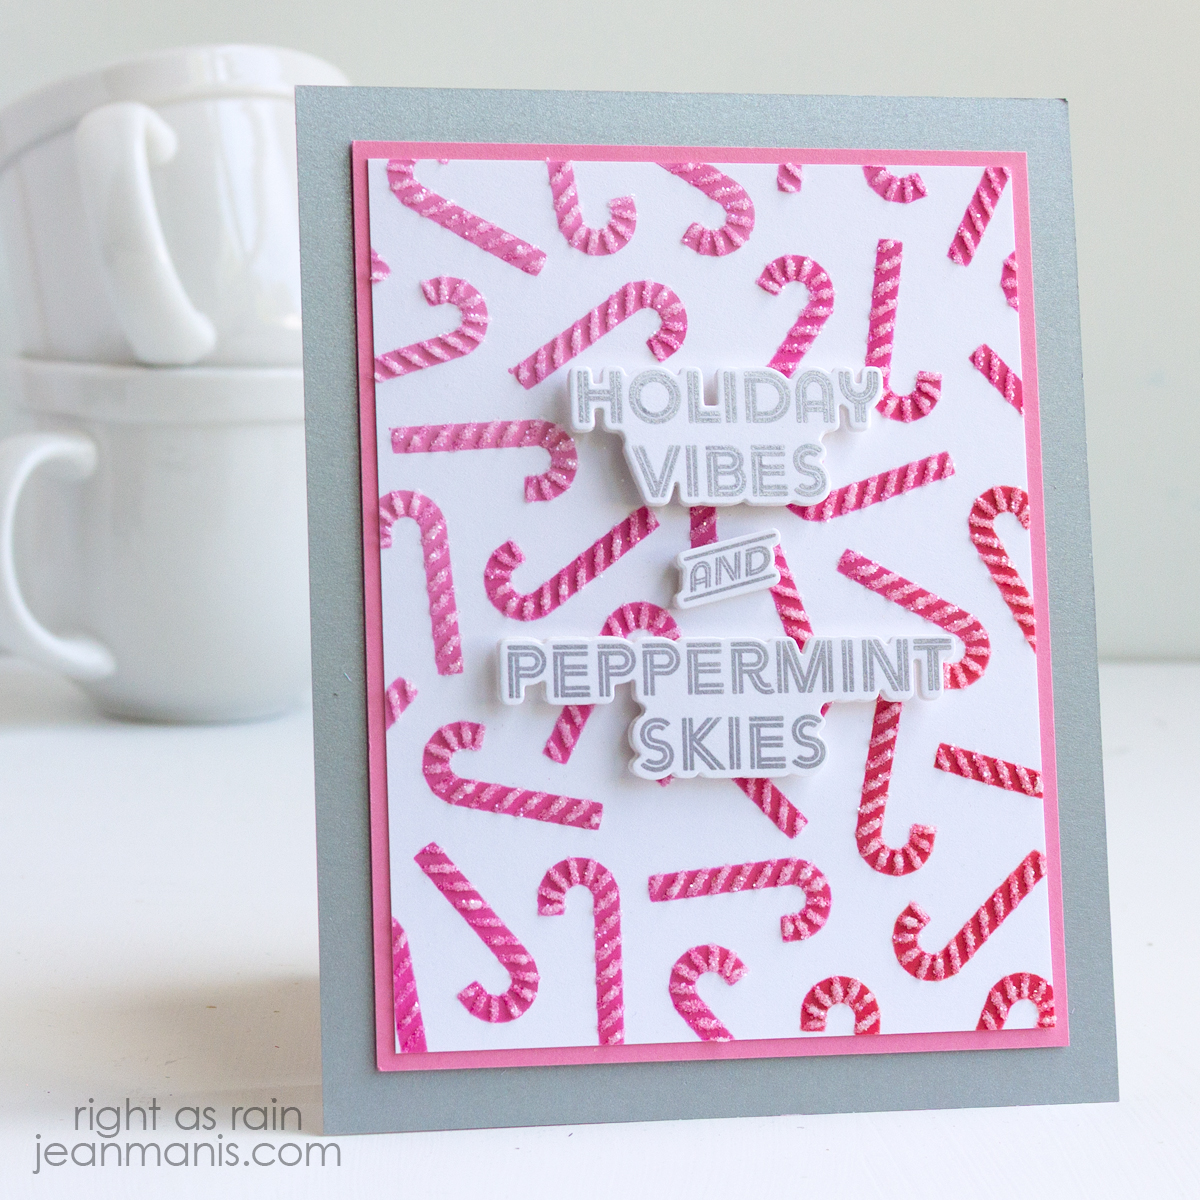
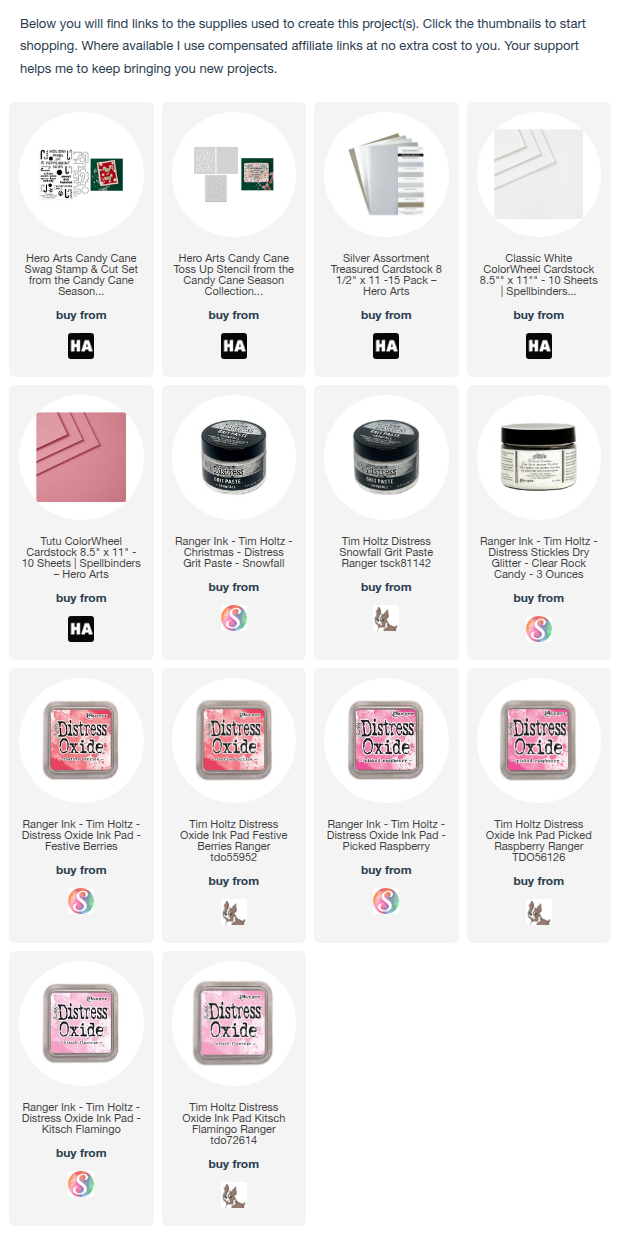
Hello! I’m sharing two holiday cards created with the new Candy Cane Collection from Hero Arts. This festive collection includes stamp sets with coordinating dies, a stand-alone sentiment die set, and a versatile layering stencil. I used two different approaches with the stencil set—one uses white embossing paste on red cardstock for a bold, dimensional look, and the other layers white and red ink to build a classic candy cane pattern. Both cards feature the cheerful sentiment “Holiday Vibes and Peppermint Skies,” bringing a fresh twist to holiday cardmaking.

Hero Arts | Candy Cane Collection

    • Apply embossing paste through one of the stencils in the Toss Up set on to a Pomegranate cardstock panel. Add to a white card base.
    • Stamp the Candy Cane Swag sentiment with black ink on white cardstock and heat-emboss with clear powder. Cut with the coordinating die and add to the card base with foam adhesive.

Hero Arts | Candy Cane Collection

    • Ink a Fawn cardstock panel with white ink using one of the Toss Up layering stencils. Once dry, add red ink through another stencil in the set. Add the stenciled panel to the base.
    • Stamp the Candy Cane Swag sentiment with Versamark ink on Wild Berry cardstock and heat emboss with white powder. Cut with the coordinating die and add to the card base with foam adhesive.

A bold sentiment over a stenciled background is a reminder that simple choices can lead to striking results!


Newton’s Nook | Cat with Bubble Tea

Hello! Today, I’m sharing a playful handmade card featuring a fun-loving cat sipping bubble tea—because it’s always a good time to par-tea! I used stamps from Newton’s Nook to create the adorable focal image, which I watercolored. To set the scene, I stenciled a pair of tropical palm trees on to patterned paper, adding a relaxed, summery vibe that perfectly complements the kitty’s party spirit.

Newton's Nook | Cat with Bubble Tea

    • Stamp the Bubble Tea image on Cold Press watercolor paper, heat-set the image, and color with Zig markers.
    • Once dry, cut the image with its coordinating die.
    • Stencil the palms in black in with the Retro Sun and Palms stencil on to patterned paper (Simple Stories Just Beachy).  Trim and add to a white A2-size card base.
    • Using a different patterned paper in the same Simple Stories Just Beachy pad, cut a hill, and add to the prepared base.
    • Stamp the Bubble Tea sentiment on to yellow cardstock and cut with a circle die.

Newton's Nook | Cat with Bubble Tea


Hello Card with Stenciled Rainbow Birdhouses

Hello! Sometimes, a simple design with a pop of color is all you need to make a cheerful card! Today, I’m sharing a quick and easy hello card featuring a row of stenciled birdhouses inked in a vibrant rainbow of colors. To keep things simple, I used a stamped and die-cut “Hello” sentiment—an effortless way to add dimension to an otherwise single-layer card.

Hello Card with Stenciled Rainbow Birdhouses

    • Add Mowed Lawn ink to the base of a white cardstock panel to create the grass. I used vellum to mask the sky and create the straight line.
    • Mask the grass and ink the birdhouse posts with the Newton’s Nook Birdhouse Line Stencil. The stencil includes three rows with etching to aid with alignment.
    • Move the stencil and ink the birdhouses. Move the stencil again to ink the birds and birdhouse openings.
    • Trim stencil panel and add to a black cardstock base.
    • Stamp the I’ve Got You Covered sentiment and cut with the coordinating die. Add to card with foam adhesive.

Hello Card with Stenciled Rainbow Birdhouses


Mixed Media Birthday Card | Newton’s Nook

Hello! Birthdays are all about fun, friends, and of course—presents! Today, I am sharing a card featuring an adorable Newton’s Nook stamped image featuring two playful cats, a happy pup, and a stack of brightly colored packages. To add to the celebration, I created a cheerful balloon-filled background with a stencil.

Mixed Media Birthday Card | Newton’s Nook

    • Ink Bristol cardstock with a light ink color – I used Tumbled Glass Oxide. Add balloons through the Bokeh Balloons stencil. I used darker inks at the top and lighter towards the bottom.
    • Stamp the Sky High Celebrations sentiment in black ink on the stenciled panel. Cut panel with A2-size Lawn Fawn Stitched Rectangle die and add to a card base.
    • Stamp Sky High Celebrations image with VersaFine ink on Cold Pressed Watercolor paper and heat set. Color with medium of choice. I used Zig and Tombow markers: Zig Dark Gray 95, Zig Orange 70, Zig Mustard 67, Zig Sand 601, Tombow Purple 665, Zig May Green 47, Zig Persian Blue 32, Zig Yellow 50, Tombow N15 Black, Tombow Burnt Sienna 947, Zig Medium Beige 76, Zig Geranium Red 29, and Tombow Dusty Rose 772.
    • Add additional color with Derwent Inktense pencils: Poppy Red, Neutral Gray, Yellow.
    • When dry, cut image with the coordinating die set.
    • Add image to card base with foam adhesive.

Mixed Media Birthday Card | Newton’s Nook

Note: The Sky High Celebrations stamp set and coordinating die set can be purchased directly from Newton’s Nook and Frantic Stamper.

I shared another birthday card HERE that showcases the other image on the Sky High Celebrations set.


Storybook House Valentine

Hello! After posting this roundup of house-themed cards, I was inspired to craft a storybook house Valentine with a heart serving as the house body. Using Lawn Fawn dies for the roof, door, and windows, I transformed a simple idea into a whimsical creation full of charm. Let me take you through how I made this Valentine’s Day card

Storybook House Valentine

    • The overall card size is 5″ square. I do not own a die that size, but I realized I could use by rectangular die to cut the sky and the ground to form a square. To begin, use a 5″ x 3 3/4″ rectangle die to cut light teal cardstock. Apply modeling paste through the Fall Hearts stencil and set aside to dry.
    • Stamp the Simply Celebrate Hearts sentiment on white cardstock. Cut the top with a die in the Simple Stitched Hillside Borders set and the base with a 5″ x 3 3/4″ rectangle die. Adhere the sky and snowbank to a 5″ square card base.
    • Use a heart die to cut the house base from textured red cardstock. I used a now-retired nesting set from Spellbinders.
    • Use dies in the Build-A-House, Scalloped Treat Box Spring House Add-On, and Scalloped Treat Box Beach House Add-On sets to cut the door, window, roof pieces, and stairs; assemble as required.
    • Add the assembled elements to the heart house with foam adhesive. Add the assembly to the card base.

Storybook House Valentine