Monster Love: Easy Valentine’s Day Card

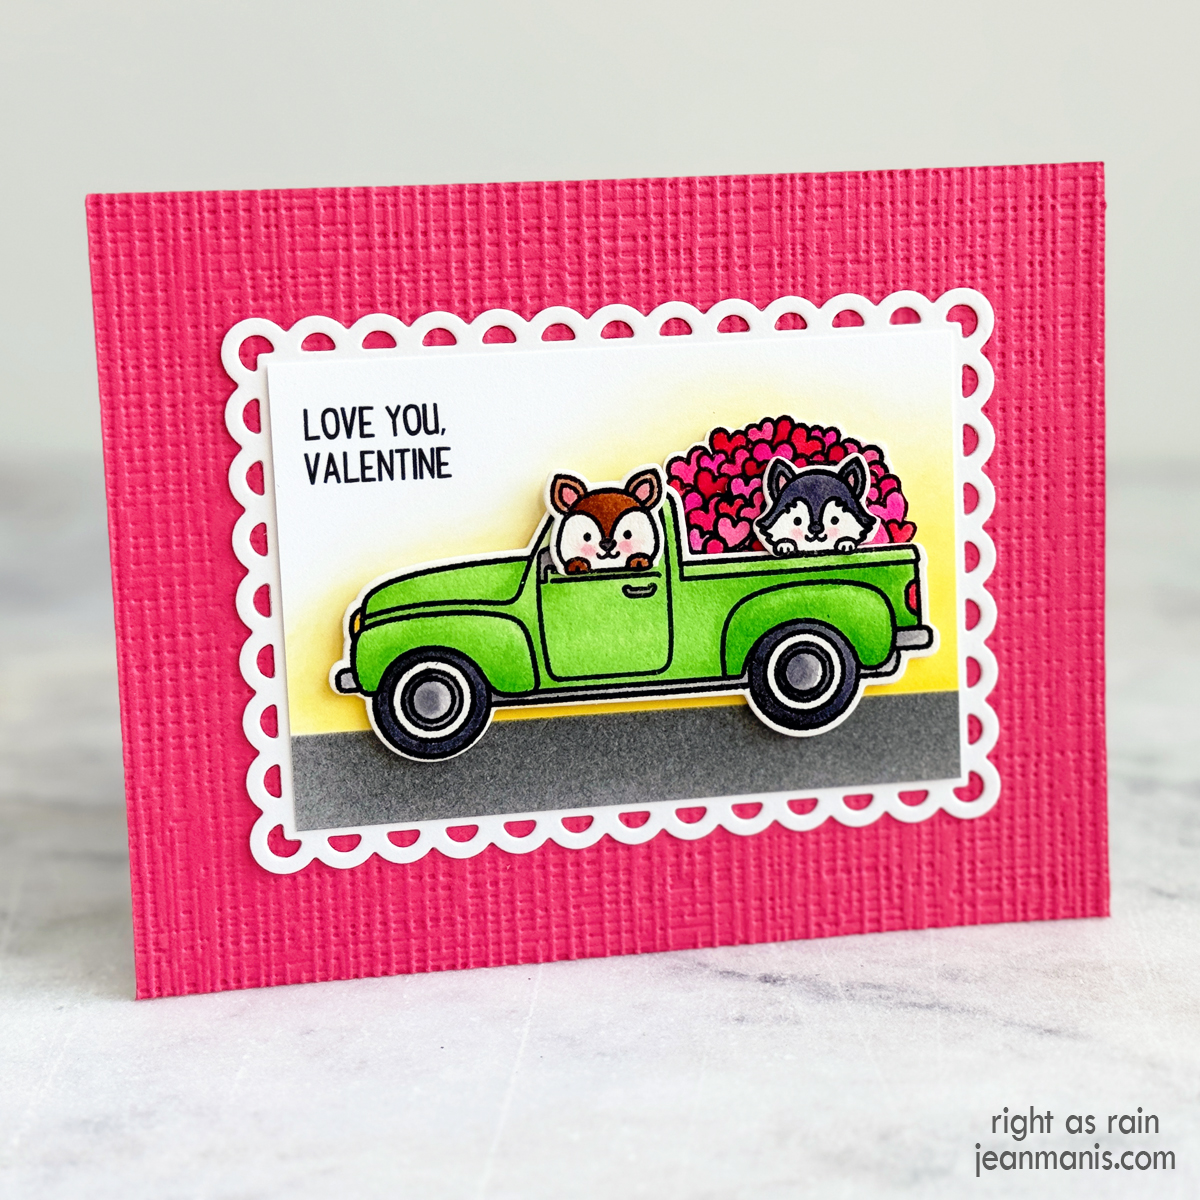
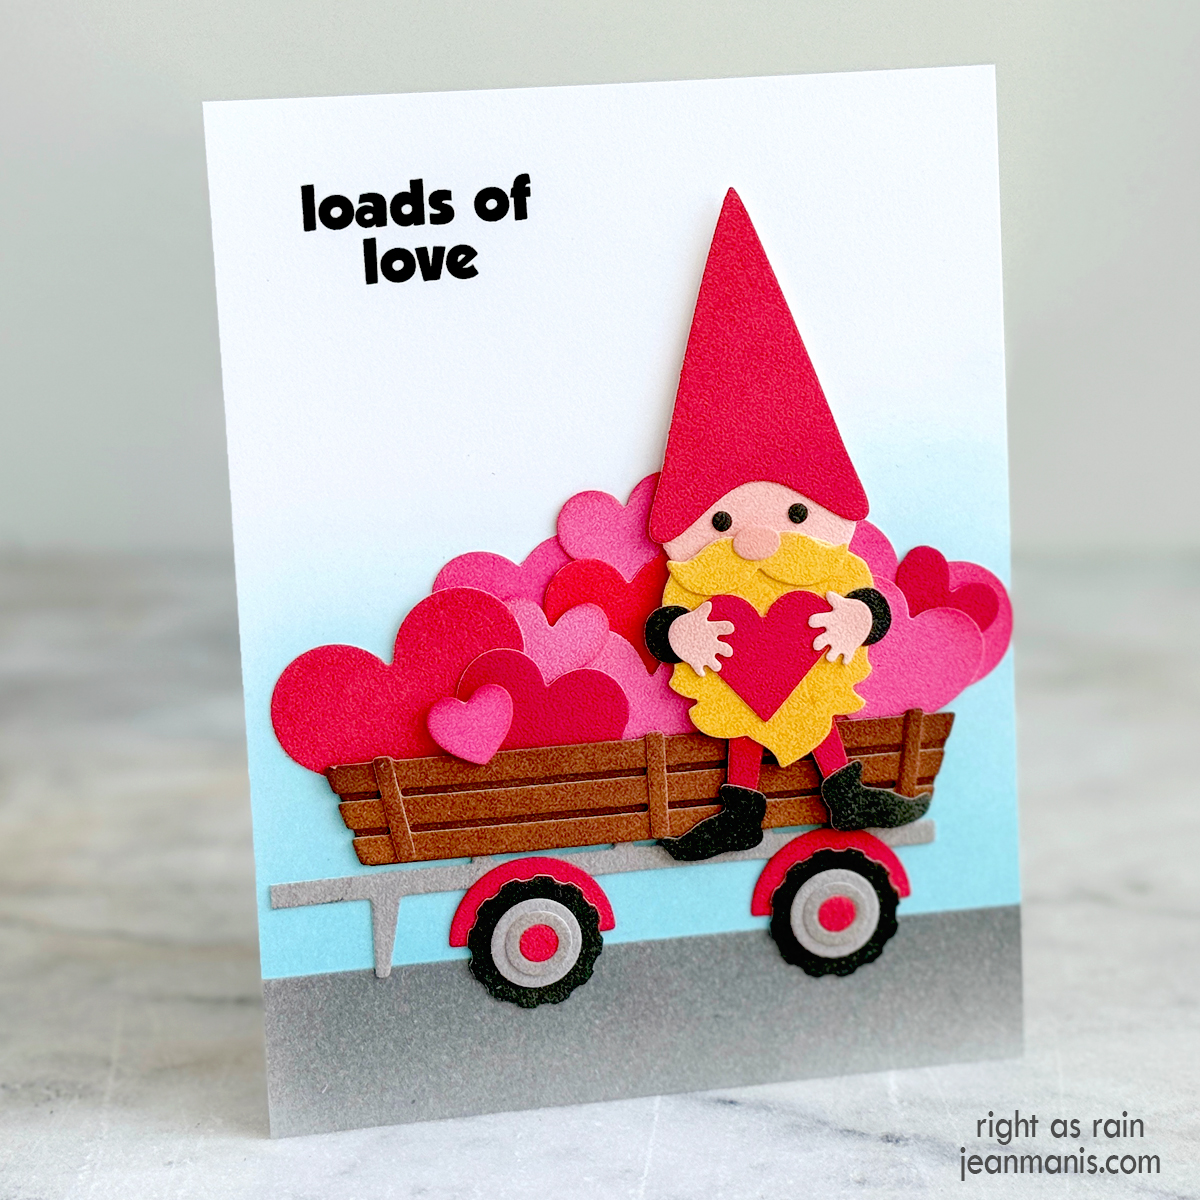
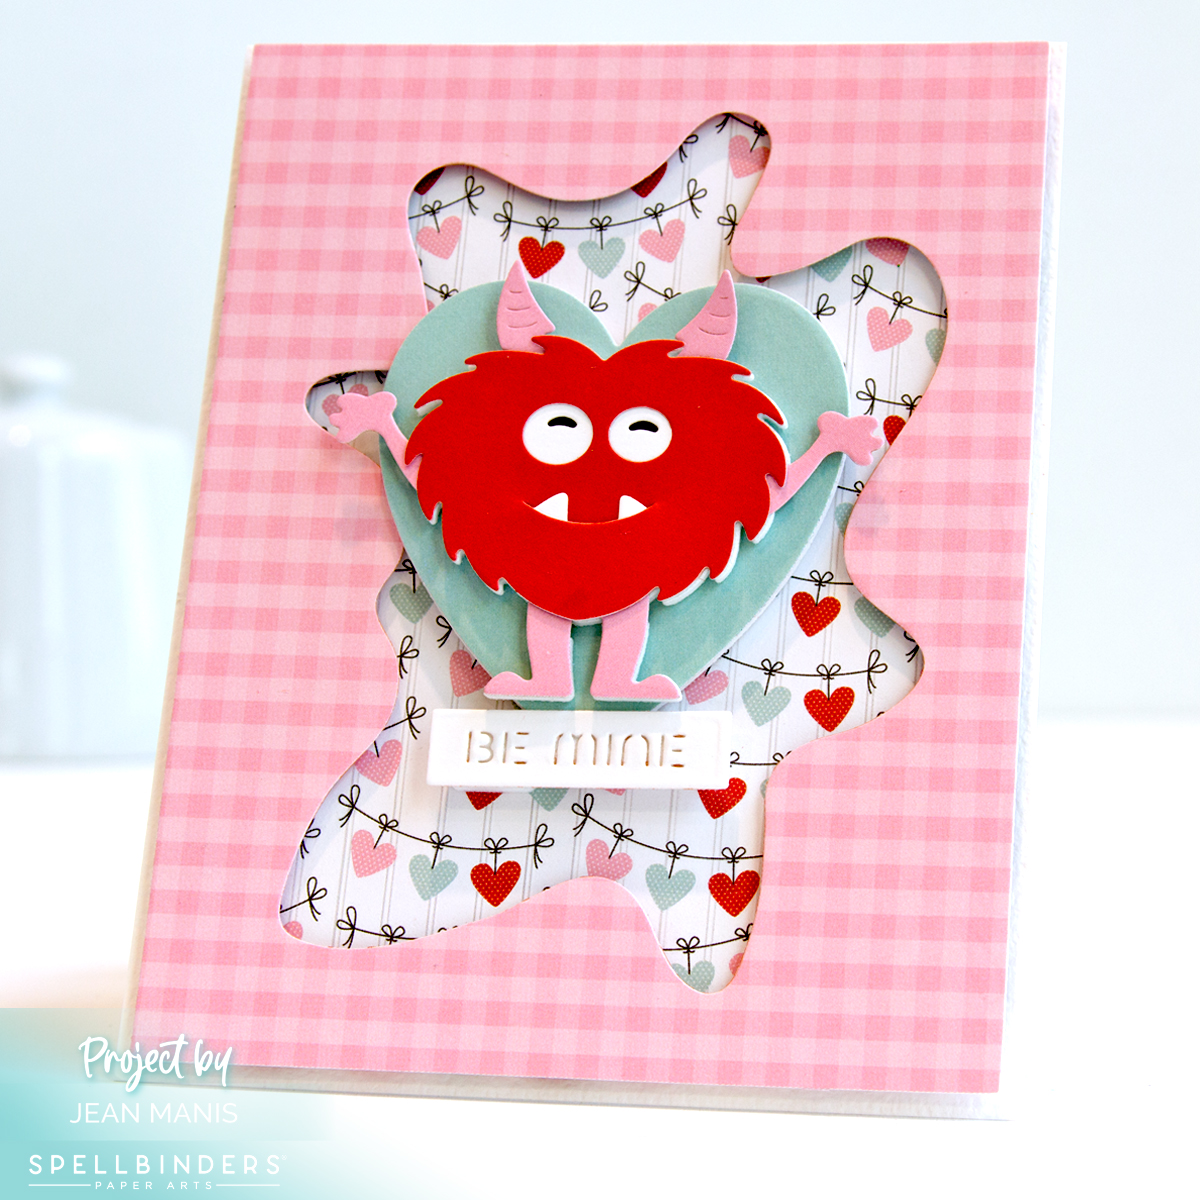
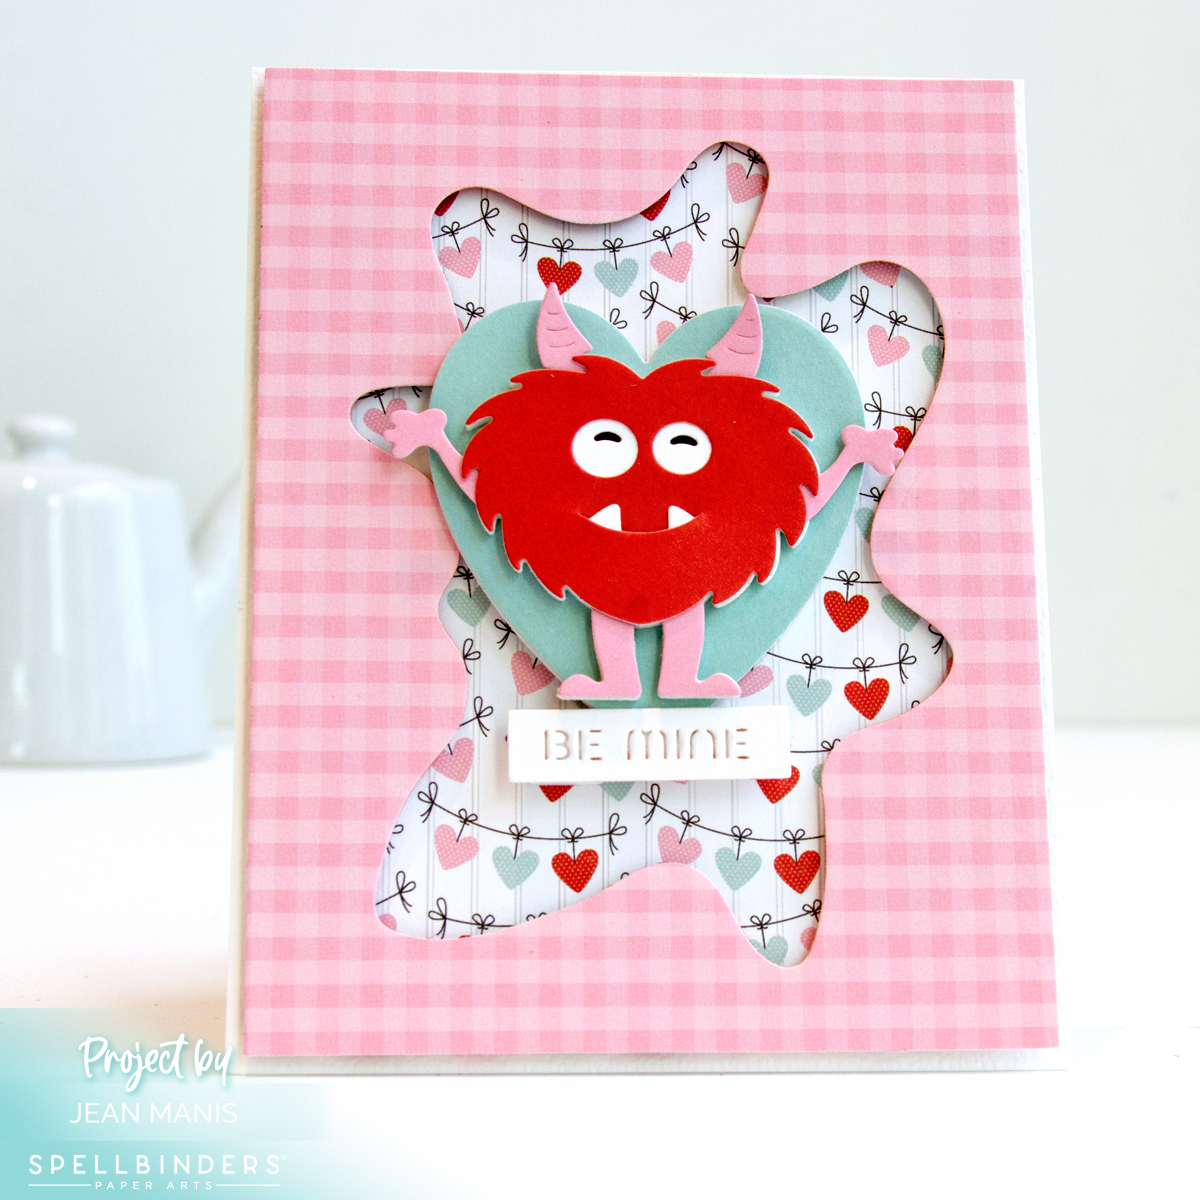
Hello! Valentine’s Day is the perfect time to get creative, and what’s more charming than a playful monster spreading love? This card, made with the Spellbinders December 2024 Large Die Kit Club Monster Love Pop set, combines an adorable die-cut monster, a heart accent, and the simple sentiment “Be Mine.” With a patterned paper background and a die-cut frame to spotlight the monster, this card is as easy to make as it is delightful to give.

Spellbinders December 2024 Large Die Kit Club Monster Love Pop

Monster Love: Easy Valentine's Day Card

    • Create a patterned paper frame (Love Notes) with a die in the Underwater Tunnel set. Add to an A2-size card base with foam adhesive.
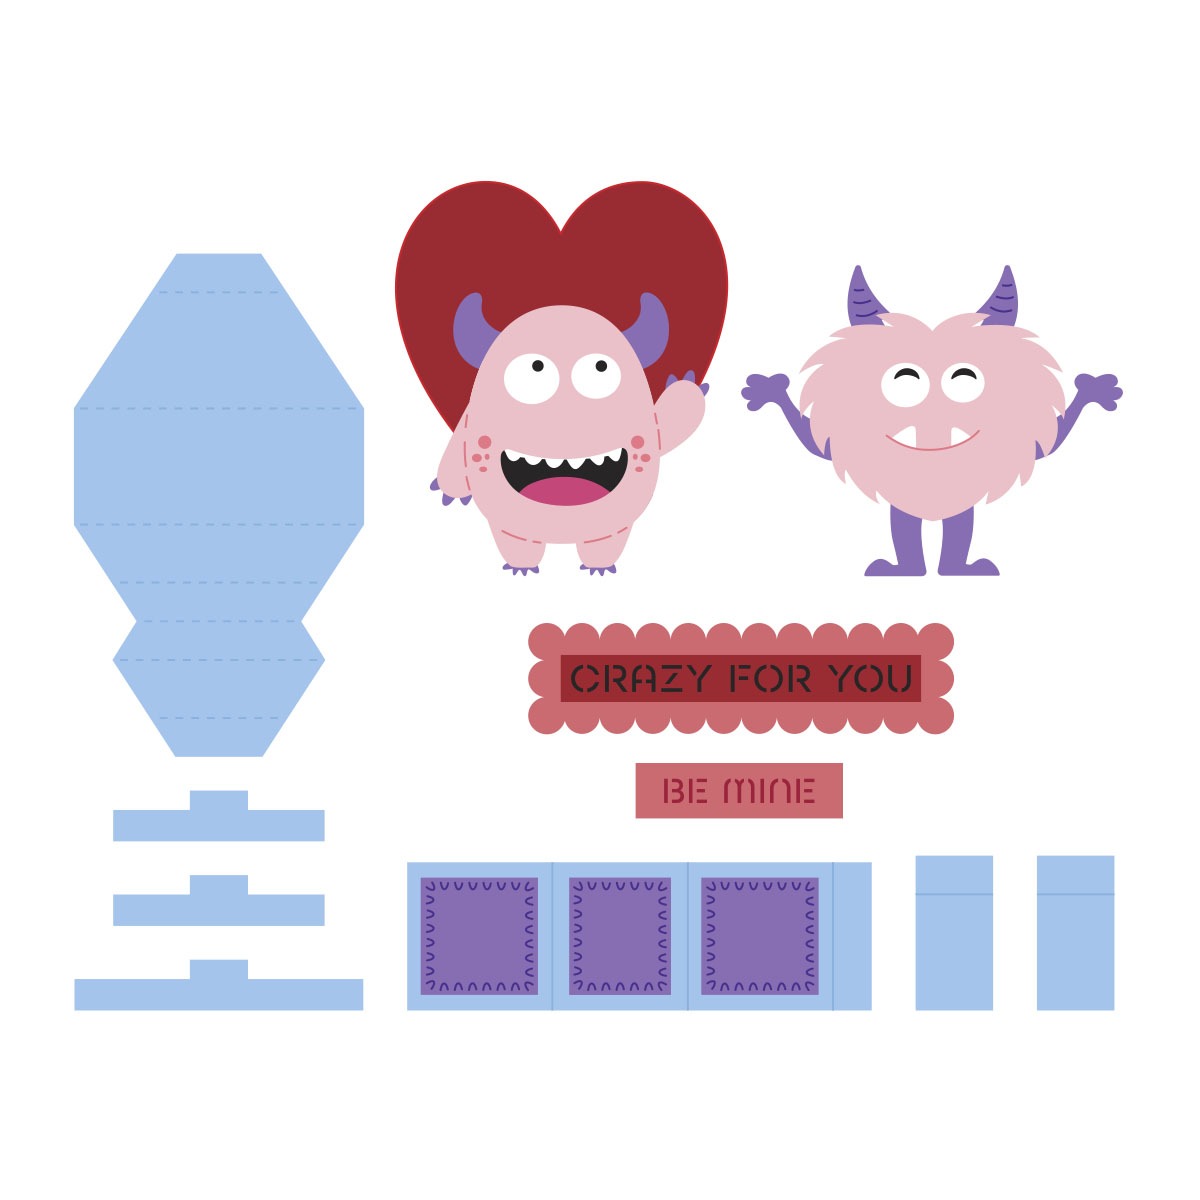
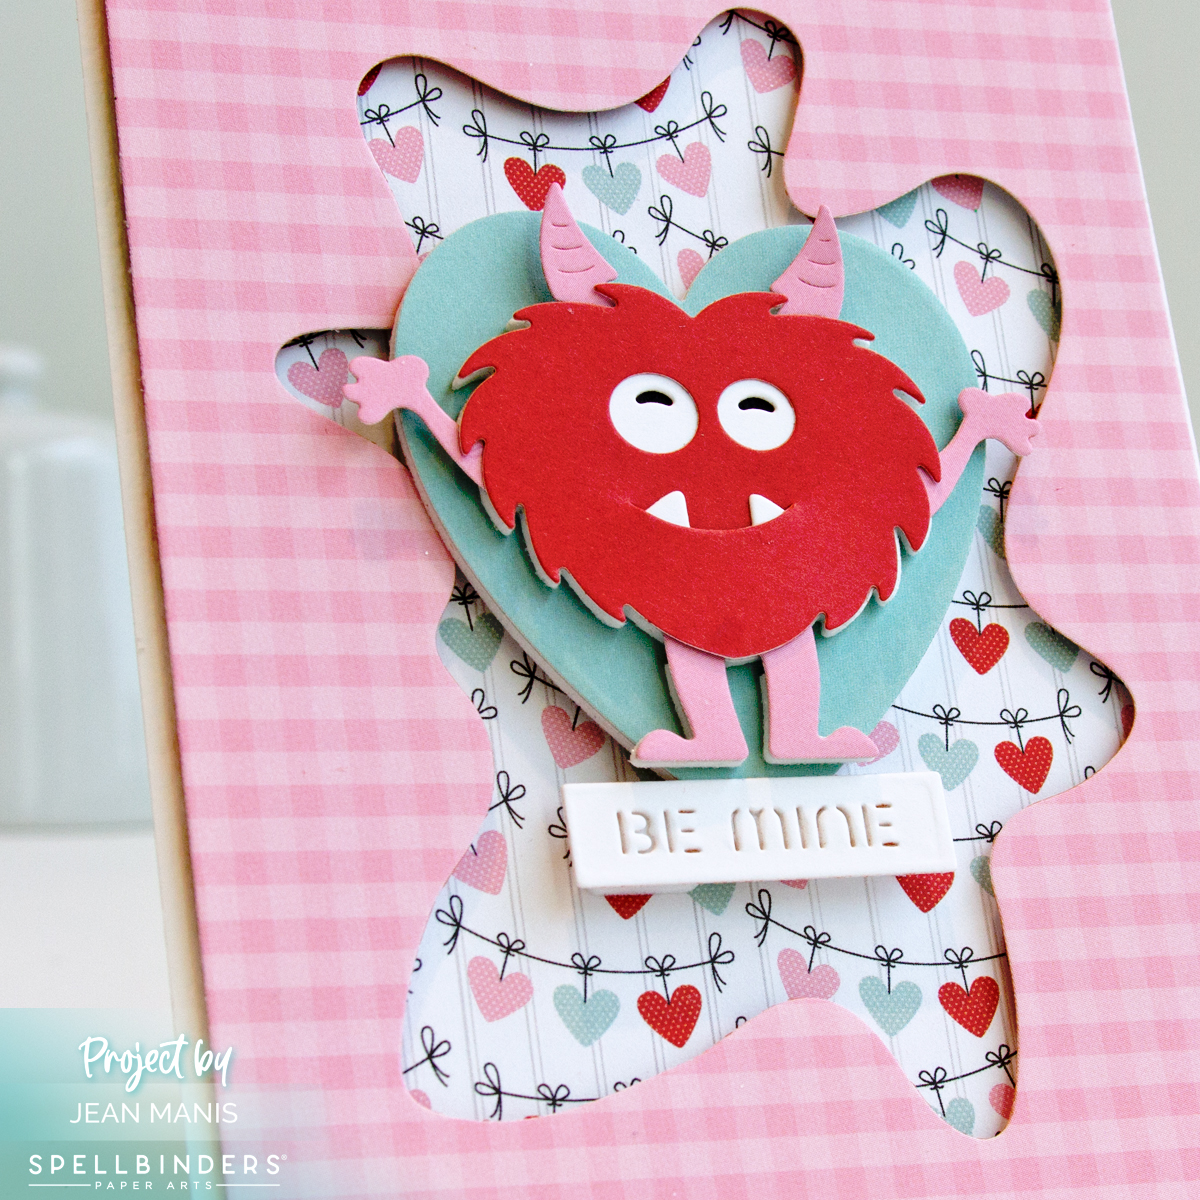
    • Cut the monster, heart, and sentiment with dies in the Monster Love Pop set from a variety of cardstock colors. Also cut glitter foam with the heart and monster body. Assemble. The glitter foam provides dimension.
    • Add heart, monster, and sentiment to center of card.

Monster Love: Easy Valentine's Day Card

With its whimsical design, easy assembly, and the use of patterned paper to add visual interest, this card is perfect for crafting a heartfelt Valentine with minimal effort!


Sunny Studio Stamps | Valentine Truckload

Hello! Today, I am sharing a Valentine’s Day card featuring the delightful Sunny Studio Stamps Truckloads of Love stamp set with coordinating dies. You can see a similar fall-themed card that I created with the set HERE.

Sunny Studio Stamps | Valentine Truckload

    • To begin, dry-emboss an A2-size panel of Dahlia cardstock with the Burlap embossing folder. Add to card base. You can read more about dry-embossed card backgrounds HERE.
    • Stamp Truckloads of Love pickup, hearts (twice), and two of the critters with Versafine on Arches Cold Press watercolor paper and heat set. Color the images with watercoloring mediums of choice (I used Tombow markers). Once dry, cut the images with the dies in the coordinating set. (Check out my “Resources for Watercoloring Stamped Images” HERE.)
    • Cut scallop mat from white cardstock with the Mini Mat and Tag 3 set.
    • Stamp sentiment on white cardstock and add Distress Oxide Inks to sky and road (using vellum to mask while applying the inks). I created the sentiment on my computer.
    • Trim inked sentiment panel to fit inside the Mini Mat and Tag 3 scallop mat. Add inked panel to mat.
    • Adhere truck, hearts, and critters. Add assembly to card base.

Sunny Studio Stamps | Valentine Truckload

Looking for more inspiration? You can see a roundup of Valentine’s Day cards that I created with a variety of products HERE.


Elizabeth Craft | Gnome Valentine

Hello! After the creating the Valentine’s Day card roundup, which you can see HERE, and rediscovering treasures in my crafting supplies, I was inspired to create a new card for the holiday. Picture a charming gnome on top of a cart brimming with hearts paired with a sentiment that reads “Loads of Love.”

Elizabeth Craft | Gnome Valentine

    • To begin, create sentiment on your computer and print. Trim to an A2-size panel and apply Distress Oxide inks in Hickory Smoke and Tumbled Glass to establish the ground and sky. Attach panel to a card base.
    • Apply Distress Oxide inks to Soft Finish Cardstock and cut pieces for the Gnome (I used the Farmer set for the eyes), Hay Ride (trailer), and hearts (various die sets listed below). Assemble the gnome and the trailer. (Note: I used a 1/2″ circle die to cut part of the wheel assembly.)
    • Add die-cut hearts to trailer. I added the hearts on the bottom row first, then I put the trailer on to the card base and filled the cart until I was happy with the amount.
    • Add gnome to cart.

You can see a similar autumn-themed card with several of the same Elizabeth Craft Designs supplies HERE.

Elizabeth Craft | Gnome Valentine


Arctic Love: Polar Bear Valentine

Inspired by my recent Valentine’s Day card roundup, I crafted a Valentine featuring a polar bear nestled inside a heart, surrounded by a backdrop of red, pink, and blue circles. With a die-cut “XO XO” sentiment, this card is created solely with die cuts.

Polar Bear Valentine

    • Cut Reverse Confetti Big Polkas Cover Panel from Snowdrift cardstock. (This cover plate is now retired, and I have been unable to locate a source for it.) Cut 1″ circles (using a die from the Everlasting Circles set) from Pomegranate, Dahlia, Pink Sand, and Sea Glass cardstock). Tape the circles to the back of cover panel (trimming circles as necessary where there is overlap). Add assembly to an A2-size card base.
    • Cut heart from Pomegranate cardstock with second largest die in the Essential Hearts set. Add to card.
    • Cut Elizabeth Craft Designs Polar Bear (retired but still available at Frantic Stamper) from Snowdrift, Onyx, and gray (Bazzill Taffy) cardstock. (I used the retired Paper Smooches Snowman 2 die for the mouth.) Assemble.
    • Cut sentiment from white glitter foam with the Journal Letter die set. Add to card.

Polar Bear Valentine


Penguin Valentine’s Day Card

Hello! After curating a roundup of Valentine’s Day cards, I was inspired to create a card using some of supplies I rediscovered. Picture a snowbank setting, a sky adorned with heart-shaped cutouts, and a charming penguin holding a heart—a whimsical way to say “Love You.”

Penguin Valentine's Day Card

    • To begin, create a 4 1/4″ square card base from Lipstick Red cardstock.
    • Cut frame using a My Favorite Things square frame die (now retired) from Snowdrift cardstock. The outside measurement is 4″.
    • Cut Sea Glass cardstock with the Heart Sprinkle Trail die, trim to fit behind square frame, and set aside.
    • Cut Elizabeth Craft Designs Penguin from Onyx, Snowdrift, and Persimmon cardstock. (Note: the Elizabeth Craft Designs Penguin die is retired, however, at the time of writing, it is available at Frantic Stamper.) Assemble.
    • With the Drifting Stitches Border dies, cut snowbanks from Snowdrift cardstock. Layer and trim as required. Attach loosely at the bottom of the snowbanks so that the sentiment can be included in the assembly.
    • With the Simon Says Stamp On Edge Love You die set (now retired), cut sentiment from Lipstick Red cardstock.
    • Attach the snowbank assembly, with the sentiment in front of the back snowbank, to the frame. Add Heart Sprinkle Trail background to snowbanks. Add to card base. Slip penguin between the sentiment and back snowbank; adhere.

Penguin Valentine's Day Card

Supplies: Elizabeth Craft Designs Penguin, Simon Says Stamp On Edge Love You, My Favorite Things Square Frame