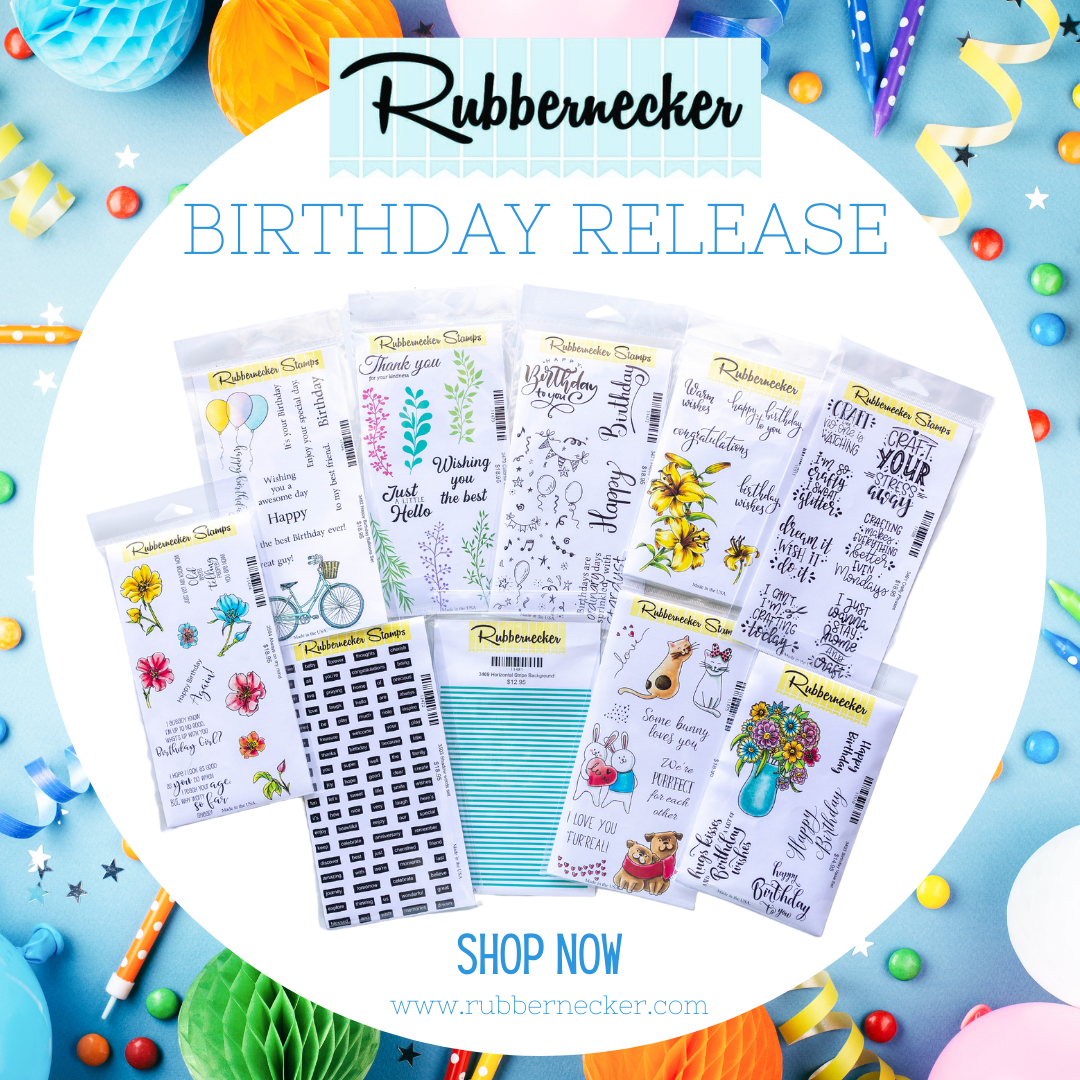
Hello! Welcome to the Rubbernecker Blog Hop celebrating their 29th birthday with a new release and prizes!
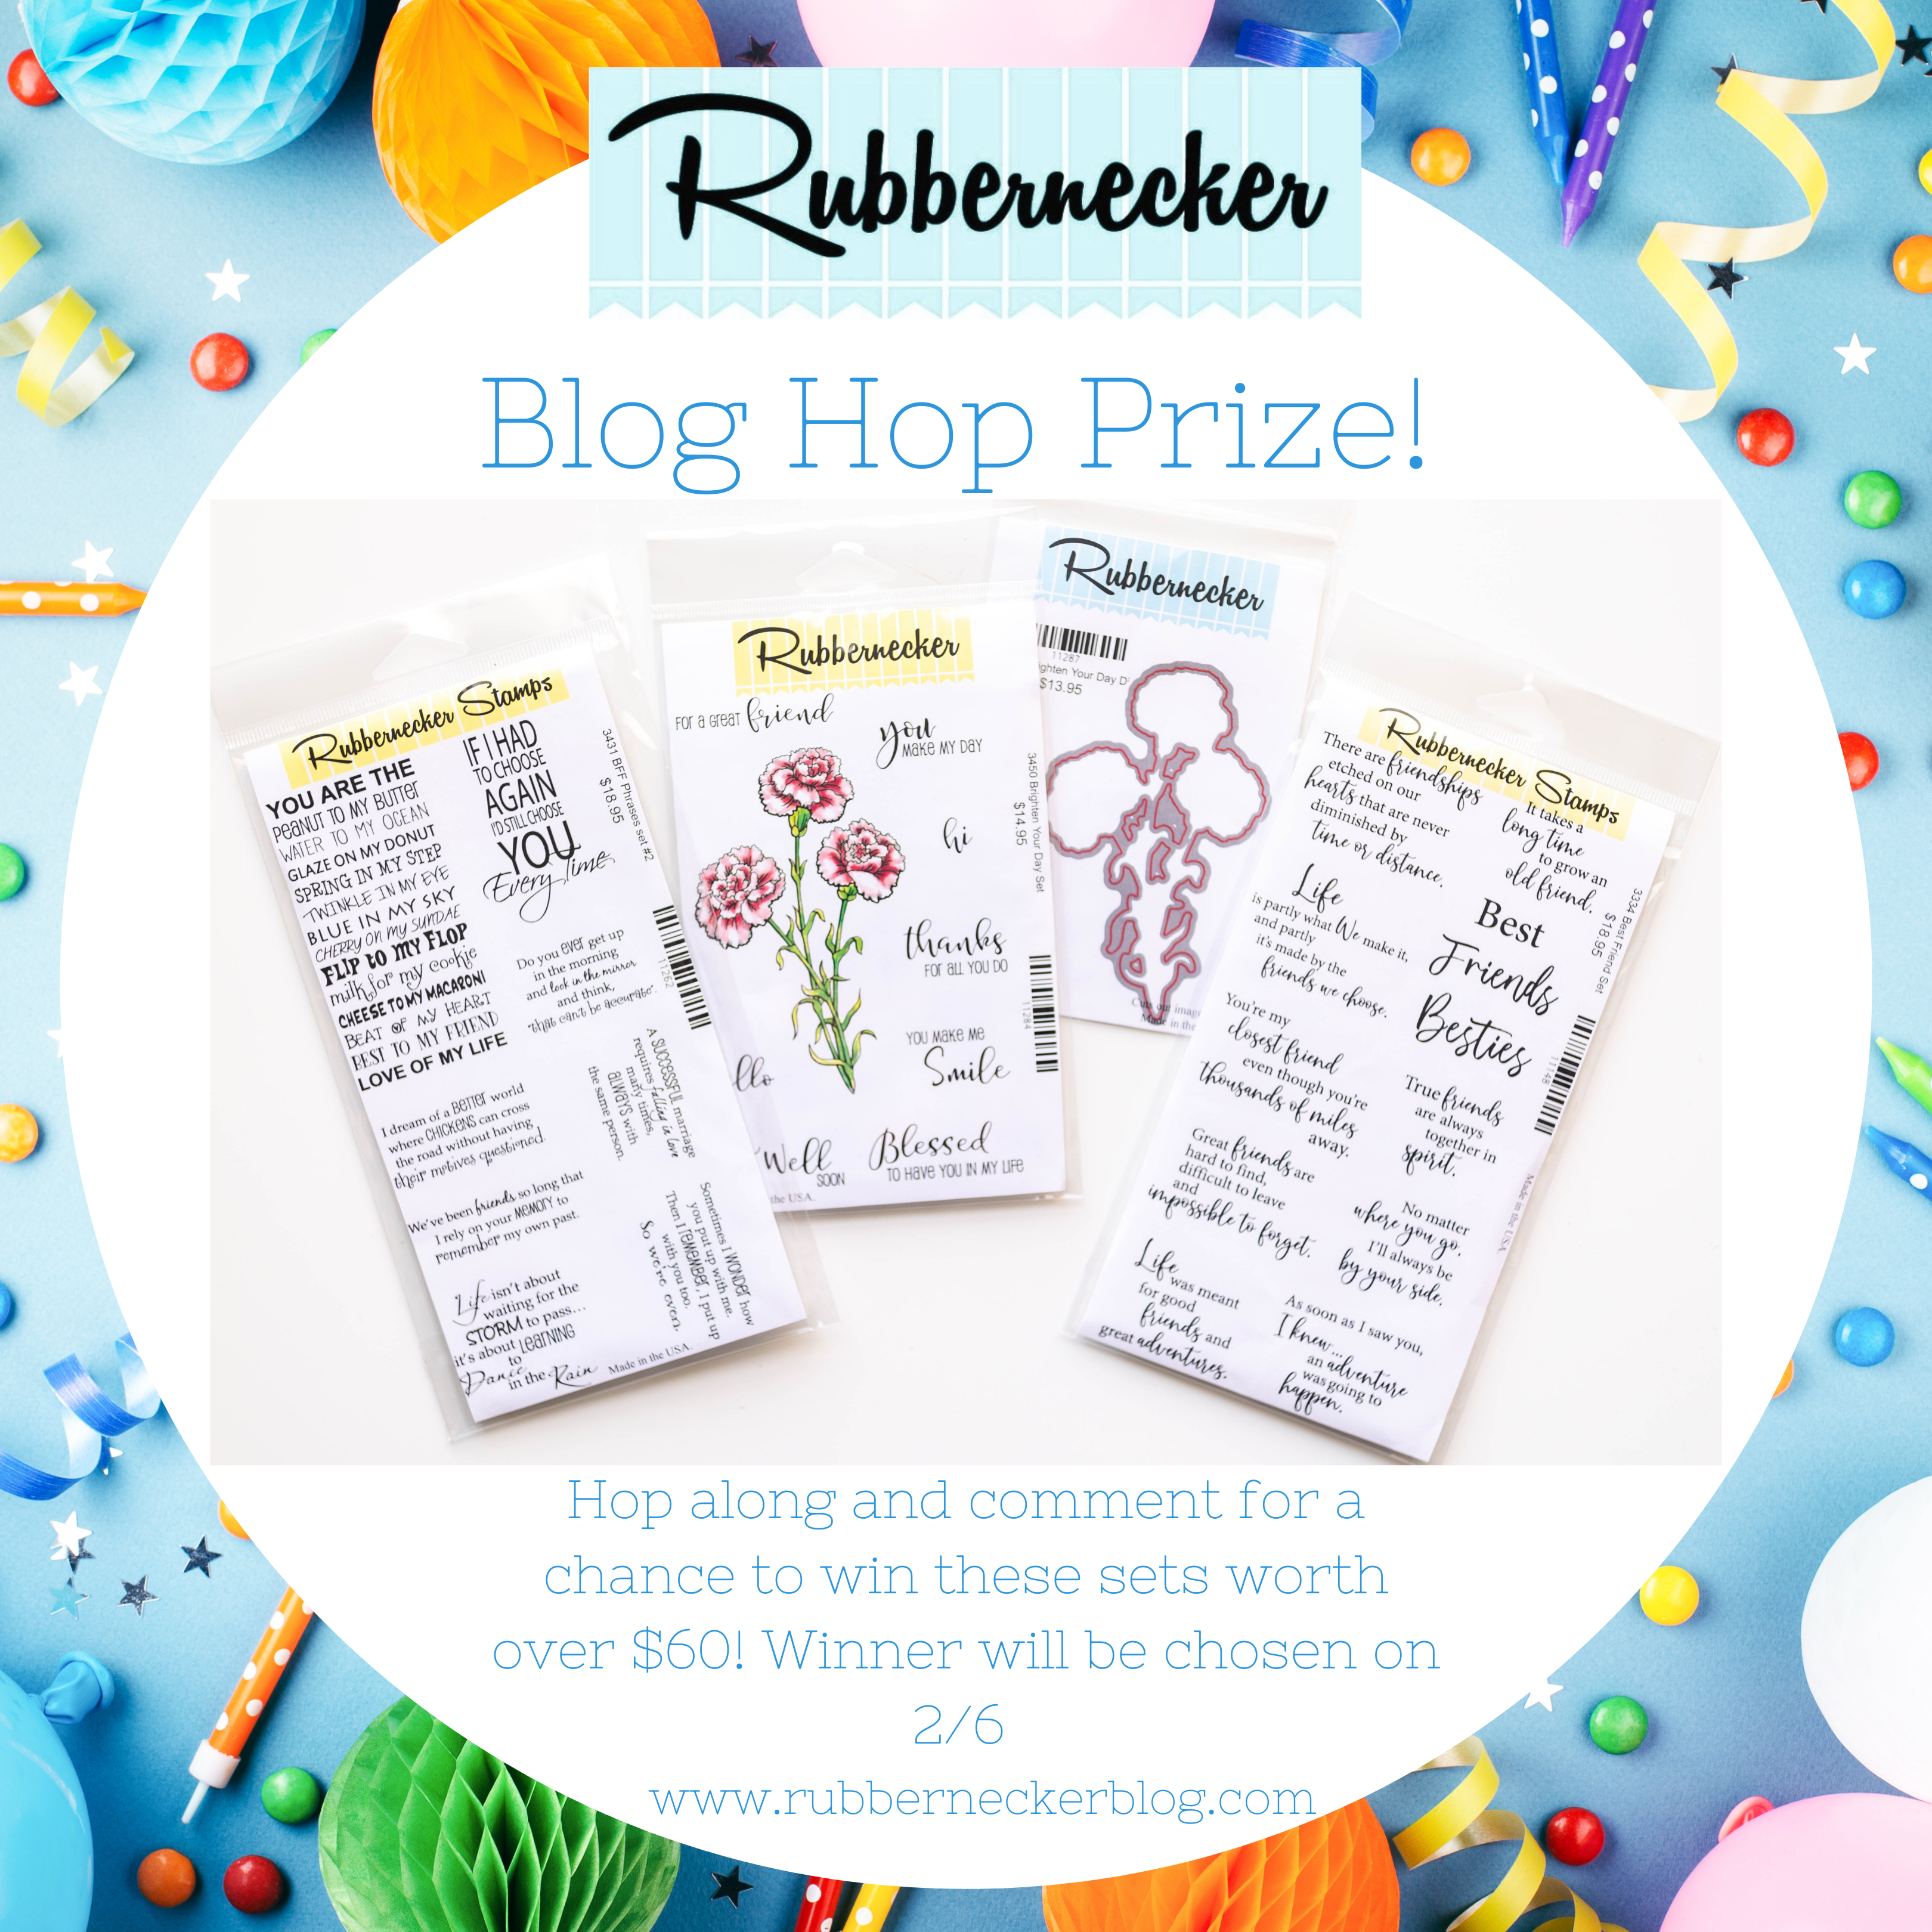
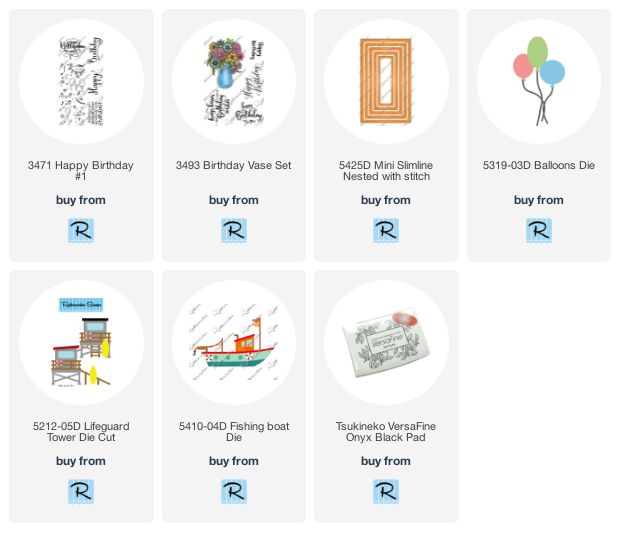
Comment on each post in the blog hop for a chance to win the four sets shown below, worth over $60. One winner will be chosen on 2/6.
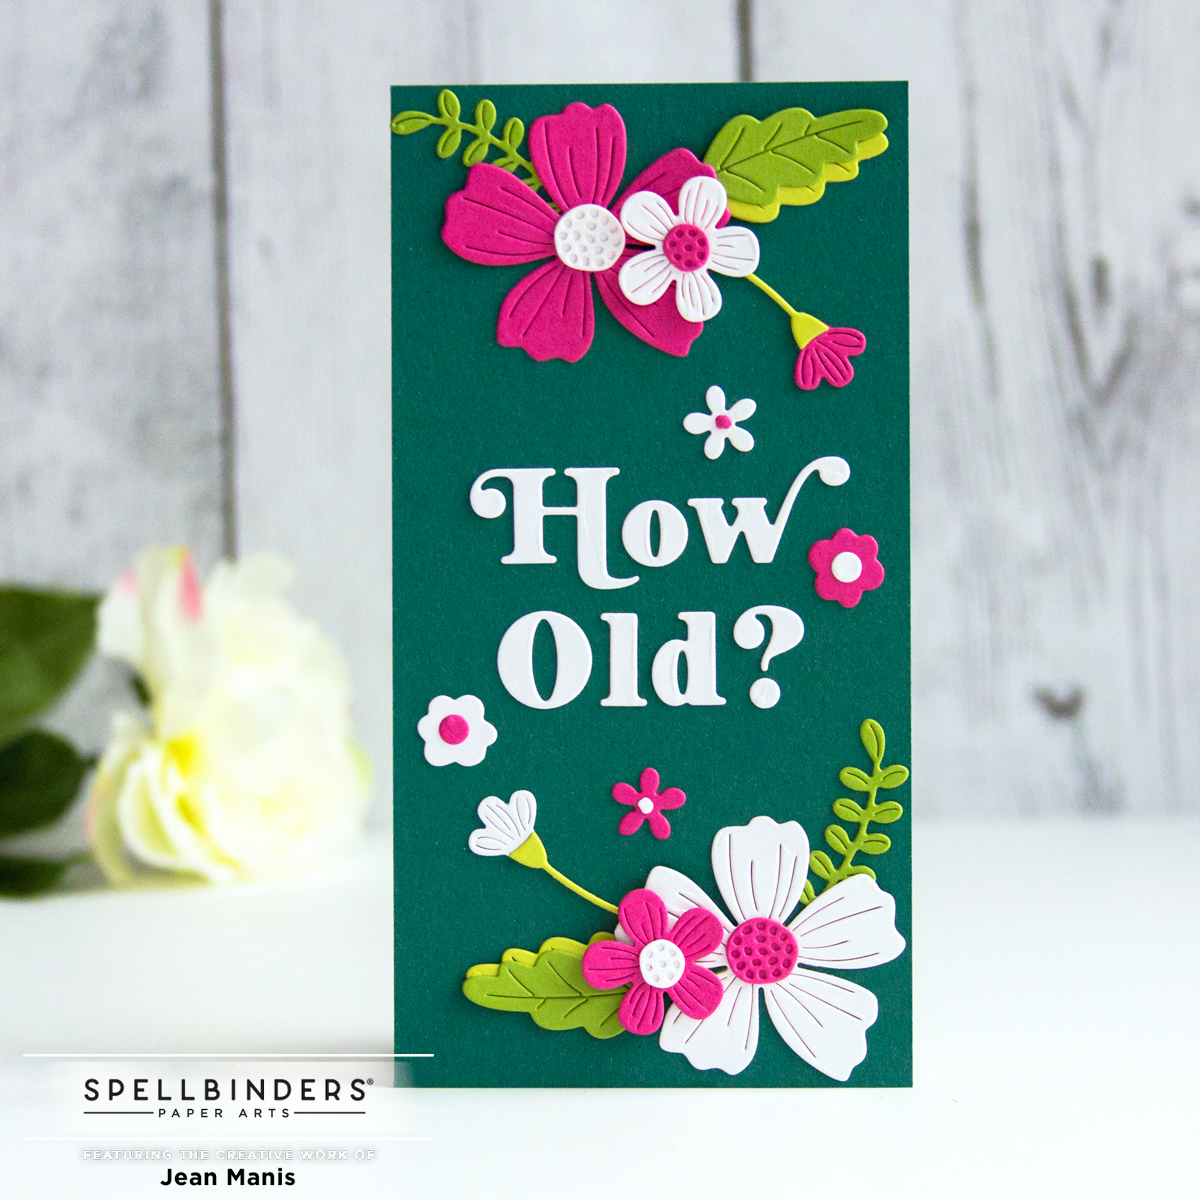
For the celebratory blog hop, I am sharing two mini-slimline, birthday-themed cards created with just-released Rubbernecker stamp sets. A full list of blog hop participants appears at the end of my post.
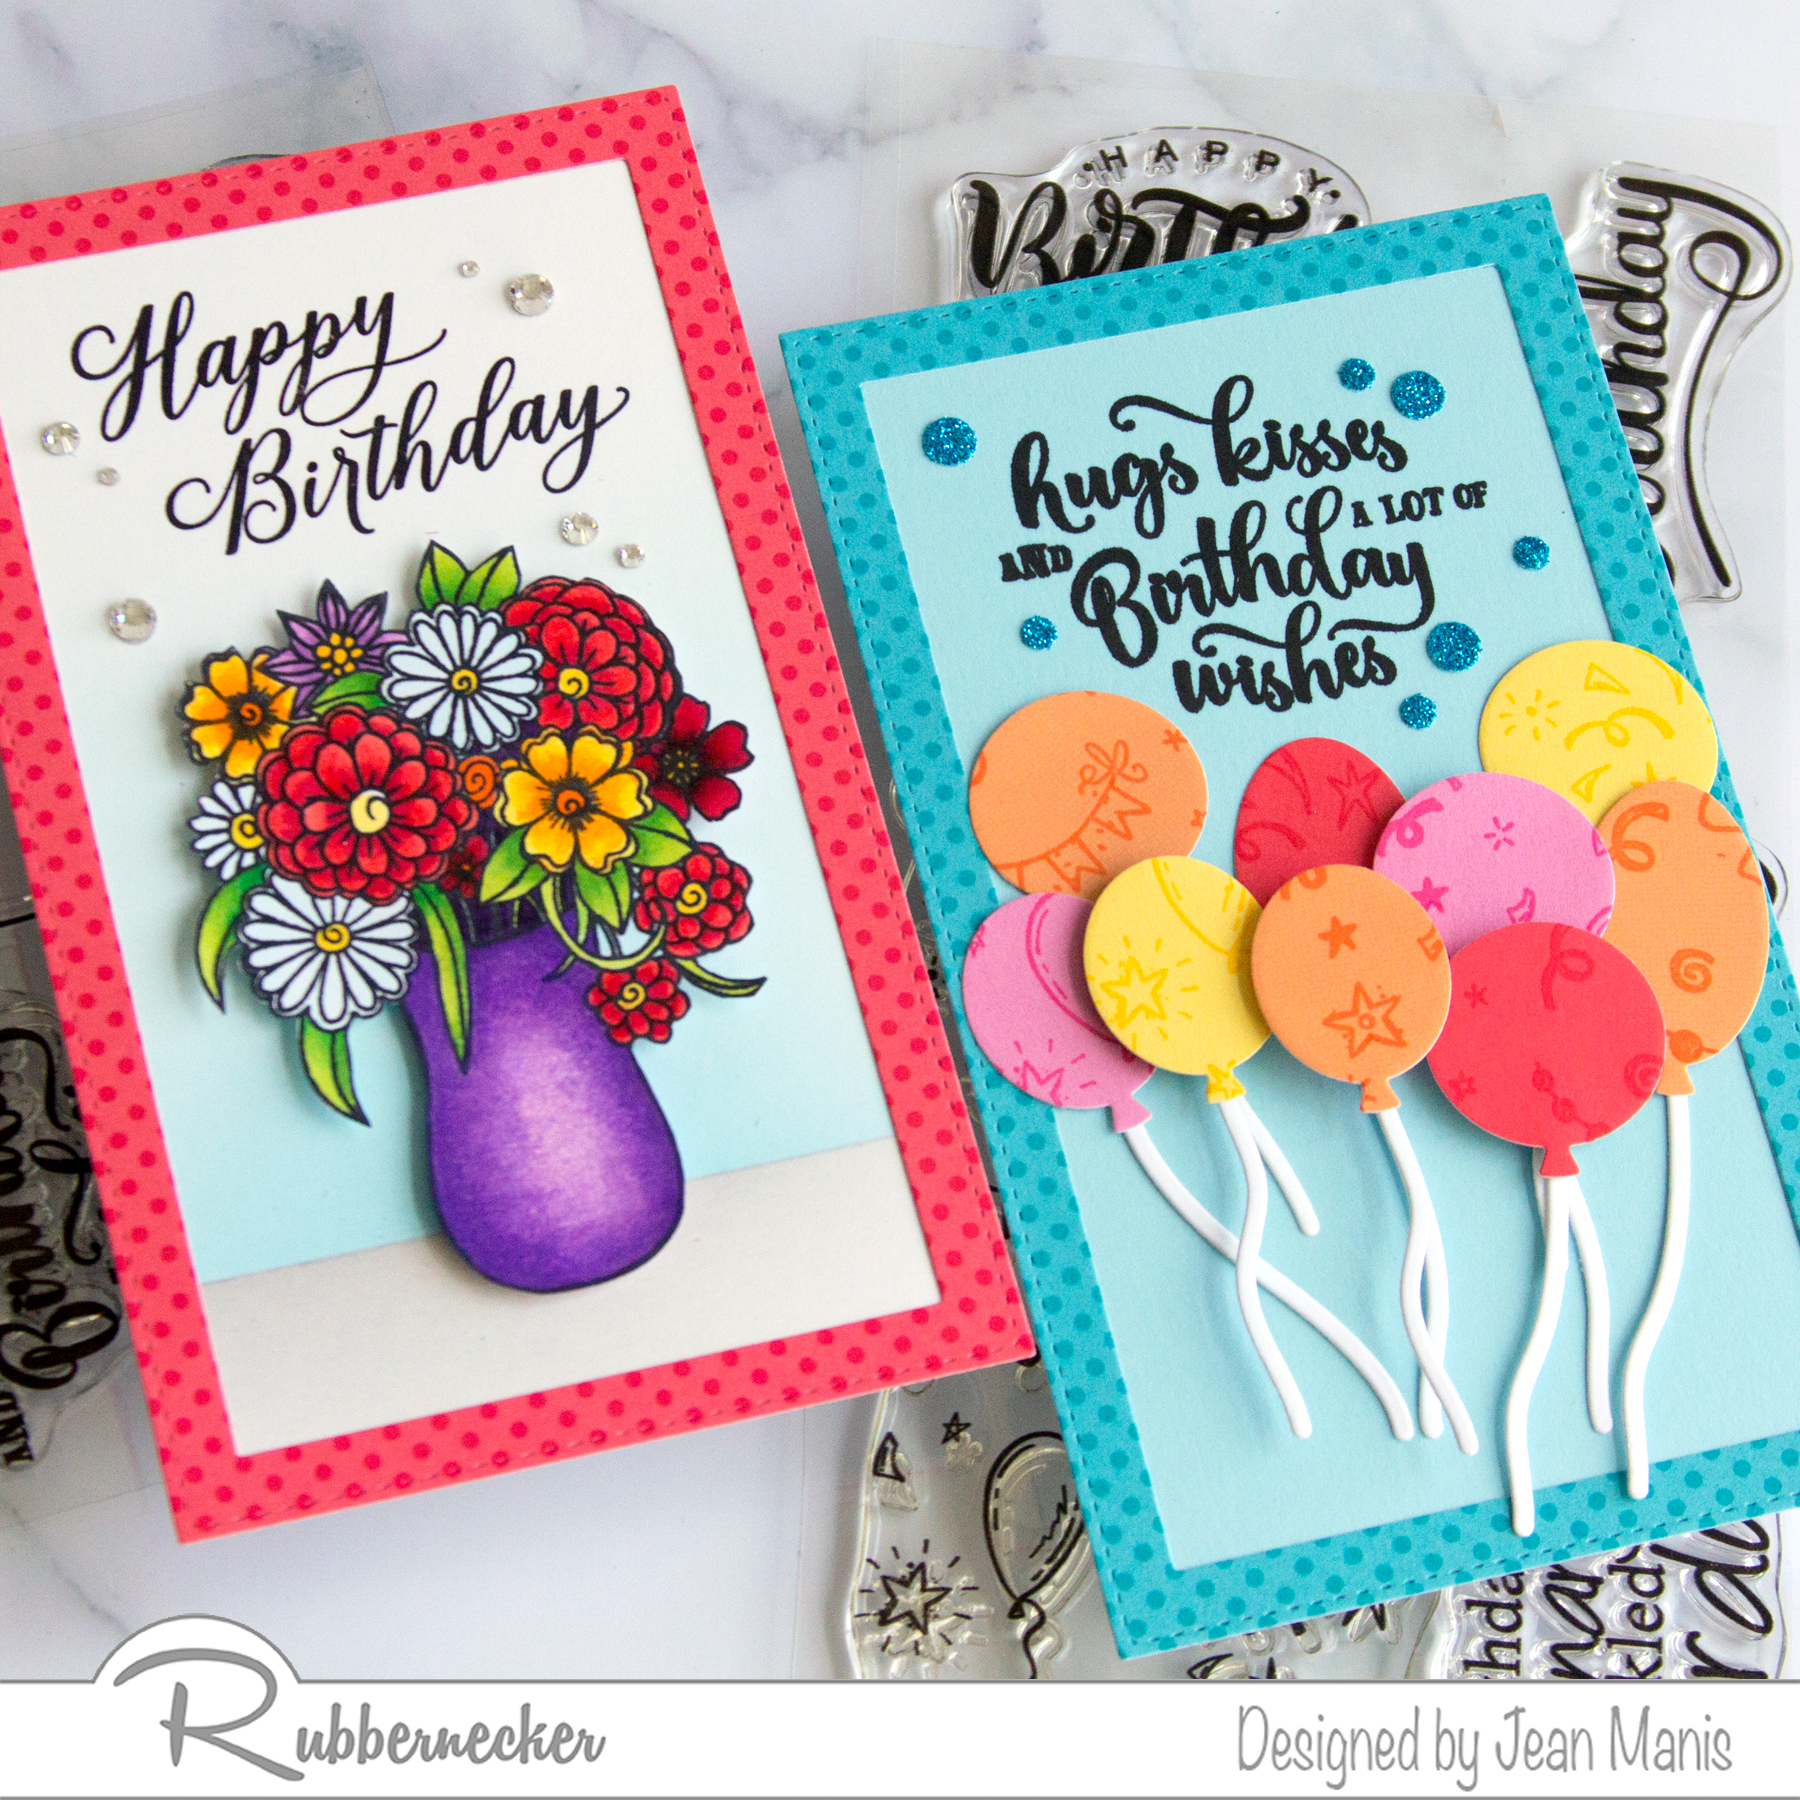
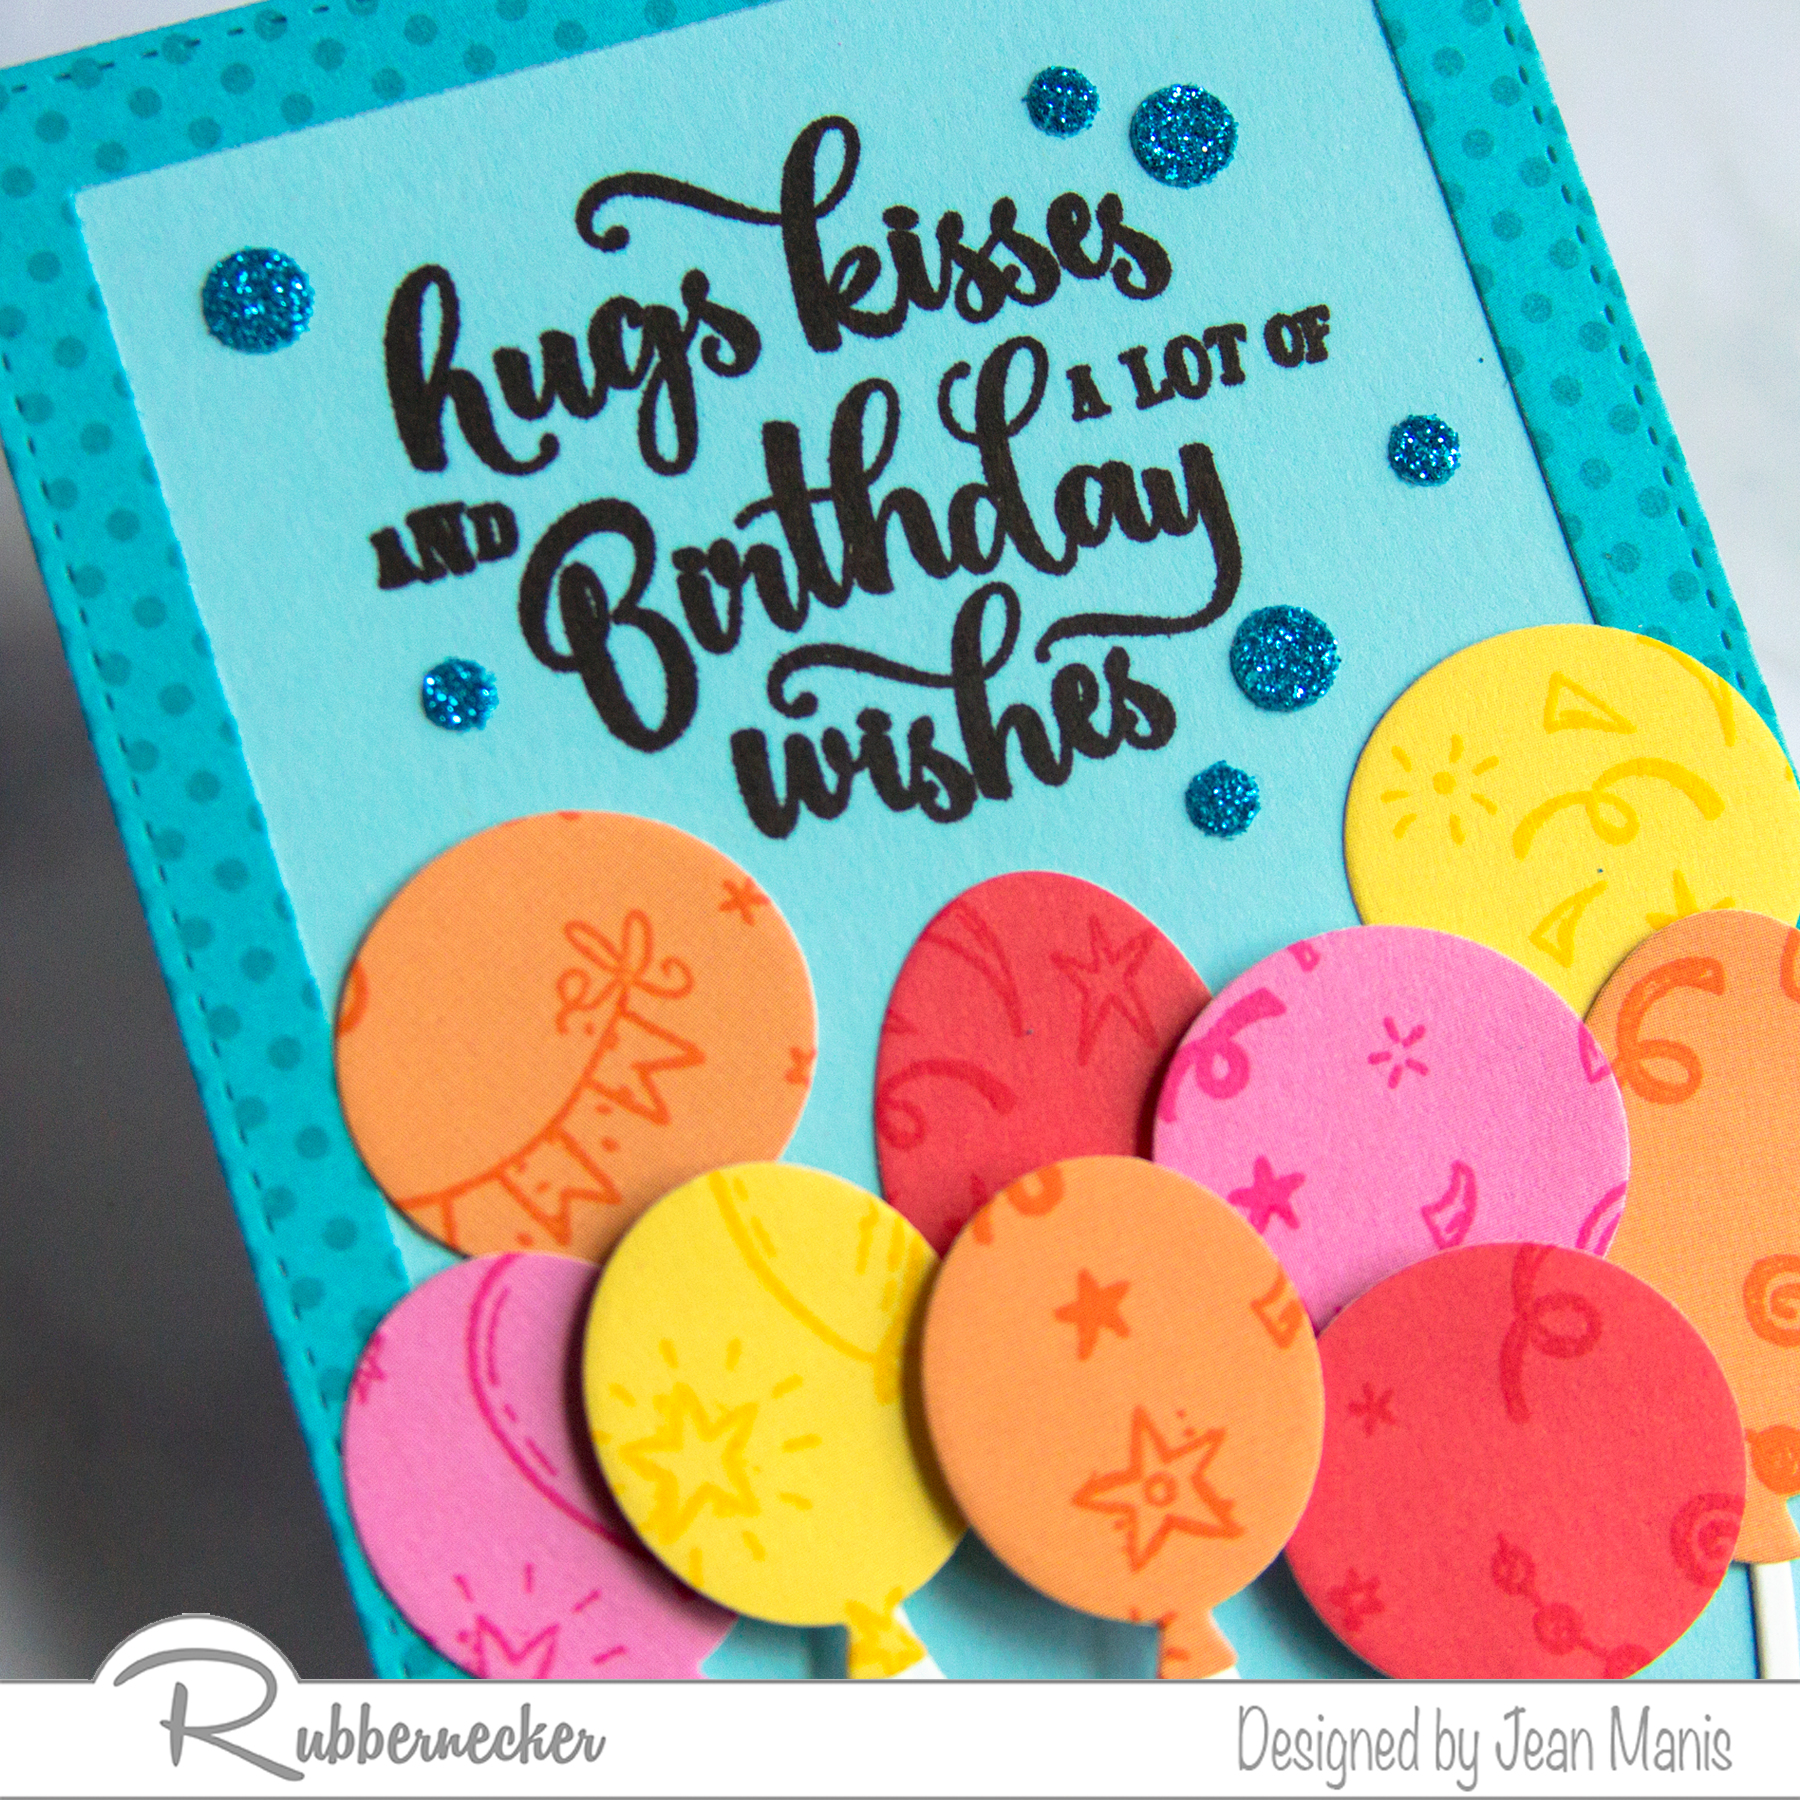
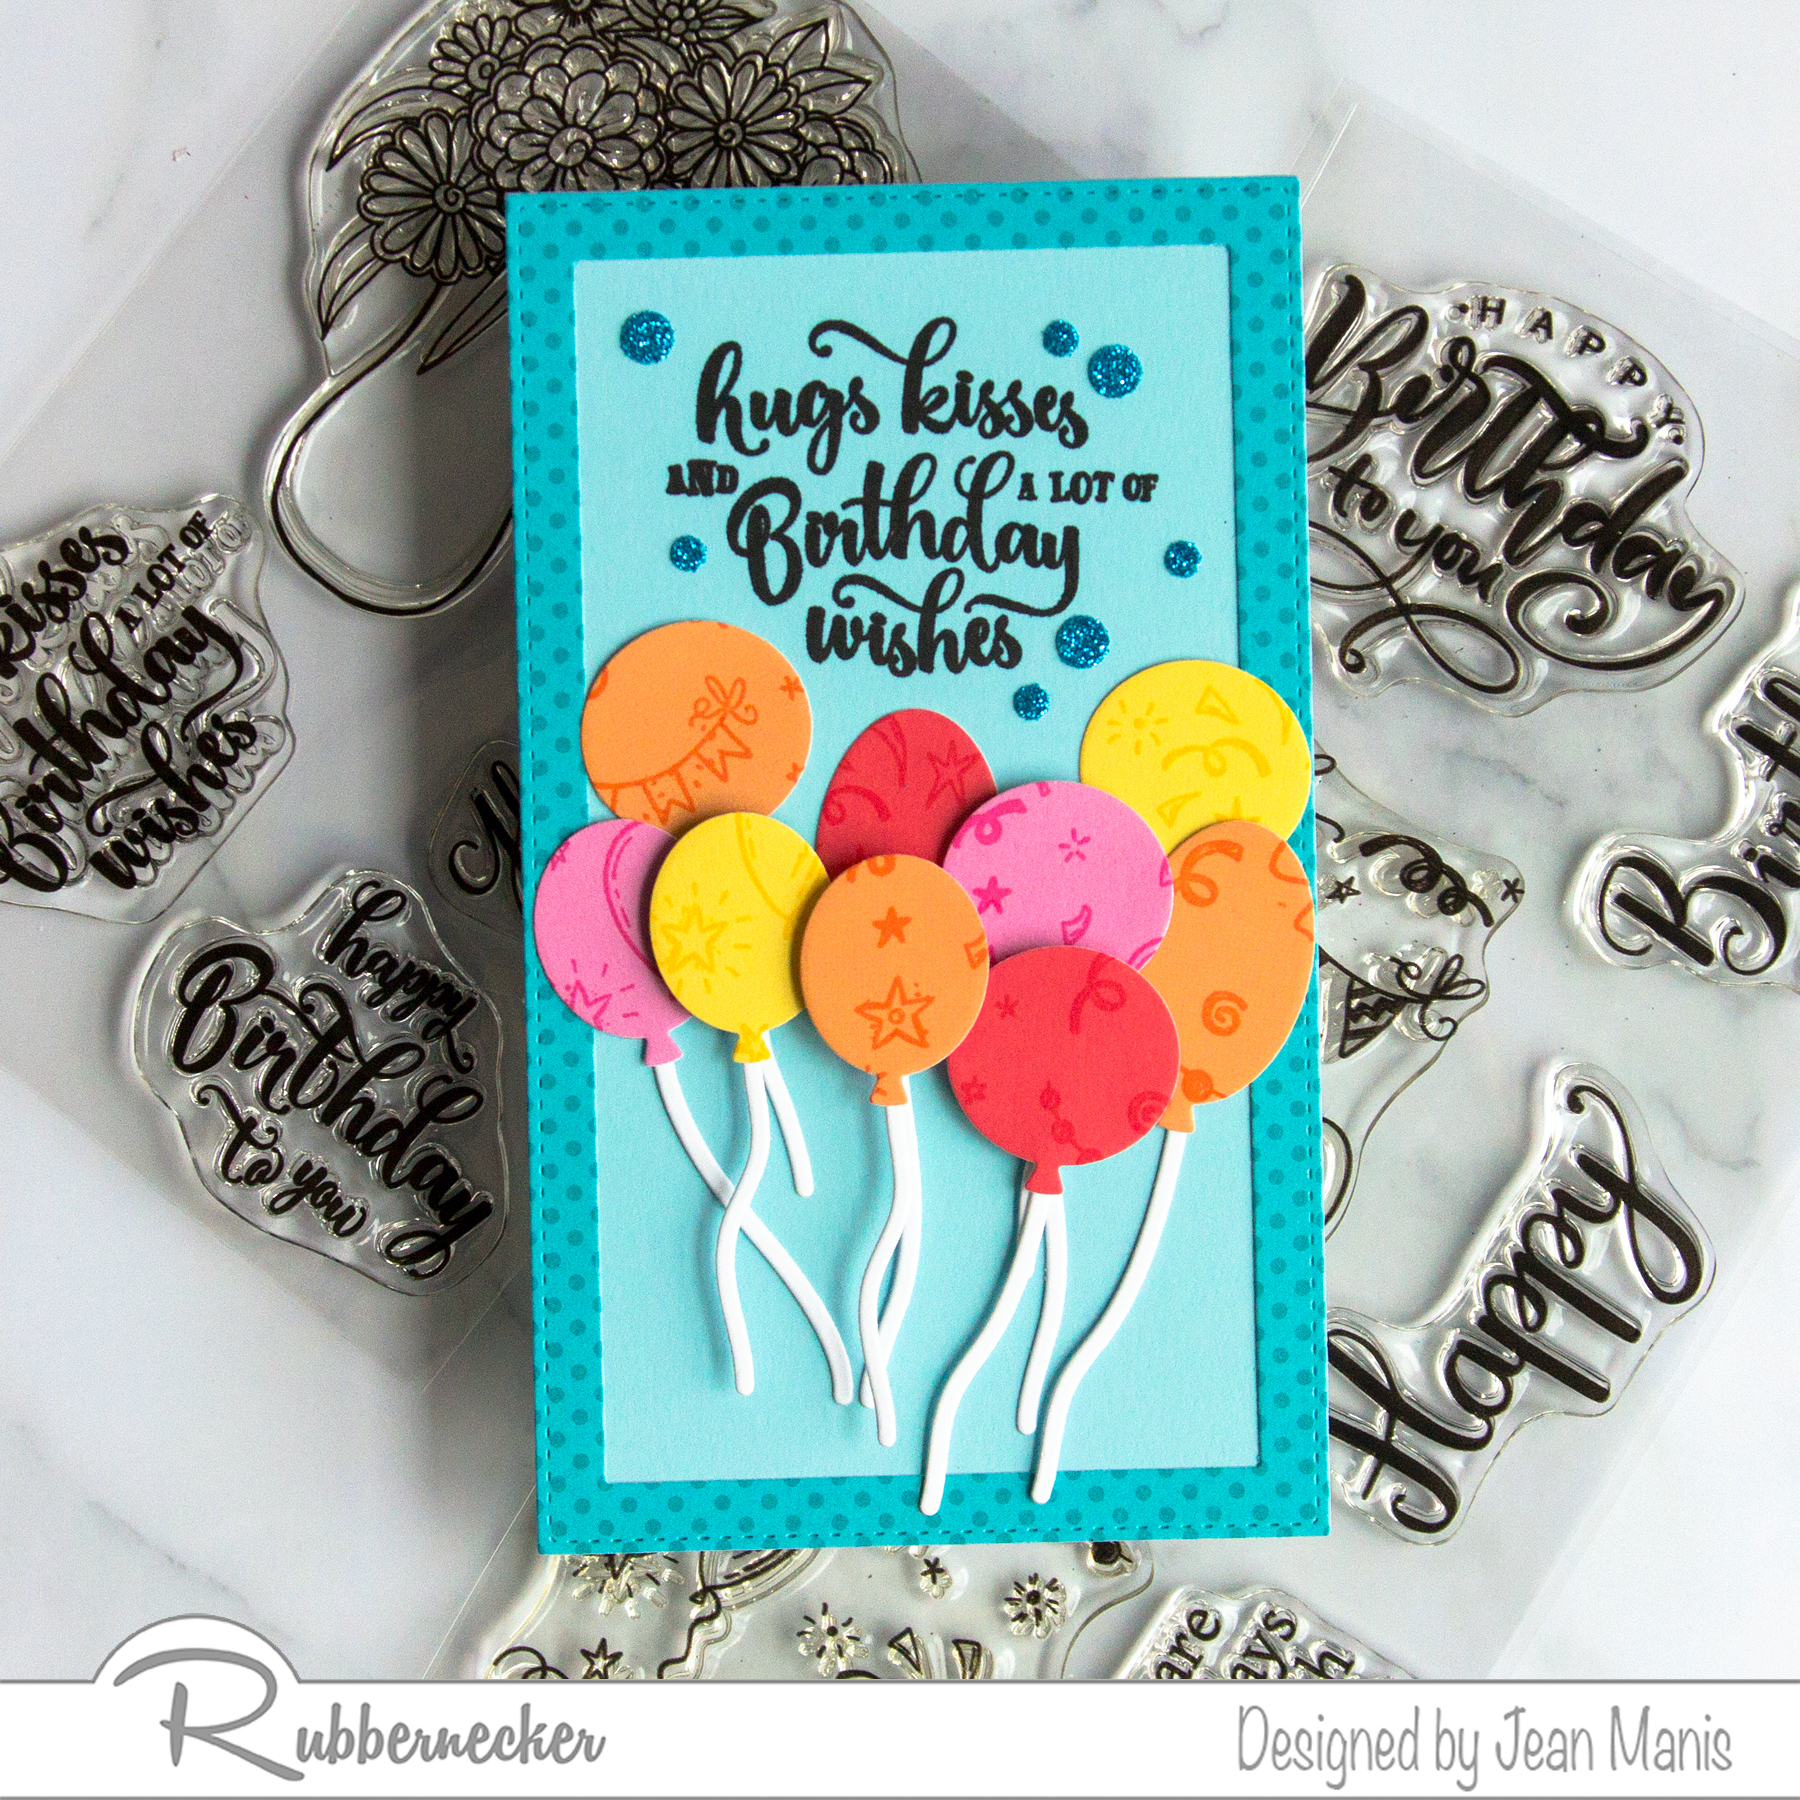
My first card features bright, die-cut balloons and a fun script sentiment.
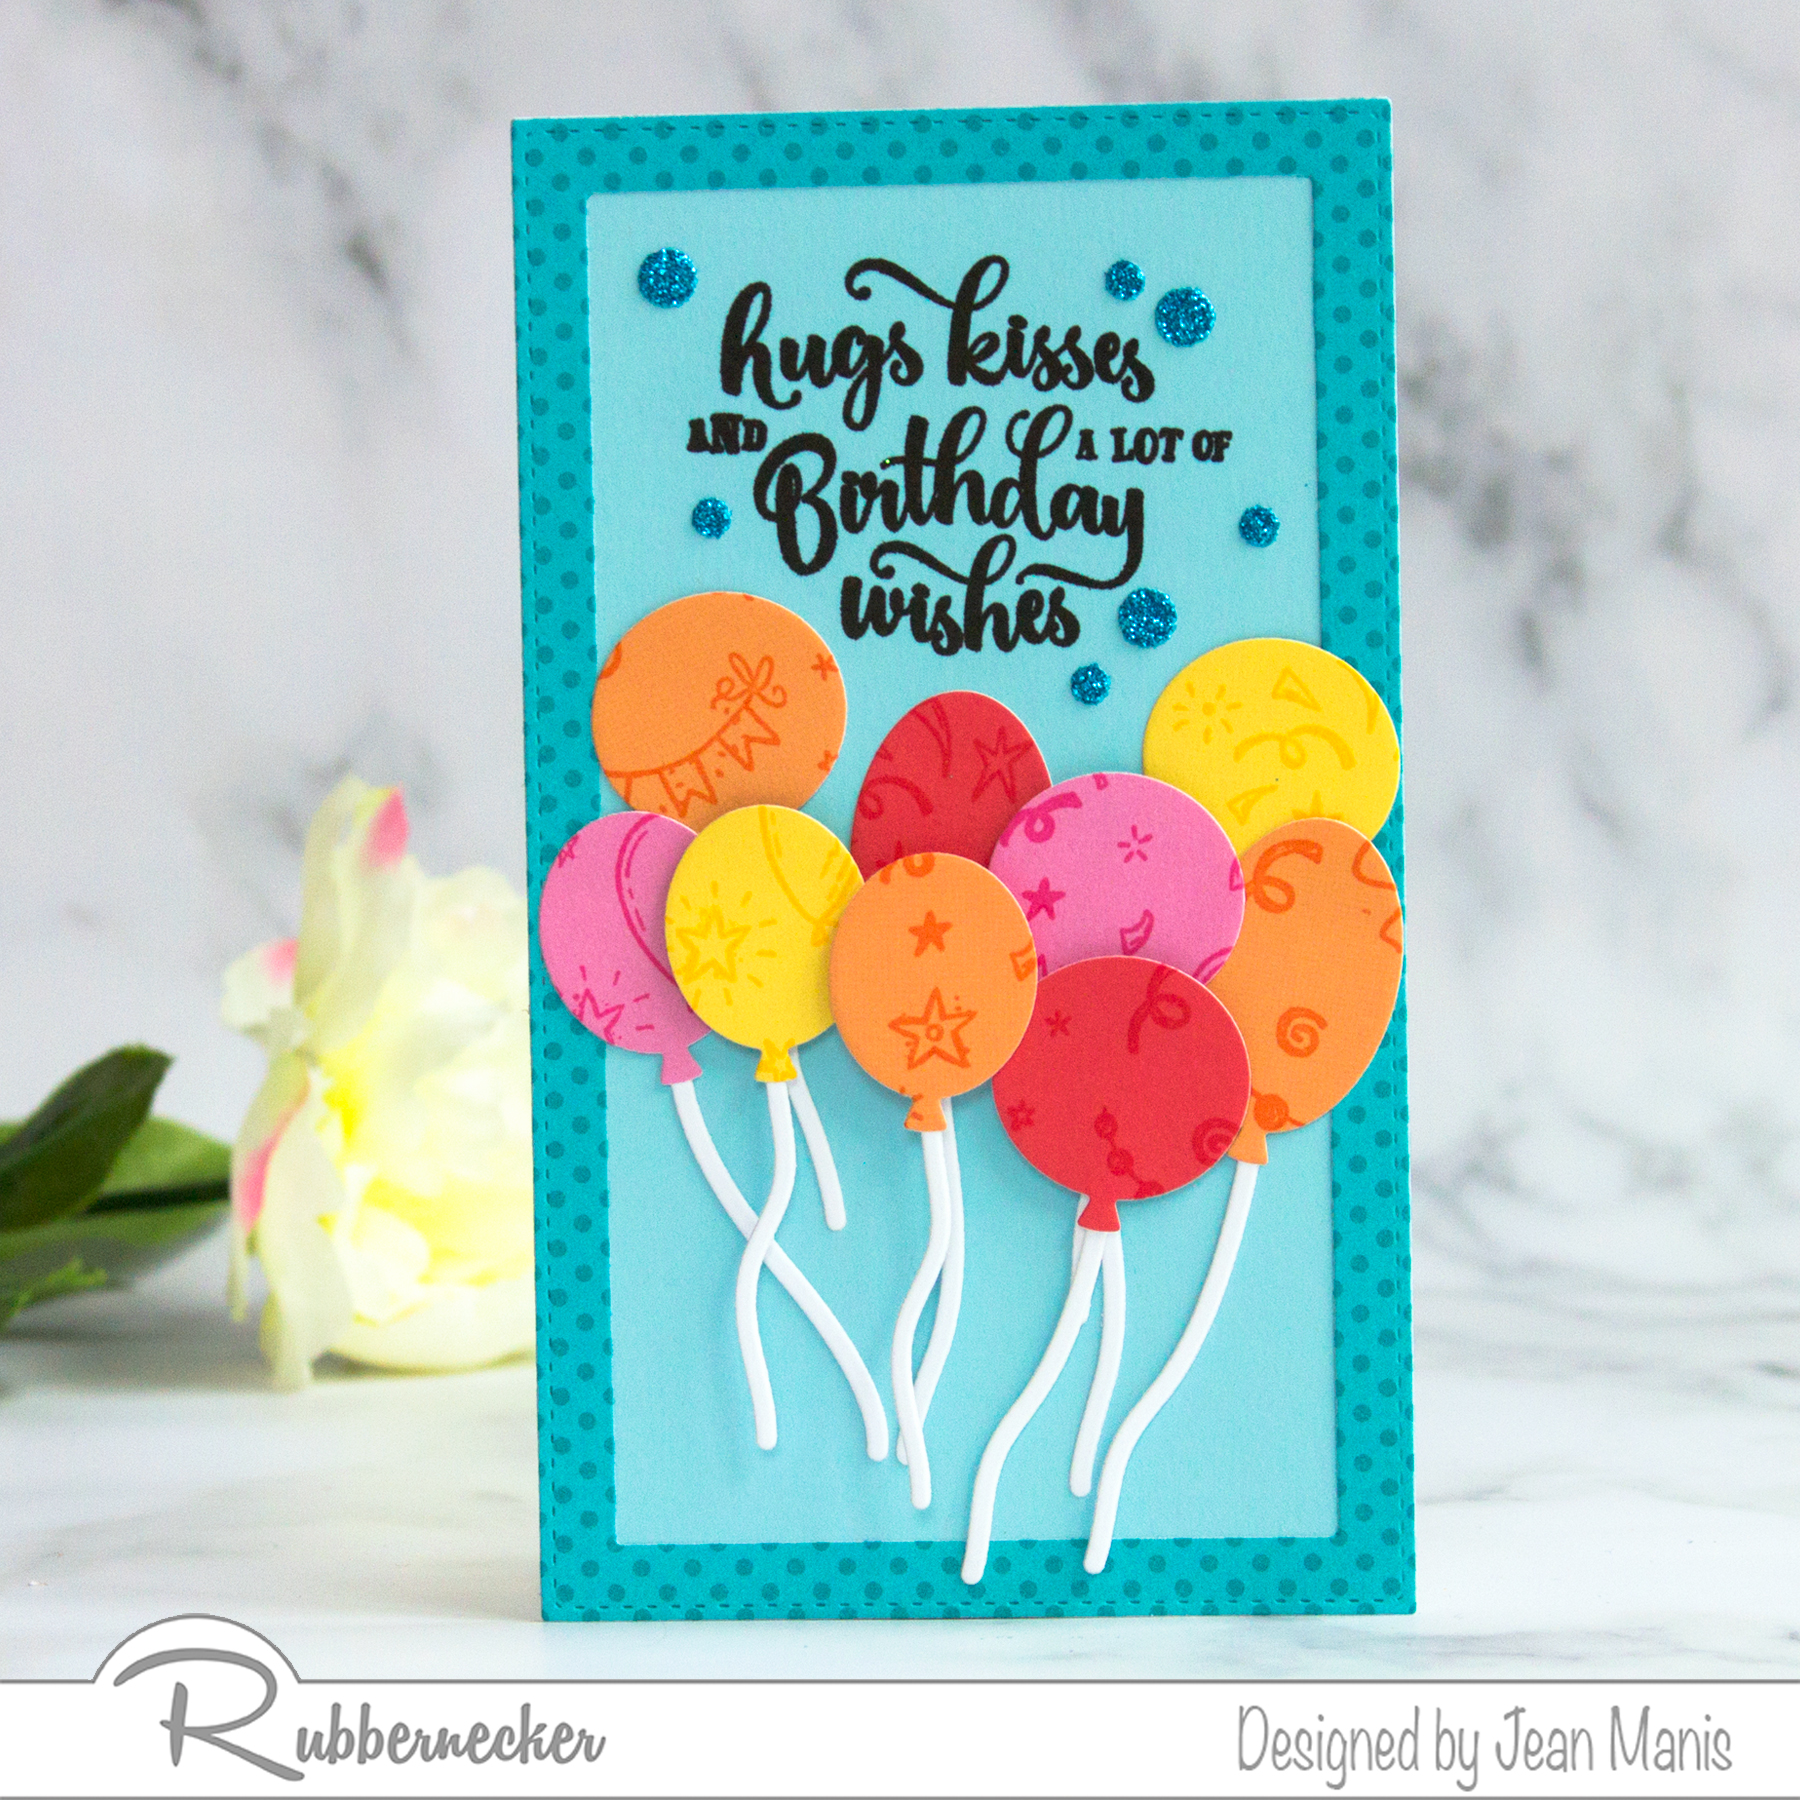
- I stamped the pattern image in the Happy Birthday #1 stamp set on to colored paper with coordinating inks for a tone-on-tone look.
- I die-cut the stamped paper with the Balloons Die. I die-cut the strings from white cardstock and assembled the balloons.
- I stamped the sentiment in the Birthday Vase set in VersaFine ink on a mini-slimline sized light-blue cardstock panel.
- I created a mini-slimline frame by cutting patterned paper using the two largest dies in the Mini Slimline Nested with Stich set.
- I attached the sentiment panel to a card base and adhered the frame.
- After assembly everything, I embellished the card with circles cut from glitter cardstock using dies in the Lifeguard Tower and Fishing Boat die sets.
My second card showcases the fun-to-color Birthday Vase stamp set.
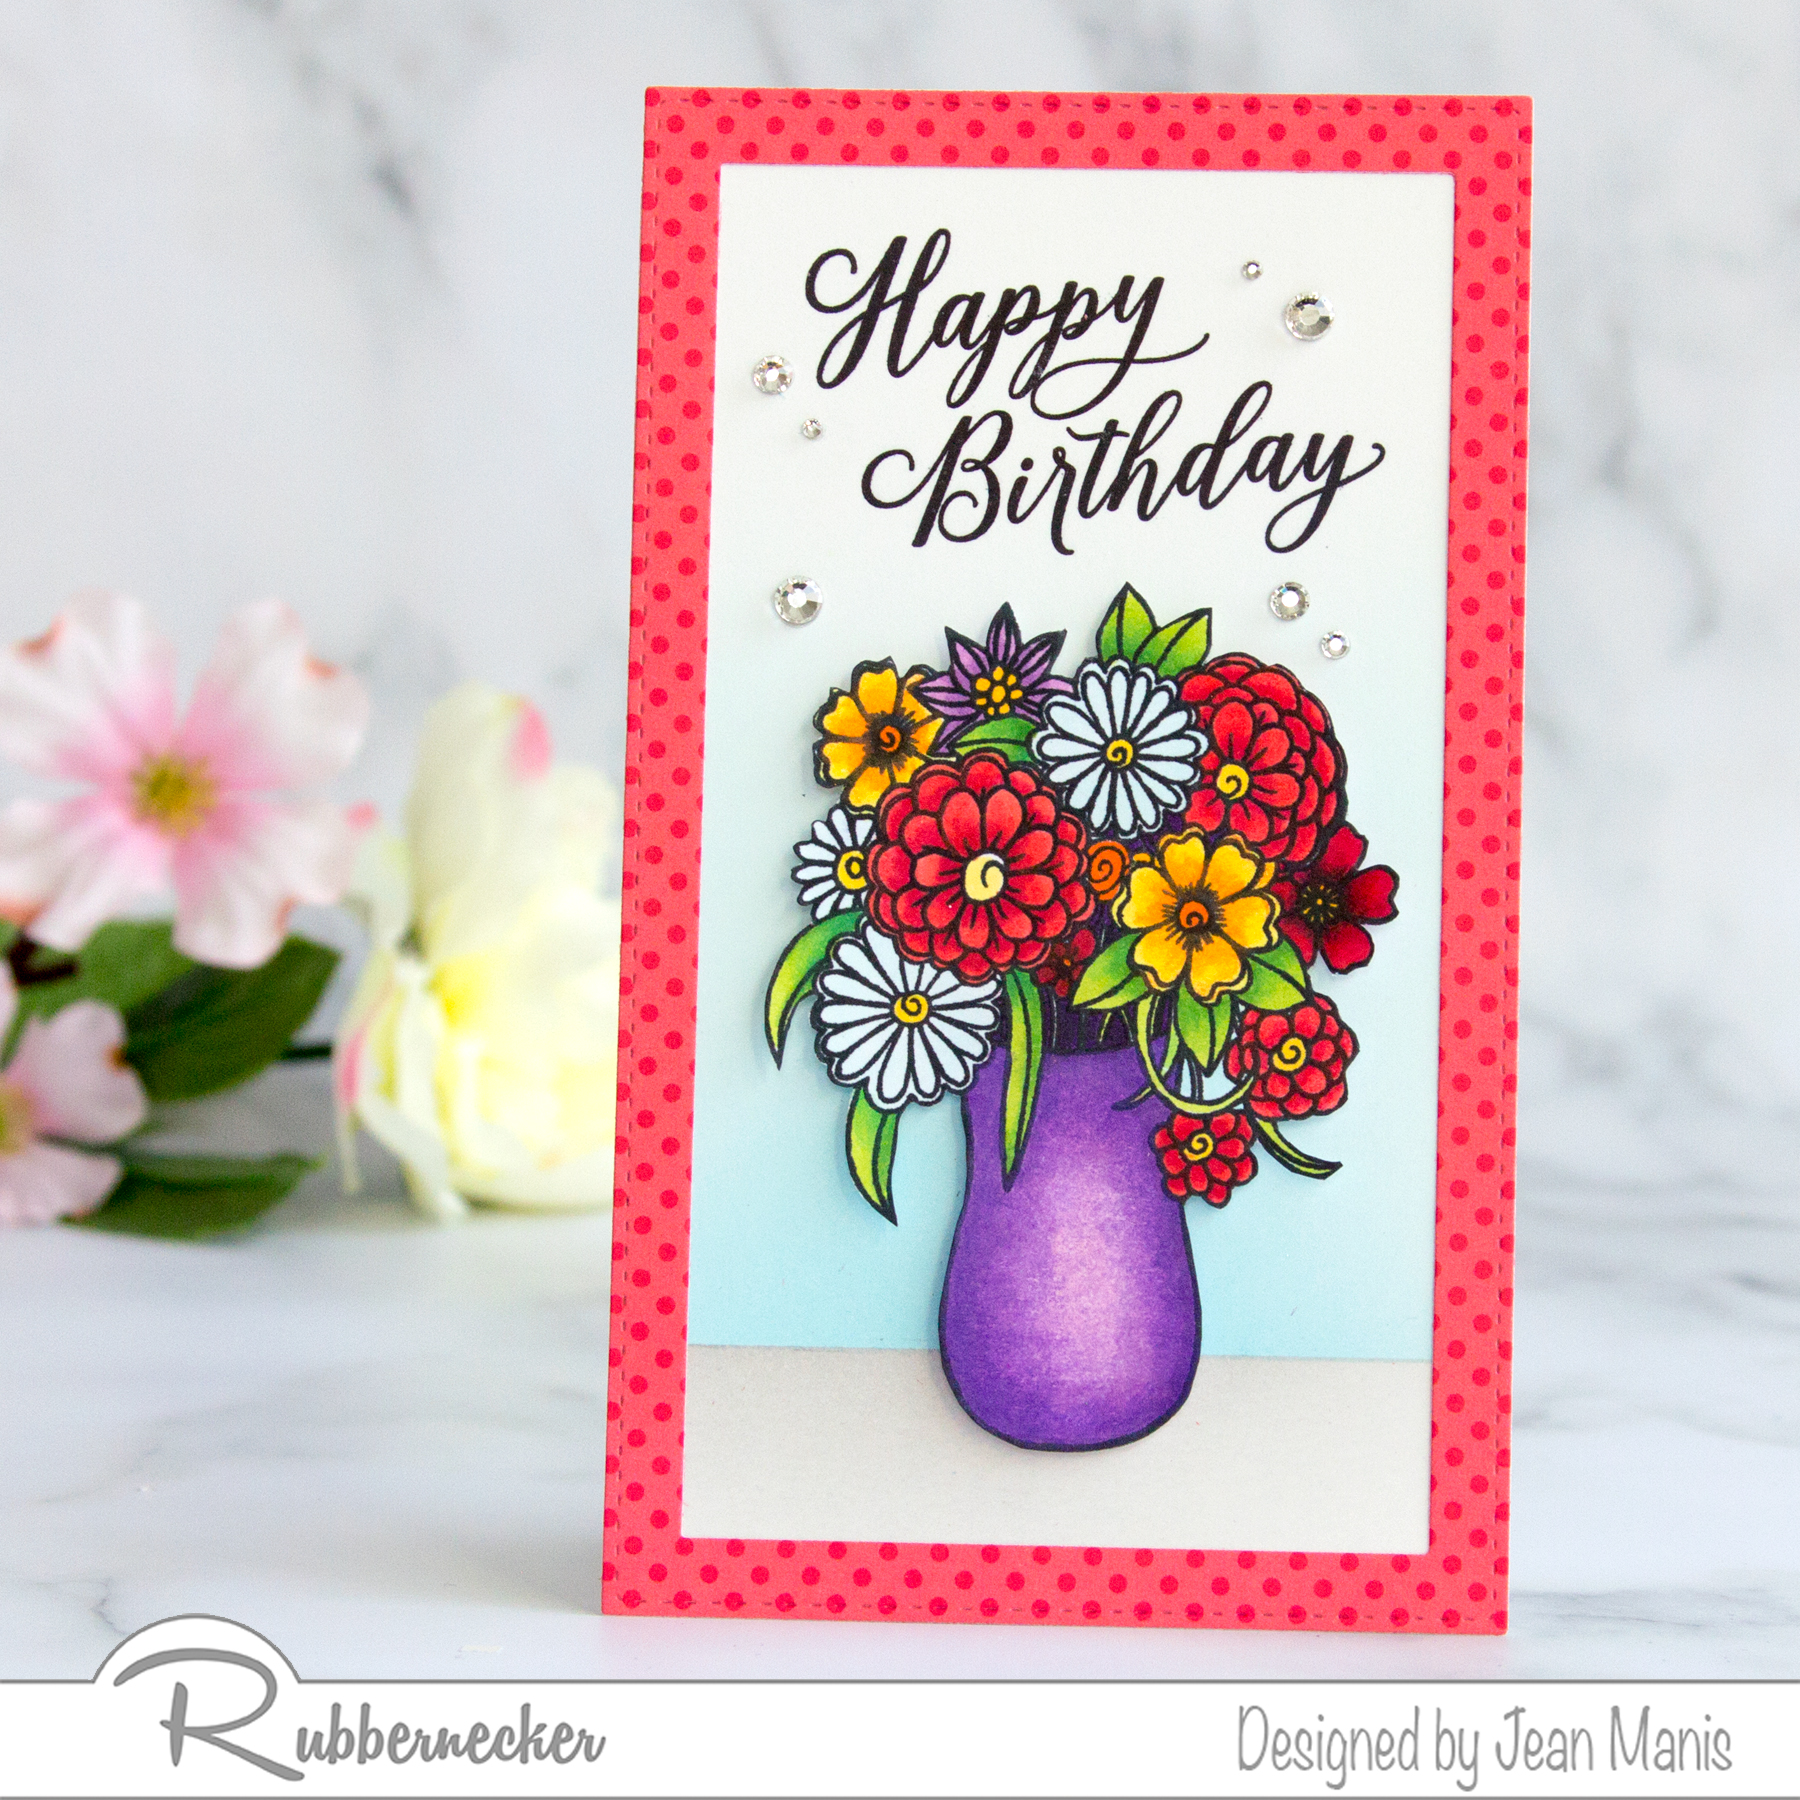
- I created a mini-slimline frame by cutting patterned paper using the two largest dies in the Mini Slimline Nested with Stich set.
- I stamped the sentiment in the Birthday Vase set in VersaFine ink on a mini-slimline sized white cardstock panel.
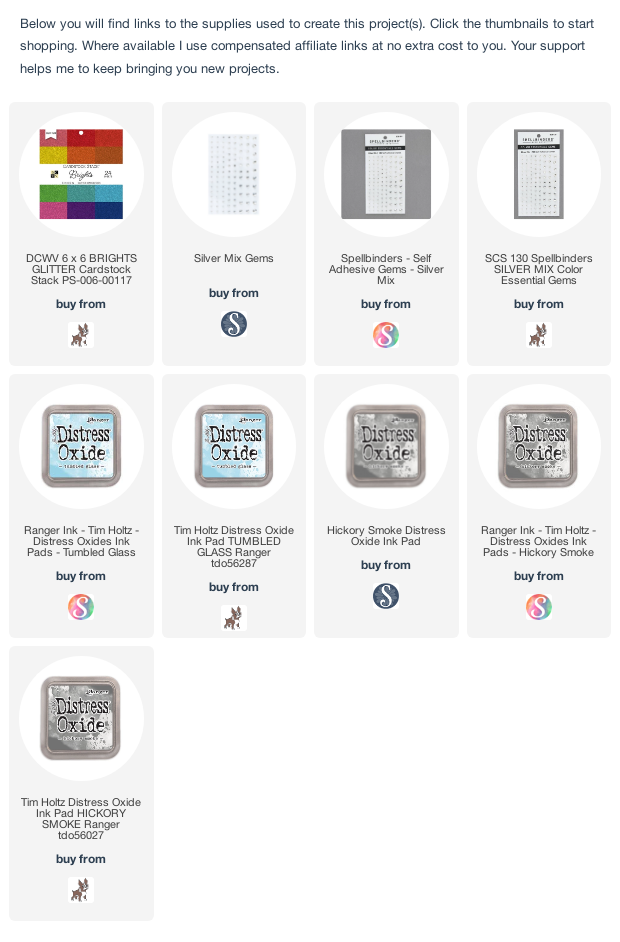
- Using vellum as a mask, I applied Distress Oxide inks above and below the horizon line.
- I attached the sentiment panel to a card base and adhered the frame.
- I stamped the vase and flowers in Memento black ink on white cardstock, colored the image with Copic markers and colored pencils, and fussy-cut it.
- I assembled the card, adding the flowers and vase with foam adhesive.
- I embellished with Silver Mix Gems.

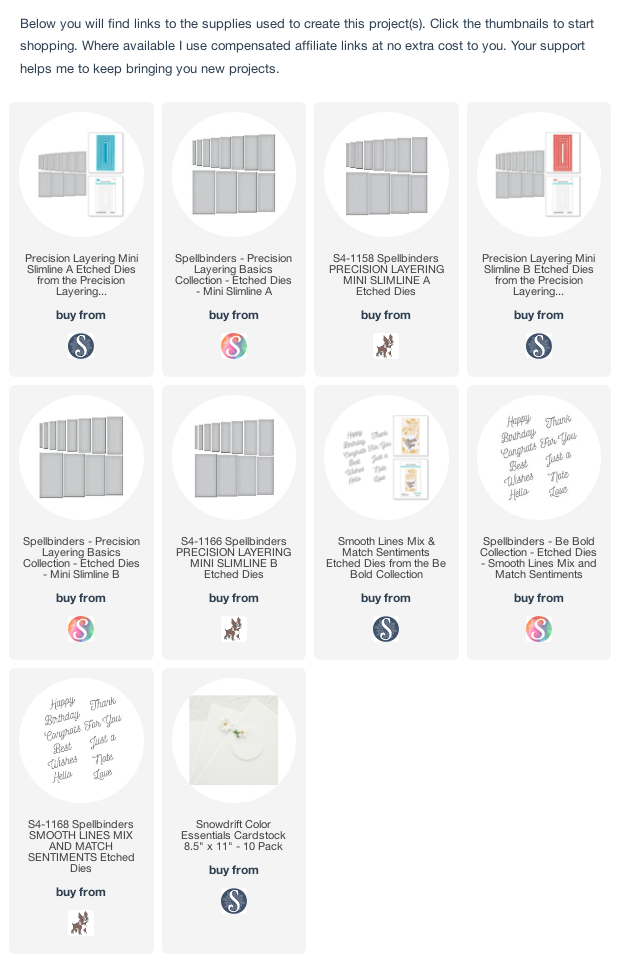
Scroll past the supplies for the full blog hop list.
Blog Hop List
Rubbernecker Blog
Colleen
Lisa
Annie
Jamie
Kittie
Jean <–You are here
Natasha
Carol
Preeti
Allison
Julie