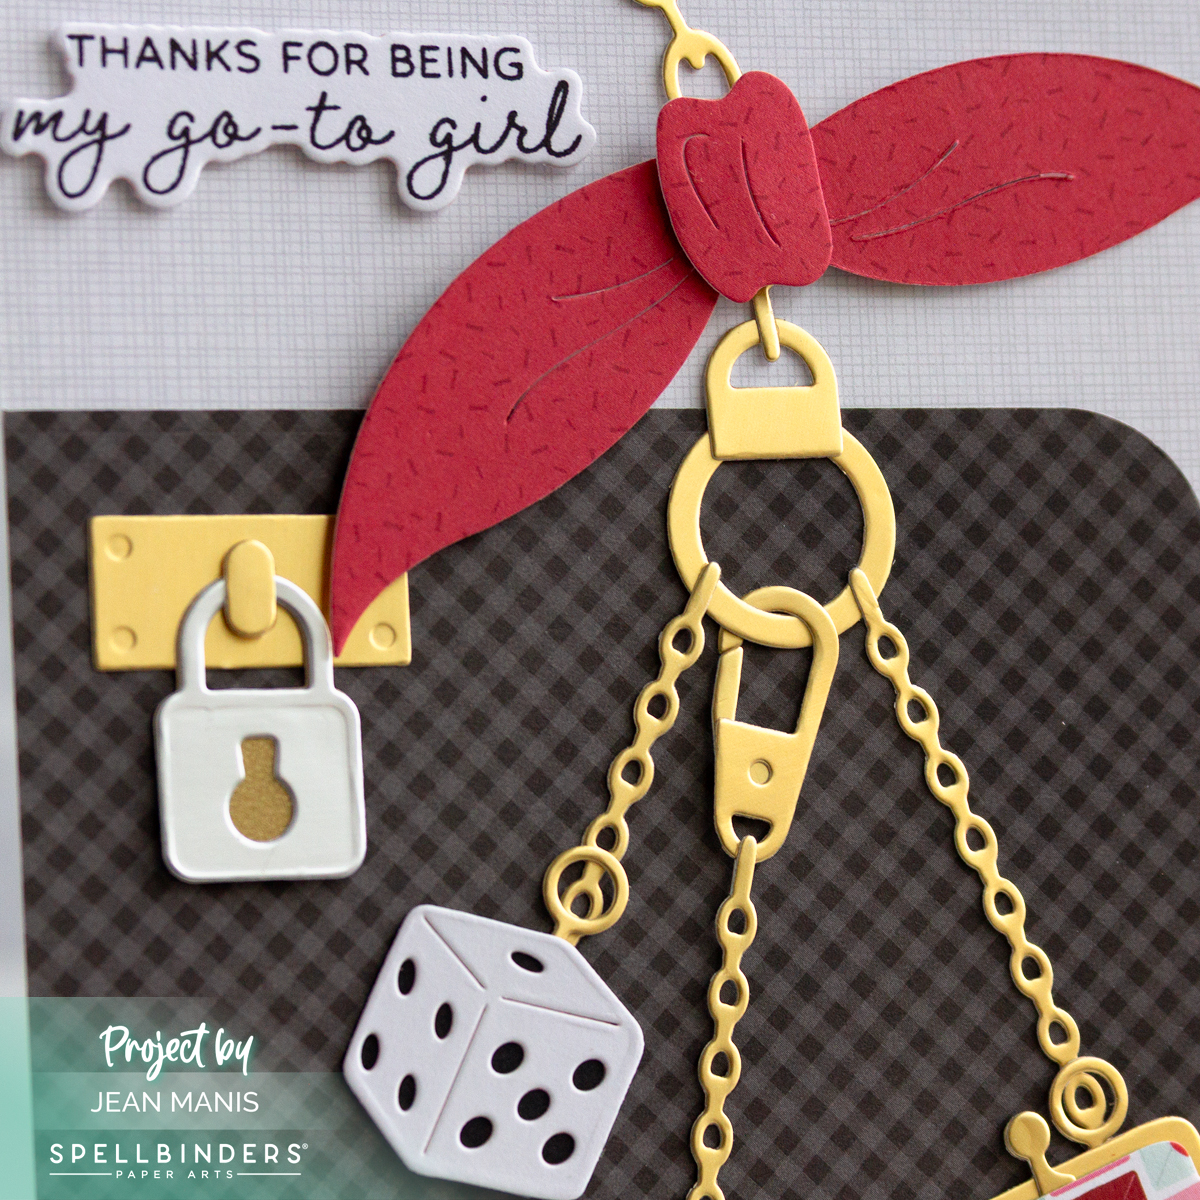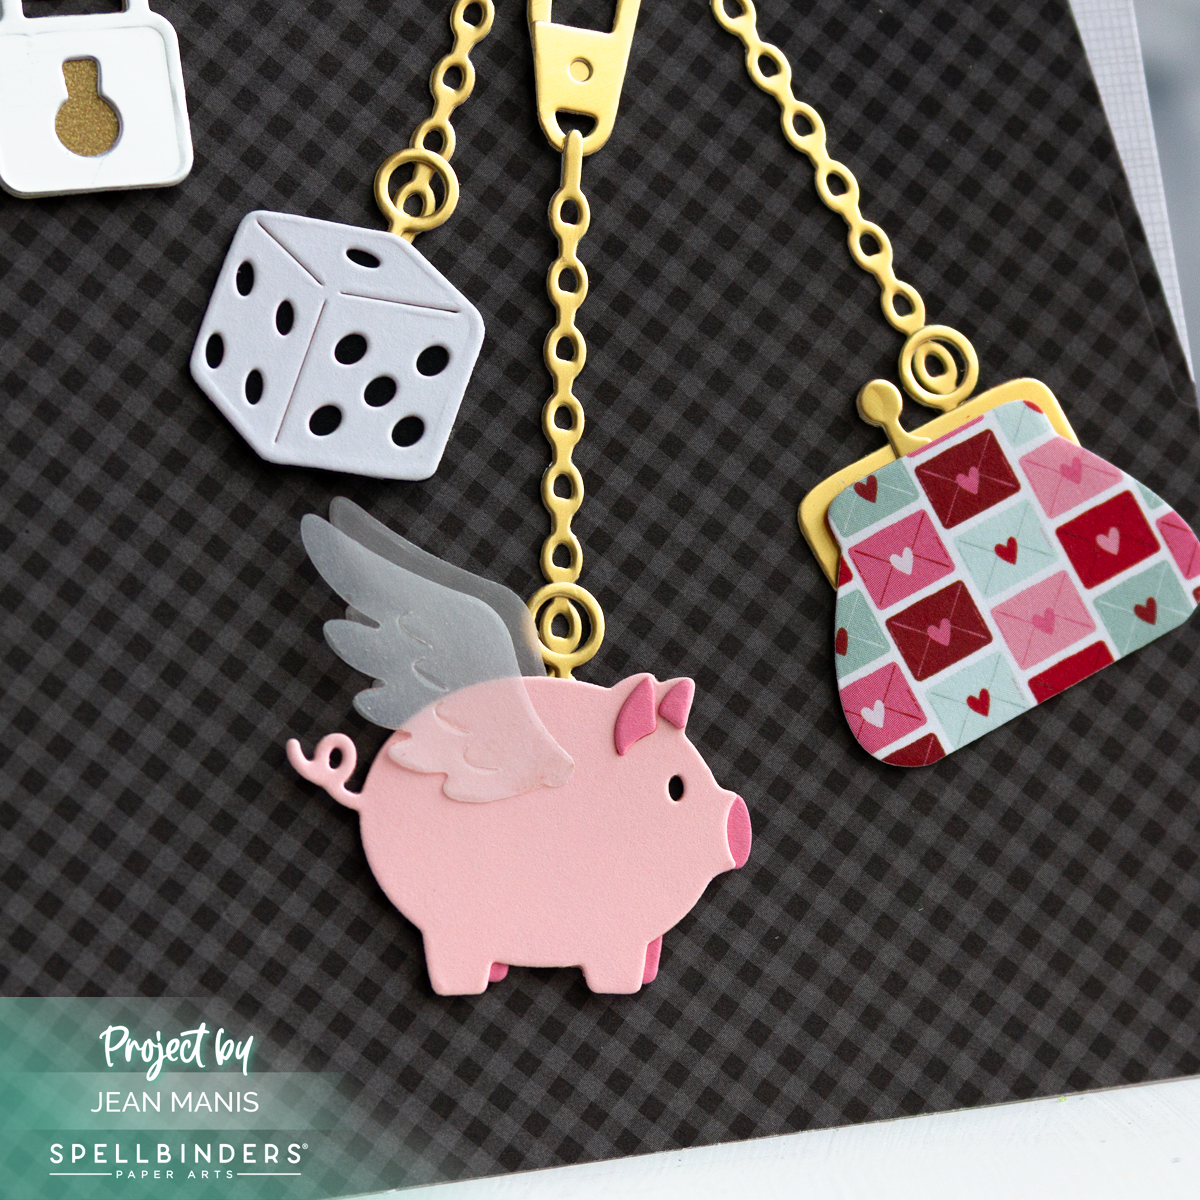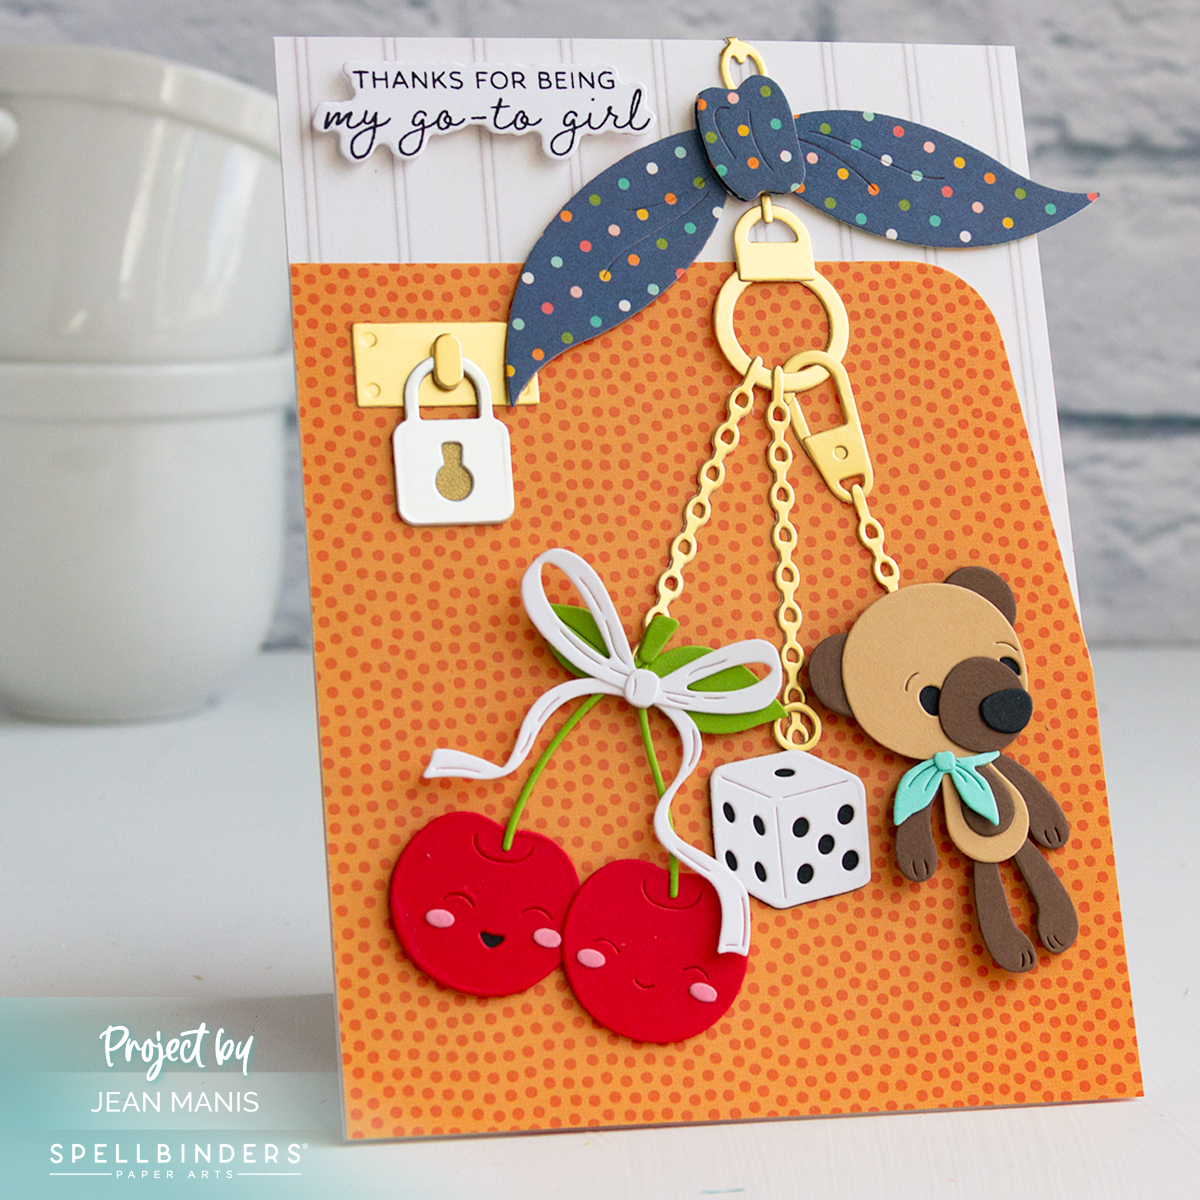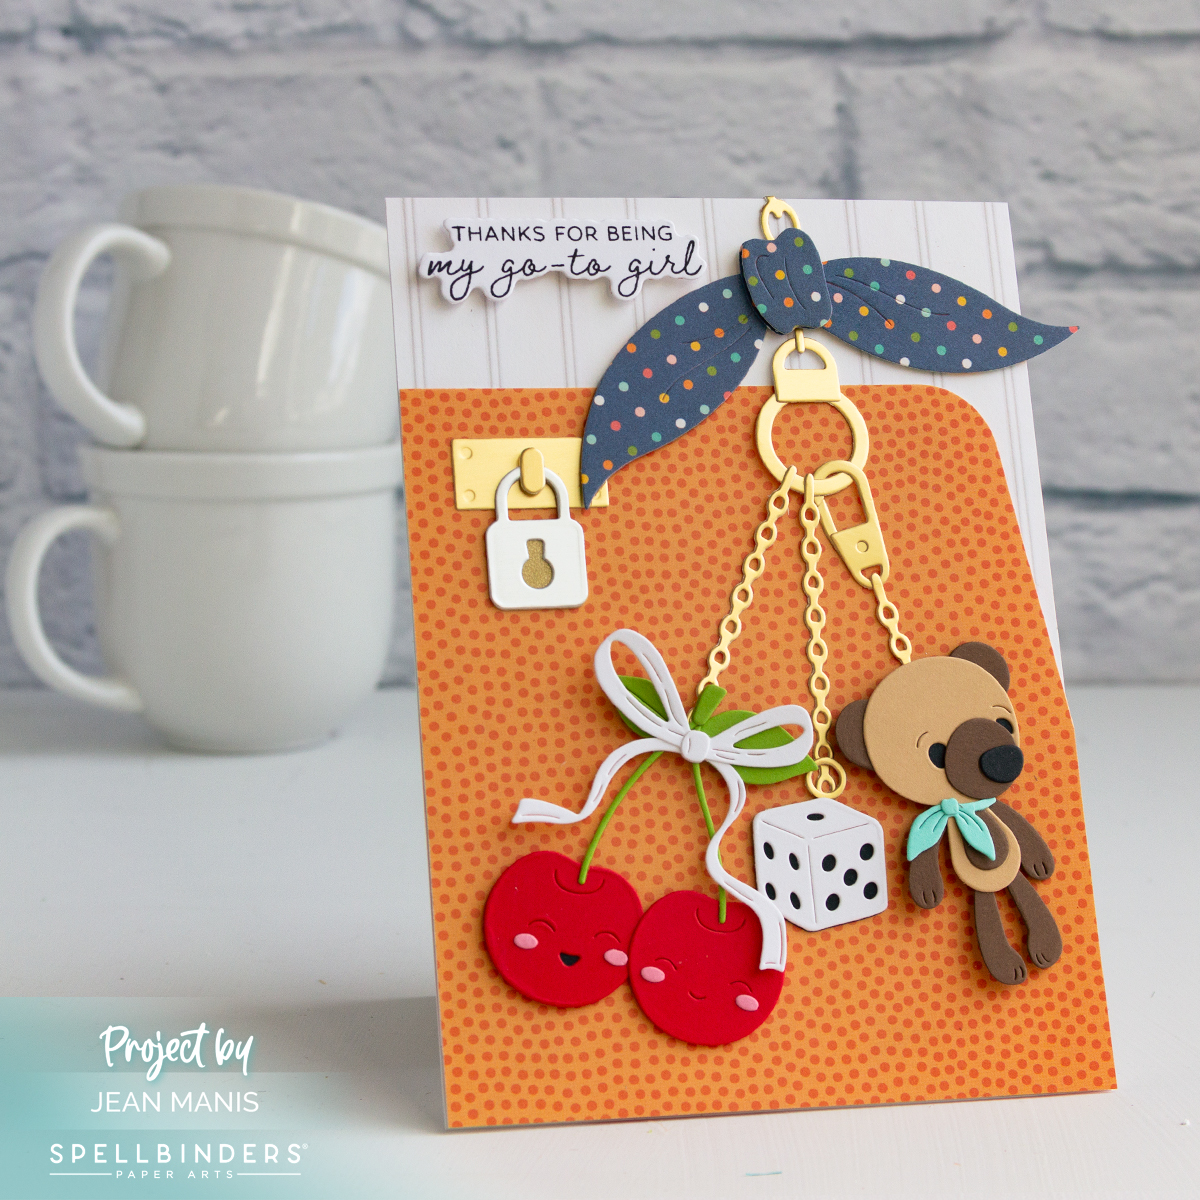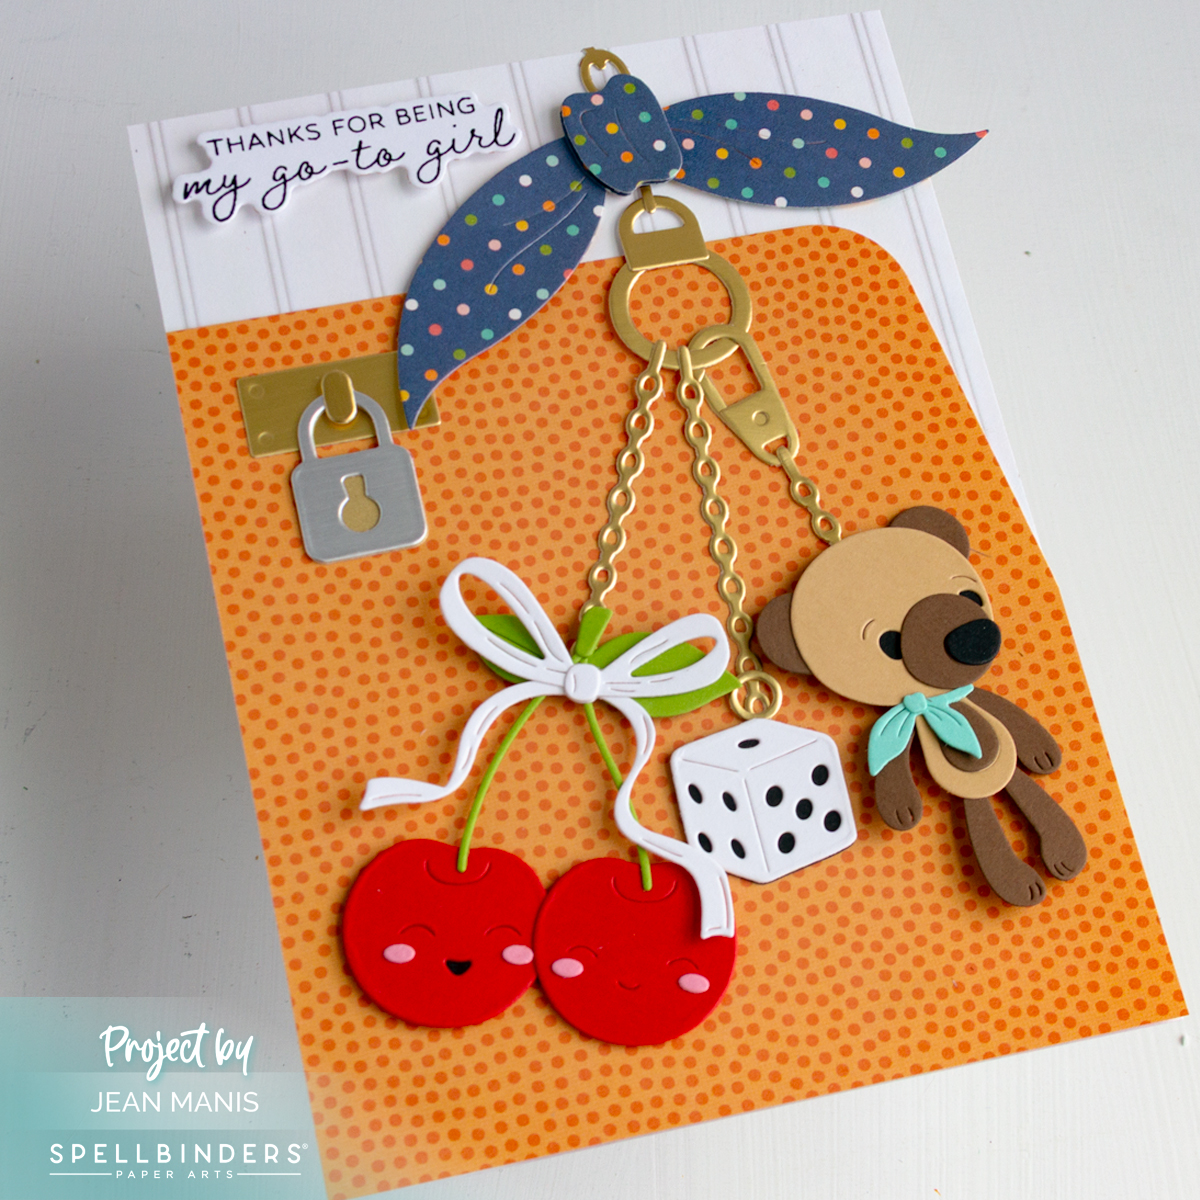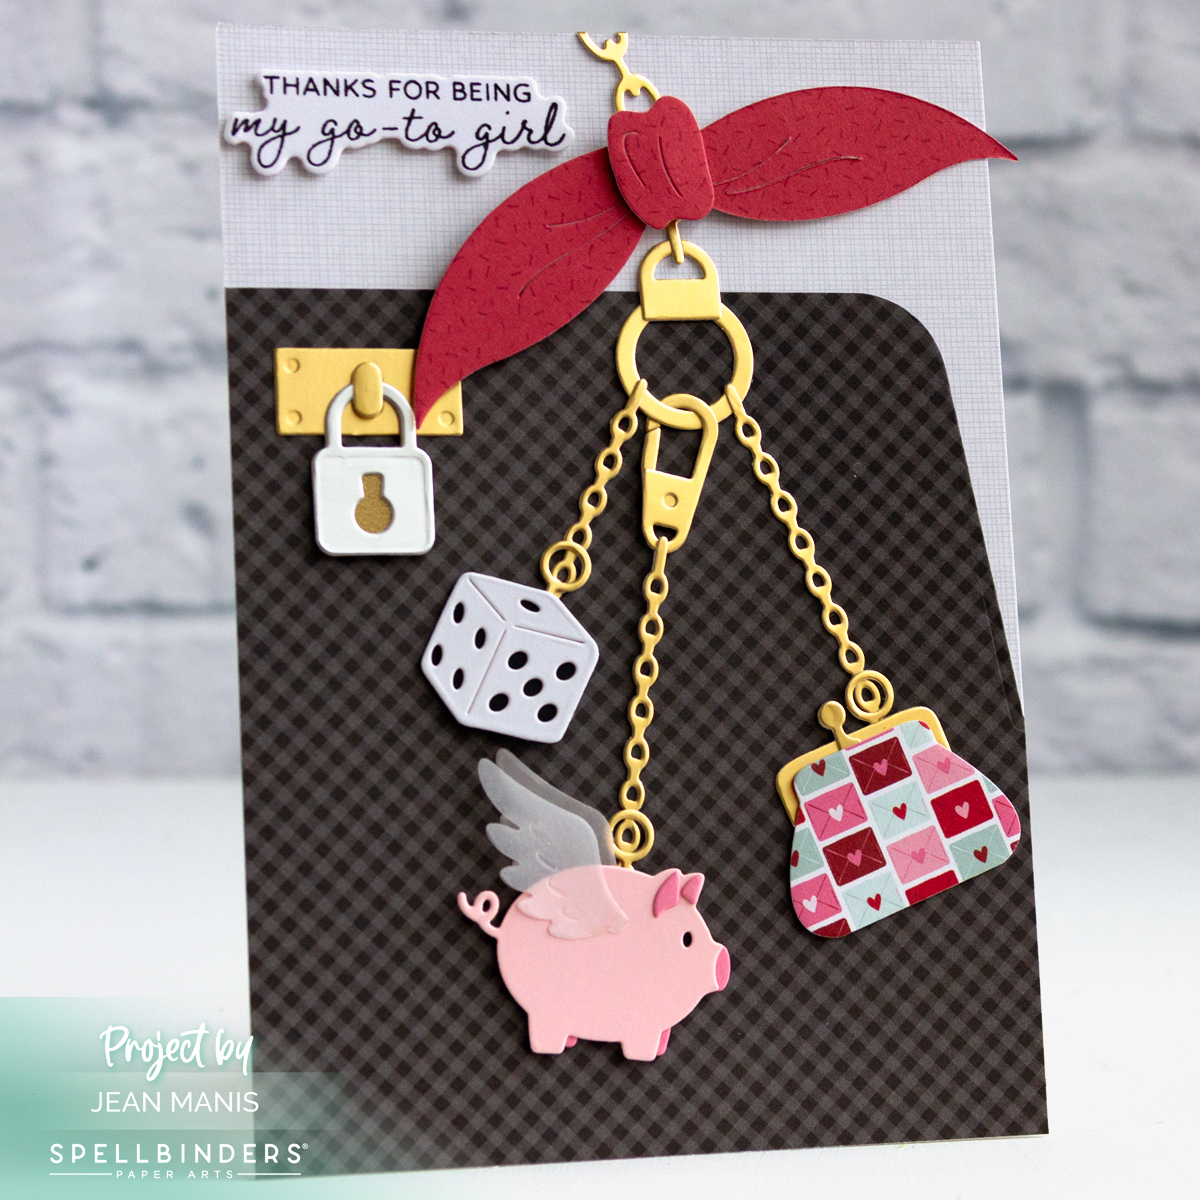
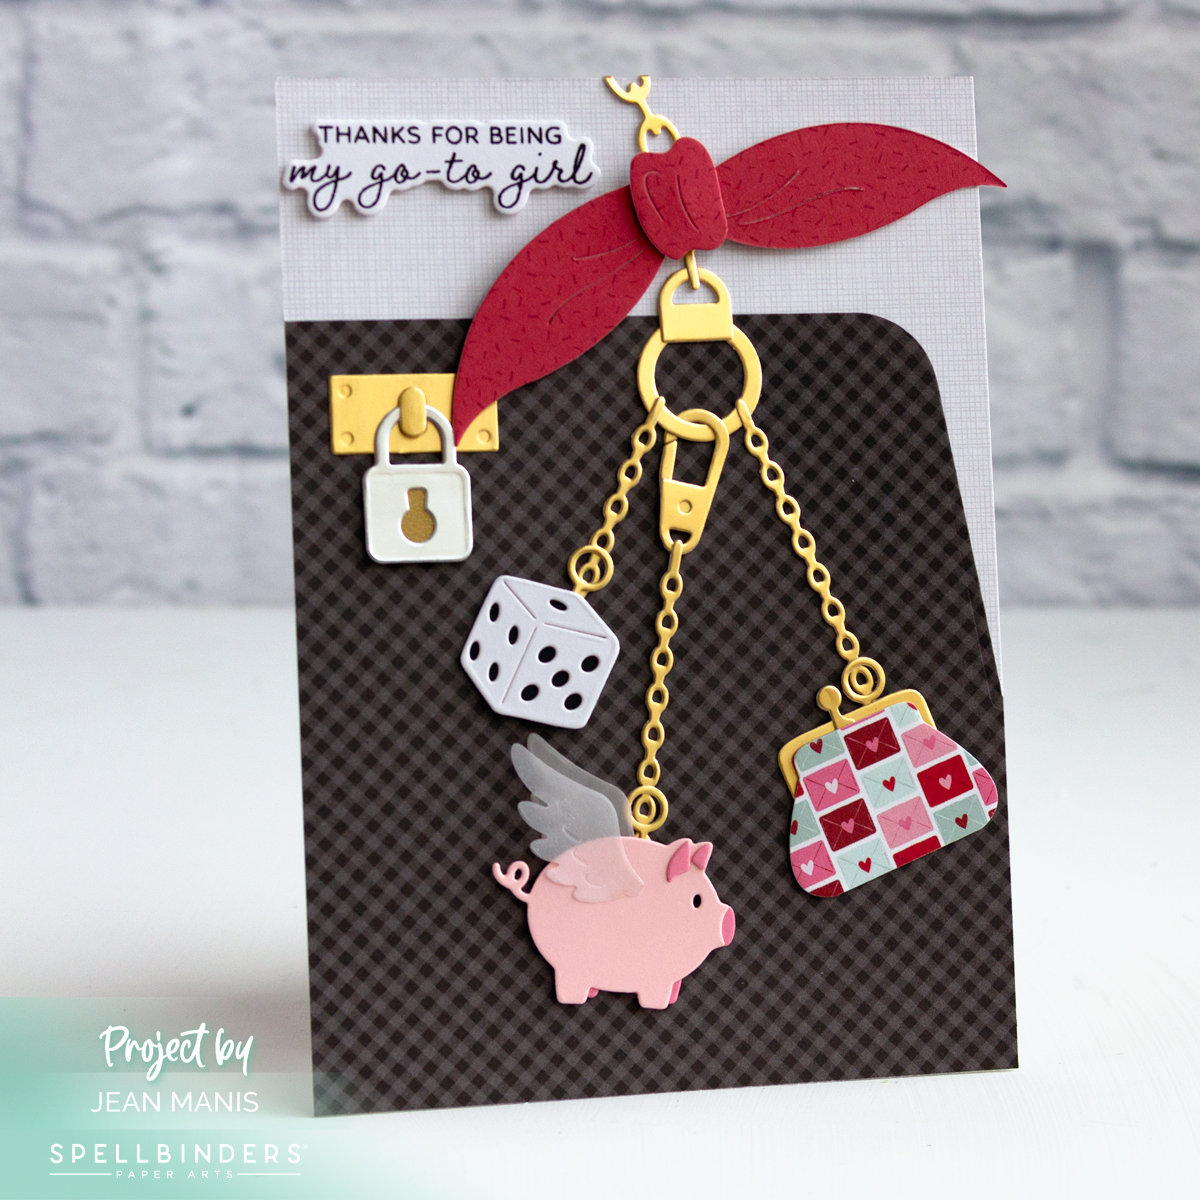
Hello! I’m back with another friendship card featuring the Spellbinders November Large Die of the Month. This time, I paired the purse design with the adorable flying pig charm from the Caboodle Offering. The mix adds a whimsical touch to the trendy bag charm theme. For this version, I used different patterned papers for the purse, background, and scarf. You can see my first card with the November Large Die set HERE.
-
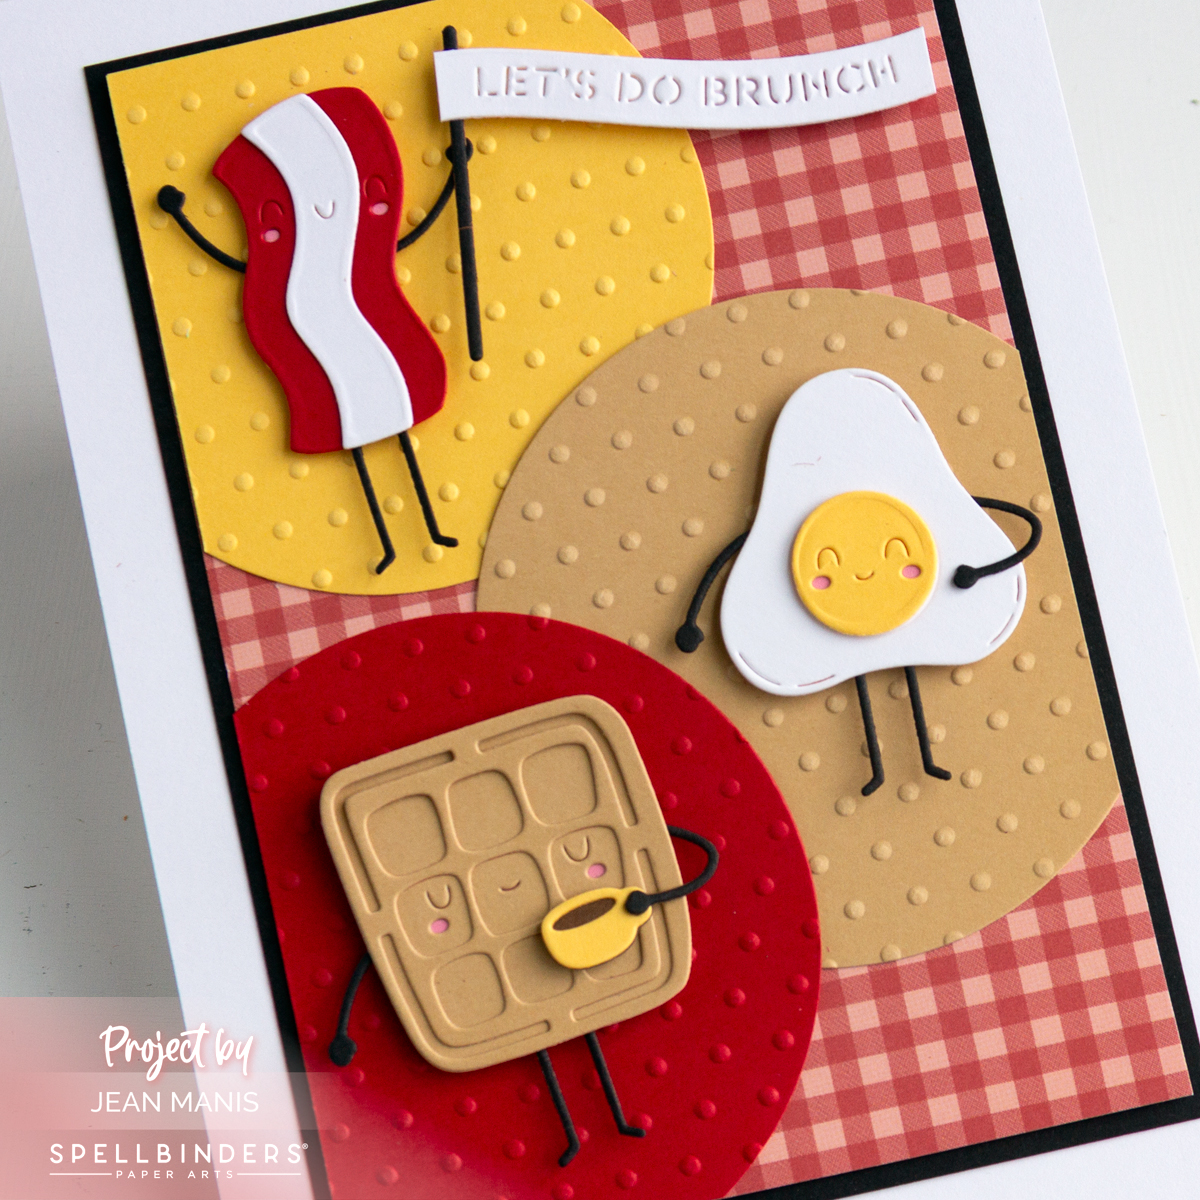
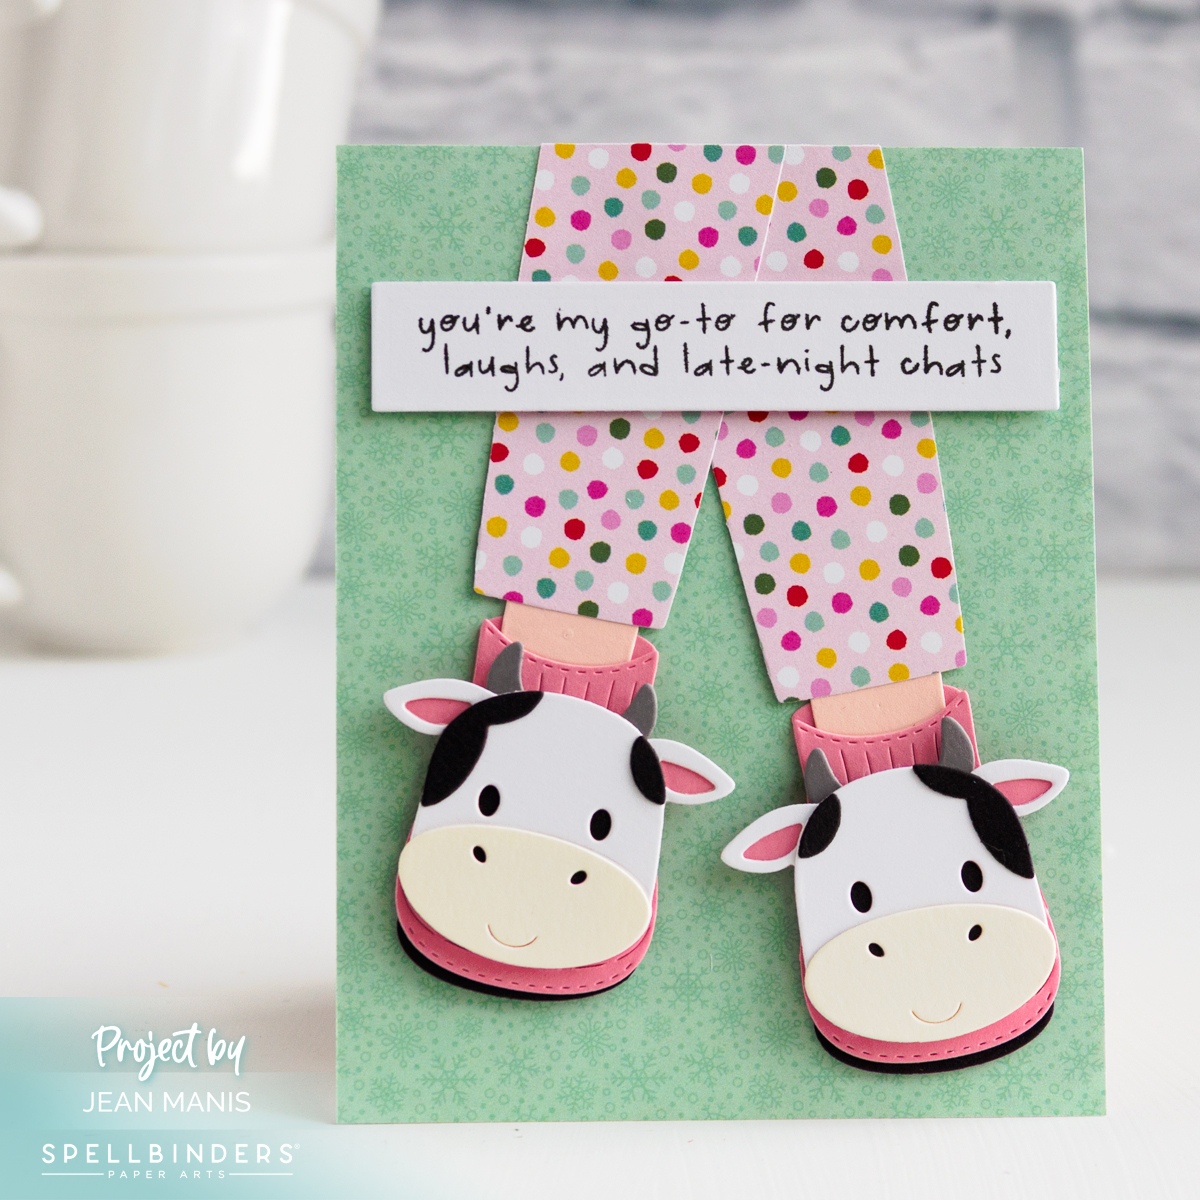
- Create a 5″ x 7″ card base and cover with patterned paper.
- Use the purse die in the Large Die of the Month to cut the purse from patterned paper. Add to the prepared card base.
- With the Large Die of the Month set, cut the charms, purse hardware, and bow from a variety of cardstock colors and patterned paper. Use the Caboodle die set to cut the pig. Assemble items.
- Adhere items to the card base.
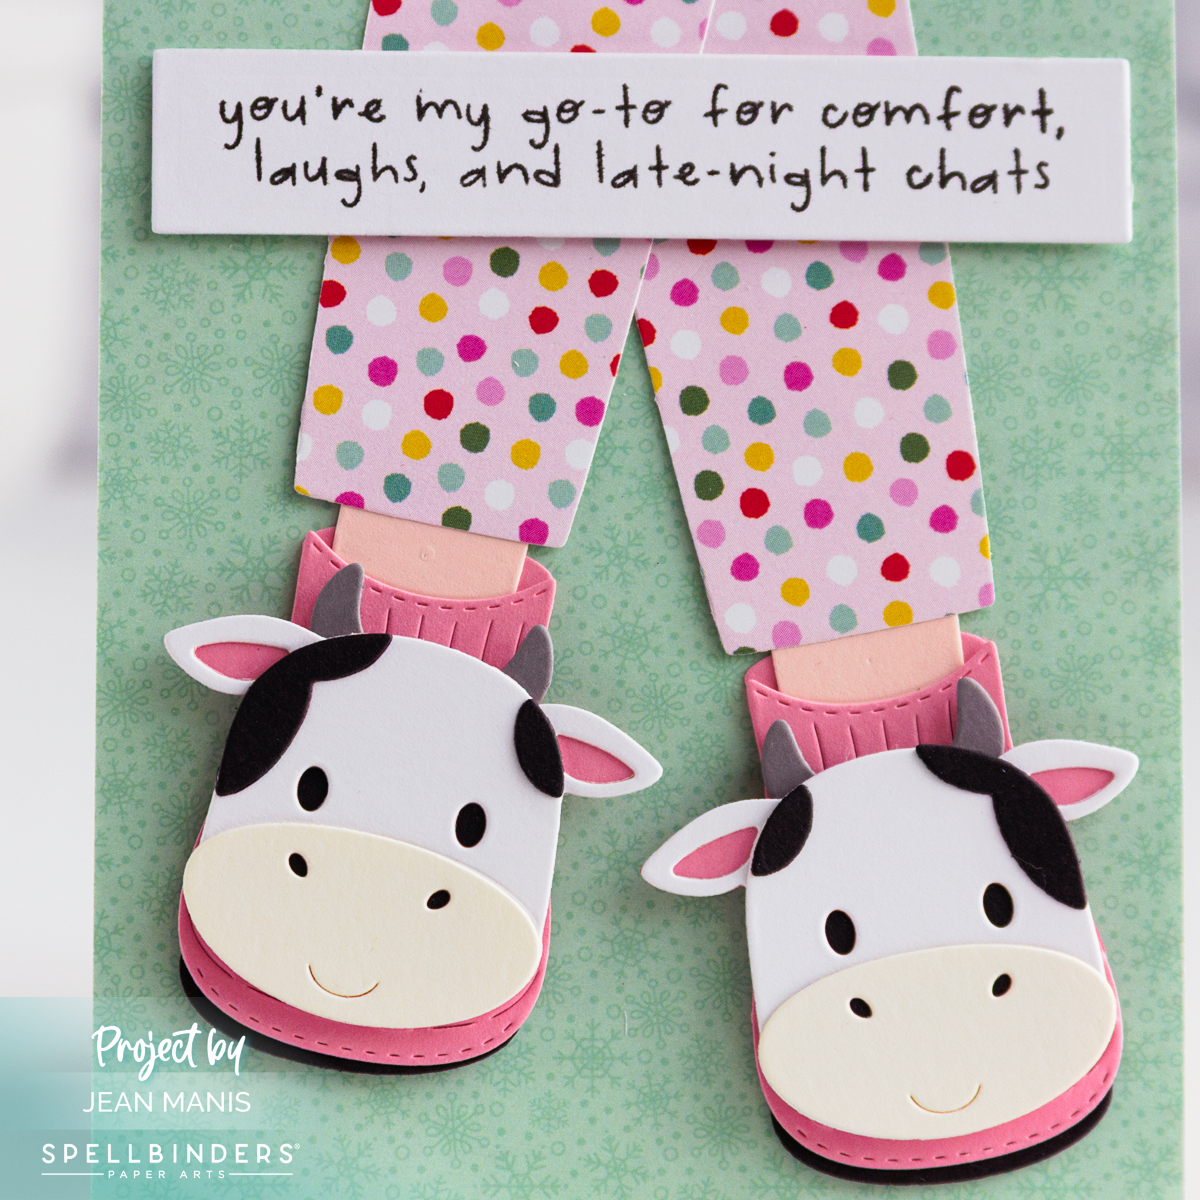
- With the Clear Stamp & Die set, stamp the sentiment and cut with the coordinating die. Add to card with adhesive foam squares.