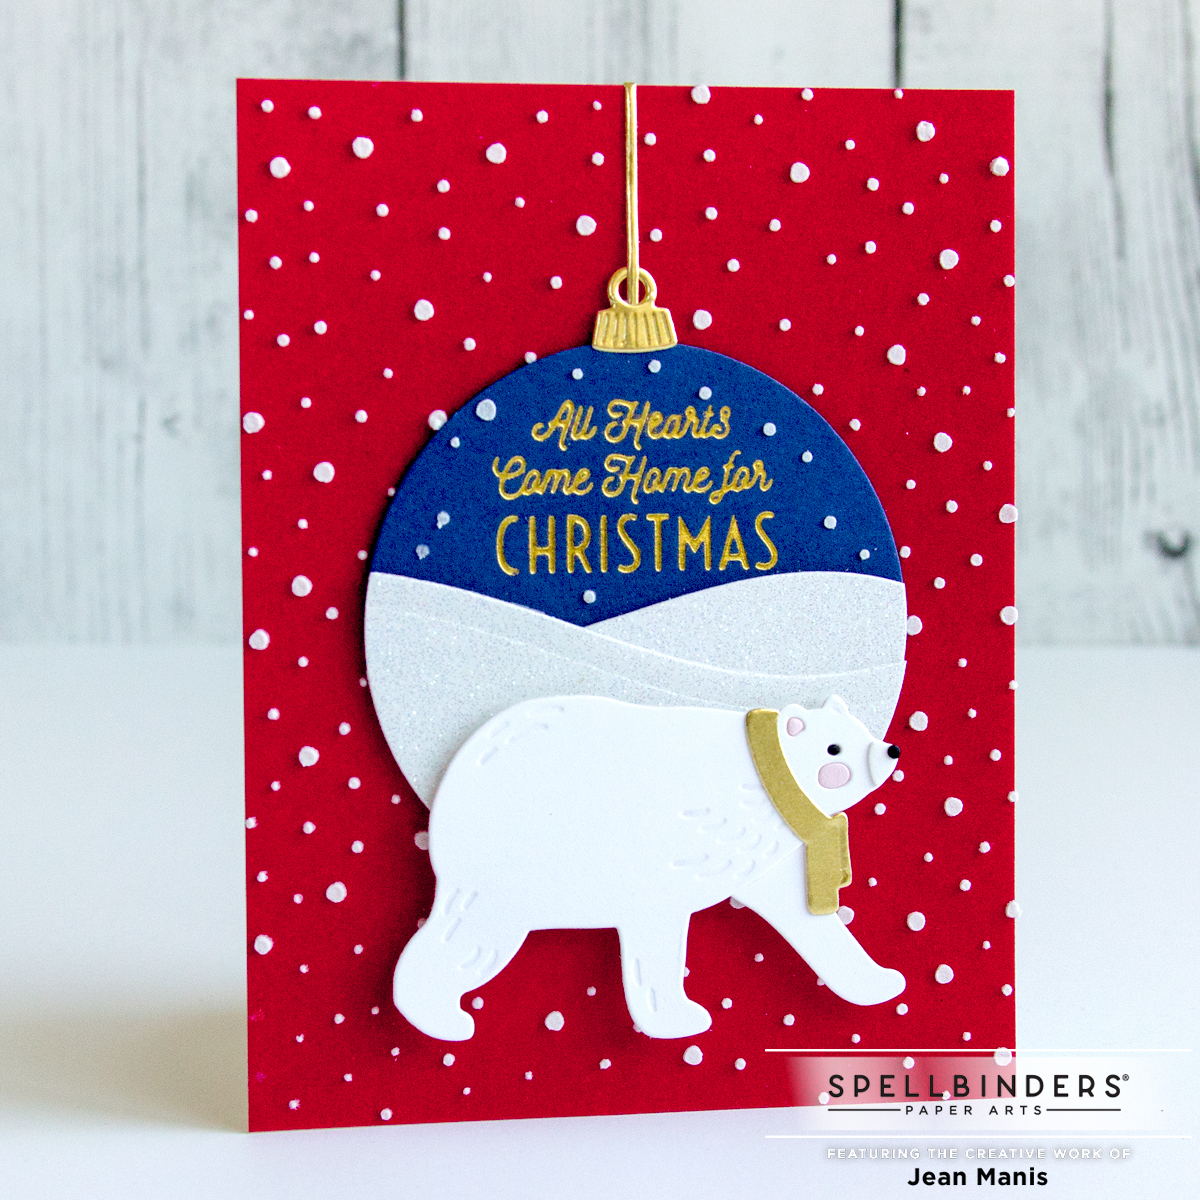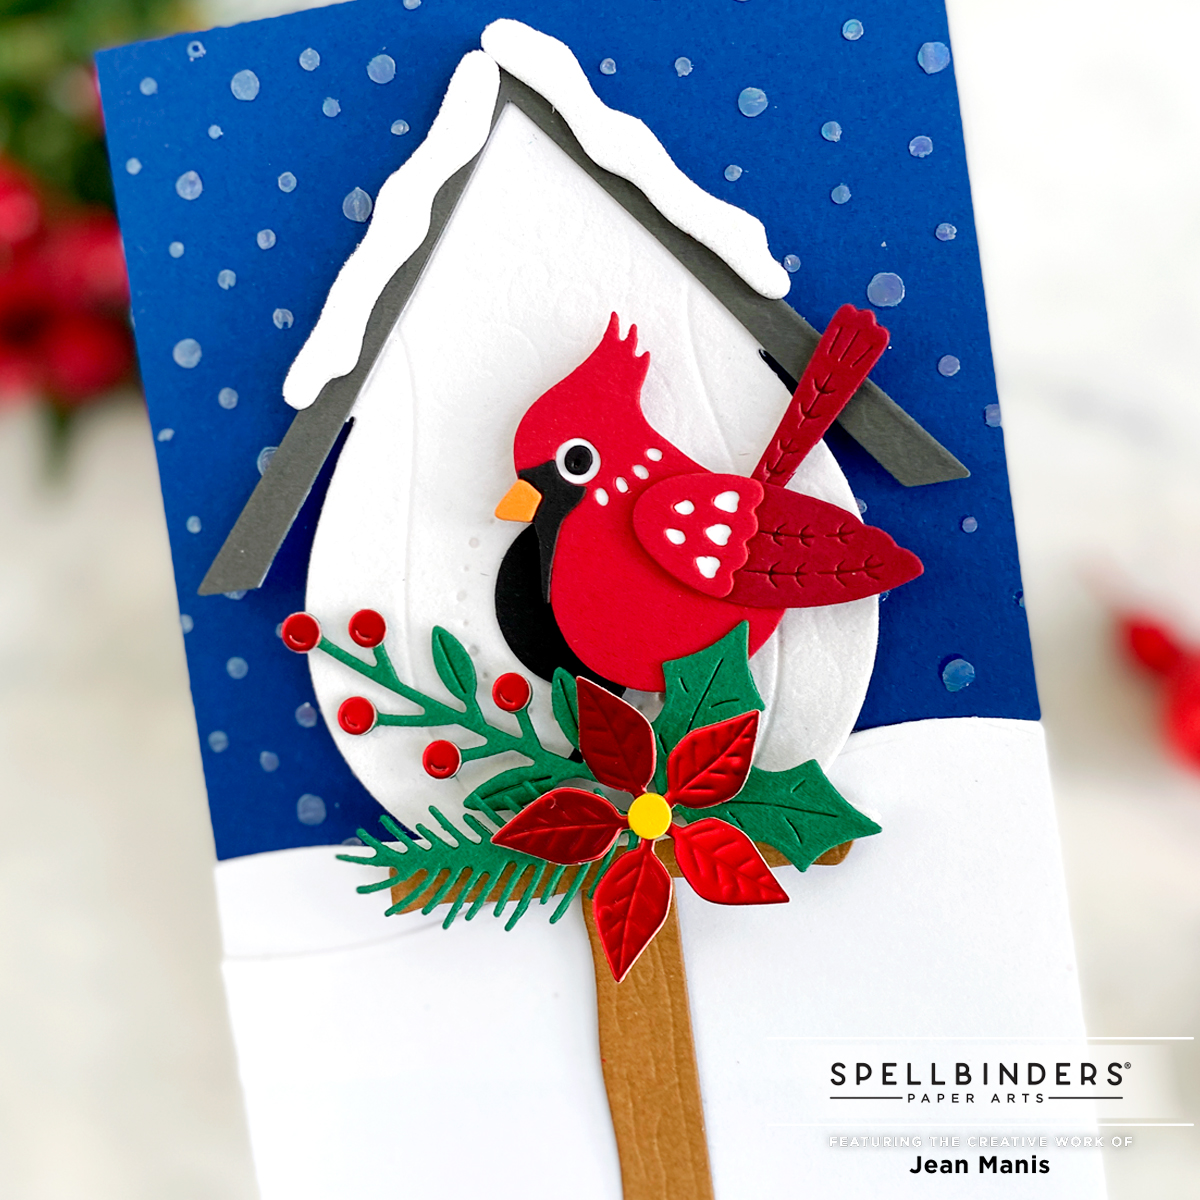
Hello! Fa la la, I am delighted to share a Christmas card today showcasing the Celebrate the Season Collection at Spellbinders, which includes the adorable Tweet Cardinal die set. Cue the holiday music!
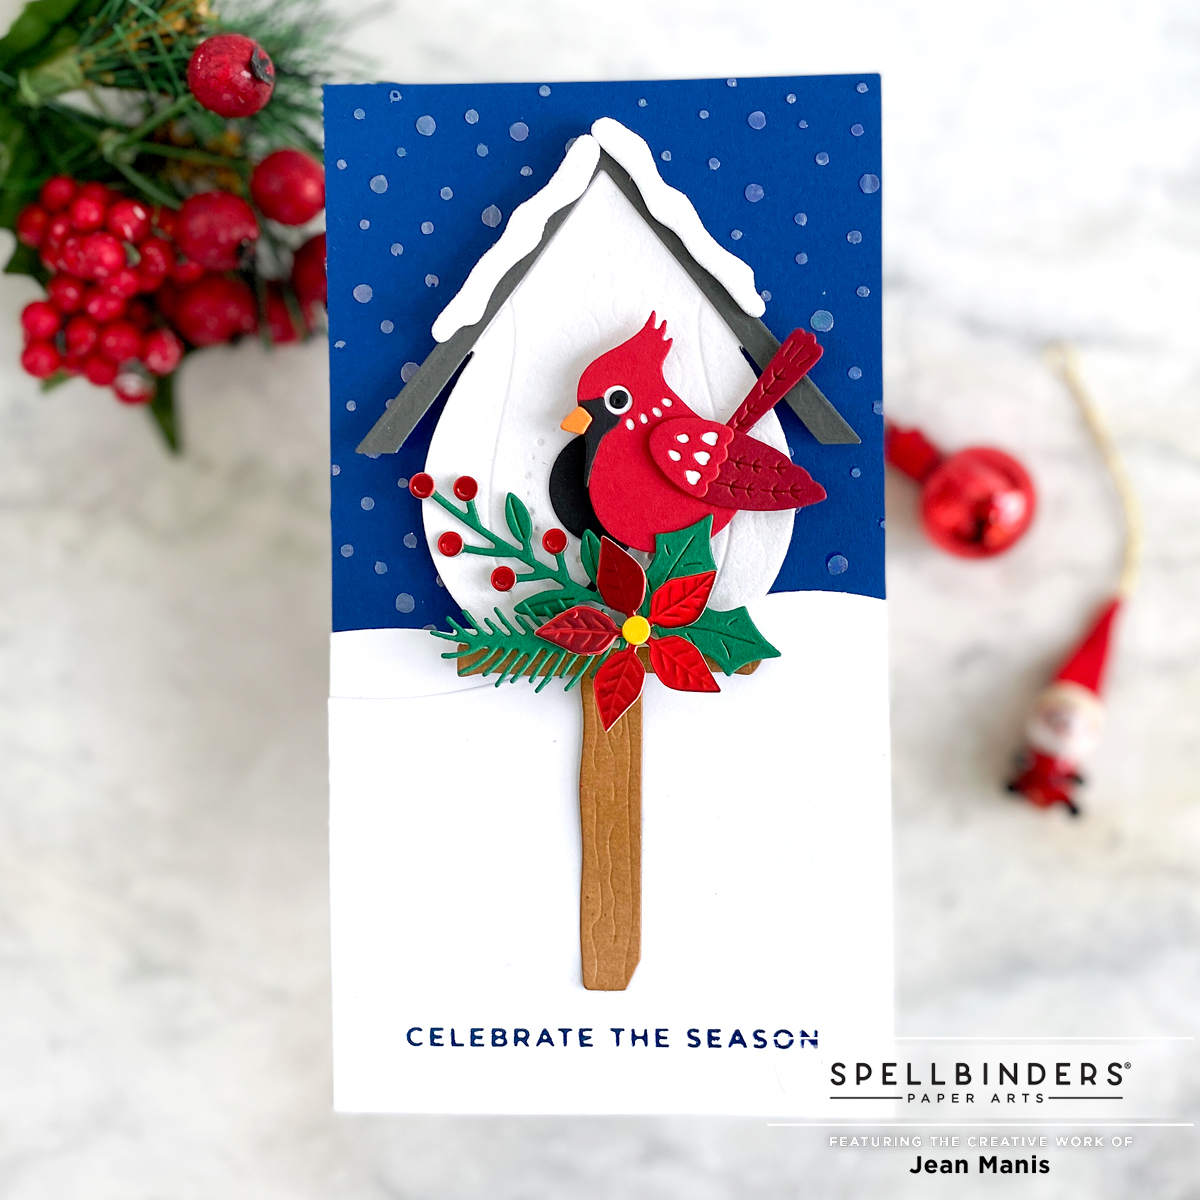
- To create snow, apply Trasfer Gel – Duo through the Layered Christmas Tree stencil on a dark-blue, min-slimline cardstock panel. Set aside to dry. When dry, use Glimmer Foil Machine to foil with Opal.
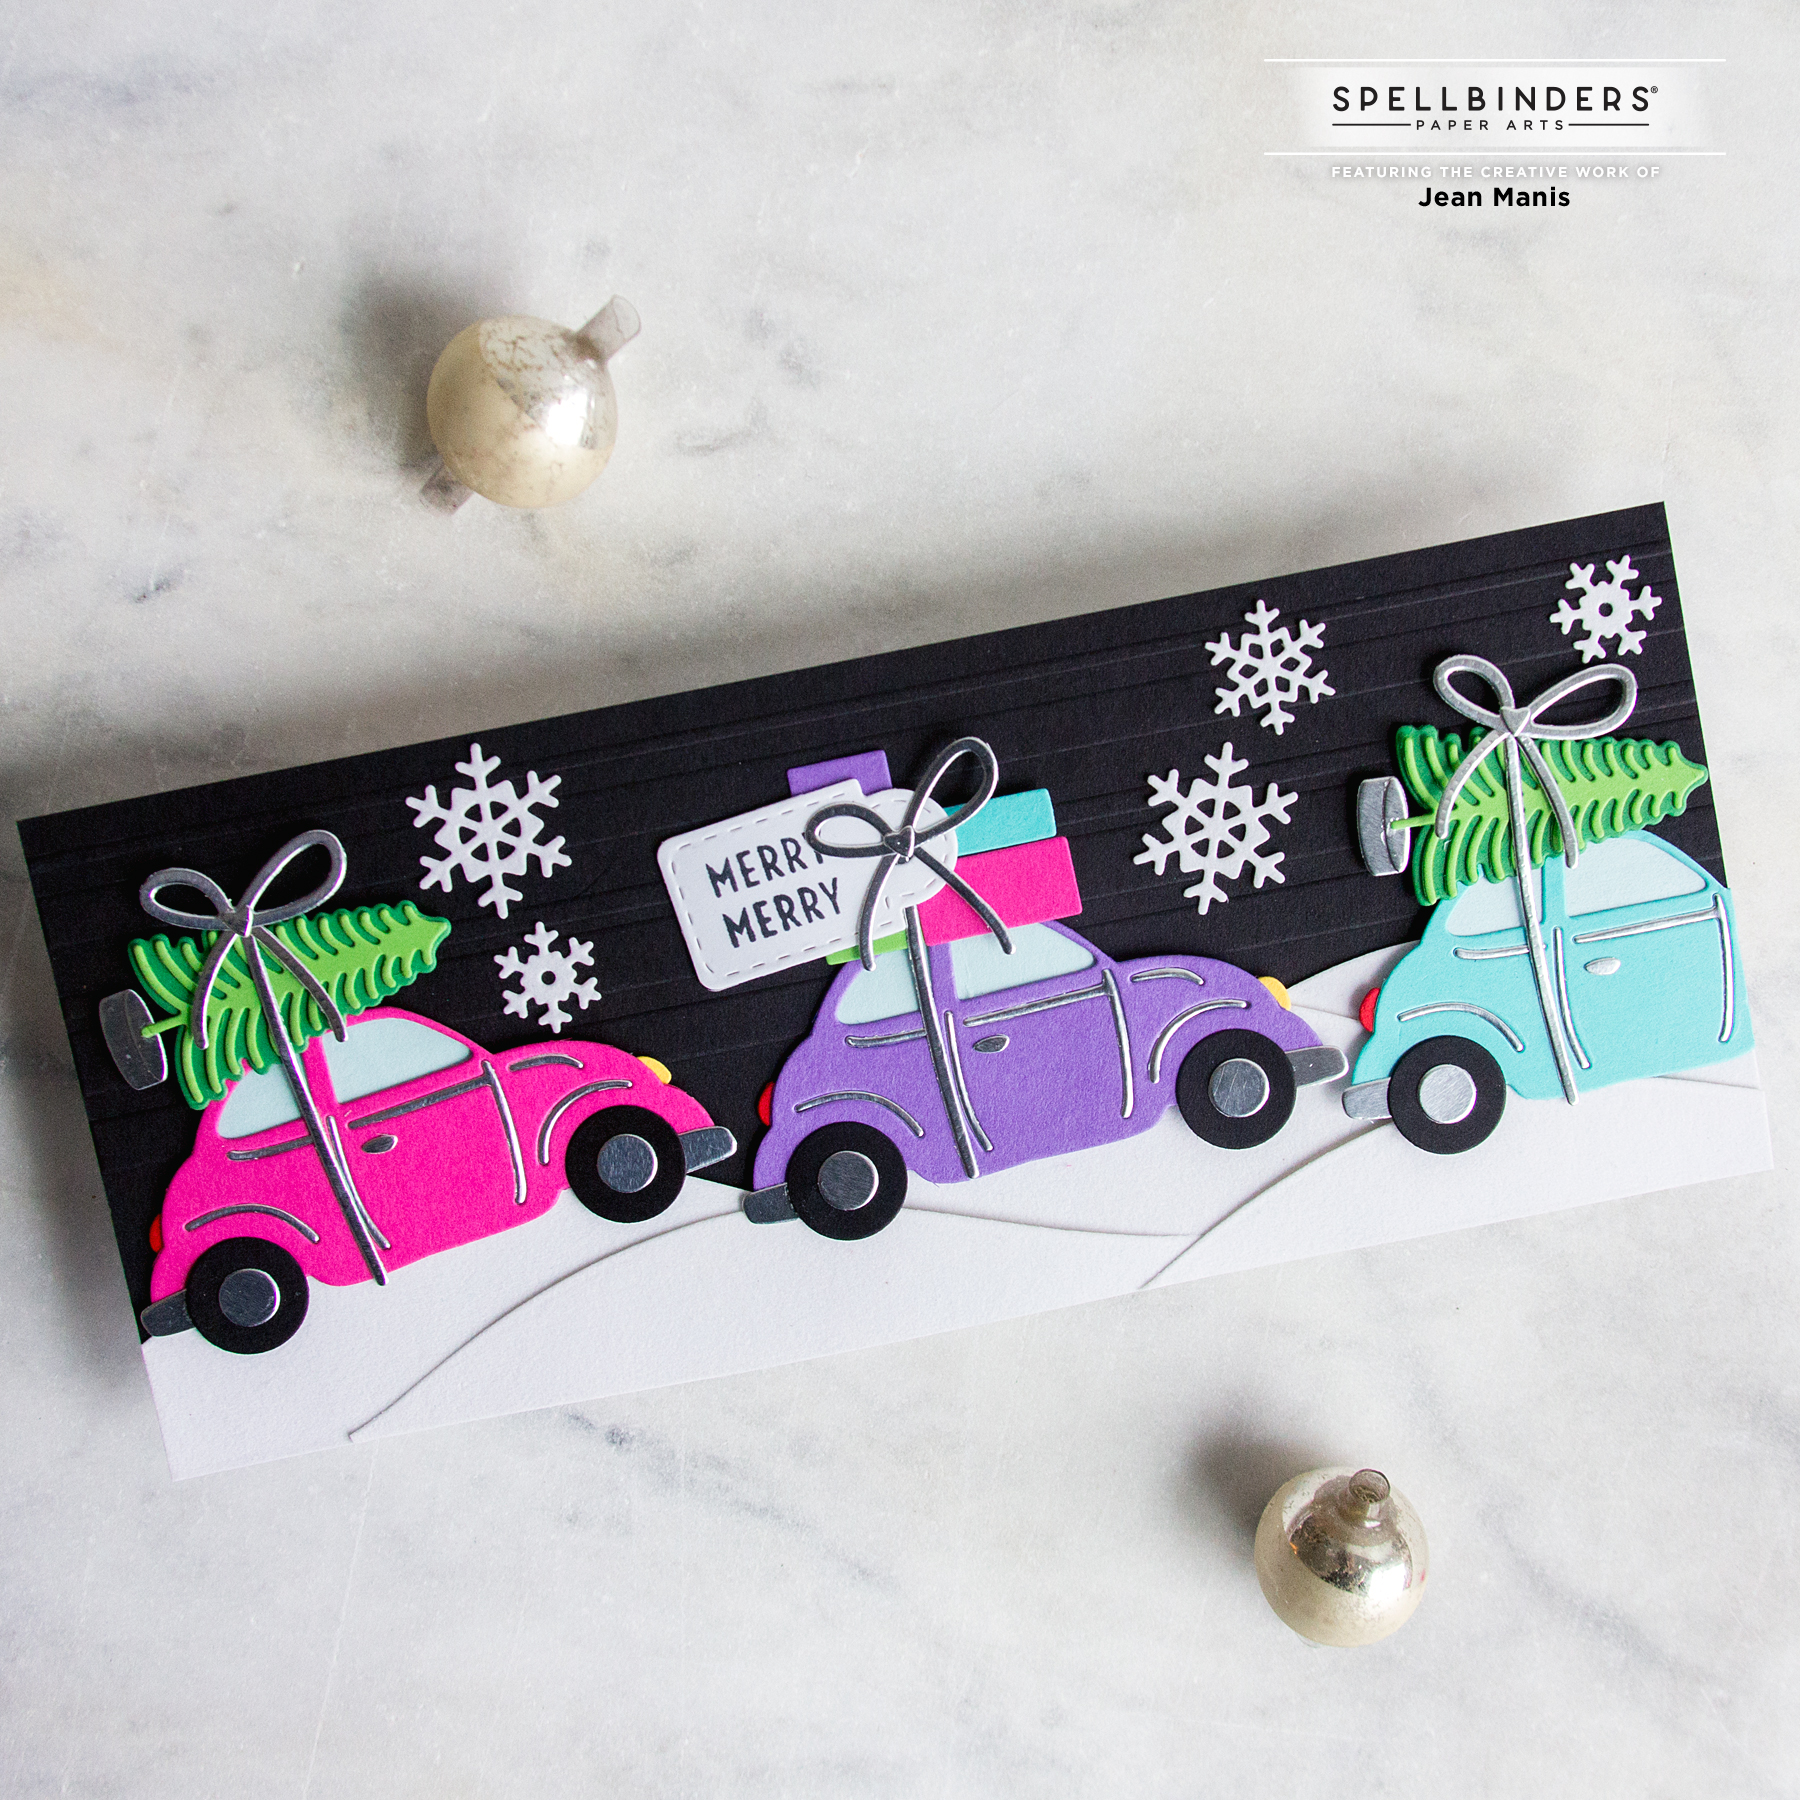
- Foil the Glitter Wishes sentiment in Cobalt Blue on Snowdrift cardstock. Cut with Color Block Scenic Scape die set. Cut an additional snowbank with the Color Block Scenic Scape set. Add snowbanks to stenciled card background.
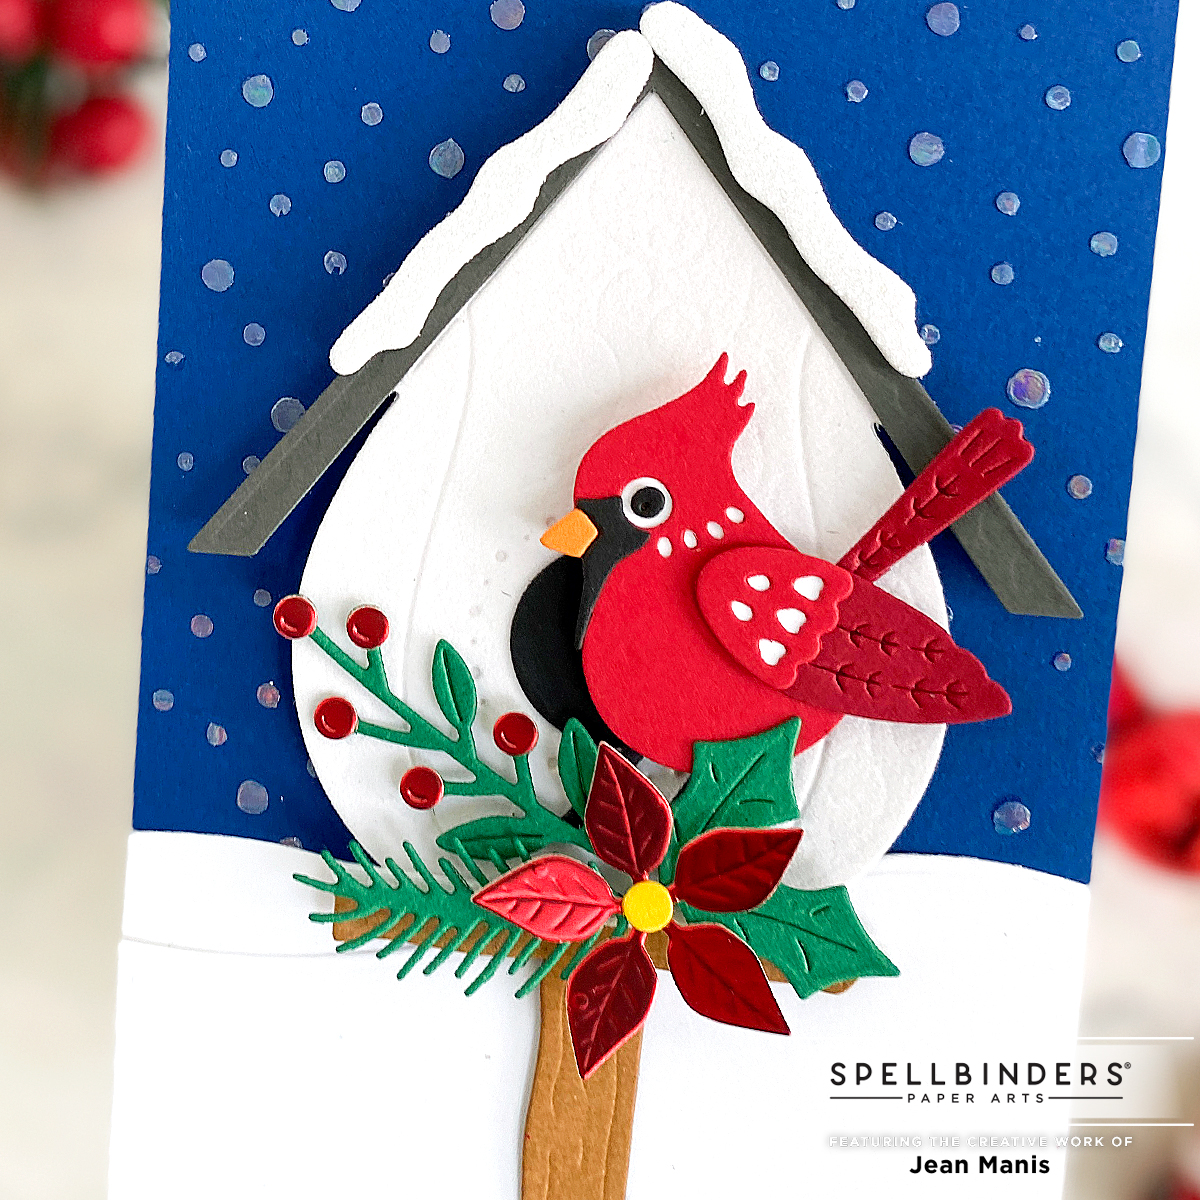
- Cut Tweet Cardinal from cardstock and assemble.
- Cut Build a Winter Birdhouse and Build a Summer Birdhouse (for birdhouse post). Use White Glitter Foam for snow.
- Embellish birdhouse with poinsettia and foliage cut with dies in the Winter Welcome Sled, Parcel & Post Christmas Decorations, and Build a Winter Birdhouse sets.
While you are shopping, be sure to check out the Christmas in July Sale and the now available July Arrivals at Spellbinders.