Prepping for Christmas Card Making: Evaluating Your Existing Supplies and Anticipating New Holiday Products

Hello! The holiday season is fast approaching, and it’s the perfect time to gear up for Christmas card making. As stores begin to stock new products for holiday crafting (for example, Spellbinders has a number of holiday products releasing July 10), it’s important to evaluate the supplies you already own and identify any gaps. In this blog post, I am exploring Christmas-themed products from Spellbinders: sentiment glimmer foil plates, focal item dies, embossing folders for backgrounds, embellishments, and cardstock. By knowing what supplies you already have, you can make informed decisions about what new products you might want to add to your collection.

Sentiments: Consider whether you have a variety in font style, size, and sentiment type (traditional, punny) in stamps or glimmer foil plates. As I look back on the cards I made last year, I primarily used the Glitter Wishes and Mini Christmas Sentiment Strips glimmer foil plate sets. On the card below, I used a sentiment from the Glitter Wishes set with the Winter Welcome Sled. Click on the image to be taken to the original post with additional details.

Glimmer Foil: Evaluate your foil colors and fill any color gaps or restock the ones you use the most. During the holidays I lean on Gold, Silver, Matte Gold, and Matte Silver.

Focal Item Dies: Ensure you have a variety of holiday-themed dies, featuring popular motifs such as Christmas trees, Santa, gnomes, reindeer, and stockings. Do you need additional motifs? On the tags below, I used Dancin’ Deer, Create a Decorative Tag, Color Block Scenic Scape, and Glitter Wishes. Click on the image to be taken to the original post with additional details.

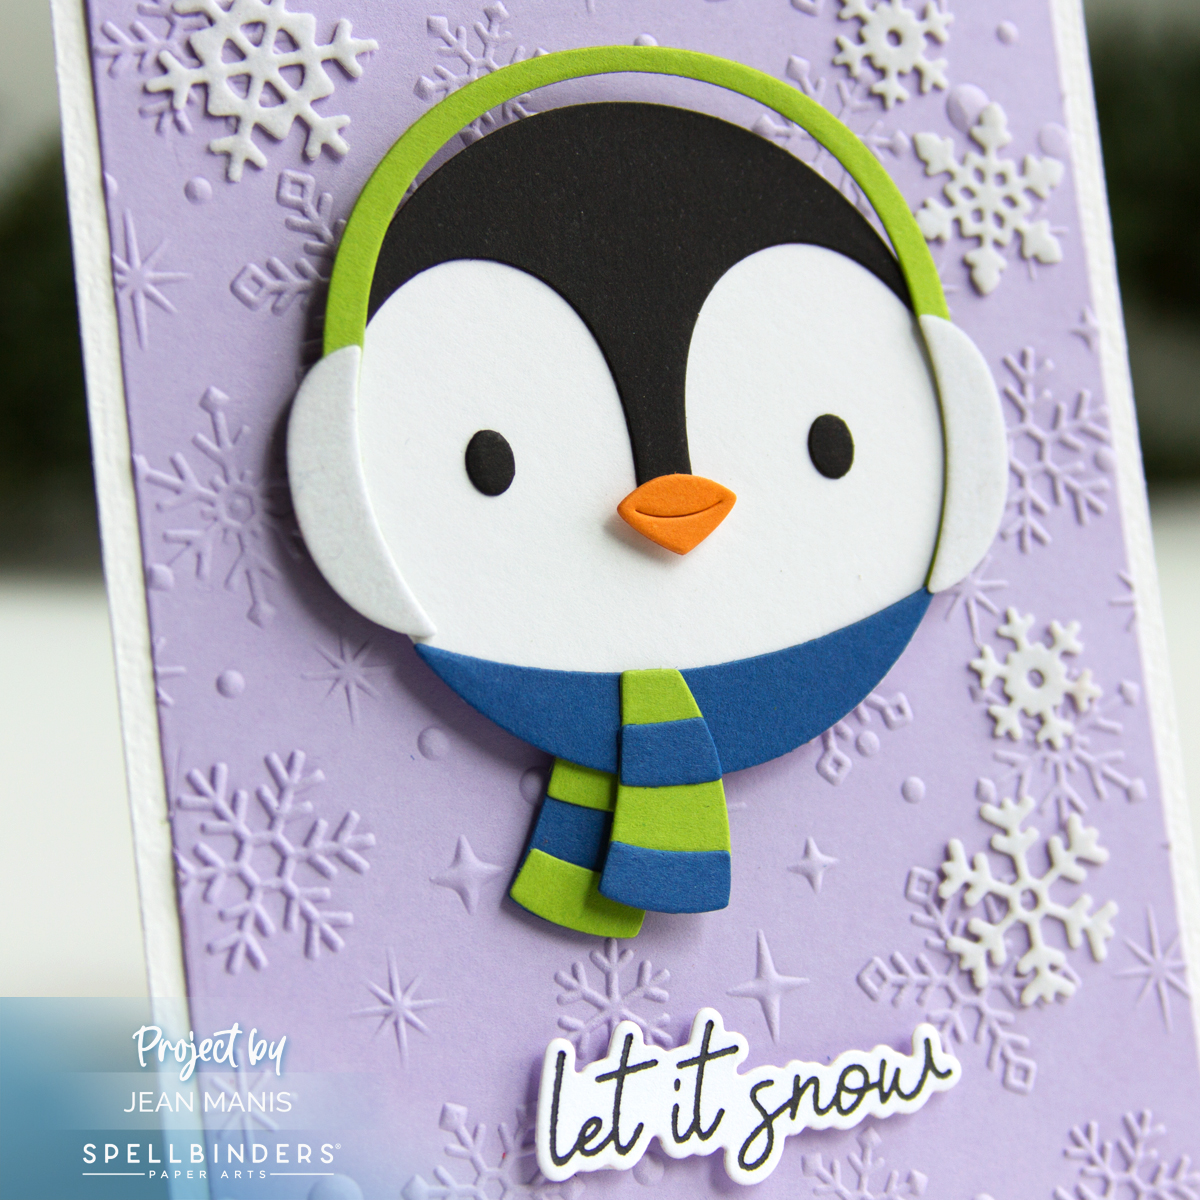
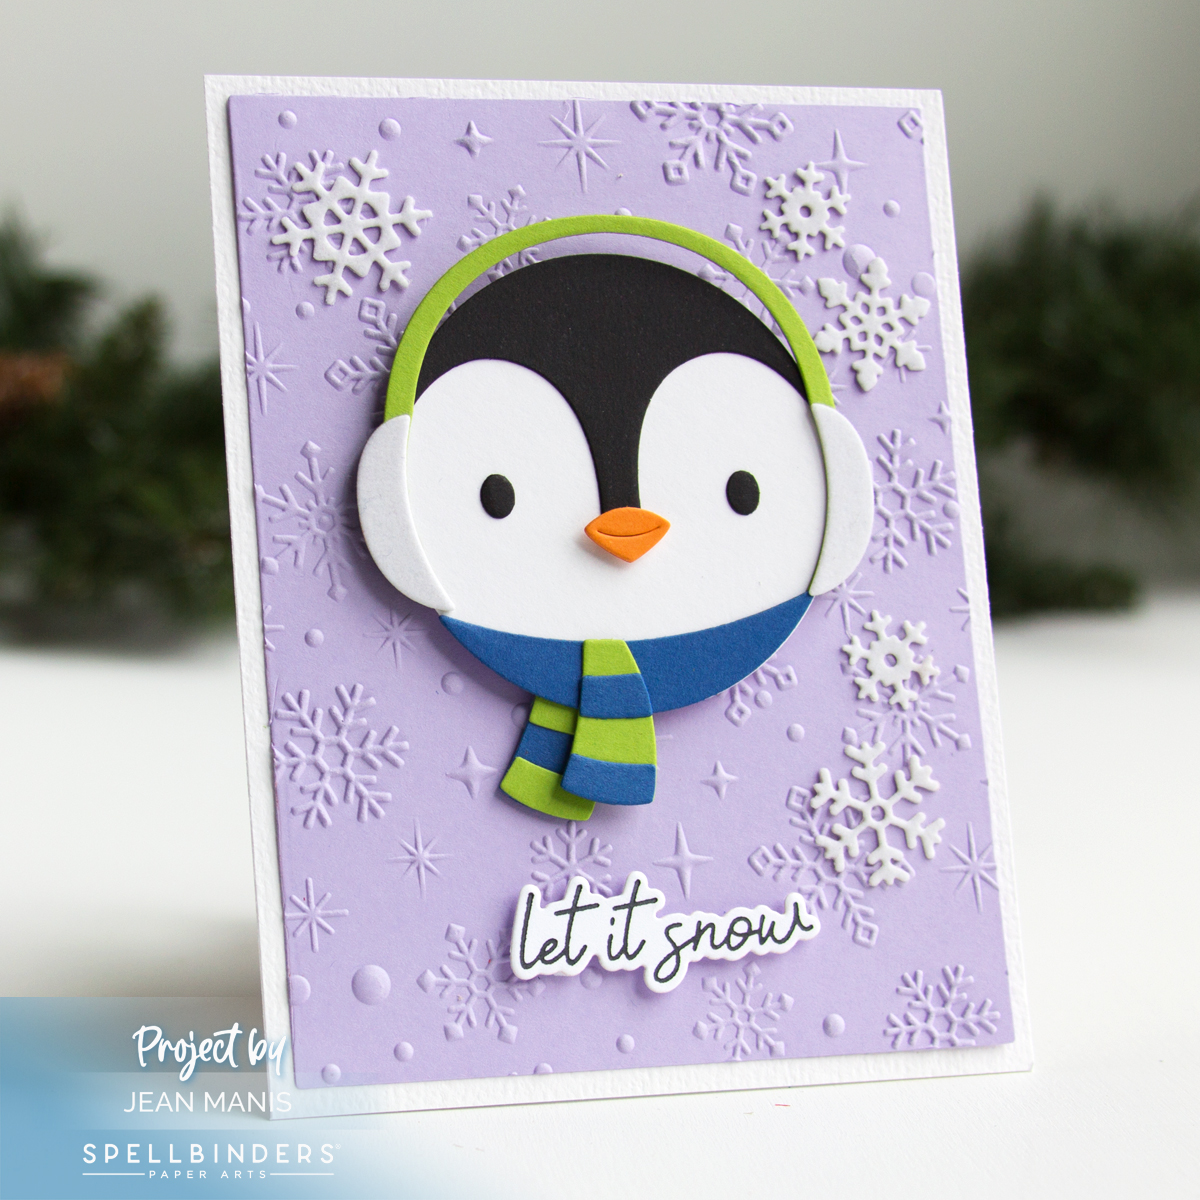
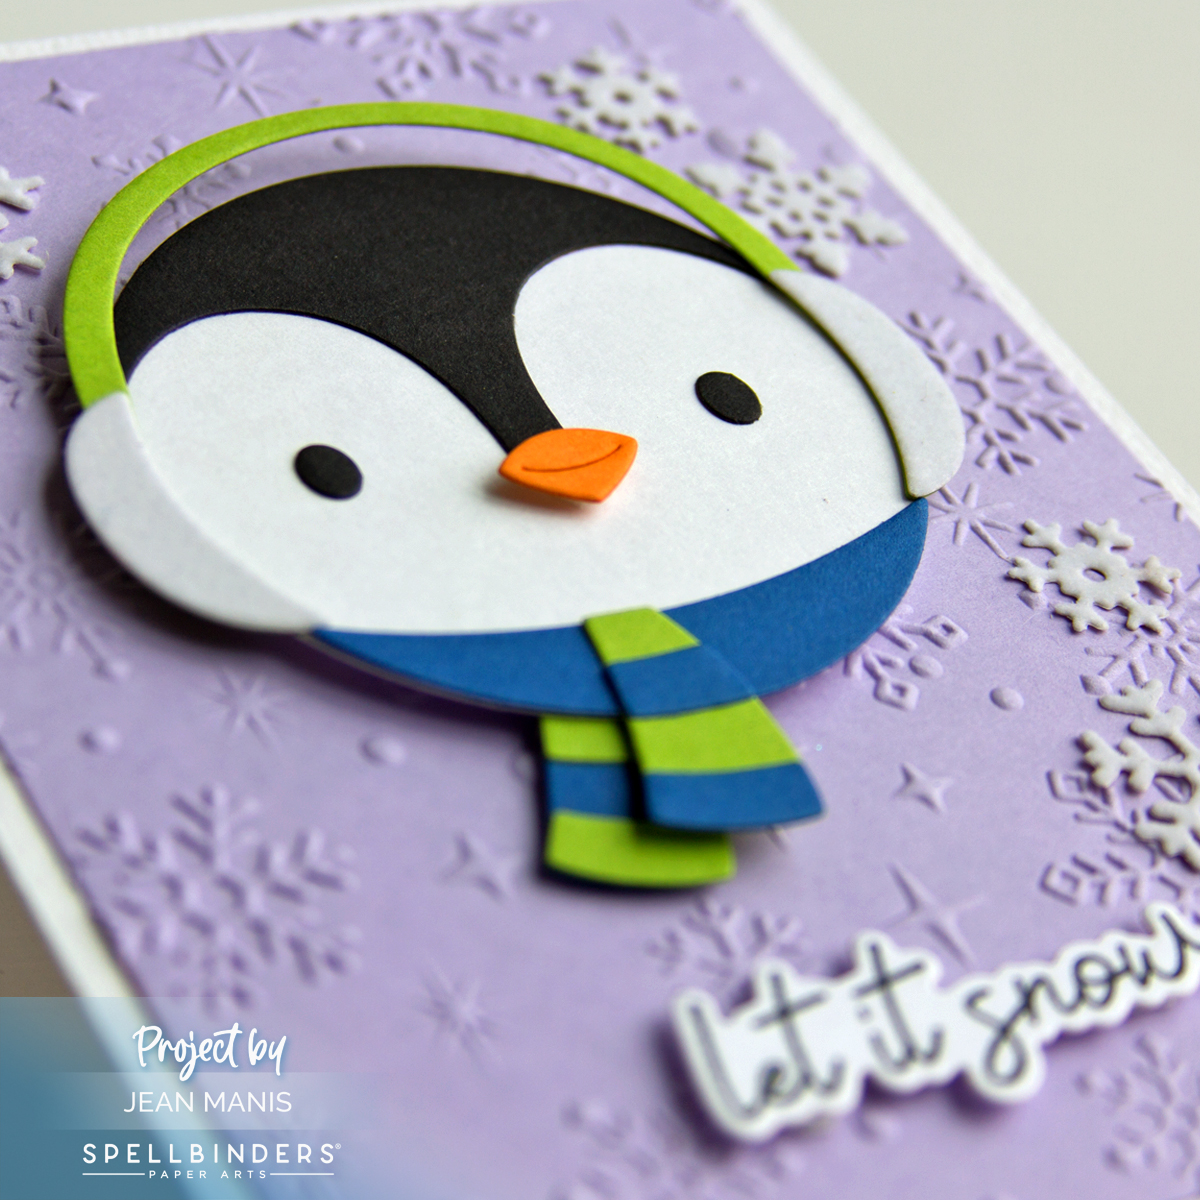
Embossing Folders for Backgrounds: Embossing folders add texture and depth to card backgrounds. Patterns such as snowflakes and holiday greenery add a festive look to your Christmas crafts and can help reinforce the theme. Consider acquiring new patterns to expand your creative options. On the cards below, I used the Let It Snowman die set and the Flurry of Snowflakes 3D embossing folder. Click on the image to be taken to the original post with additional details.

Embellishments: Adhesive gems in gold and silver add sparkle and elegance to your handmade Christmas cards. Take stock of the embellishments you currently own and ensure you have a variety of sizes and colors. Do you have enough gems to last through your holiday card-making sessions?

Cardstock: Cardstock forms the foundation of your Christmas cards, and having a selection of festive colors – gold, silver, green, red, white – is crucial for your crafting projects.

Remember, crafting for the holidays doesn’t have to break the bank. Whether you’re a seasoned crafter or just starting out, taking inventory of the supplies you already own is a smart and budget-friendly idea. By assessing your existing collection and identifying any gaps, you can make thoughtful choices about new products to add to your holiday crafting arsenal. Additionally, going through this process may give you a fresh perspective on the supplies you already have!


Spellbinders | Elegant Poinsettia Tree Christmas Card

Hello! I am delighted to showcase the July 2023 Spellbinders Small Die of the Month Club set – “Layered Poinsettia Tree” – on an elegant Christmas card. The Christmas tree evokes a sense of timeless holiday tradition. Scroll for information on the Spellbinders Star Spangled Savings Event.

Spellbinders | Elegant Poinsettia Tree Christmas Card

    • With the set, I cut the tree, greenery, small flowers, poinsettias, and star from a range of materials including brushed white cardstock, brushed gold, and fern cardstock.
    • Enhancing the festive atmosphere, I dry-embossed an arch, cut with the largest die in the Essential Arches set from Waterfall cardstock, using the Scattered Christmas folder. (This folder was the October 2022 Embossing Kit offering.) The arch was added to an A2-size card base of brushed gold cardstock.
    • Completing the card is a sentiment, glimmer foiled in gold, which reads “Celebrate the Season.” The sentiment is positioned on a snowbank, cut with a die in the Color Block Scenic Scape set, serving as a grounding element for the tree.

Spellbinders | Elegant Poinsettia Tree Christmas Card

Light up your 4th of July with fantastic deals – up to 40% off dies, stamps, machines, and more during the Spellbinders Star Spangled Savings Event!


Crafting Christmas Magic | Spellbinders Large Die of the Month

Hello! I am thrilled to share a delightful Christmas card featuring the July 2023 Spellbinders Large Die of the Month set – “Stocking Full of Joy.” A stocking symbolizes the anticipation and excitement of receiving gifts and the warmth of festive traditions. Expect to see a number of “Christmas in July” projects this month.

Crafting Christmas Magic | Spellbinders Large Die of the Month

JULY 2023 Spellbinders Large Die of the Month

With this versatile die set, I cut the gingerbread person, a whimsical gnome, festive greenery, and a peppermint stick. To add texture and visual appeal, I used a range of materials including brushed white cardstock.

The assembled pieces were arranged on a dry-embossed background, measuring 5 x 7 inches, created from Teal Topaz cardstock with the Flurry of Snowflakes 3D folder. Note: the stocking does fit on an A2-size card base.

Adding a touch of elegance, I glimmer foiled the sentiment – “Believe in the Magic” – in gold.

To complete the card and reinforce the magical theme, I embellished with snowflakes cut from white glitter foam.

Crafting Christmas Magic | Spellbinders Large Die of the Month

Find more inspiration HERE.


Art Impressions | Fourth of July Front Porch Delight

Hello! Today, I am sharing a card on which I have used the newest Art Impressions Front Porch stamp and die set – Patriotic. As I shared in this post, there is an entire Art Impressions Front Porch Series. This card showcases a charming front porch decorated for the Fourth of July with a sleeping dog in a chair, fluttering flag bunting, and a container of fireworks ready to light up the night sky.  Read on for step-by-step instructions on how to create the card.

Art Impressions | Fourth of July Front Porch Delight

Stamp Front Porch and Front Porch Patriotic images with VersaFine ink on Arches Cold Press watercolor paper; heat set.

Art Impressions | Fourth of July Front Porch Delight

Color images with watercolor markers (Tombow and Zig) using the watercolor paletteNo. 4, and No. 1 brushes. Once dry, cut with coordinating dies. Note: the Front Porch door die cuts the window panes. I chose to fussy-cut the door, as I had watercolored the window panes. For the flag, bunting, and doormat, I used the Tombow Navy marker (brush tip) directly on the watercolor paper.

Art Impressions | Fourth of July Front Porch Delight

Create a panel, measuring 4 x 5 1/4 inches, of dry-embossed Chamomile cardstock background (I used an older Stampin’ Up folder) and add a 1 1/4 inch strip of dark gray to the bottom to represent the ground. Add assembly to a card background of white Bazzill canvas cardstock (which has been added to an A2-size card base). Add elements to card with foam adhesive.


Stampendous Hugs Collection at Spellbinders

Hello! Today I am delighted to share two cards created with products in the just-released Stampendous Hugs Collection at Spellbinders. From a charming die-cut dog proudly holding a trophy to another adorable pup clutching a present, this collection can be used to easily create cards for a variety of occasions. The Stampendous Puppy Hugs set, which I used on both cards, is designed to work with the collection’s Puppy Hugs Faces and Sentiments (not shown).

Stampendous Hugs Collection at Spellbinders

With the sentiment “Time to Celebrate,” the first card can commemorate special moments or victories, such as a grade school graduation or a trip to the Little League All Stars, to name a few.

Stampendous Hugs Collection at Spellbinders

    • Cut dog body from Beeswax cardstock with die in the Stampendous Puppy Hugs set. Cut eyes from Onyx cardstock and cheeks and nose from pink cardstock. Cut trophy from gold foil cardstock. Assemble.
    • Create background by dry-embossing light blue cardstock with the Stargazer embossing folder.
    • Glimmer foil in gold a sentiment in the More Sentiments set on dark gray cardstock. Trim and add to background; attach to A2-size card base.
    • Embellish with additional stars cut with dies in the Stampendous Puppy Hugs set.

The second card, with a feminine color palette, was designed with a girl’s birthday in mind.

Stampendous Hugs Collection at Spellbinders

    • Cut dog from flocked white cardstock with die in the Stampendous Puppy Hugs set. Cut eyes from Onyx cardstock and cheeks and nose from Pink Sand cardstock.
    • Cut hair ribbons and package pieces with dies in the Stampendous Hugs Accessories set from Pink Sand and Waterfall cardstock. Note: The package is designed to be folded or partially folded; I cut the package piece on the score lines so it would lie flat.
    • Create background by dry-embossing light blue cardstock with the Puff Dotty embossing folder.
    • Glimmer foil in gold a sentiment in the Birthday Unboxing set on light gray cardstock. Trim and add to background; attach to A2-size card base.
    • Add dog to card, folding one arm over as if to hold the package. Note: both of the arms can be folded inwards.
    • Embellish with Gold Mix Gems.