Spellbinders | New Take on a Holiday Barn

Hello! It’s amazing how a change in color palette can completely transform a design! I used the same Spellbinders Country Christmas dies and BetterPress sentiment as in my previous project—but this time, I let one of the Spellbinders Color Deck cards guide my creative direction. Each Color Deck card features a festive illustration and five blank swatches, encouraging you to experiment with custom combinations. I shared more information about the card in this post. It’s a reminder that even the most traditional designs can feel brand new with a little color play.

Spellbinders | New Take on a Holiday Barn

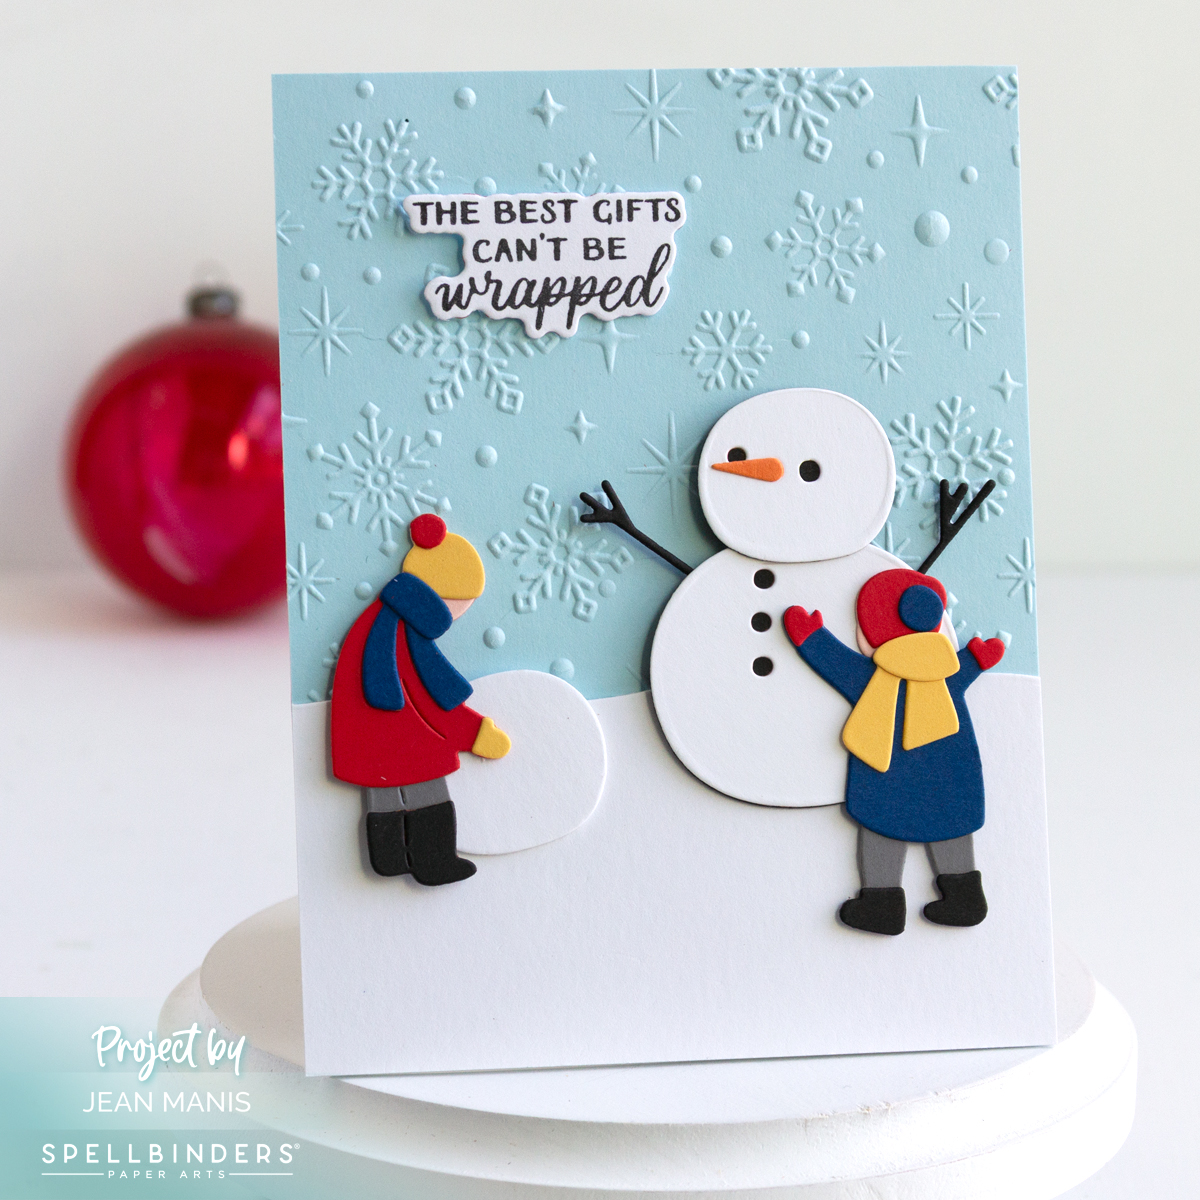
    • Dry-emboss an A2-size panel of Windy cardstock with the Sparkling Snow folder. Adhere to a card base.
    • Press the sentiment in gold ink on Classic White cardstock.
    • Use a die in the Landscape Edges set to cut a snowbank from the sentiment panel. Trim and add to the prepared base.
    • Cut the barn pieces from a variety of cardstock colors and assemble. Cut the trees with the same set.
    • Add barn and trees to the card base.

Spellbinders | New Take on a Holiday Barn


Spellbinders | Warm Cocoa Wishes

Hello! I’m embracing the spirit of Christmas in July with a cozy winter-themed card created with the July 2025 Large Die of the Month kit from Spellbinders. The “Mugs & Mittens” die set includes several winter motifs for the cocoa topping including a snowman, Santa, and snowflake. The sentiment “Warm Cocoa Wishes” sets the tone for the season-to-come, while a snowflake dry-embossed background adds texture and depth.

Spellbinders | Warm Cocoa Wishes

    • Dry-emboss an A2-panel of Breeze cardstock with the Flurry of Snowflakes 3D folder. Add to a card base.
    • With the die set, cut cardstock for mittens, sweater sleeves, sentiment, mug, cocoa, and cocoa snowflake. Assemble.
    • Add assembled items to card base.

Spellbinders | Warm Cocoa Wishes


Spellbinders | Set Sail Die-Cut Card

Hello! There’s nothing quite like the calming rhythm of waves and a sailboat on the open water–and that’s the feeling I aimed to capture with this nautical handmade card. Using products from Spellbinders, I created an scene framed by a Polaroid-style die cut. The sentiment “Relax and enjoy!” adds to the vibe, while the rope-textured dry embossed card base reinforces the theme. It’s a card that invites the recipient to take a breath and imagine the salty breeze.

Spellbinders | Set Sail Die-Cut Card

    • Dry-emboss an A2-size cardstock panel with the Cast Away folder and add to a card base.
    • Cut the sailboat with this month’s Caboodle offering–the “Set Sail” die set. Assemble.
    • Cut the waves, three times, with dies in the Large Die set. Assemble. Find more Large Die inspiration HERE.
    • Cut a frame with the Memory Frames die.
    • Stamp the Fair Winds sentiment on to a cardstock panel and trim to fit behind the frame.
    • Adhere the frame, waves, and sailboat together and add assembly to the sentiment panel. Trim waves before adding to the sentiment panel.
    • Add assembly to the prepared card base.

Spellbinders | Set Sail Die-Cut Card


Spellbinders | Whimsical Nautical Card

Hello! If you’re craving a bit of whimsy and salt air, today’s card delivers both with a playful nautical scene. Created with the Spellbinders “Shipmates” die set – the June 2025 Small Die of the Month offering – the card stars a walrus and a seagull in a charming, storybook-like style. You can find more inspiration for the set HERE.

Spellbinders | Whimsical Nautical Card

The sentiment “Seas the Day” sets a cheerful tone, and the dry-embossed fishing net background adds texture and reinforces the maritime theme. Whether you’re crafting for a beach lover or just love ocean-inspired designs, this card is sure to bring a smile!

    • Dry-emboss an A2-size cardstock panel with the Cast Away folder. Add to a card base.
    • Cut the Small Die of the Month elements and assemble. Add assemblies to the prepared card base.
    • Stamp the Fair Winds sentiment and cut with coordinating die. Add to the card.

Spellbinders | Whimsical Nautical Card

Hero Arts Blast from the Craft SaleSave up to 25% off Past Hero Studio. Ends 6/9/2025

Hero Arts Past Hero Studio Sale

Spellbinders Make It Pop Sale – Features up to 25% on embellishments, inks and more. Ends 6/8/2025.

Spellbinders Make It Pop Sale


Spellbinders | Floral Beauty

Hello! There’s something timeless about a card full of beautiful blooms, and today I’m sharing a floral design created with several Spellbinders die sets. One of the featured sets was originally the January 2023 Large Die of the Month Club kit; it’s available for individual purchase—perfect if you missed it the first time around! I love combining die sets to build unique arrangements.

Spellbinders | Floral Beauty

    • Dry emboss a cardstock panel with the Flowers & Foliage folder. Add to a 5″ x 7″ card base.
    • Cut the Club Blooms pieces from a variety of cardstock colors. Assemble as required.
    • Cut the pot with dies in the Azalea and Garden Pot set and assemble as necessary.
    • Adhere the pot, blooms, and foliage to the card base.
    • Stamp the Message Strips sentiment with blue ink and cut with a banner die in the set. Add sentiment across the pot.

Spellbinders | Floral Beauty