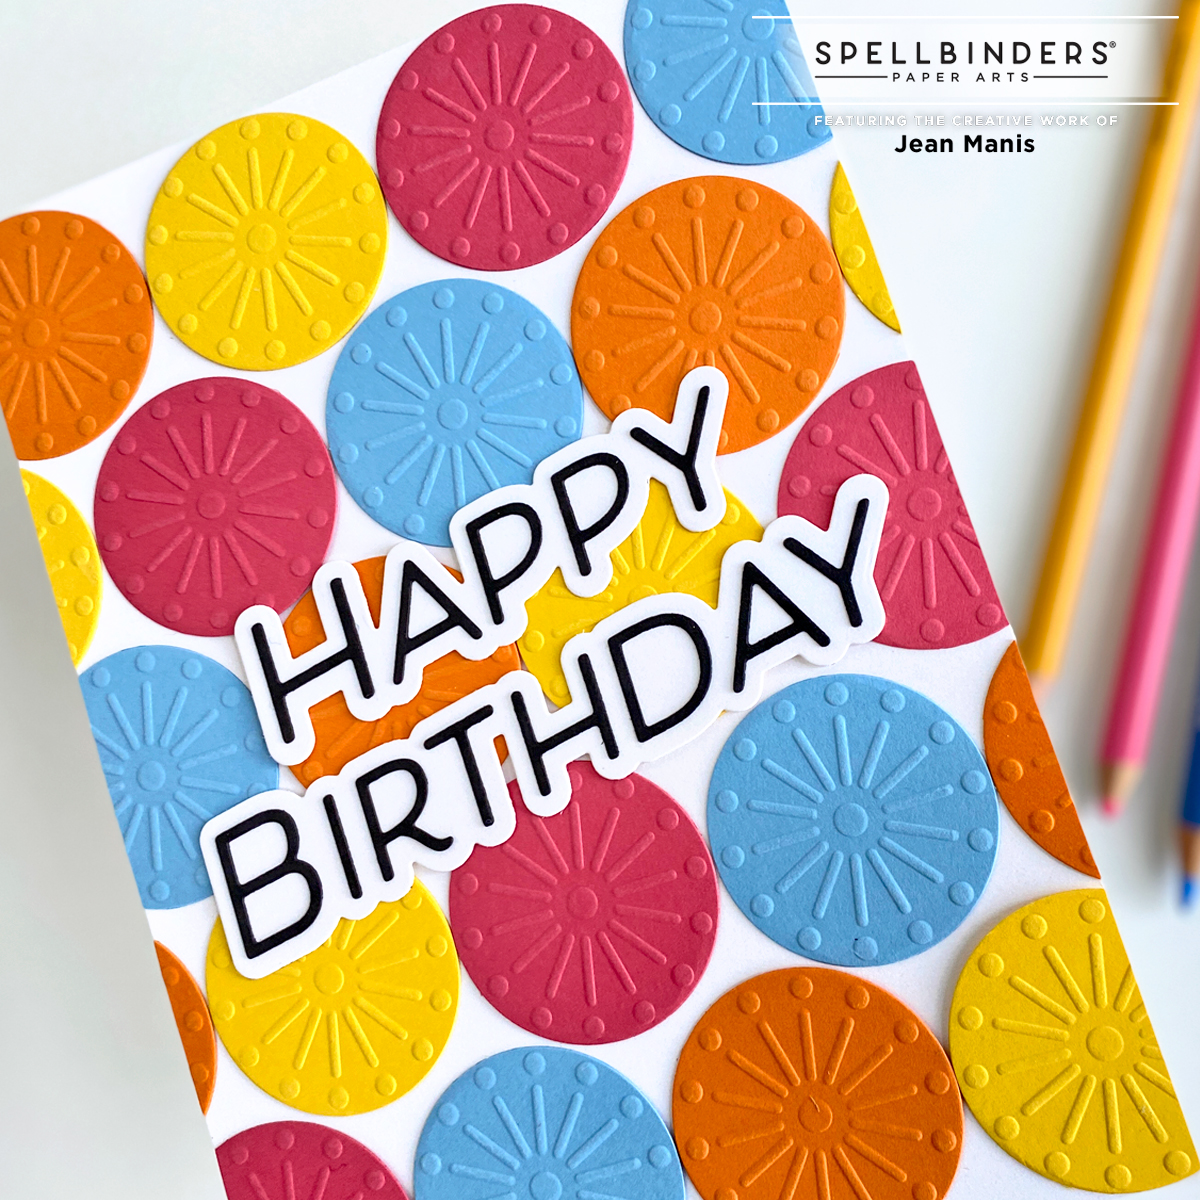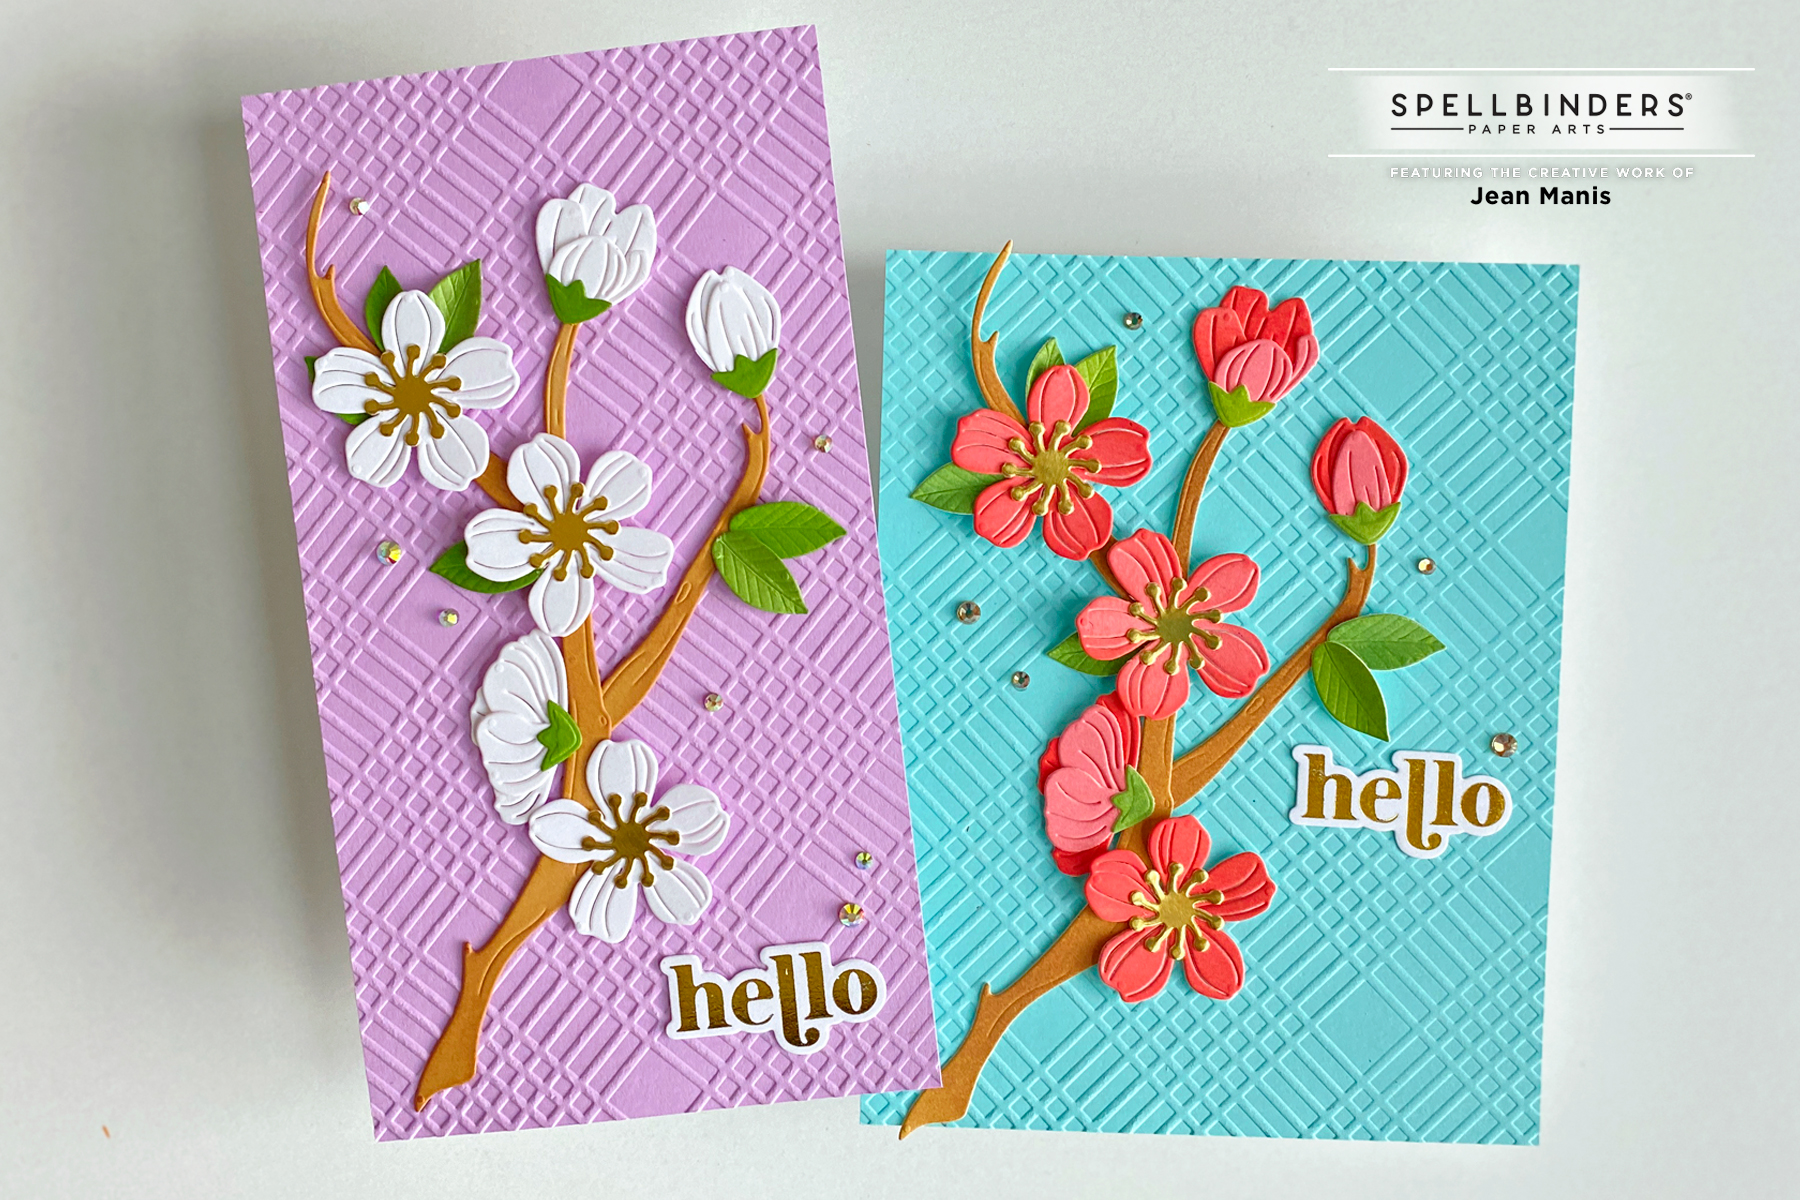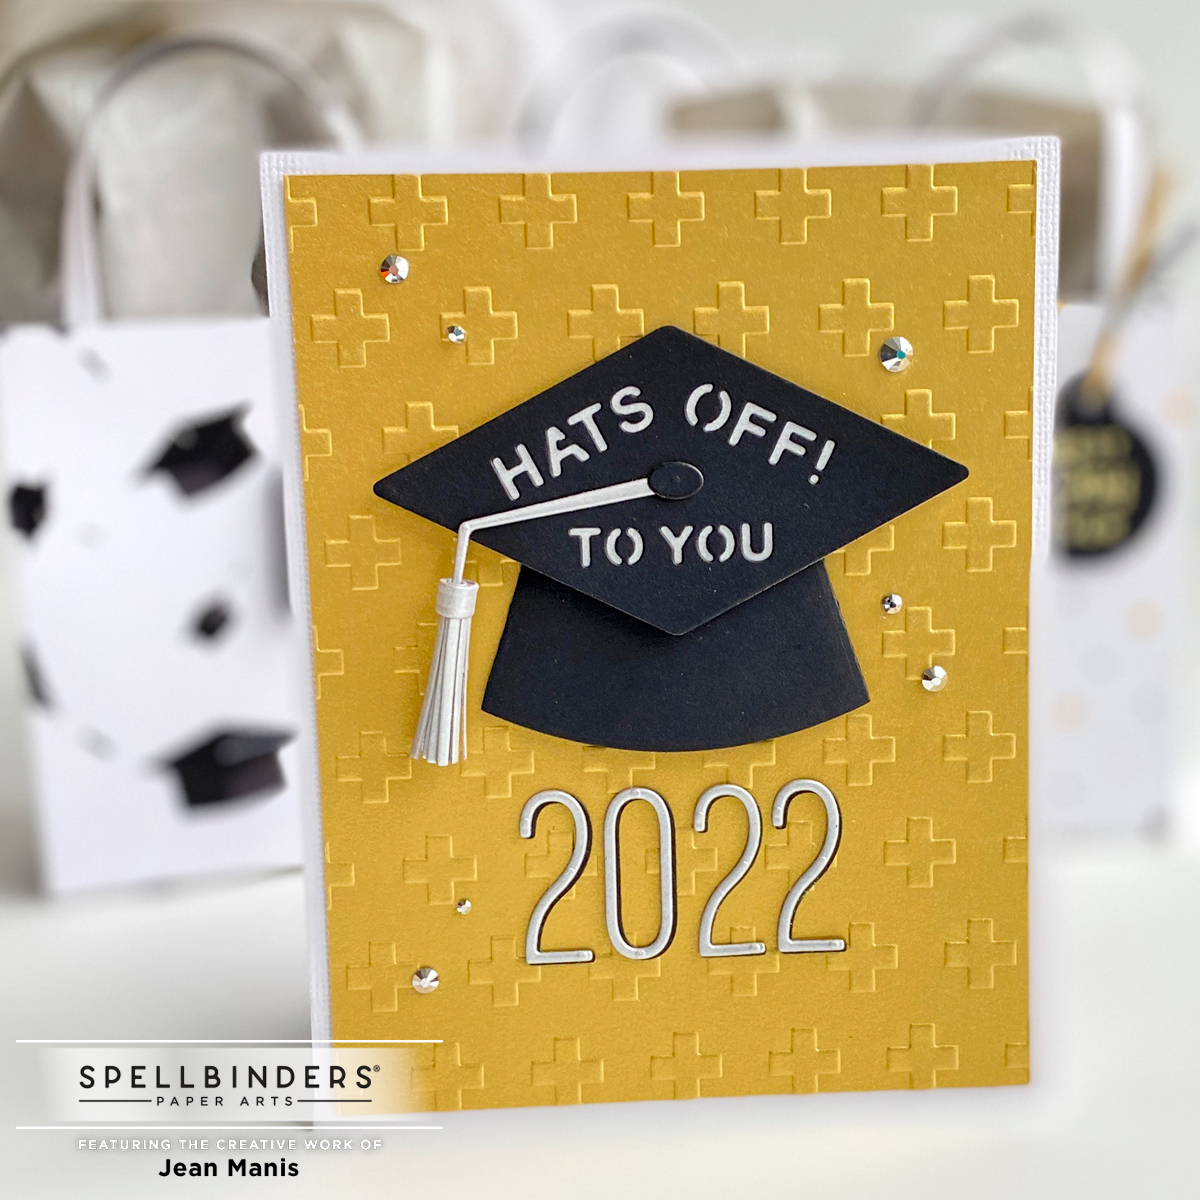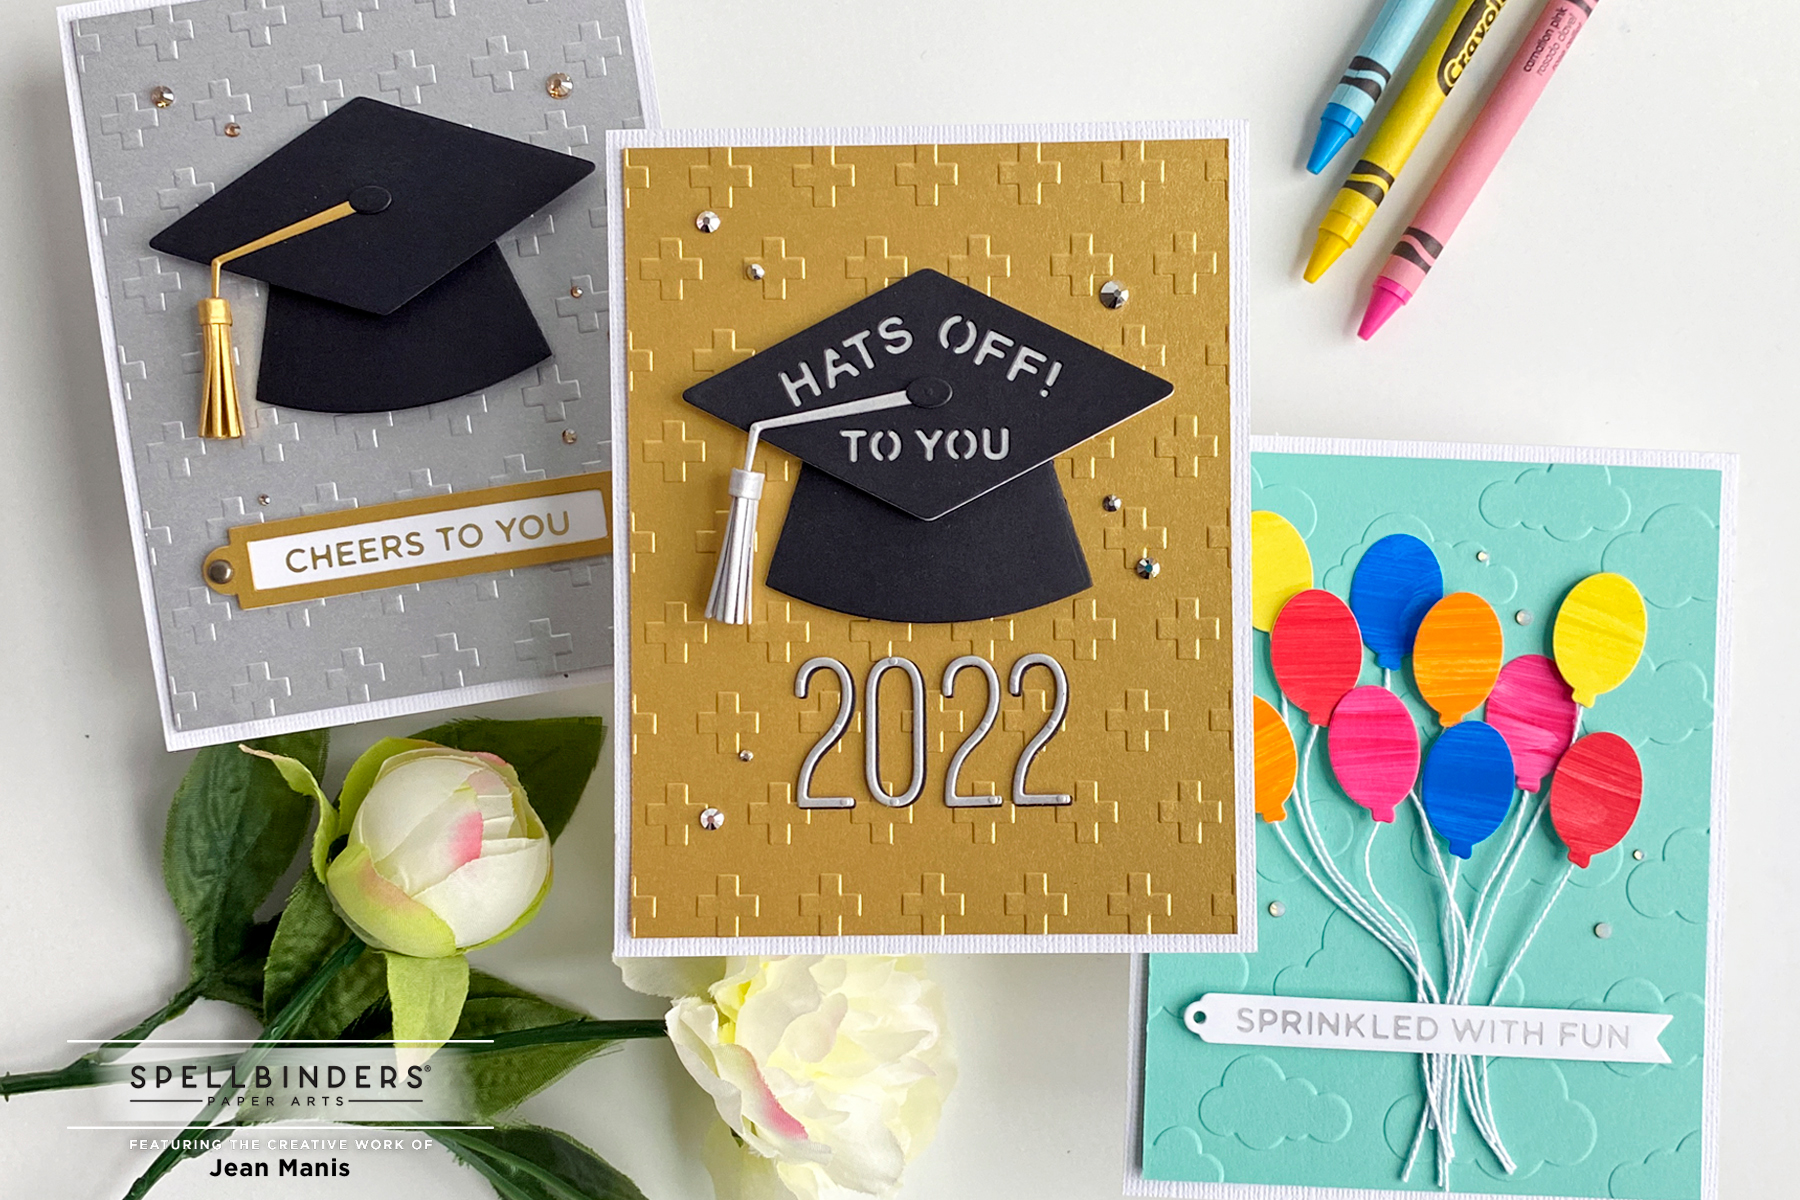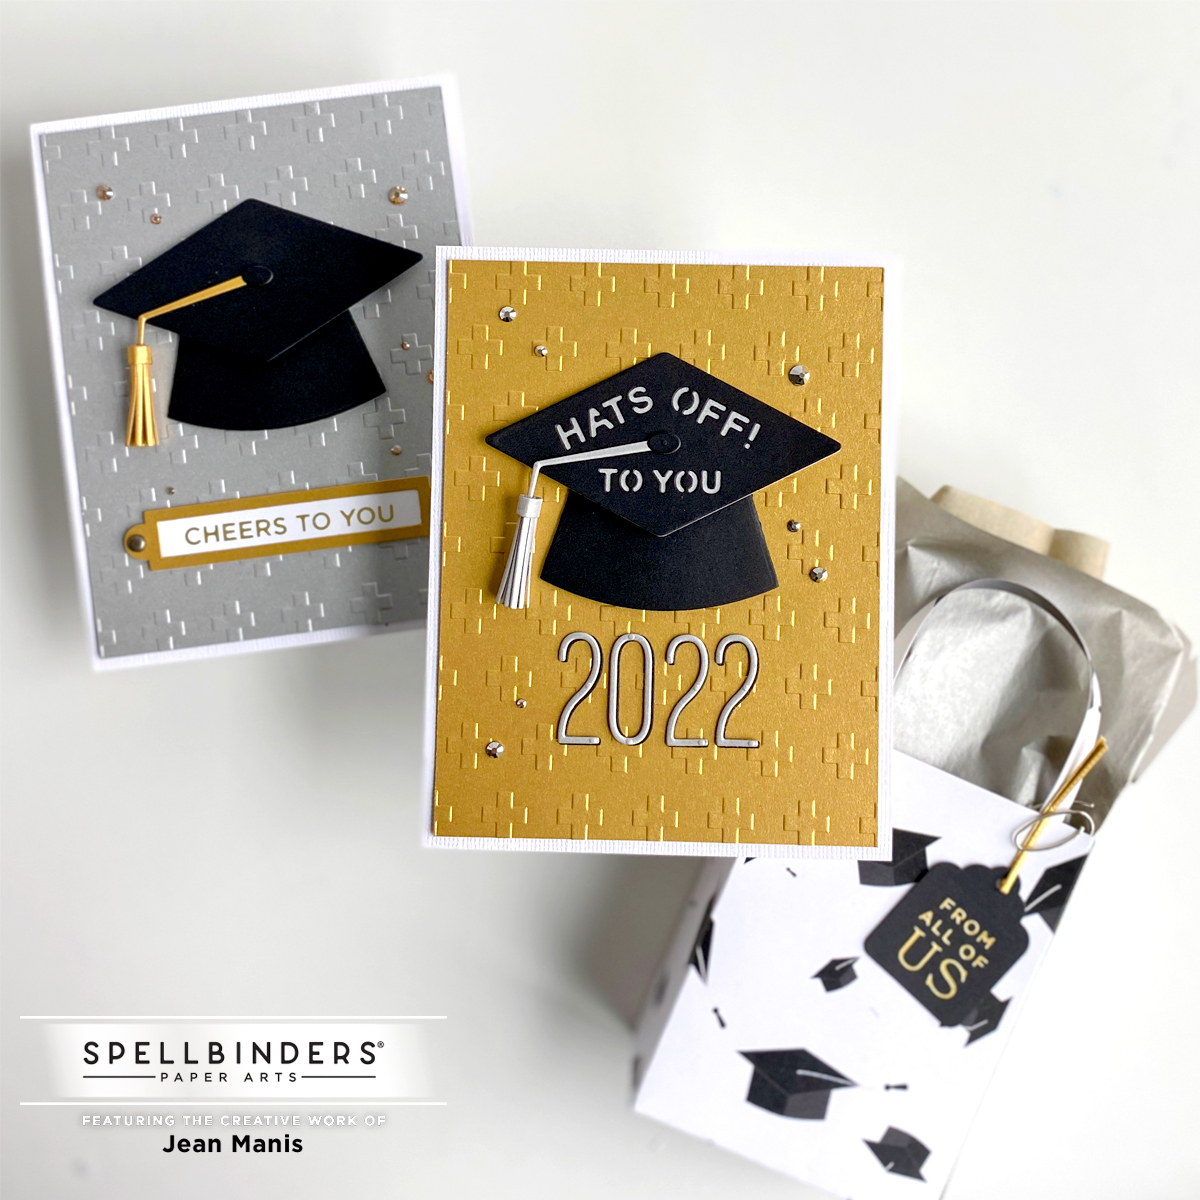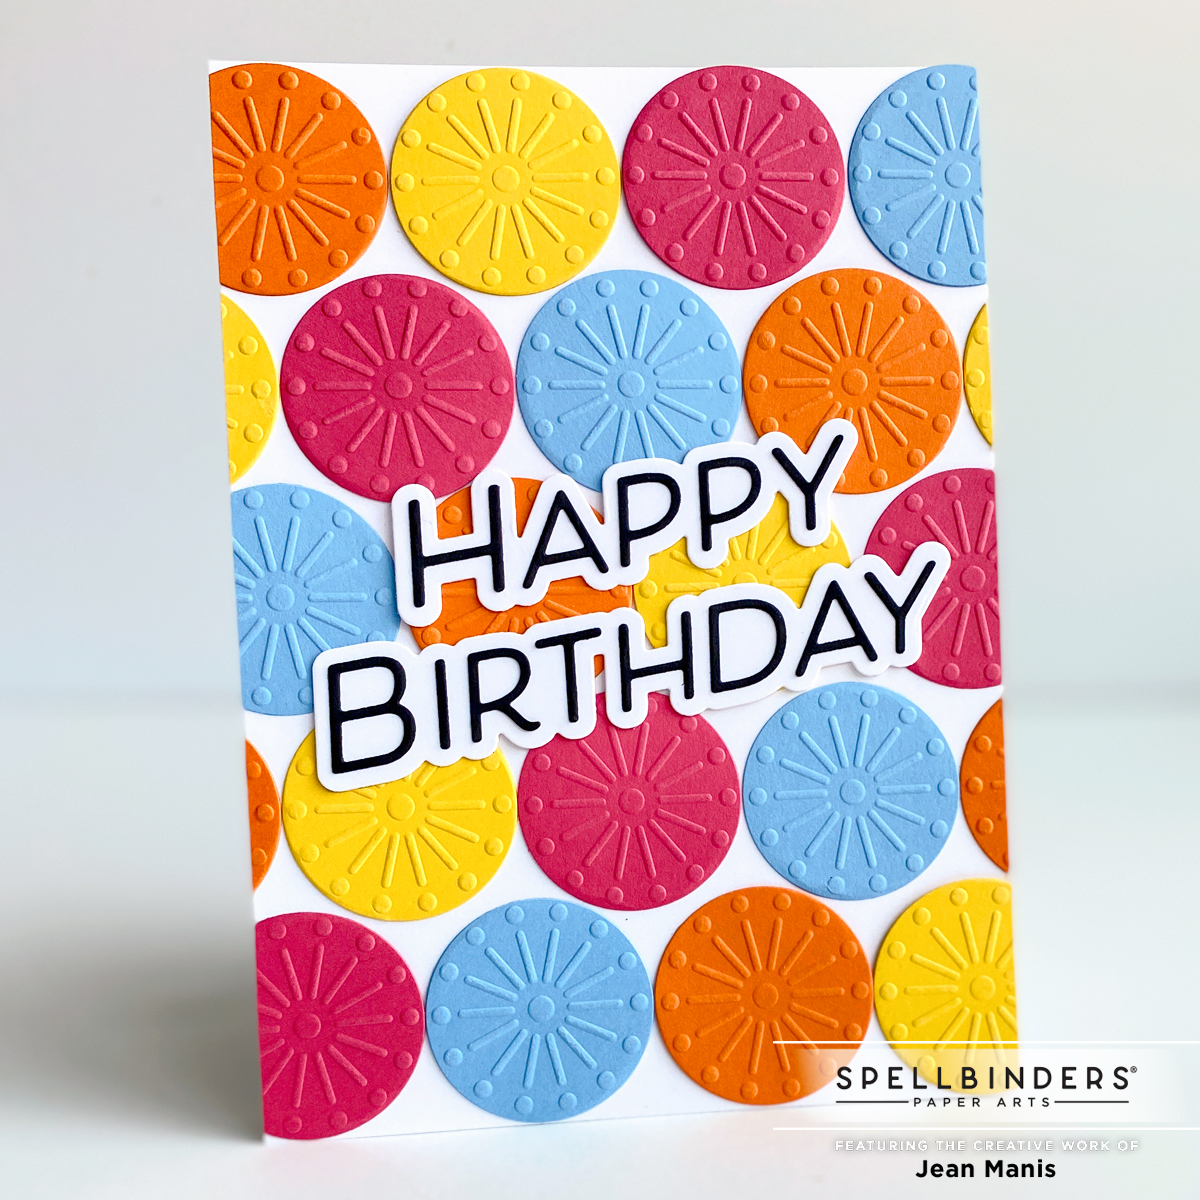
Hello! I’m sharing a CAS birthday card created with the Spellbinders May 2022 Embossing Folder Membership “Faux Stitch.” I shared another card with this folder here.
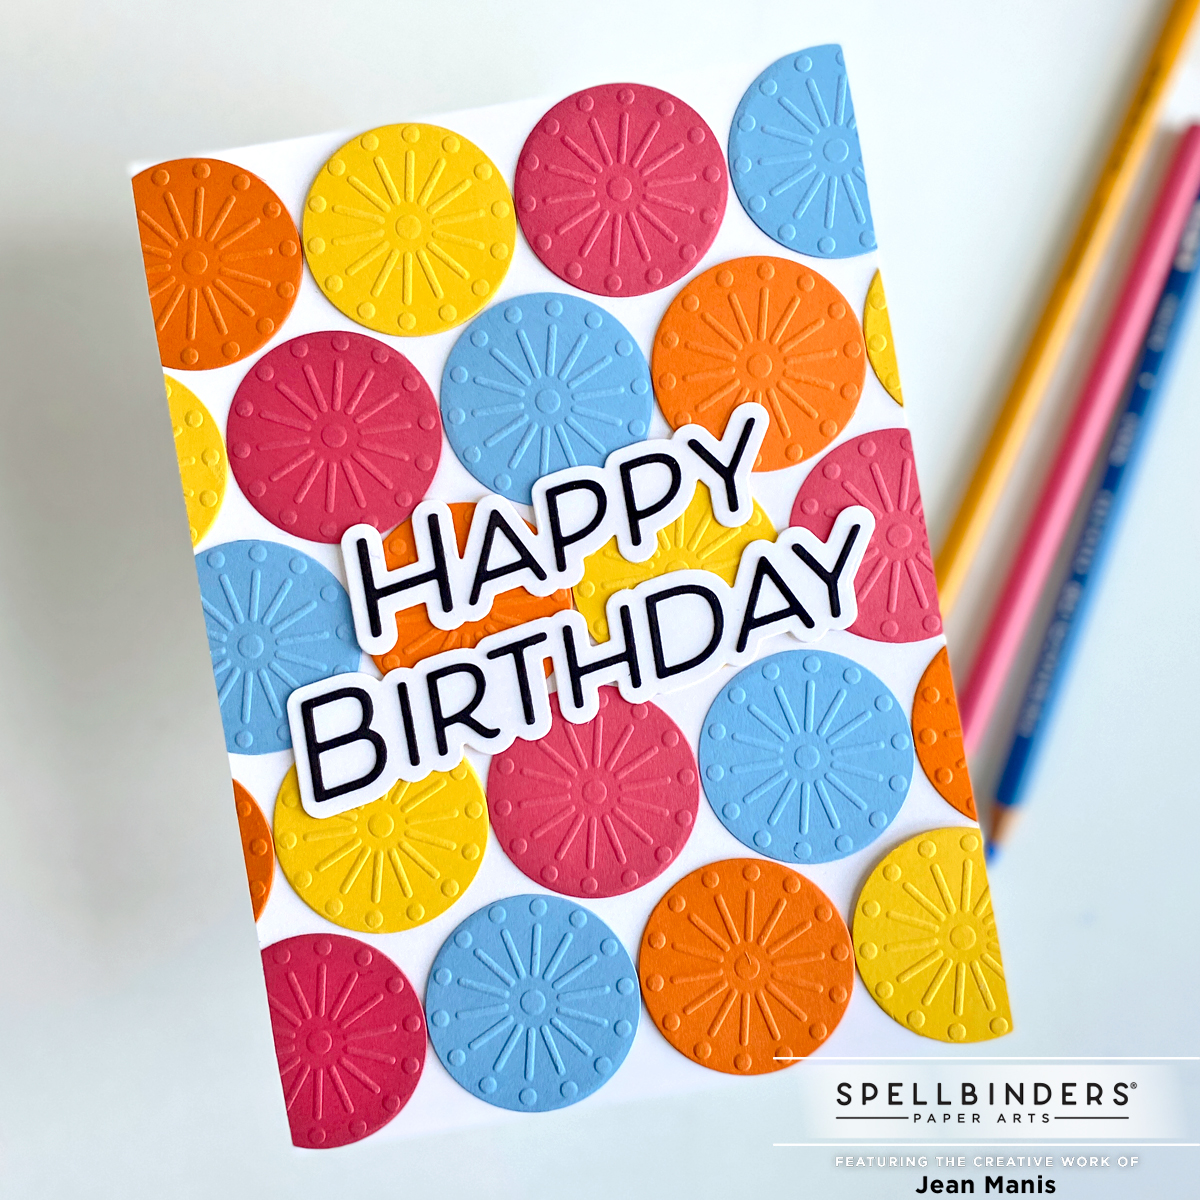
- Dry-emboss yellow, orange, pink, and blue cardstock with the May 2022 Embossing Folder. Cut circles from the panels.
- Attach embossed circles to Snowdrift card base sized 5 x 7 inches.
- Cut sentiment from Onyx and Snowdrift cardstock using dies in the Large Die of the Month Membership. Assemble and add to card base.
That’s it! A quick-and-easy birthday card that packs a lot of punch with color and texture.