Art Impressions | Charming Birdhouse Neighborhood

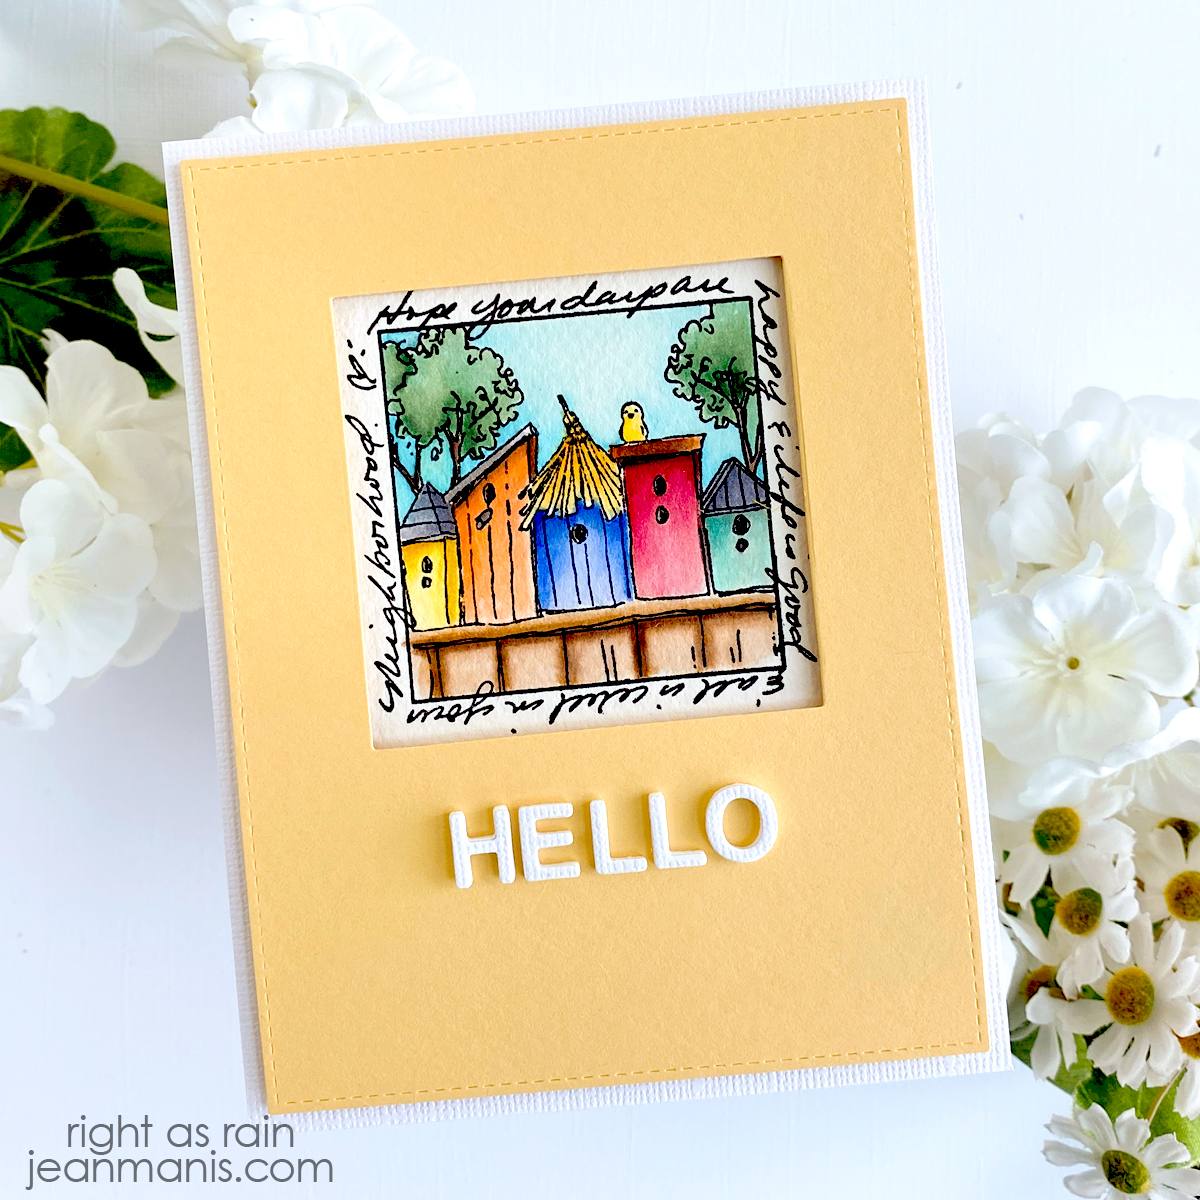
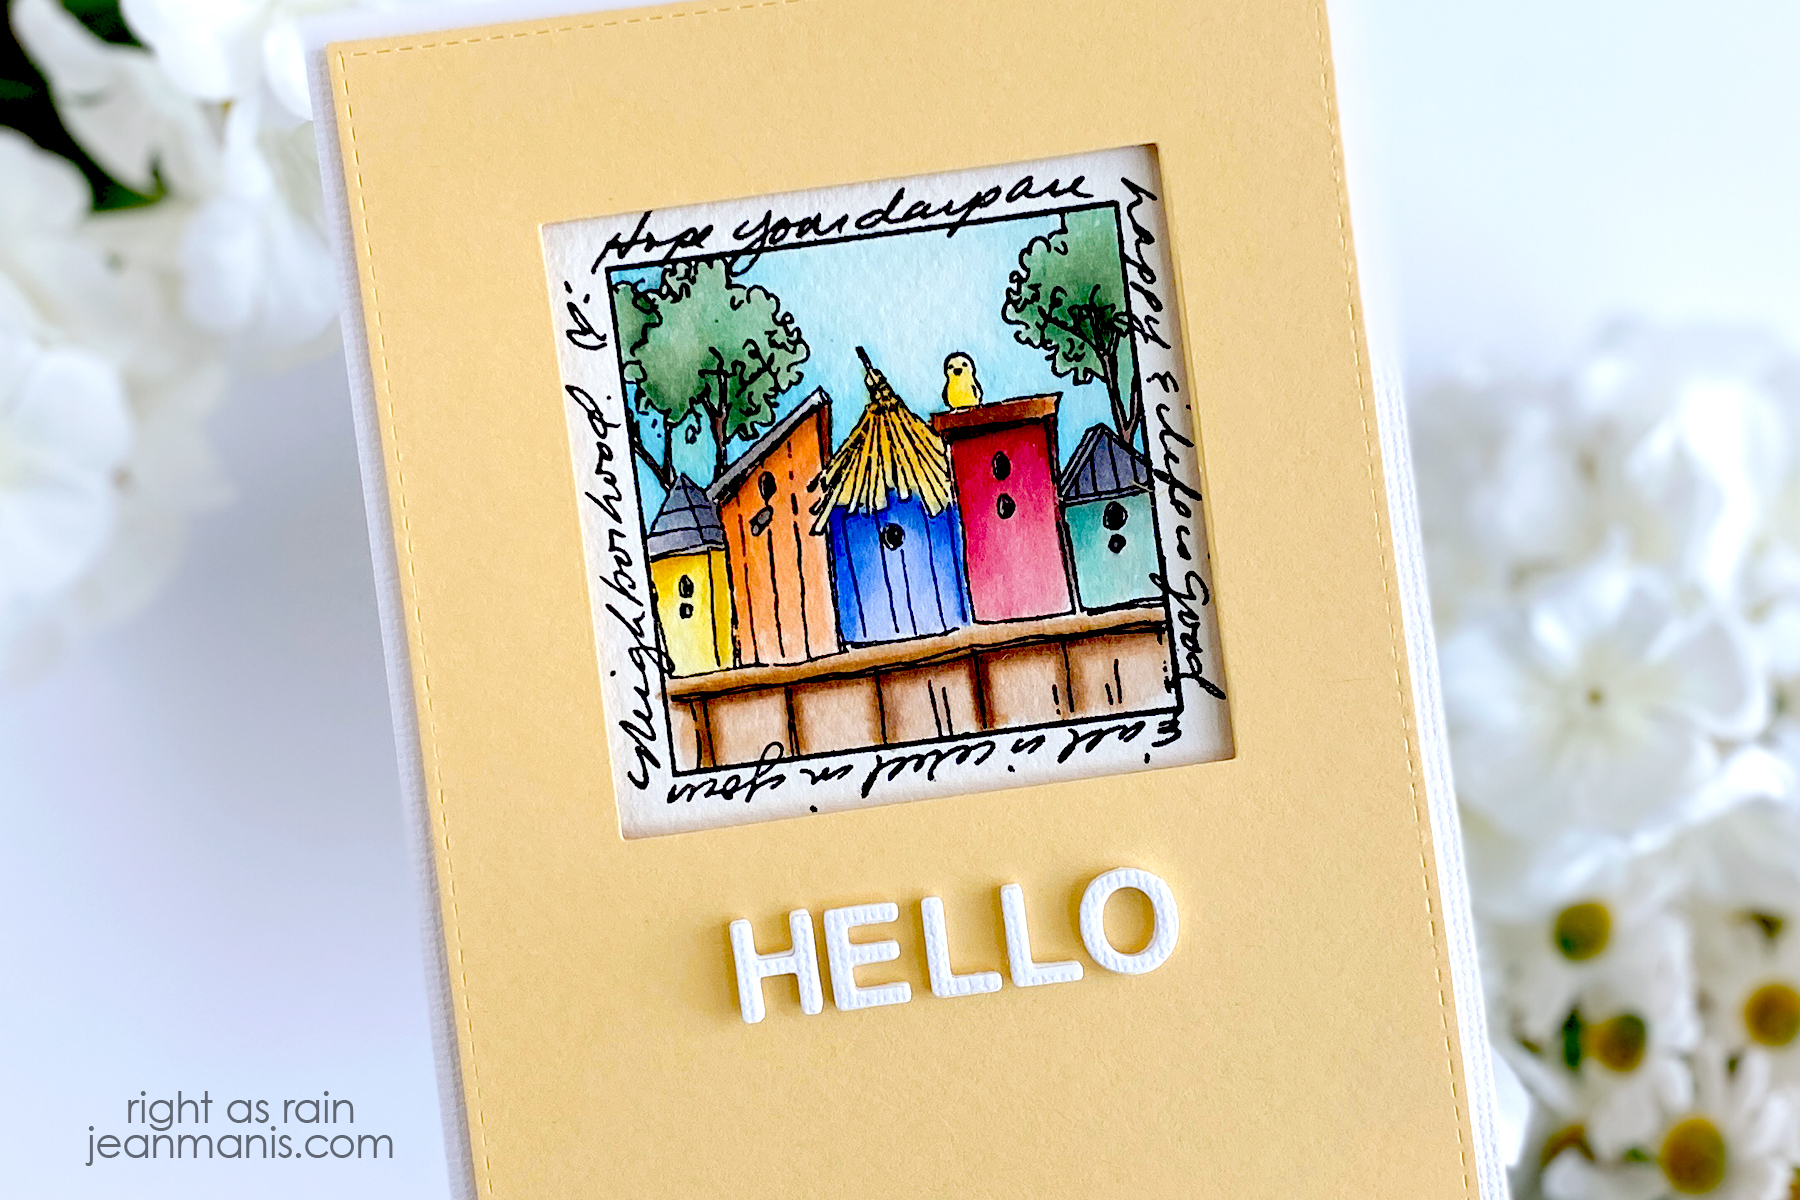
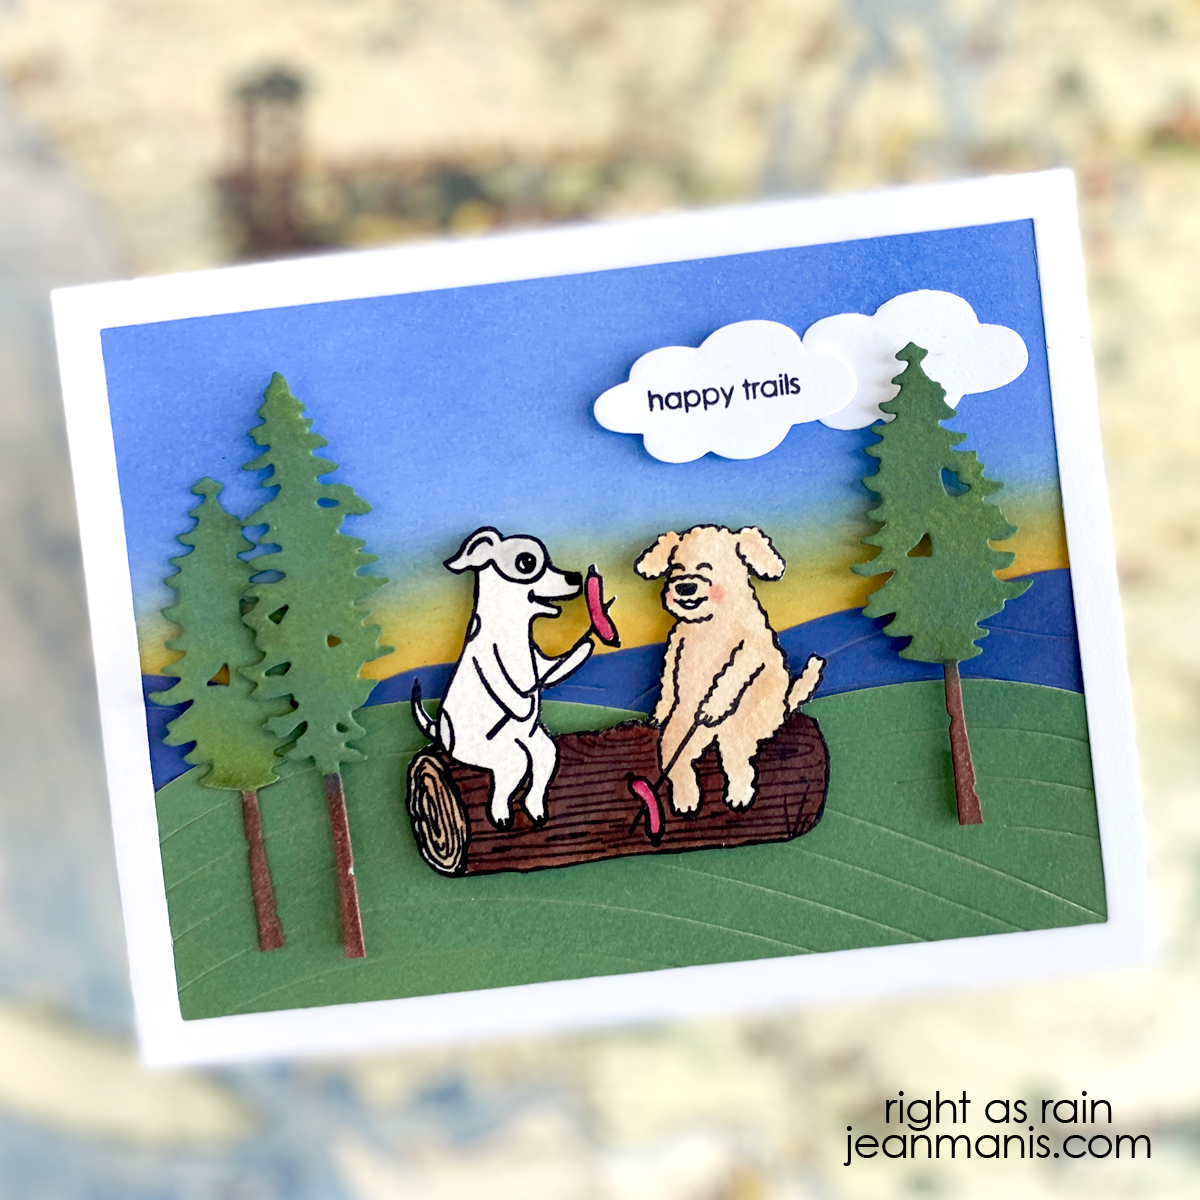
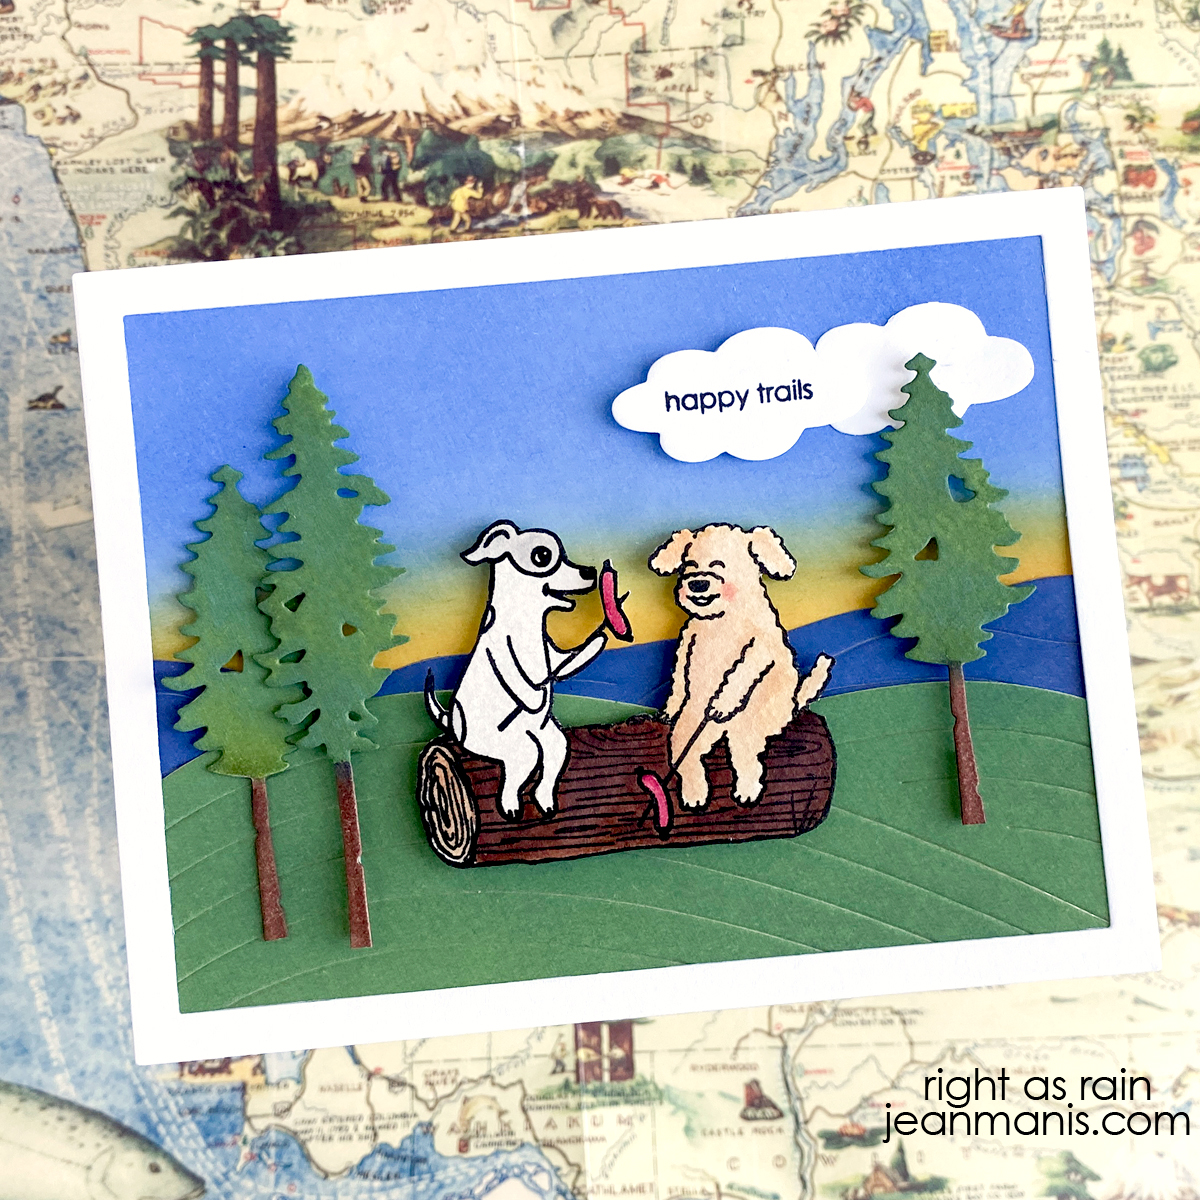
Hello! Today, I am excited to share a card featuring the charming Art Impressions Birdhouse Neighborhood stamp set, which happens to be on sale at the moment. This “Hello” card is sure to brighten its recipient’s day. Keep reading to learn how I created the card.

Art Impressions | Charming Birdhouse Neighborhood

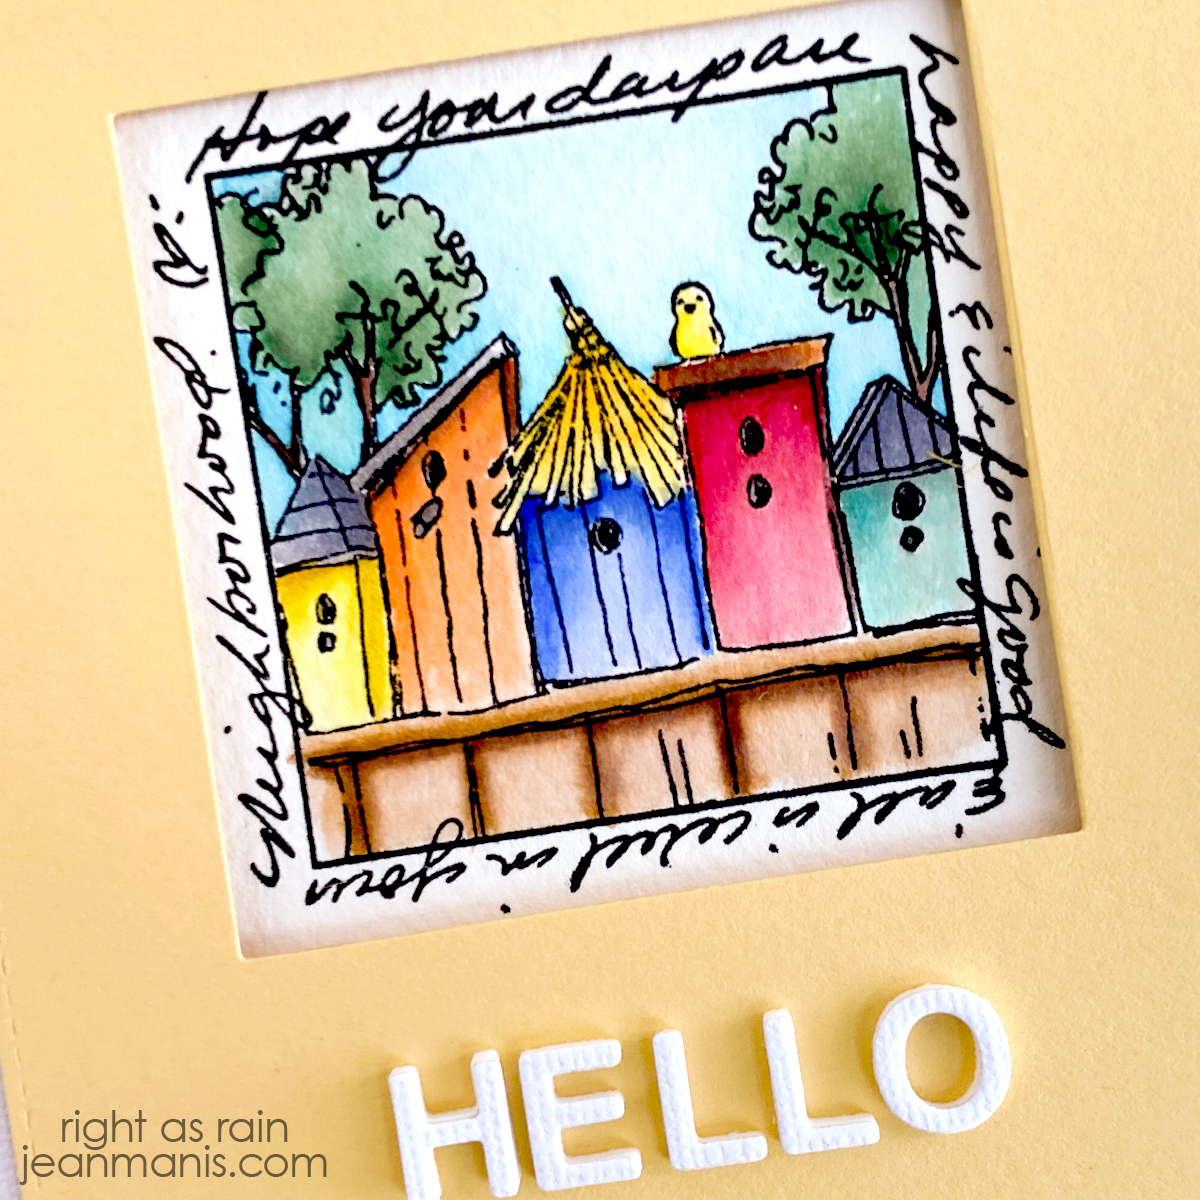
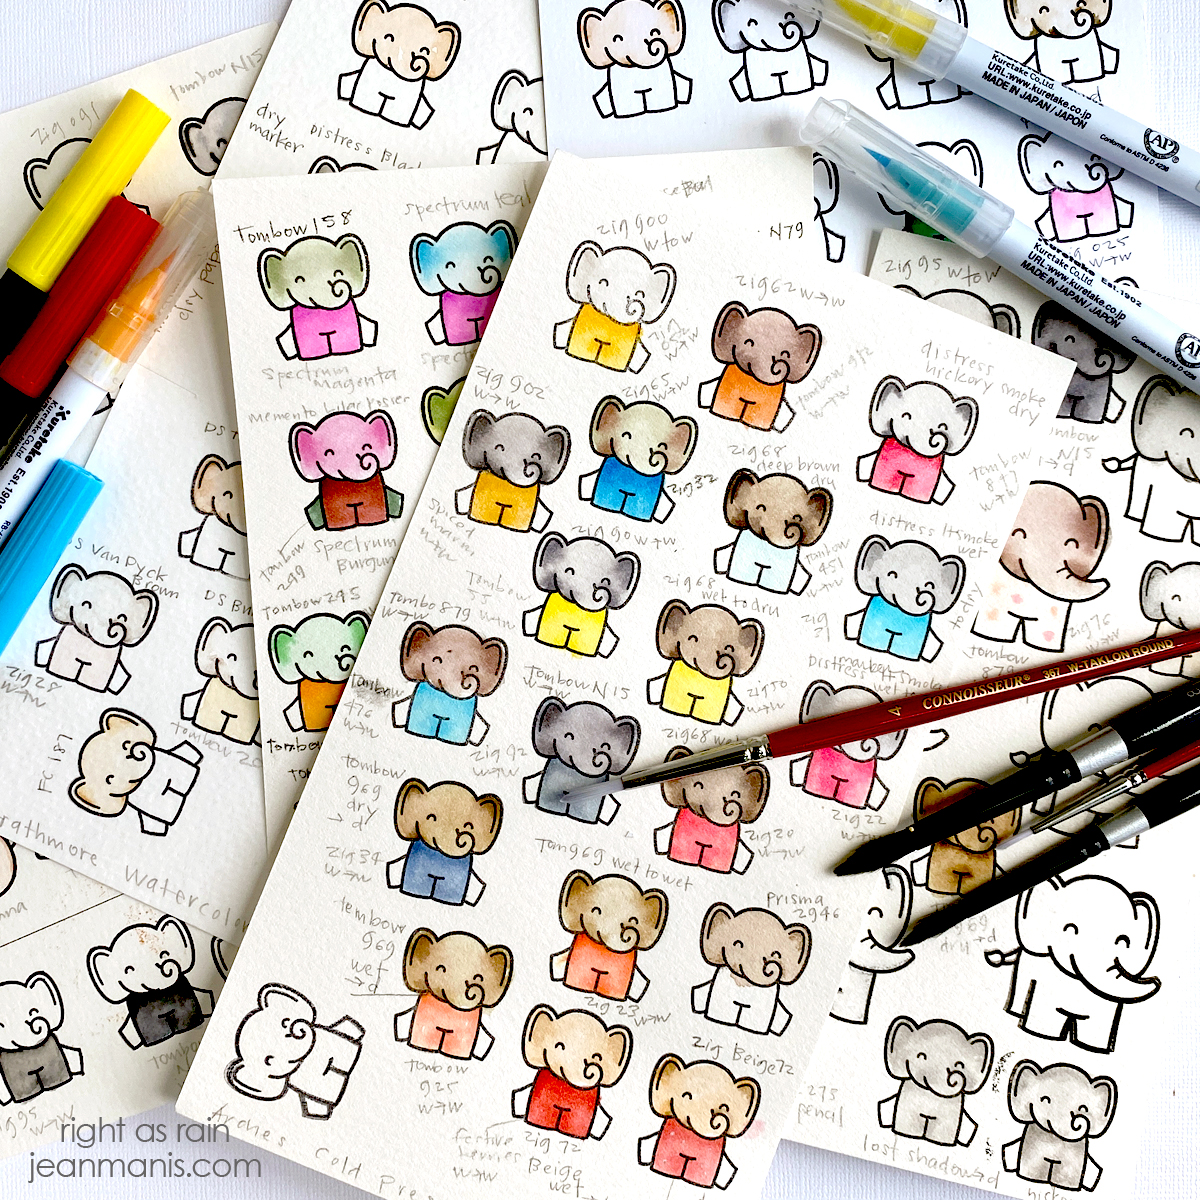
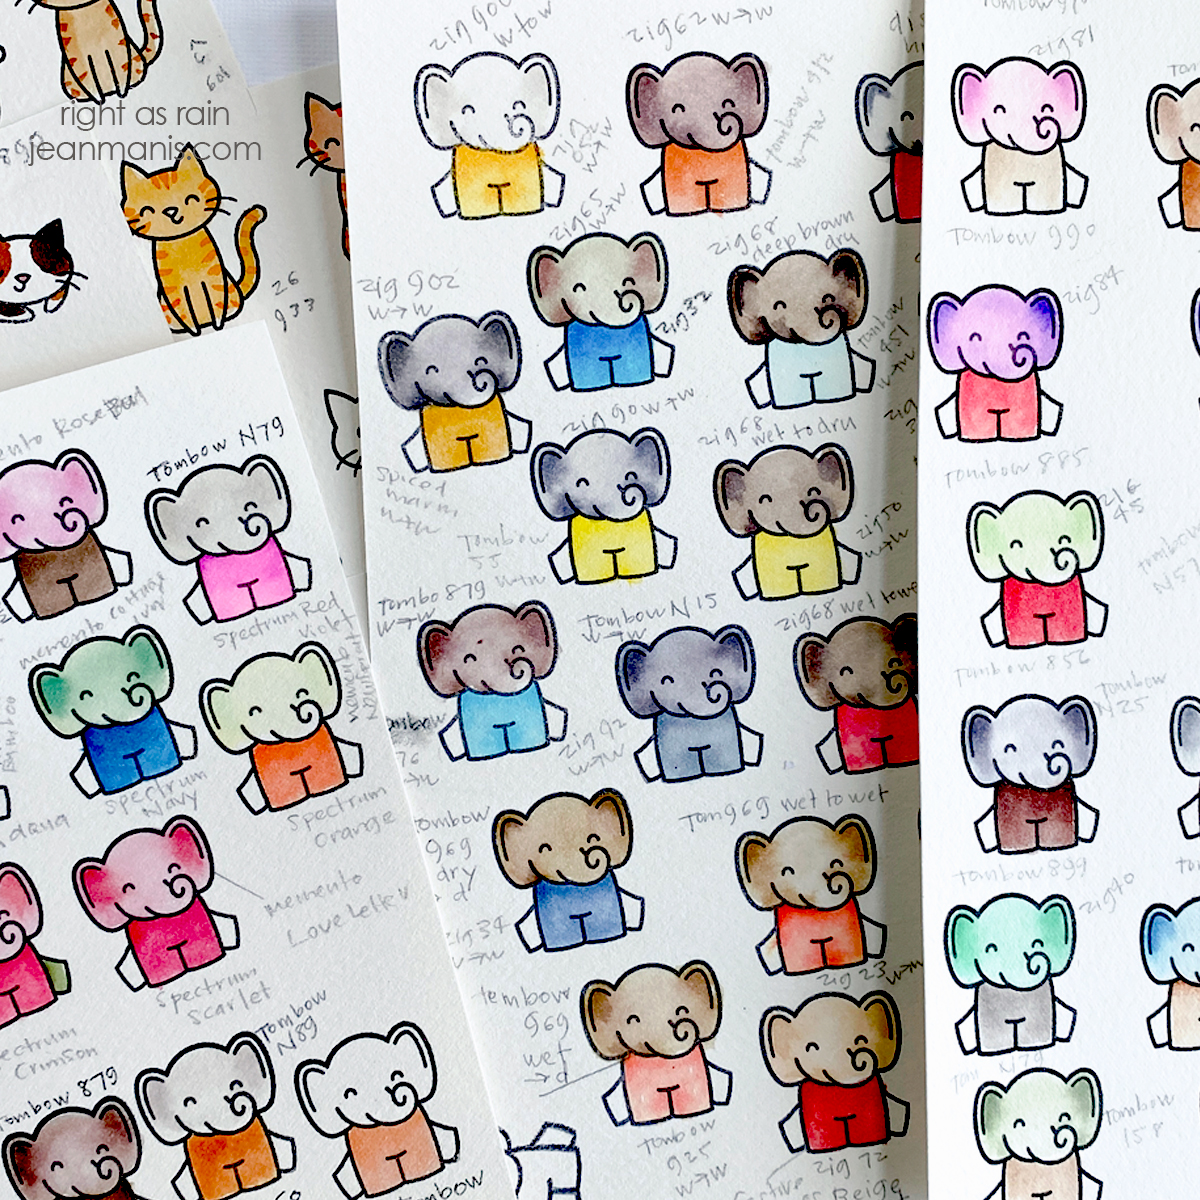
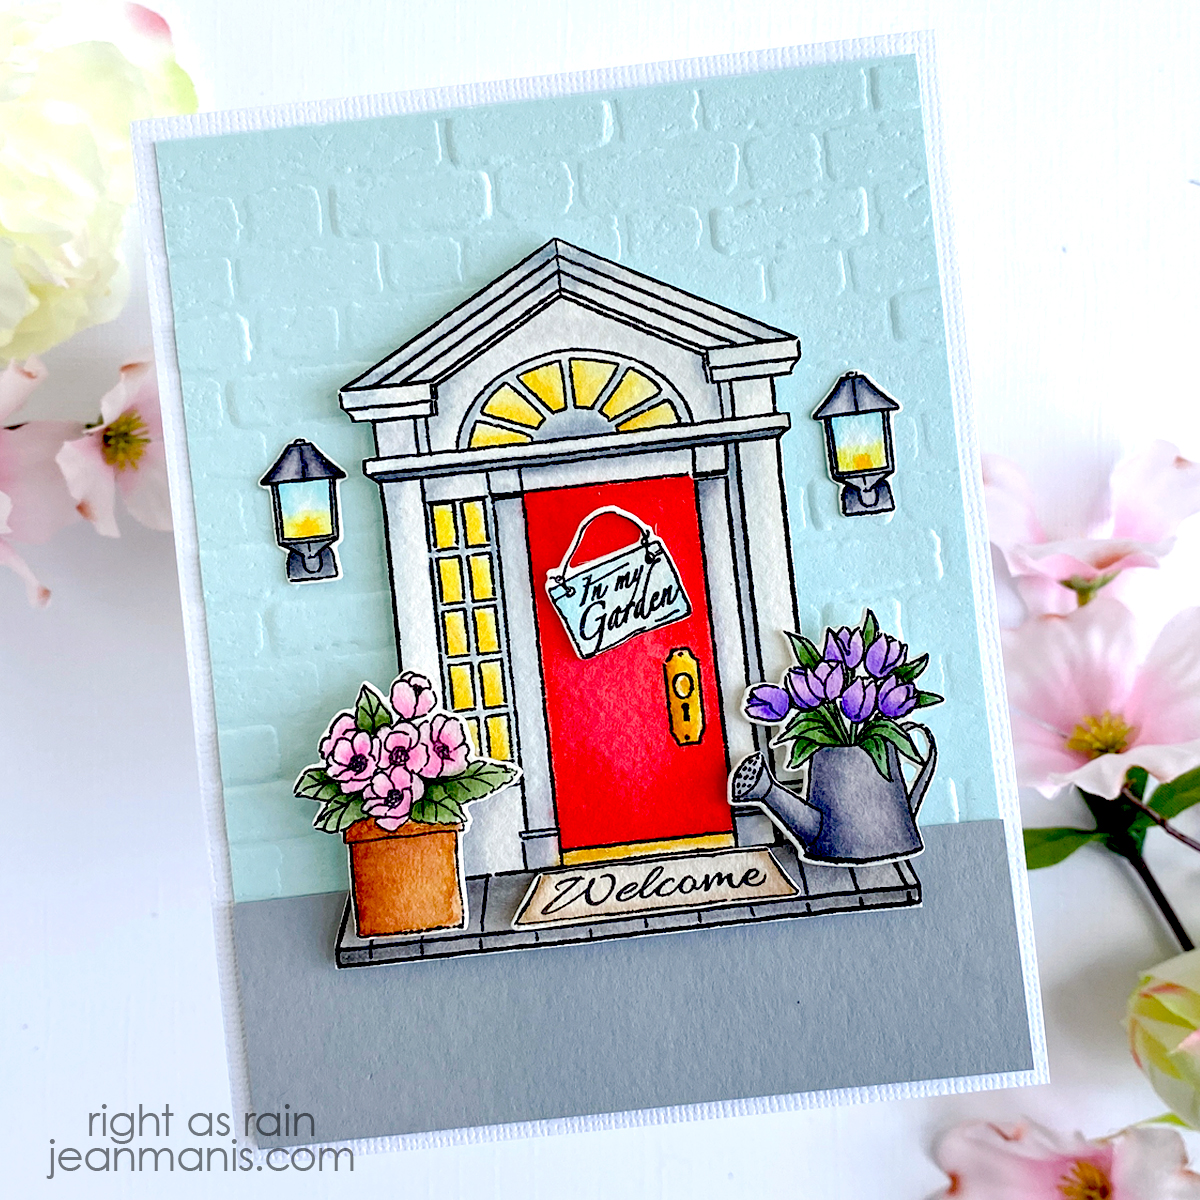
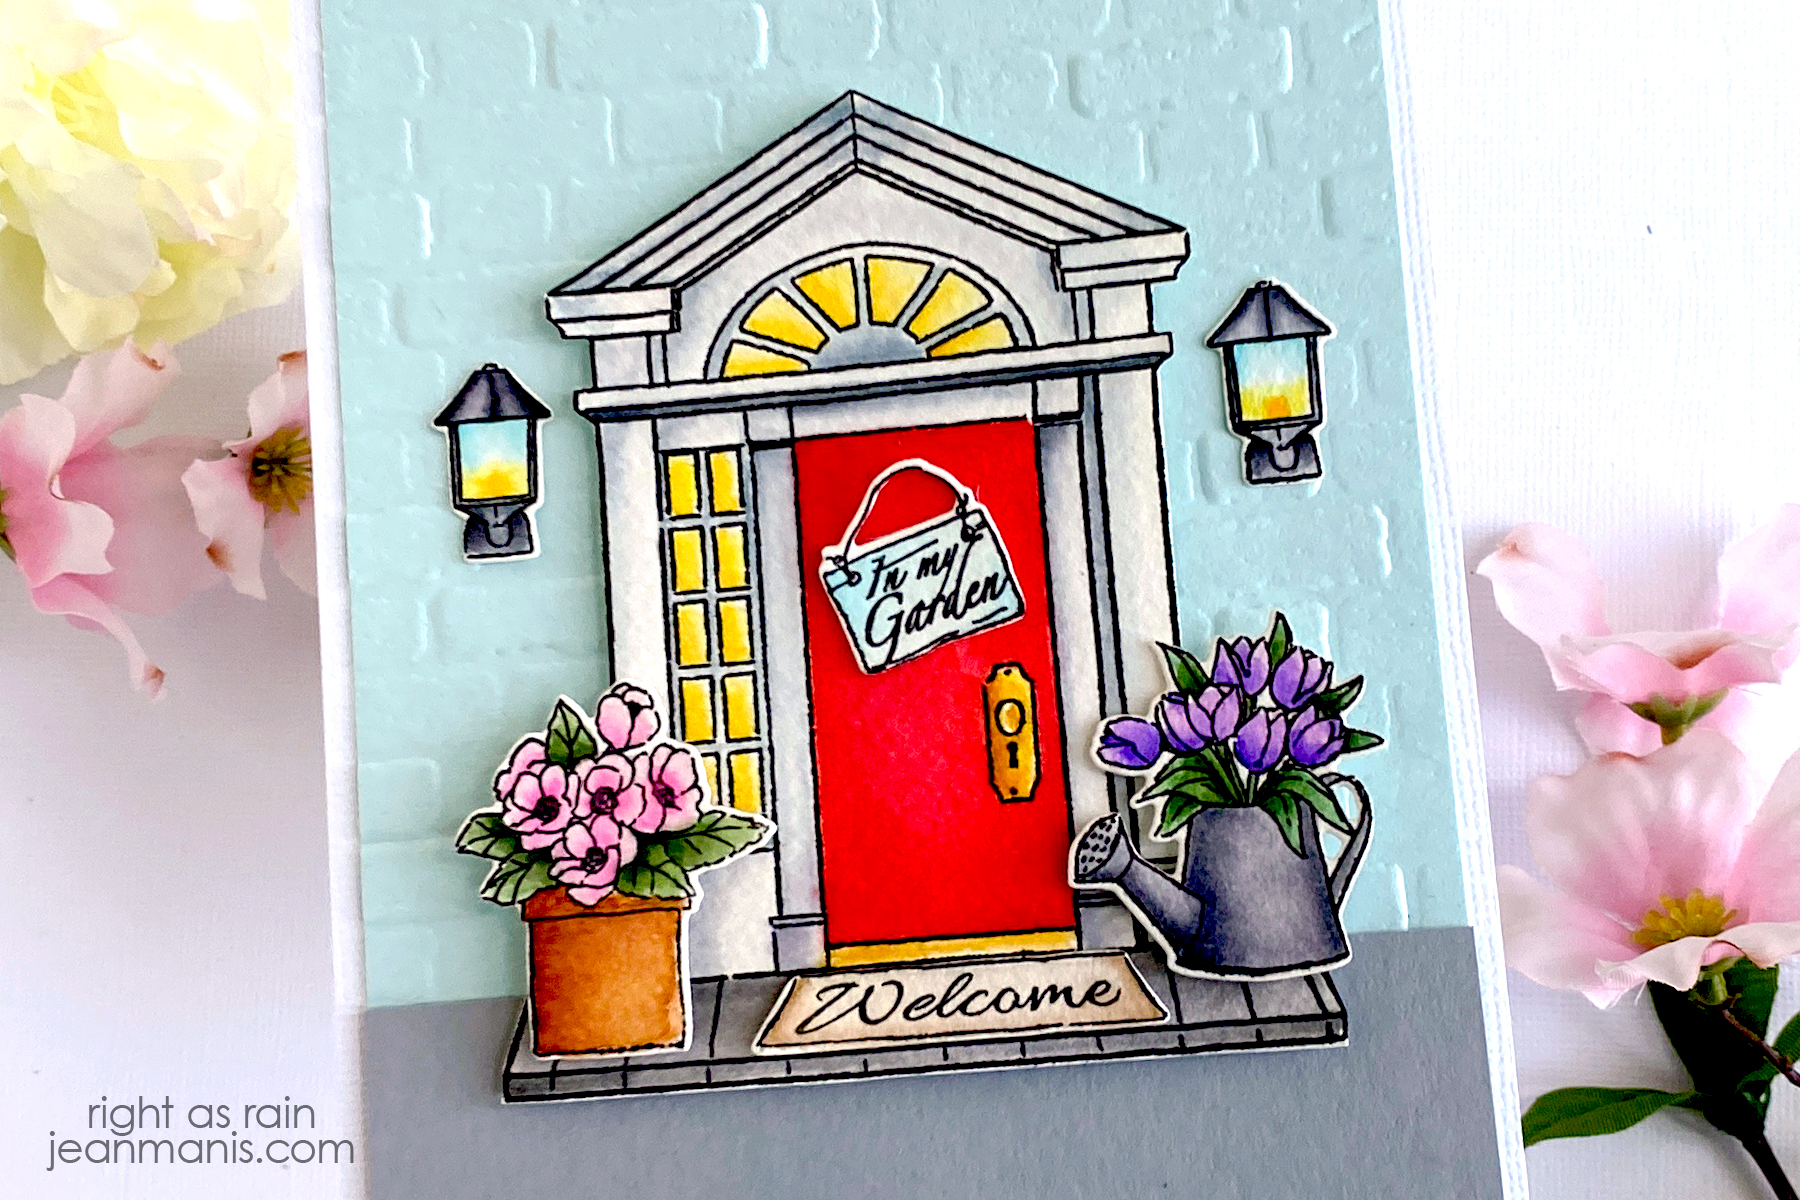
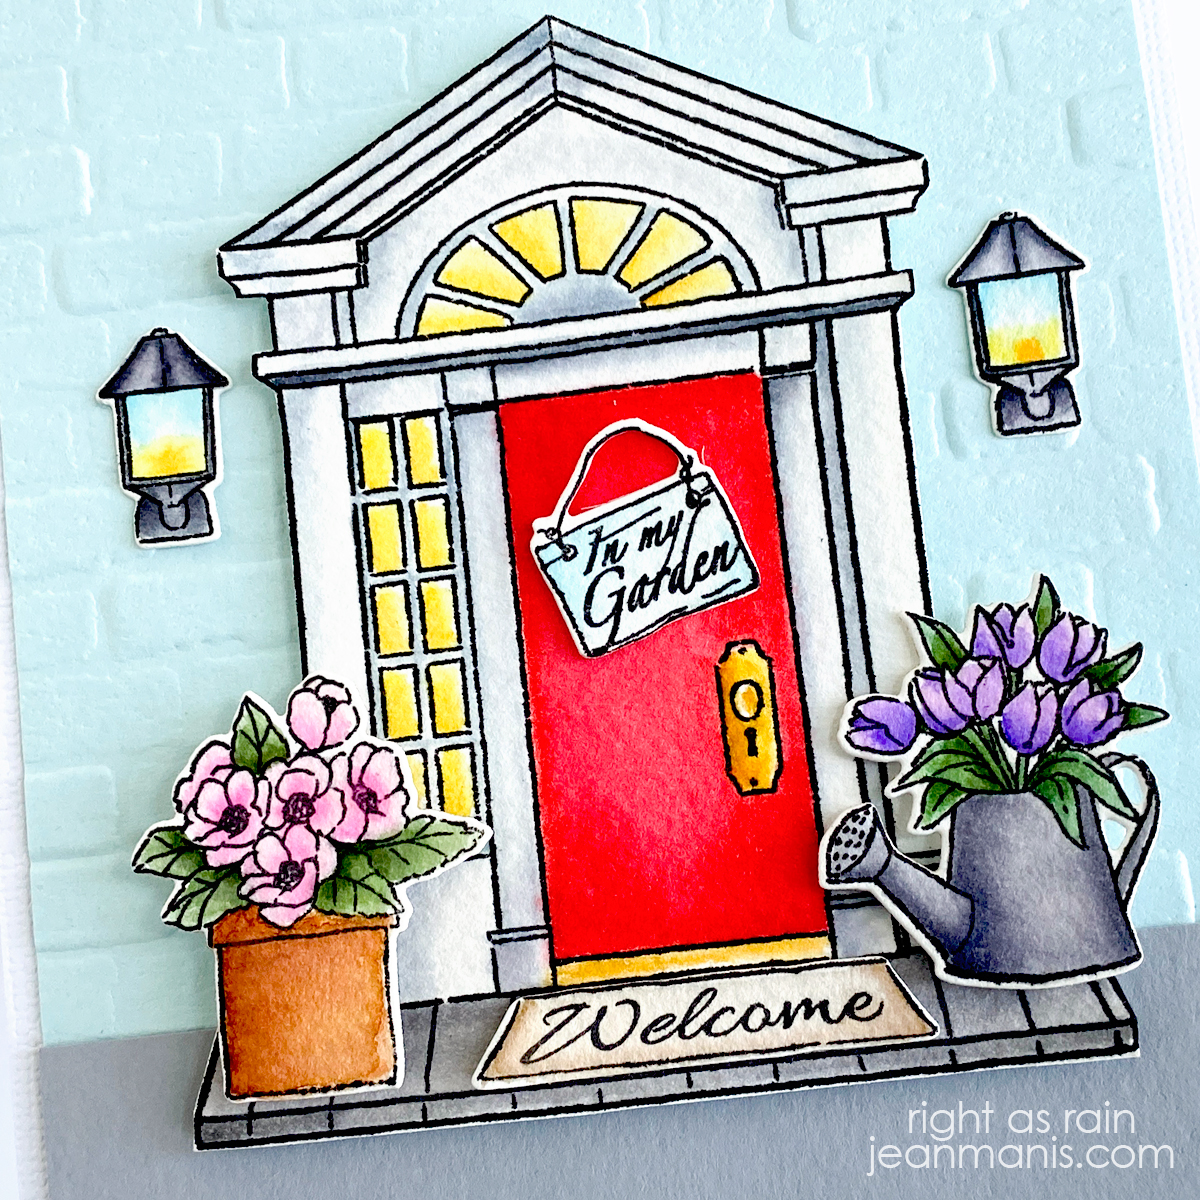
    • Stamp Birdhouse Neighborhood with VersaFine ink on Arches Cold Press watercolor paper; heat set.
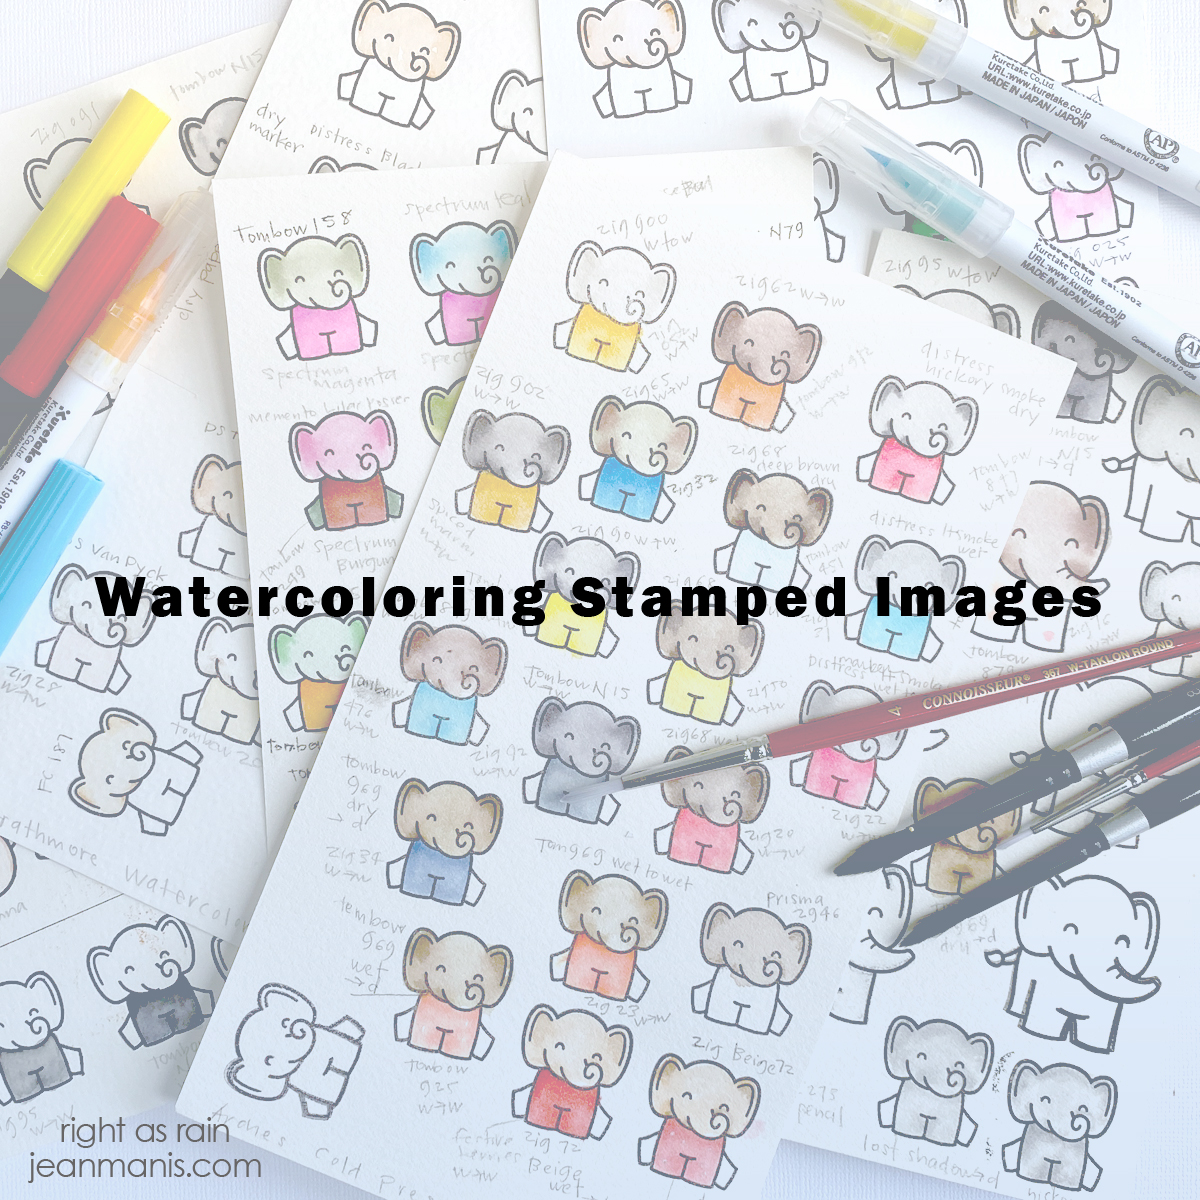
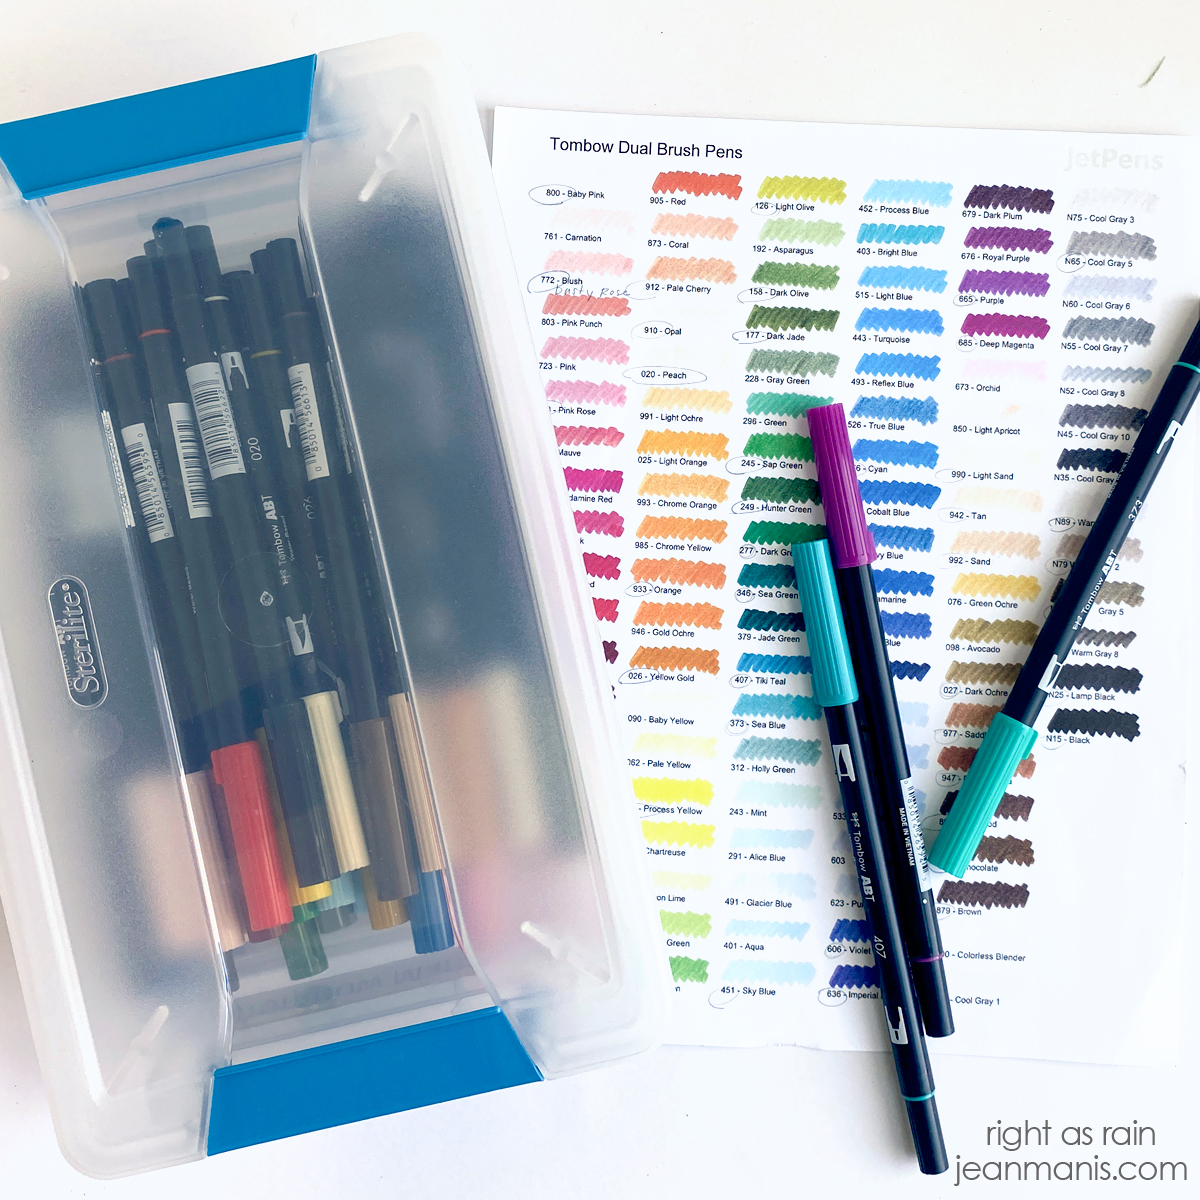
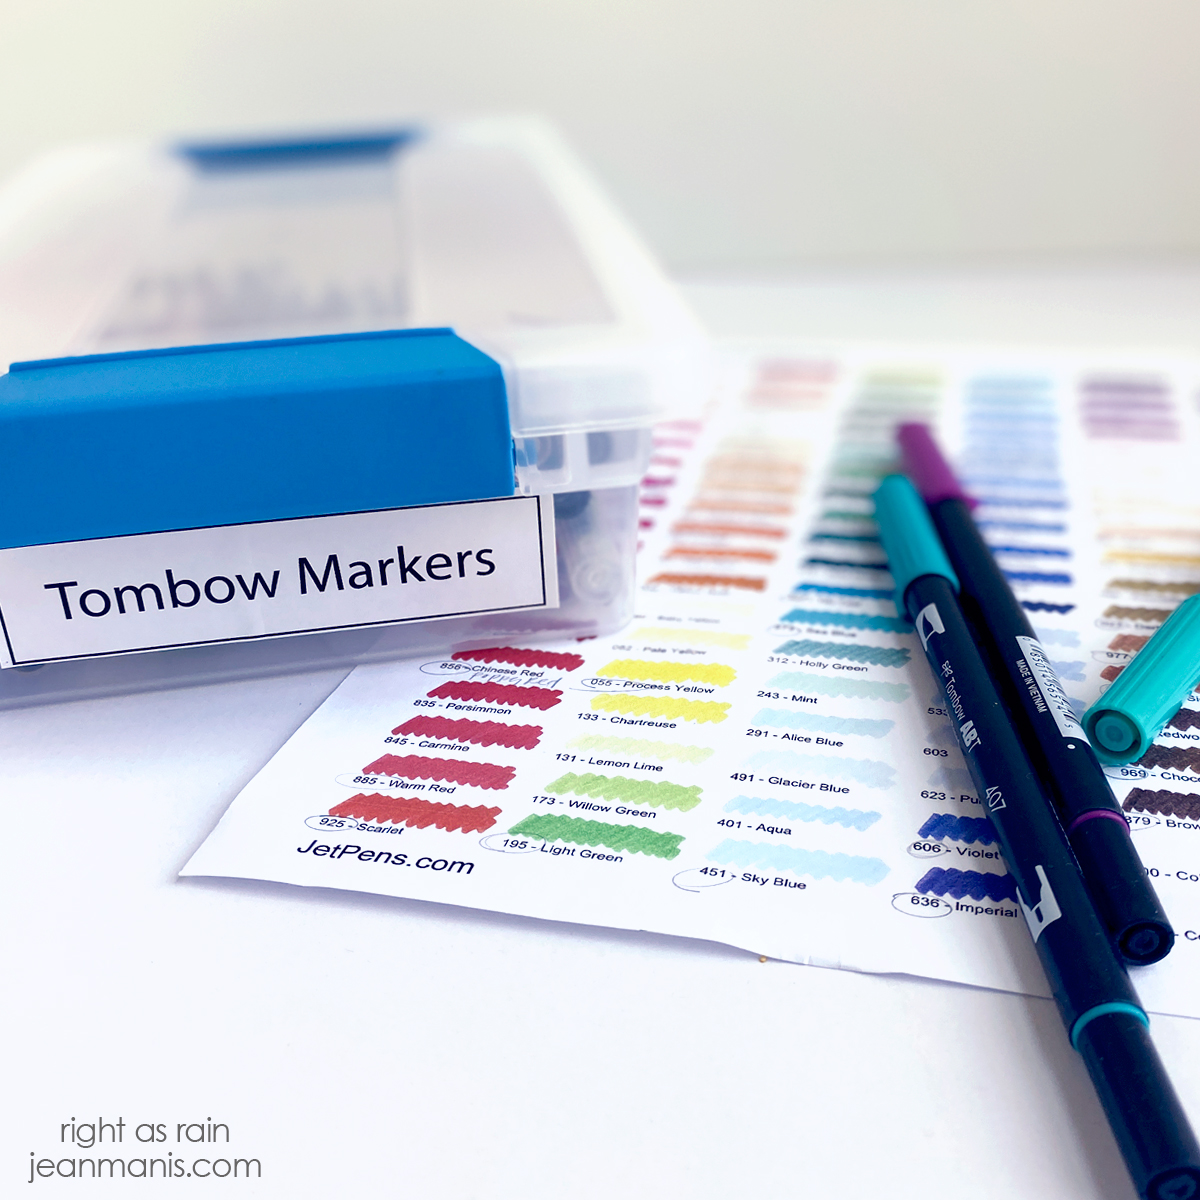
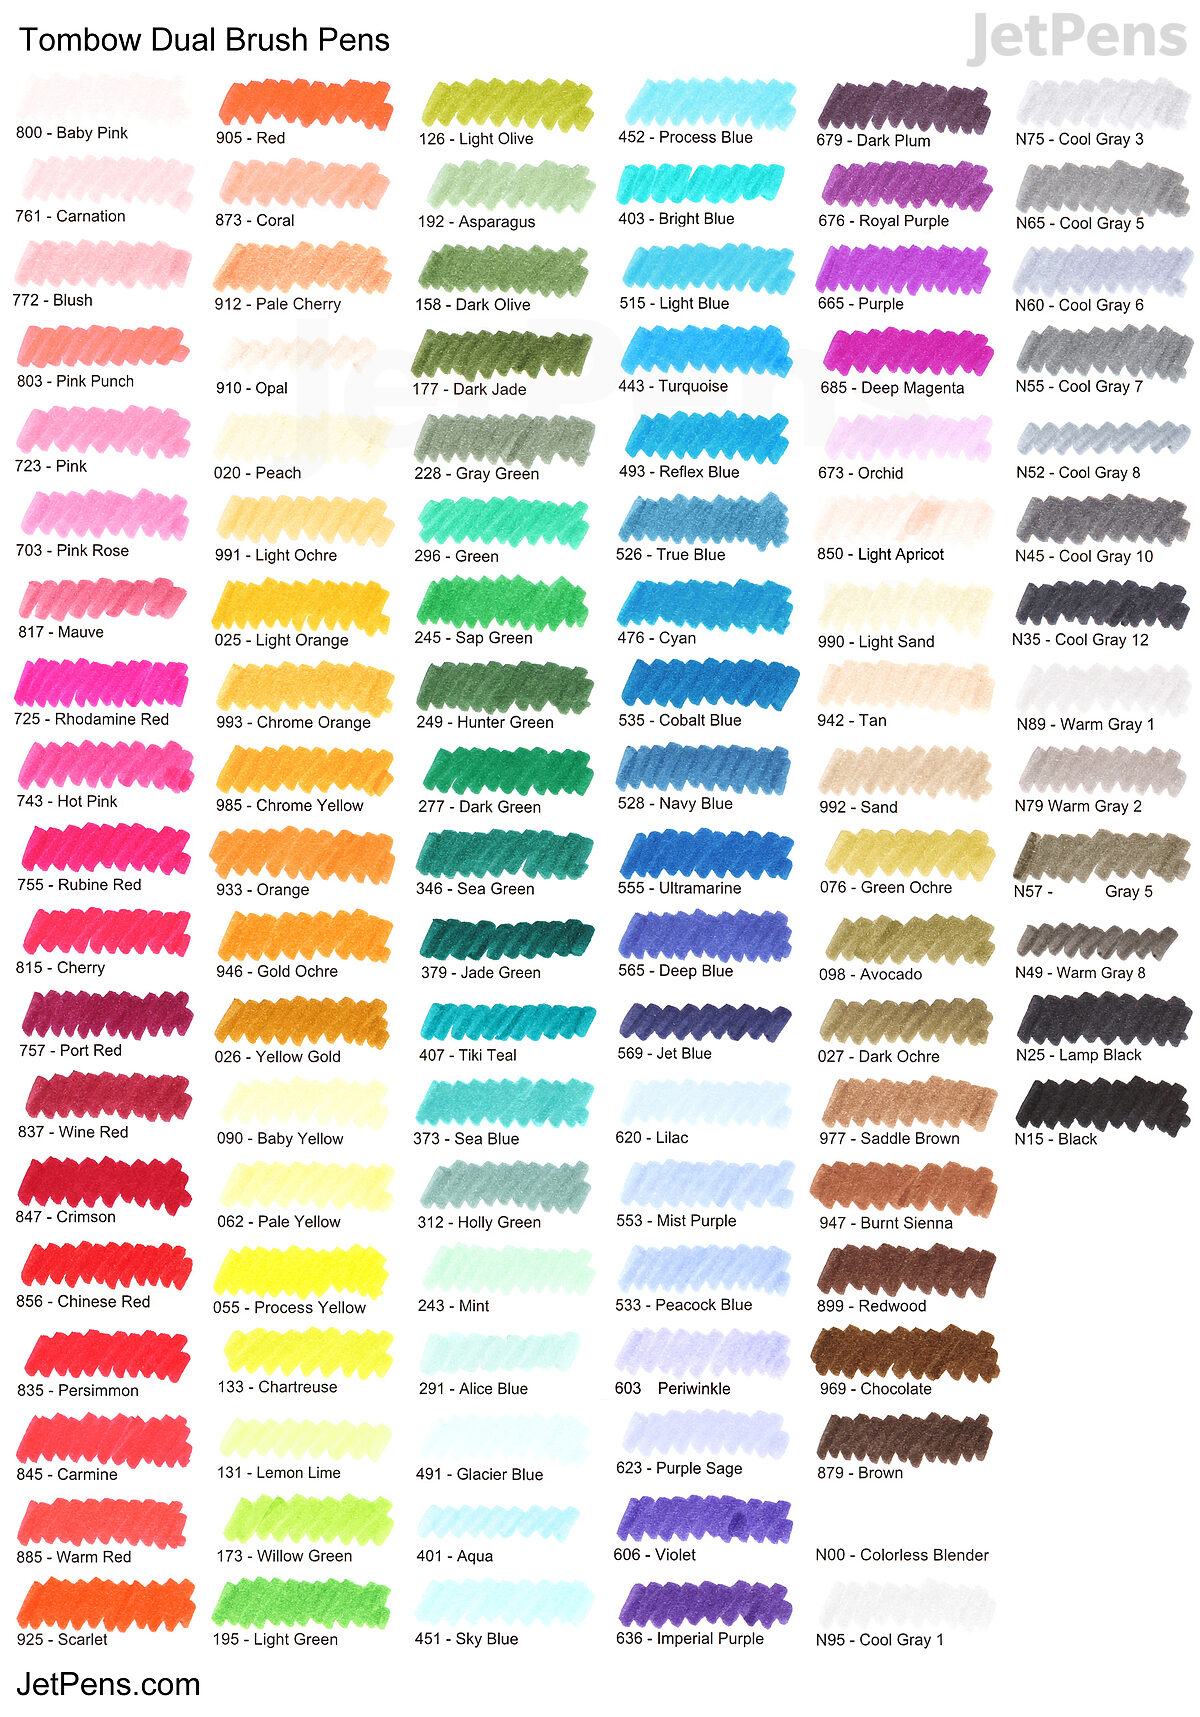
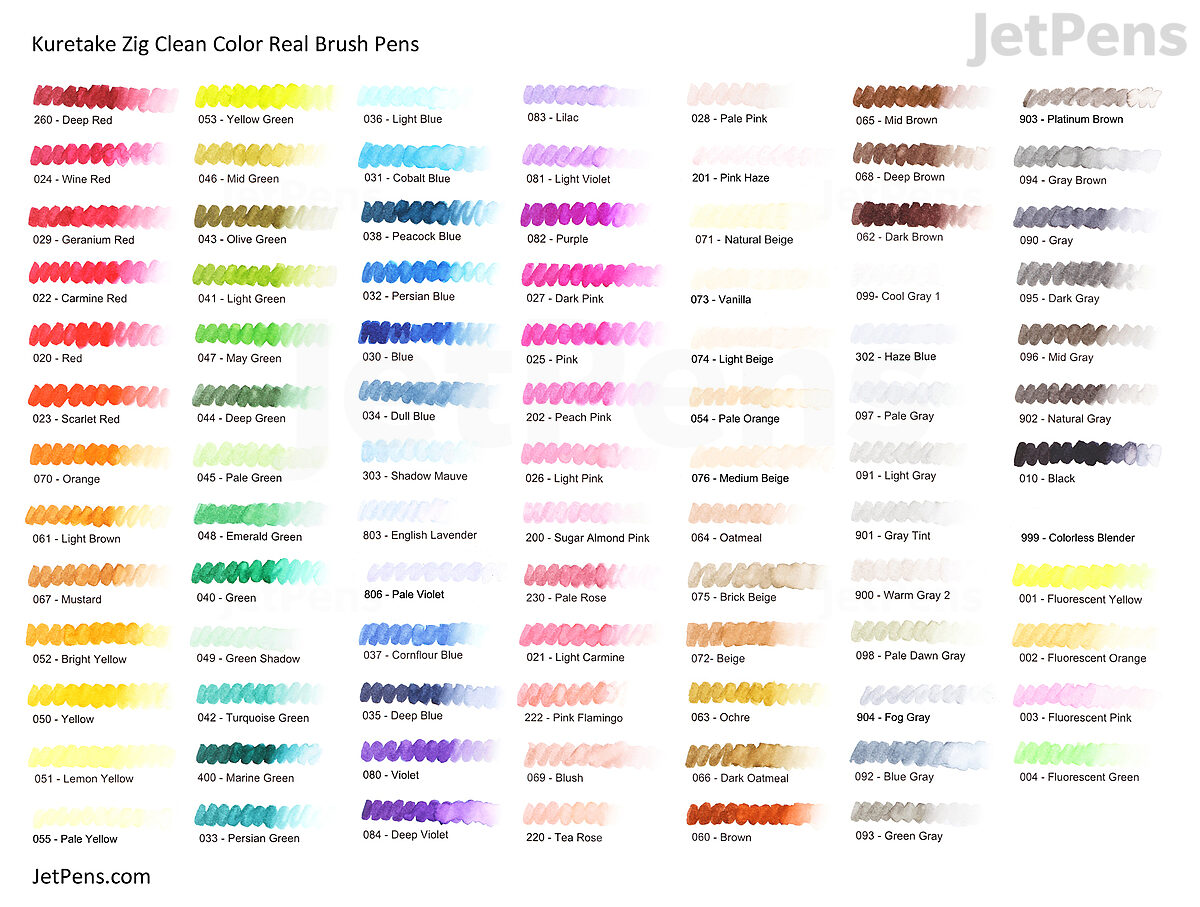
    • Color image with watercolor markers (Tobow and Zig) using the watercolor paletteNo. 4, and No. 1 brushes. Set aside to dry. You can read more about watercoloring stamped images HERE.
    • Cut a 4 x 5 1/4 inch cardstock panel (I used a now-retired My Favorite Things die). Use a square die to cut a window in the panel. Add foam to panel and attach to watercolored image. Add assembly to A2-size card base.
    • Die-cut “Hello” letters with Journal Letter Die Set from textured white cardstock. Cut letters again from foam. Glue foam to back of letters. Add letters to card front.

Art Impressions | Charming Birdhouse Neighborhood


Resources for Watercoloring Stamped Images

Hello! As someone who has recently dipped my toes back into the world of watercoloring stamped images, I’ve been on the lookout for inspiration and information to help me improve my skills. In this post, I’m excited to share resources I’ve discovered along the way.

Resources for Watercoloring Stamped Images

First up, I highly recommend checking out Sandy Allnock’s blog, especially her Watercolor Inspiration. Sandy’s tutorials and tips are incredibly helpful. I also suggest the YouTube channels of Art Impressions and Penny Black. In fact, Jill Foster with Penny Black recently posted a video “Answering YOUR Watercoloring Questions” that shares her tips and tricks. Art Impressions has a strong Facebook group and regularly broadcast live.

After exploring online resources for watercoloring stamped images, I decided to experiment by stamping small images (from Lawn Fawn) on a variety of watercolor papers and using different mediums and brushes to color them. Through this exercise, I discovered which paper, ink, brushes, and mediums worked best for my personal style.

Resources for Watercoloring Stamped Images

I apply the marker to the palette and pick up the color with a damp paint brush; I do not apply the marker directly to the watercolor paper.

I’ve also learned the importance of keeping an inventory of my supplies. One trick I use is to create a printout of the markers and circle the ones I have (see the chart links below). This not only helps me stay organized but also ensures that I don’t accidentally purchase duplicates. I store the markers in labeled containers. By keeping a well-organized inventory, you can spend more time creating and less time searching for supplies.

Resources for Watercoloring Stamped Images

Chart of Tombow Markers

Chart of Zig Clean Color Real Brush Markers

Resources for Watercoloring Stamped ImagesI hope you find these resources helpful in your watercoloring journey.
I have a number of next steps in my own journey!


Penny Black | Happy Campers

Hello! Today I am sharing a card that features the adorable Penny Black stamp set – Happy Camper. I’ve brought to life a scene showing two furry friends sitting at a cozy campsite and roasting hot dogs. The Happy Camper stamp set was part of the Stamping with Scooter collection, introduced in 2021. As I have previously mentioned, I did not play enough with these products when they were introduced, and I am making up for that now.

Penny Black | Happy Campers

I am a big fan of camping-themed cards, especially around this time of year. For me, camping symbolizes a sense of adventure and nostalgia.

    • Stamp image from Happy Camper set in VersaFine on Arches Cold Press watercolor paper; heat set. Color with watercolor mediums. Once dry, fussy cut.
    • With the Tall Trees die set, cut trees from Arches Cold Press watercolor paper; color with watercolor mediums. For additional color, add Distress inks to trees once they are dry.
    • Stamp sentiment from Happy Camper set on cloud cut with Silver Linings die. Cut additional cloud.
    • Create frame from white cardstock with the largest die in the MFT Rectangle Frame set.
    • To create background, add Wild Honey and Blueprint Sketch Oxide ink to white cardstock panel.
    • Add Rustic Wildnerness ink to cardstock and cut with the Rolling Hills die.
    • Add Chipped Sapphire ink to cardstock and cut with the hill die in the Festive Family die set.
    • Attach the two hill sections to back of frame and add to the background panel. Add to A2-size card base.
    • Add image with dogs to center of card with foam adhesive. Place trees into scene with dot and foam adhesive.
    • Add sentiment cloud with foam adhesive and additional cloud with dot adhesive.

Penny Black | Happy Campers

You can see more Stamping with Scooter inspiration on the Penny Black blog HERE and view the catalog HERE.


Front Porch Garden Delight

Hello! Today I am sharing a card created with the Art Impressions Front Porch and Front Porch Garden stamp and die sets, which are part of the Front Porch Series. The front porch scene depicted is warm and inviting, complete with a welcome mat, a potted plant, and a watering can. Whether it’s for a birthday, thank you, or just because, this card is sure to bring a smile to the recipient’s face and make them feel appreciated. Read on for step-by-step instructions on how to create the card.

Front Porch Garden Delight: Featuring Art Impressions

  • Stamp Front Porch and Front Porch Garden with VersaFine ink on Arches Cold Press watercolor paper; heat set.
  • Color images with watercolor markers (Tombow and Zig) using the watercolor palette, No. 4, and No. 1 brushes. Once dry, cut with coordinating dies. Note: the Front Porch door die cuts the window panes. I chose to fussy-cut the door, as I had watercolored the window panes.
  • Add images to dry-embossed background (I used an older Stampin’ Up folder) with a strip of dark gray to represent the ground.

Front Porch Garden Delight: Featuring Art Impressions


Lawn Fawn Delight: Cat-themed Birthday Card

Meow! Today I’m excited to share with you a birthday card, purrfect for cat lovers, featuring adorable cats and colorful balloons. I used Lawn Fawn products to create this cute design, which includes watercolored cats lounging on a cozy couch in front of a die-cut window.

Lawn Fawn Delight: Cat-themed Birthday Card

      • Stamp Meow You Doin’ sentiment on patterned paper; add to A2-size card base.
      • Stamp Meow You Doin’ (cats), Window Scene Winter (couch), and Wild For You (hat) images with VersaFine on Arches Cold Press watercolor paper. Color with markers. When dry, cut with coordinating die sets.
      • Cut Party Balloons from Arches Cold Press watercolor paper and watercolor with markers. When dry, attach strings.
      • Cut Window Frame from white cardstock. Cut light-blue cardstock sized to go behind the window. Add balloons to background; attach window with foam adhesive.
      • Place window on card base. Add couch with cats attached.

Lawn Fawn Delight: Cat-themed Birthday Card

Including a window in a card design creates a sense of perspective that draws the viewer into the scene. This can be especially effective if you’re creating cards with setting such as a cozy home. I often use windows on my cards such as this one featuring the Lawn Fawn Wonderful Window die set.