Card Backgrounds with Cover Plate Dies

Hello! Today, I am exploring the use of cover plate dies to create backgrounds for handmade cards. This post is a continuation of my series on card backgrounds that includes Paper Based Backgrounds, Embossing Folder Backgrounds, Stenciled Backgrounds, and Stamped Backgrounds.

Crafting Card Backgrounds with Cover Plate Dies

Cover plate dies (which I will also refer to as cutting plates) come in a diverse range of styles and add depth, texture, and visual interest to handmade cards.

Crafting Card Backgrounds with Cover Plate Dies

Some cover plate dies puncture the cardstock to create a subtle, textured effect. With these dies, the design is pressed into the paper, leaving a subtle impression without fully cutting through. My most often used cover plates are this type including the Lawn Fawn Stitched Cloud Backdrop shown below.

Card Backgrounds with Cover Plate Dies

The Lawn Fawn Woodgrain Backdrop adds rustic and nature-inspired texture to a card background, as on the card below which also includes the Stitched Cloud Backdrop.

Card Backgrounds with Cover Plate Dies

Other cover plate designs cut out designs, such as the Taylored Expressions Tropical Blooms Cutting Plate shown below, which was cut from white cardstock and colored with Distress Oxide inks.

Card Backgrounds with Cover Plate Dies

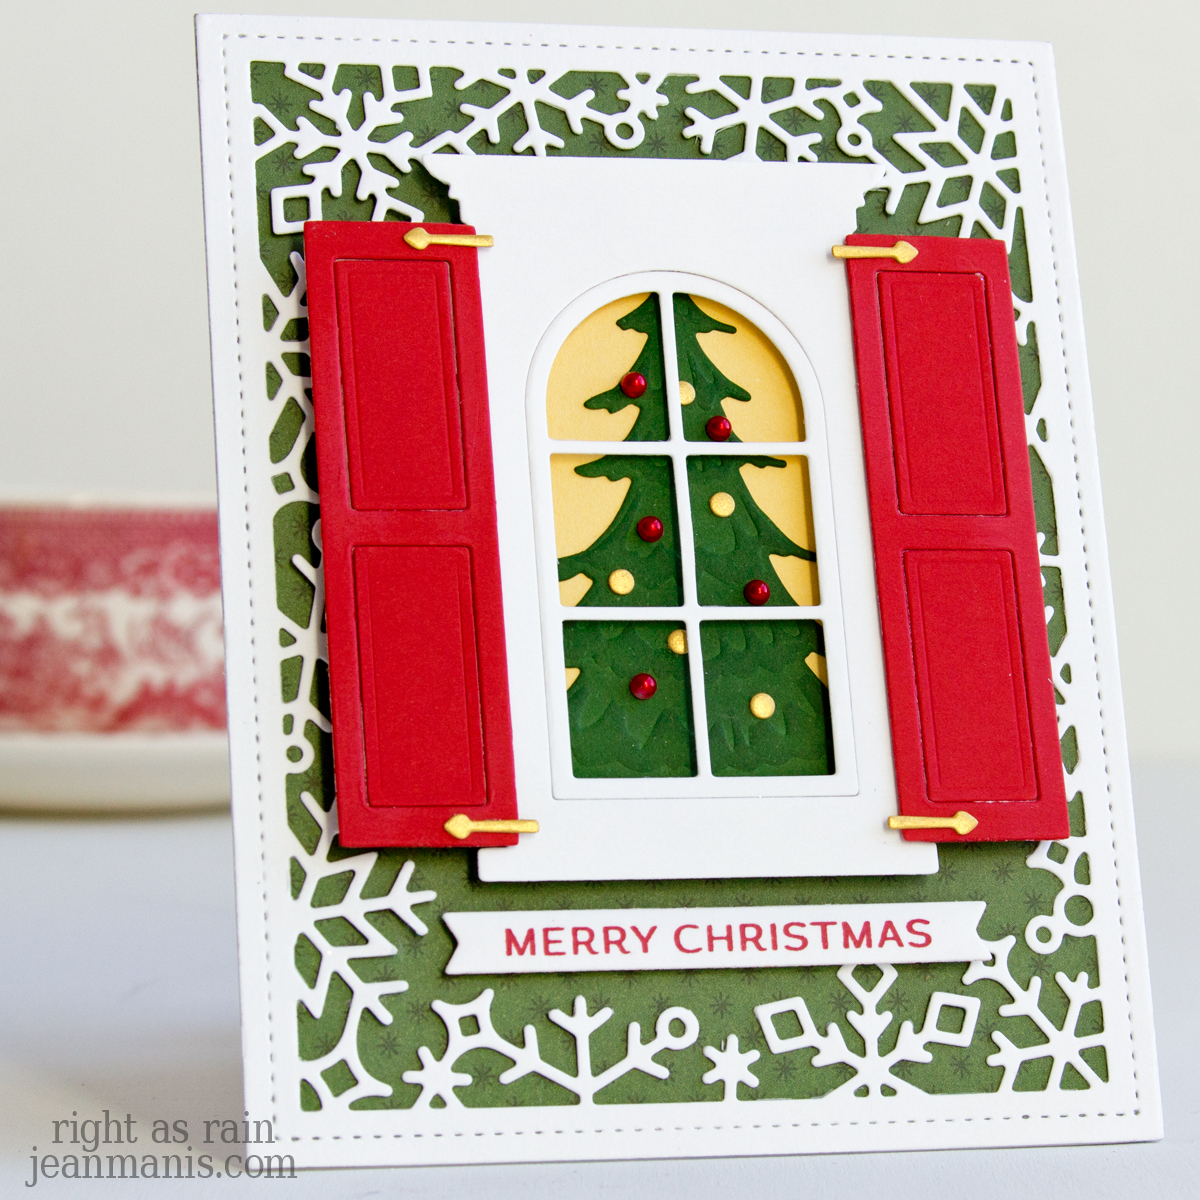
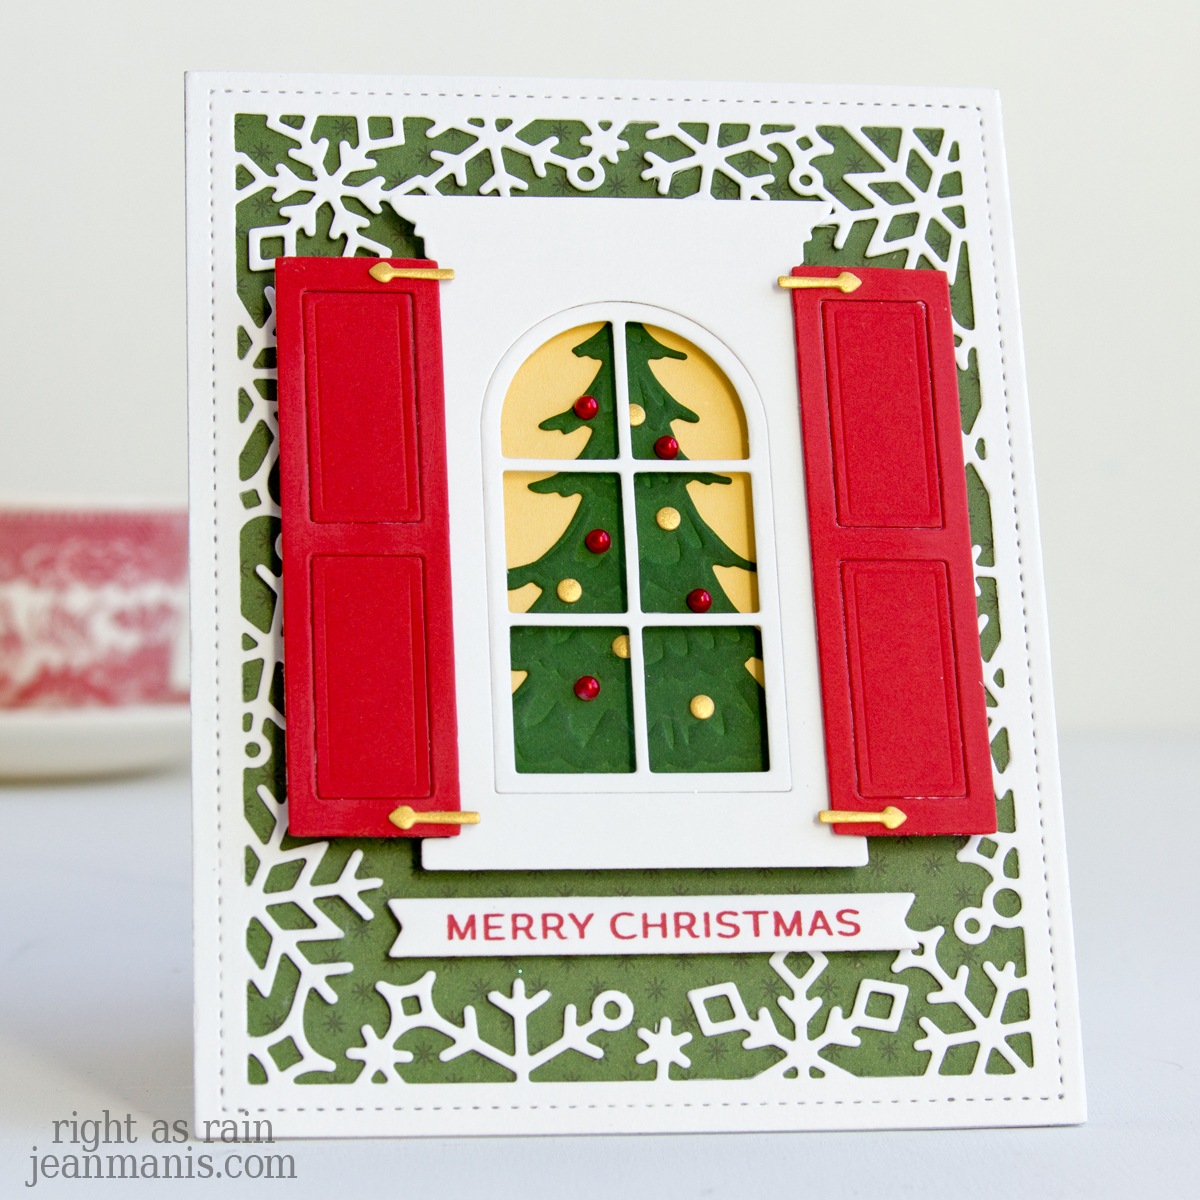
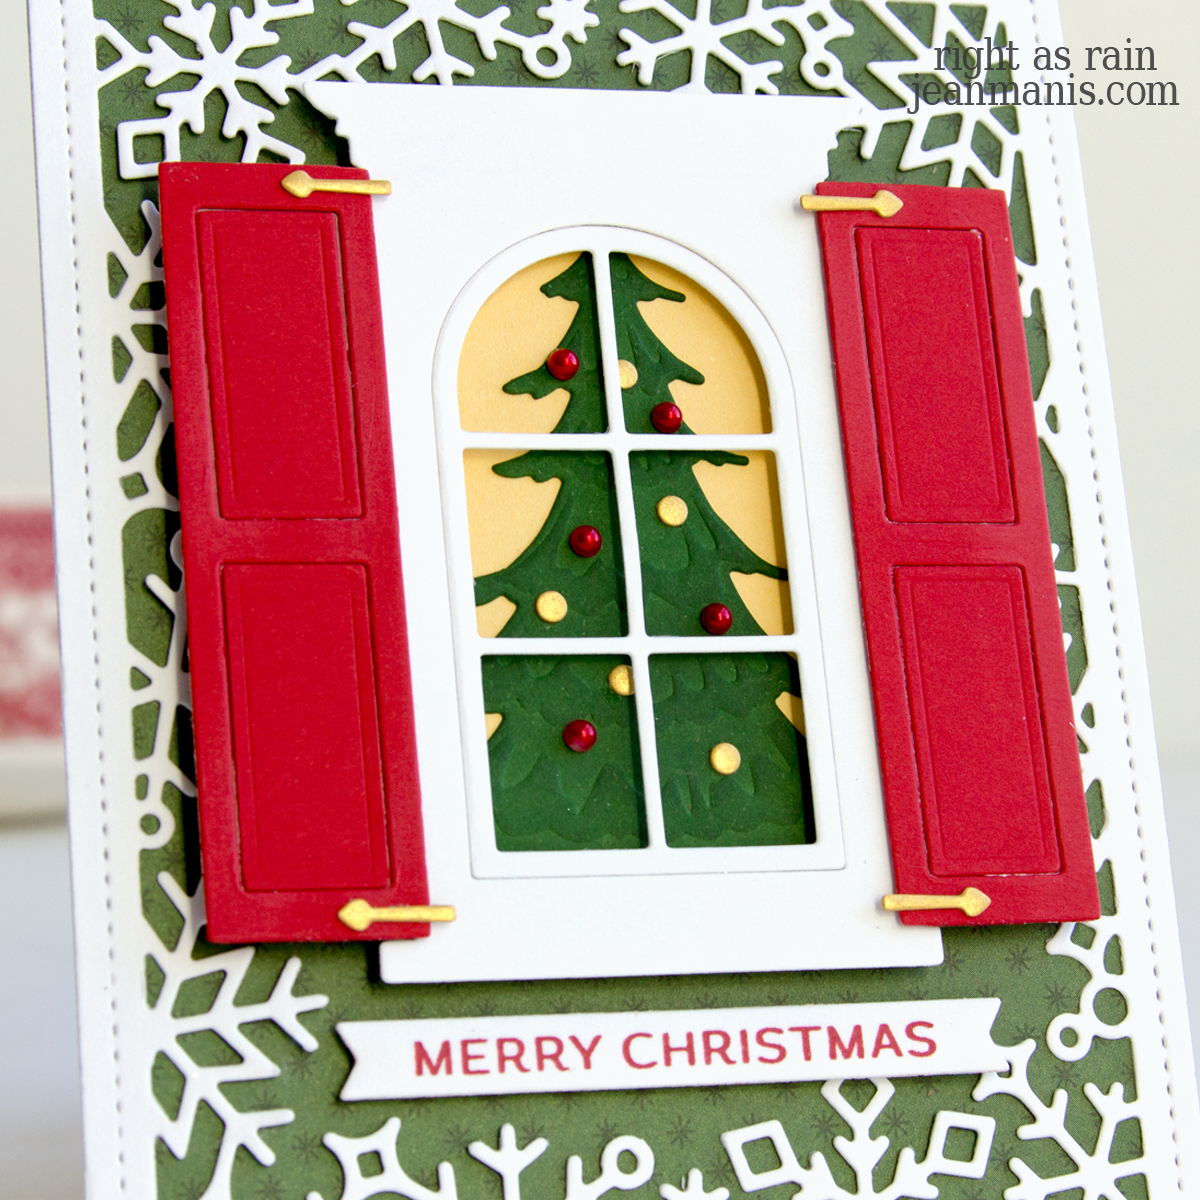
Cover plate dies can include a sentiment, as in the Taylored Expressions Merry Christmas Cutting Plate shown below, cut from colored cardstock and added to a patterned paper background.

Card Backgrounds with Cover Plate Dies

A cover plate background cut from the same color cardstock as the card base adds texture and does not take away from the focal point.

Card Backgrounds with Cover Plate Dies

Cover plate backgrounds cut from solid-colored cardstock can be added over an inked panel to reveal the image, such as the Simon Says Folk Dance die shown below. Note: This particular die does not cut an outside border; an A2-size die was used to cut the panel.

Card Backgrounds with Cover Plate Dies

Solid cardstock can be added to the back of the die-cut openings, as with the Reverse Confetti Big Polkas Cover Panel.

Card Backgrounds with Cover Plate Dies

Add textural interest with geometric dies that can be used alone or layered to create a plaid look, as with the Reverse Confetti Plaid Lines Small and Plaid Lines Big Cover Panel dies.

Card Backgrounds with Cover Plate Dies

The inlay technique can be used to fill in part or all of a background. In this case, the die is first used to cut the frame. Subsequent cuts are made of the additional cardstock colors and the cut pieces are added to the frame.

Card Backgrounds with Cover Plate Dies

Card Backgrounds with Cover Plate Dies

A stitched cover plate die can be used to cut holes that act as a guide for stitching with floss or used without any actual stitching, in which case the dots and embossed lines act as faux stitched details.

Card Backgrounds with Cover Plate Dies

Considerations and Limitations Cover plate dies present limitations in terms of size and orientation, which can impact their suitability for specific card designs. For example, a 4 1/4-inch wide by 5 1/2-inch cover plate with a pattern oriented from top to bottom (such as rainfall) would not work on a landscape-oriented scene. Additionally, many cover plate dies cost $20 or more making them a pricey background option.

Insights As I mentioned earlier, my most used cover plate dies are those that puncture the cardstock to create a textured background. In terms of my favorite way to use cover plate dies, the inlay technique creates a stunning background that becomes the focal point; only a sentiment is needed to finish it off.

Do you frequently use cover plate dies for backgrounds? Are any on your “to buy” list?

Spellbinders | Timeless Botanical Elegance

Hello! Today, I am sharing a card, where simplicity meet sophistication, that showcases the Spellbinders Coneflower stencil set. This five-piece stencil set makes it possible to easily create a stunning floral background.

Spellbinders | Timeless Botanical Elegance

  • Create an A2-size card base from Brushed Gold cardstock.
  • Using the five-piece Coneflower stencil set, apply Distress Oxide inks through each stencil on Snowdrift cardstock. I used Mowed Lawn and Rustic Wilderness for the green, Picked Raspberry for the petals, and Squeezed Lemonade for the flower centers.  I used Picked Raspberry (non-oxide ink) for the final layer that adds dots to the flower centers and lines to the petals.
  • Cut stenciled panel with a die in the A-2 Matting Basics A set. Add to Brushed Gold card base.
  • Glimmer-foil in Gold the “Thank You” sentiment in the Sentiments for Everyday set. Cut with a banner die and add to the card with foam adhesive.

Spellbinders | Timeless Botanical Elegance


52 Christmas Card Throwdown Sketch Challenge

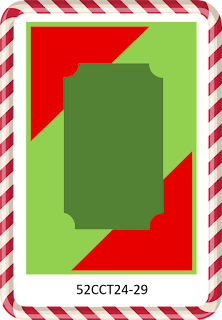
Hello! Today I am sharing a Christmas card created for the Sketch Challenge at the 52 Christmas Card Throwdown.

52 Christmas Card Throwdown November Sketch

I absolutely love participating in sketch challenges. The limited choice in terms of design pushes me to think innovatively. Instead of feeling restricted, I find that my imagination thrives! Additionally, challenges that don’t have specific manufacturer affiliations or brand restrictions make it possible for me to explore my vast collection of crafting supplies. I can reach into my stash of paper, stamps, and dies and mix-and-match!

52 Christmas Card Throwdown | Sketch Challenge

  • I cut a 4 1/4″ square of the tree patterned paper with a now-retired Lil’ Inker stitched die and added it to a 4 1/2″ card base of TE Mulled Wine cardstock. (As I mentioned in this post, patterned paper offers a quick and convenient way to add character in cardmaking. I found a now-retired package of Taylored Expressions patterned paper with a variety of coordinating papers.)
  • With one of the Tag Stacklets 3 dies, I cut the ornament from patterned paper and Snowdrift cardstock. I used a die in the Build a Scene – Rolling Hills set to cut a snowbank from Snowdrift cardstock and added it to the ornament.
  • I cut a strip of the striped paper 1 1/4″ x 4 1/4″ and added it to the background and the ornament to the strip.
  • With the Taylored Expression Little Bits Snowman die set (now-retired), I cut the pieces and assembled the snowman. I used the Little Bits – Snowflake Confetti set to cut snowflakes from the Snowdrift cardstock. I adhered the snowman and snowflakes to the circle ornament and tied twine at the top.
  • I used the Savvy “Let It Snow” rubber stamp, (bought over a decade ago at the Impress stamp store in Seattle), for the sentiment and cut it with a die in the TE Mini Tags set (the set is now retired, although there appear to be similar small tag dies on the Taylored Expressions site). I added the tag to the ornament with an enamel dot.

52 Christmas Card Throwdown | Sketch Challenge

This challenge gave me the perfect excuse to revisit forgotten gems in my stash.


Elizabeth Craft Designs | Crafting Cozy Moments

Hello! Today, I am delighted to share a handmade card with a hot beverage theme featuring products from Elizabeth Craft Designs. Nestled on a snowflake-patterned paper, this card captures the essence of winter coziness. I recently posted about the hot beverage theme in cardmaking HERE.

Elizabeth Craft Designs | Crafting Cozy Moments

    • Create an A2-size card base and adhere patterned paper (I used the A2-size die in the Lawn Fawn Stitched Rectangles set to cut the paper). Patterned paper offers a quick and convenient way to create card backgrounds, which I discussed in this post.
    • Using the Warm Winter Mug die set, cut mug, gingerbread person, and candy cane from Snowdrift, Pomegranate, Paper Bag, and Fern cardstock. Assemble.
    • Stamp Holiday Treats sentiment on Snowdrift cardstock with Icing on the Cake ink. I masked the sentiment in order to stack it. Cut sentiment with a banner die. Add grommet (I used a die in the Lawn Fawn Tag, You’re It set), and punch a hole. Add twine (Lawn Fawn Peppermint Cord).
    • Add assembled mug and sentiment banner to card base.

Elizabeth Craft Designs | Crafting Cozy Moments

Looking for more inspiration? I previously posted a card with these sets here.


Spellbinders | Build a Card Hello

Hello! I am delighted to share a “Hello” card featuring this month’s Spellbinders Small Die of the Month Club Kit – “Build a Card Hello.” This handmade card, crafted with die-cuts and a dry-embossed background, can be sent for any number of occasions.

Spellbinders | Build a Card Hello

    • Dry-emboss an A2-size panel of light-green cardstock with the Scattered Fall folder. (The folder was released September 2022 to Embossing Folder of the Month Club members.) Add to card base.
    • With a die in the Small Die of the Month set, cut the floral outline twice from Snowdrift cardstock. Cut again from Fern, Terra Cotta, and navy cardstock. Use the inlay technique to fill the large bloom and leaves.
    • Add assemblies to the top and bottom of the card background.
    • Cut sentiment from navy cardstock and glitter foam (glitter side down). Attach together and add to the card base center.
    • Cut additional pieces from Snowdrift cardstock and attach to the card background.

Spellbinders | Build a Card Hello

Spellbinders Christmas Gift Sets

Spellbinders Cardmaking Kits Promotion

Spellbinders BetterPress Promotion