Spellbinders | Nature’s Hike Bouquet Card

“It looked like the world was covered in a cobbler crust of brown sugar and cinnamon.” — Sarah Addison Allen, First Frost

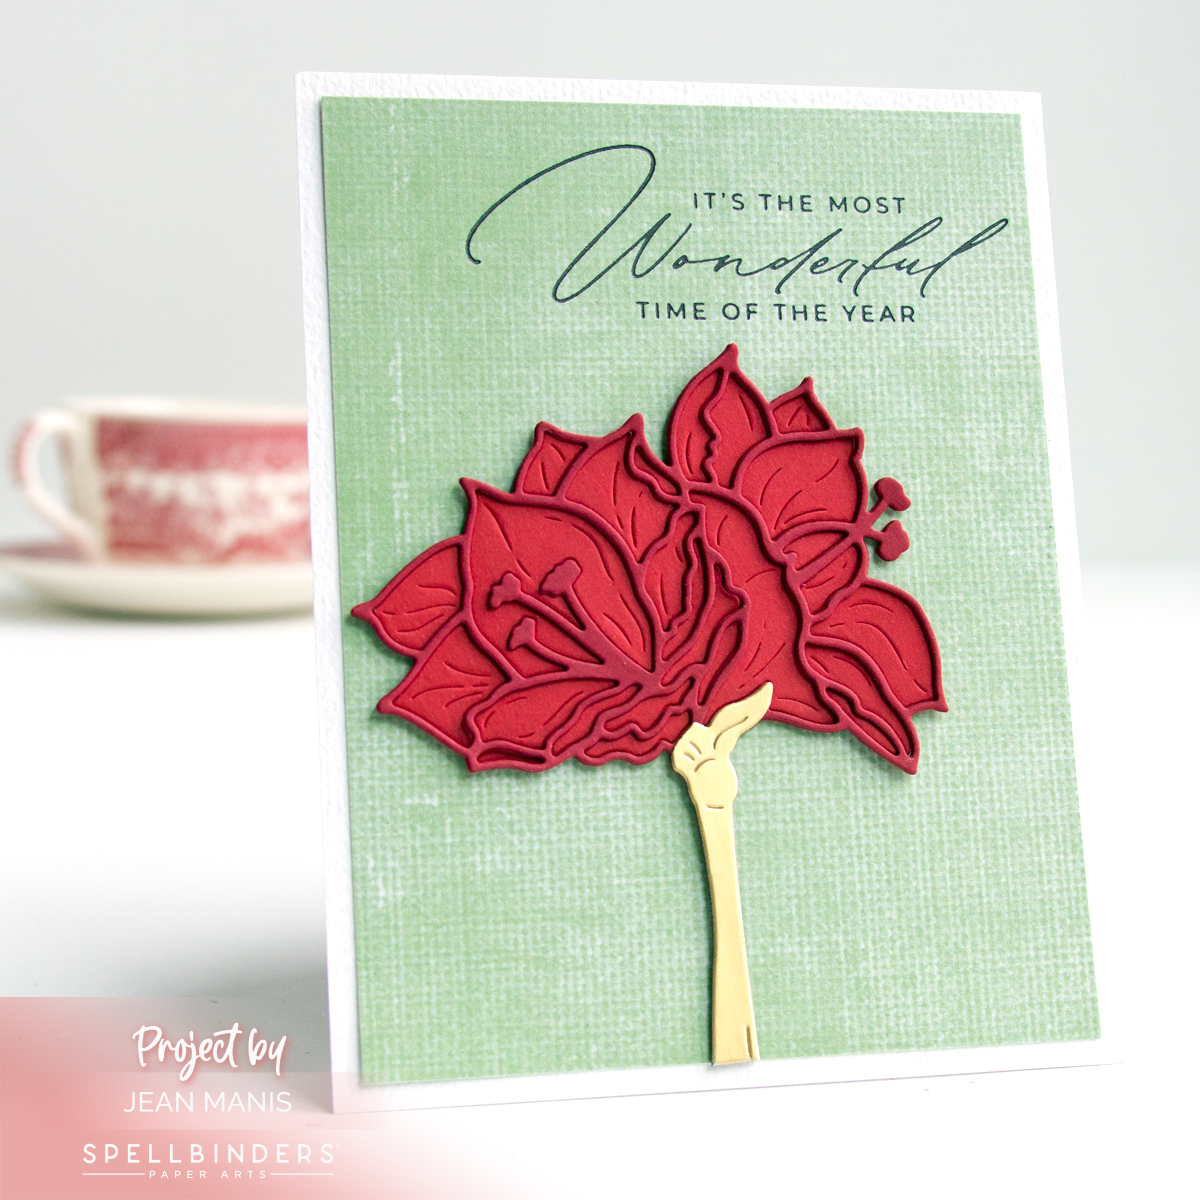
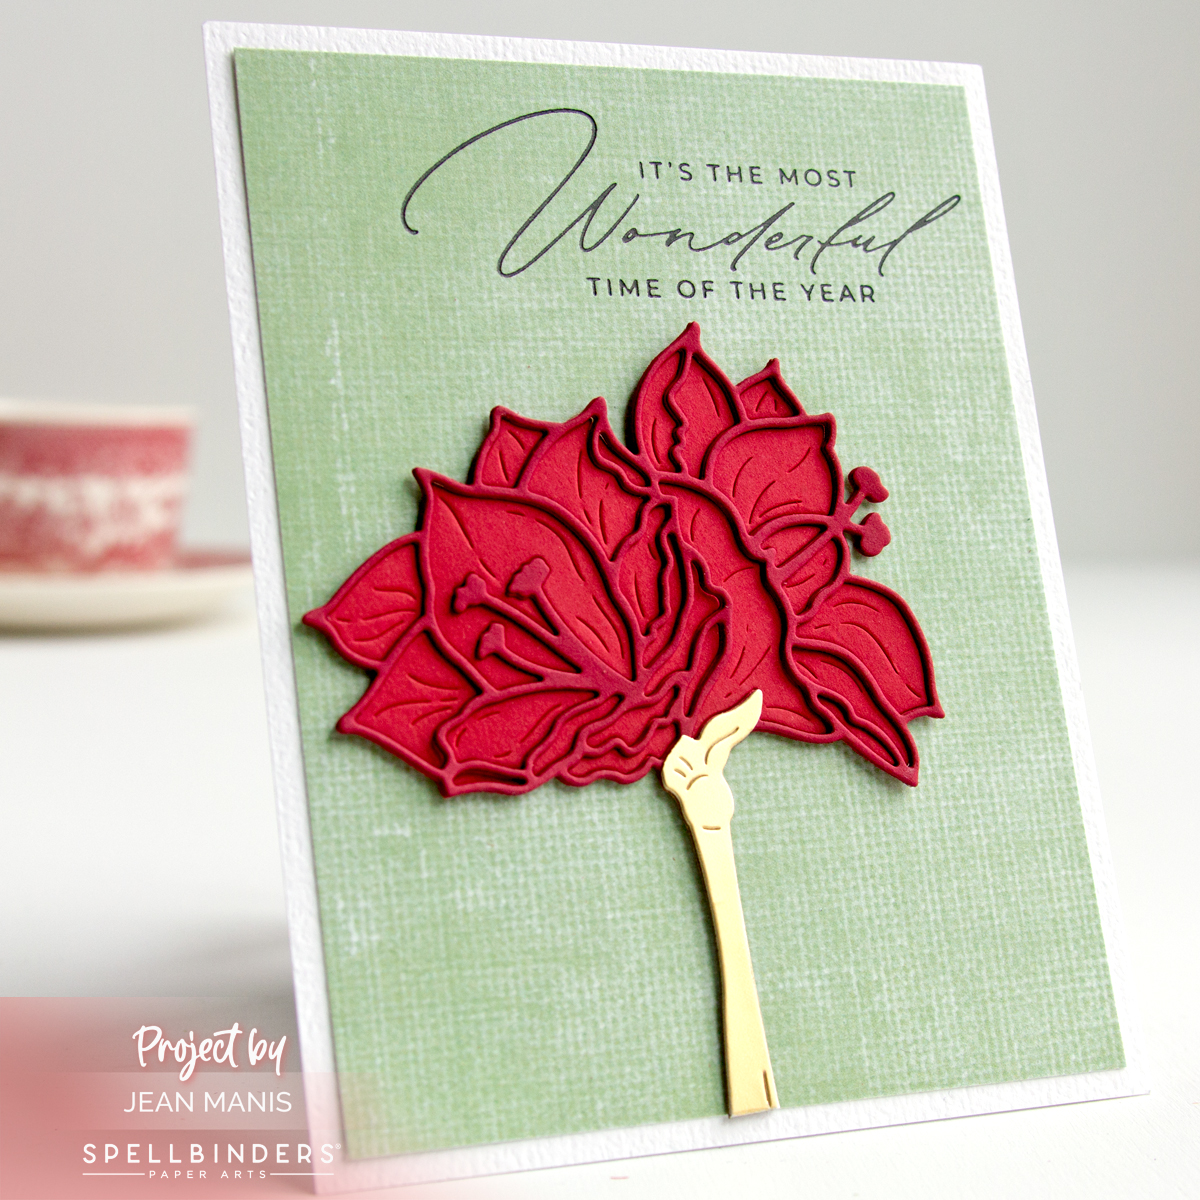
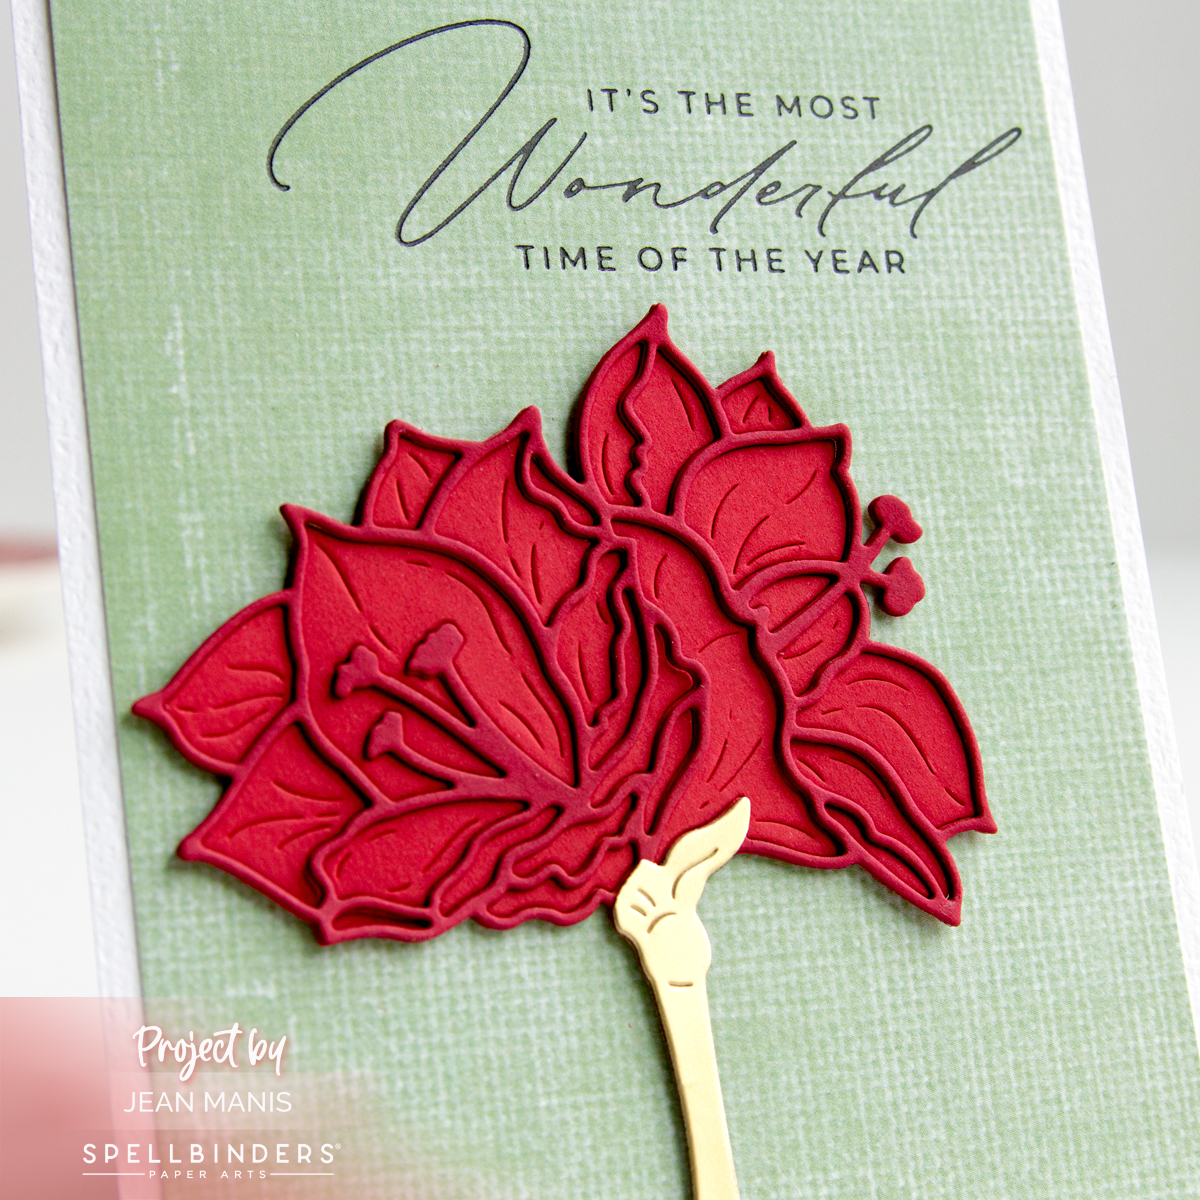
Hello sweater weather! Step into the beauty of fall with the September Spellbinders Small Die of the Month – “Hiking Through the Meadows.” With this unique die set, craft a pair of hiking boots that hold a vibrant bouquet.

Spellbinders | Nature's Hike Bouquet Card

What’s your favorite fall quote? Is it a reflection on the changing leaves, the crisp air, or the cozy moments?

Spellbinders | Nature's Hike Bouquet Card

Spellbinders | SEPT 2023 Small Die of the Month

Past Club Fire Sale


Spellbinders | Boo-licious Cupcake Greetings

Get ready to be charmed by a non-spooky Halloween card featuring the Spellbinders September Large Die of the Month set – “Boo-licious Fall Cupcake.” With a color palette of pinks and teals, this card brings a playful twist to the Halloween spirit. Read on to discover how to create the card.

Spellbinders | Boo-licious Cupcake Greetings

Spellbinders | Boo-licious Cupcake Greetings

Do you prefer spooky or cute when it comes to Halloween?

Spellbinders | Boo-licious Cupcake Greetings

Past Club Fire Sale


Sunny Studio Stamps | Snow One Like You

Hello! It is hard to resist a winter scene with a snowman. In this post, I am sharing two cards, both showcasing the delightful stamp set Snow One Like You from Sunny Studio Stamps. On one, I used the Lawn Fawn Say Cheese, Again Polaroid-style frame, and on the other, I used the Sunny Studio Stamps Mini Mat & Tag 3 set to create a mat for my scene. In this post, I discussed the use of frames and mats in cardmaking.

Sunny Studio Stamps | Snow One Like You

To create the background, cover an A2-size card base with patterned paper.

To create the focal image, stamp Snow One Like You with Versafine on Arches Cold Press watercolor paper and heat set. Color the image with watercoloring medium of choice. Once dry, cut the images with the coordinating die set. (Check out my “Resources for Watercoloring Stamped Images” HERE.)

Use one of the hill dies in the Slimline Nature Borders set to create the snowbank.

Cut the frame with the Lawn Fawn Say Cheese, Again frame. Add snowbank and patterned paper behind the frame, trimming as needed. Cut sentiment with the Art Impressions Journal Letter die set from white glitter foam. Adhere the letters to the frame, attach the frame assembly to the background, and add the focal image to the card with foam adhesive.

Sunny Studio Stamps | Snow One Like You

Alternatively, cut a mat with the Sunny Studio Stamps Mini Mat & Tag 3 die set. Use a rectangle die to cut the sky from patterned paper and to trim the snowbank. Add the sentiment, cut with the Art Impressions Journal Letter die set from white glitter foam, to the snowbank. Add the assembly to the card background and the focal image to the card with foam adhesive.

Sunny Studio Stamps | Snow One Like You

Below are sketches of the two designs.

Polaroid Frame Sketch

Rectangular Mat Sketch


Autumn Gratitude | Spellbinders Envelope of Wonder

Hello! Today, I am sharing a fall-themed, envelope-shaped card created with products from the Spellbinders Envelope of Wonder Collection. I chose unconventional colors – teal and purple – for the autumn elements.

Autumn Gratitude | Spellbinders Envelope of Wonder

Recently, I shared three cards created with the Envelope of Wonder Collection on the Spellbinders blog. In that post, I discussed dealing with overwhelm when working with large die sets. For this card, I followed the same formula I discussed in the guest post: identify focal items, choose the colors for those items, choose the colors of the envelope based on those elements, and fill the envelope with secondary elements.

Autumn Gratitude | Spellbinders Envelope of Wonder


A Guide to Die-Cut Frames in Cardmaking

Hello! Today, I am delving into the topic of die-cut frames, that is, frames that you create using dies. For cardmaking, frames offer a wide range of design possibilities. Available in various shapes, sizes, and designs, frames create windows that spotlight your chosen elements. Let’s explore this topic in more depth with examples; click on the card image to be taken to the original post.

Frame dies come in many shapes, including rectangles, squares, circles, ovals, hearts, stars, and more. The variety allows you to match the frame to the theme and style of your card. Furthermore, it is easy to create frames with basic shape die sets, such as the Everlasting Circles and Squares die sets from Spellbinders. Additionally, a number of manufacturers sell dies with multiple openings for both A2-size and slimline cards.

A Guide to Die-Cut Frames in Cardmaking

A Guide to Die-Cut Frames in Cardmaking

Polaroid-style frames not only showcase the focal image but also provide space to stamp a sentiment such as this one from My Favorite Things. I have similar dies from Penny Black, Paper Smooches, and Avery Elle in my collection. Lawn Fawn sells the Say Cheese, Again set, which I do not own but have on my wishlist.

A Guide to Die-Cut Frames in Cardmaking

Rectangular frame dies, such as the My Favorite Things A2 Rectangles set, (the largest die measures 4 1/4 x 5 1/2 inches on the outside), make it possible to hide die-cut edges in scene cards.

A Guide to Die-Cut Frames in Cardmaking

Some die-cut frames feature intricate patterns and details, adding sophistication to your cards. For example, frames can mimic lacework, filigree, or other decorative elements such as the Heartfelt Thanks die set designed by Becca Feeken for Spellbinders.

A Guide to Die-Cut Frames in Cardmaking

Additionally, frame die-cuts are available for different themes and seasons: you can use leafy frames for autumn-themed cards, snowflake frames for winter, and floral frames for spring. The Snow Flurries and Forest Backdrop dies from Lawn Fawn are two such examples.

A Guide to Die-Cut Frames in Cardmaking

A Guide to Die-Cut Frames in Cardmaking

Is a mat a frame? In cardmaking, both frames and mats play significant roles in the appearance and impact of your designs. However, they serve slightly different purposes and have distinct characteristics. Designed to draw attention to the focal image, sentiment, or embellishment, a frame surrounds a specific area or element on the card. On the other hand, a mat is a layer that is larger than the element it is placed behind. Mats add contrast, dimension, and visual interest to the design. (To note, mats in cardmaking are different than mats in picture framing. In picture framing, the mat serves as a component that frames and accentuates an image, providing a visual boundary between the artwork and the frame.)

Incorporating frames into your cardmaking projects adds an artistic and polished touch. I encourage you to delve into your own collection of frame dies – which are your favorites and what is on your wishlist? You might just find that reviewing your use of frames provides inspiration for future cardmaking projects!