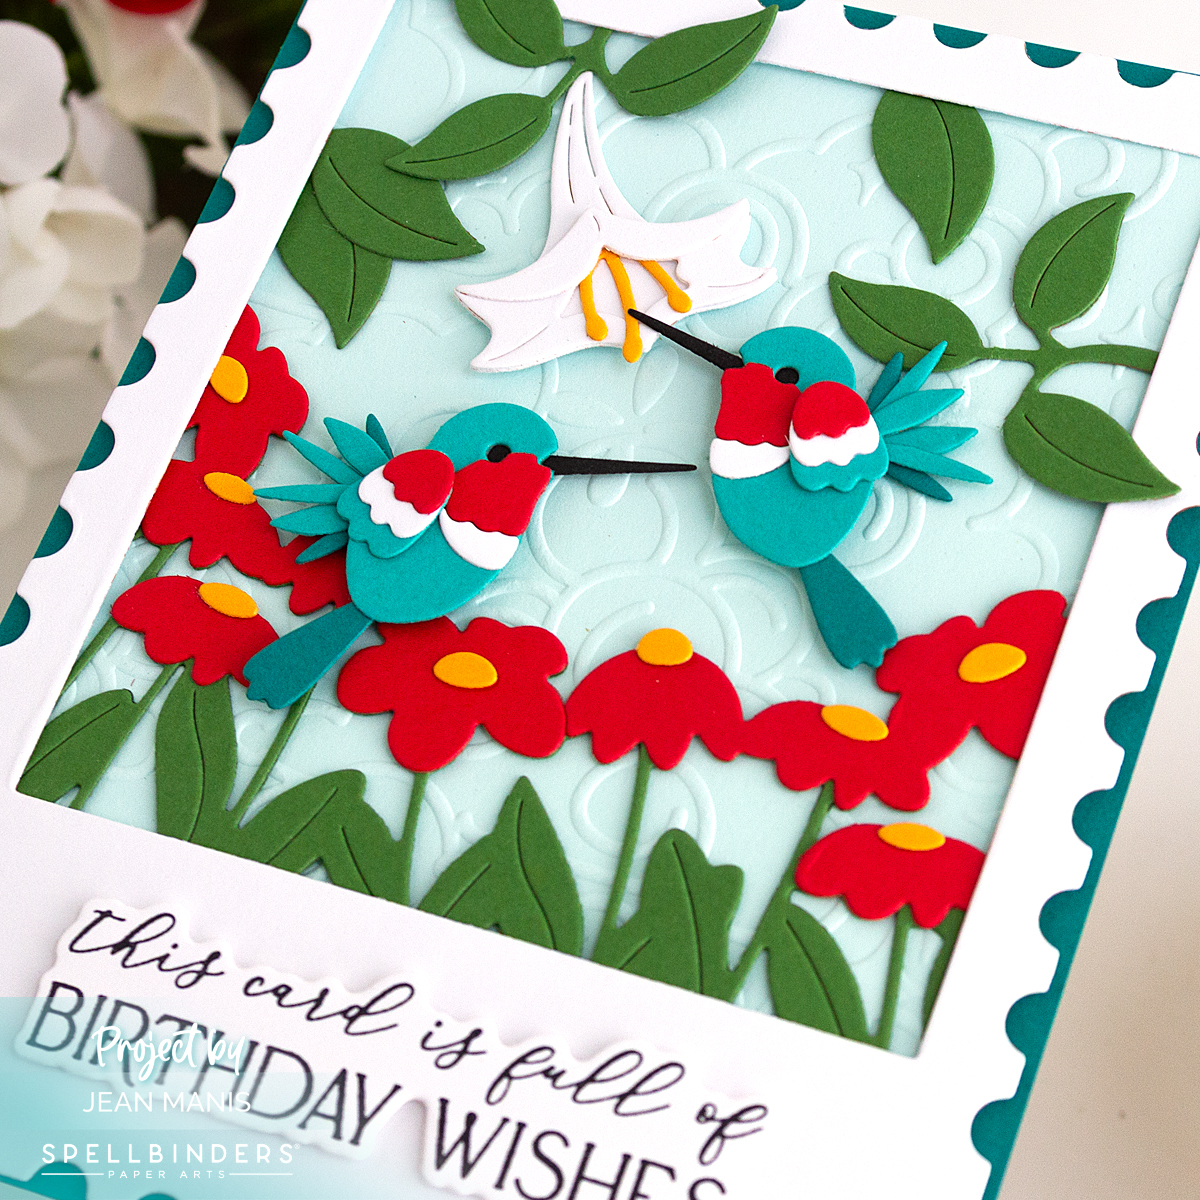
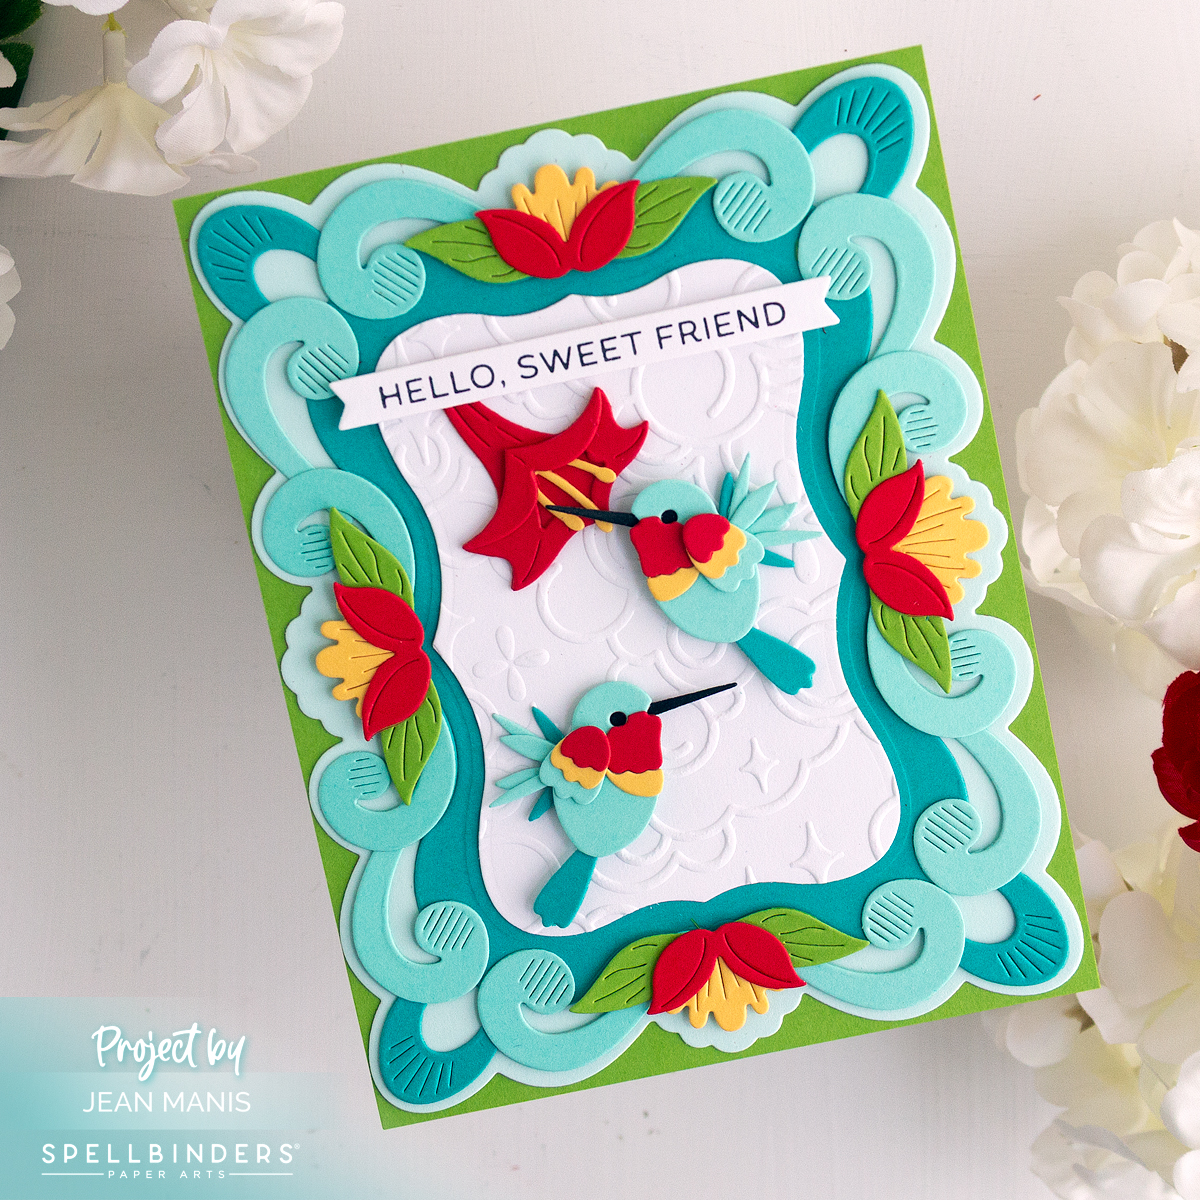
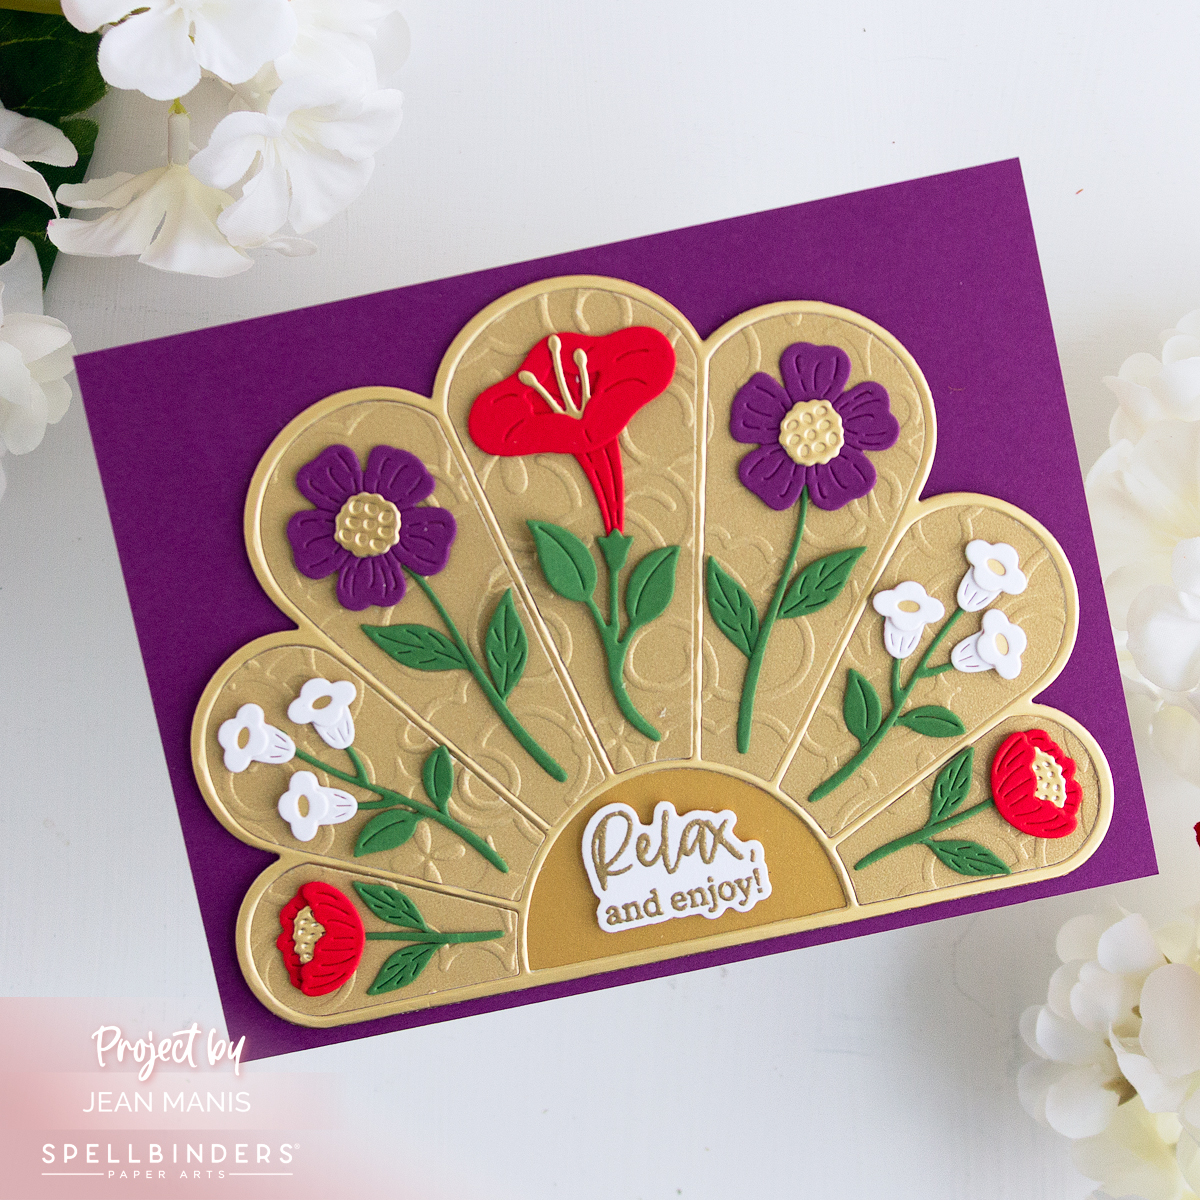
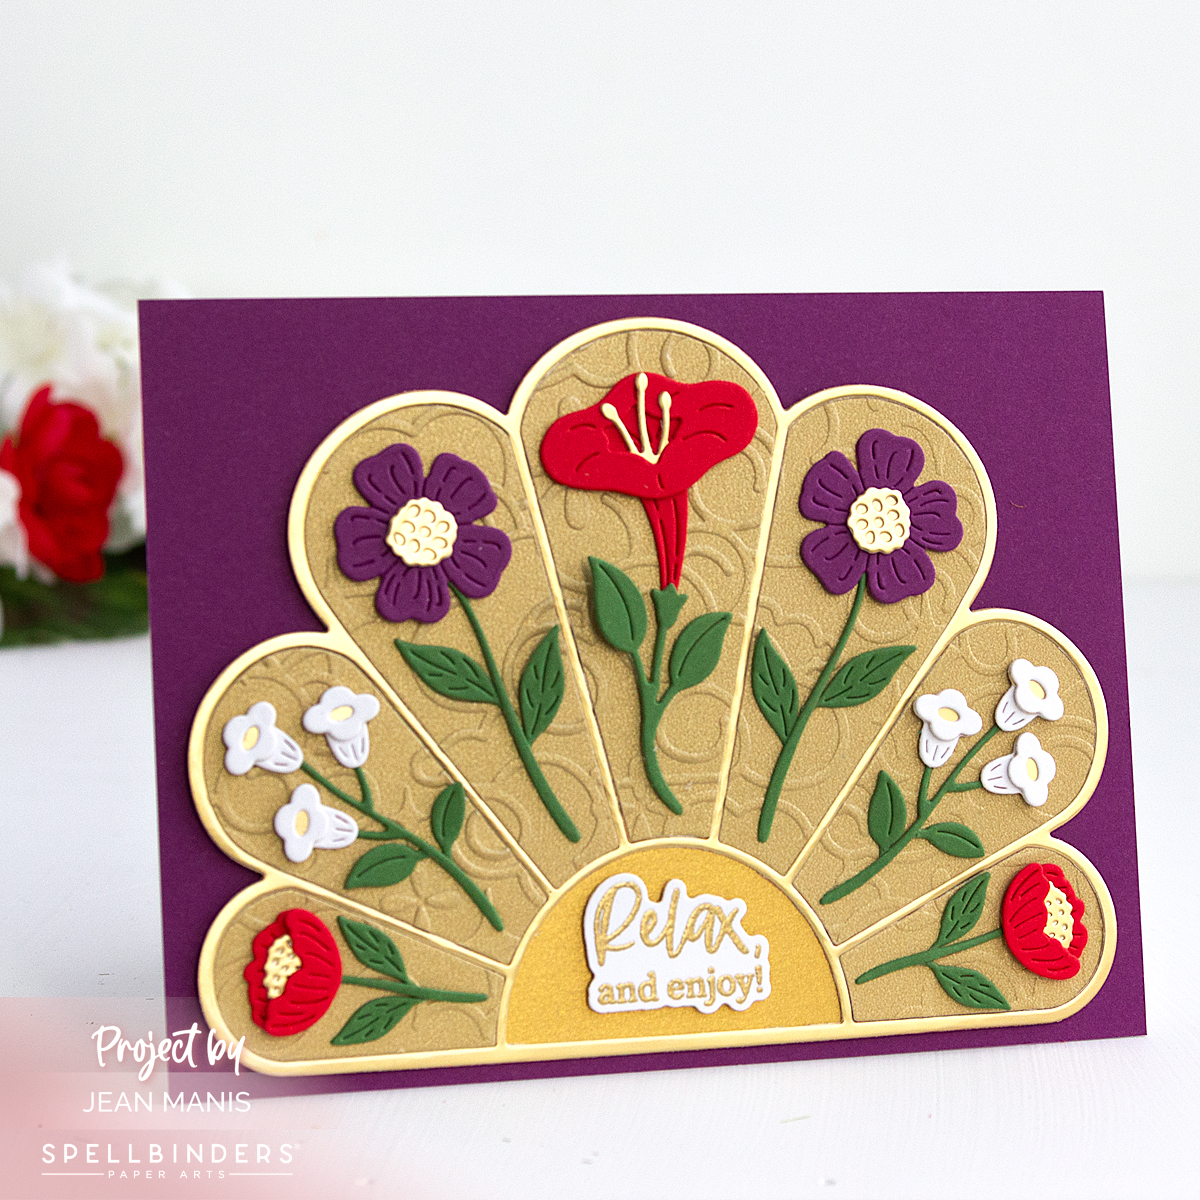
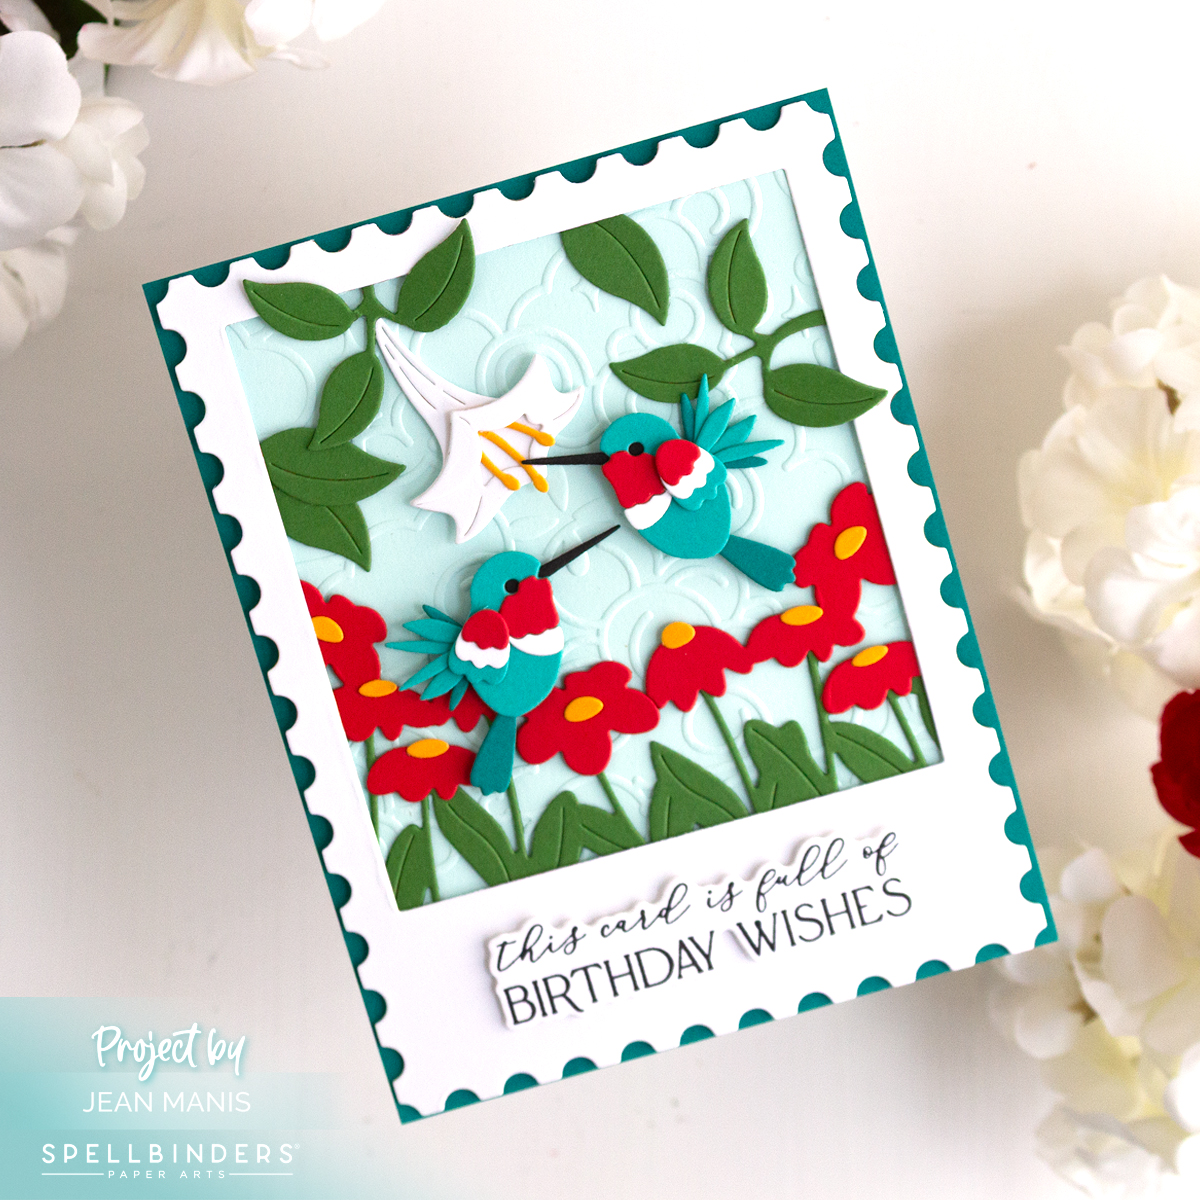
Hello! Birthdays are one of those card-sending occasions that never go out of style, and that’s part of what makes them so satisfying to create. For this card, I used the Spellbinders January Large Die of the Month, Hummingbirds Delight, and leaned fully into color, which is a welcome change this time of year. The die set includes a beautiful frame, which makes it easy to anchor the design and add a sentiment along the bottom.
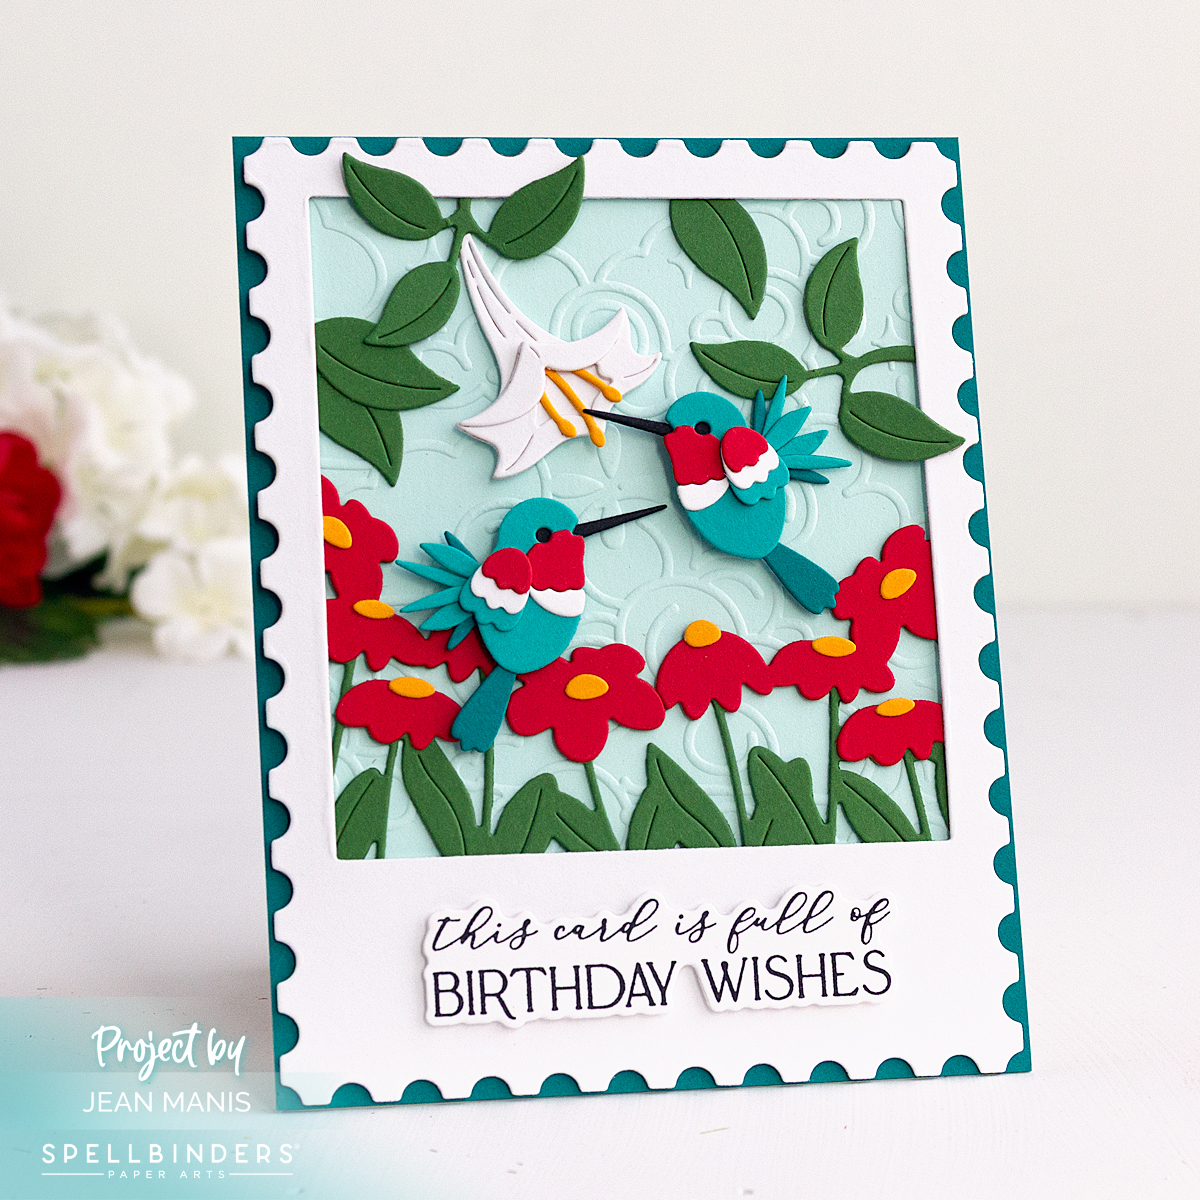
While I chose a birthday greeting here, this design easily adapts to many occasions including thank you or thinking of you, by swapping out the sentiment.
-
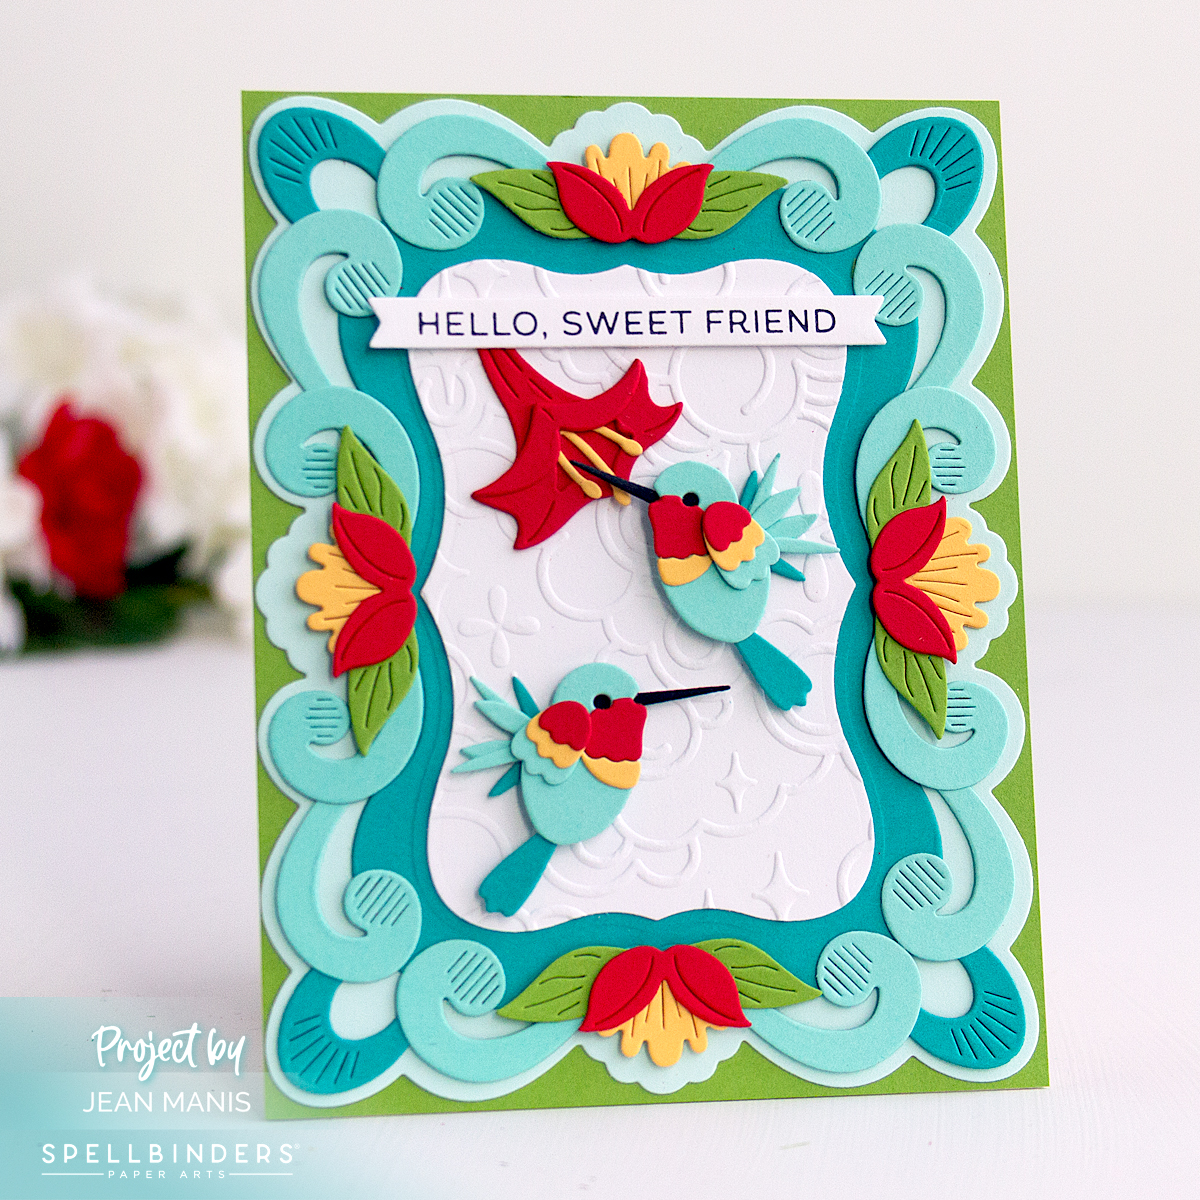
- Create an A2-size card base from Blue Spruce cardstock.
- Using the Large Die set frame die, cut the frame, leaves, flowers, and hummingbirds from a variety of cardstock colors. Assemble as necessary.
- Add the floral piece to the backside of the frame.
- Dry-emboss Seaside cardstock with the Cloud Nine folder and secure to the bottom portion of the frame. Place the assembly on to the card base. You need the top to be open to tuck the elements under the frame.
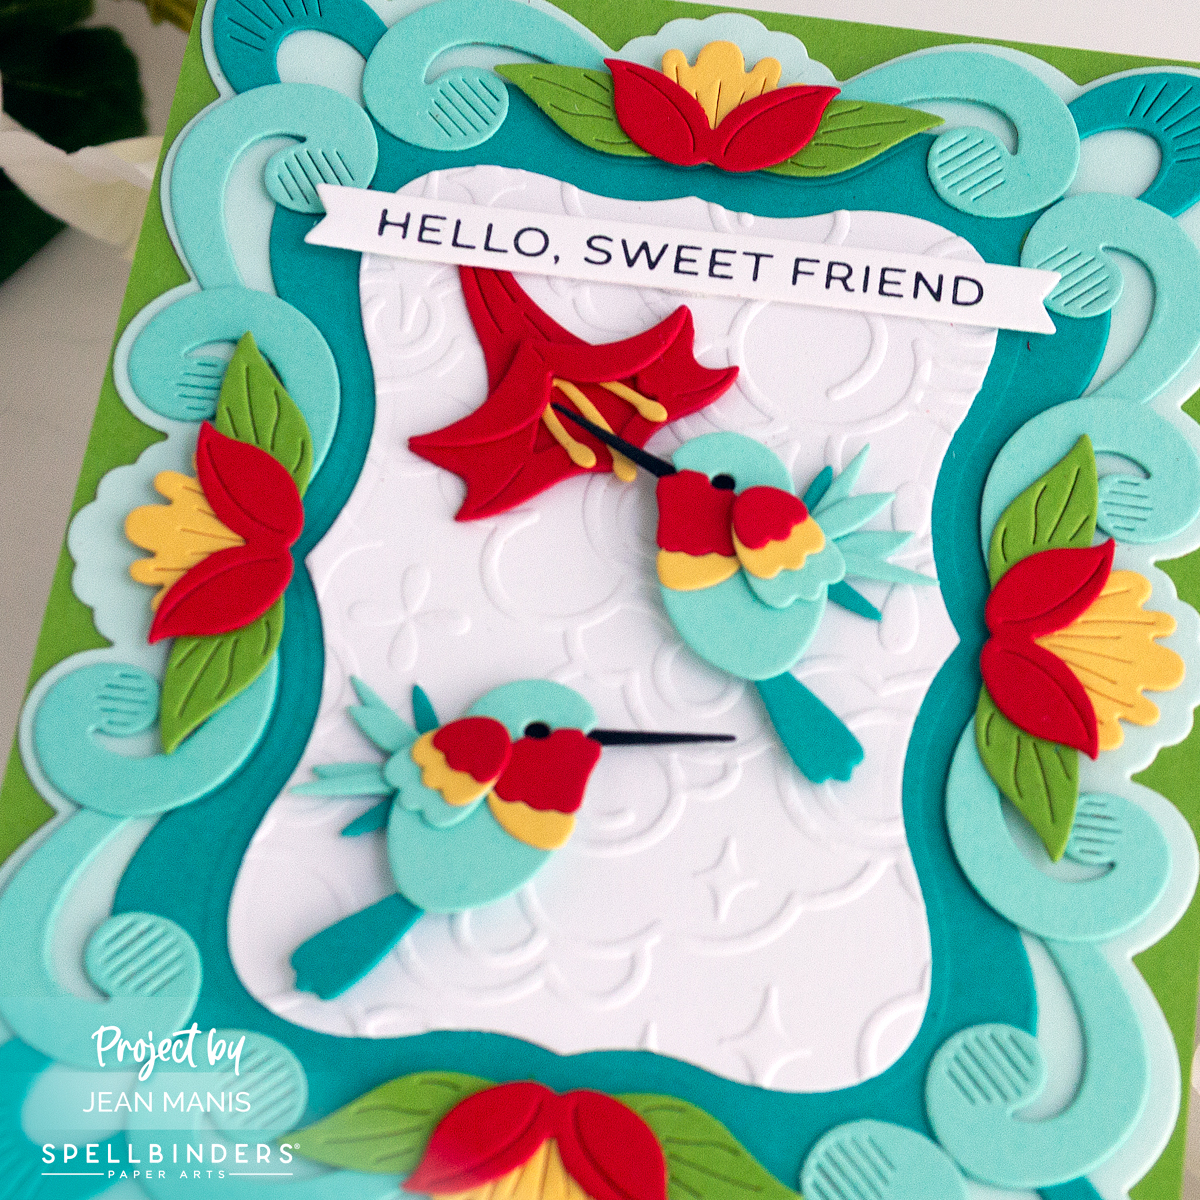
- Add the elements to the top and sides of the frame. Secure frame to the dry-embossed background.
- Press the You are Everything sentiment and add to the frame.
- Add hummingbirds with foam squares.