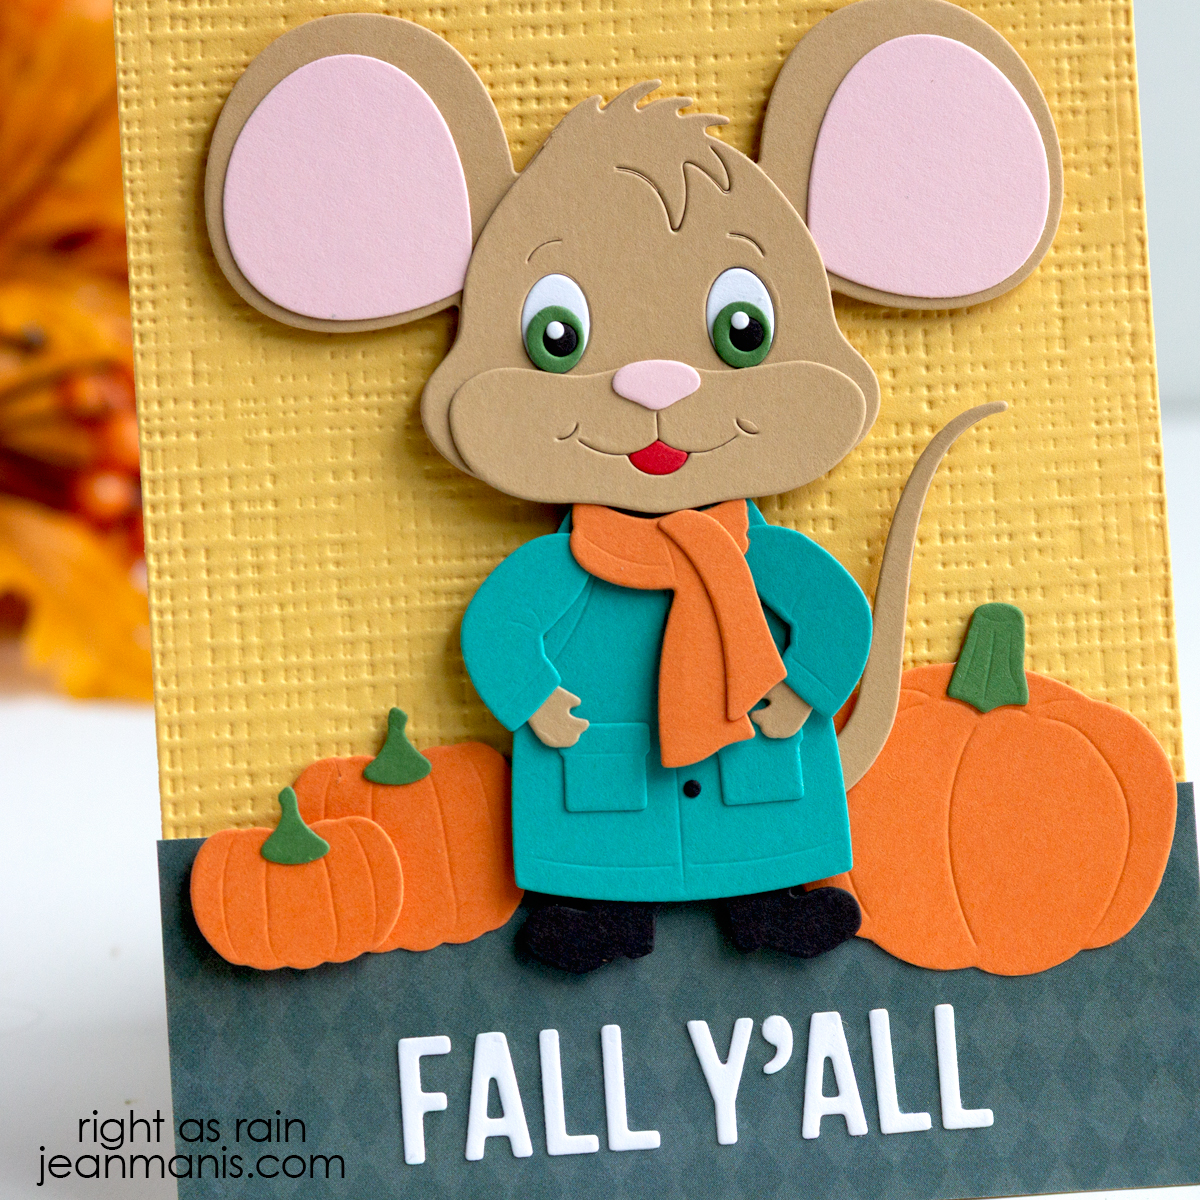
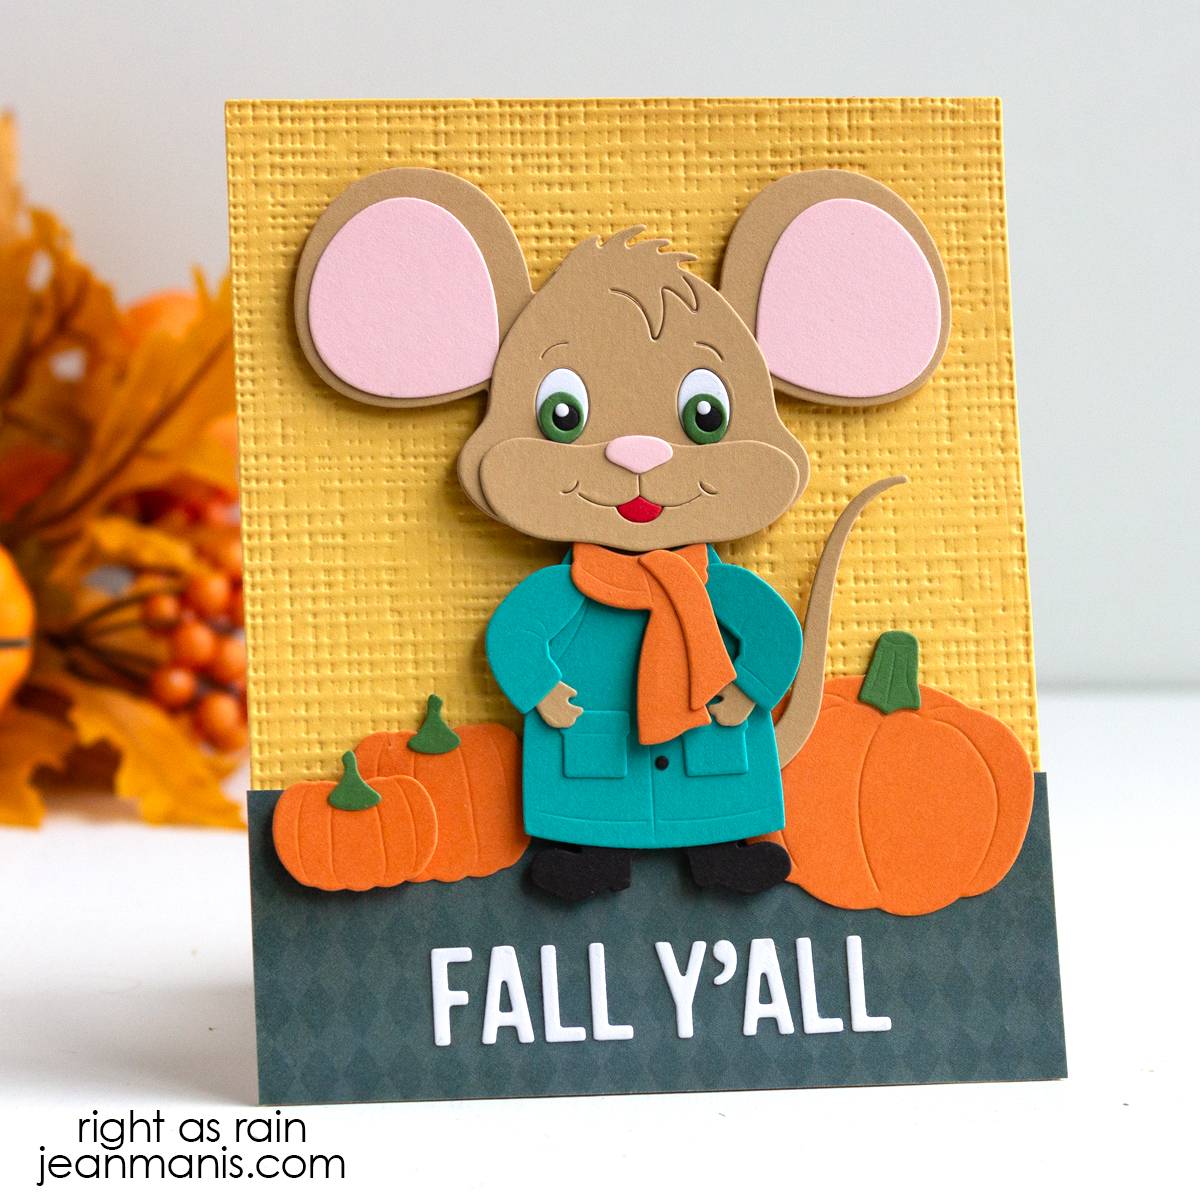
Hello! Fall is one of my favorite seasons to craft for, and today I’m sharing a cozy handmade card that captures the warmth of autumn. I used the Big Mouse die along with the coordinating Fall Accessories set, both from Elizabeth Craft Designs, to dress the mouse for the season. To finish it off, I created a playful custom sentiment that reads “Fall Y’all,” cut with a letter die set. This card is full of charm and a fun way to celebrate the beauty of fall.
-
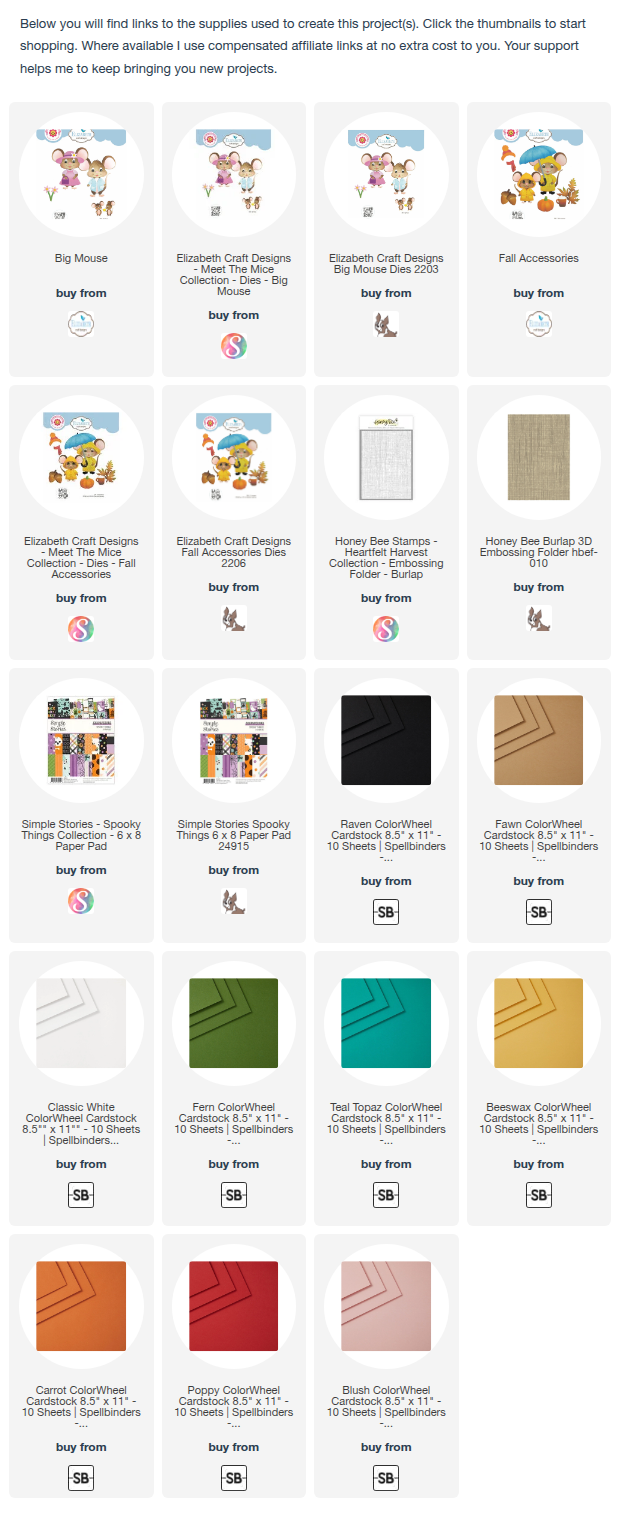
- Dry-emboss cardstock with the Honey Bee Burlap folder. Add to card base. Cut a strip of the Scary Stories patterned paper and add to base.
- Cut Big Mouse and Fall Accessories from a variety of cardstock colors and assemble. The large pumpkin is from the ECD Hay Ride die set (now discontinued).
- Add sentiment with die-cut letters (I used a set from Taylored Expressions).