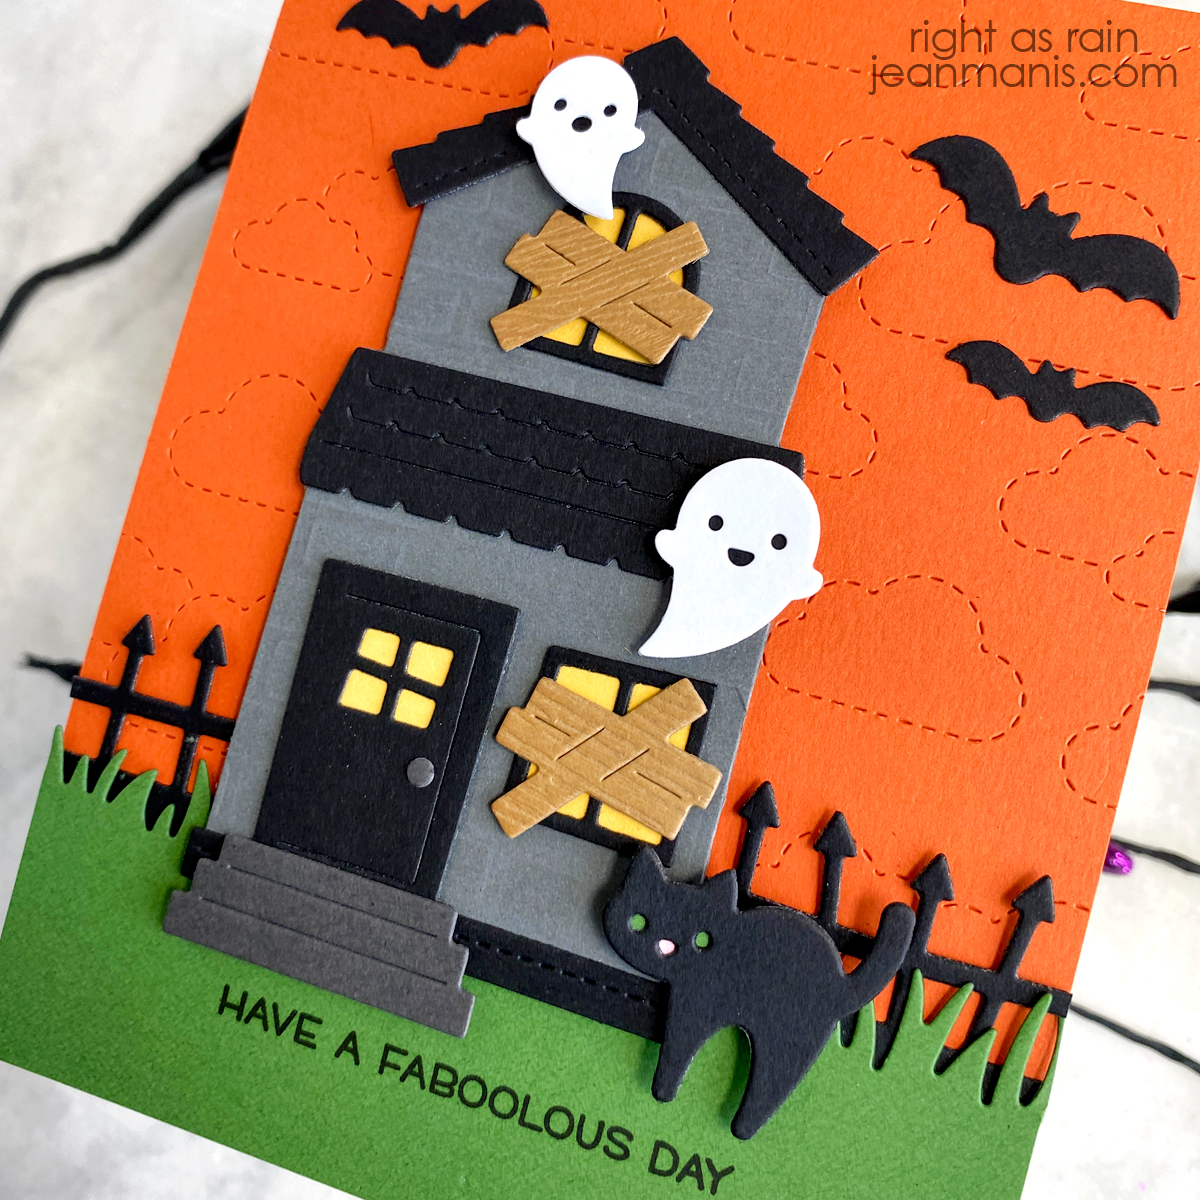
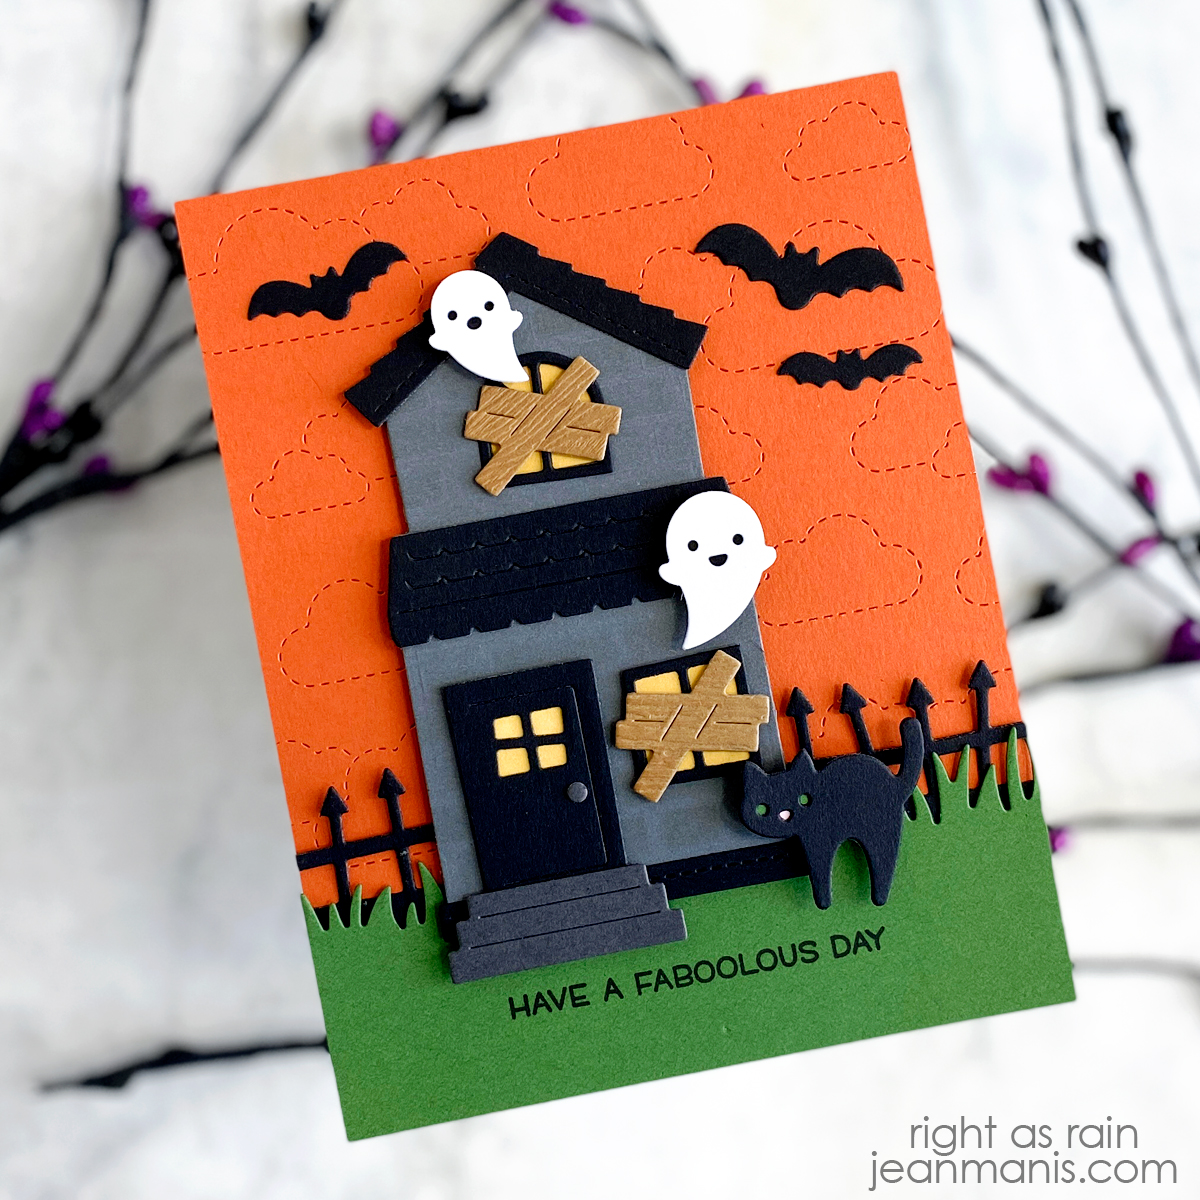
Lawn Fawn | Halloween Haunted House

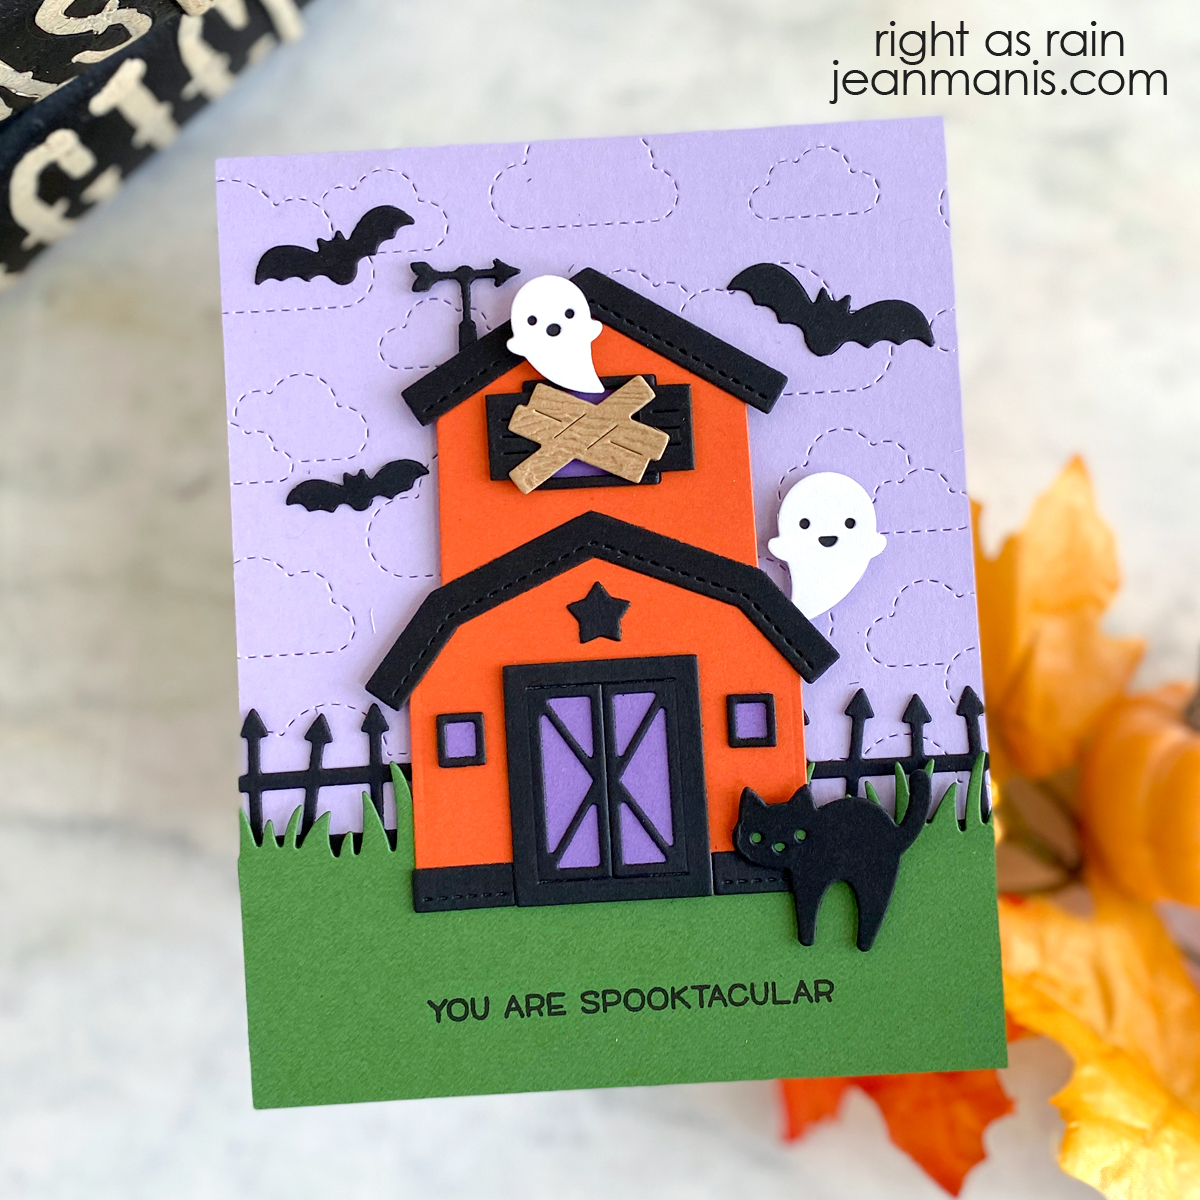
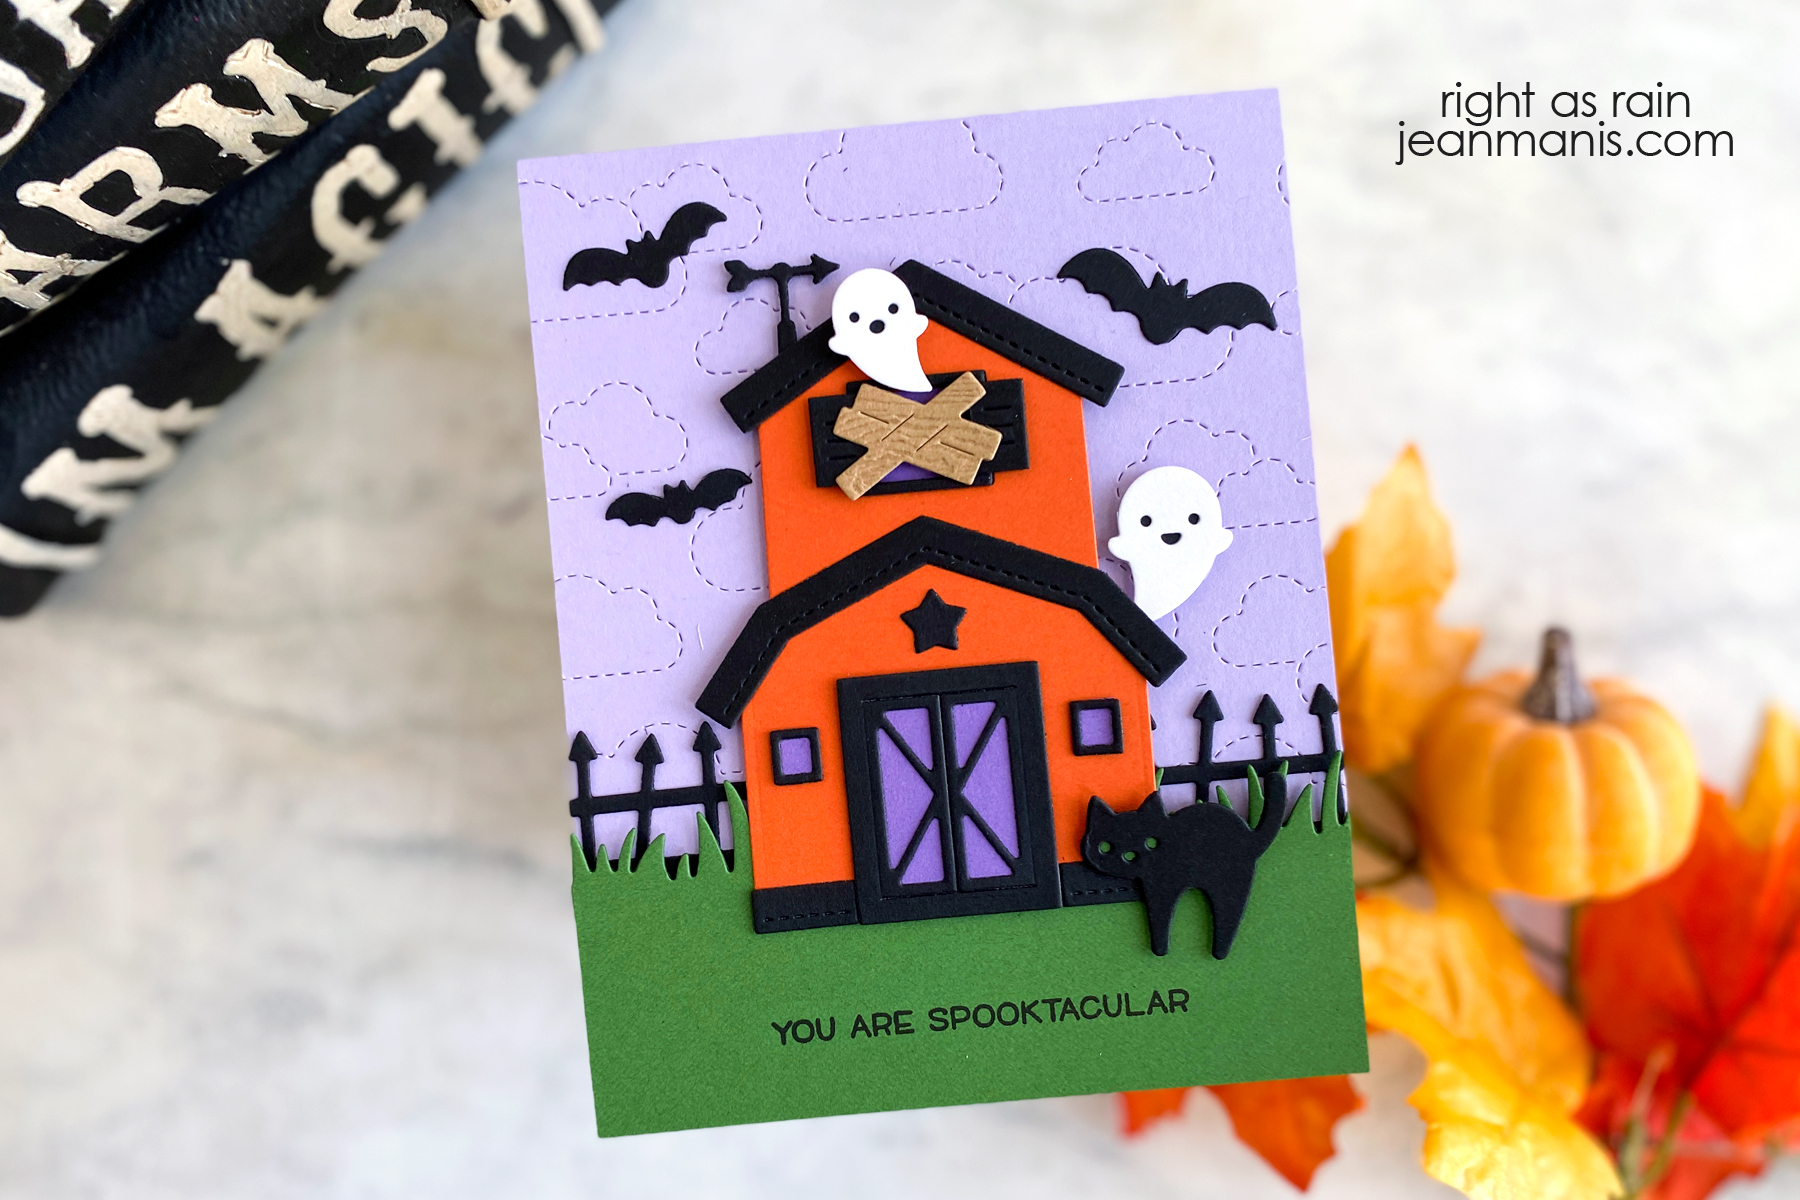
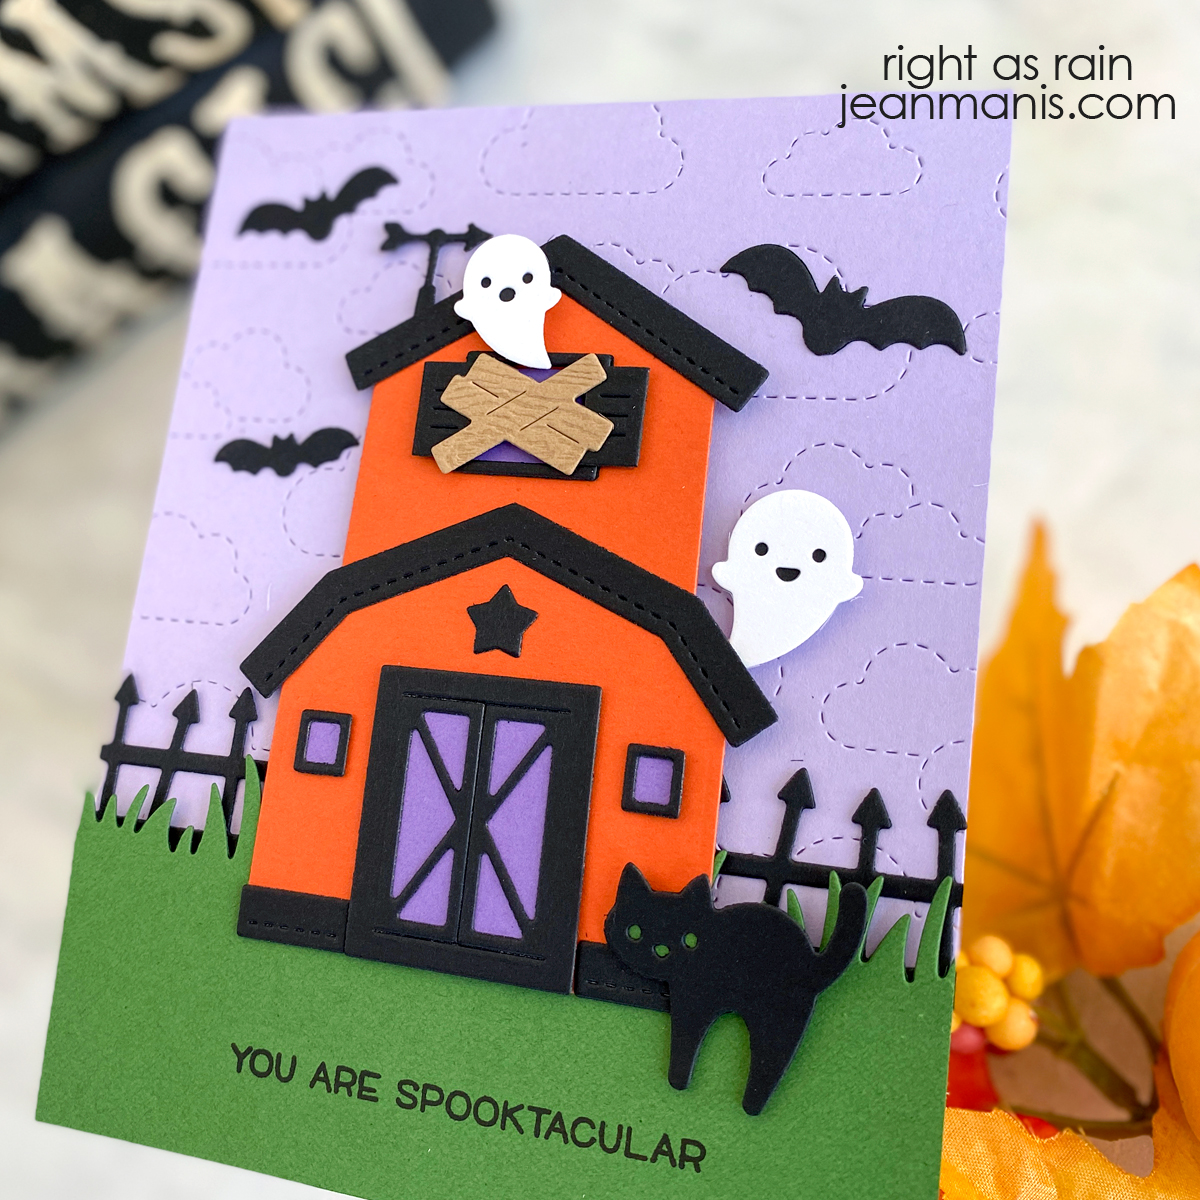
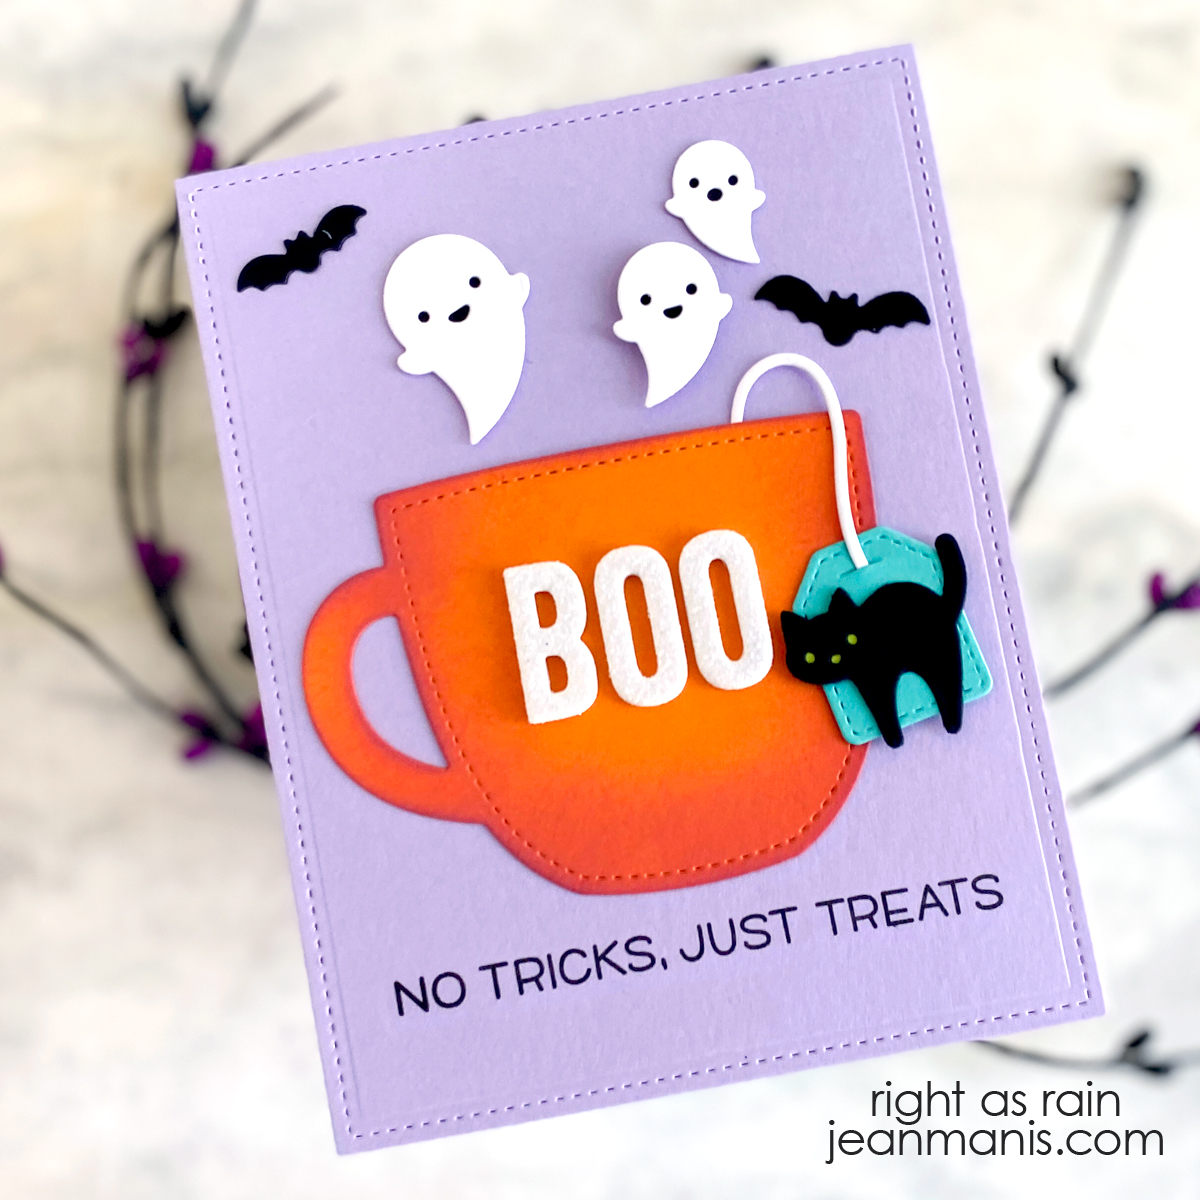
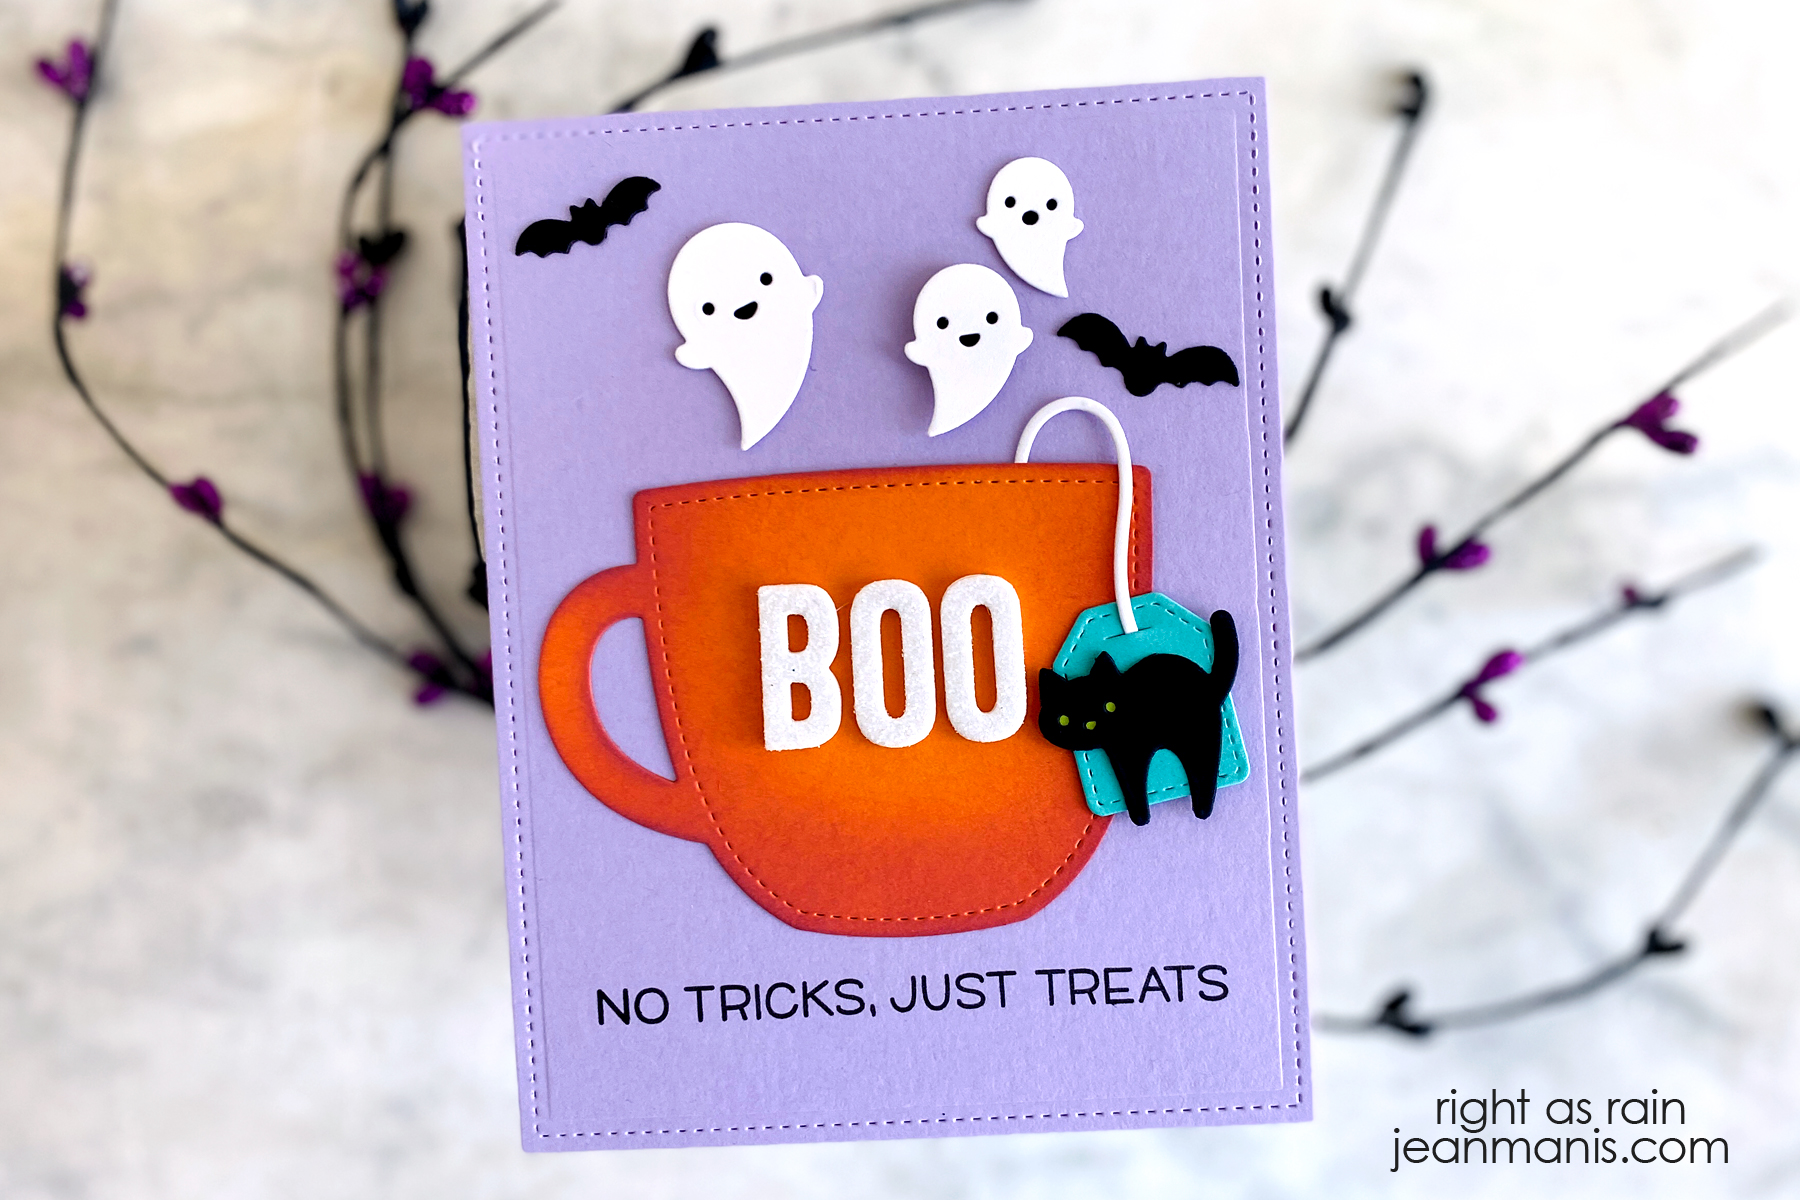
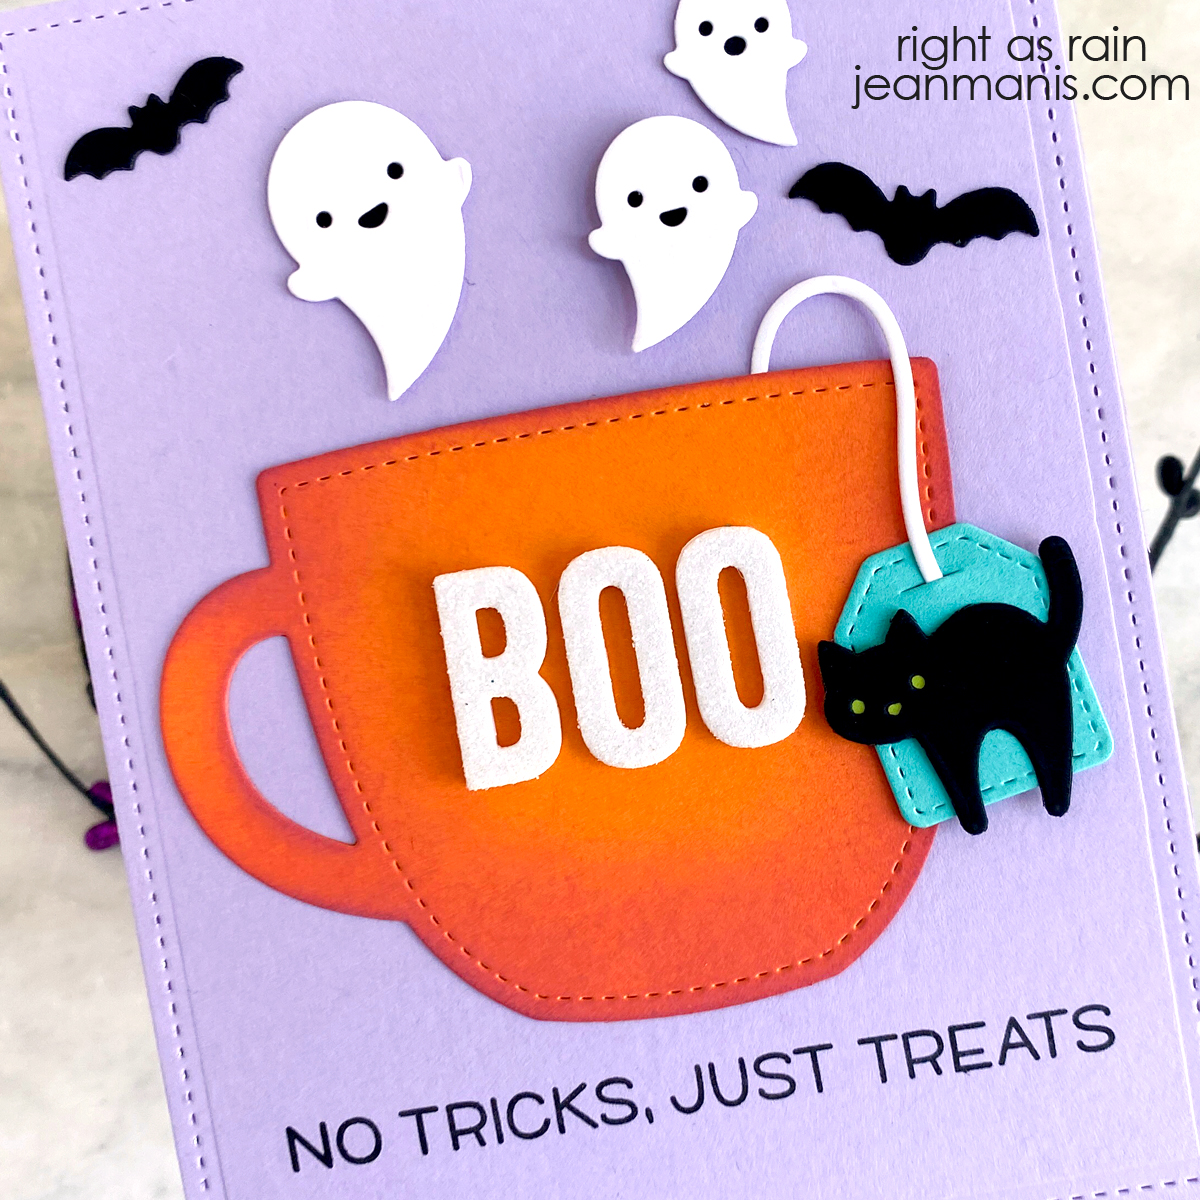
Hello! Today I am sharing a Halloween card created with a variety of Lawn Fawn supplies.

Lawn Fawn | Halloween Haunted House

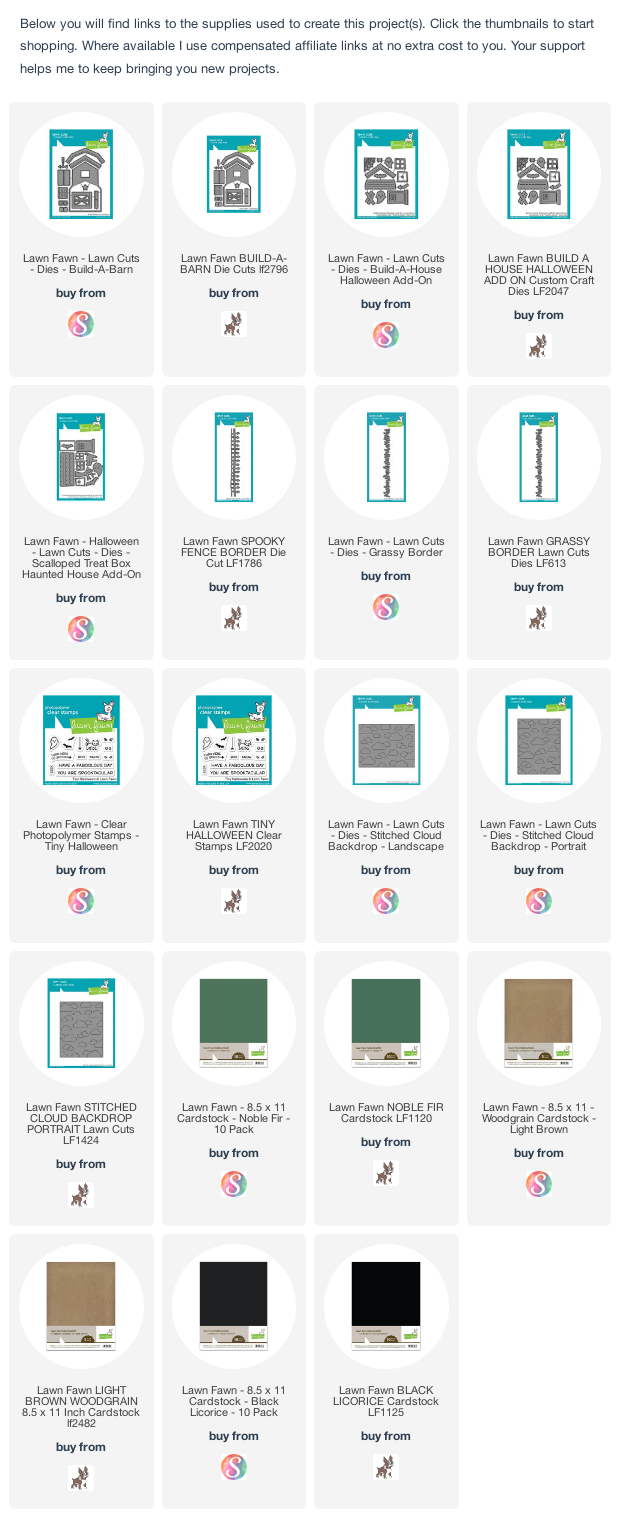
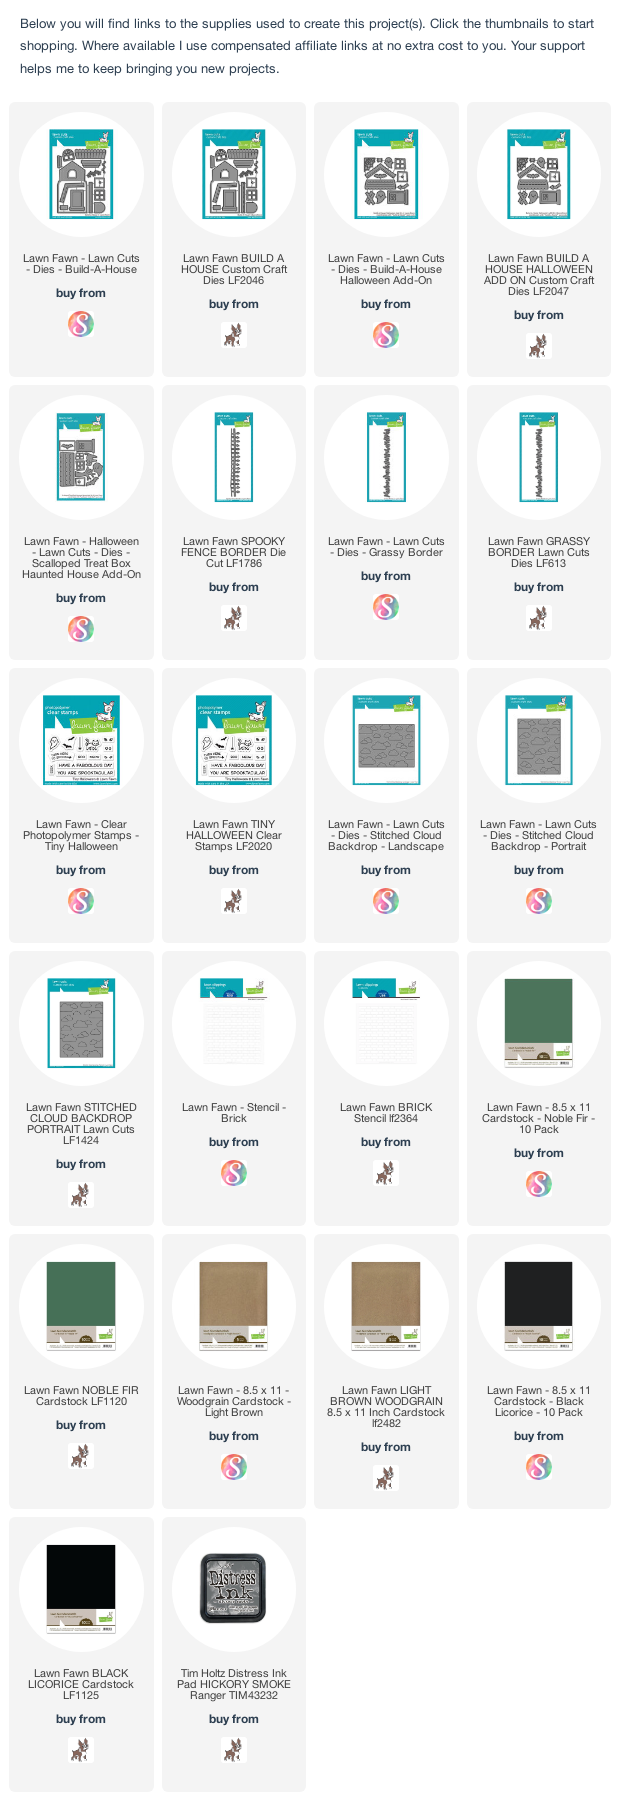
  • Apply Hickory Smoke ink through the Brick stencil on to dark gray cardstock and cut with the Build-A-House die set.
  • Create the other haunted house details with dies in the Build-A-House and Halloween Add On sets.
  • Create background with the Landscape Stitched Cloud Backdrop die. The portrait version works as well.
  • Cut Spooky Fence from Black Licorice cardstock
  • Stamp Tiny Halloween sentiment on Noble Fir cardstock and cut with the Grassy Border die.
  • Embellish scene with bats, ghosts, and cat cut with dies in the Halloween Add On and Scalloped Treat Box Haunted House sets.

Lawn Fawn | Halloween Haunted House

Lawn Fawn | Plant-A-Succulent

Hello! Today I am showcasing the Lawn Fawn Plant-A-Succulent die set, which was part of their Spring 2022 release, on a friendship card.

Lawn Fawn | Plant-A-Succulent

  • I colored Soft Finish Cardstock with a variety of Distress Oxide inks which I cut with the dies in the Plant-A-Succulent set for the pots with faces and the plants.
  • I glued the die-cut pots and plants together. The pieces are designed for easy assembly.
  • I stamped the Lawn Fawn sentiment (a complimentary stamp included in a Lawn Fawn order) on a panel colored with Distress Oxide inks in shades of yellow and orange. (The panel was something I had in a stash of ink-colored cardstock).
  • For the base, I added Vintage Photo Distress Oxide ink to a Light Brown Woodgrain cardstock strip.
  • I created a frame from white cardstock by diecutting the largest die in the Small Stitched Rectangle Stackables set within the largest die in the Large Stitched Rectangle Stackables set.

Lawn Fawn | Plant-A-Succulent


Lawn Fawn | Foxy Family in the Forest

Hello! Today, I am sharing a cute, die-cut, forest scene created with a combination of Lawn Fawn products.

Lawn Fawn | Foxy Family in the Forest

  • Die-cut the Forest Backdrop frame and trees.
  • Stamp the Mom and Me sentiment on light-blue cardstock.
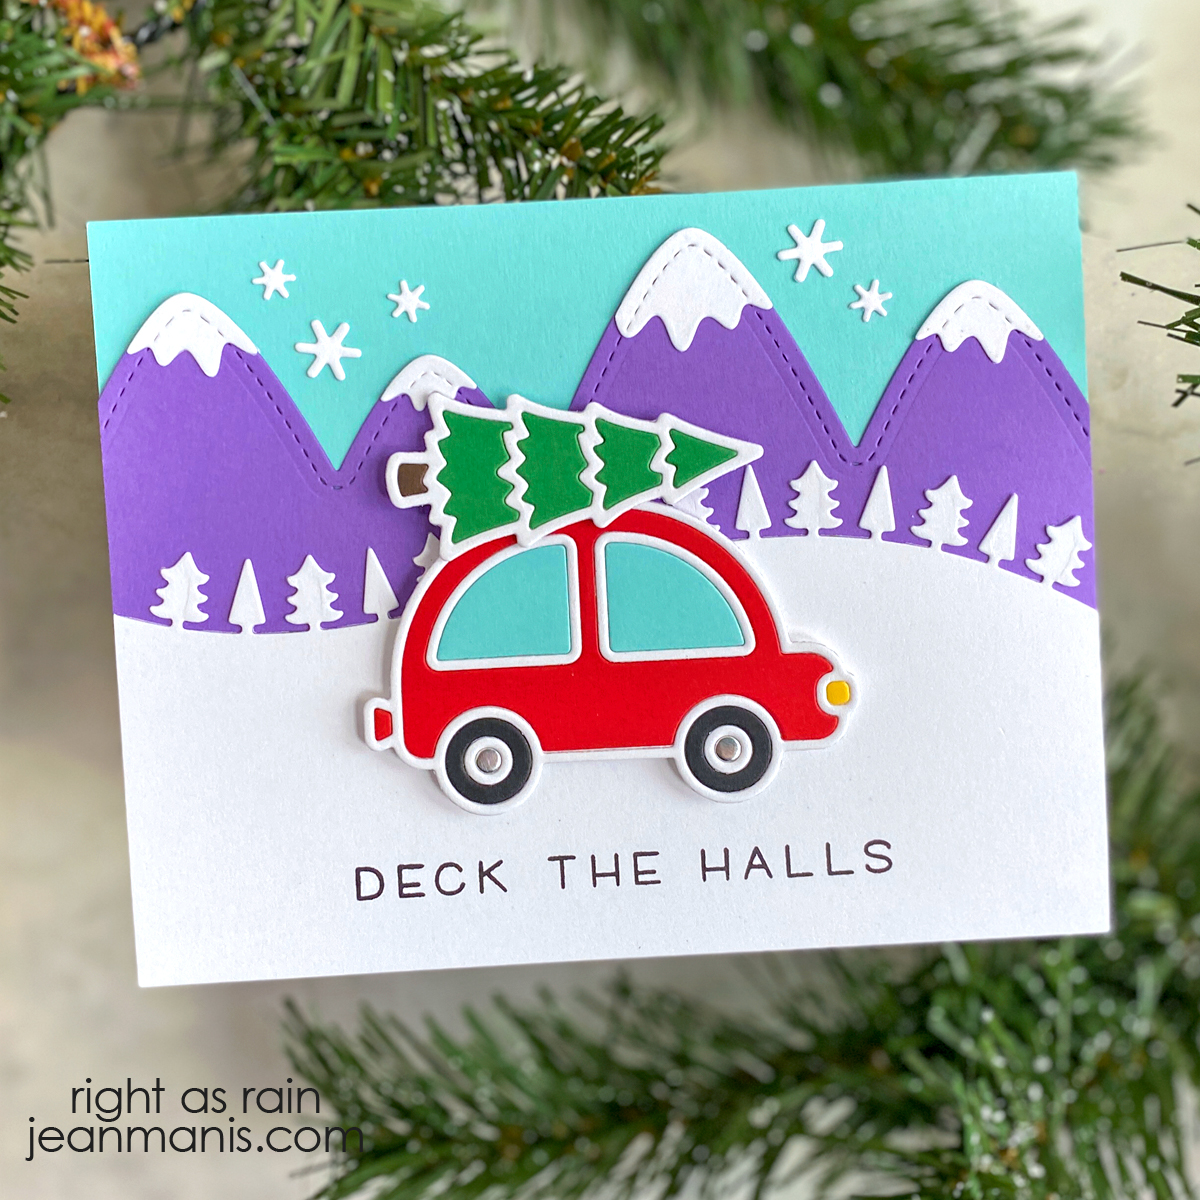
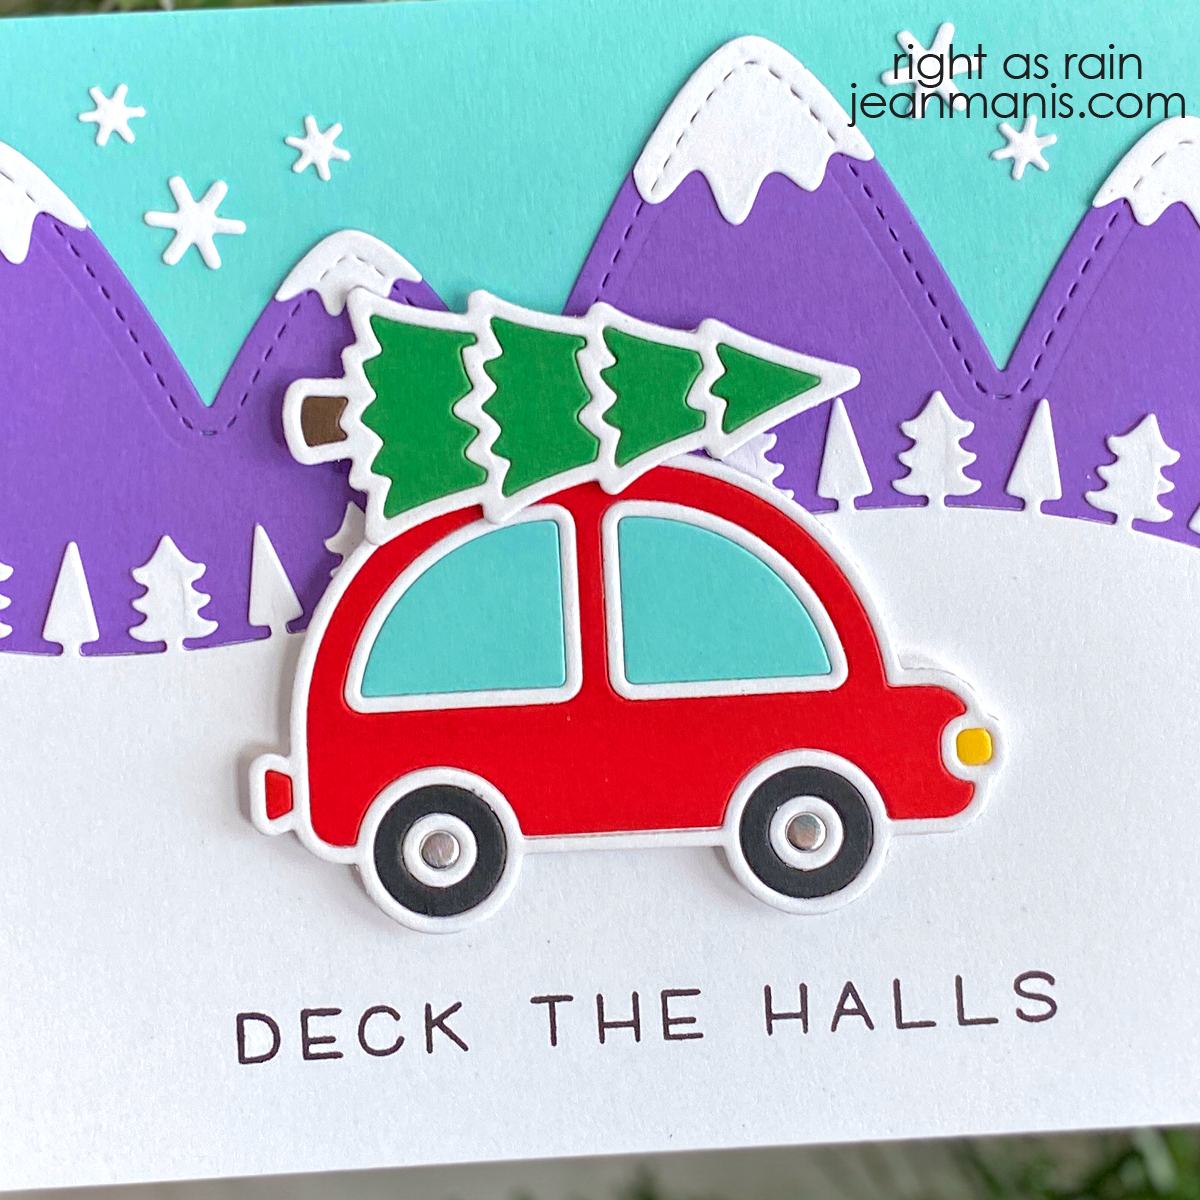
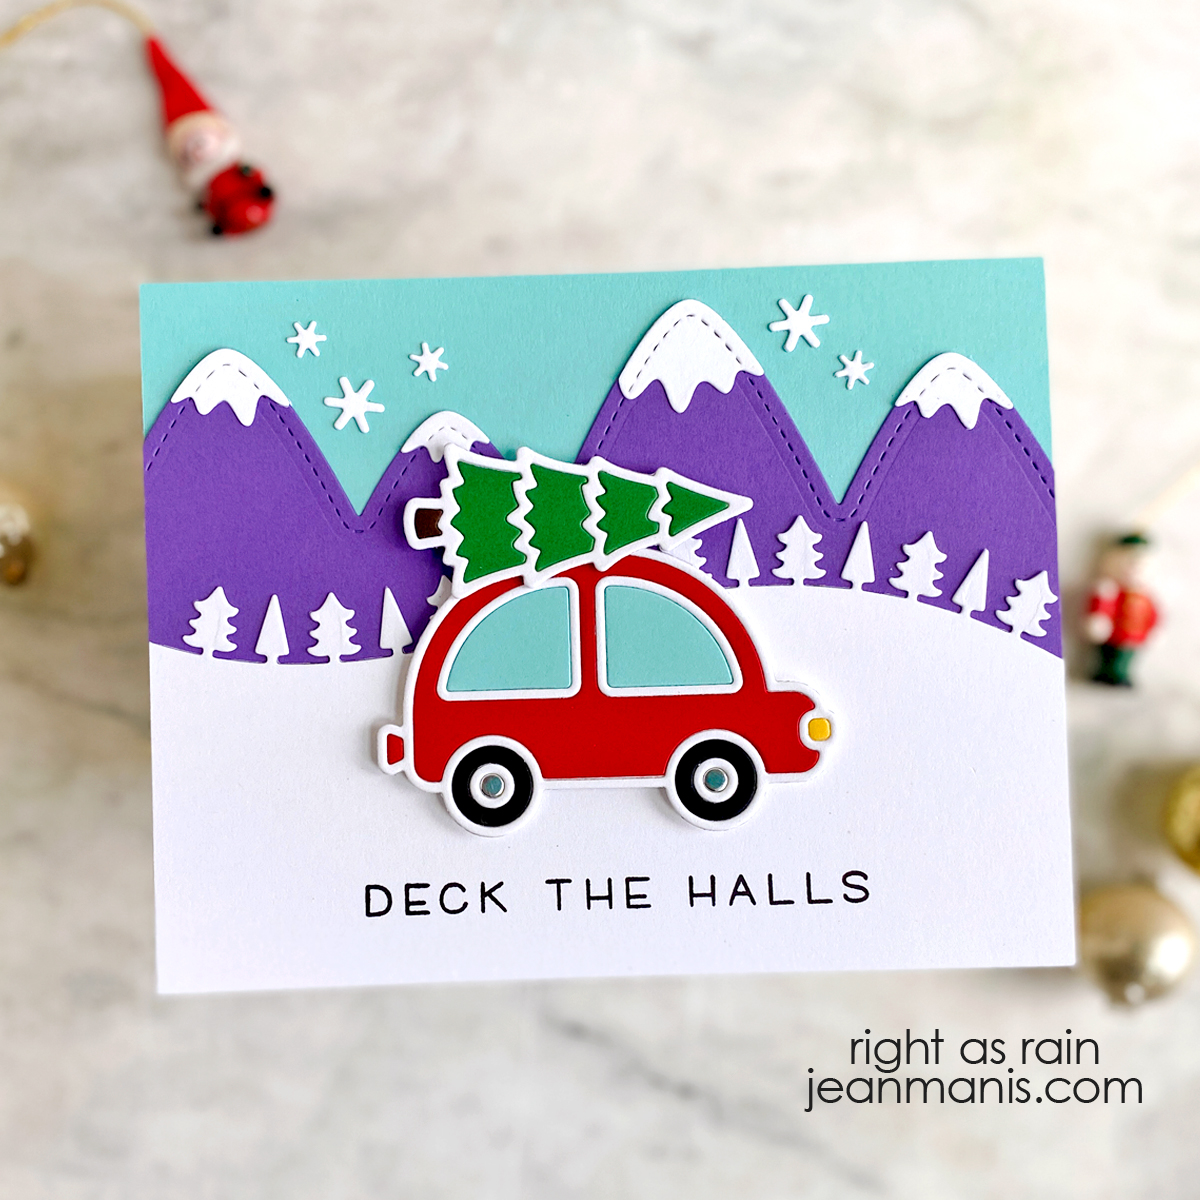
  • Die-cut the Stitched Mountain Border from purple and white cardstock.
  • Die-cut the Forest Border from Noble Fir cardstock.
  • Attach the Stitched Mountain Border and the Forest Border to the back of the frame and then attached the sentiment panel. Add assemble to A2-size card base.
  • Die-cut the Foxy Family from a variety of cardstock colors. The set includes the outlines and a back, making assembly easy.
  • Add the tree and foxes to the scene.

Lawn Fawn | Foxy Family in the Forest


Lawn Fawnatics Challenge 129

Hello! I am playing along with the Lawn Fawnatics Challenge 129 Fun with Food with a teacup card. You can see another take with the same supplies in this post.

Lawn Fawnatics Challenge 129

  • Create card background from patterned paper and add to A2-size card base.
  • Stamp the Tea-rrific Day sentiment in brown ink on white cardstock and cut with die in the Large Stitched Rectangle Stackables set. I have had this set of dies for several years and reach for them regularly! Add panel to card background.
  • Die-cut three cups, saucer, face, flowers, and sugar cubes with the Stitched Teacup set from colored and white cardstock; assemble.
  • Nest assembled cups and tape together on back. Decorate cups with flowers and sugar cube. Add stack to card.

Lawn Fawnatics Challenge 129

Thanks for dropping by!

Lawn Fawn | Gnome + Home

Hello cardmaking friends! Today I am sharing a cute die-cut scene featuring several Lawn Fawn die sets and a favorite stamp set.

Lawn Fawn | Gnome + Home

  • With the Stitched Cloud Backdrop Landscape or Portrait die, die-cut the card background. Since the card is a Portrait, either die works. Add to A2-size card base.
  • Heat-emboss sentiment from the Simply Sentiments set on green cardstock and die-cut with the Forest Border die. Add to card background.
  • Die-cut the Mushroom House from cardstock and assemble. I used Light Brown Woodgrain cardstock on the door and window. Add house to scene with dot adhesive.
  • Die-cut the Garden Gnome from cardstock and assemble. This die set is easy to work with as there is a solid die for the back and an outline die. Add the gnome to the scene with foam adhesive.

Lawn Fawn | Gnome + Home

Thanks so much for stopping by!