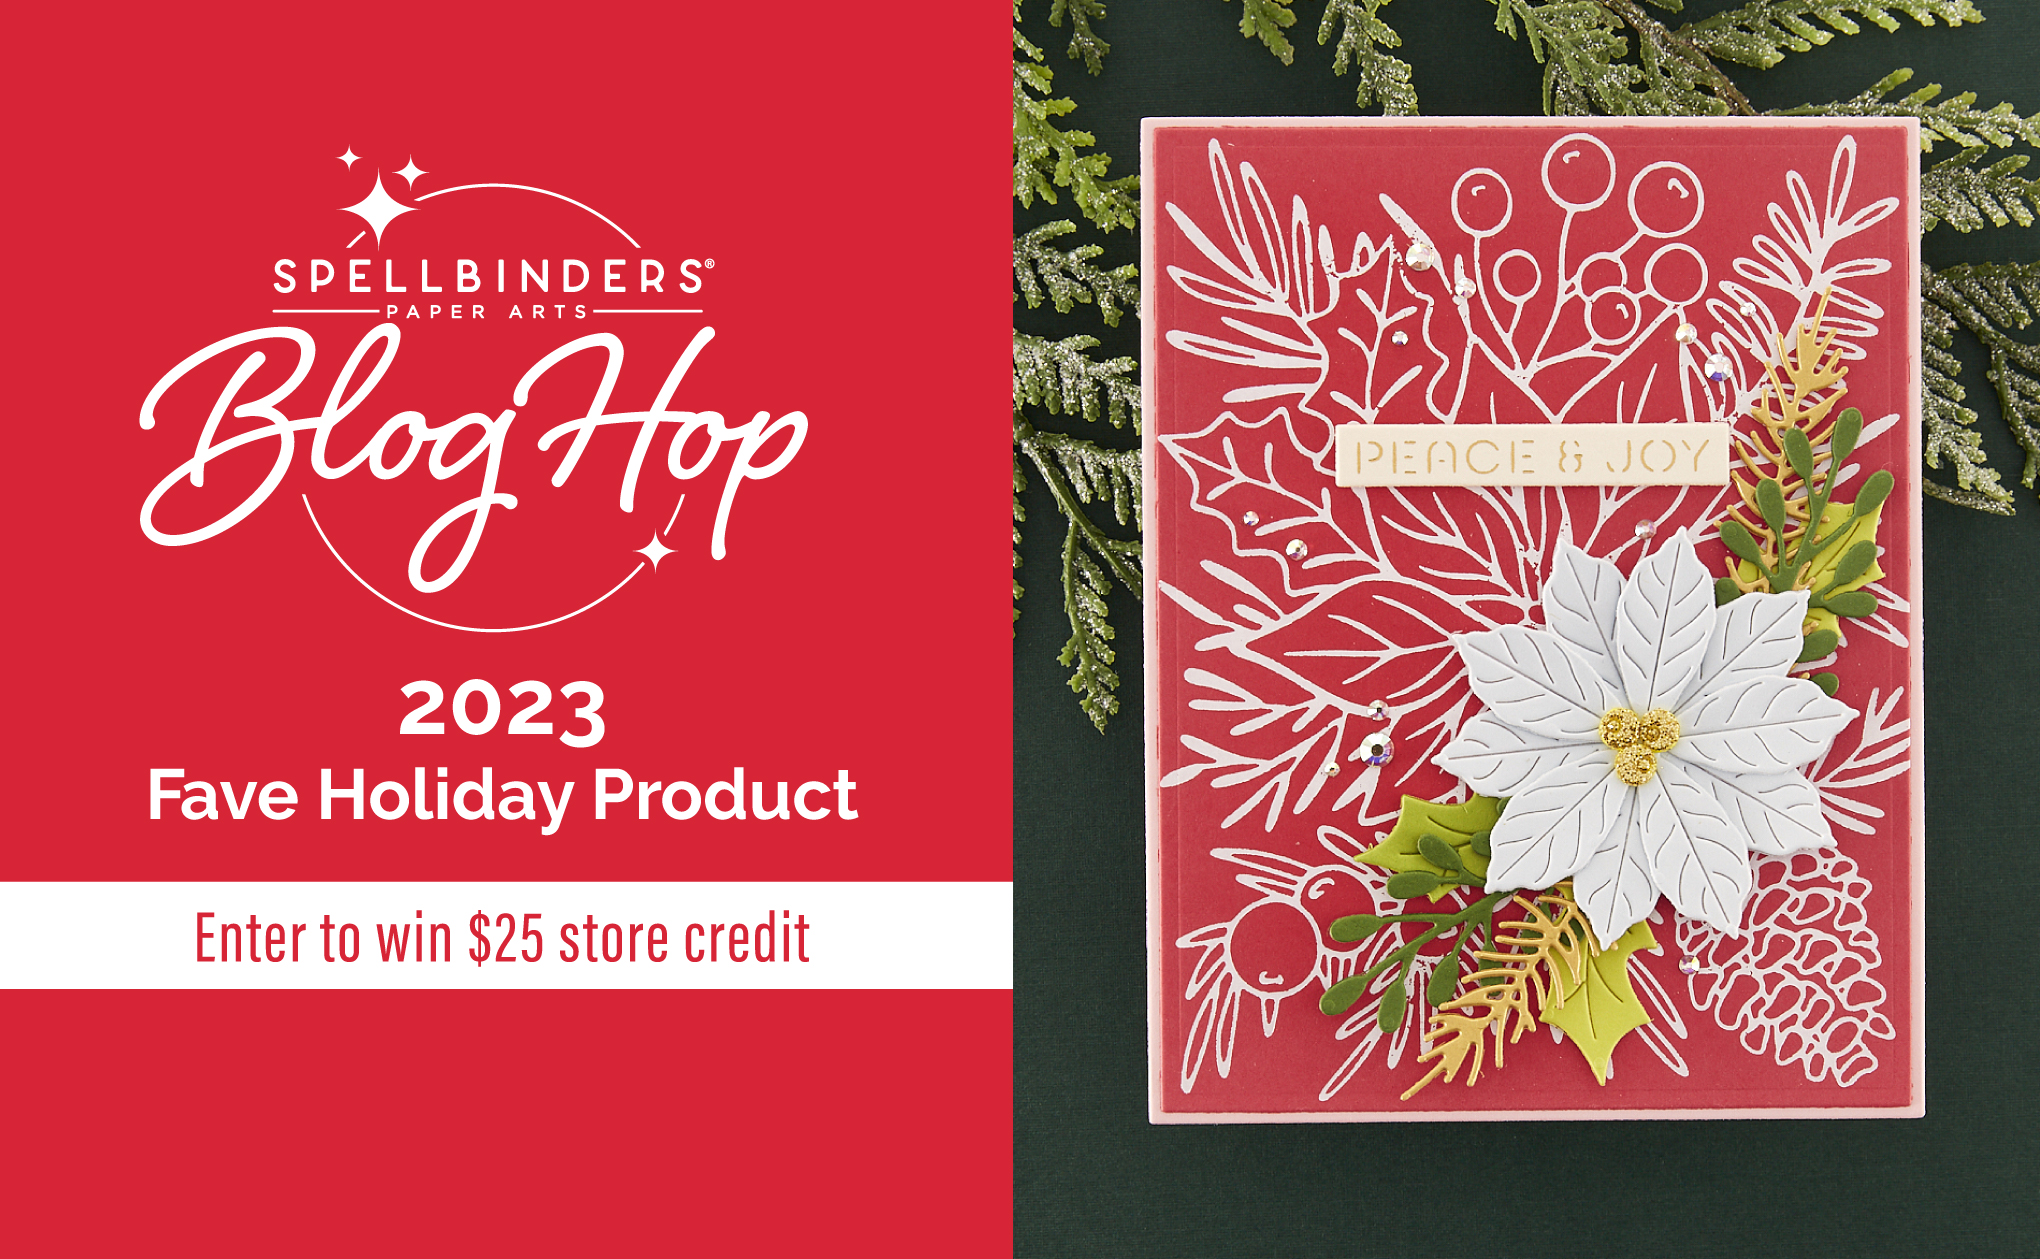
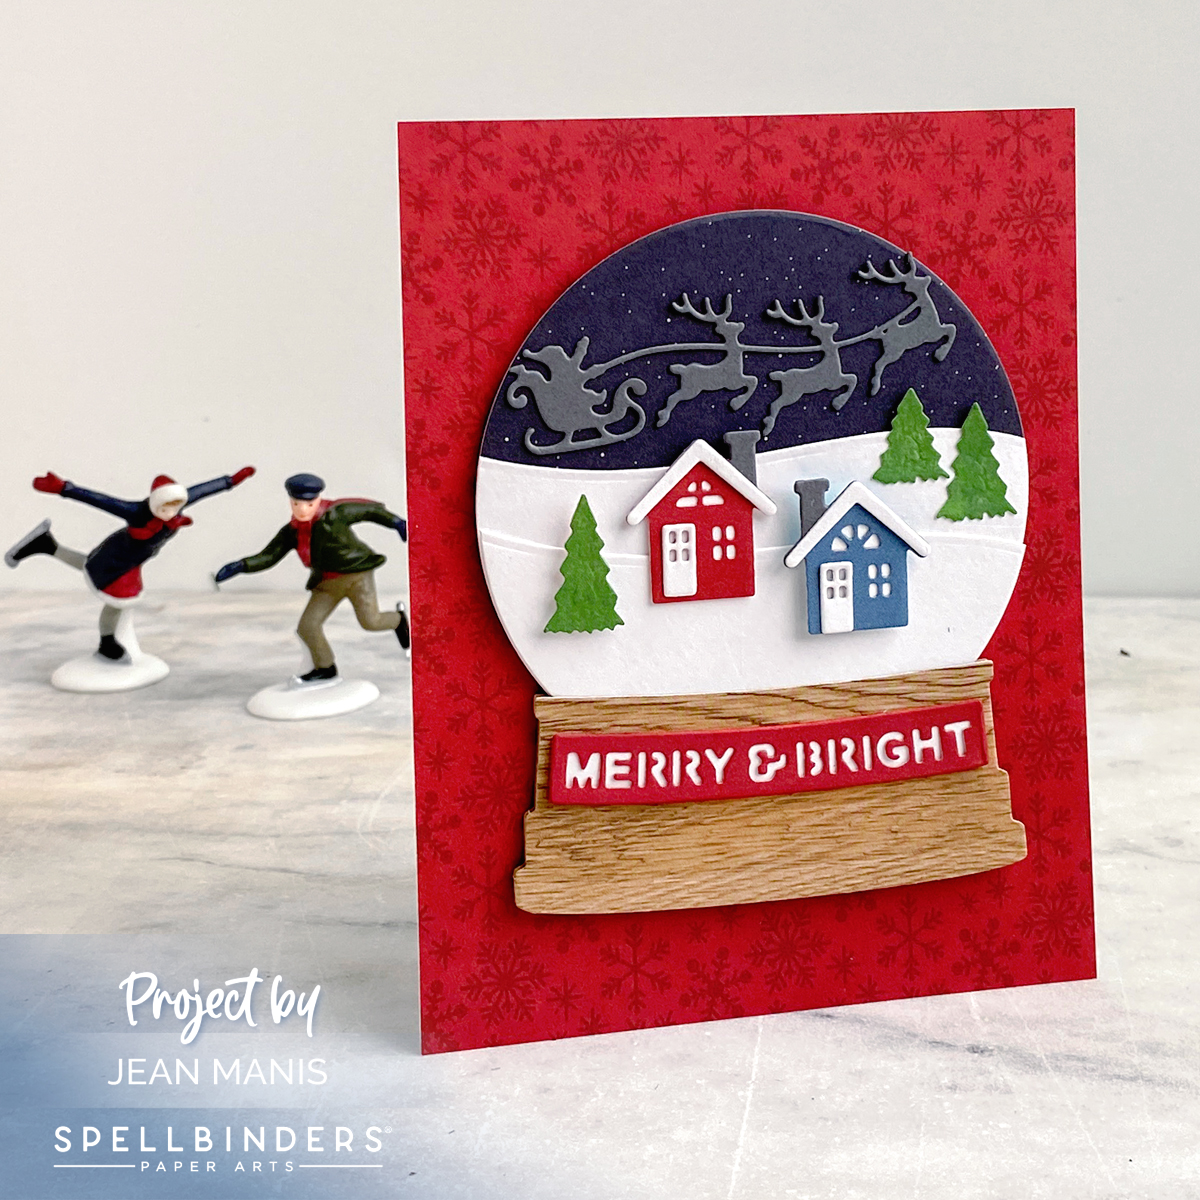
 Hello! I am delighted to be participating in a Spellbinders blog hop featuring favorite holiday products released this year. You should have reached me from the blog of Lisa Mears. Scroll to the end of the post for the full list of participants. For the hop, I chose to create with the Snow Globe die set, part of the Simon’s Snow Globes Collection by Simon Hurley. The enchanting allure of snow globes lies in their ability to transport us to whimsical realms, evoking feelings of warmth and joy.
To celebrate, Spellbinders is giving away a $25 gift certificate to 3 lucky blog readers – selected from the comments on our blog. Giveaway closes on Sunday, November 19, 11:59 pm MST. The winner will be announced on the Spellbinders blog hop post the following Wednesday. The winner is responsible for shipping costs, duties, and taxes. Please note, store credit (gift certificate) cannot be applied to Club Subscriptions. Store credit can be applied to shop past Club products, Club extras, and regular releases.
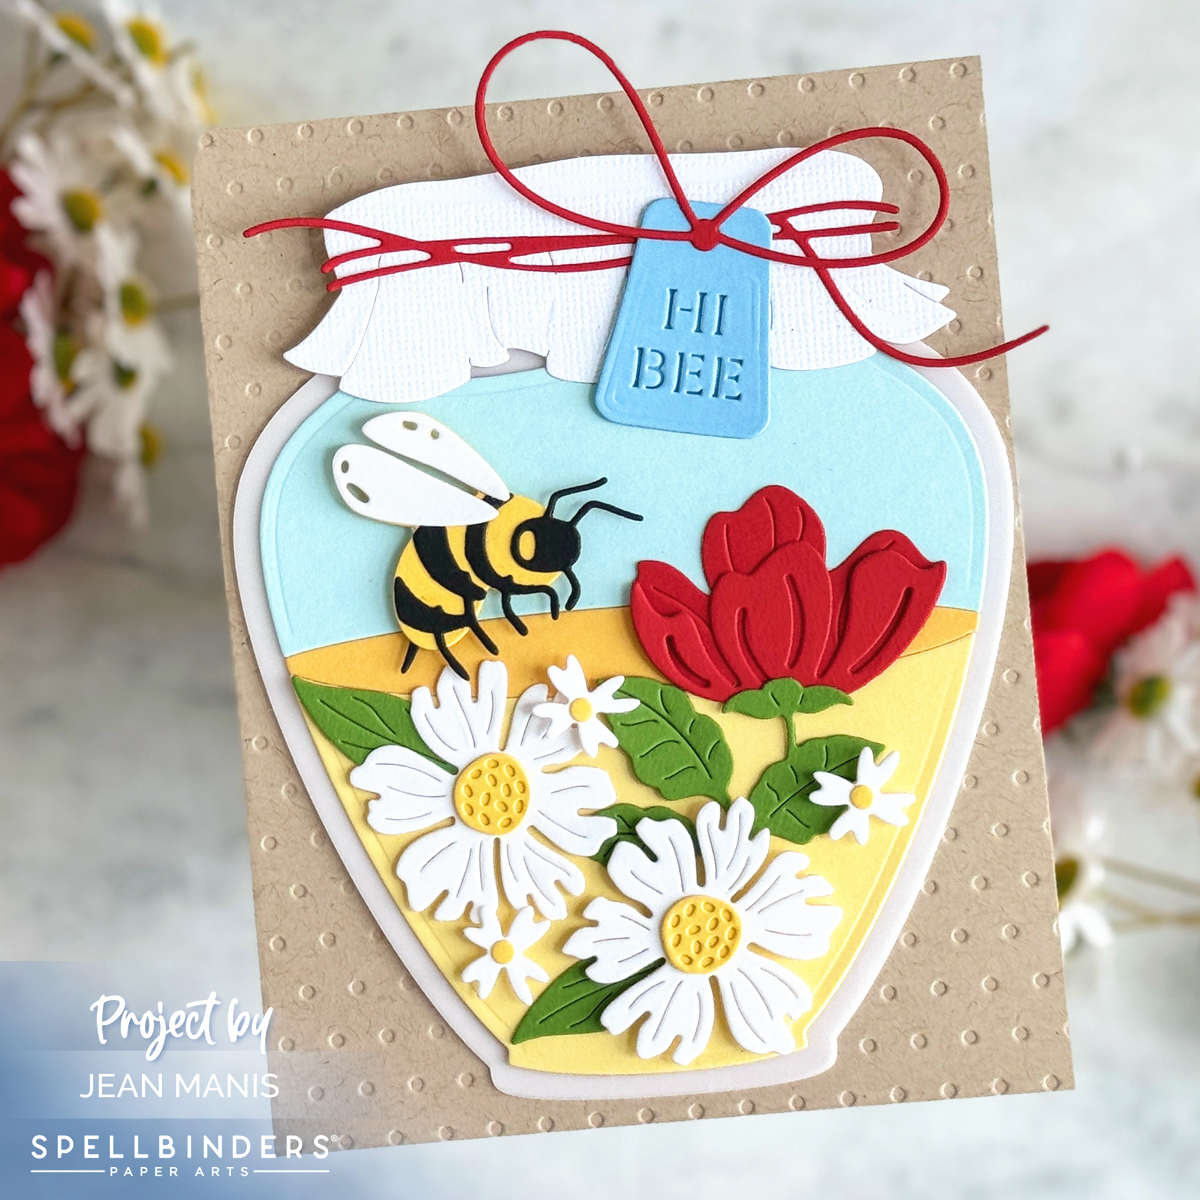
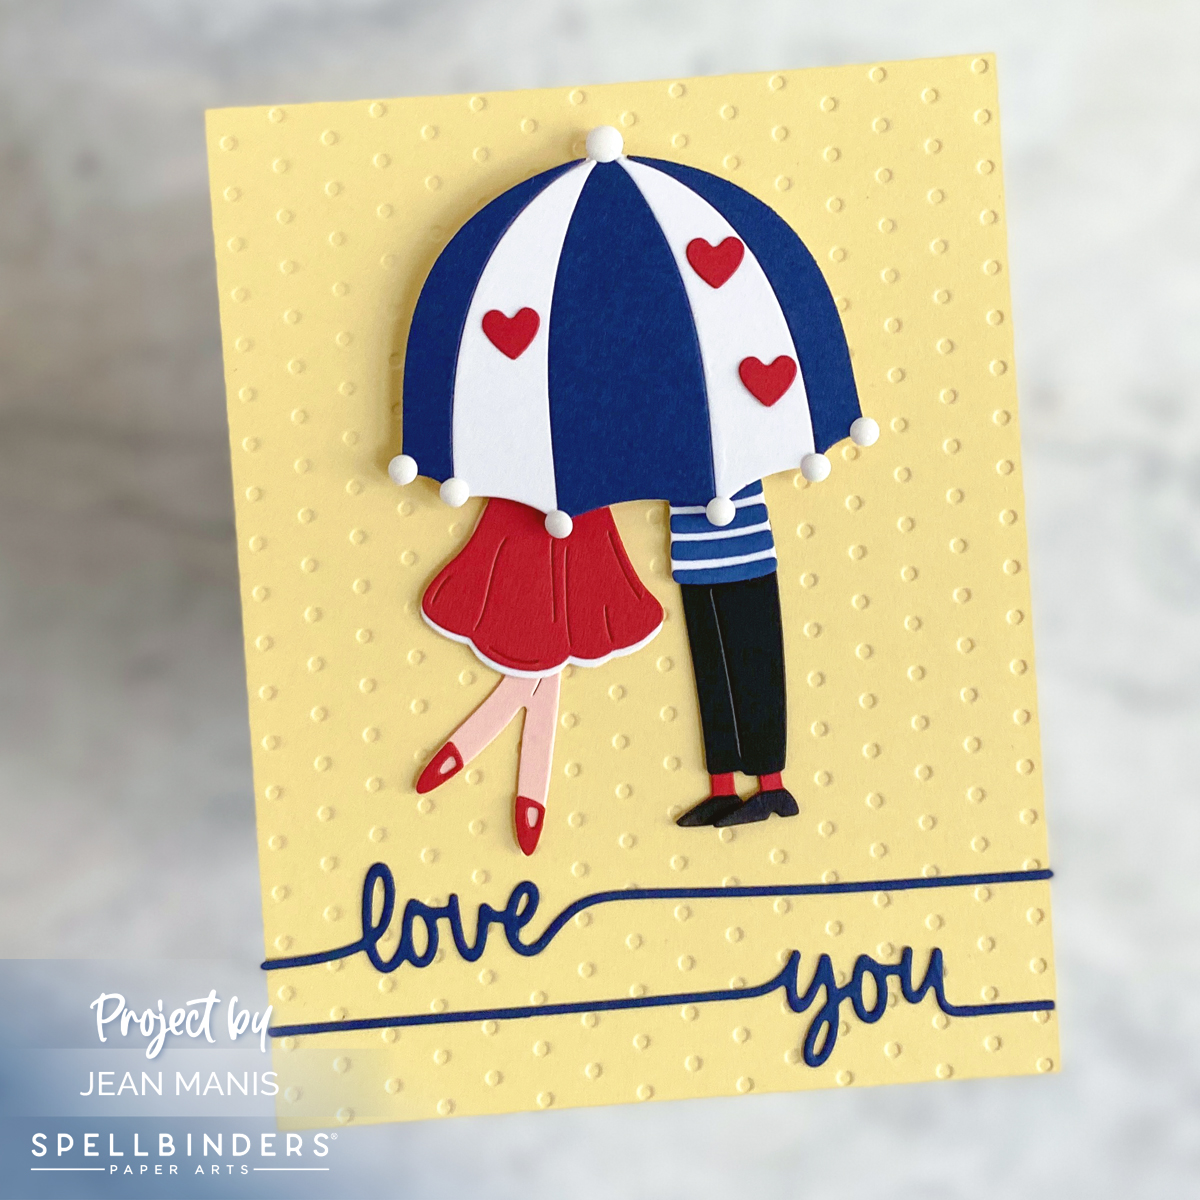
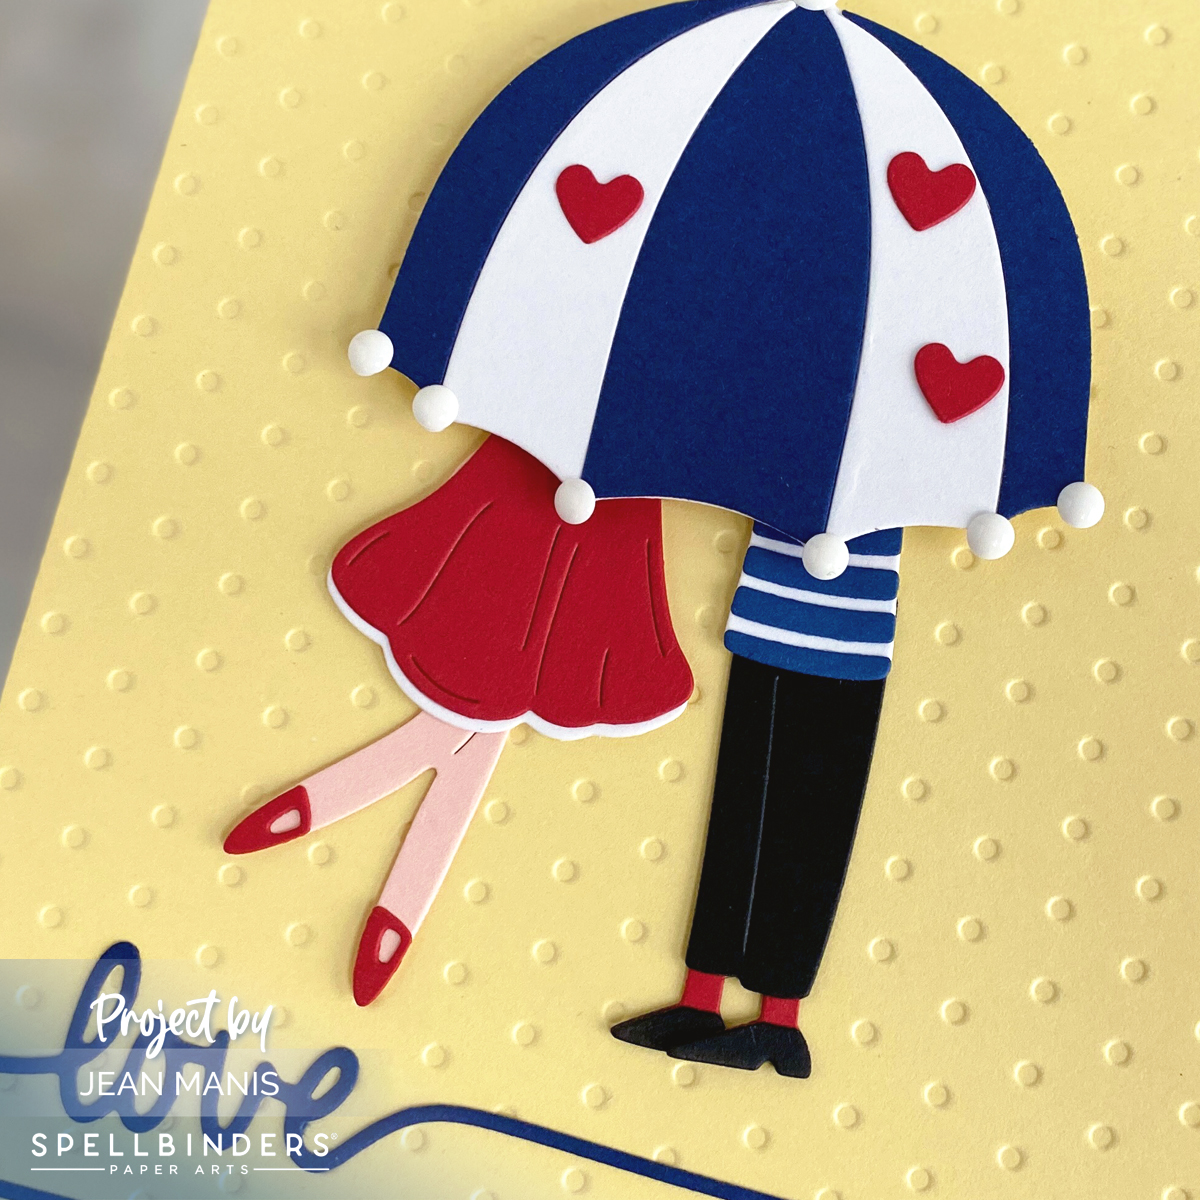
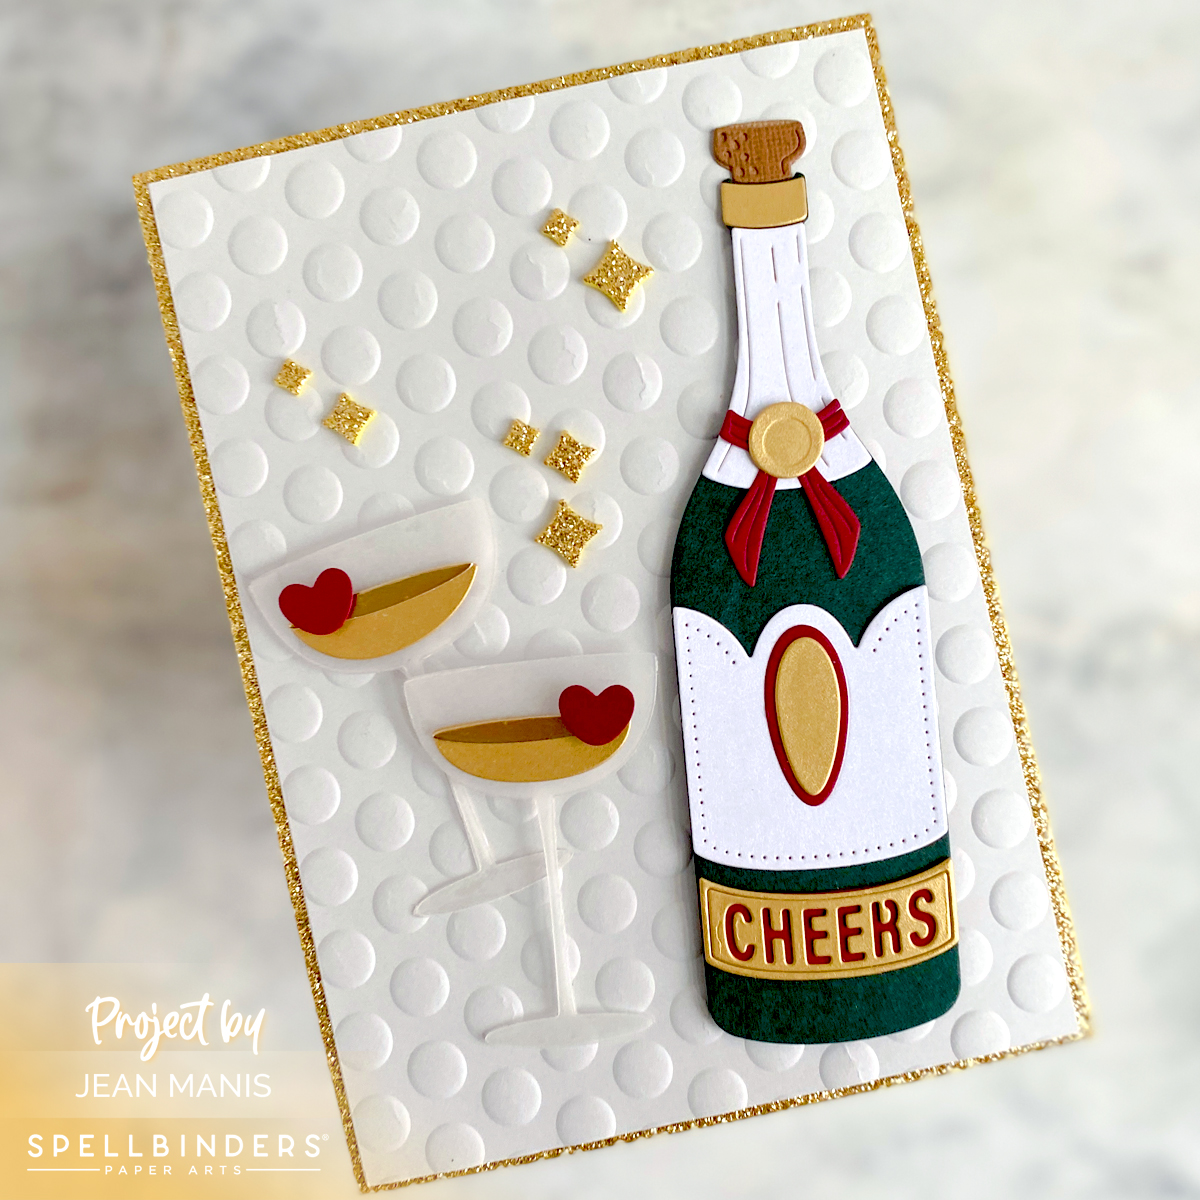
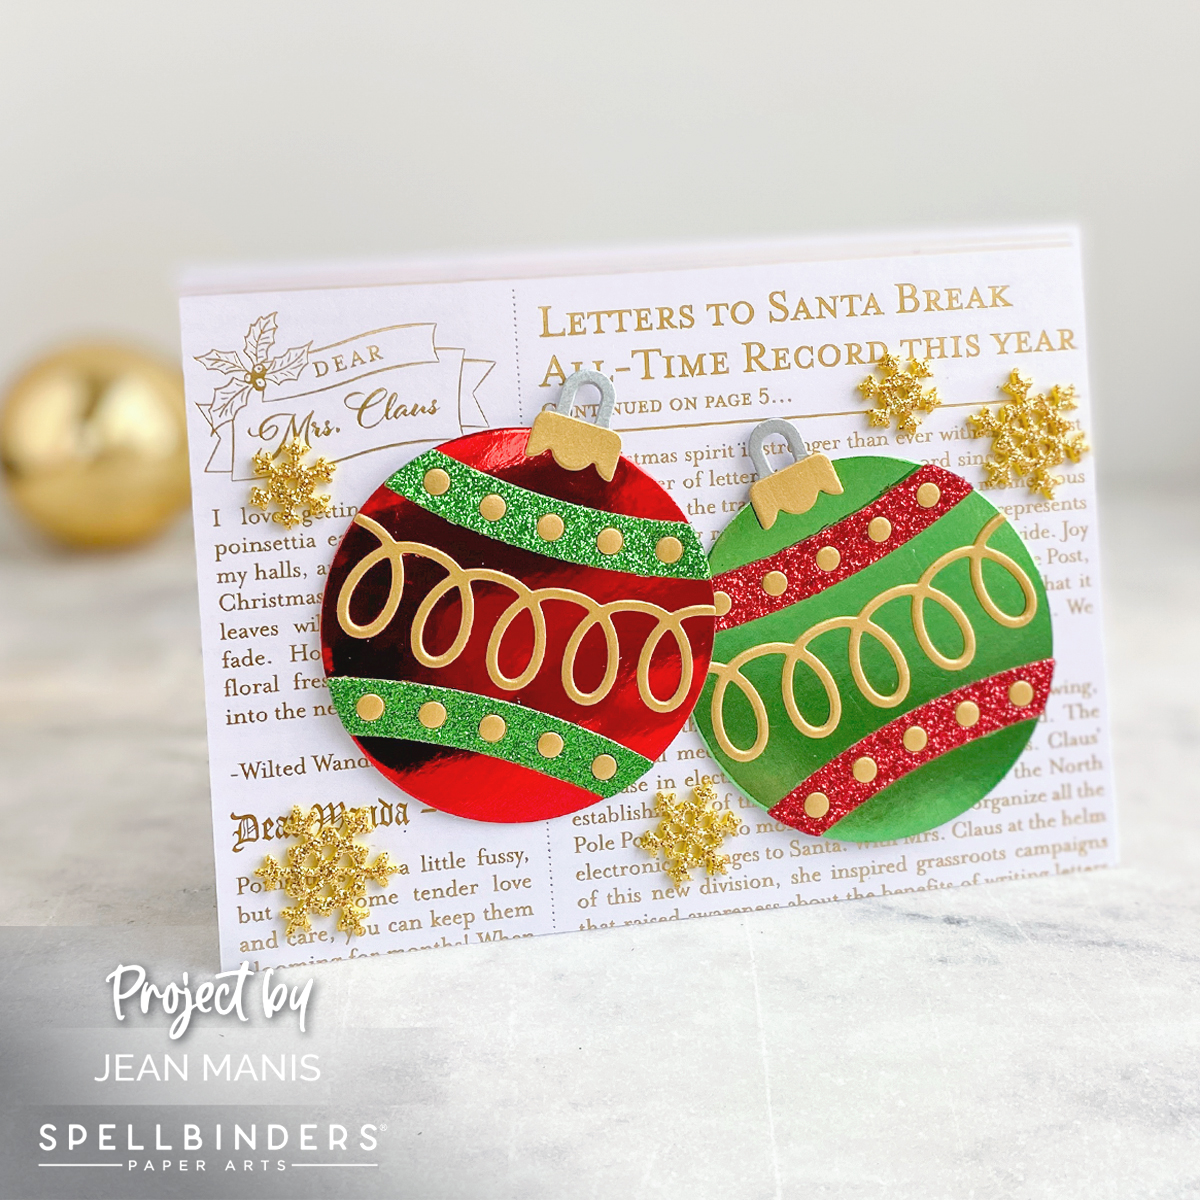
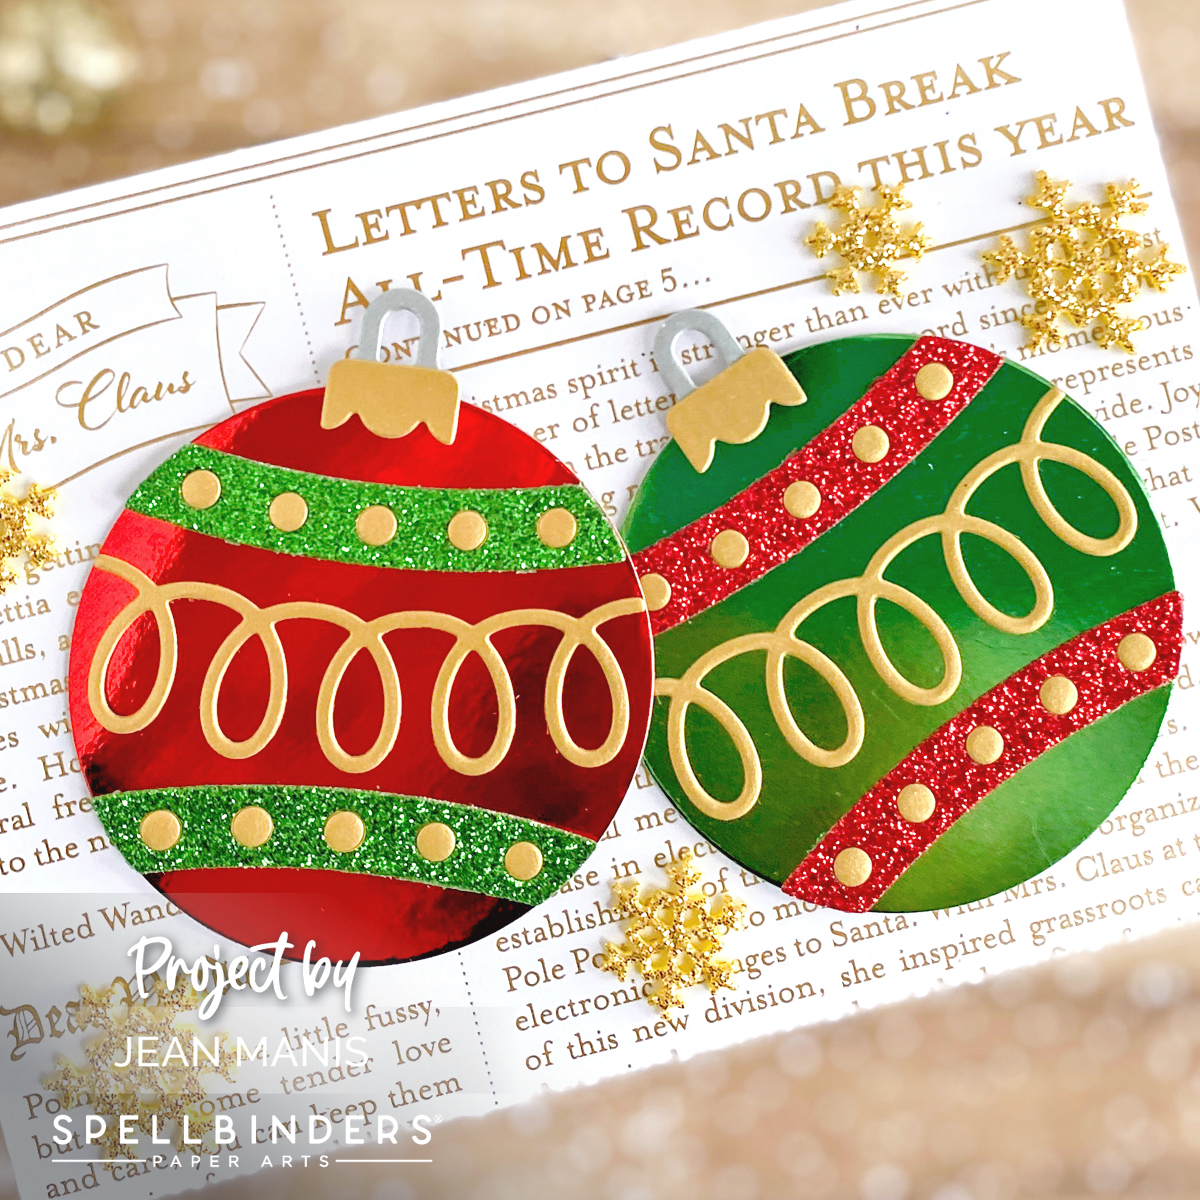
This card came together quickly. I limited my supplies to patterned papers, Snowdrift cardstock, and the Snow Globe die set. I previously used the set HERE.
- Create an A2-size card base and add a patterned paper background.
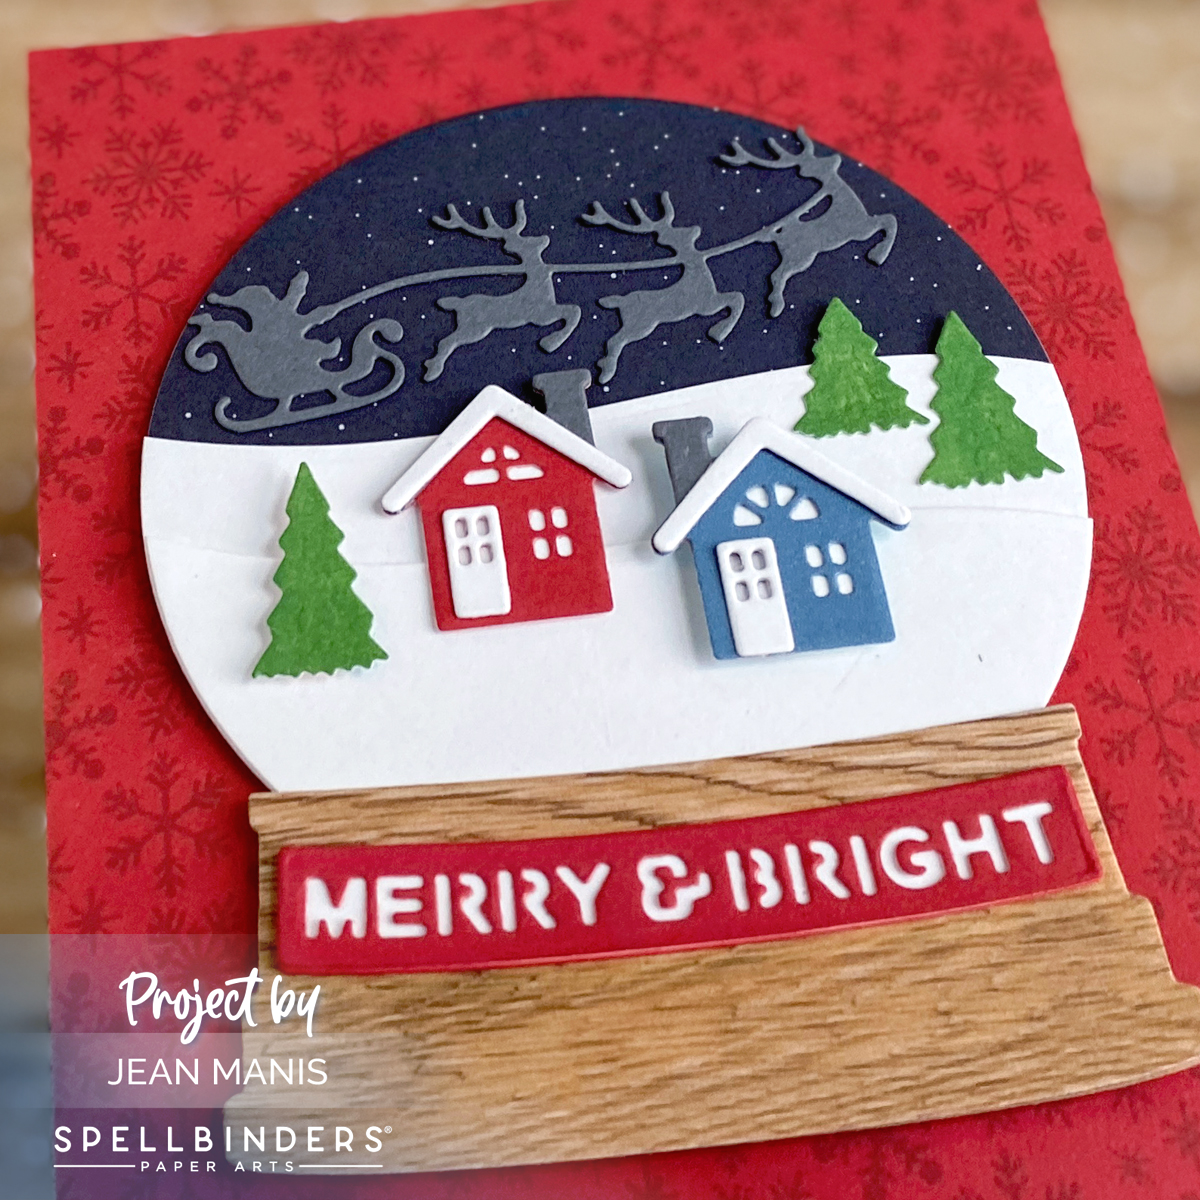
- With the circle die in the Snow Globe set, cut the night sky from patterned paper. Use the same die to cut two circles of Snowdrift cardstock. With the snowbank die in the set, cut two snowbanks. Add the snowbanks to the night sky.
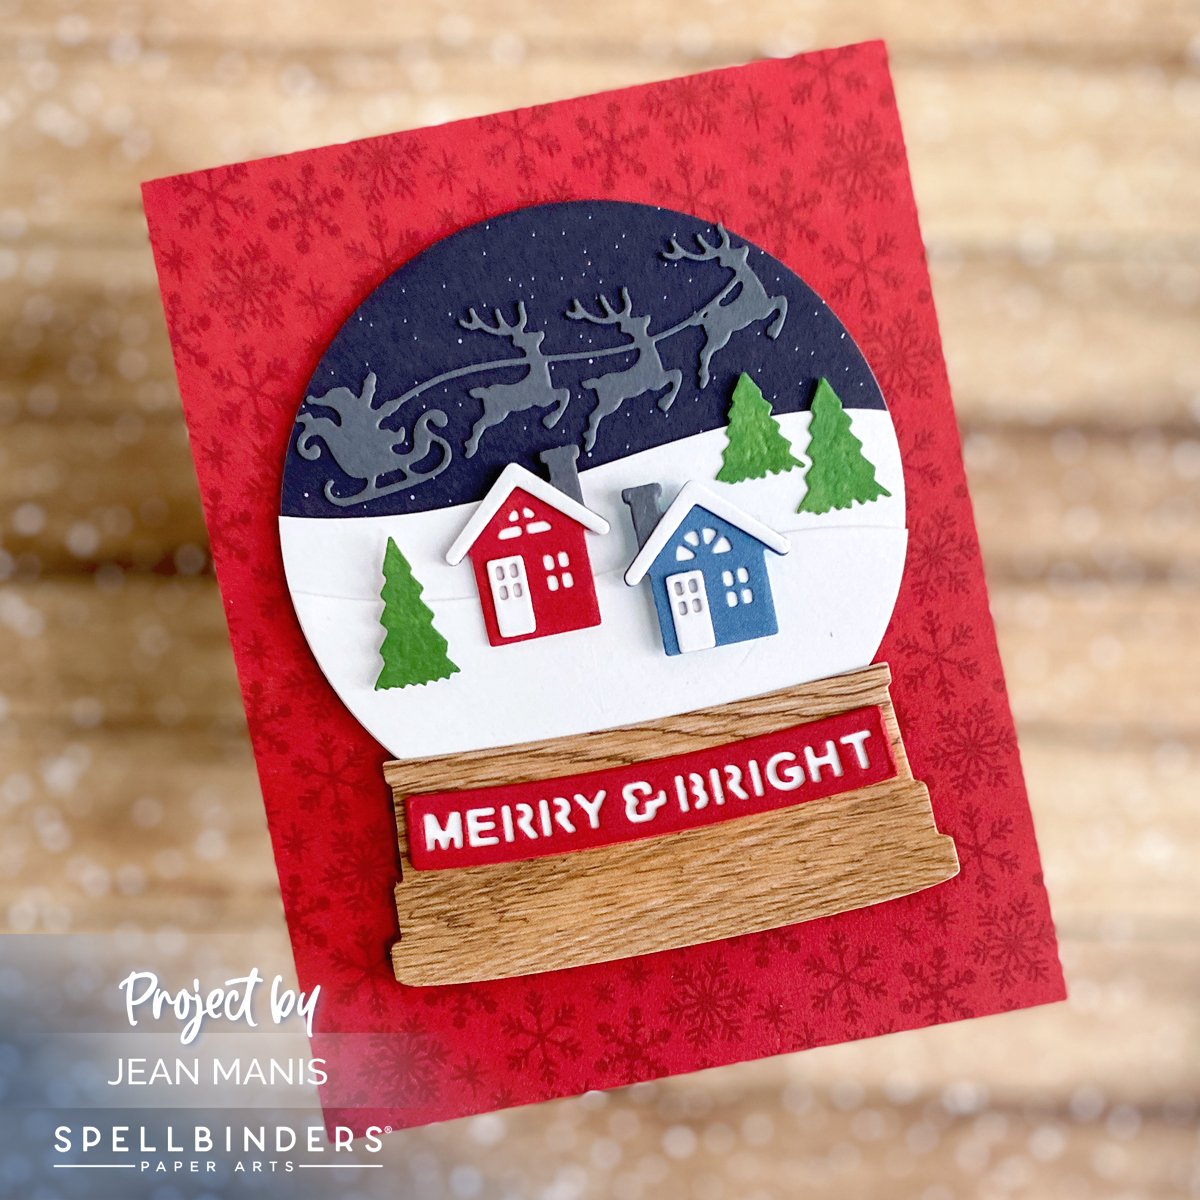
- Cut the snow globe base and sentiment from patterned paper and Snowdrift cardstock. Assemble and add to the globe assembly.
- Cut the trees, houses, and Santa and reindeer from patterned paper and Snowdrift cardstock. Assemble and add to the snow globe with dot and foam adhesive.
- Add entire assembly to the card base with foam adhesive.
Head next to the blog of Deepa Robbins.

Spellbinders Blog
Yana Smakula
Tina Smith
Zsoka Marko
Sandi MacIver
Kristie Marcotte
Annie Williams
Nichol Spohr
Daniel West
Allison Frazier
Bibi Cameron
Lisa Mears
Jean Manis<–You are here
Deepa Robbins
Linh Van
Vicky Papaioannou
Heejung Hunsberger
Jennifer Kotas
Mindy Eggen
Joy Wilson
Bonnie Crane
Michelle Short
Lien Leysen