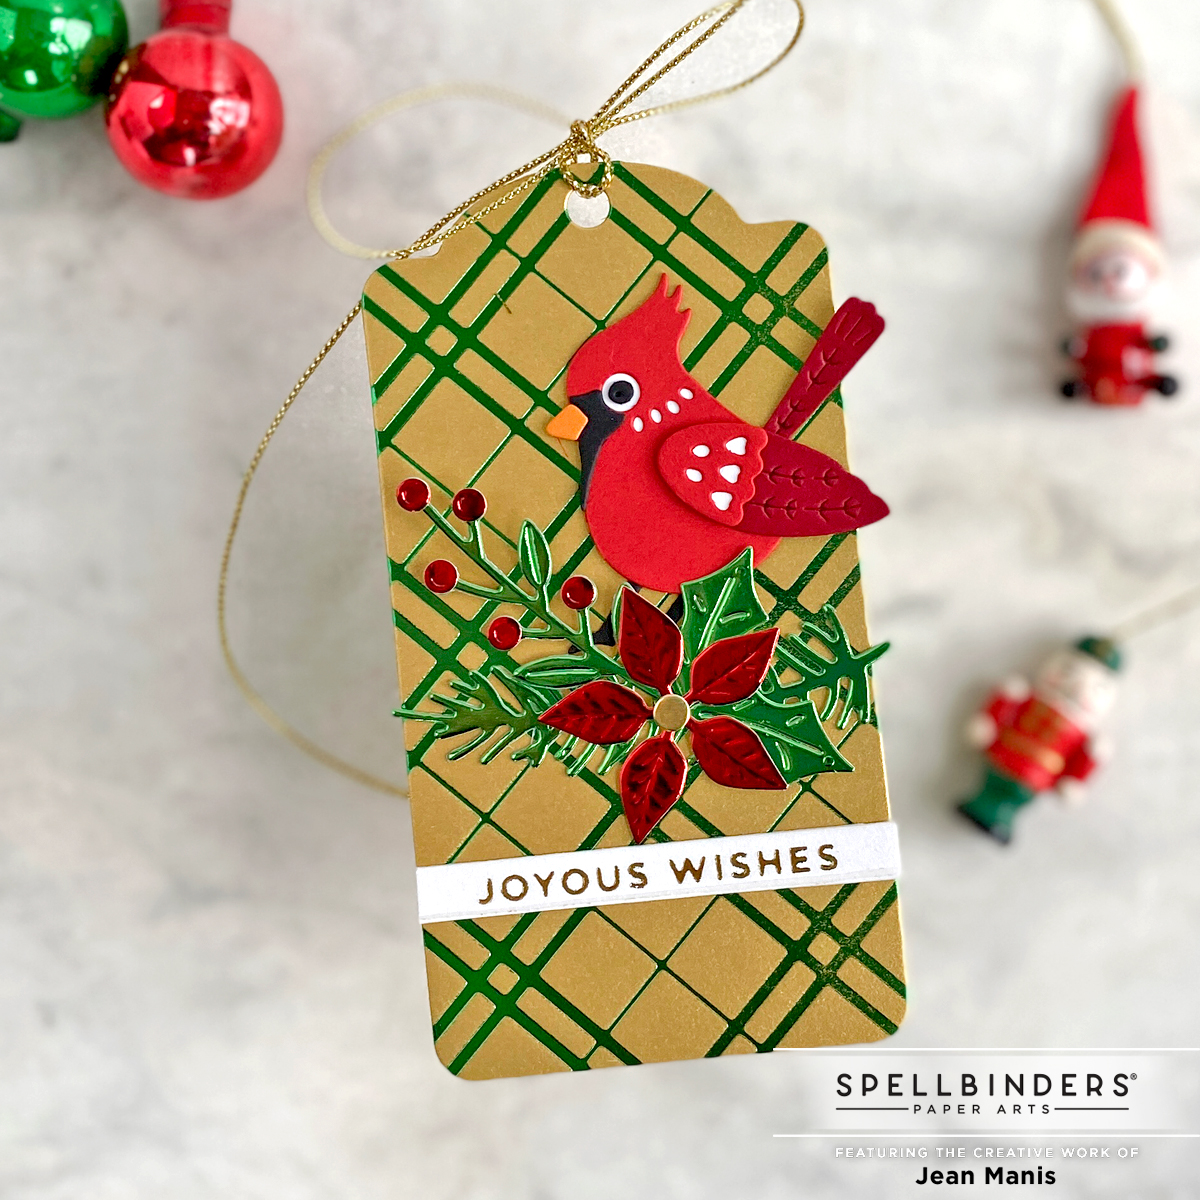
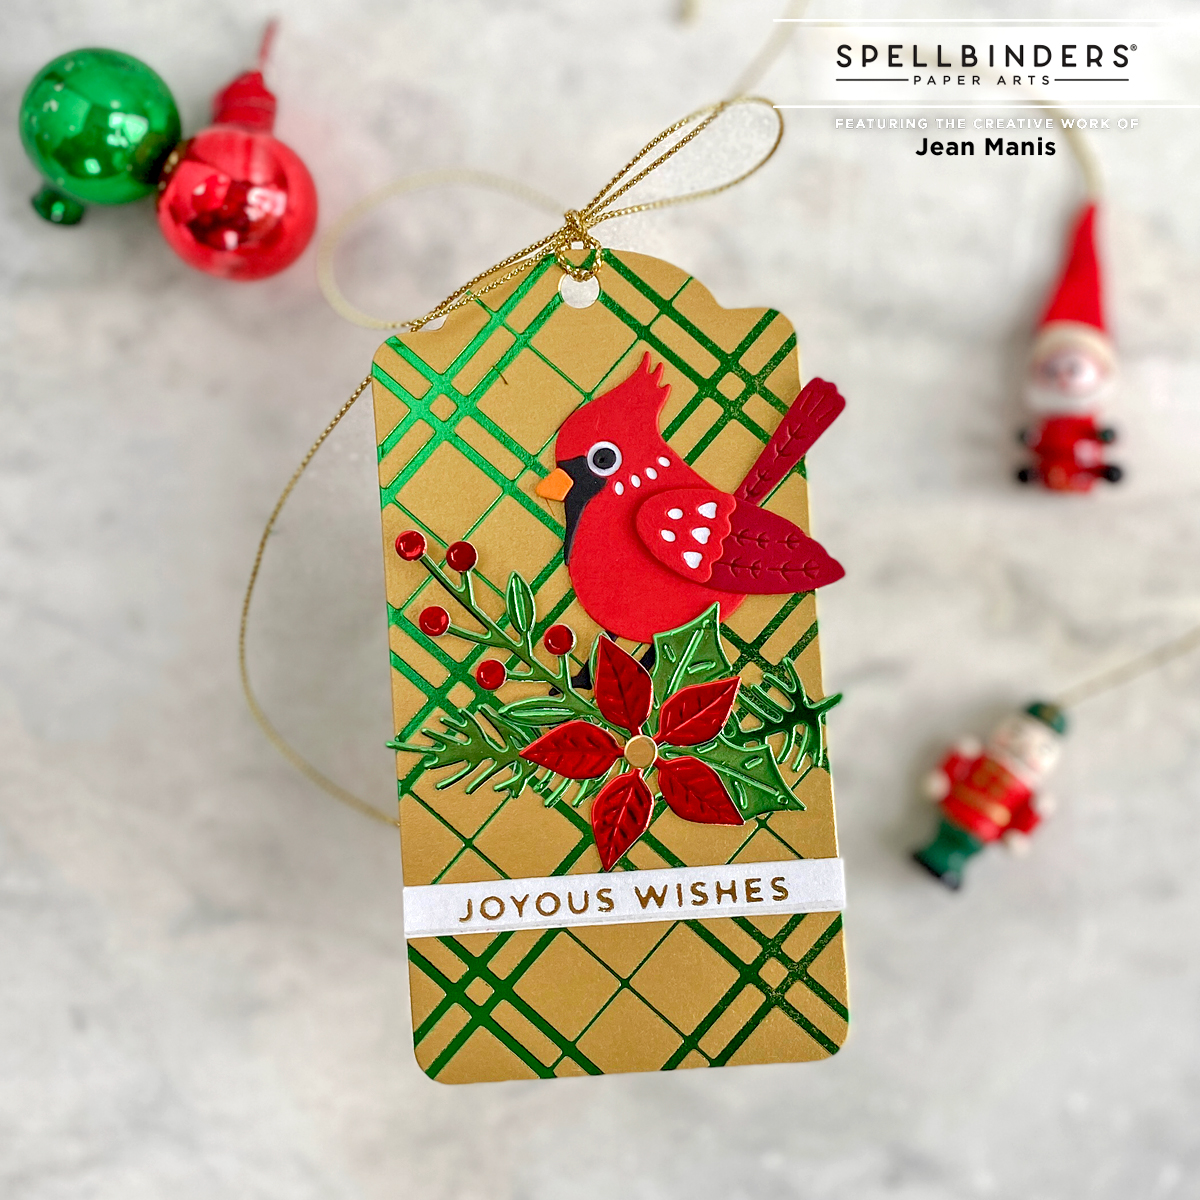
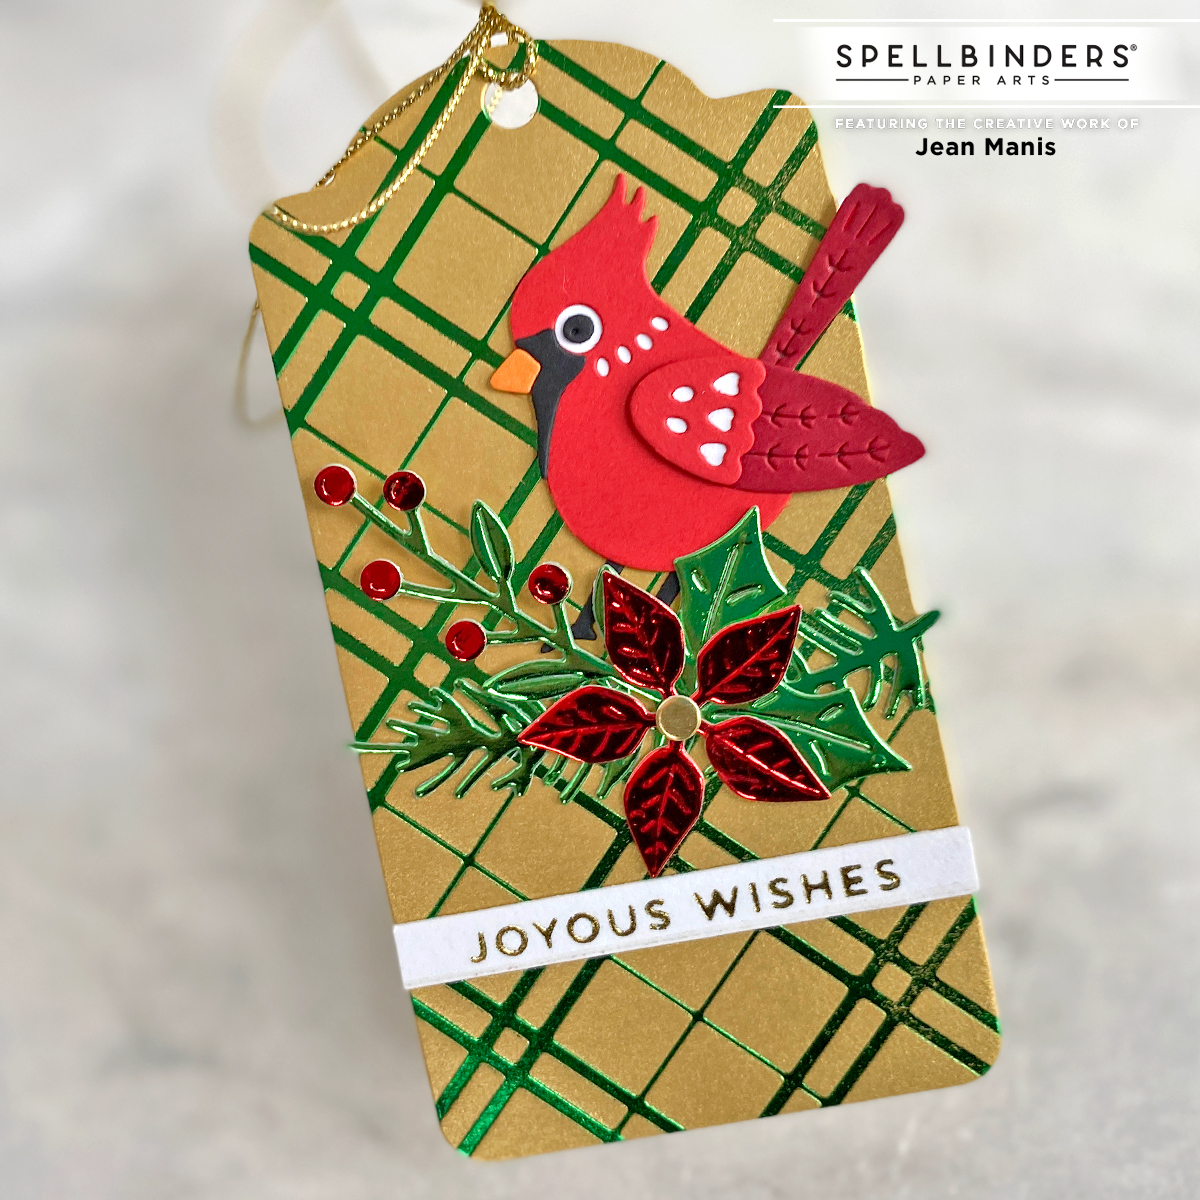
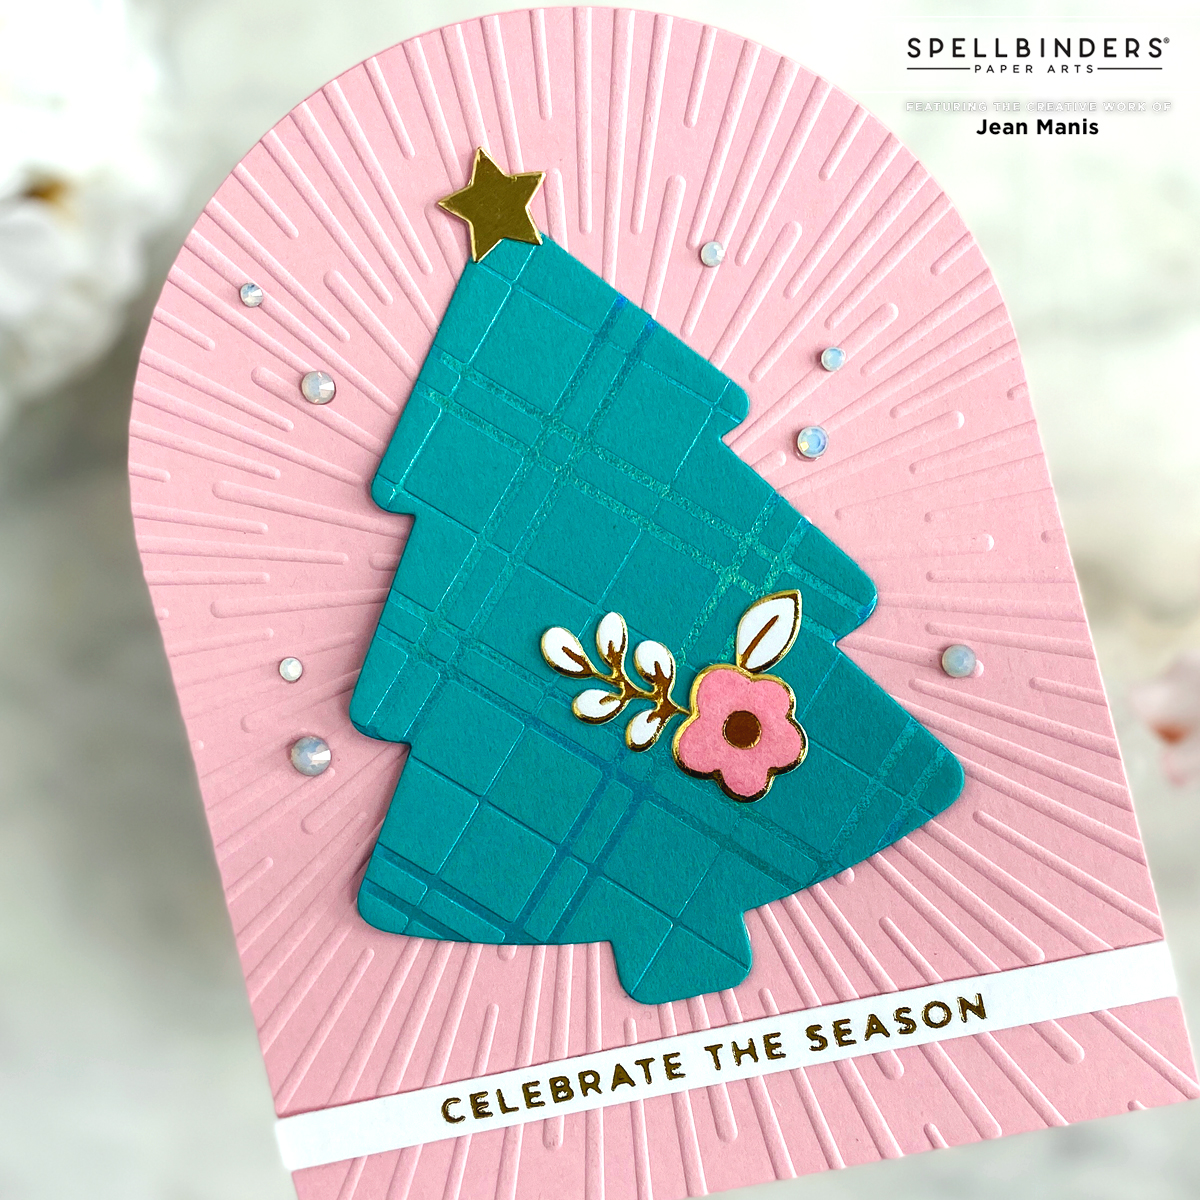
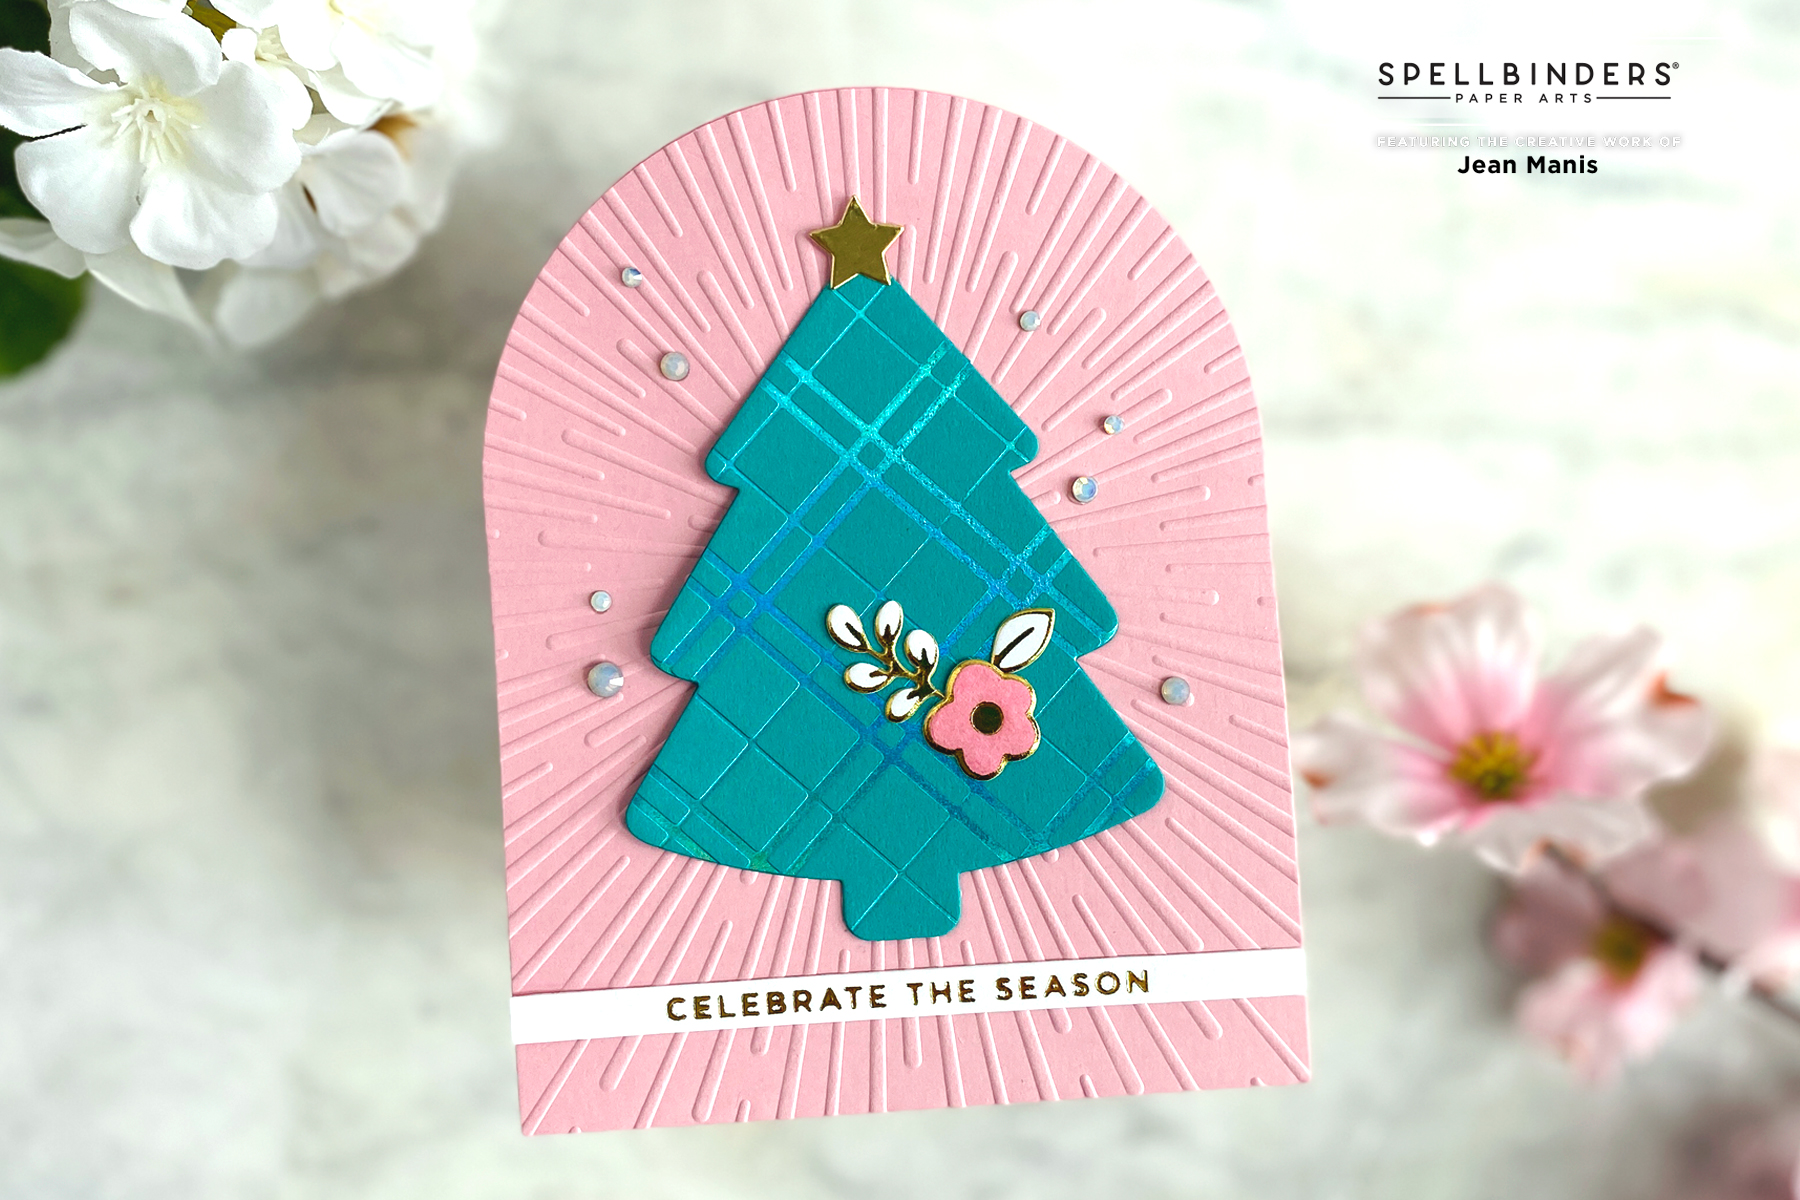
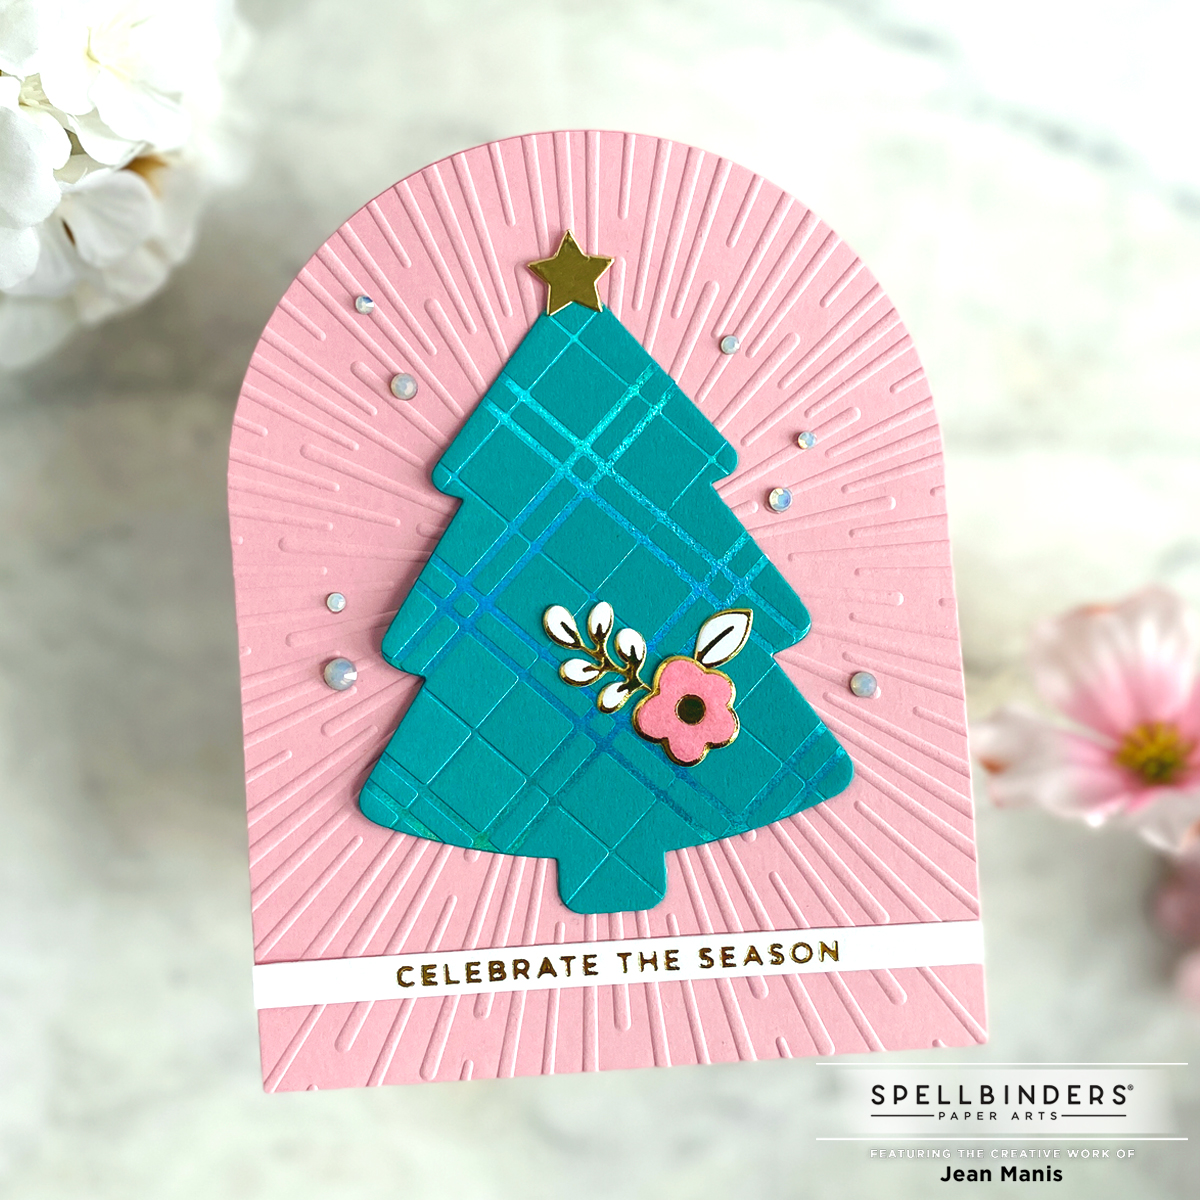
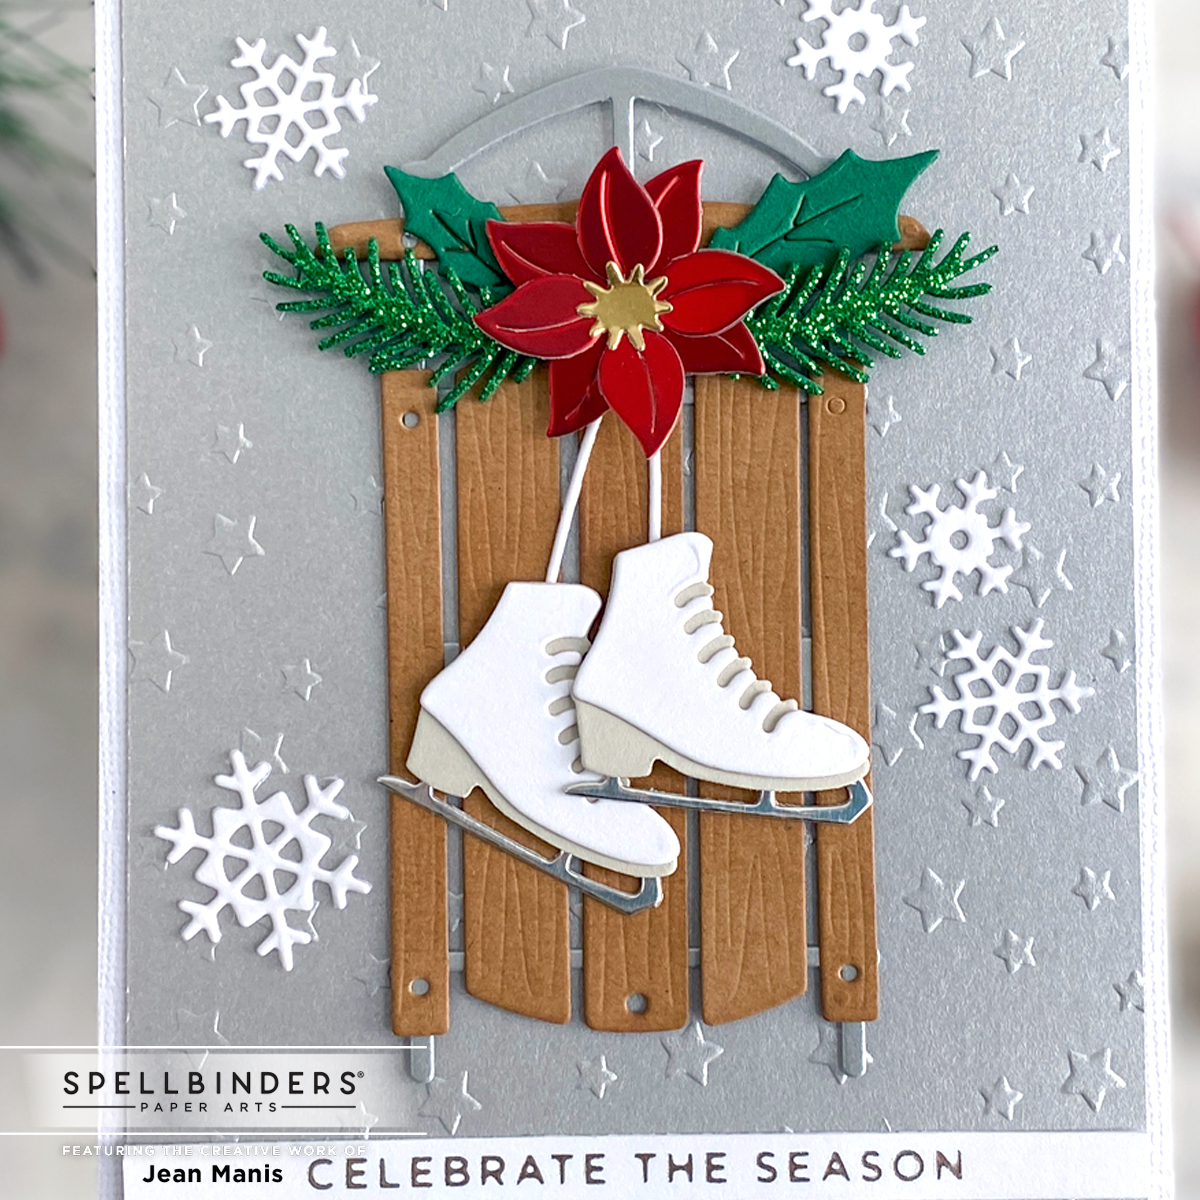
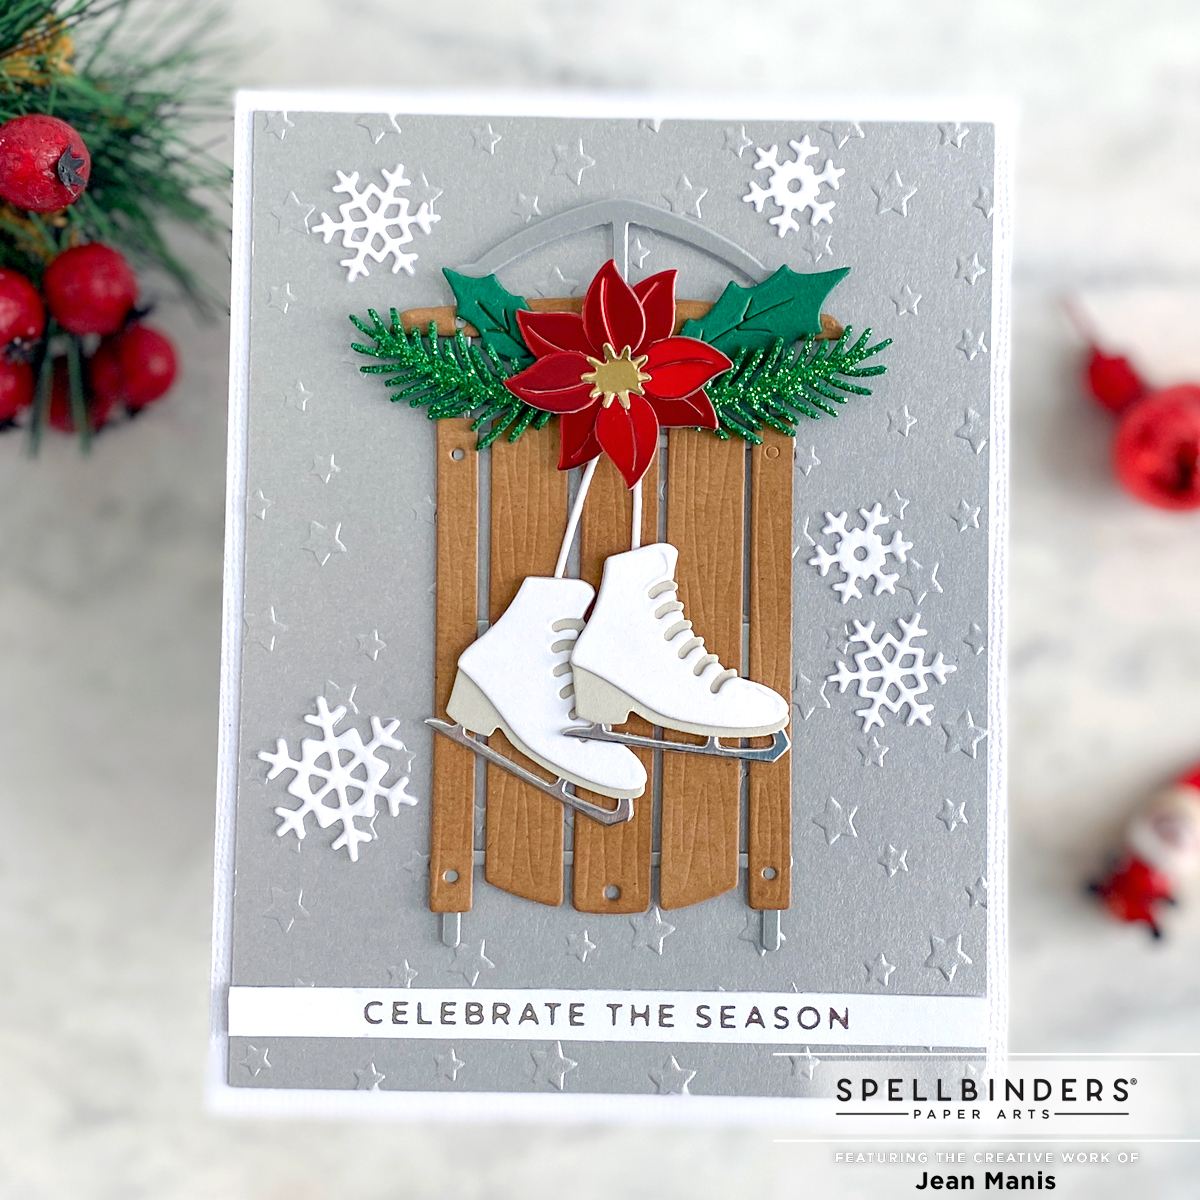
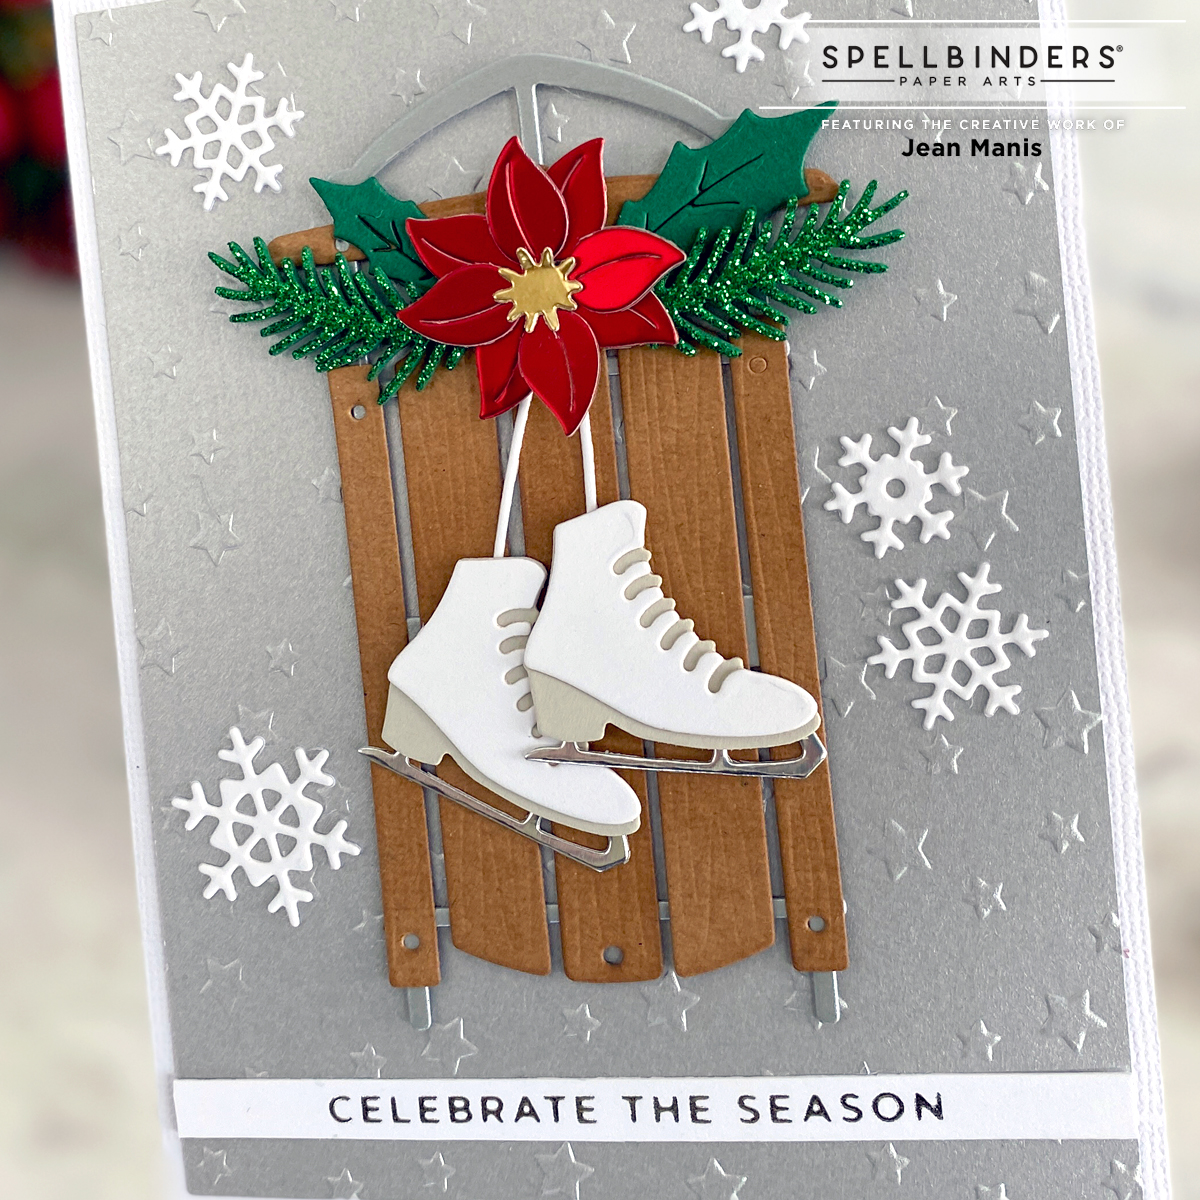
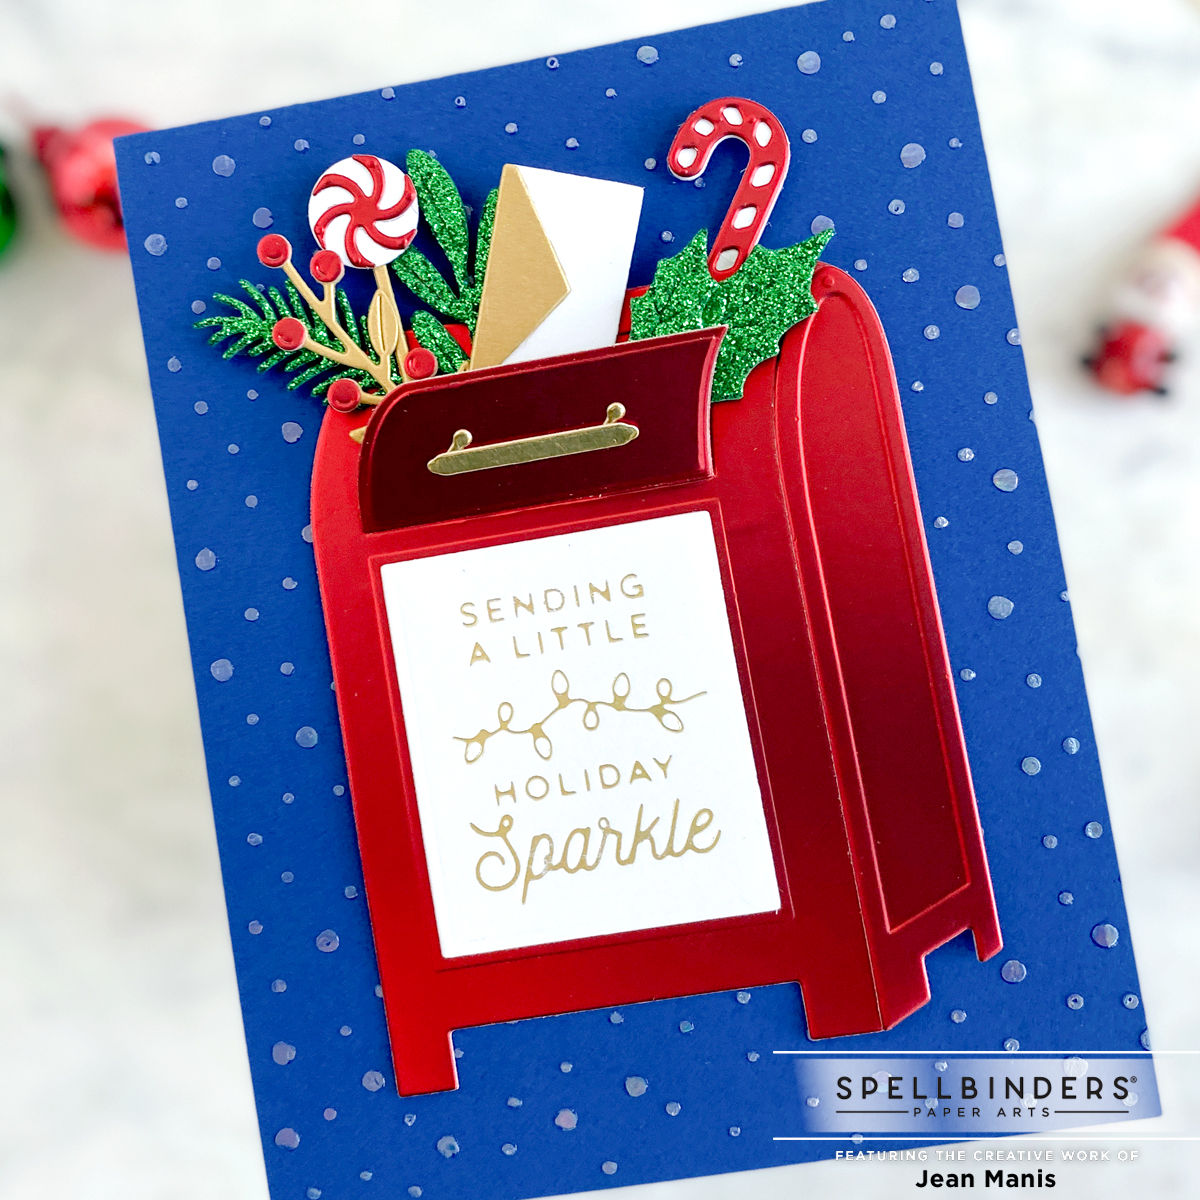
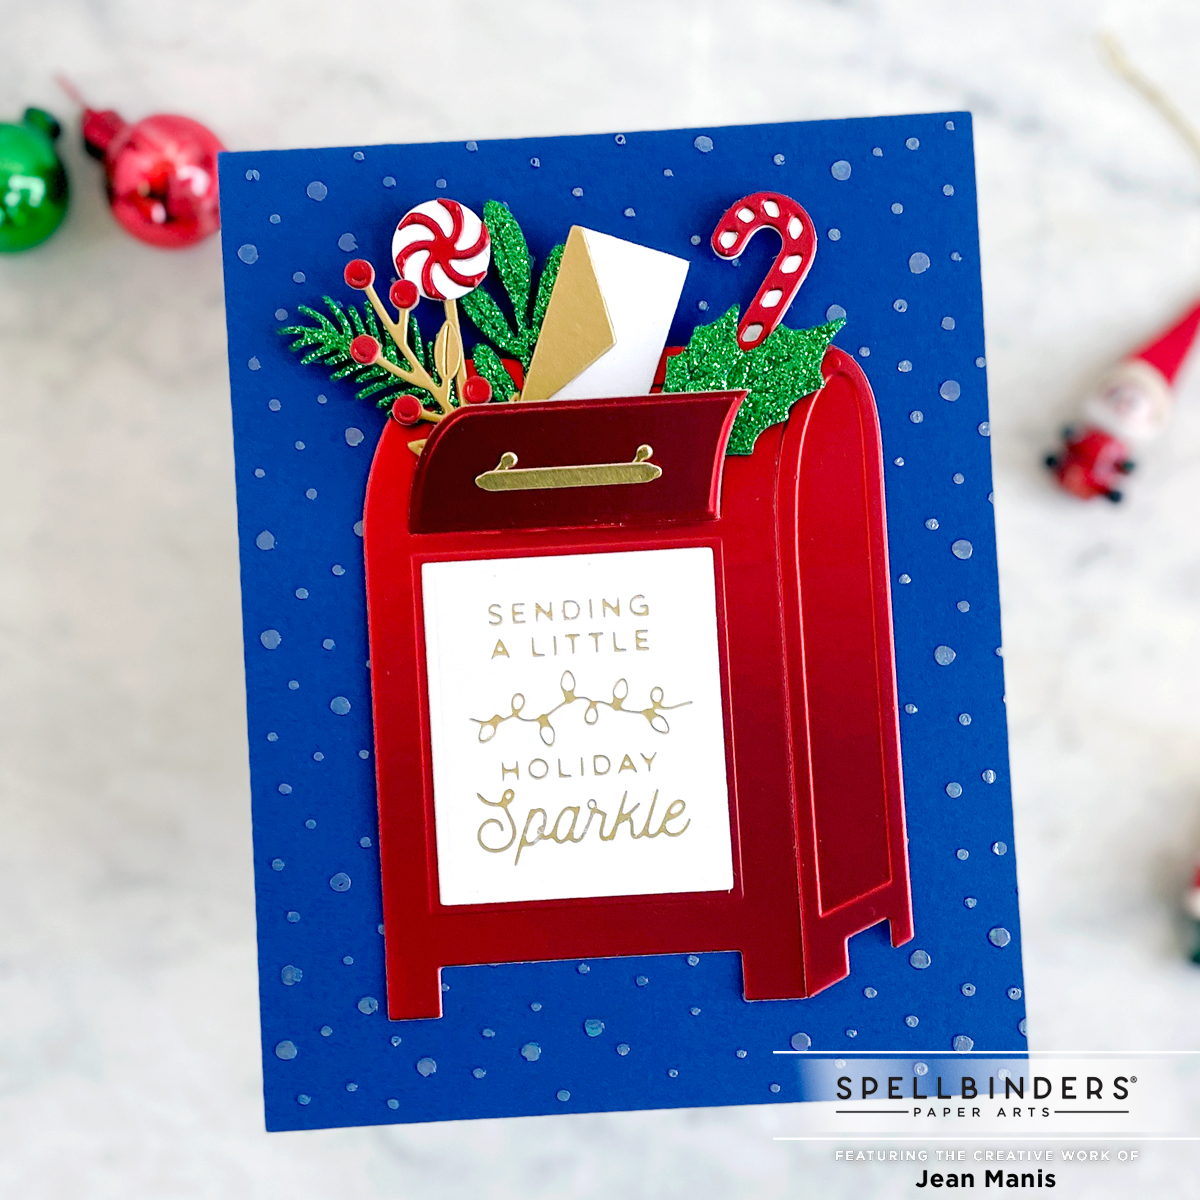
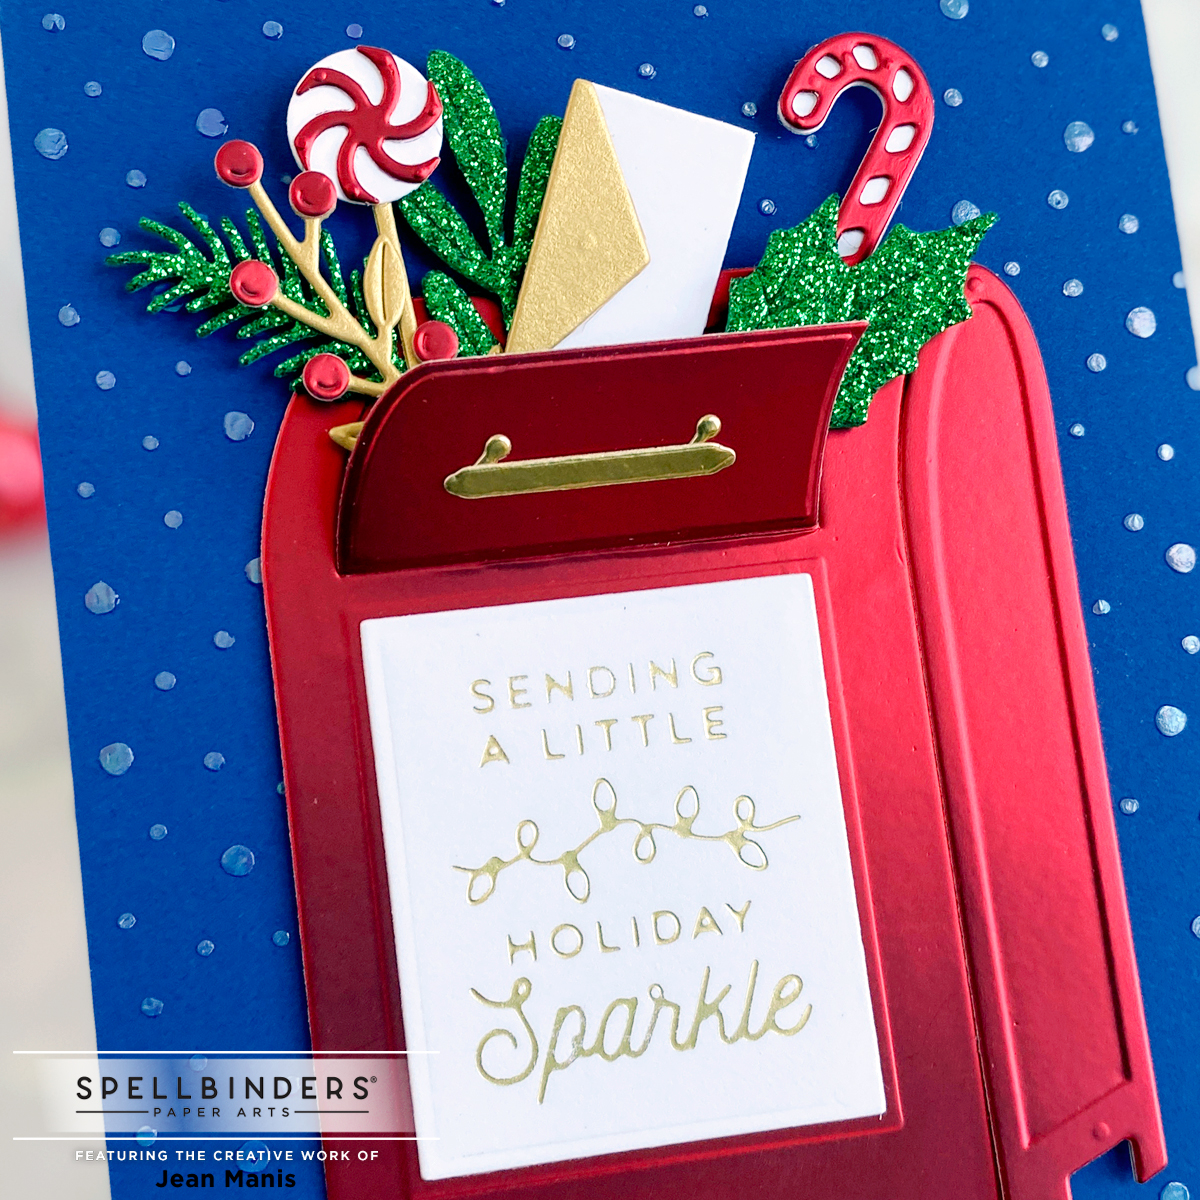
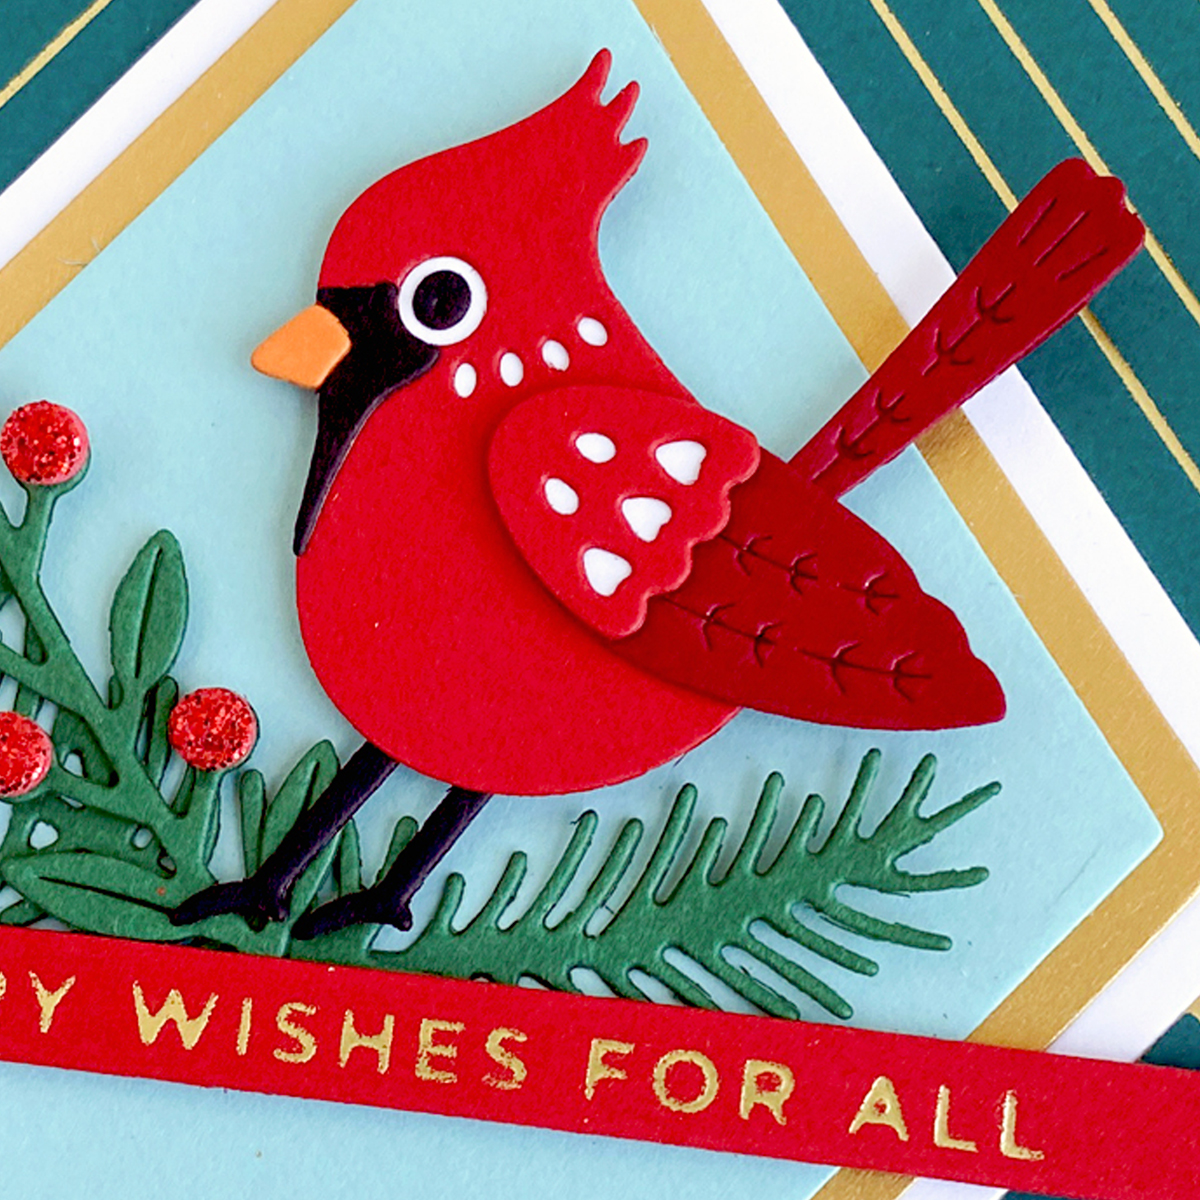
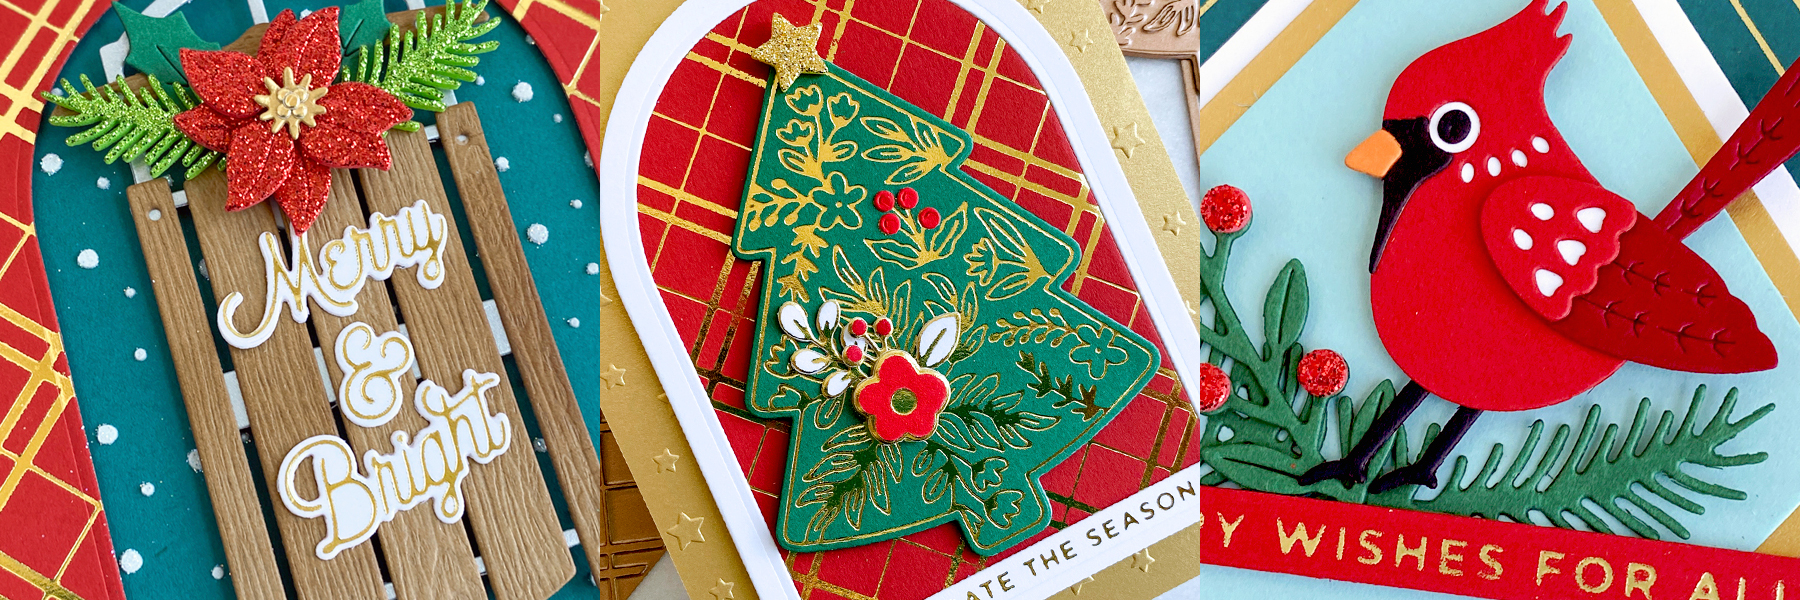
Spellbinders Large Die June 2020 – Geometrical Floral Frames

Hello!  Today I am sharing a CAS friendship card created with the June Large Die of the Month kit from Spellbinders – “Geometrical Floral Frames.” (Edited: This die set is no longer available.)

Spellbinders Large Die June 2020 - Geometrical Floral Frames

On my card, I used one of the frames in the set along with the flowers and foliage.

Spellbinders Large Die June 2020 - Geometrical Floral Frames

  • I heat-embossed the sentiment on deep blue cardstock.
  • I cut the frame from gold foil.
  • I cut the greenery from SU Cucumber Crush (now retired) and vellum. I cut the flowers from yellow, red, and white, and their centers from gold foil.
  • I glued the foliage and flowers to the frame. I used flowers to cover the junction points for the foliage.
  • I glued the frame to the card base.
  • I added flat sequins in several sizes to the card to fill in the “white space.”

Spellbinders Large Die June 2020 - Geometrical Floral Frames

Supplies:

Spellbinders Small Die of the Month Kit – Our Favorite Font Sentiment Set

Hello! Today, I am sharing two cards created with the December Small Die of the Month kit from Spellbinders – “Our Favorite Font Sentiment Set.”Spellbinders Small Die of the Month Kit - Our Favorite Font Sentiment SetThe set includes fourteen word dies, in a versatile font, with which you can create a variety of expressions for a number of occasions such as: “Thinking of You,” “With Sympathy,” “Birthday Wishes to You,” and “Congrats to You,” as well as the more obvious “Thank You,” “Love You,” and “Happy Birthday.”

My first card is a Valentine, which includes several other Spellbinders sets, on which I used the “Love You” sentiment.

Spellbinders Small Die of the Month Kit - Our Favorite Font Sentiment Set

I’ve combined the Tux set (he’s still wearing a scarf but I removed his ear muffs) with the First Crush die set (balloon). I created the heart panel with the largest die in the Nestabilities Class Heart set. The card measures 4 1/2″ square.

Spellbinders Small Die of the Month Kit - Our Favorite Font Sentiment Set

My second card is a Thank You note on which I combined the sentiment with the Butterfly Frame-A-Long die set.

Spellbinders Small Die of the Month Kit - Our Favorite Font Sentiment Set

I dry-embossed the background (measuring 4 1/4″ square) with the Pretty Plaid embossing folder. I created a frame by adhering the butterfly/flower strips together at the corners; I then added the flower overlays, cut from yellow cardstock. I glued pearls to the centers of the flowers for embellishment.

Spellbinders Small Die of the Month Kit - Our Favorite Font Sentiment Set

Spellbinders – Tulip Flower Frame

Hello! Today, I am sharing a CAS Thank You card created with the Tulip Flower Frame Card Creator die set designed by Maria Job for Spellbinders. I previously shared cards created with the set in this post.

Spellbinders - Tulip Flower Frame

I specifically wanted to use patterned paper on the card base as this particular “cover plate” die has an ample amount of open space. Once I cut the frame and placed it over the patterned paper, I decided that some of the tulips in the frame should be filled in, which I did with the inlay method.

I heat-embossed a sentiment from the Everyday Script set and cut it with its coordinating die. I cut circles from both red and cream cardstock, which I adhered to the card center. I adhered the sentiment to the circles with foam adhesive.

Spellbinders - Tulip Flower Frame

Thanks so much for dropping by!

Enjoy the Ride – Spellbinders May 2019 Small Die of the Month

Hello! Happy May! Today, I am sharing two CAS projects created with this month’s Small Die of the Month die set “Enjoy the Ride” from Spellbinders.

Enjoy the Ride - Spellbinders May 2019 Small Die of the Month

For my first card, I created a sky/road scene with a pink scooter using letters in the set for the “Ciao” sentiment and balloons (die in the set) tied to the back of the scooter.

Enjoy the Ride - Spellbinders May 2019 Small Die of the Month

  • I dry-embossed the roadway piece (gray cardstock) with the Beach Towel Embossing Folder.
  • I cut the “Ciao” sentiment from white cardstock and adhered it to the roadway with liquid adhesive using the dry-embossing lines as a guide for the letters.
  • I cut the scooter out and assembled it with liquid adhesive and tape.
  • I added embroidery floss to the balloons, cut from several shades of pink, and attached them to the sky background with dot and foam adhesive. I taped the strings to the sky background making sure that they would be covered by the back of the scooter. I attached the scooter to the scene with dot adhesive.

Enjoy the Ride - Spellbinders May 2019 Small Die of the Month

I love using color and repetition on card designs, so for my second project, which measures 6 1/2″ x 3 3/4″, I created three scooters in bright colors.

Enjoy the Ride - Spellbinders May 2019 Small Die of the Month

  • I created the Go sentiments on my computer and printed them on white cardstock.
  • I cut and assembled the scooters from brightly colored cardstock.
  • I added a strip of washi paper to the right side of the card base to emphasize the road/transportation theme.
  • I adhered the scooters to the scene with dot adhesive.

Enjoy the Ride - Spellbinders May 2019 Small Die of the Month

Thanks for stopping by! Vroom!

Spellbinders Exquisite Splendor Collection by Marisa Job

Hello! Today I am sharing two projects created with the recently-introduced Spellbinders Exquisite Splendor Collection by Marisa Job – beautiful botanical dies that can be used for a number of occasions including birthdays and weddings! I used the Tulip Flower Frame Card Creator die set to create the background for both of my CAS cards. Let’s take a look.

Spellbinders Exquisite Splendor Collection by Marisa Job

On my first project, I began by cutting the card panel with the rectangle die in the Tulip Flower Frame Card Creator set, (the set includes an A2 size 4.25 x 5.50 in. outline frame and an intricate tulip design insert), from Whip Creme cardstock. I then cut the tulip design from the A2 panel. I did this a second time and adhered the layers together. I backed the assembly with coral cardstock. I used the tulip design to cut soft blue, soft yellow, and soft gray pieces which I adhered to the coral base with glue. Having the two layers makes this technique easy!

Spellbinders Exquisite Splendor Collection by Marisa Job

Spellbinders Exquisite Splendor Collection by Marisa Job

I dry-embossed a strip of soft yellow cardstock with the Beach Towel embossing folder and added a sentiment stamped with the Every Moment stamp set, cut with a Spellbinders circle die.

My second project is of a similar design, and I followed the same steps as for my first card. I created the sentiment with the Happy Birthday Banner, another die set in the Exquisite Splendor Collection.

Spellbinders Exquisite Splendor Collection by Marisa Job

I adhered the sentiment letters to a single piece of floss with liquid adhesive and attached the ends of the strings to the back of the dry-embossed strip, which was then adhered to the card base.

Spellbinders Exquisite Splendor Collection by Marisa Job

Spellbinders Exquisite Splendor Collection by Marisa Job

Thanks for visiting today!