Spellbinders | Snowman’s Winter Wonderland

Hello! Beyond the confines of the snow globe, I’ve ventured into the winter wonderland using the very same dies from the Spellbinders Simon’s Snow Globe and Snowman Scene sets as I did on this card. These versatile dies allowed me to create a captivating winter scene without the globe.

Spellbinders | Snowman's Winter Wonderland

  • Create A2-size card base from Brushed Gold cardstock.
  • Cut Cosmic Sky cardstock panel to 3.625″ x 4.875″ with die in the A-2 Matting Basics A set and dry-emboss with the Stargazer folder.
  • Stamp Snowdrift cardstock in black with sentiment in the Santa’s Sippin’ Sayings set. Cut using the 3.625″ x 4.875″ die on the bottom and sides and a snowbank die in the Snowman Scene set on the top. Use the other snowbank die in the same set to cut another snowbank in the same way. Use a snowbank die in the Simon’s Snow Globe set to cut the third snowbank. Add snowbanks to dry-embossed panel. Add panel to card base.
  • Cut snowman and trees with dies in the Snowman Scene set. I dabbed glue on to the small trees and added dry glitter. Add trees and snowman to card front.

Spellbinders | Snowman's Winter Wonderland


Penny Black | Whimsical Halloween Delight

Hello! A playful hedgehog, a spooky tree, and a “Boo” sentiment create a whimsical scene on this Halloween card showcasing Penny Black stamp and die sets. The scene embodies the spirit of Halloween and emphasizes the creativity found in older crafting sets. Several of these products were introduced in 2020 as part of the Autumn Extraordinaire Collection. I previously used the Windy die set on Halloween cards HERE and HERE. Other products used on the card have been in my collection even longer.

Penny Black | Whimsical Halloween Delight

    • As I mentioned HERE in my post on stamped backgrounds, background stamps can be stamped with colored ink on to inked backgrounds. For this card, the inked background was created with Wilted Violet and Villainous Potion Distress Oxide ink colors (sky section), and the Dots in Space background stamp was stamped with Wilted Violet Distress ink (not Oxide). I lightly stamped the background on to scrap paper, before stamping on to the inked background, so that the amount of ink stamped would be more subtle. The ground was masked when I inked the sky and stamped the dots. I inked the ground and then cut the panel with a stitched A2-size die, and attached it to a card base.
    • Stamp Candy Kisses in Versafine on Arches Cold Press watercolor paper and heat set. Color the images with watercoloring mediums of choice. I used mini Distress Inks in the following colors: Antique Linen, Gathered Twigs, Ground Espresso, Spiced Marmalade, Rusty Hinge, Crackling Campfire, Squeezed Lemonade, Wilted Violet, Picked Raspberry, Saltwater Taffy, Peacock Feathers, and Scattered Straw. Once dry, cut the image with the die in the coordinating set. (Check out my “Resources for Watercoloring Stamped Images” HERE.)
    • With the Windy die set, cut the tree from cardstock on which Distress Oxide inks have been applied. Assemble.
    • Cut the “Boo” sentiment with a die in the eeek! set from cardstock on which Distress Oxide inks have been applied. Cut again from black foam for depth. Adhere the two and attach to the card.
    • Add tree to the card with dot adhesive and the hedgehog with foam adhesive.

Penny Black | Whimsical Halloween Delight


Exploring Background Stamps

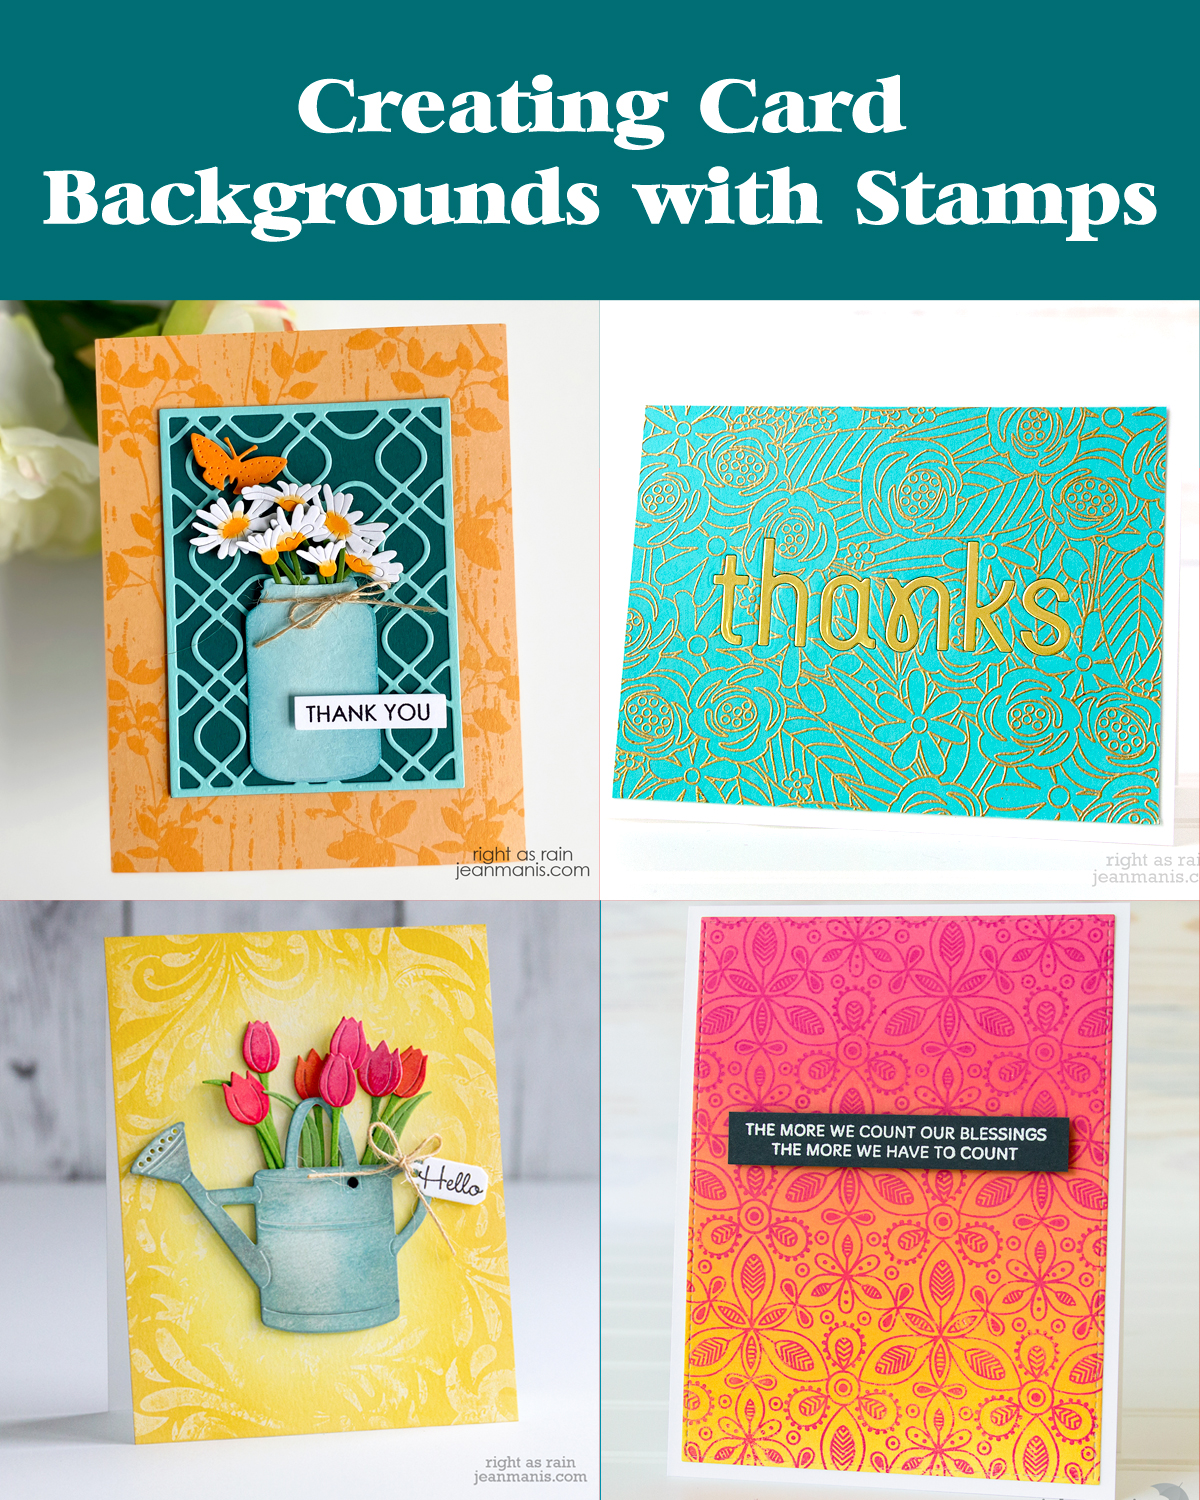
Hello! Today, I am exploring the use of stamped backgrounds for handmade cards. This post is a continuation of my series on card backgrounds that includes Paper Based Backgrounds, Embossing Folder Backgrounds, and Stenciled Backgrounds.

Throughout this post, I’ll be using cards from my blog archive as examples. Click on the card image to be taken to the original post. While the specific products used on these cards may no longer be available, the focus is on providing a guide for stamping card backgrounds.

Exploring Background Stamps

In this post, I am focusing on the inks and techniques used with background stamps, rather than the wide variety of background stamp patterns. That being said, I have included a variety of patterns with the examples. Please note that this post does not cover all available background stamp techniques.

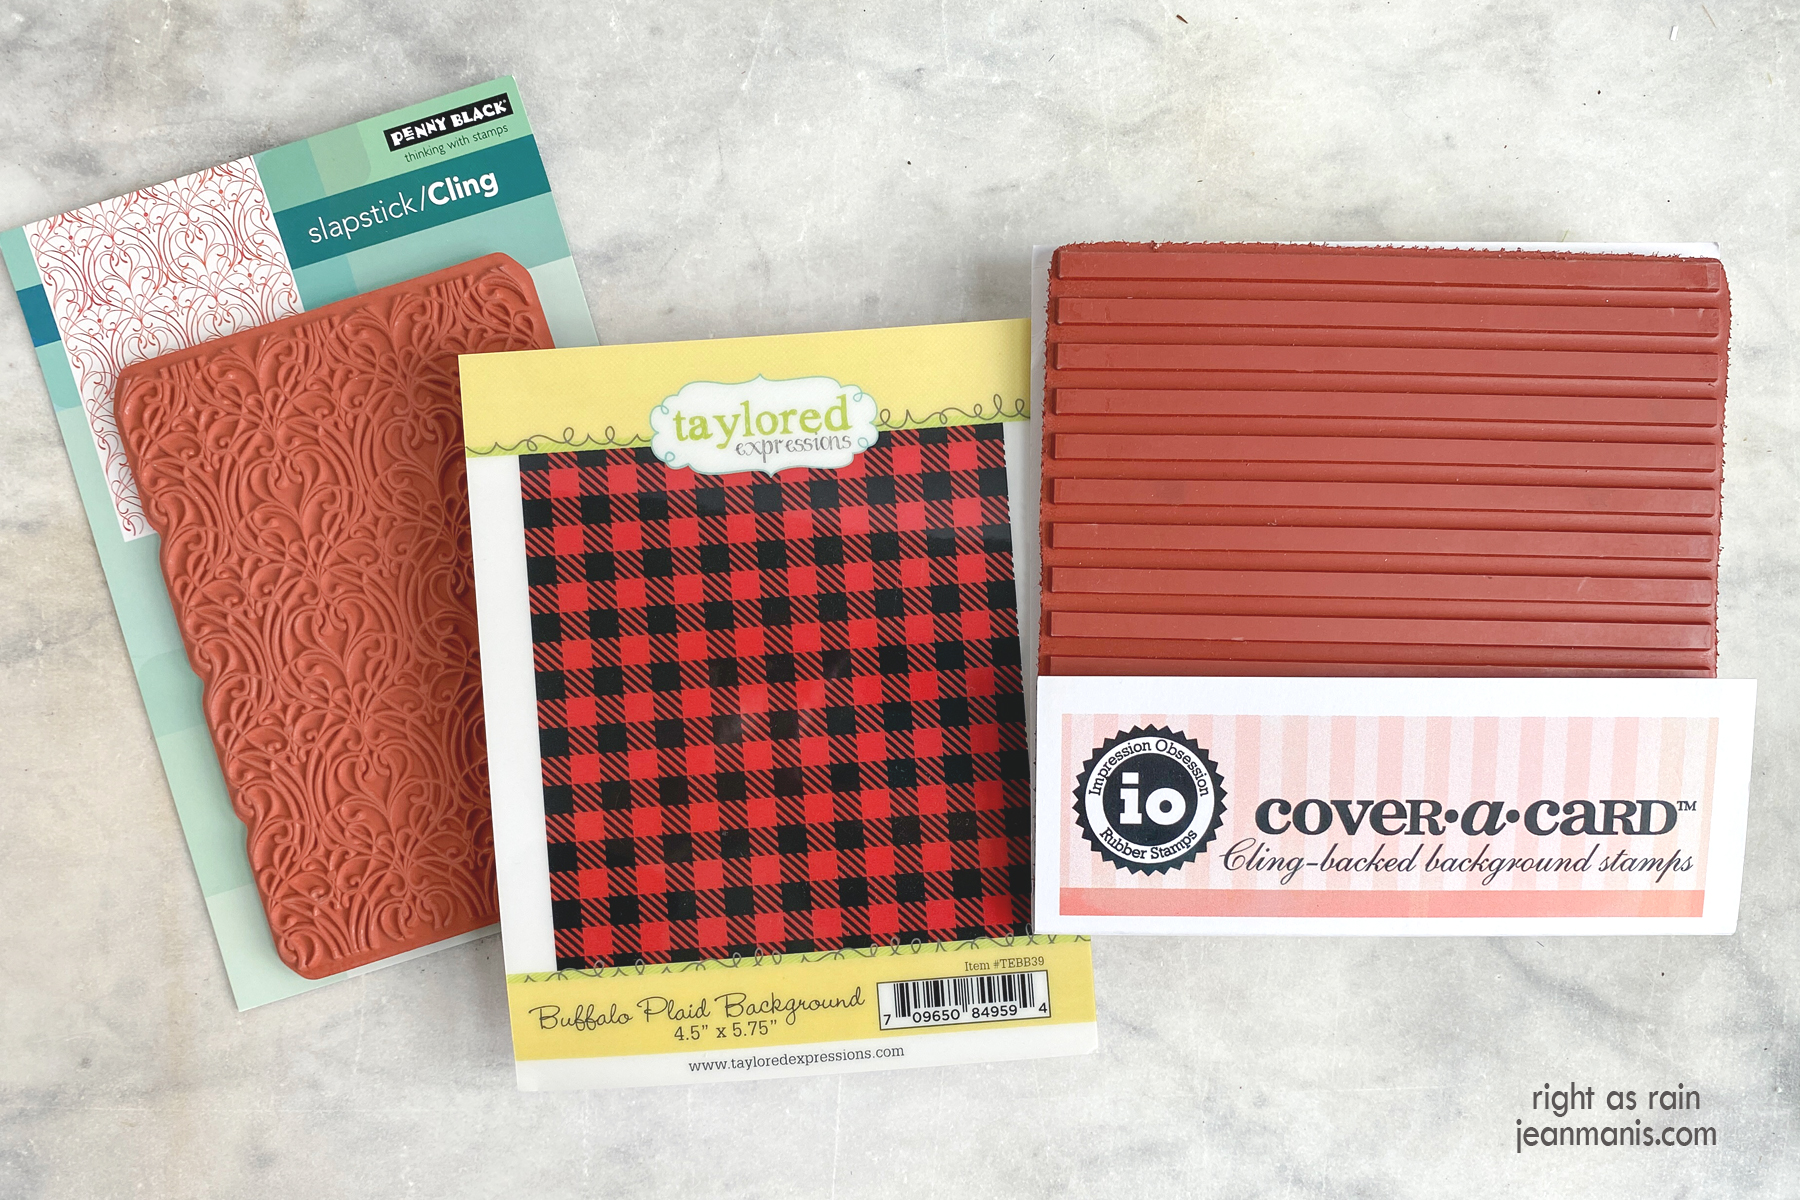
Let’s start with an option that is readily available, affordable, and pairs with any theme – colored ink on white cardstock. Buffalo plaid backgrounds hold a timeless appeal due to their classic and rustic aesthetic.

Background Stamps | Colored Ink on White Cardstock

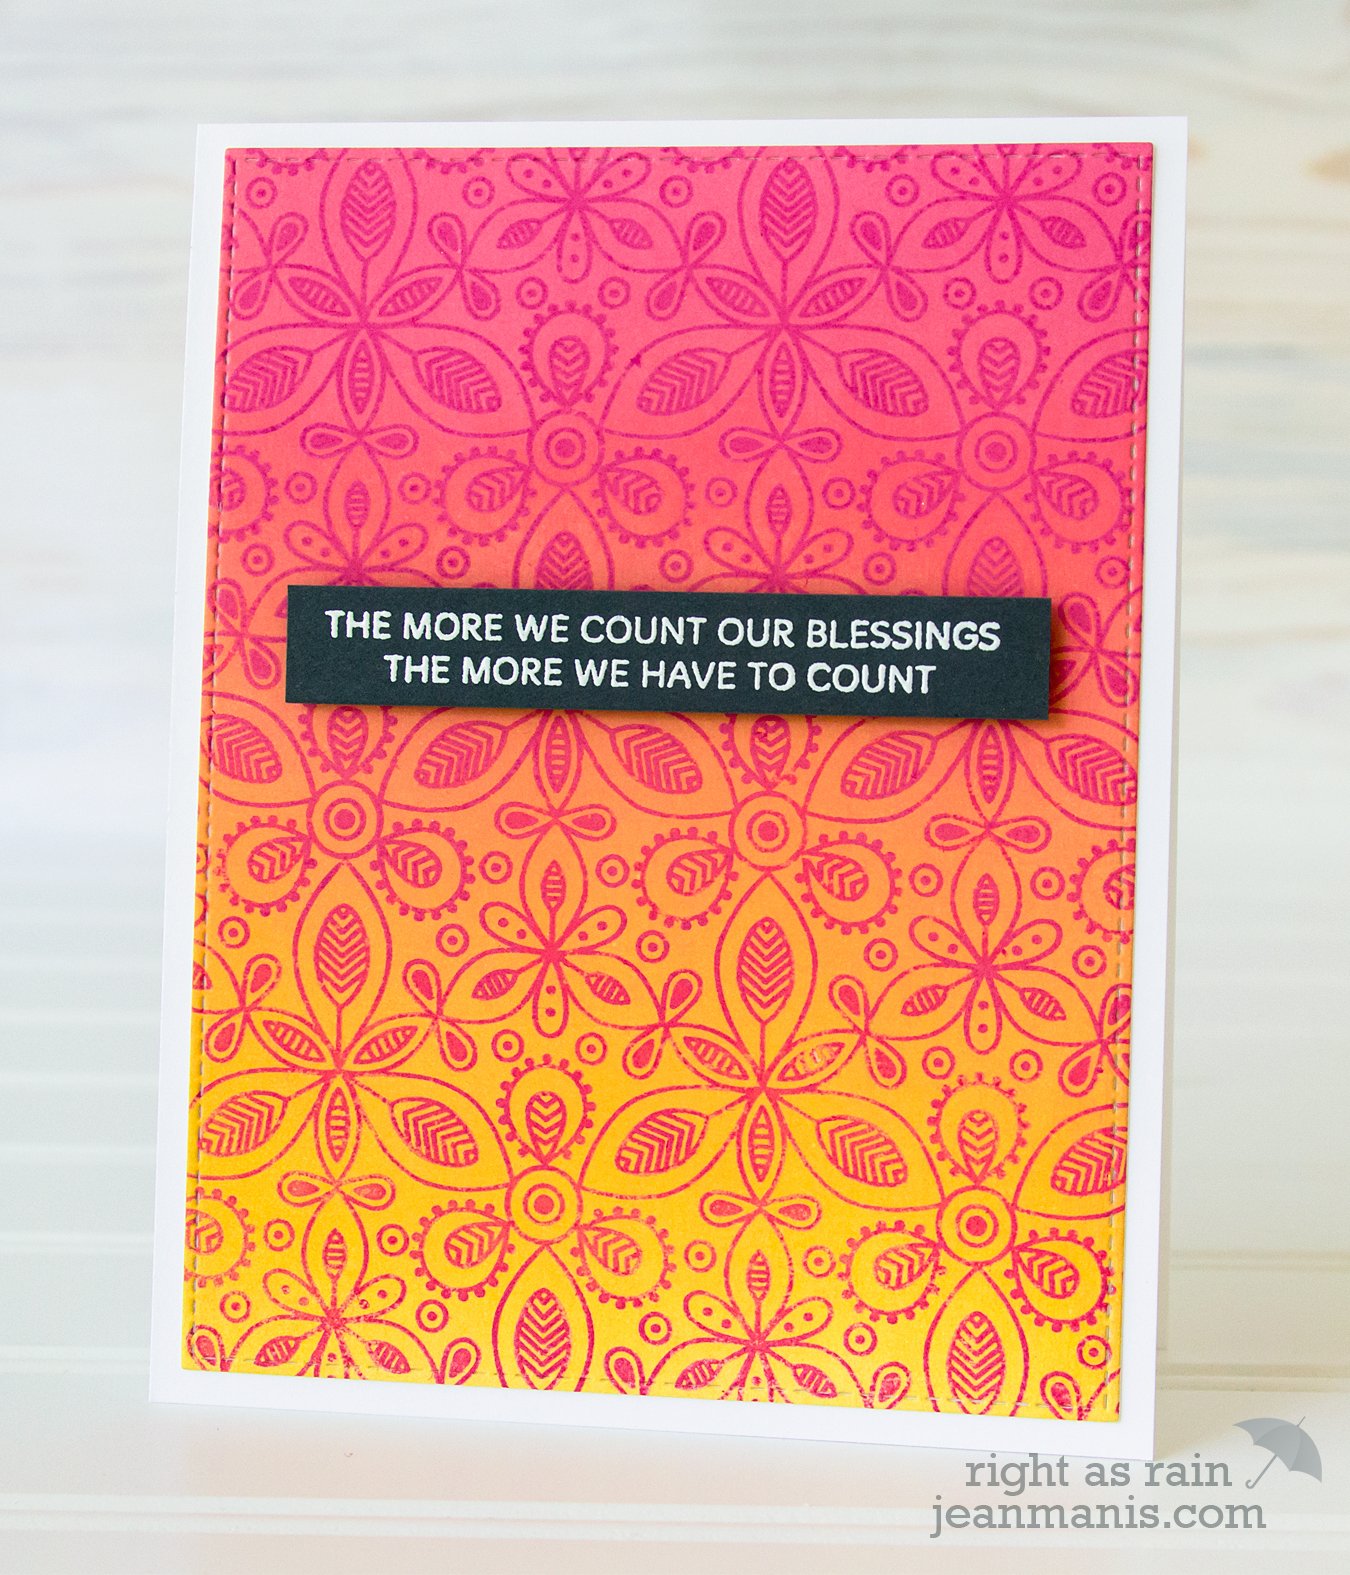
Some background stamps feature an equal amount of inked and non-inked areas (such as the Buffalo Plaid above) and others feature more inked area than non-inked such as the Penny Black Crystal Pattern below, shown stamped with colored ink on white cardstock.

Background Stamps | Colored Ink on White Cardstock

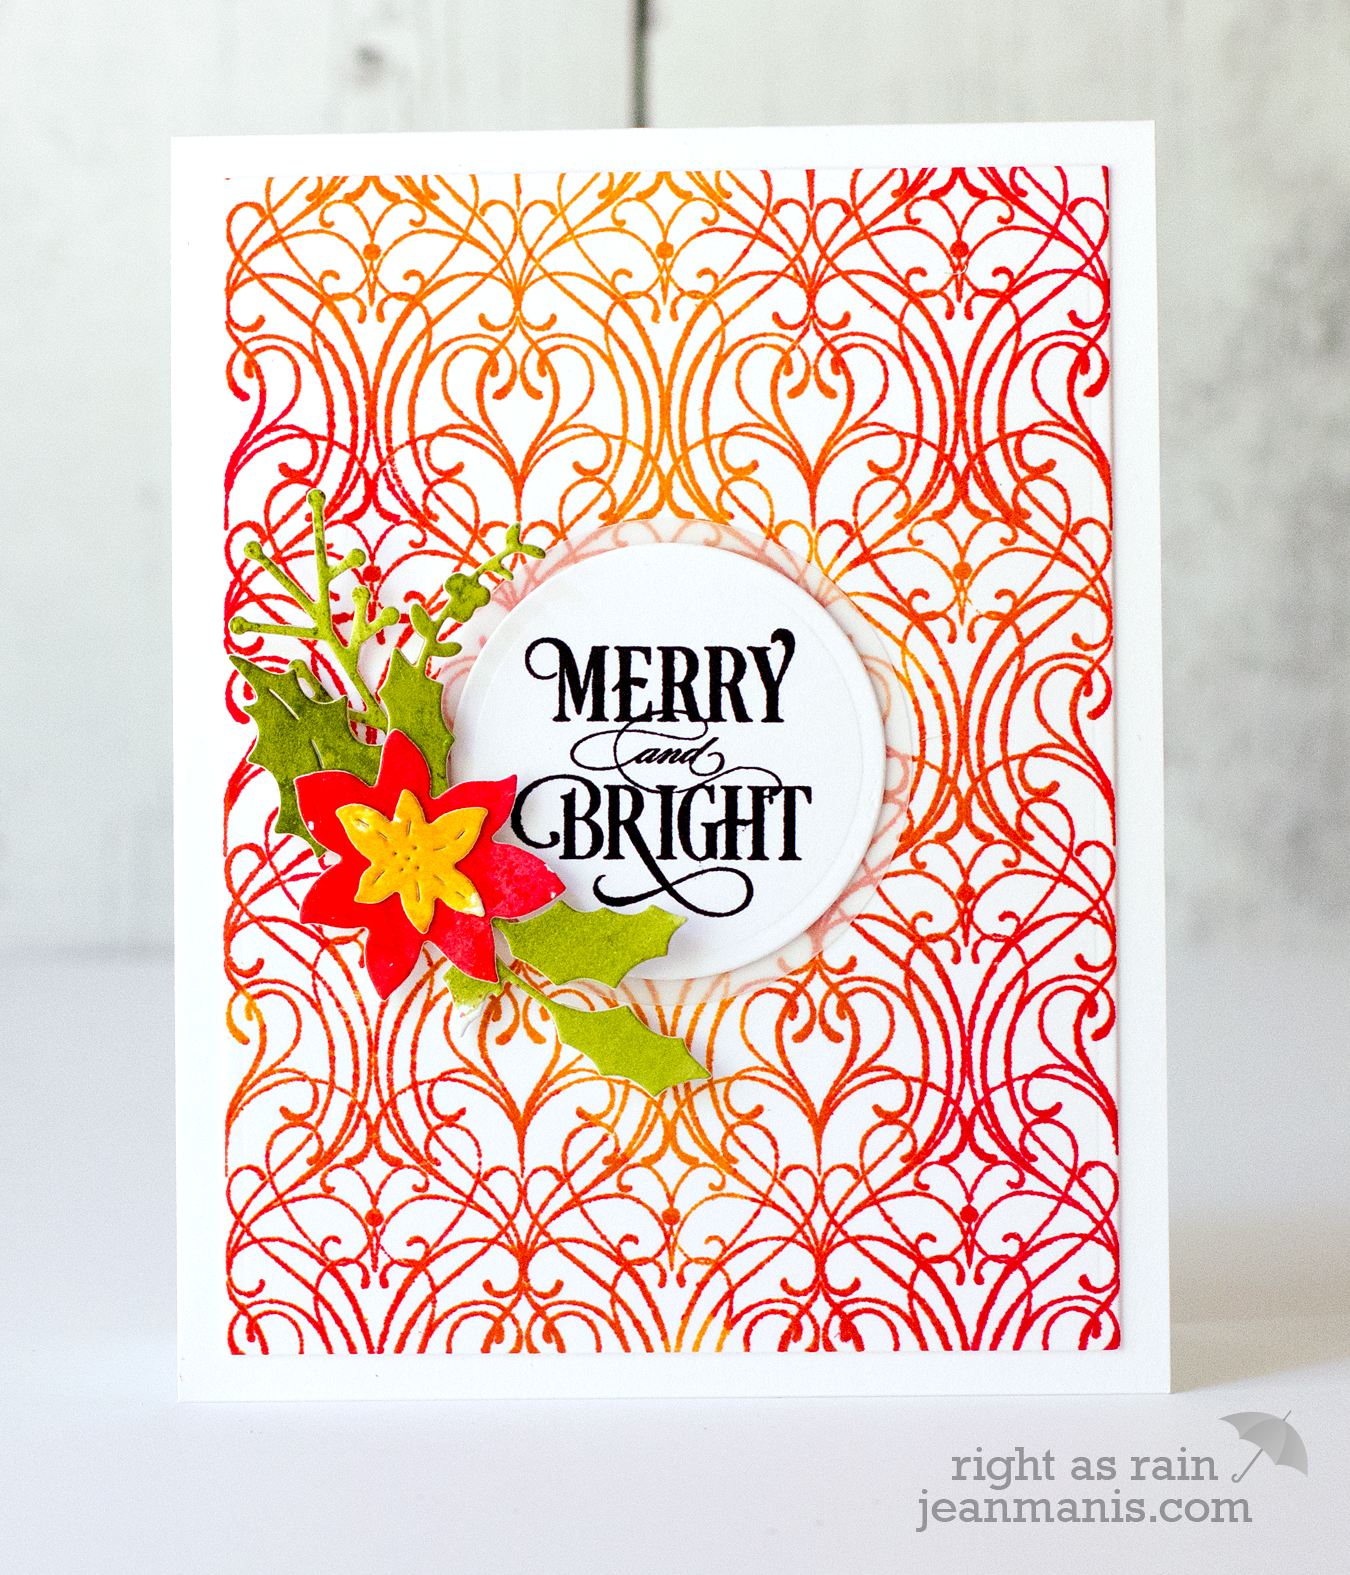
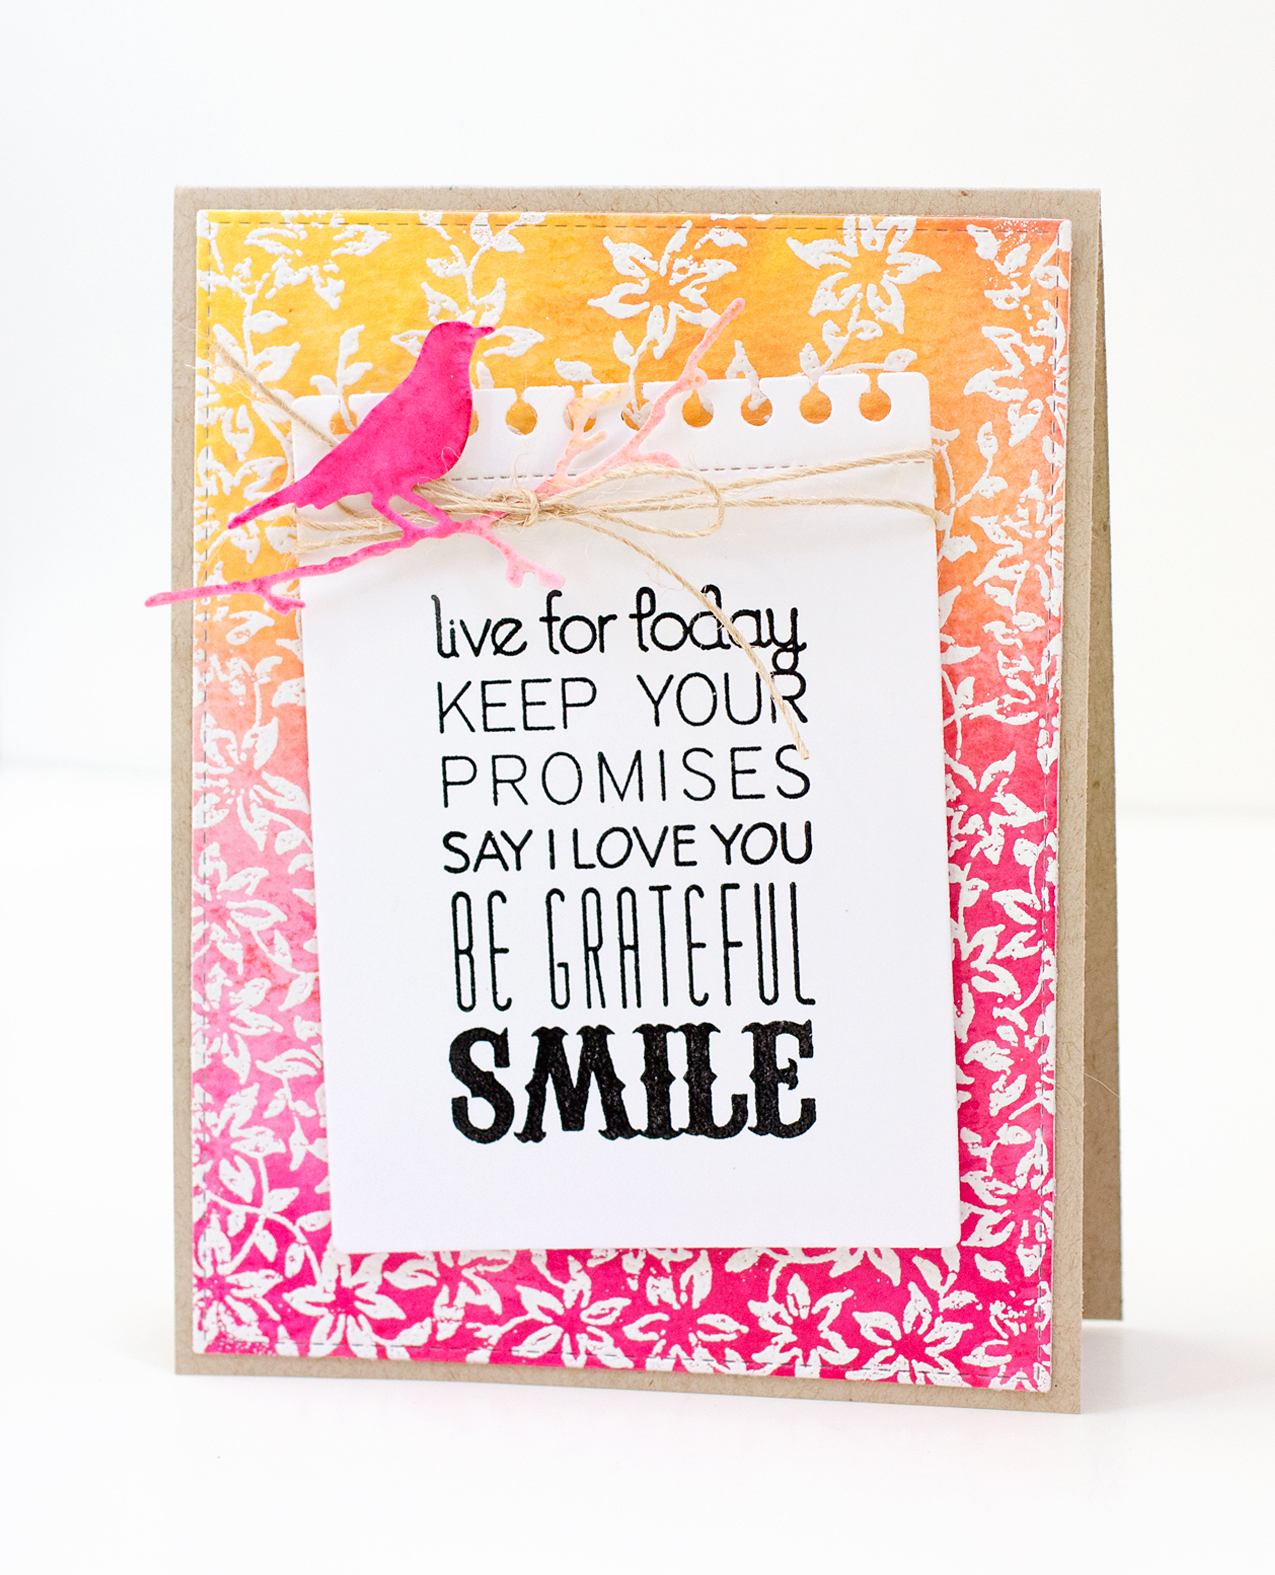
On the other hand, other background stamps have more non-inked than inked areas, such as this intricate pattern stamp, which I stamped in two different ink colors. Another option for this type of background stamp, which lends a completely different look, is to heat-emboss the stamp and apply inks that are resisted on the heat-embossed sections.

Background Stamps | Colored Ink on White Cardstock

Stamped backgrounds can be mixed to use for scene building.

Background Stamps | Colored Ink on White Cardstock

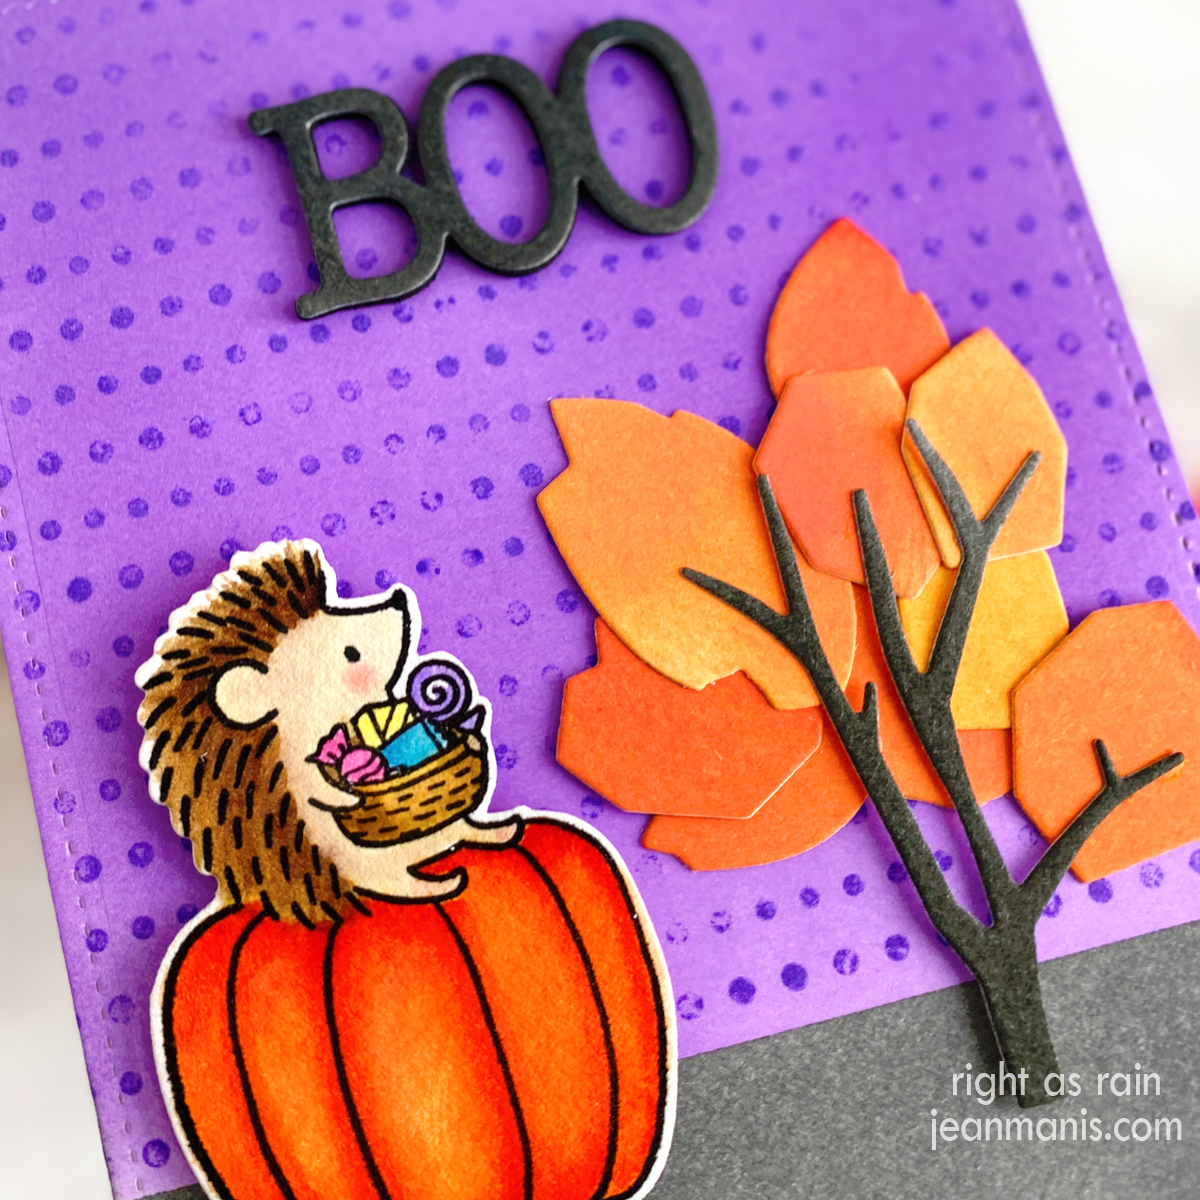
Background stamps can be stamped with colored ink on to inked backgrounds. In this case, the inked background was created with three Distress Oxide ink colors and the background stamp was stamped with a Distress ink (not Oxide).

Background Stamps | Colored Ink on Inked Background

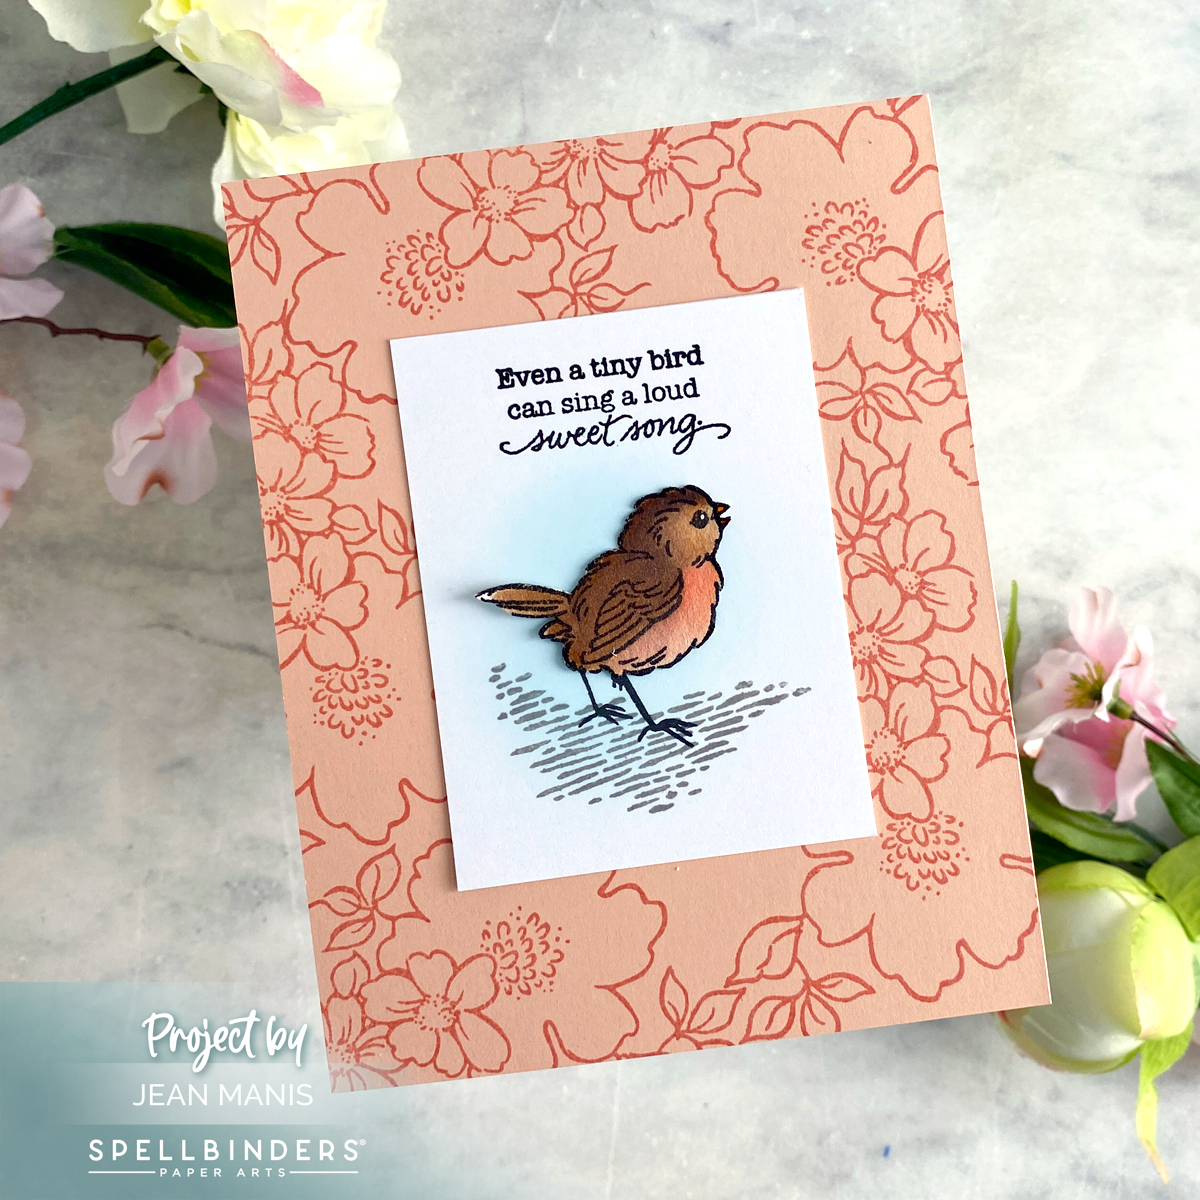
Another effective option – stamp the background with an ink that matches the cardstock for a tone-on-tone background.

Background Stamps | Colored Ink on Matching Cardstock

Background Stamps | Colored Ink on White Cardstock

White pigment ink is a versatile option whose impact changes with the cardstock color on to which it is stamped.

Background Stamps | White Pigment Ink

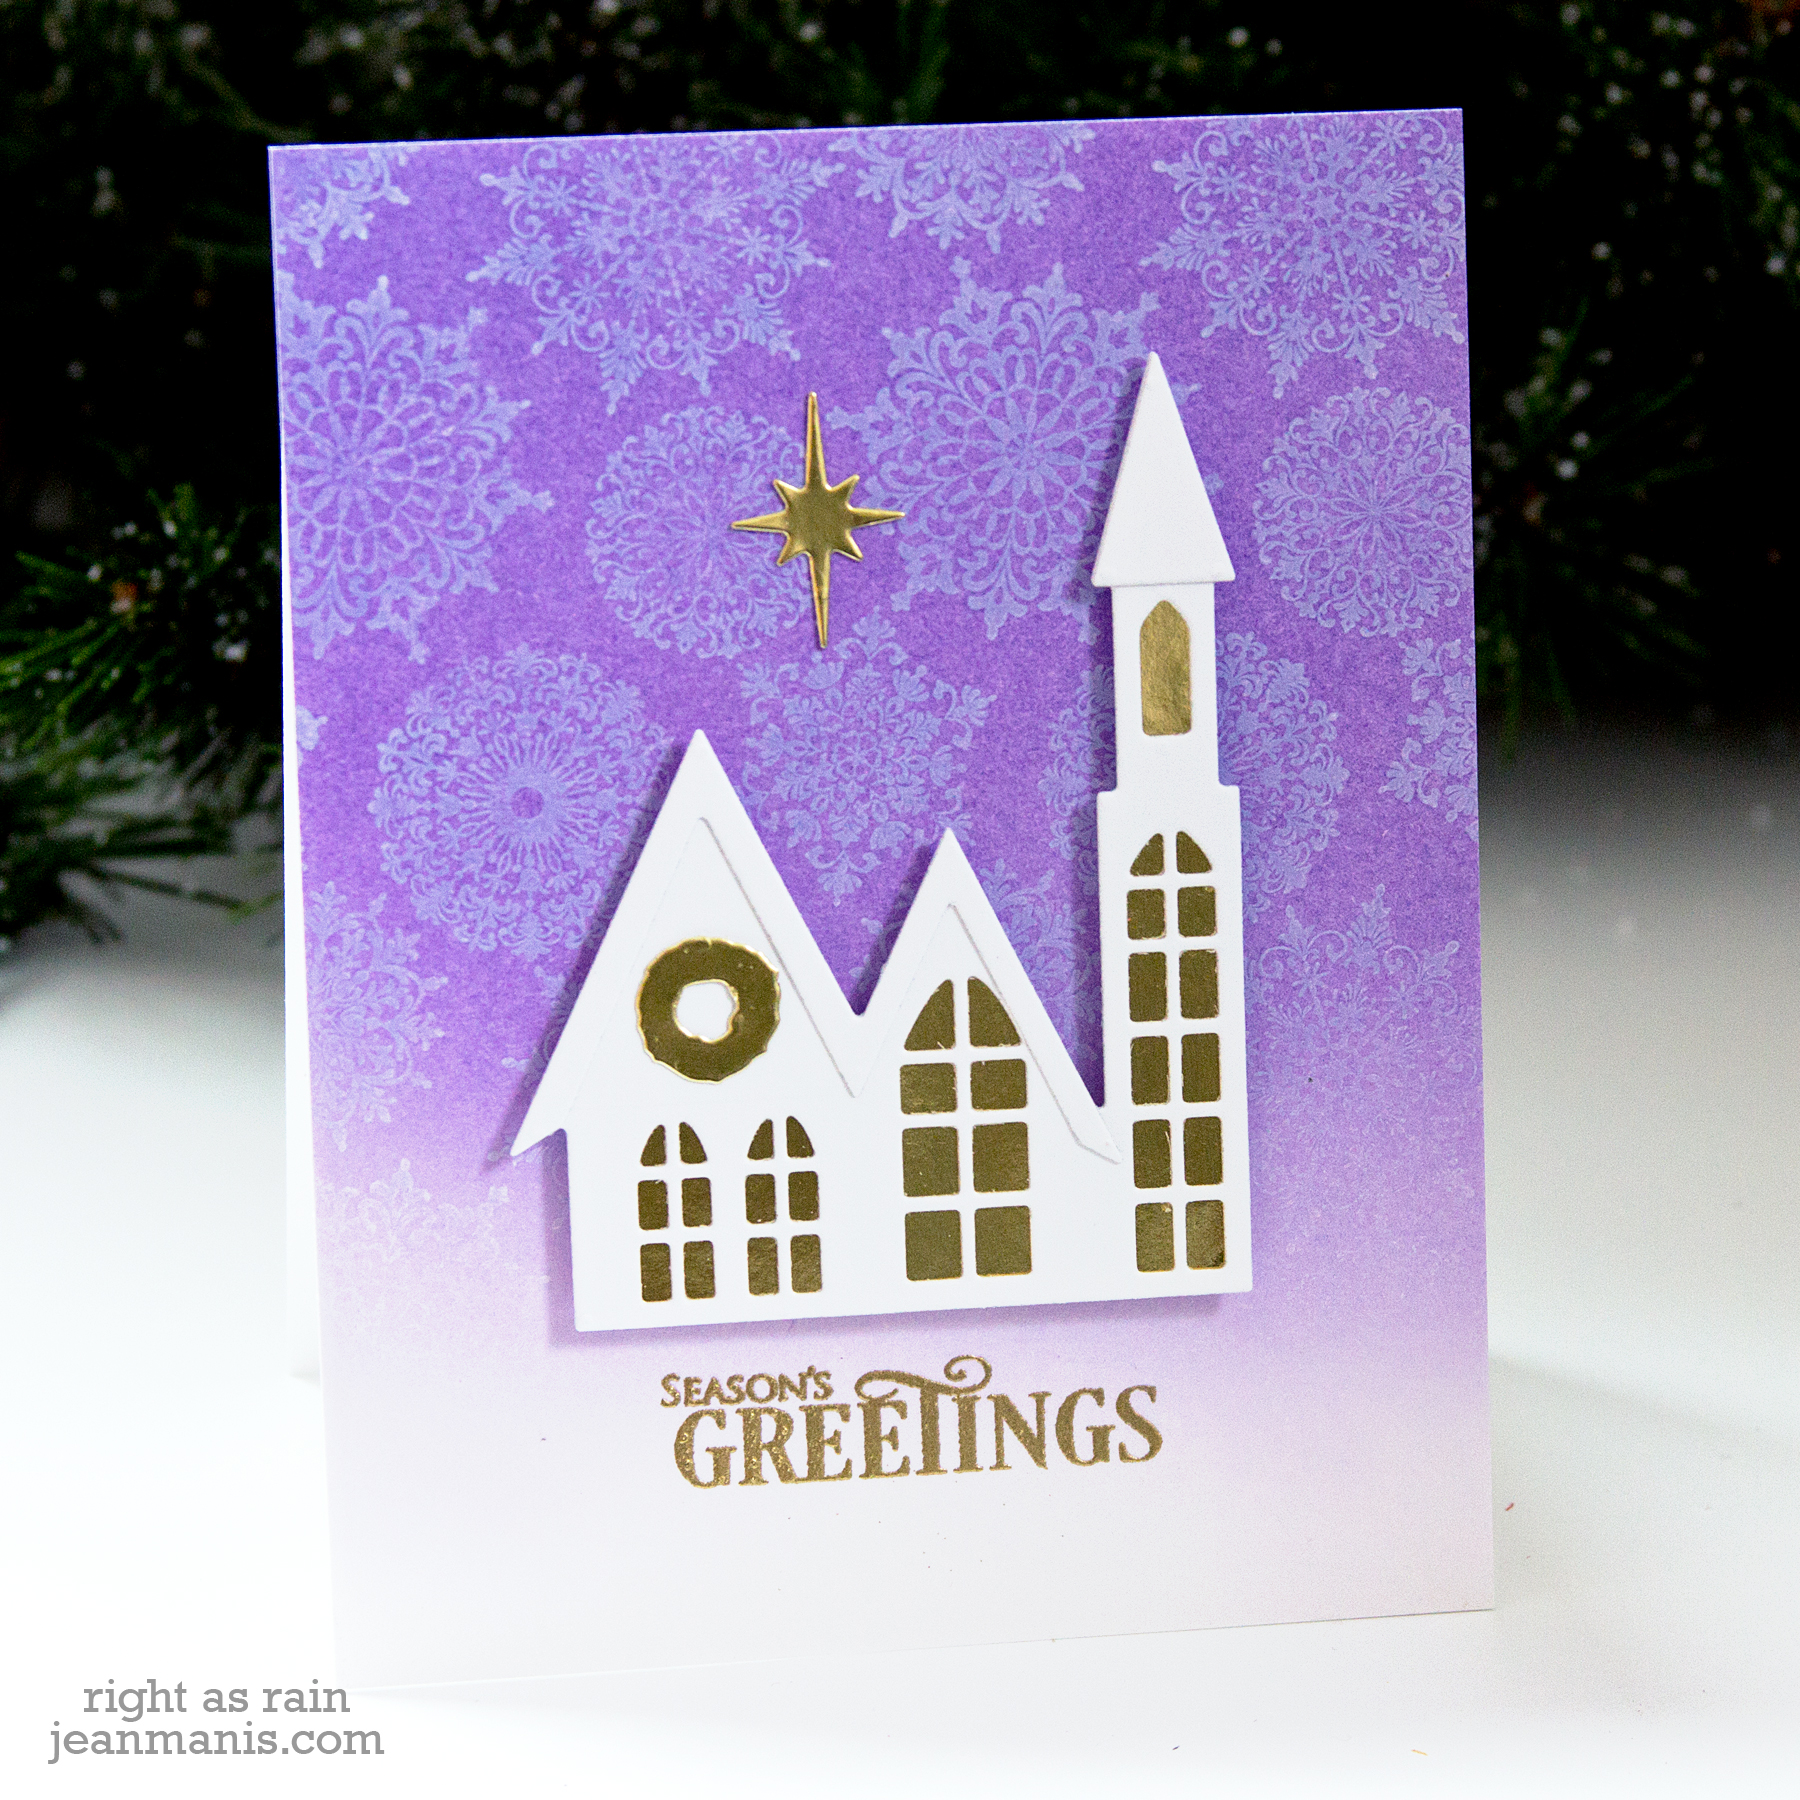
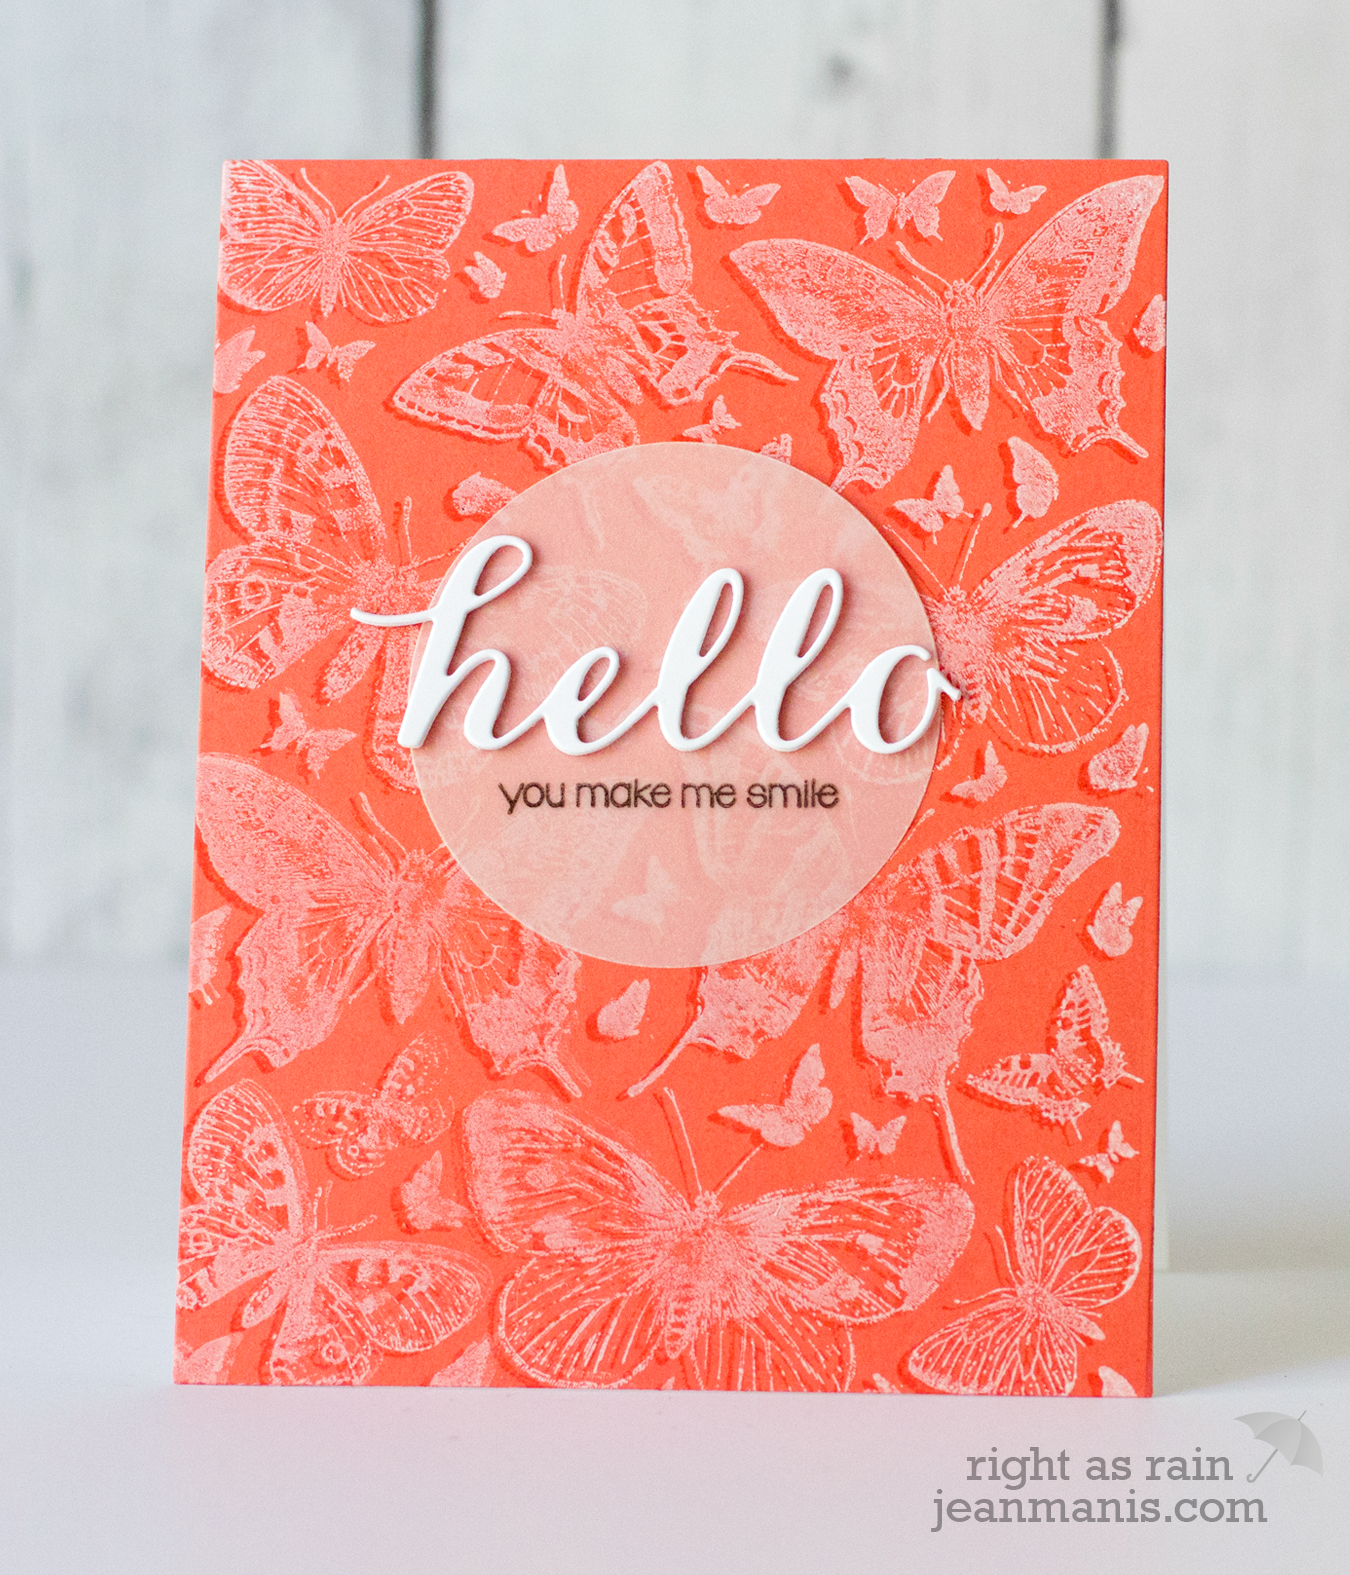
When white pigment ink is stamped on an ombré inked background, the background pattern falls away in the less-inked areas.

Background Stamps | White Pigment Ink

Shadow stamping creates a subtle and dimensional effect by stamping the background with a dye ink (the shadow) and again, at a slight offset, with white pigment ink.

Background Stamps | Shadow Stamping

Heat embossing with a metallic powder brings elegance to a background.

Background Stamps | Heat Embossing

A background stamp can be heat-embossed over a watercolored background.

Background Stamps | Heat Embossing

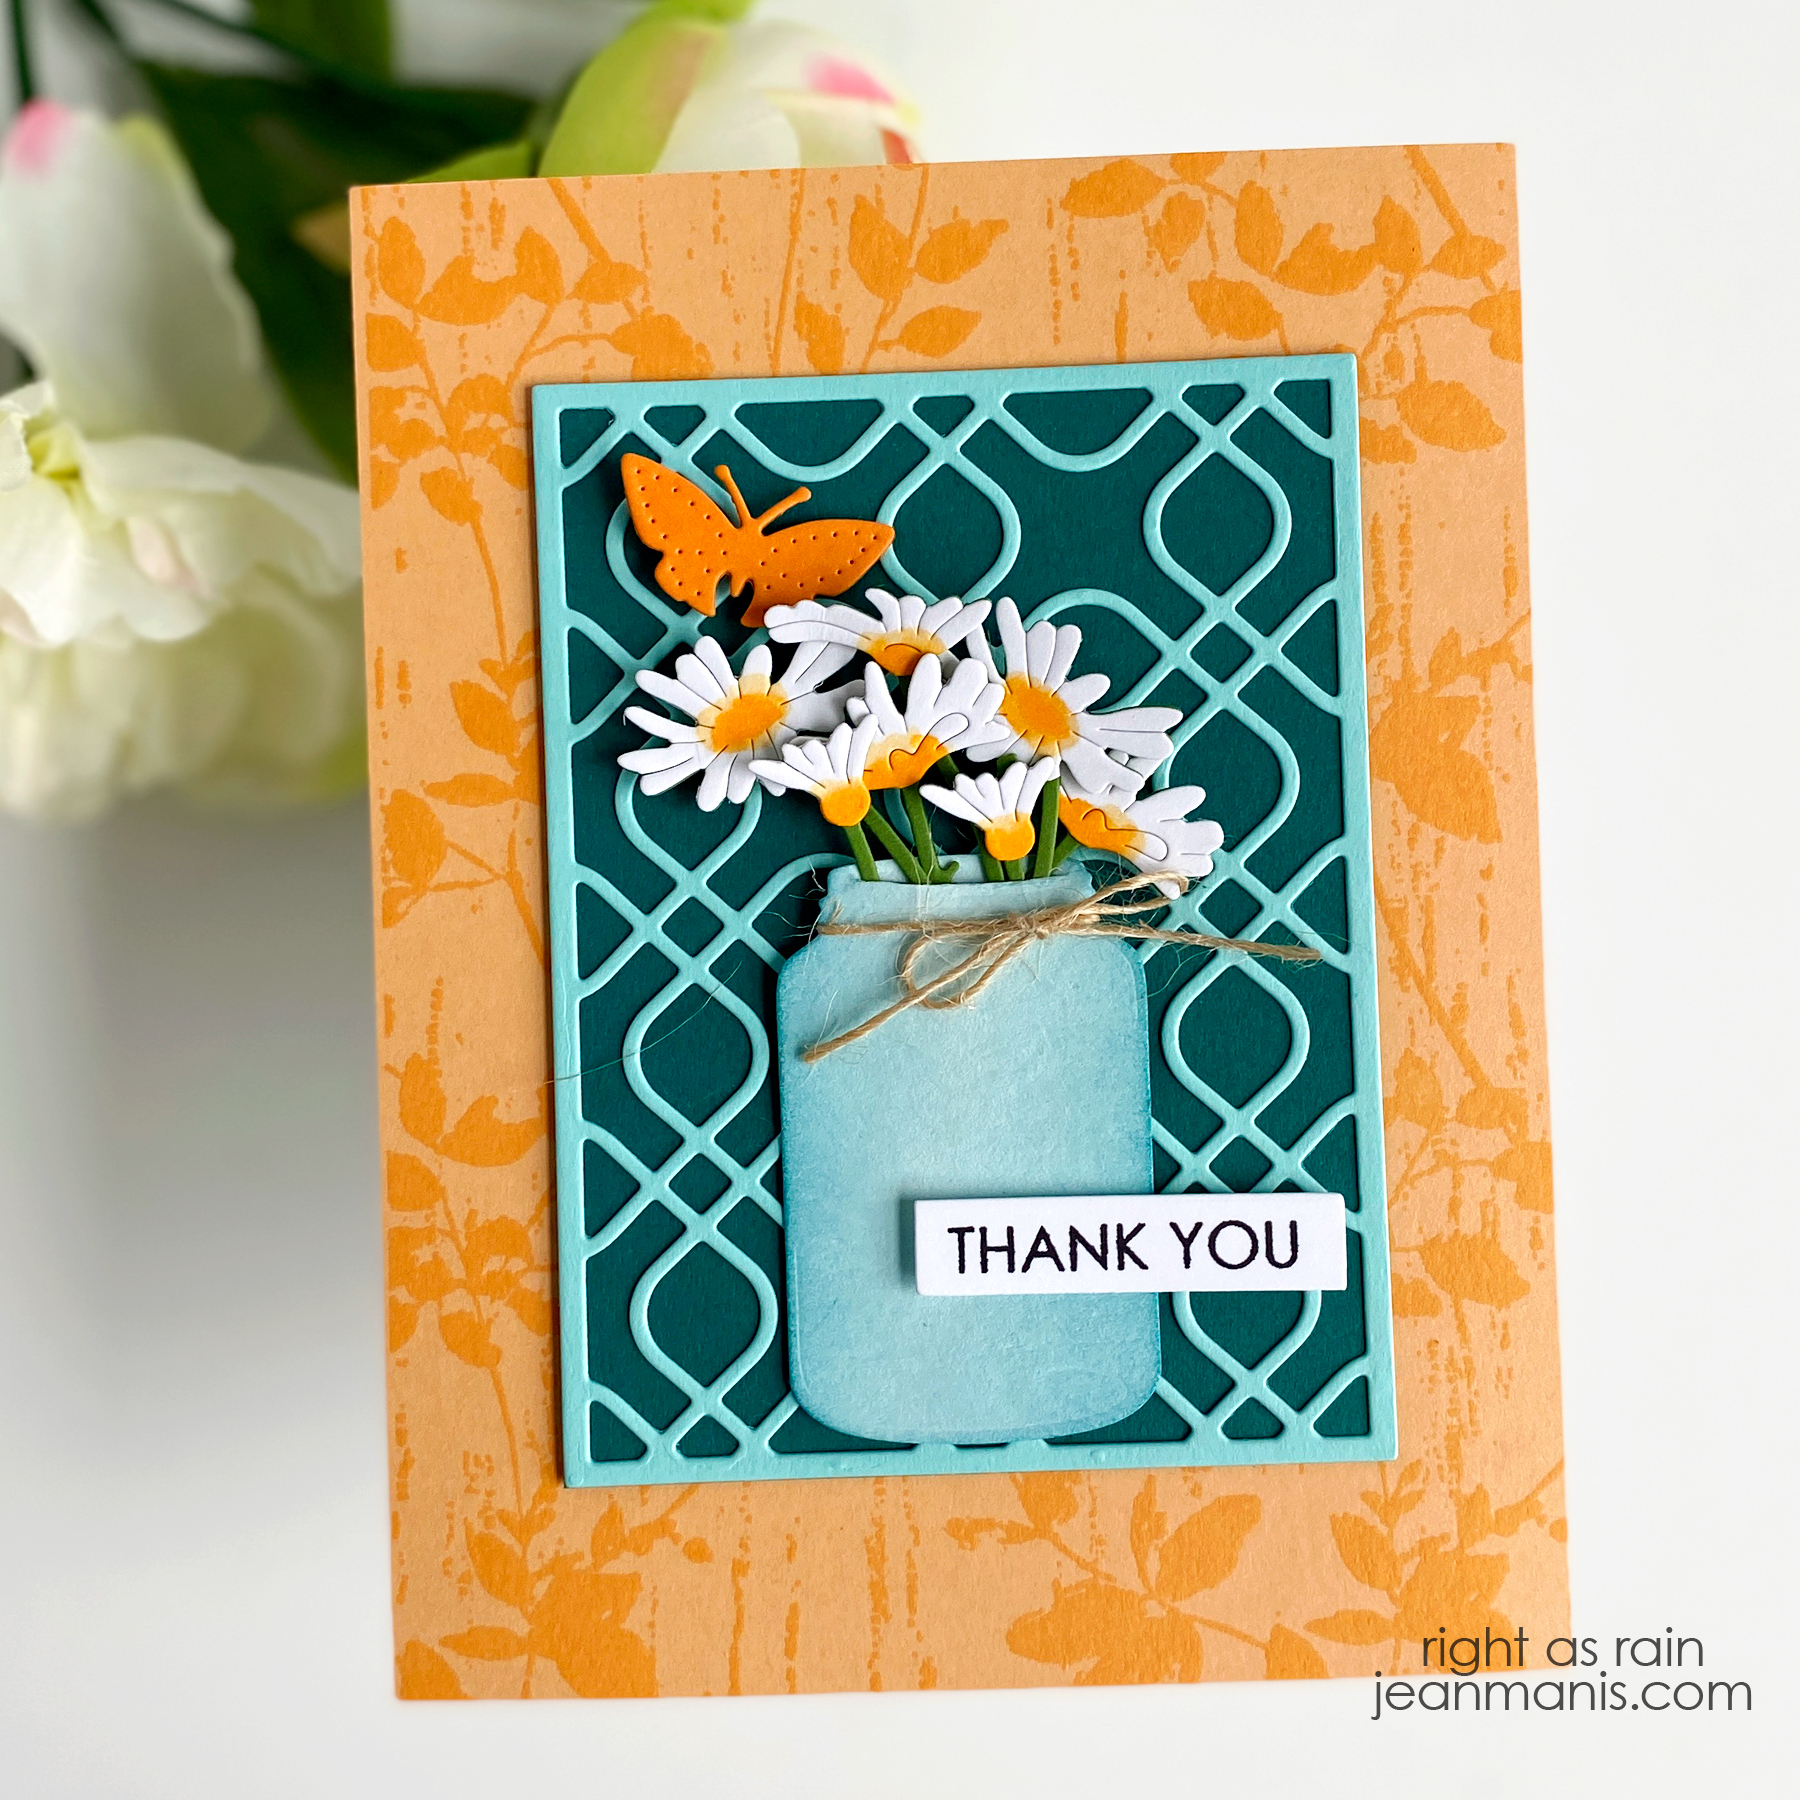
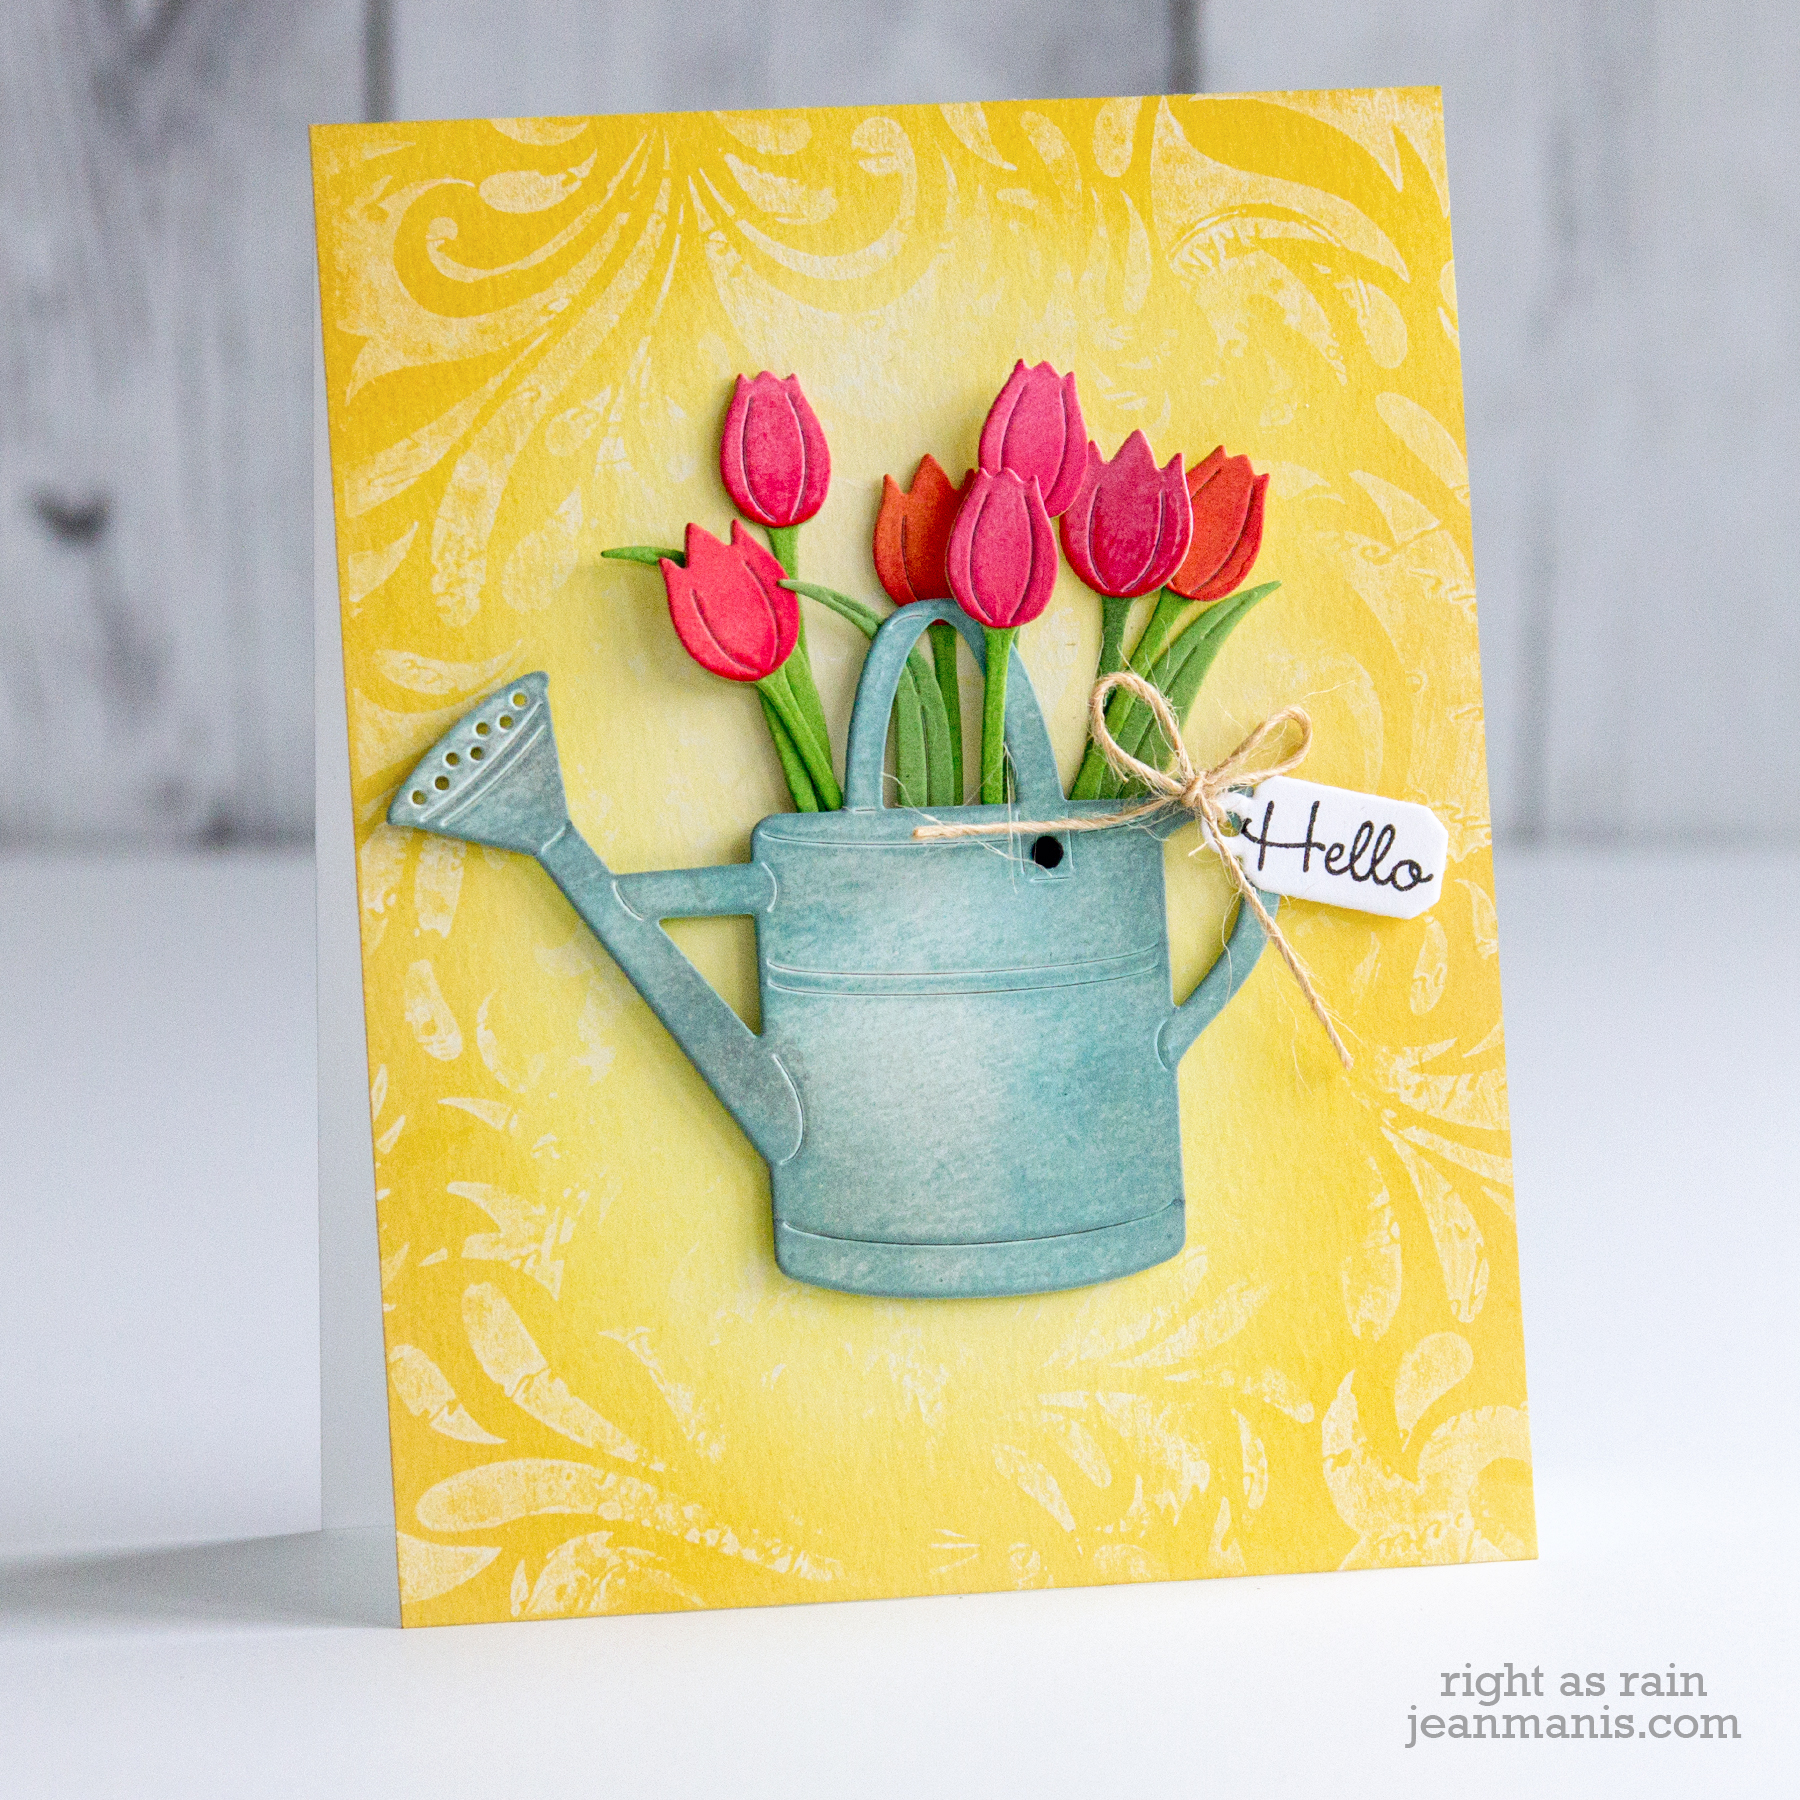
Background stamps can be stamped with paint, which serves as a resist to applied ink. In the example below, the background stamp was stamped on yellow cardstock with white paint. Once the paint was dry, the panel was inked on the edges with yellow ink to better reveal the stamped pattern.

Background Stamps | Paint Resist

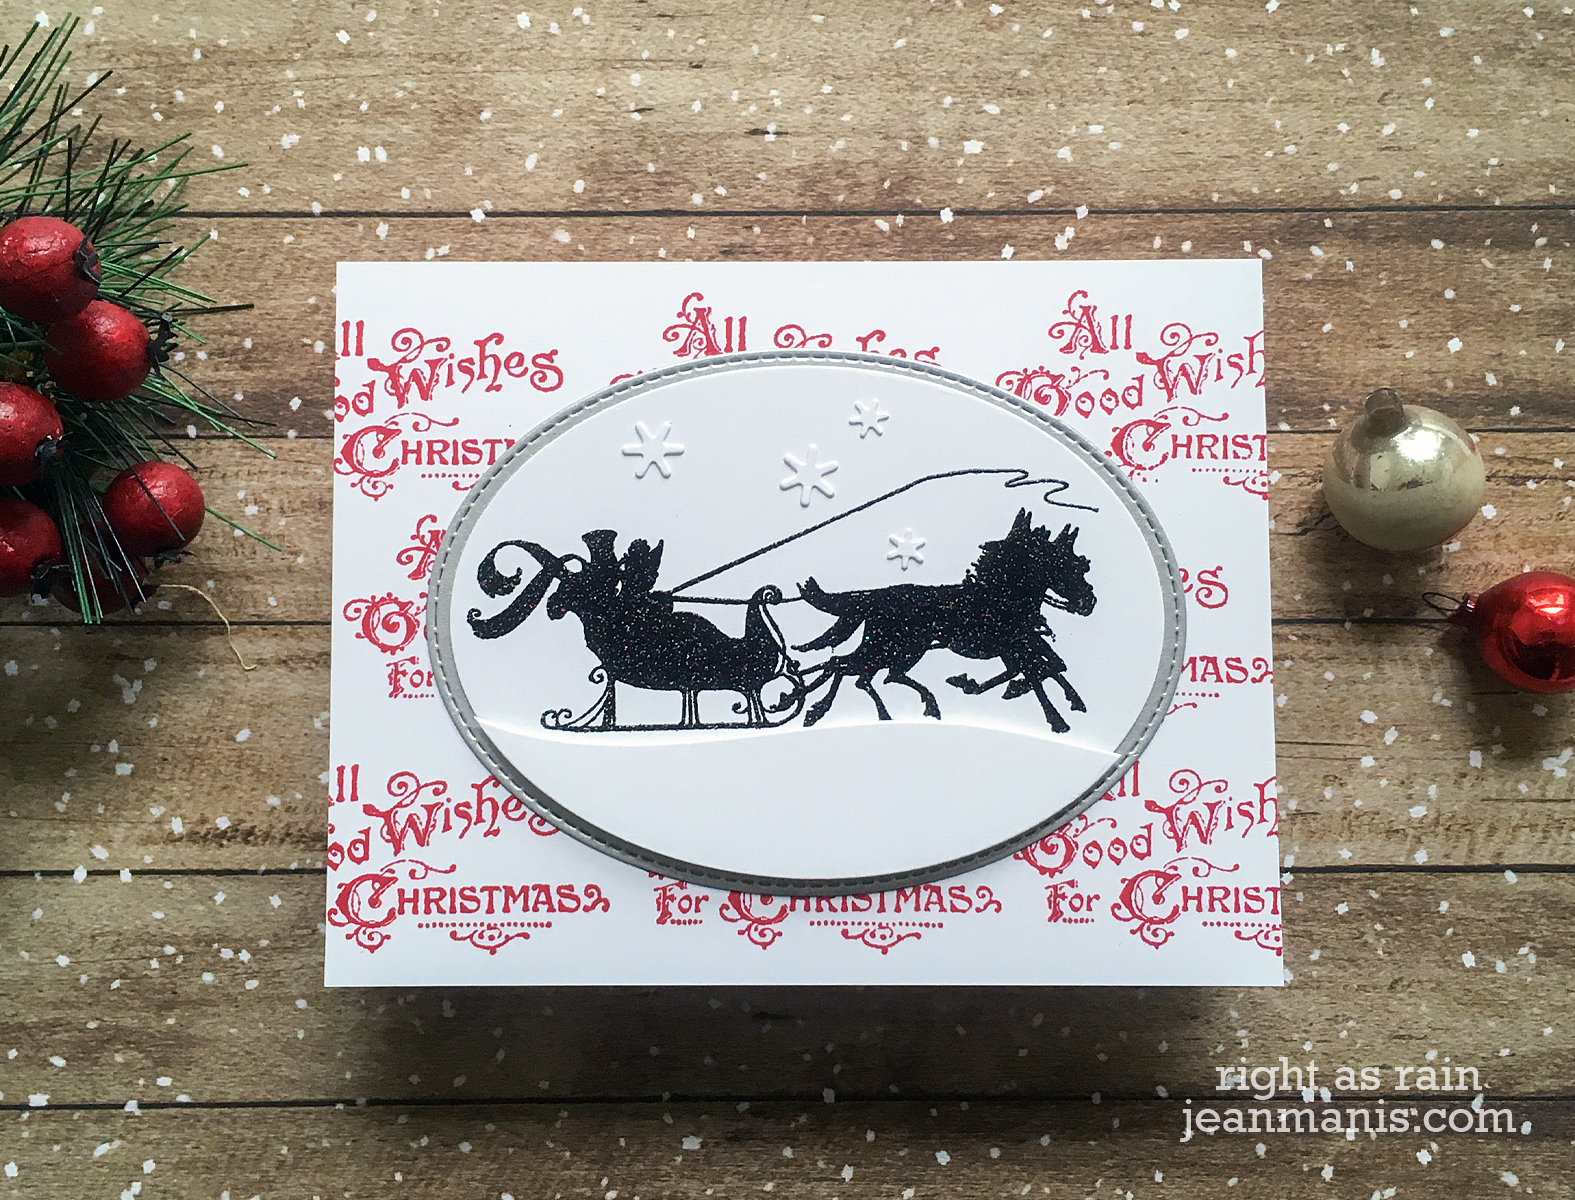
Smaller images can be stamped repeatedly to fill a background.

Background Stamps | Smaller Stamps

Background Stamps | Smaller Stamps

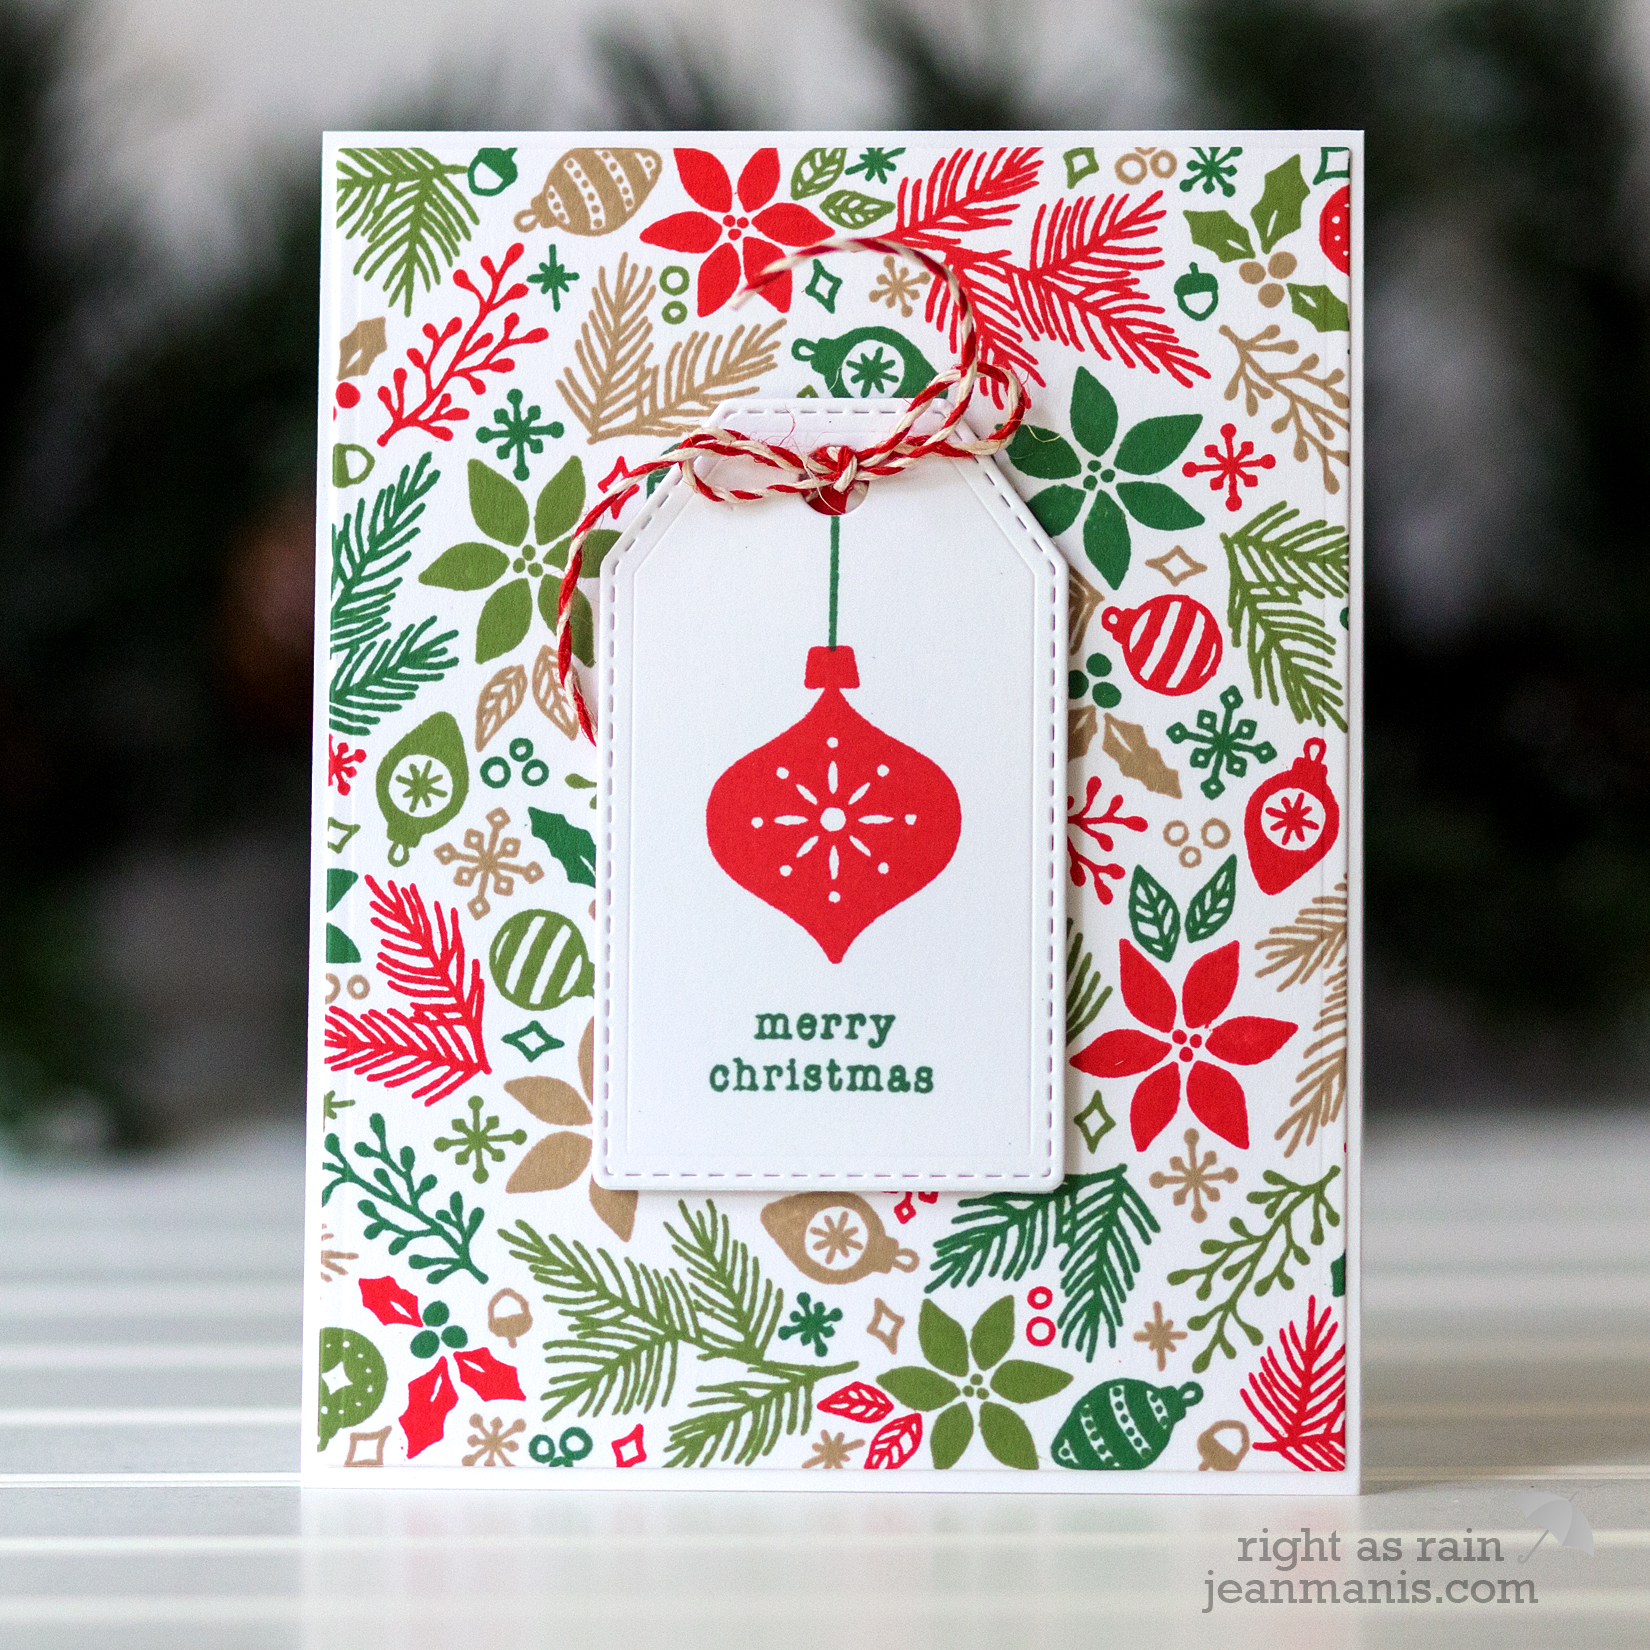
The invention of the stamp press made possible turnabout stamps, as it is easy to align the cardstock for each color impression.

Background Stamps | Turnabout Stamps

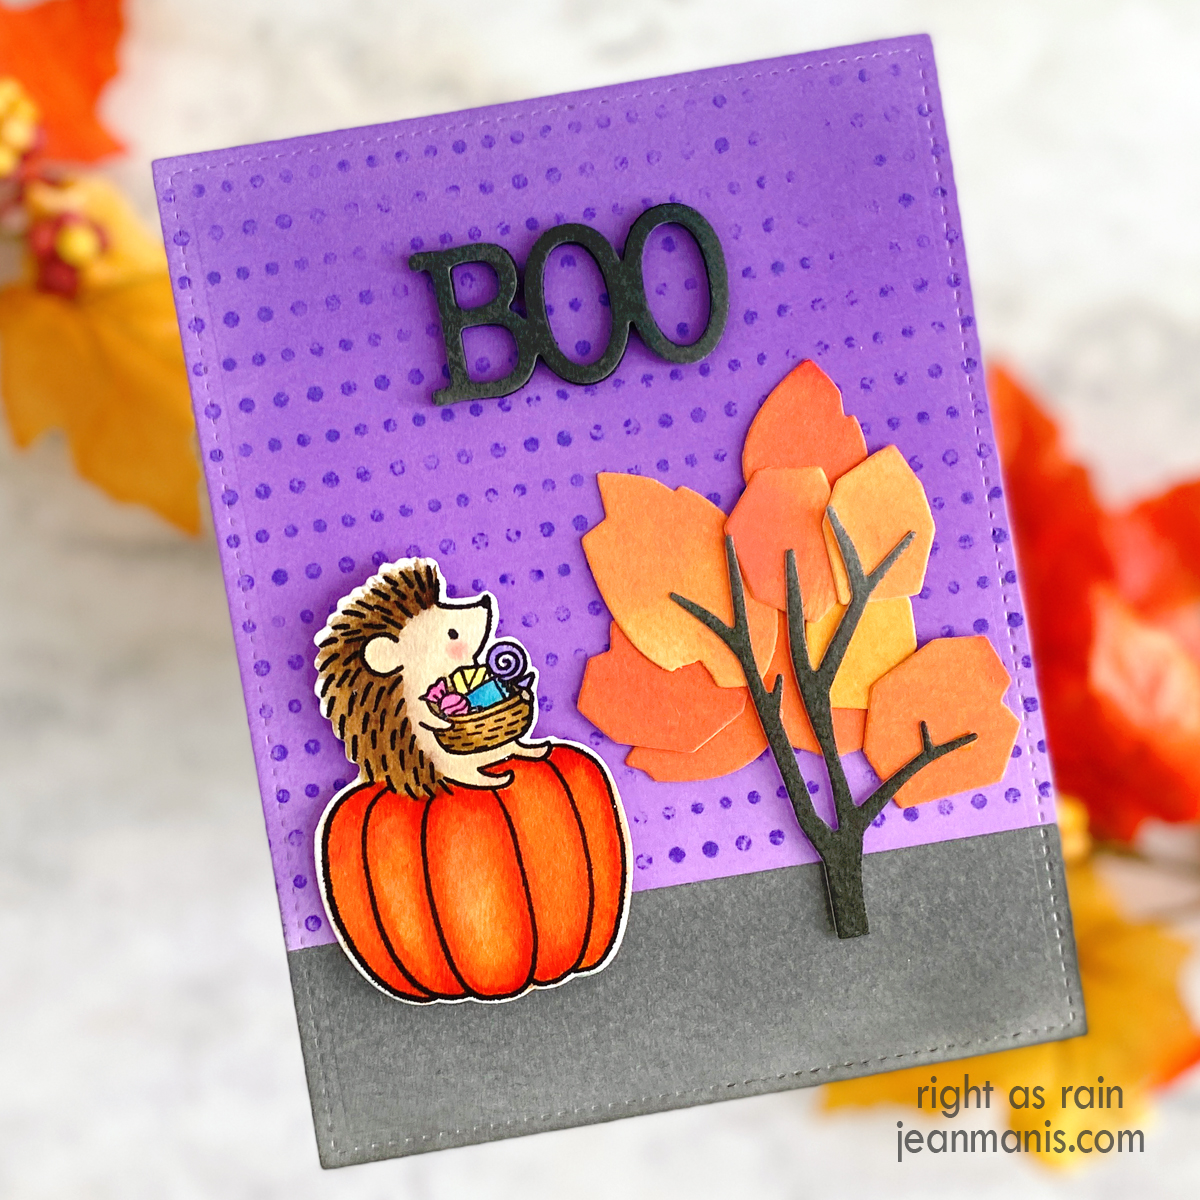
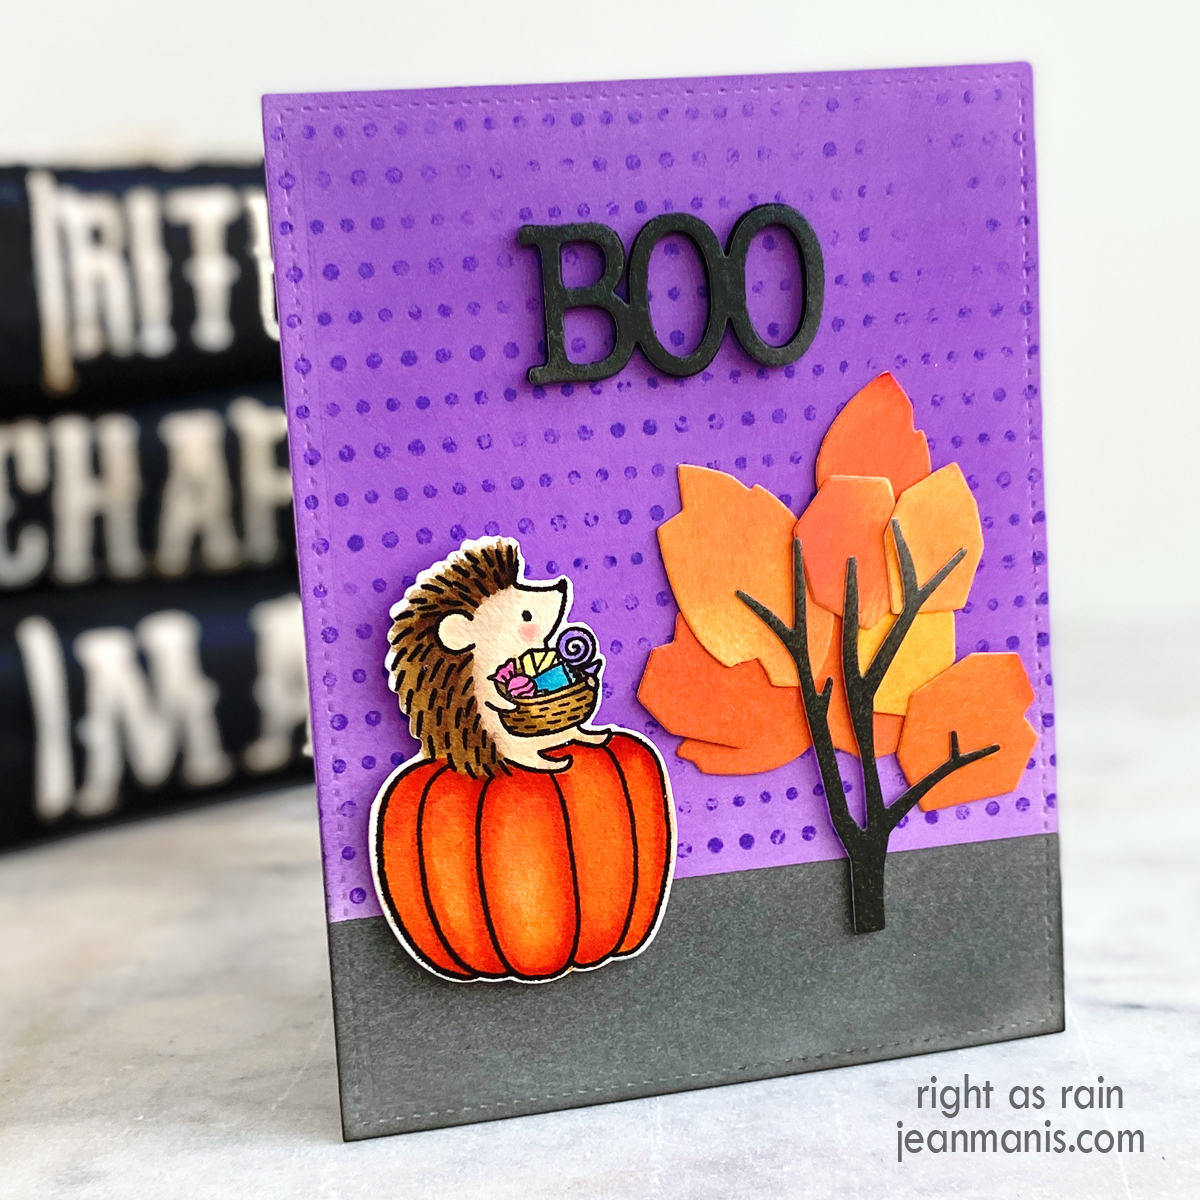
Background stamps come in dozens of patterns such as stars, florals, hearts, dots, and stripes, each lending its unique character to handmade cards. The choice of pattern significantly impacts the overall feel of the card.

In the early days of my cardmaking journey, I often stamped backgrounds for my cards. Back then, my collection of crafting supplies was still taking shape, and I relied on products from a select few companies, including Hero Arts and Impression Obsession, who offer high-quality rubber background stamps. Over the years, I have used background stamps most often on design team creations for companies that sell background stamps, such as Penny Black and Taylored Expressions. This post has made me realize how much I enjoy the impact of a stamped background, and I plan to dig through my collection!

Do you frequently use background stamps? Which technique is your favorite?

Spellbinders | Festive Christmas Ornaments

Hello! Today, I am delighted to share a whimsical and festive holiday card featuring new die sets and stamp set from the Merry Mugs & Circle Delights Collection at Spellbinders by Nichol Spohr. Adorned with three charming ornaments, including a jolly Santa Claus, this slimline card is sure to bring a smile to its recipient’s face.

Spellbinders | Festive Christmas Ornaments

Spellbinders | Festive Christmas Ornaments

Save up to 40% on select Spellbinders dies, now through October 13.

Spellbinders Die-cutting Sale


Spellbinders | Holiday Snow Globe

Hello! Today, I am showcasing die sets in the Simon’s Snow Globes Collection by Simon Hurley at Spellbinders. The holiday card captures the depth of a three-dimensional snow globe scene within the confines of a two-dimensional space. Inside the globe, a charming snowman stands in front of a row of charming houses while Santa and his sleigh fly overhead.

Spellbinders | Holiday Snow Globe

  • For the background, cut an A2-size piece of patterned paper and attach to a card base.
  • Next, create the snow globe. With the Simon’s Snow Globe die set, cut snow globe pieces – glass and base – from Sea Glass and Brushed Gold. Use the sentiment die in the Snowman Scene set to cut “Let It Snow” from Snowdrift and Brushed Silver cardstock.
  • Cut Santa and reindeer, trees, and village from cardstock with dies in Simon’s Snow Globe set. Cut the village two more times with white glitter foam. Set one aside; this one goes in the back and helps create depth. With the other village section, to create the front snowbank, cut off the houses from the top then cut the bottom with the globe circle. Back the windows of the silver village section with Beeswax cardstock to simulate light. Attach the silver village section to the intact white glitter foam section. Adhere the trimmed snowbank to the front. Add assembly to the light-blue globe.
  • With the Snowman Scene set, cut the snowman pieces. Assemble.
  • Adhere Santa and reindeer above the snow globe assembly. Add snowman to scene, tucking the bottom of the snowman into the snowbank. Add globe base. Optionally, for a more finished look in the back, cut an additional globe base and slide in the back.

Spellbinders | Holiday Snow Globe

Save up to 40% on select Spellbinders dies, now through October 13.

Spellbinders Die-cutting Sale