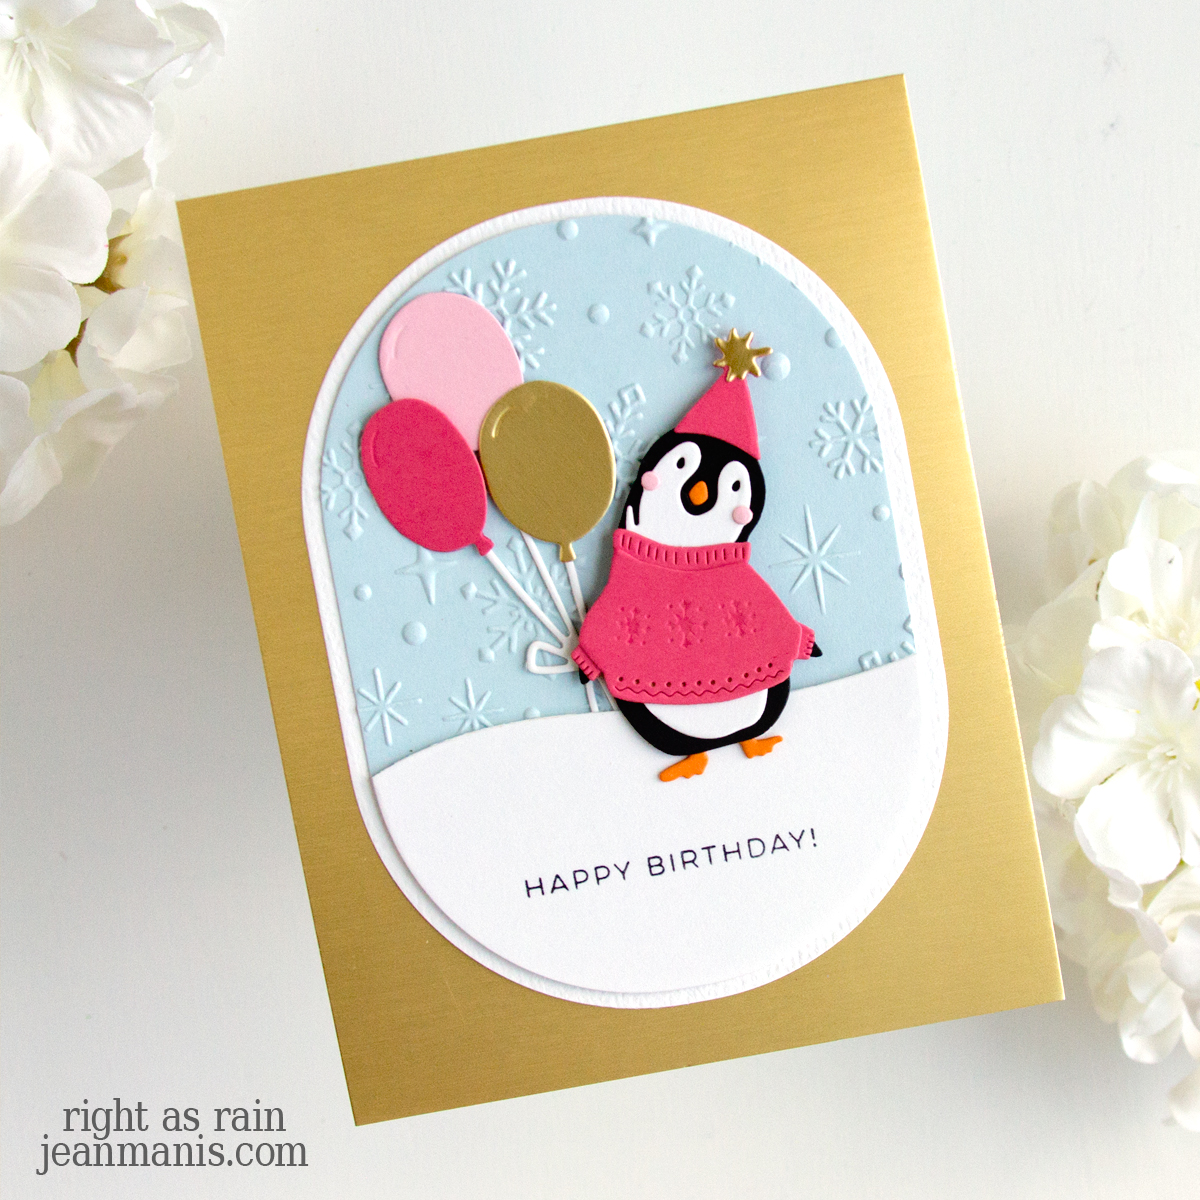
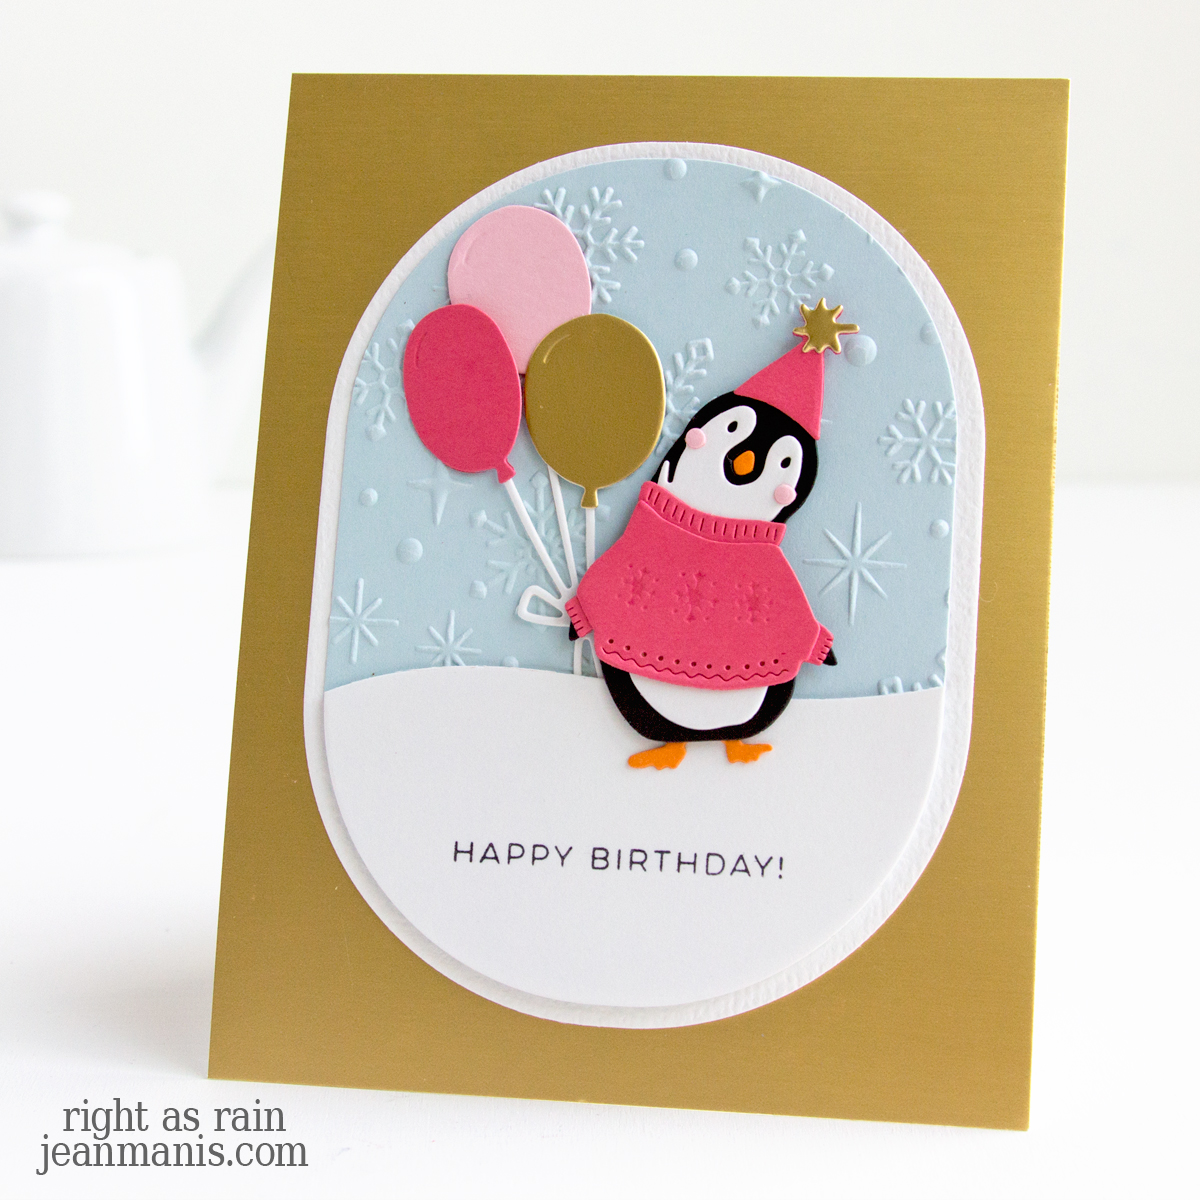
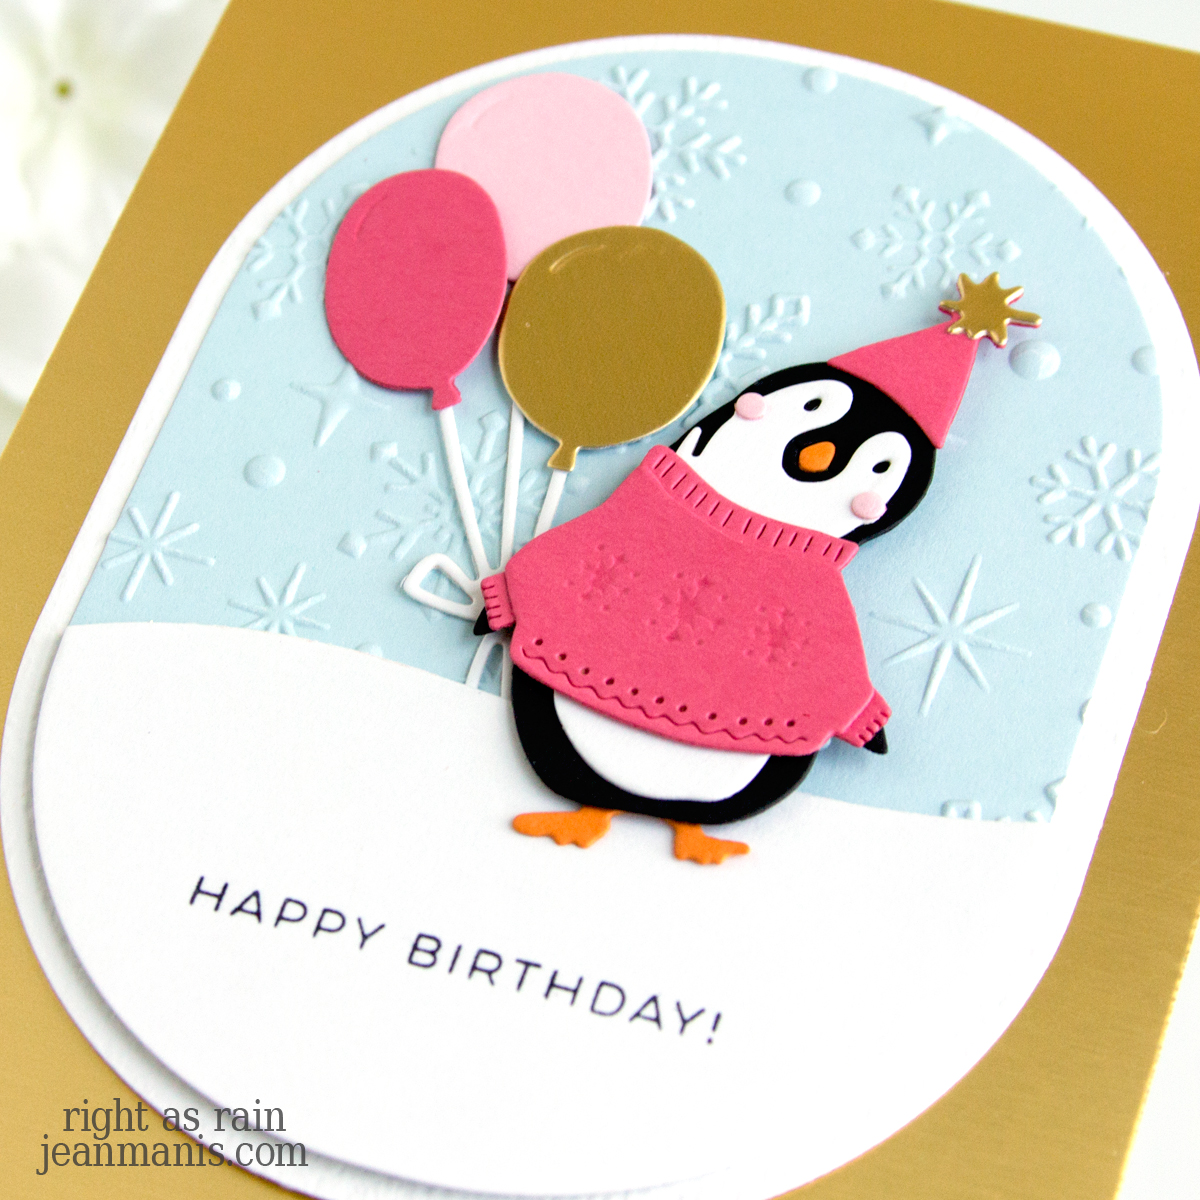
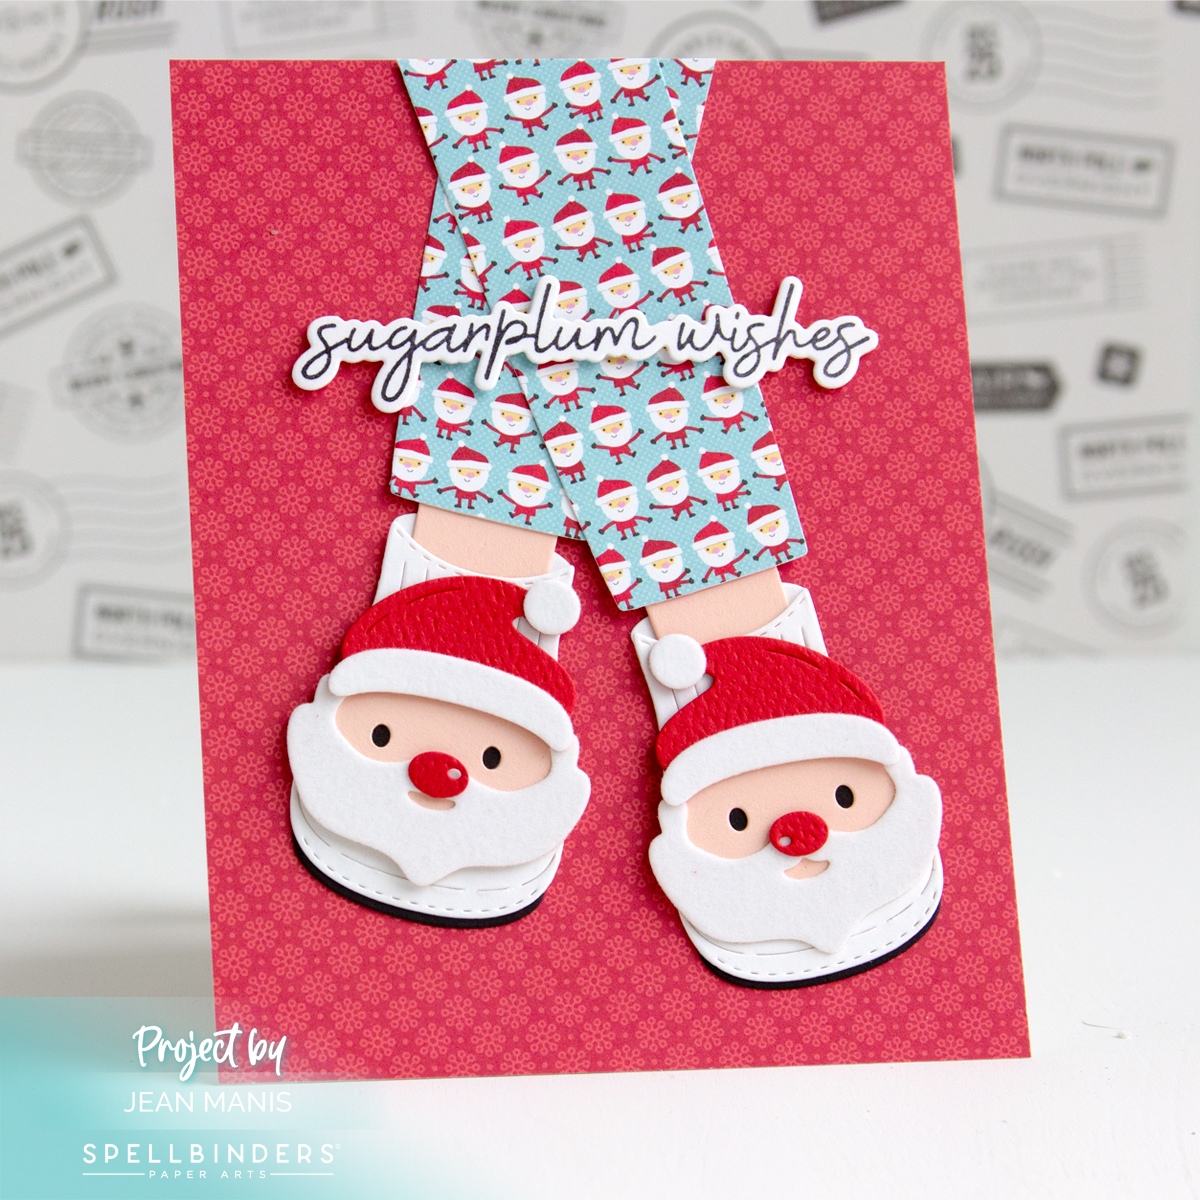
Hello! Wow, where did the week go? At the moment, I am knee deep in Christmas project supplies. I will be sharing new creations in the coming weeks. In the meantime, I am a guest designer over on the Spellbinders blog sharing projects that showcase the Cats and Pugs Collection at Spellbinders. I would appreciate a visit from you there to see my projects and leave a comment!
Category: BetterPress
Old-World Charm | Spellbinders St. Nick
Hello! Step back in time with a Christmas card featuring the Spellbinders St. Nick die set. My slimline card showcases a charming, Father Christmas-inspired St. Nick holding a Christmas tree. St. Nick’s robe sparkles with red glitter, adding a touch of festive magic. Part of the Home for the Holidays Collection, the St. Nick die set offers accessories including a star, a lantern, and snowflake.
-
- Cover a slimline-sized card base (3 1/2″ x 6 1/2″) with patterned paper.
- Cut St. Nick, the tree, the lantern, and snowflakes with a variety of cardstock colors and textures. Assemble as required. Add Gold Mix Gems to tree for embellishment.
- Press the Merry and Bright sentiment in Geranium Red and cut with the coordinating die.
- Add St. Nick to card front with foam adhesive, the sentiment with dot adhesive, and the snowflakes with glue.
Spellbinders | Skating into the Holidays
Hello! Today, I am sharing a holiday card created with the July 2024 Small Die of the Month kit from Spellbinders – “Skating into the Holidays.” The card showcases a charming pair of ice skates adorned with a beautiful bouquet of seasonal greenery, perfect for sending warm wishes to loved ones. I feel as if we will be skating into the holiday season this month as there are a number of holiday-themed products being released!
-
- Cover an A2-size card base with patterned paper.
- Cut skates and floral items from a variety of cardstock colors with dies in the Small Die of the Month kit. Cut the ribbon from Brushed Gold with a die in the Large Die of the Month kit. Assemble pieces.
- Press the Merry and Bright Sentiment with Red Geranium ink on Snowdrift cardstock. Cut with the coordinating die.
- Add assembled items and sentiment to the card base with dot and foam adhesive.
Find more inspiration and assembly instructions HERE.
Summertime Watermelon Card
Hello! Today, I am sharing a bright and cheerful summertime card that combines the Deluxe Caboodle Value Club exclusive “Summertime Slice” die set with the Spellbinders June 2024 Large Die of the Month Club Kit. The card features a playful, personified slice of watermelon with the sentiment “hello, sweet friend.” You can see the friendship card I created with the Large Die of the Month Club Kit – “Summertime Vacay” – HERE.
-
- Create A2 card base using the sky color cardstock.
- Use the wavy die in the Large Die of the Month Club Kit set to cut a sand bank. Add a strip of blue cardstock to represent the ocean behind the sand. Trim the elements to 4 1/4″ wide and add the assembly to the card base.
- Use the “Summertime Slice” die and Large Die of the Month Club Kit to create the watermelon slice, umbrella, sun, and clouds; assemble.
- Press the Always and Forever sentiment on Snowdrift cardstock in Black ink; cut with coordinating die set.
- Add elements to card with dot and foam adhesive.
Spellbinders is giving away one Lilac Shimmer Scout & Platinum 6 Die Cutting Machine Bundle! The entry period for the sweepstakes is June 3-30, 2024.
Spellbinders BetterPress Congratulations
Hello! Today, I’m excited to share a colorful balloon congratulations card created with the Spellbinders BetterPress Happy Hooray Balloons set. I previously shared a birthday card with the same set HERE. The set includes mylar printed registration templates, along with plates and banner dies, making it easy to create a multi-color letterpress design. You can also download the registration template (to be printed at home) HERE.
-
- With the registration template in place, press the balloons and strings with Tiger, Taffy, Azure, and Black ink on an A-2 panel using the Happy Hooray Balloons set. (I used two shims for the balloons and one shim for the strings.) Add the pressed panel to an A-2 card base.
- Separately, press the “Congratulations” sentiment portion in Black ink and cut with the banner die in the Happy Hooray Balloons set. Add to the card with foam adhesive.
- Embellish with stars cut from white glitter foam with dies in the Merry Mug Creations and Gnome Drive Holiday sets. I have a number of sets which include star dies that I regularly grab to create embellishments.