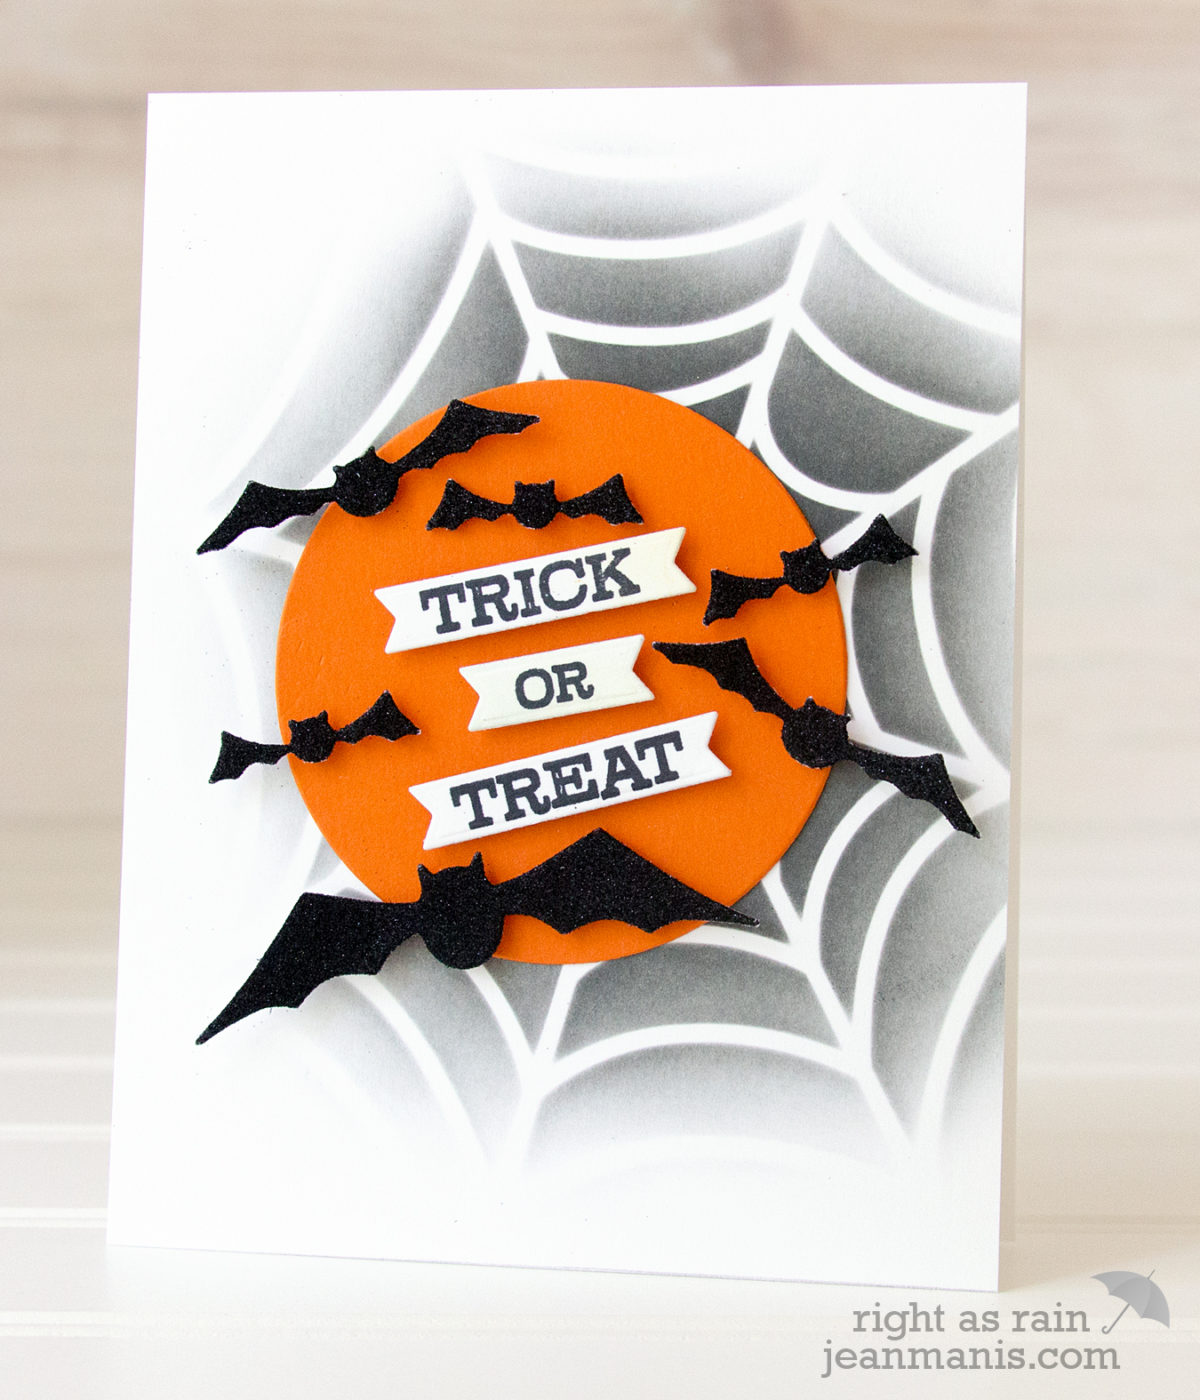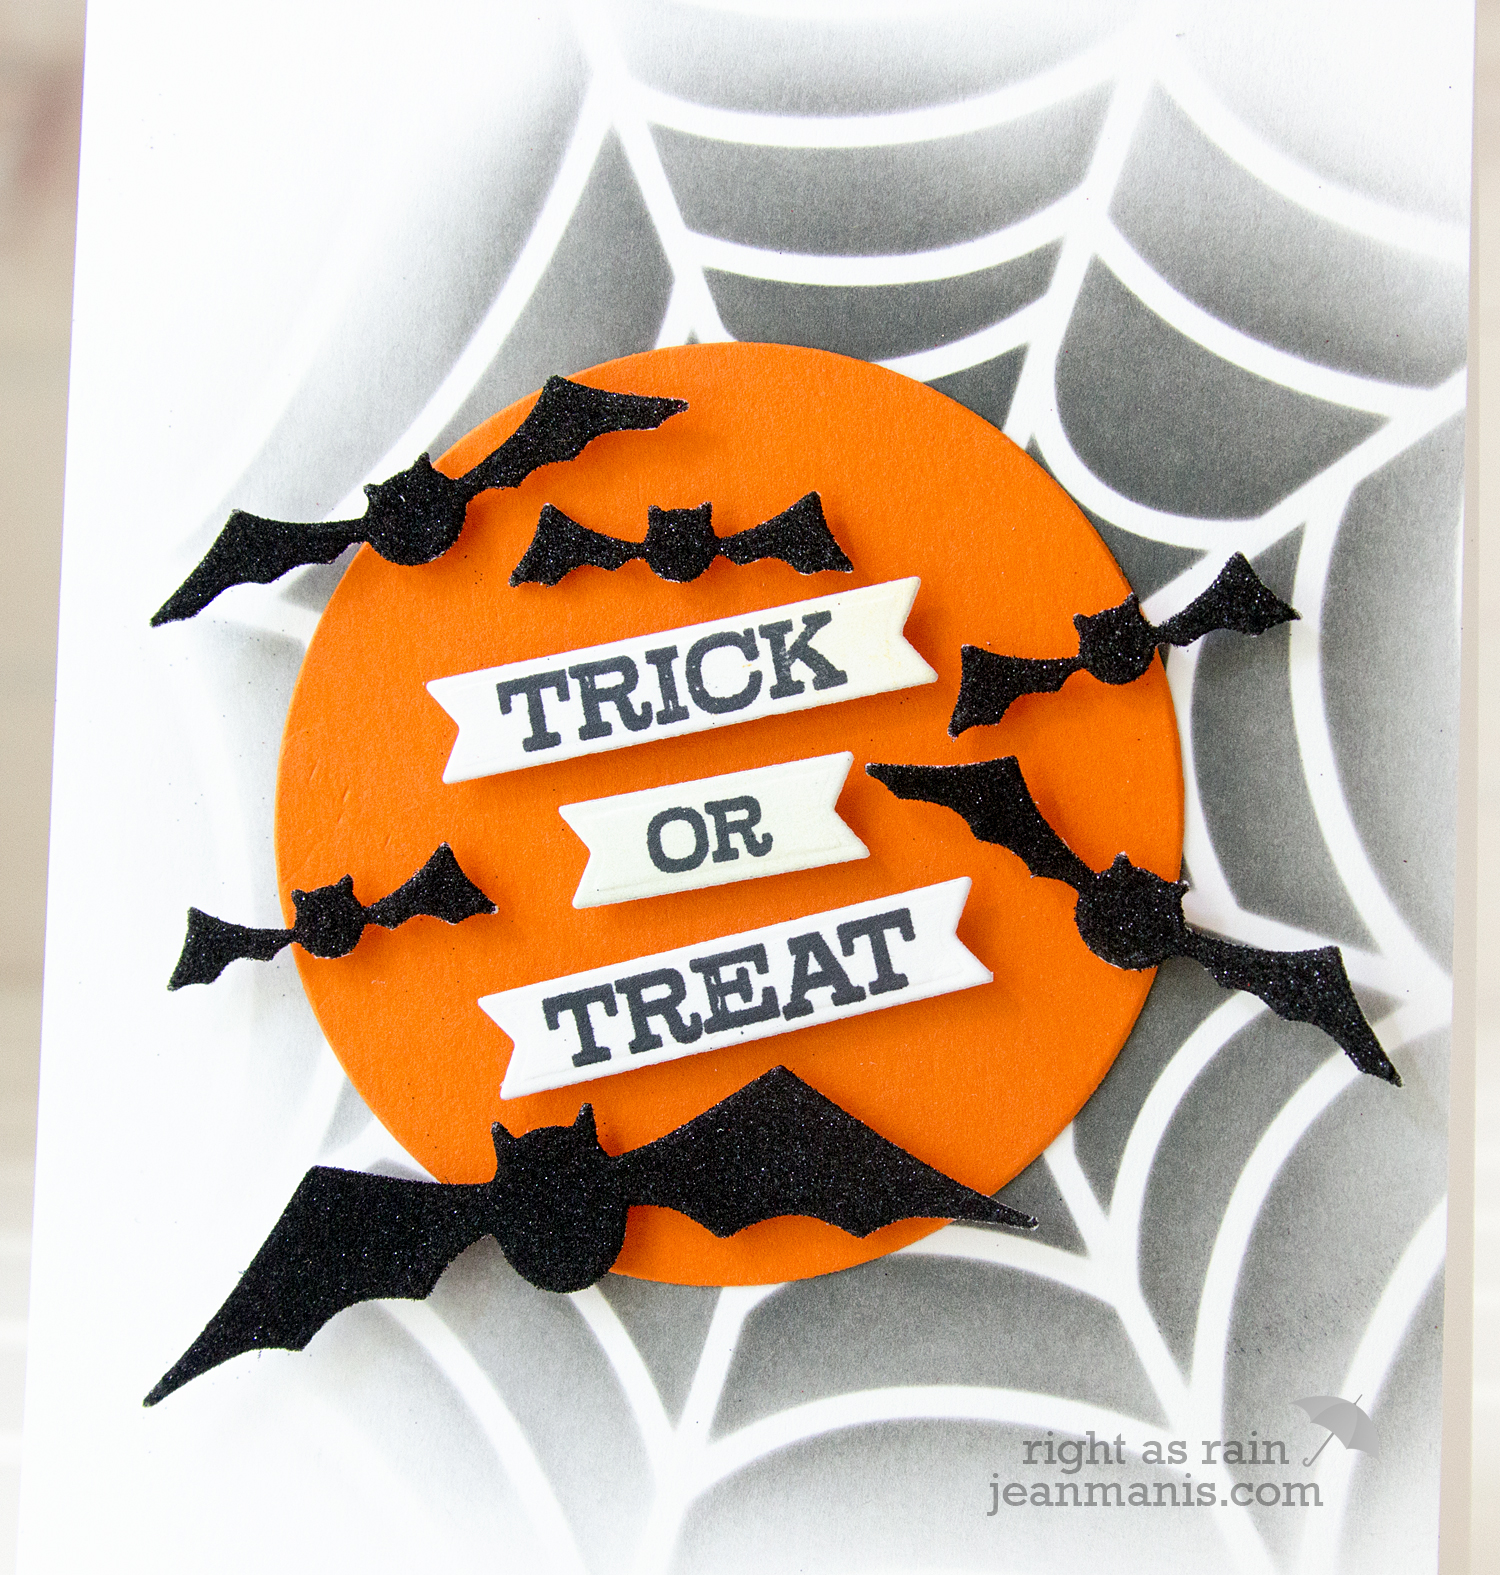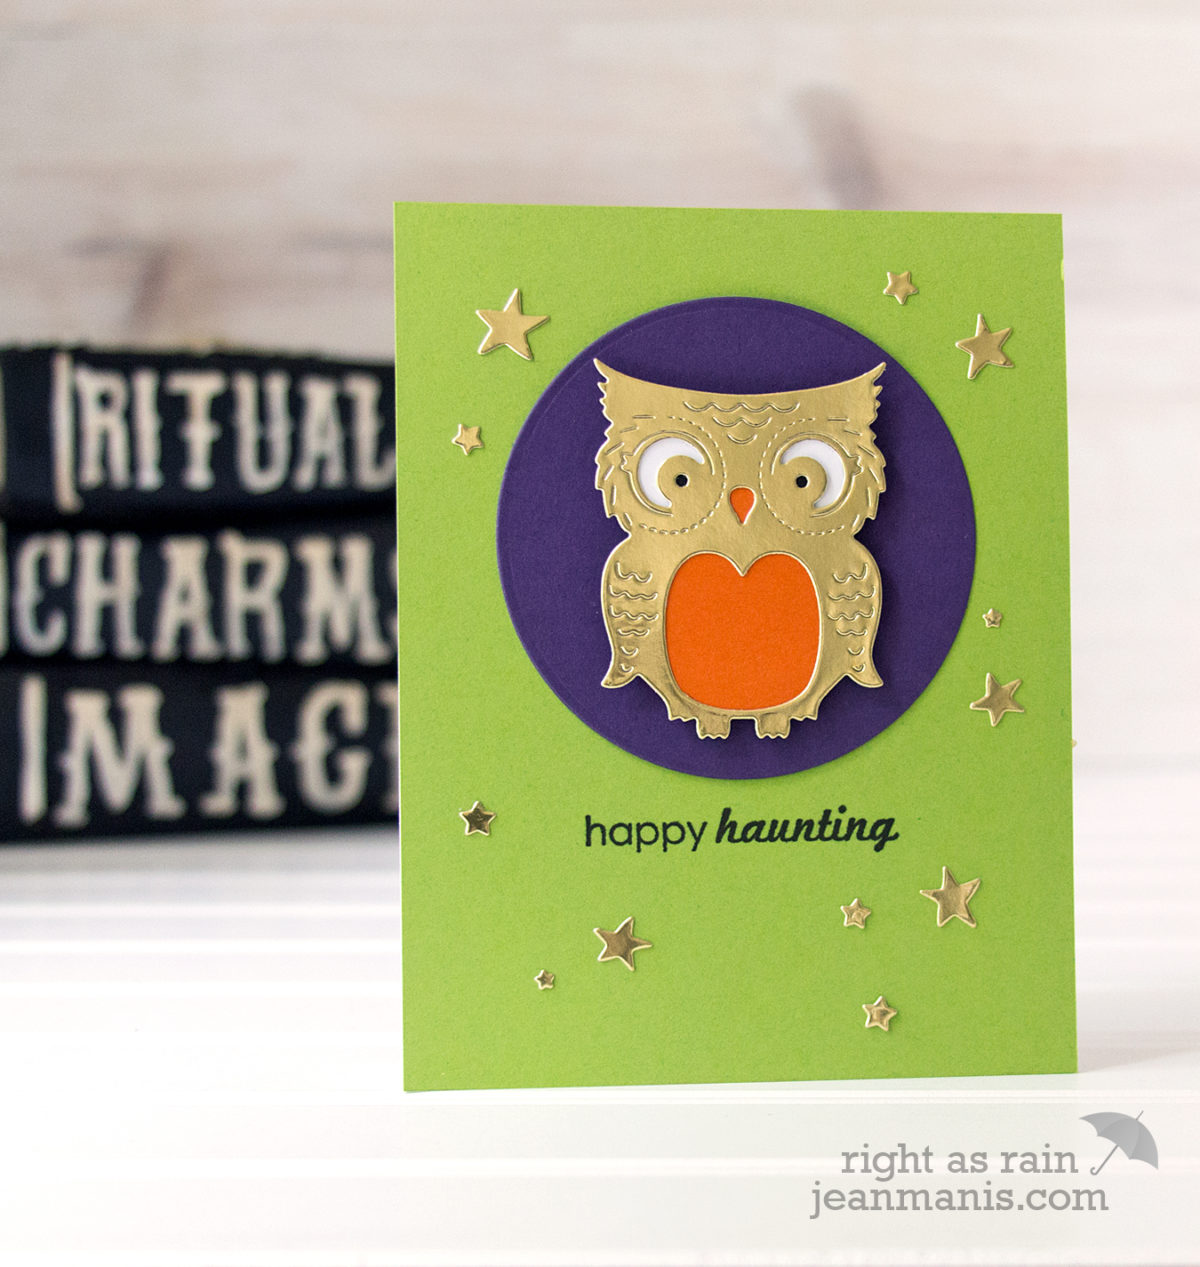
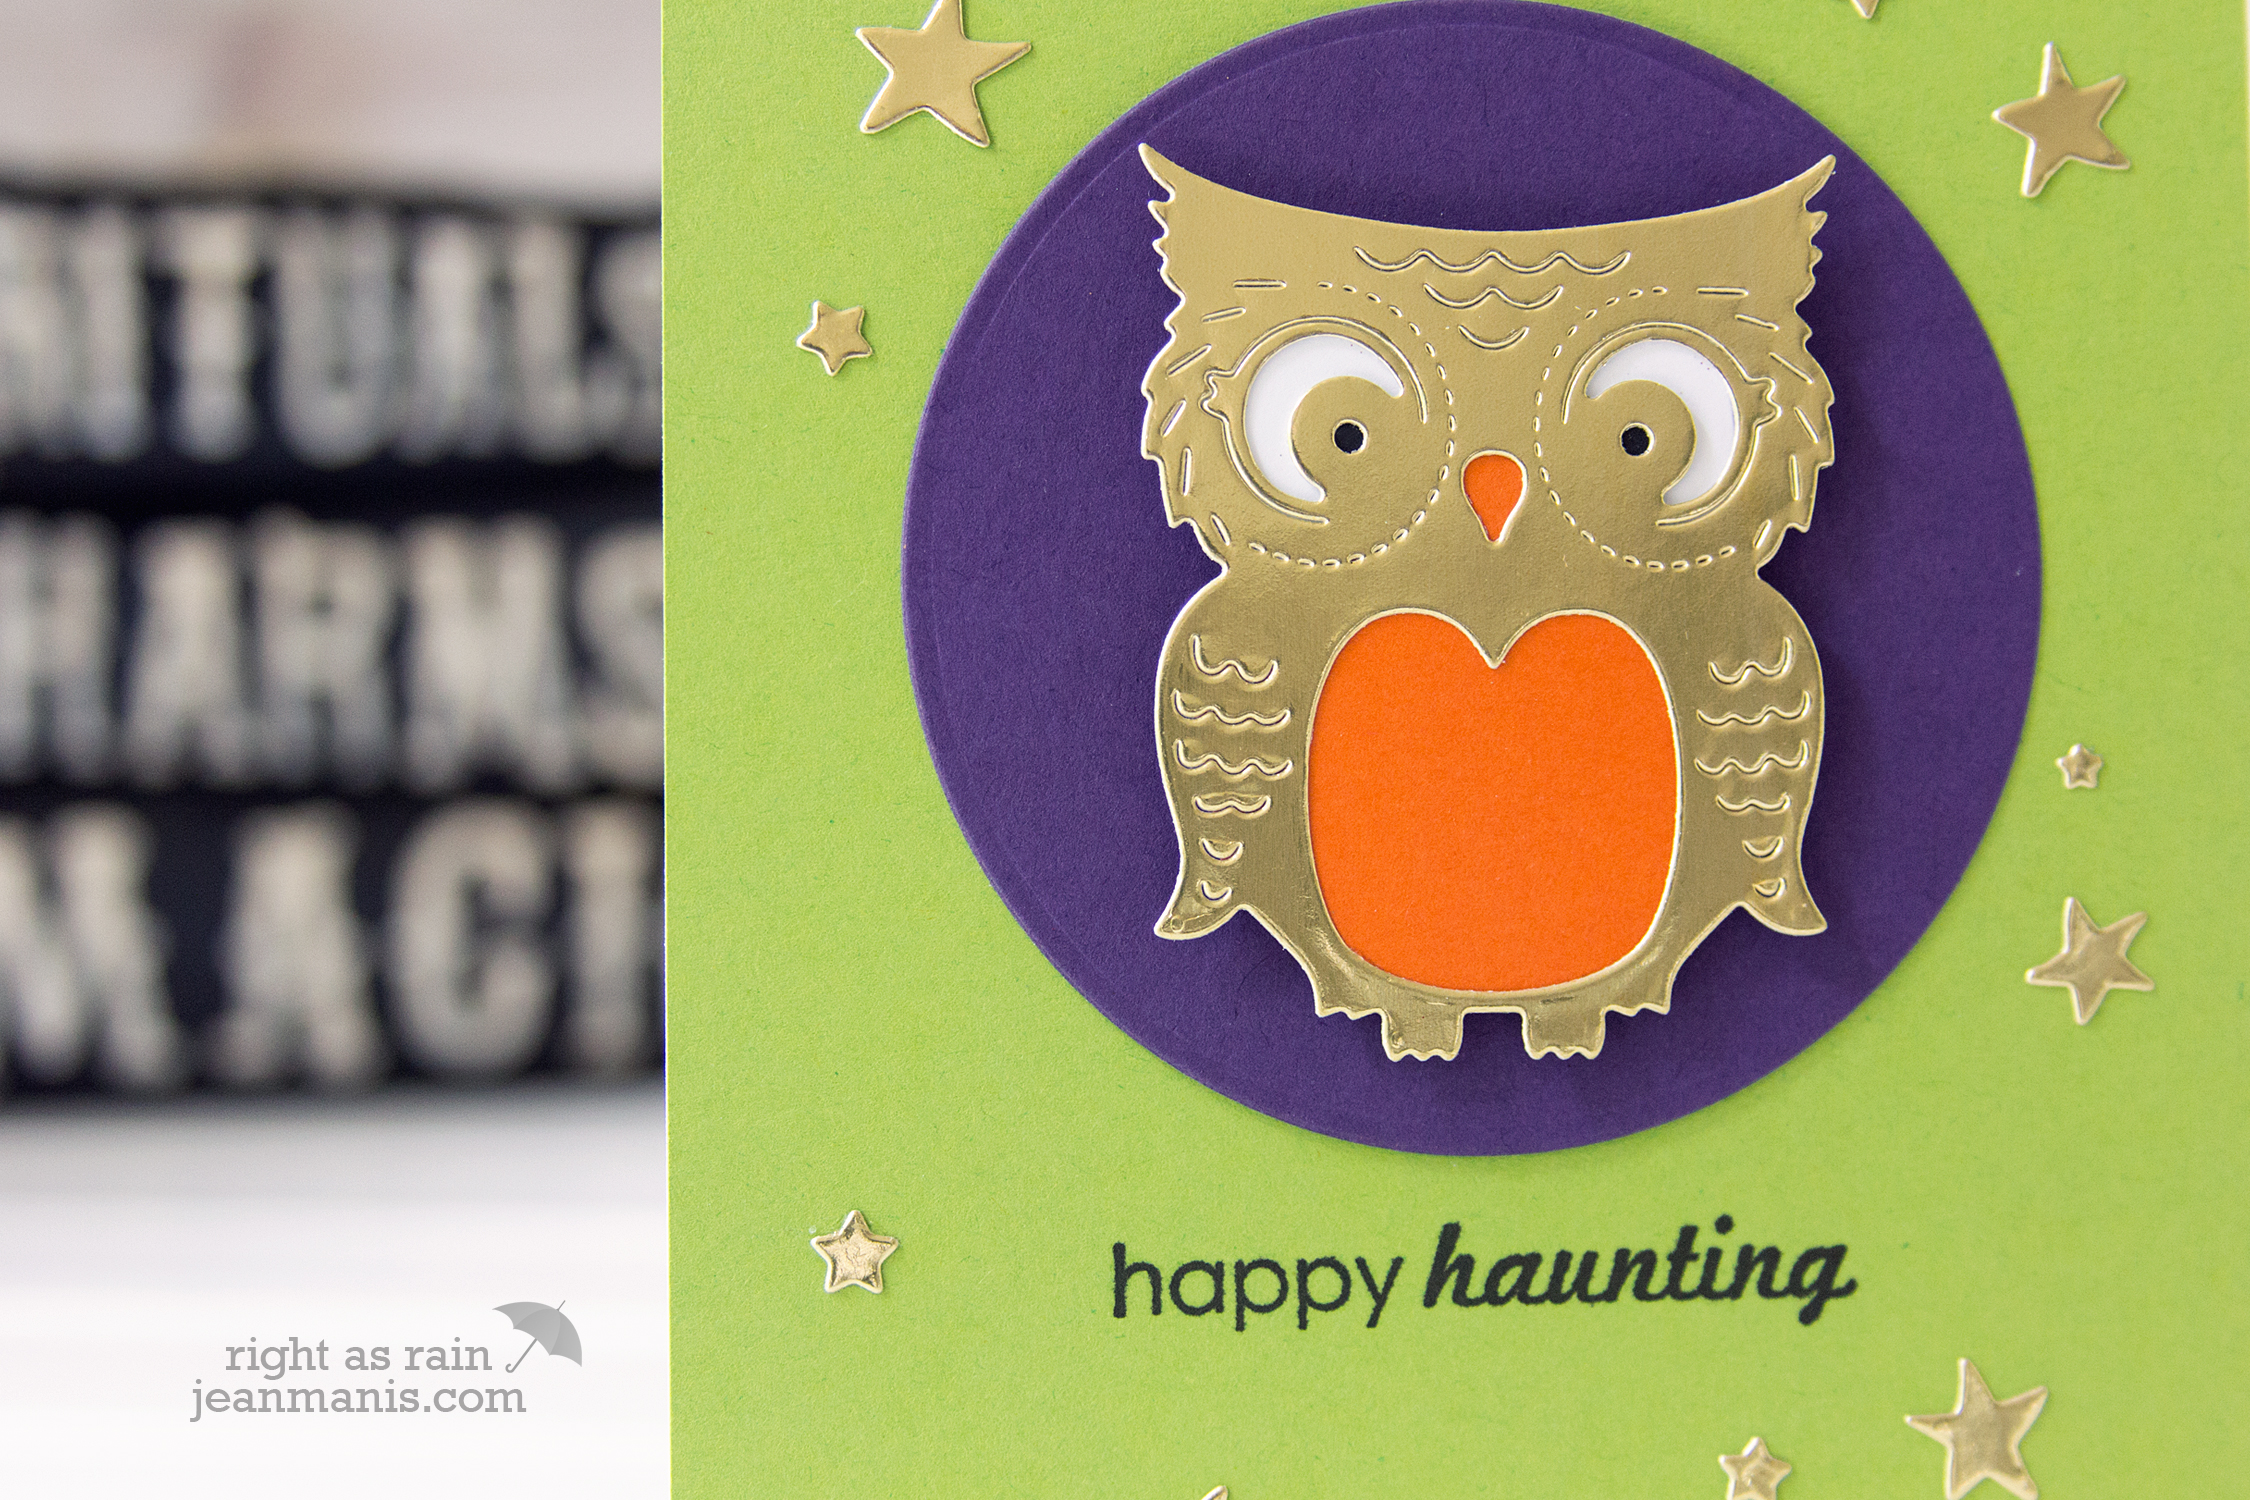
Hello! Today, I am sharing a CAS Halloween card featuring a gold foil die-cut owl.
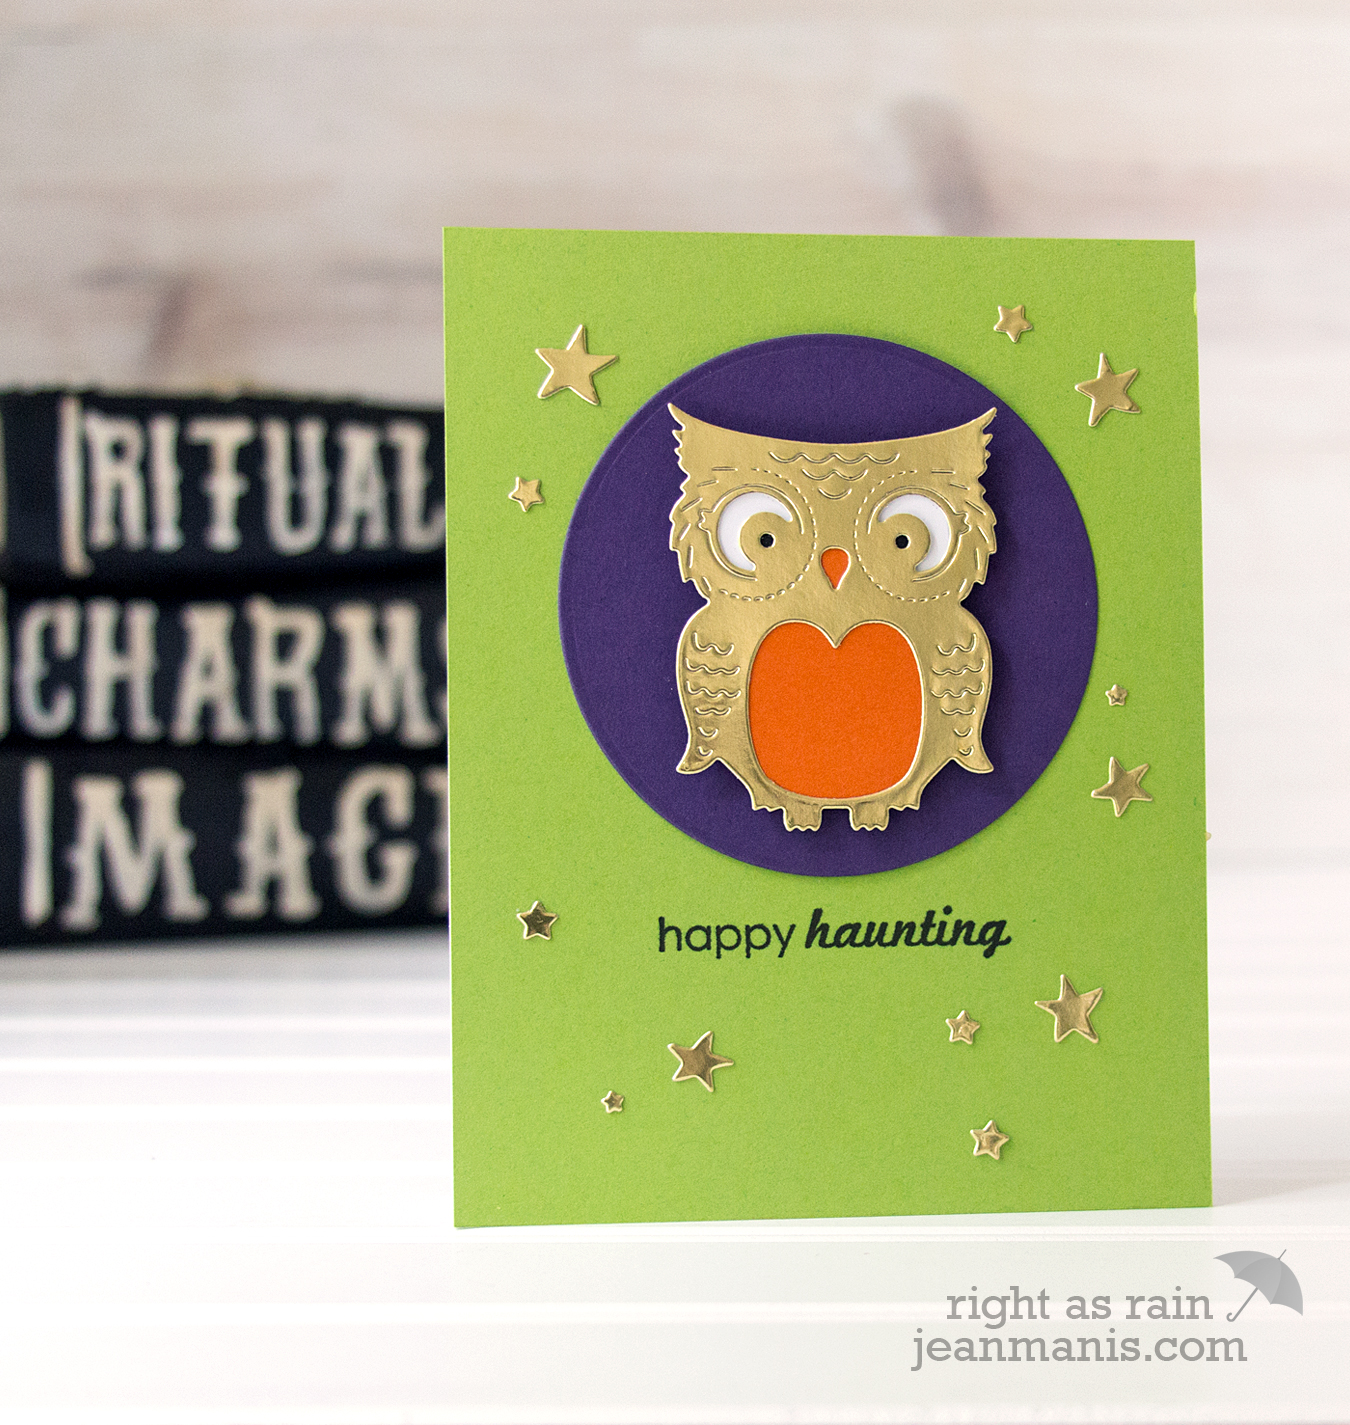
I used Stampin’ Up cardstock for the card base and purple circle (a color combination that isn’t my usual one for Halloween) and gold foil for the owl. The sentiment is from a Stampin’ Up set (now retired). I added gold stars from the Avery Elle Finished Frames set (now retired) to fill in the background. An additional way to “step it up” would have been to dry-embossed the purple circle.
What’s your favorite Halloween color combo?
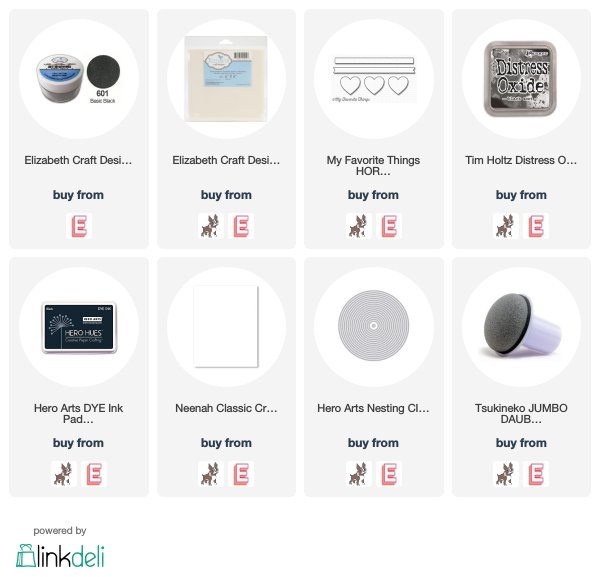
Supplies: Avery Elle Finished Frames set (stars), Spellbinders (circle die), Stampin’ Up (cardstock and sentiment)