Hello! Today, I am taking a deep dive into the use of embossing folders for card backgrounds, specifically as a design element that complements the focal image and sentiment. Embossing folders come in a wide variety of designs, ranging from simple geometric patterns to floral motifs and everything in between. This post continues my discussion of card background options. You can read the first post, where I examined paper-based background choices, HERE.
Throughout this post, I’ll be using cards from my blog archive as examples. Click on the card image to be taken to the original post. It’s important to note that while the specific products used on these cards may no longer be available, the focus here is on providing a guide for evaluating embossing folders.
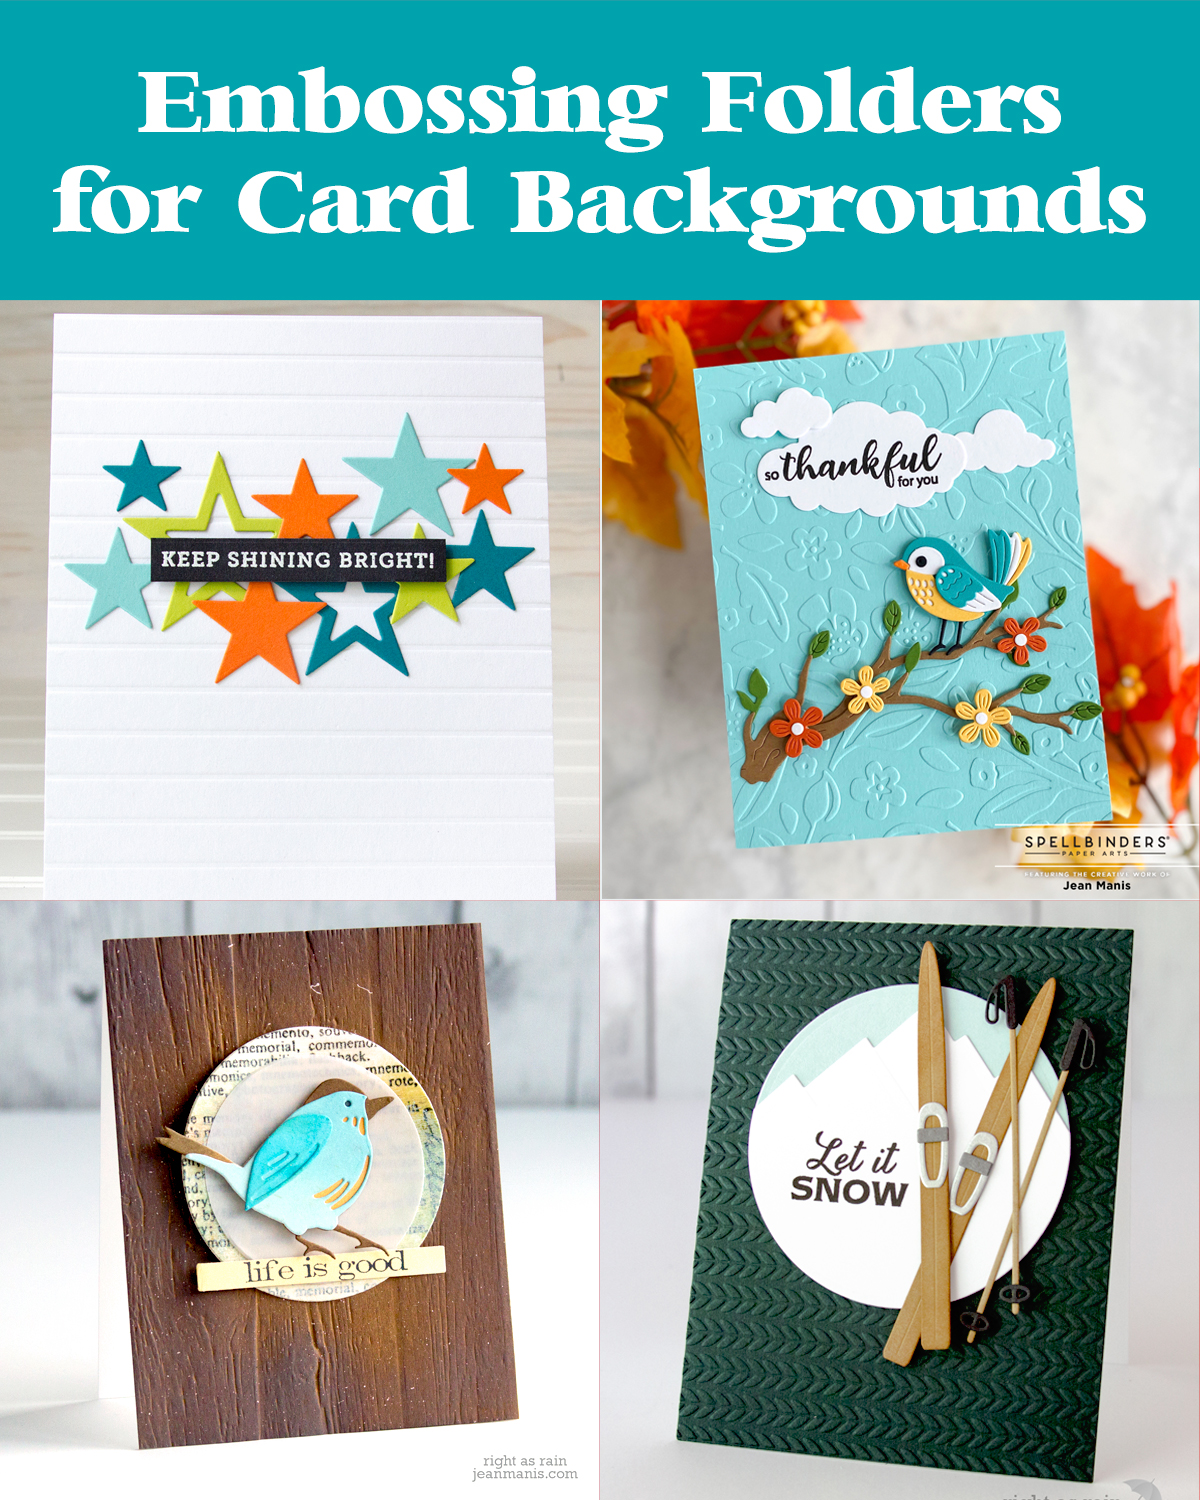
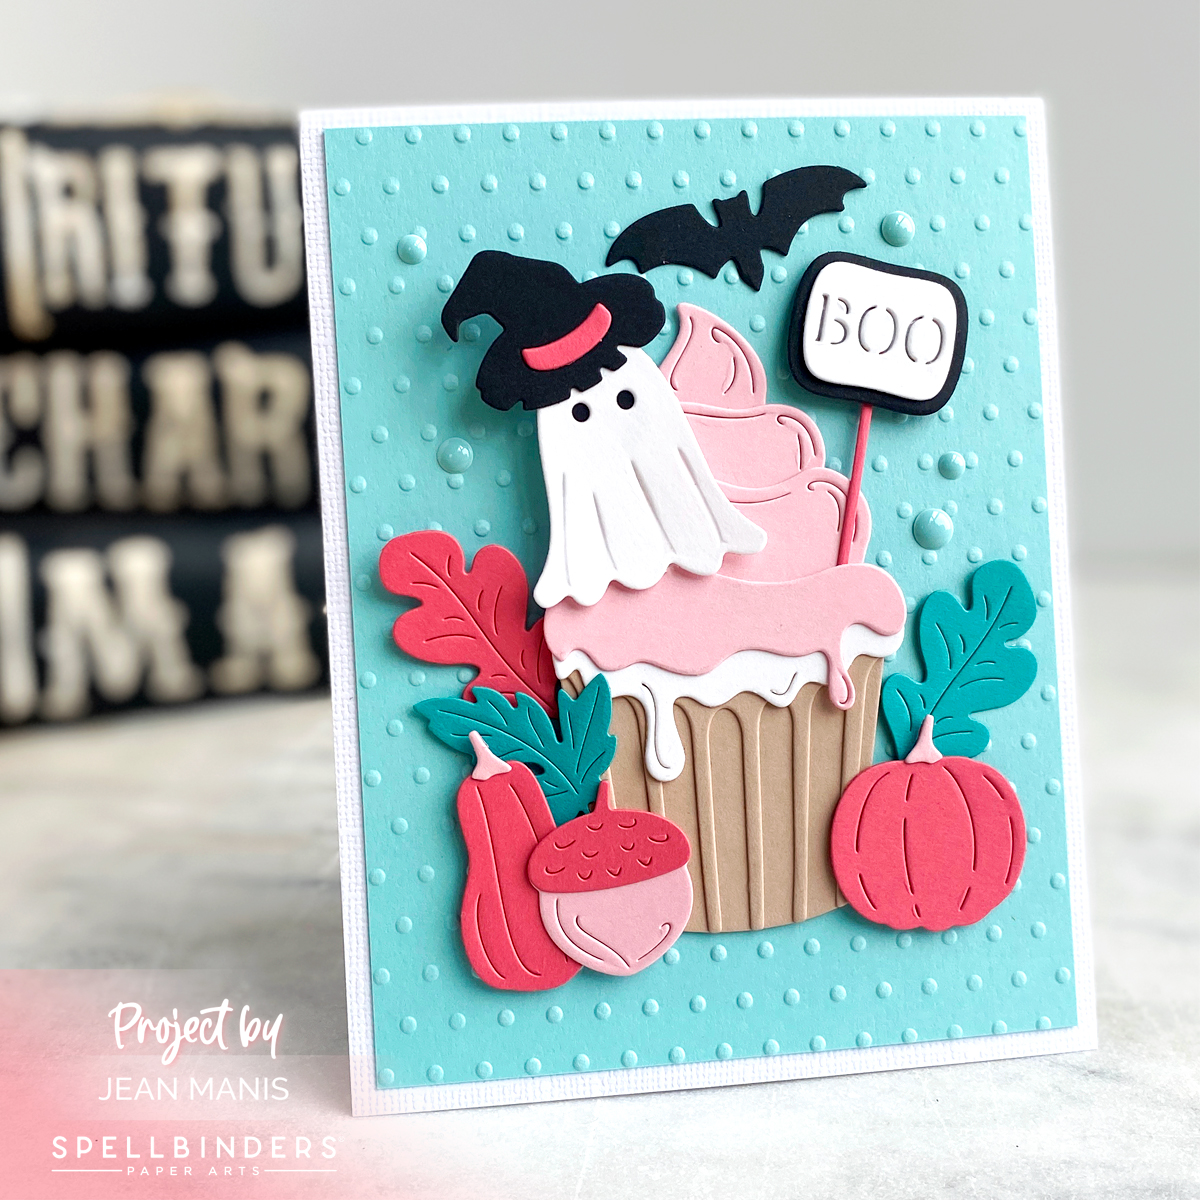
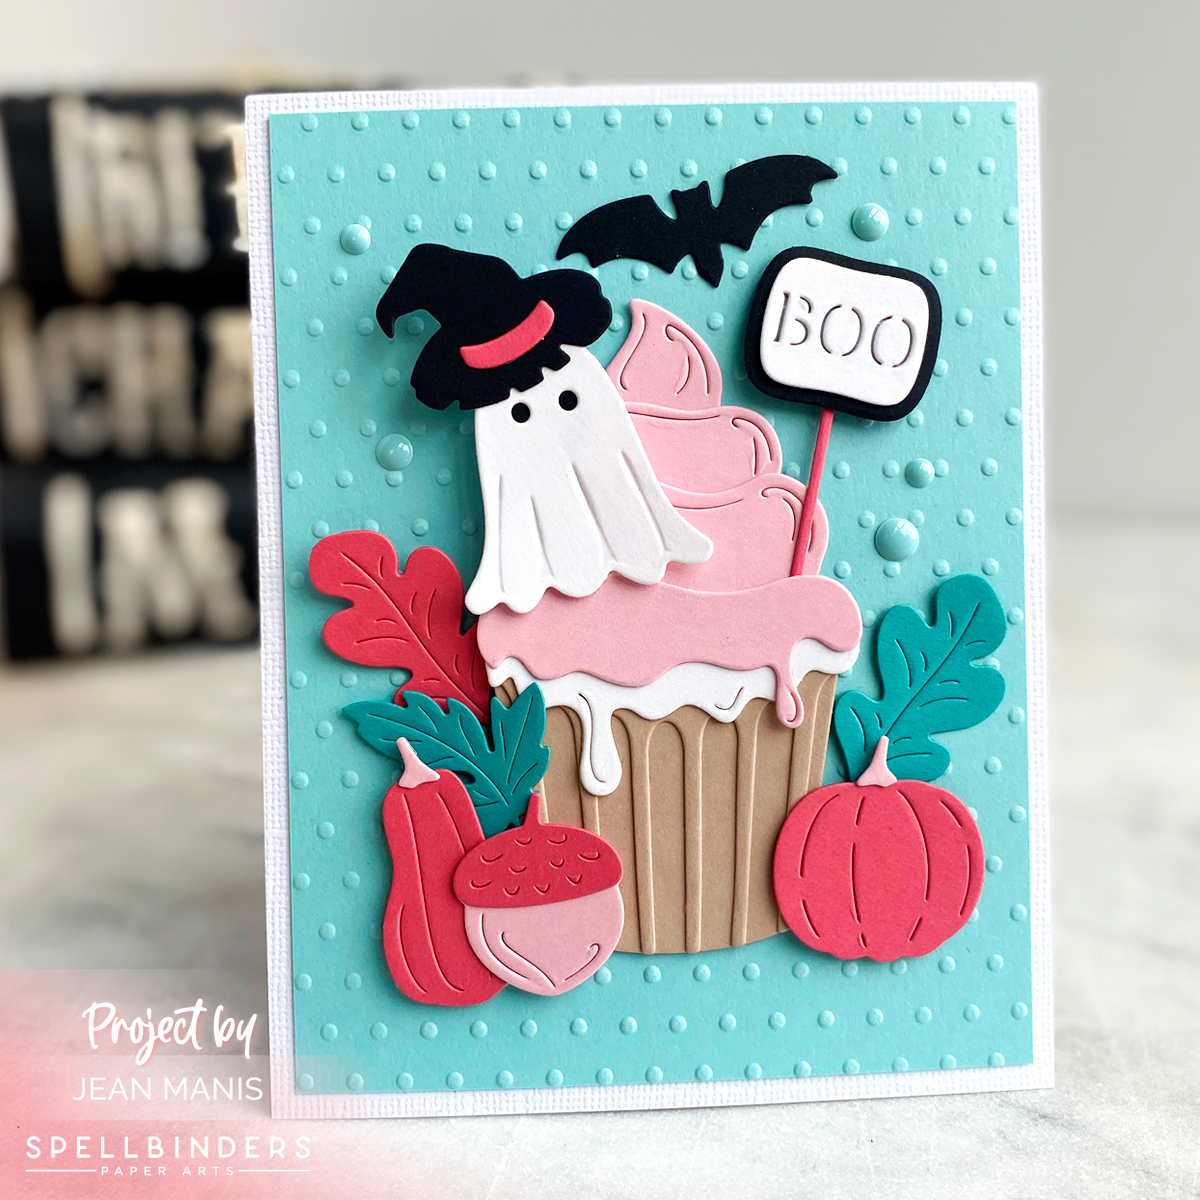
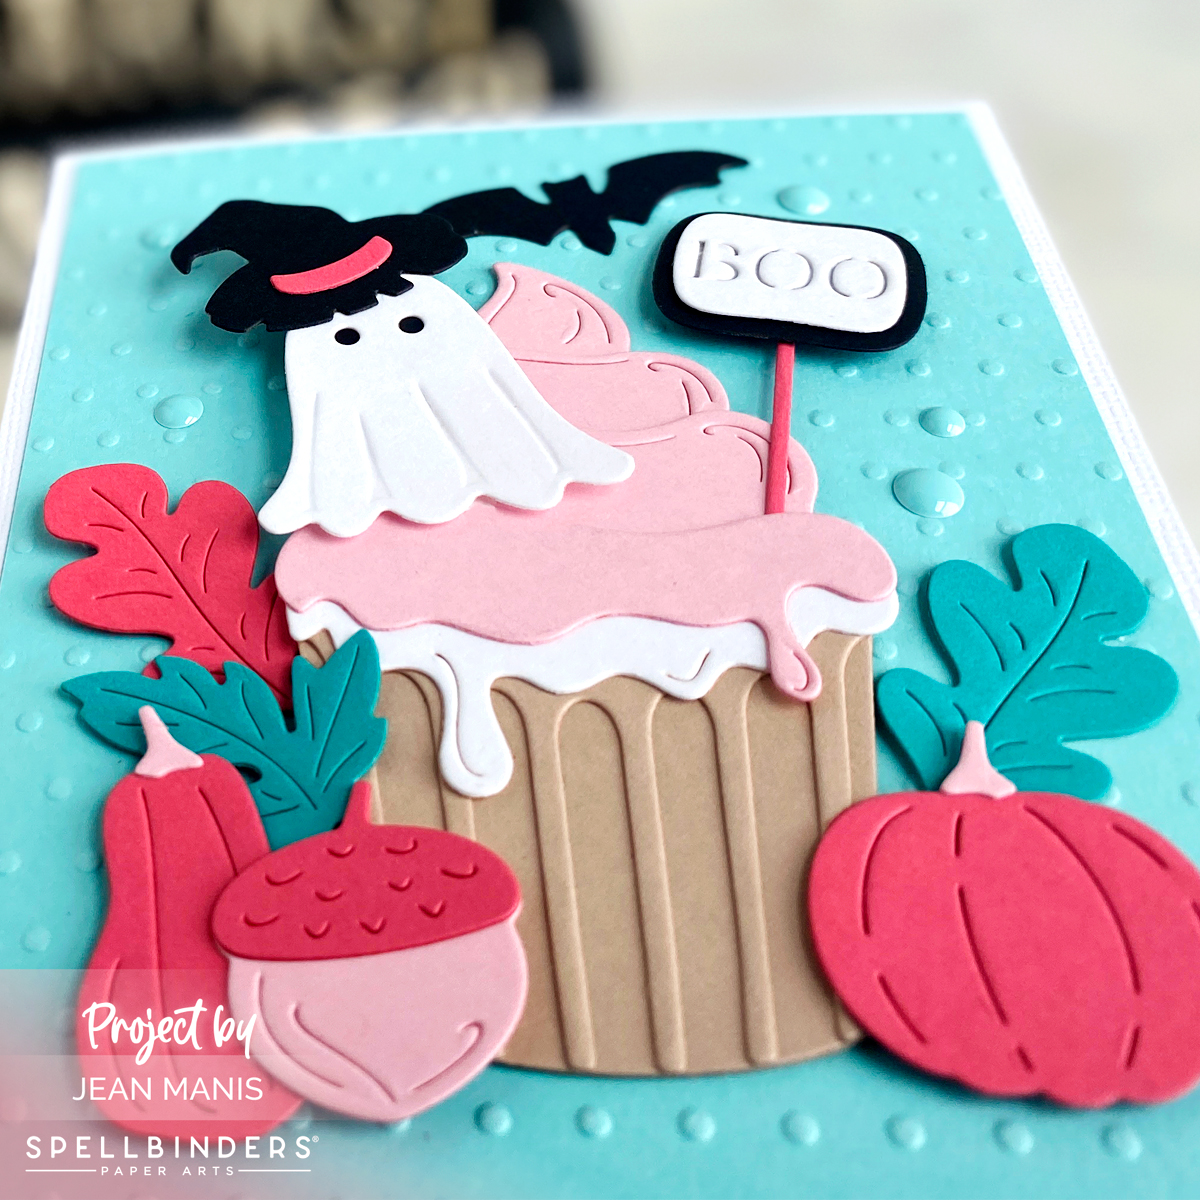
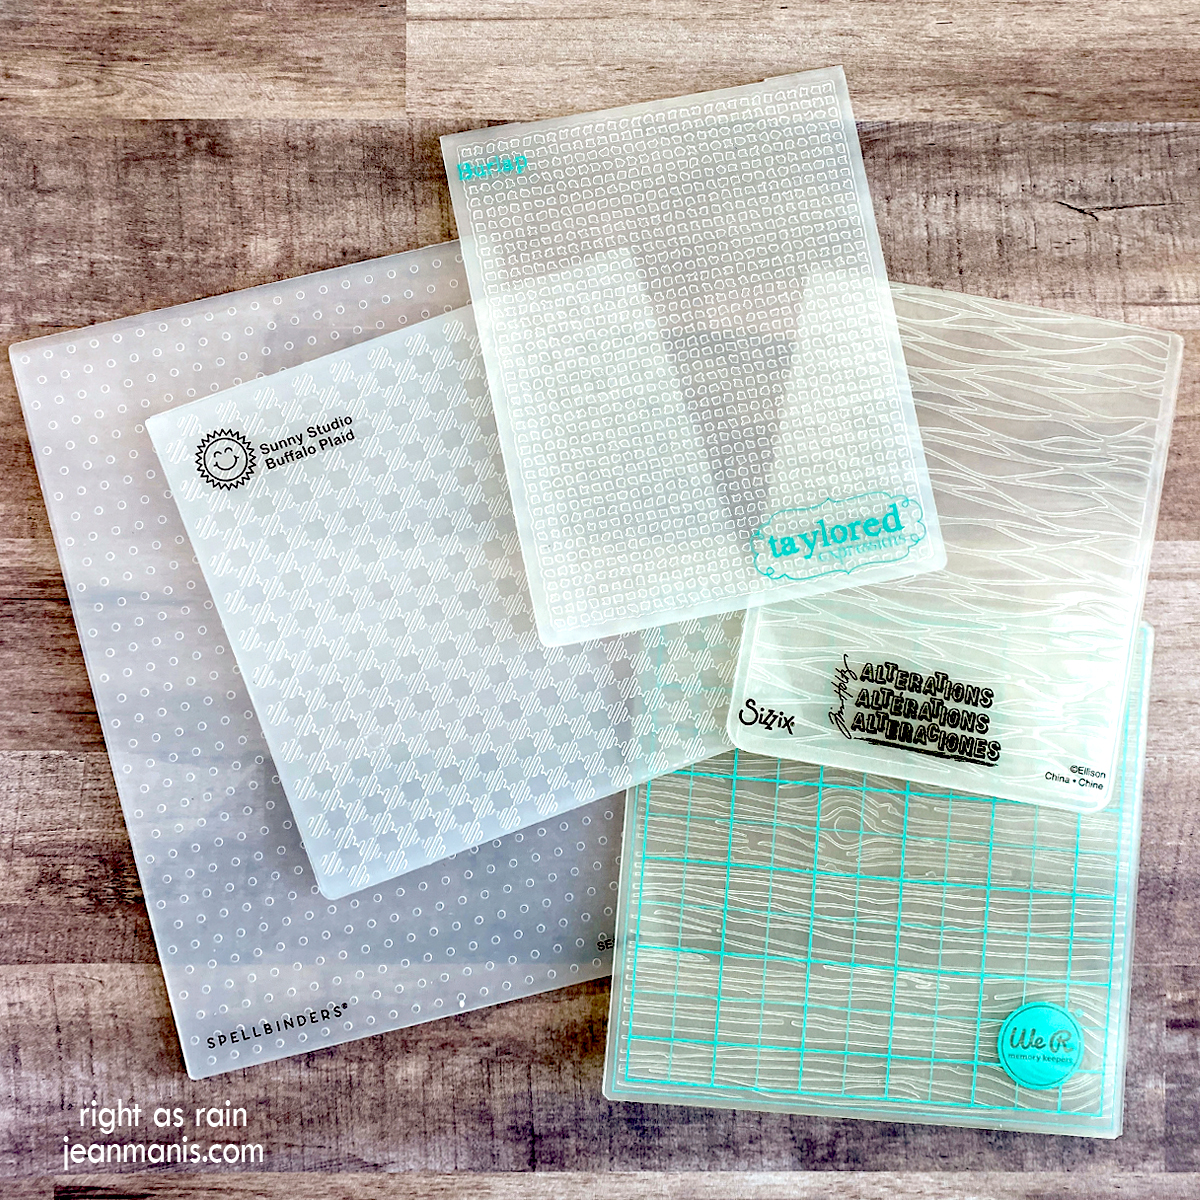
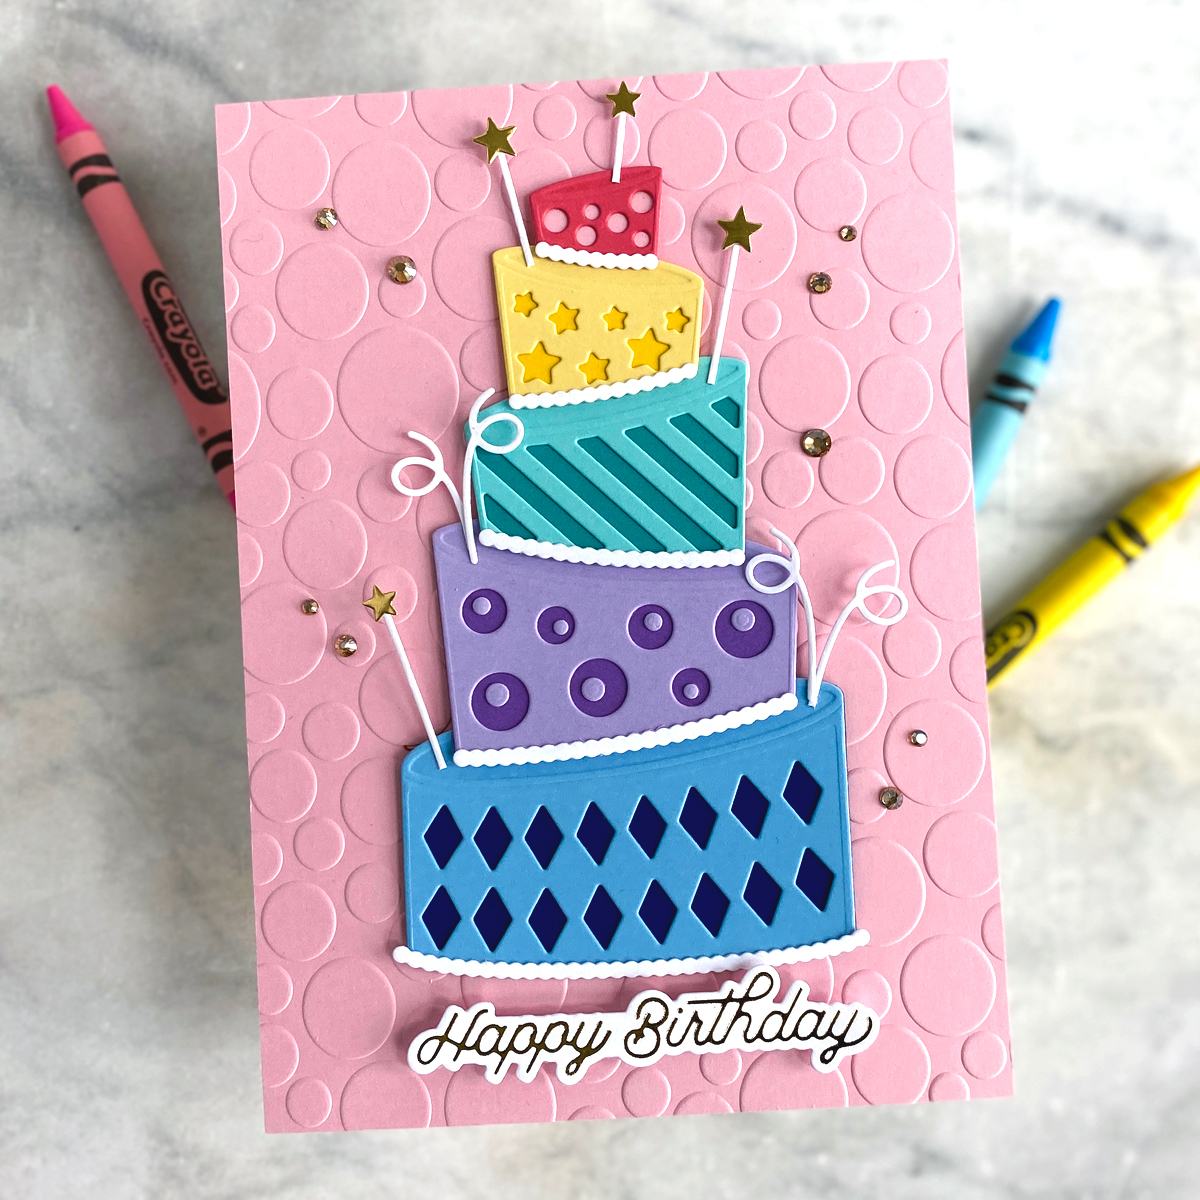
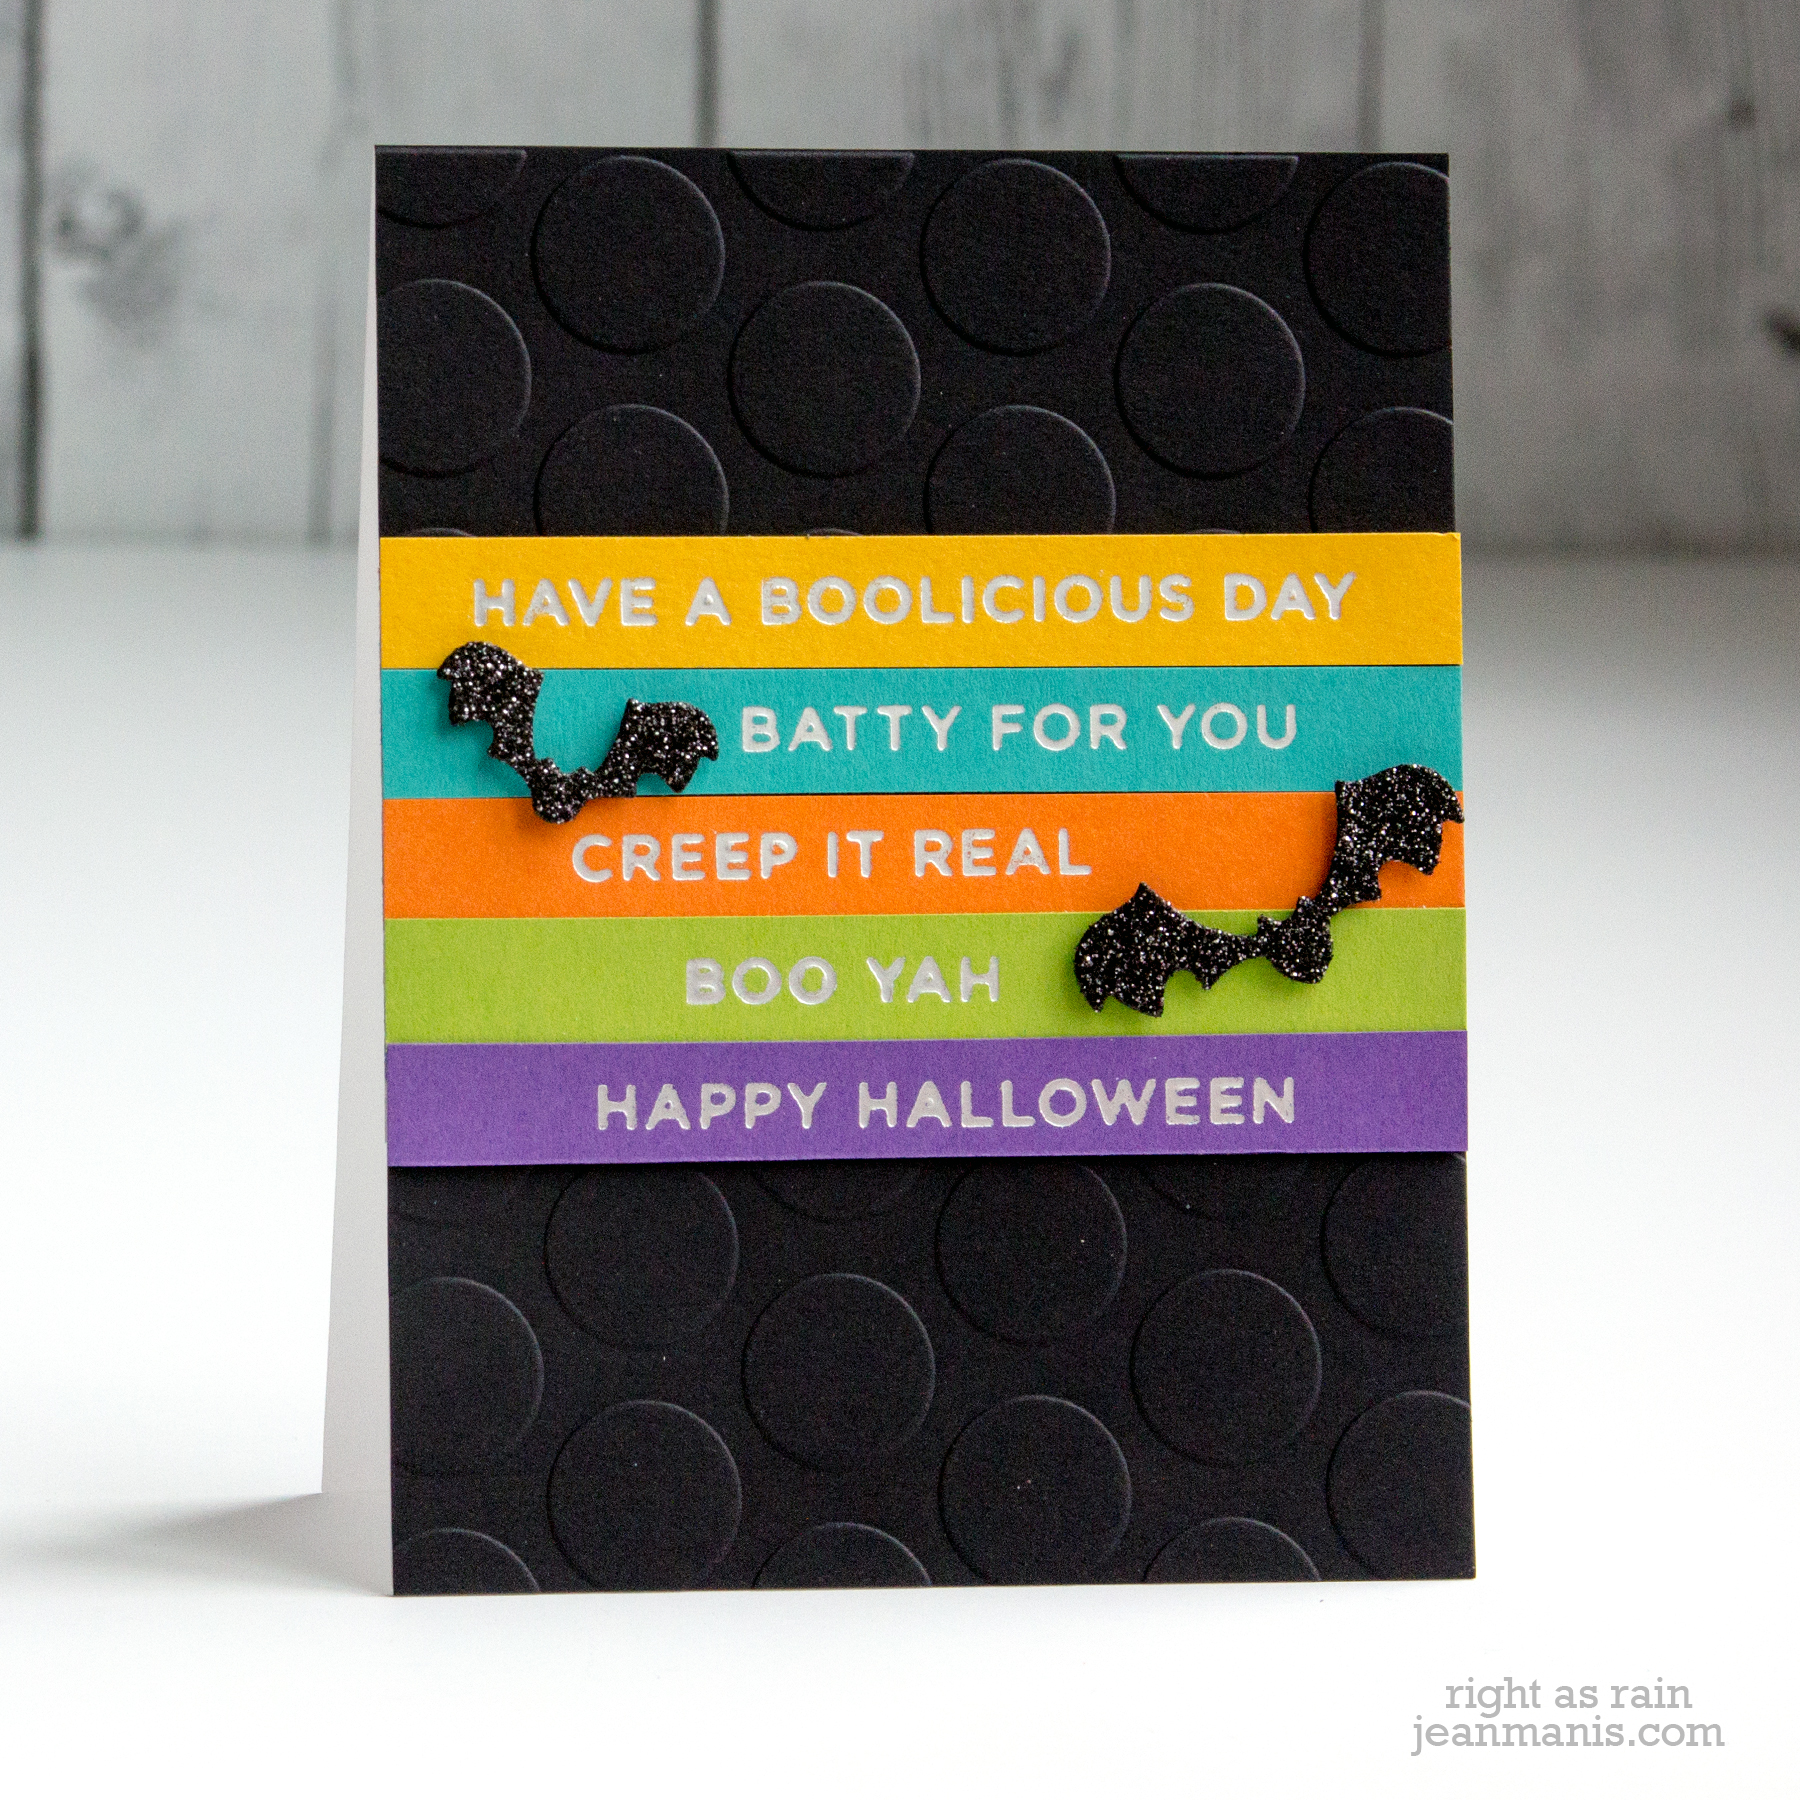
Geometric Embossing folders with geometric patterns, such as dots and stripes tend to be highly versatile. These patterns work well with various themes and styles.
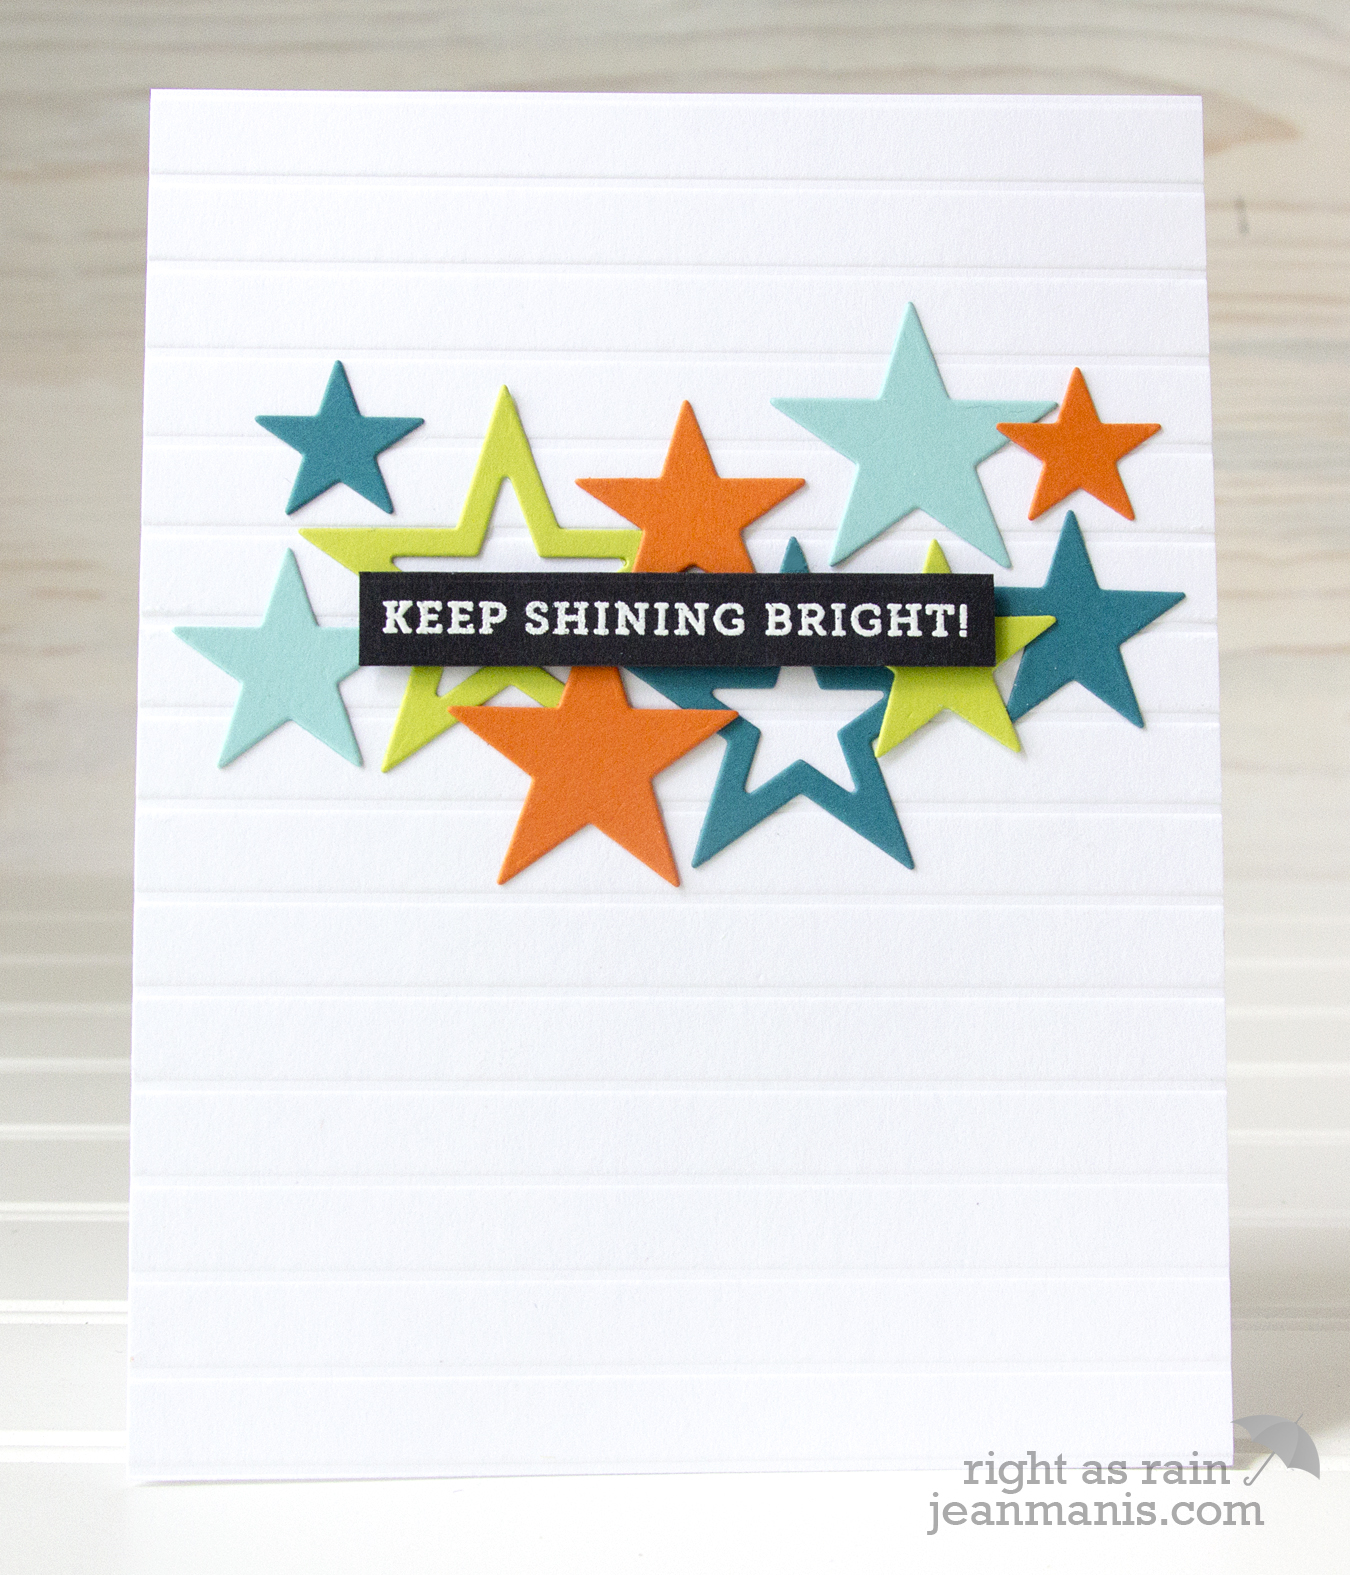
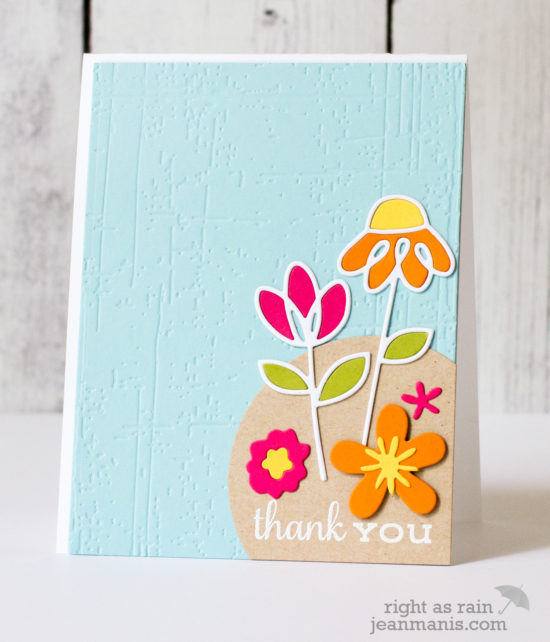
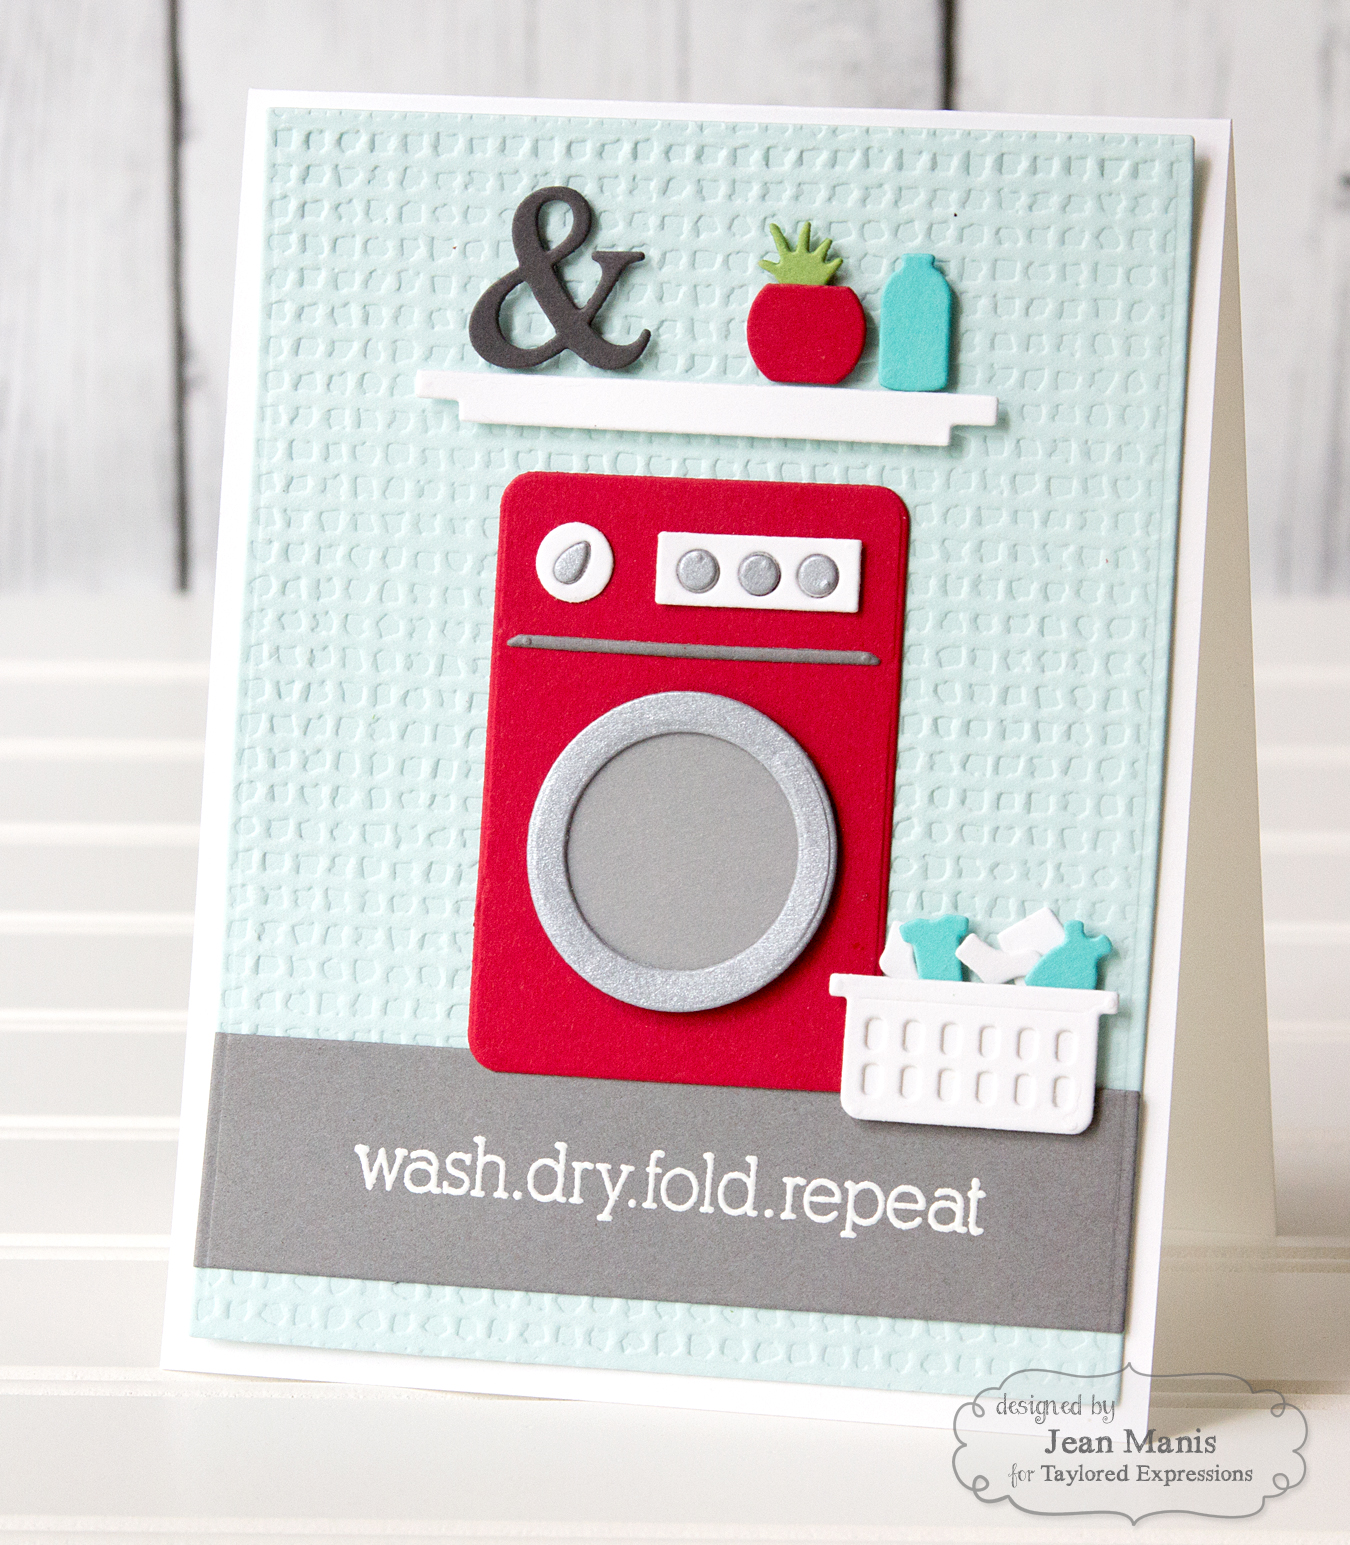
Texture Some embossing folders add texture to the paper without a specific motif. These folders are exceptionally versatile because they don’t impose a theme or image on the project.
Woven An embossed background with a woven texture adds a charming touch to your cards that suits many occasions and styles.
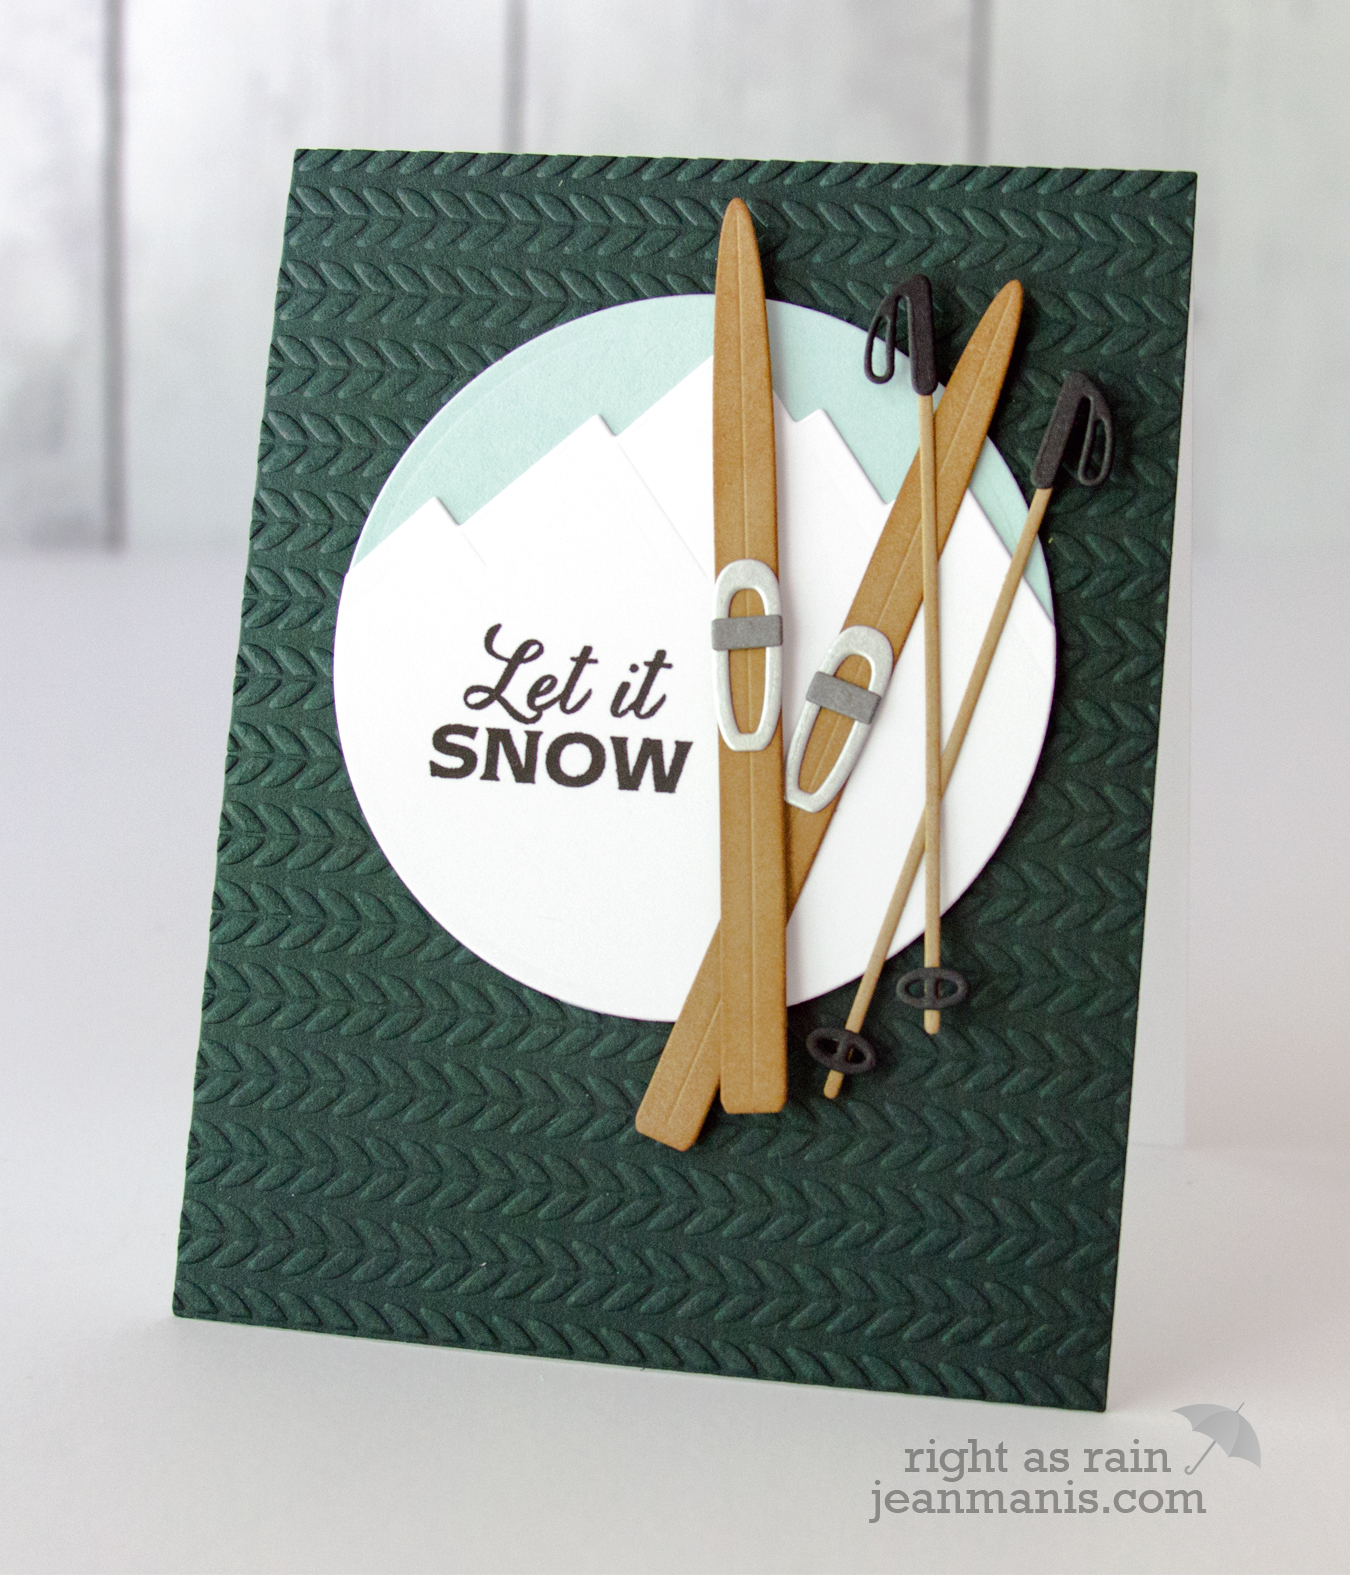
Knit A cable knit embossing folder can add a touch of coziness and winter charm to a card.
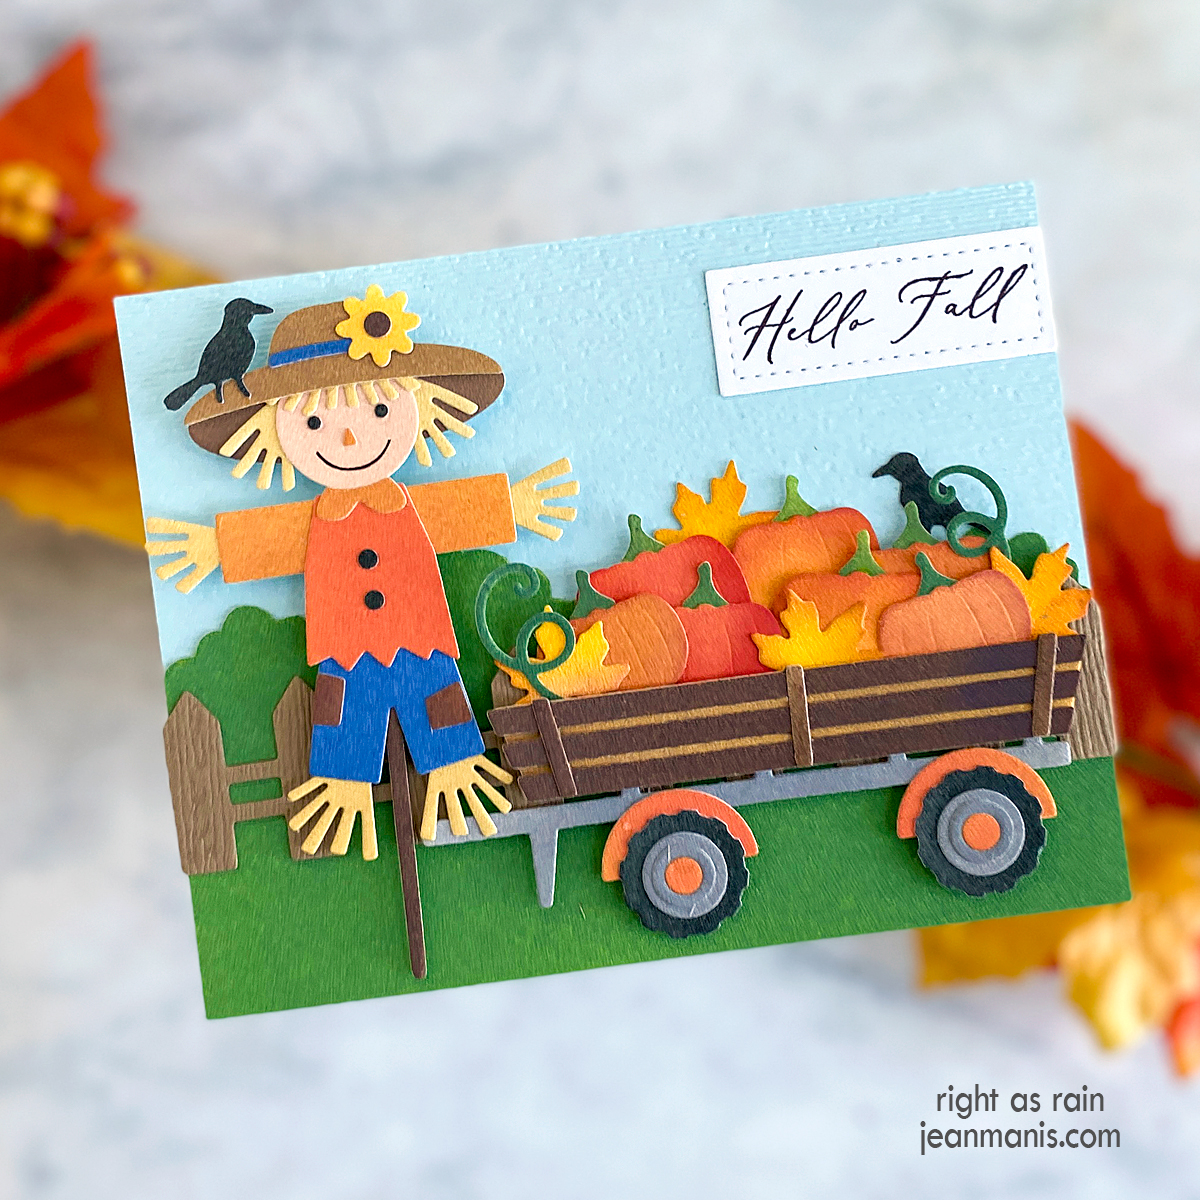
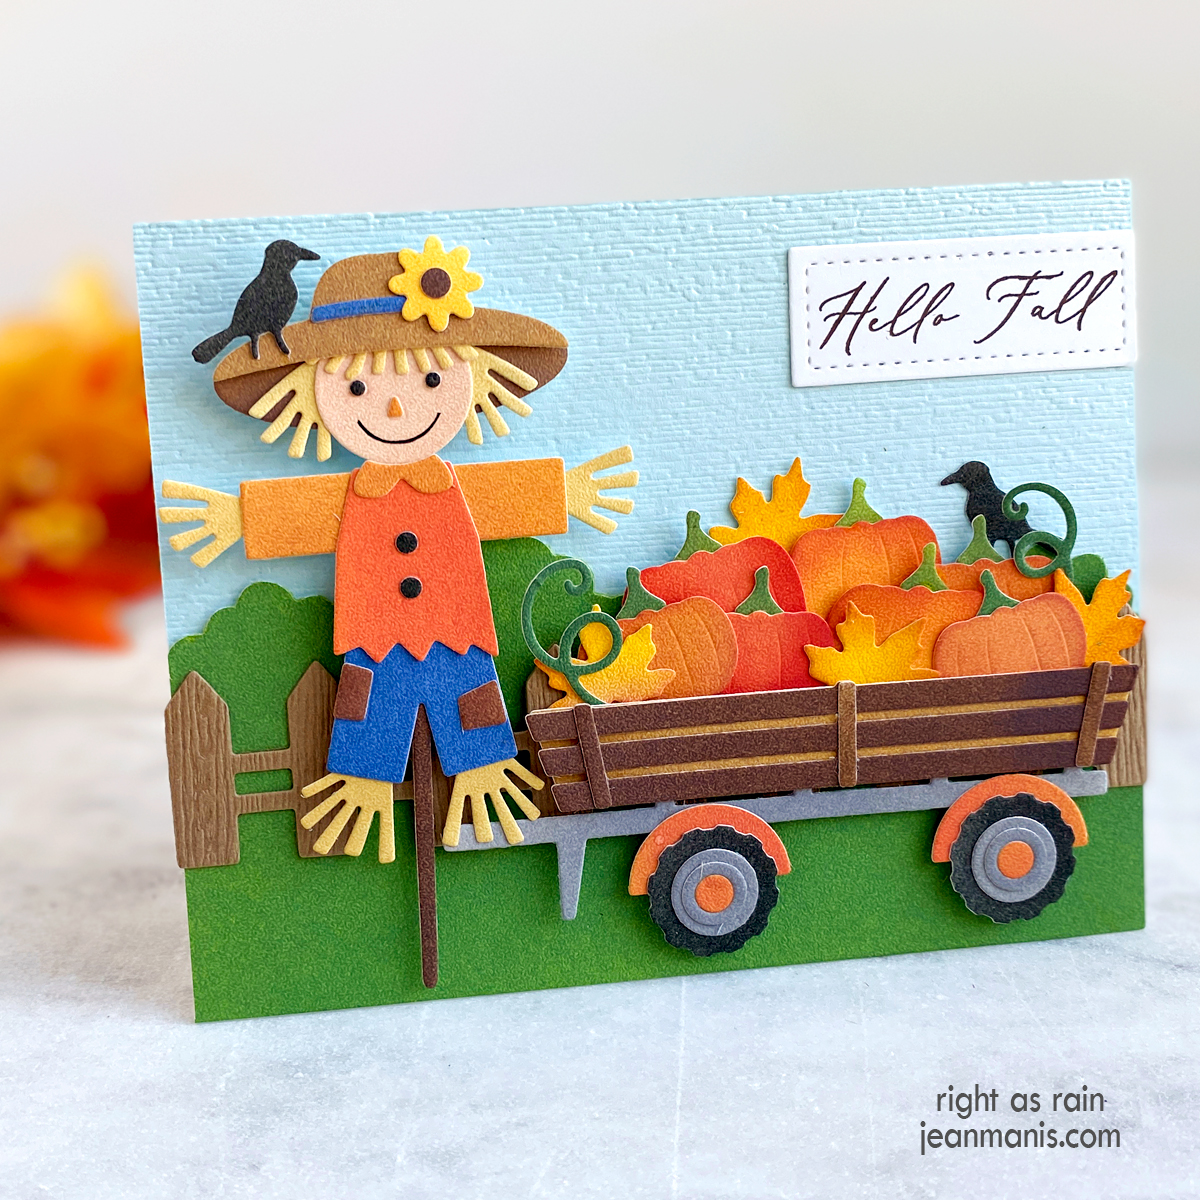
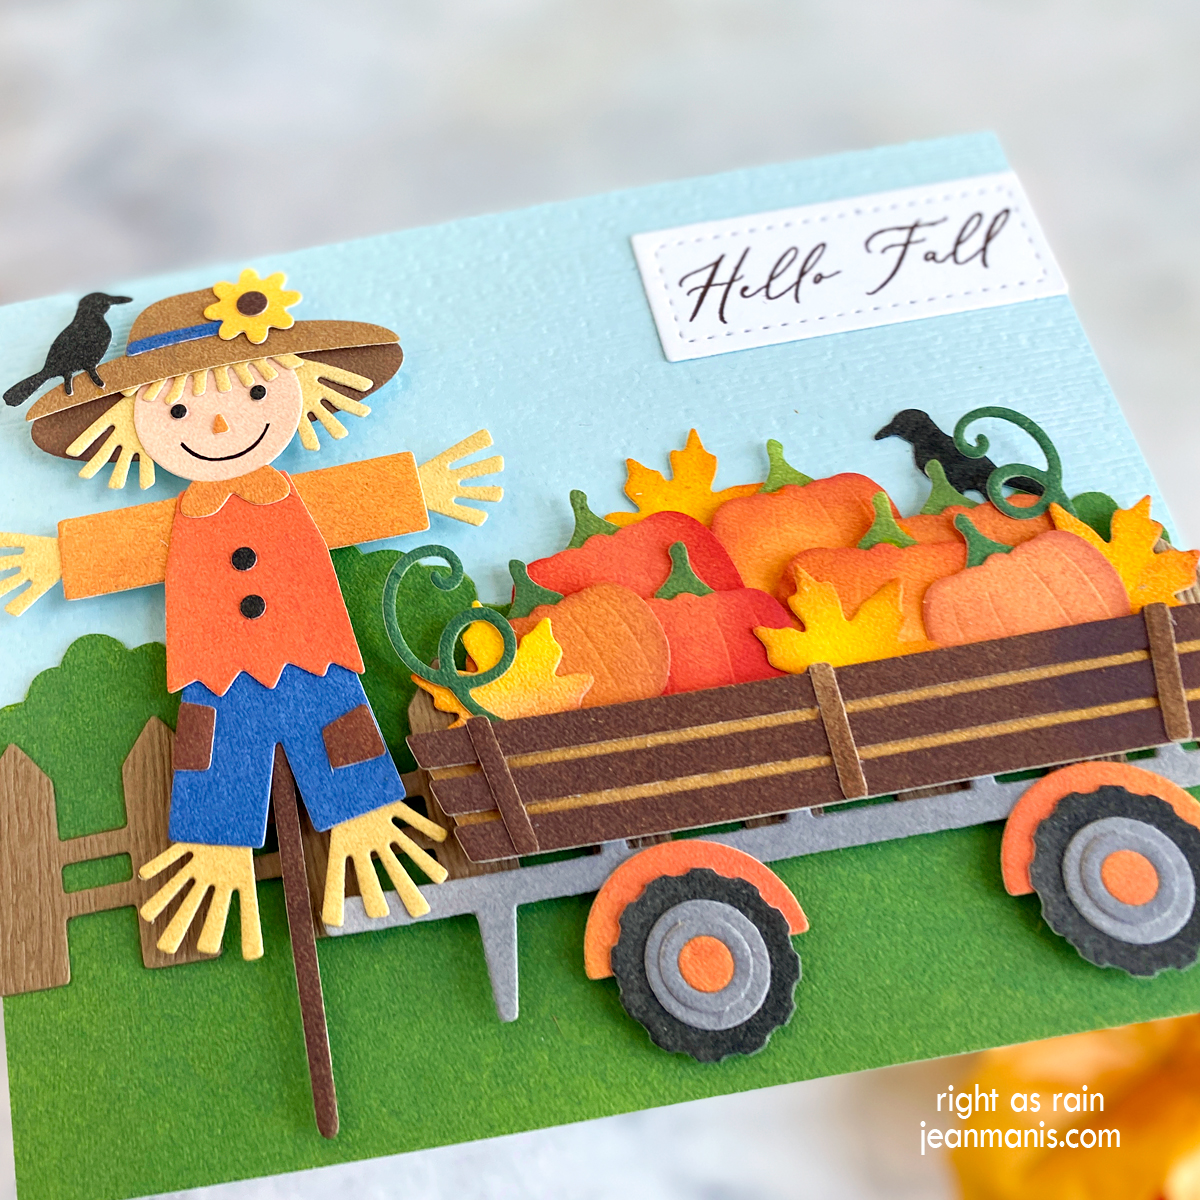
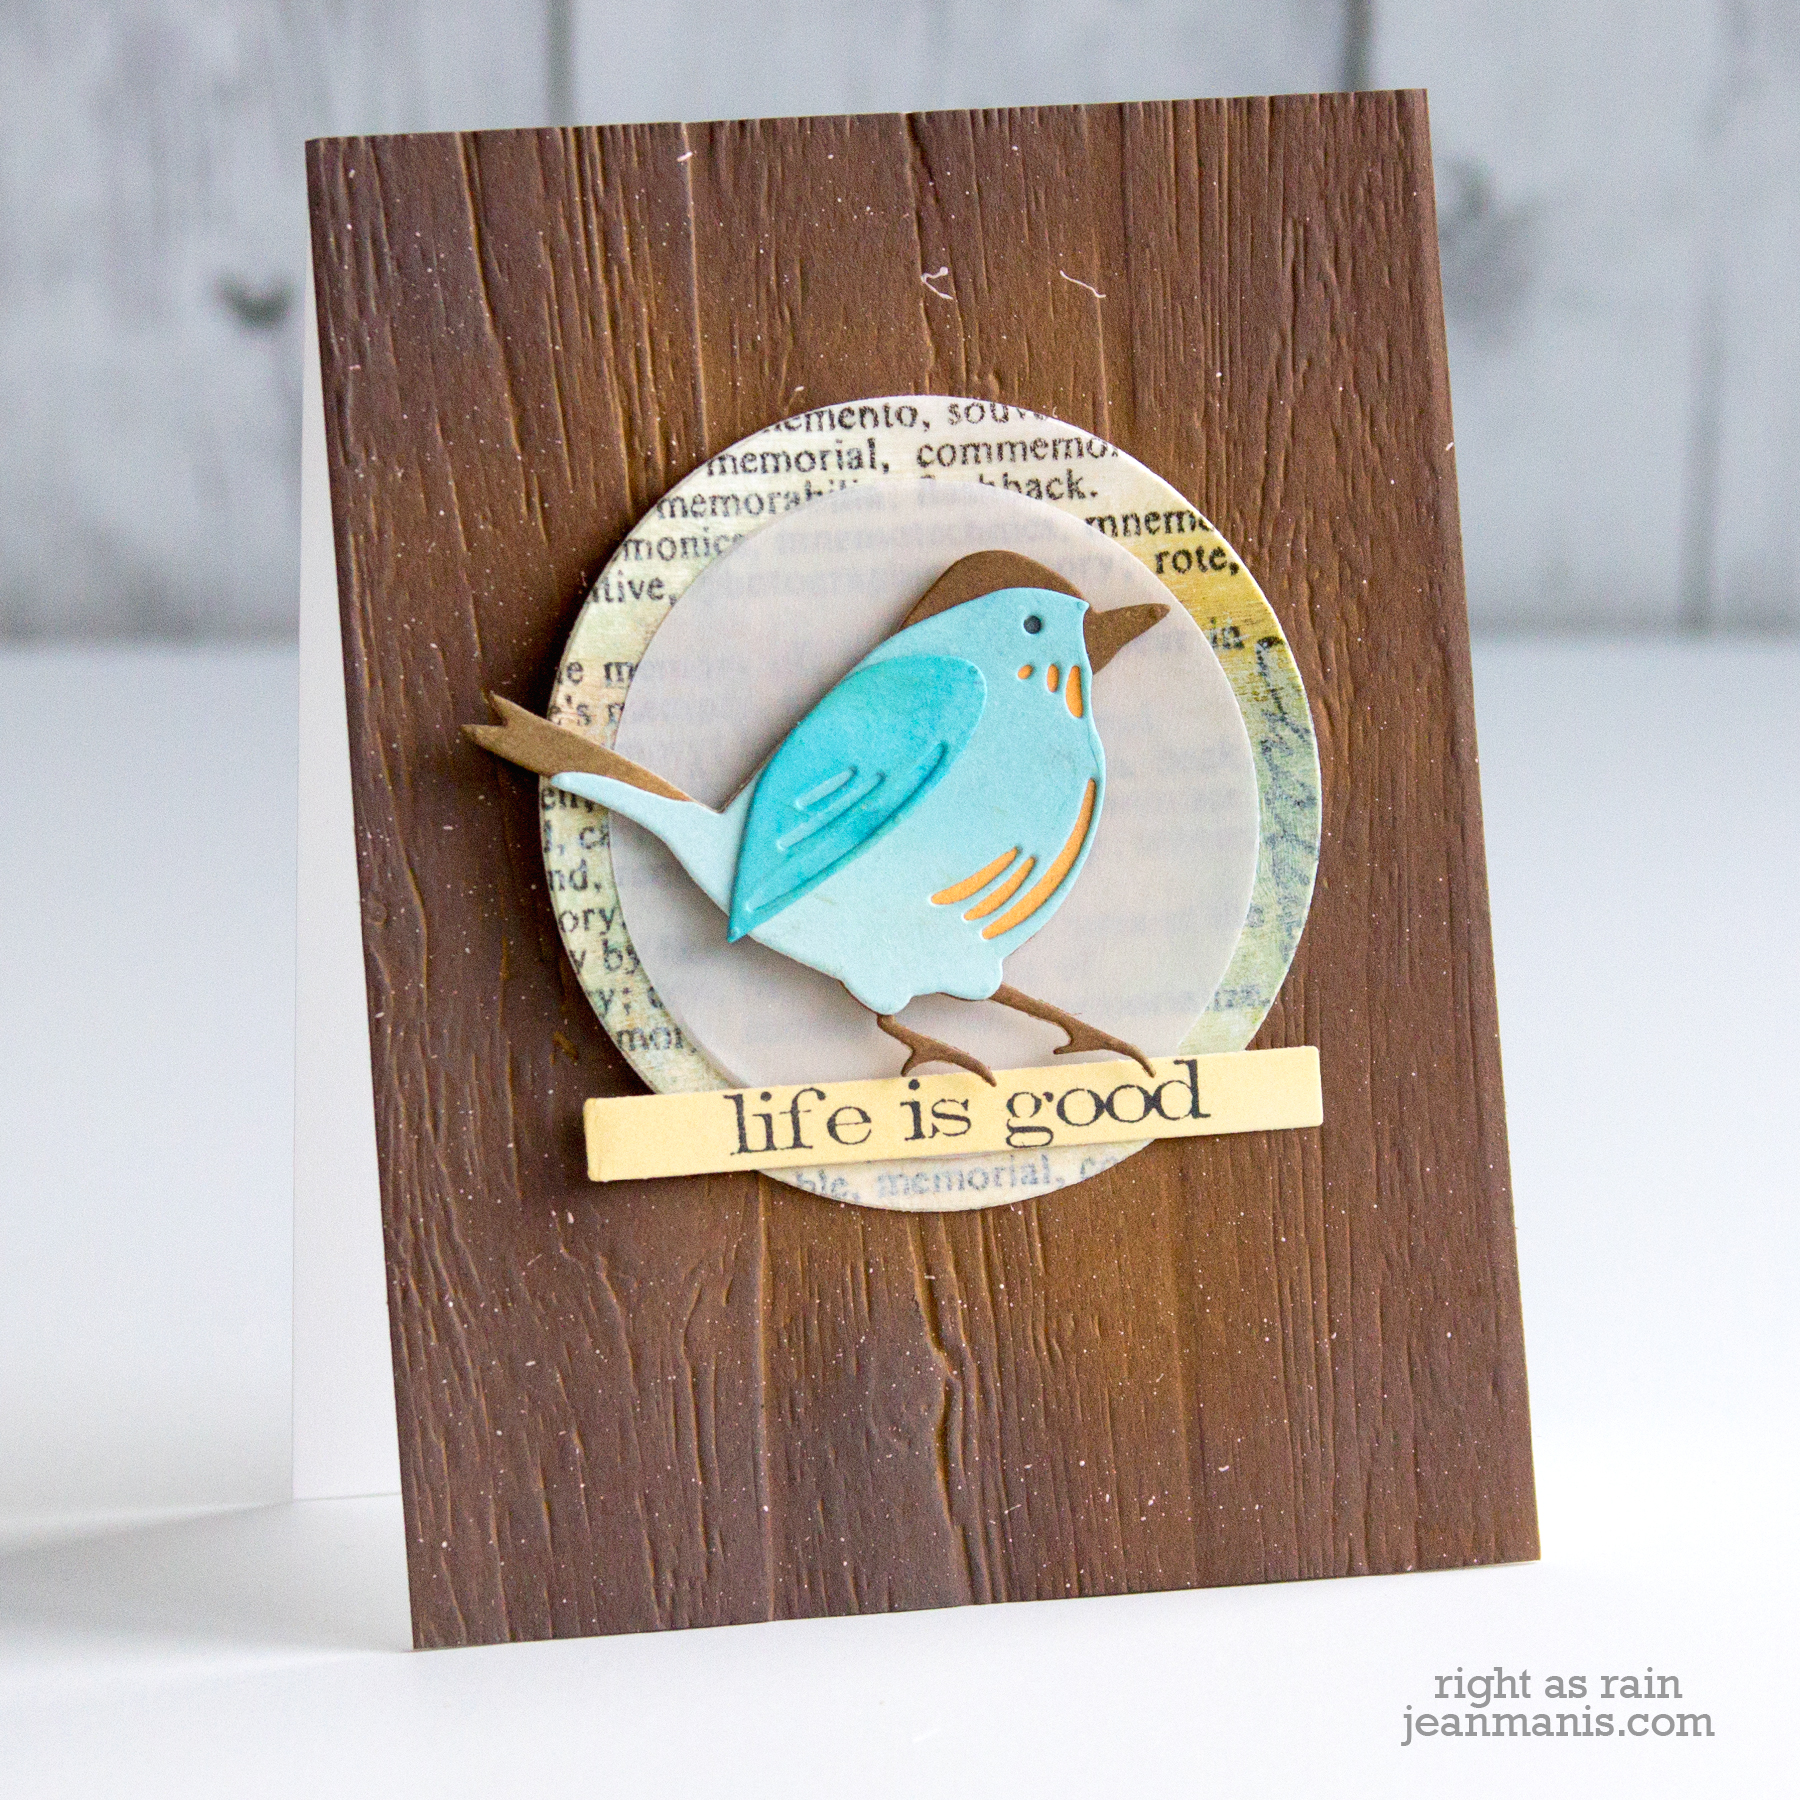
Woodgrain A woodgrain embossed background can bring a natural and rustic touch to your design.
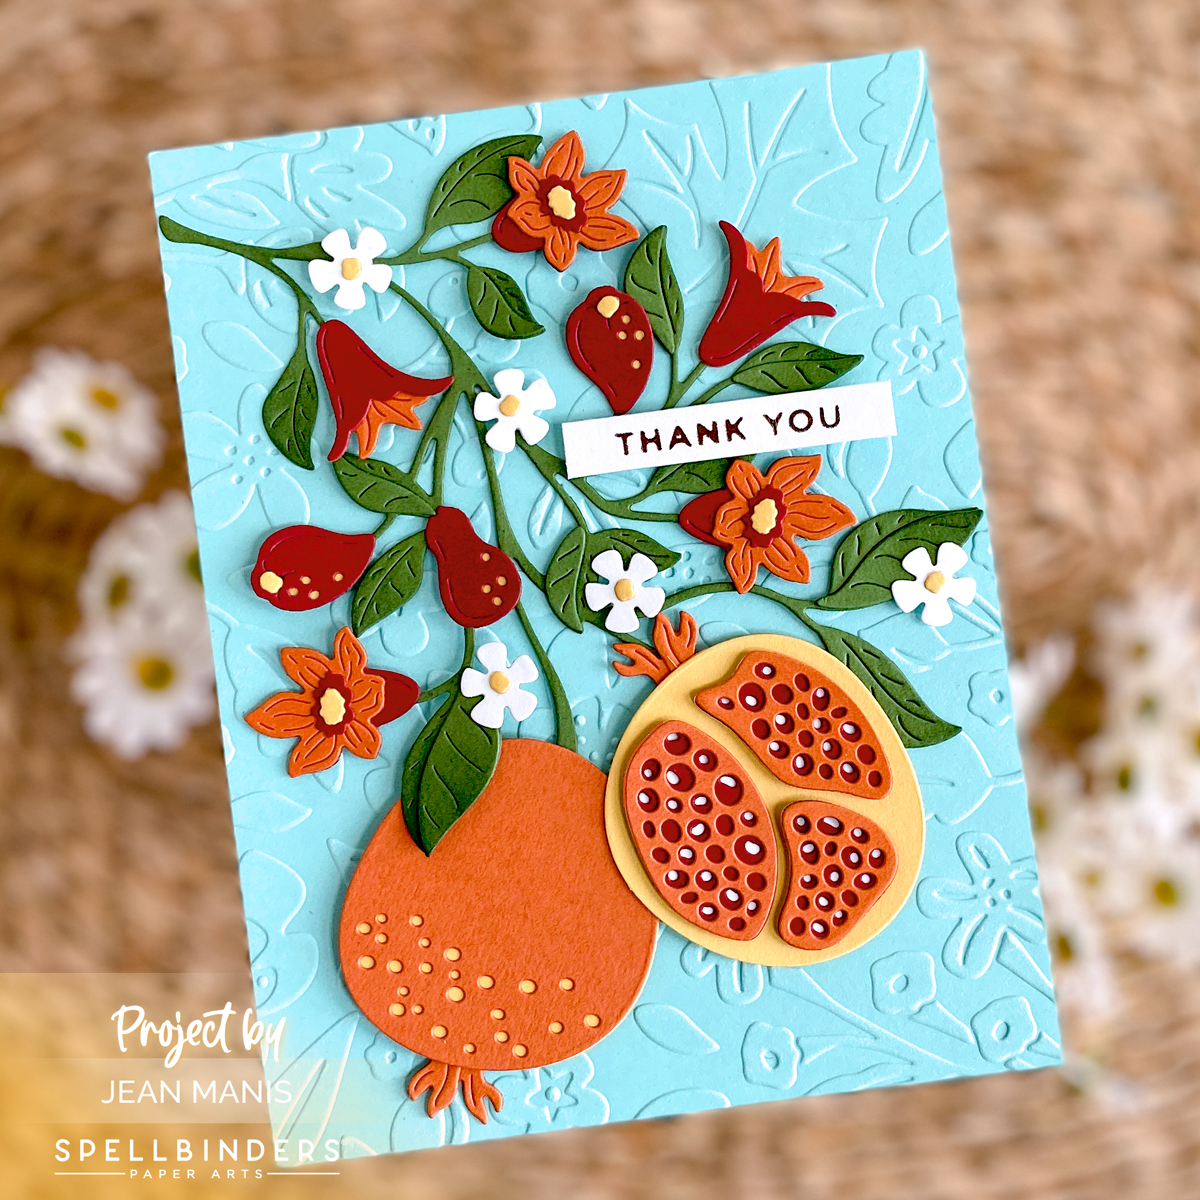
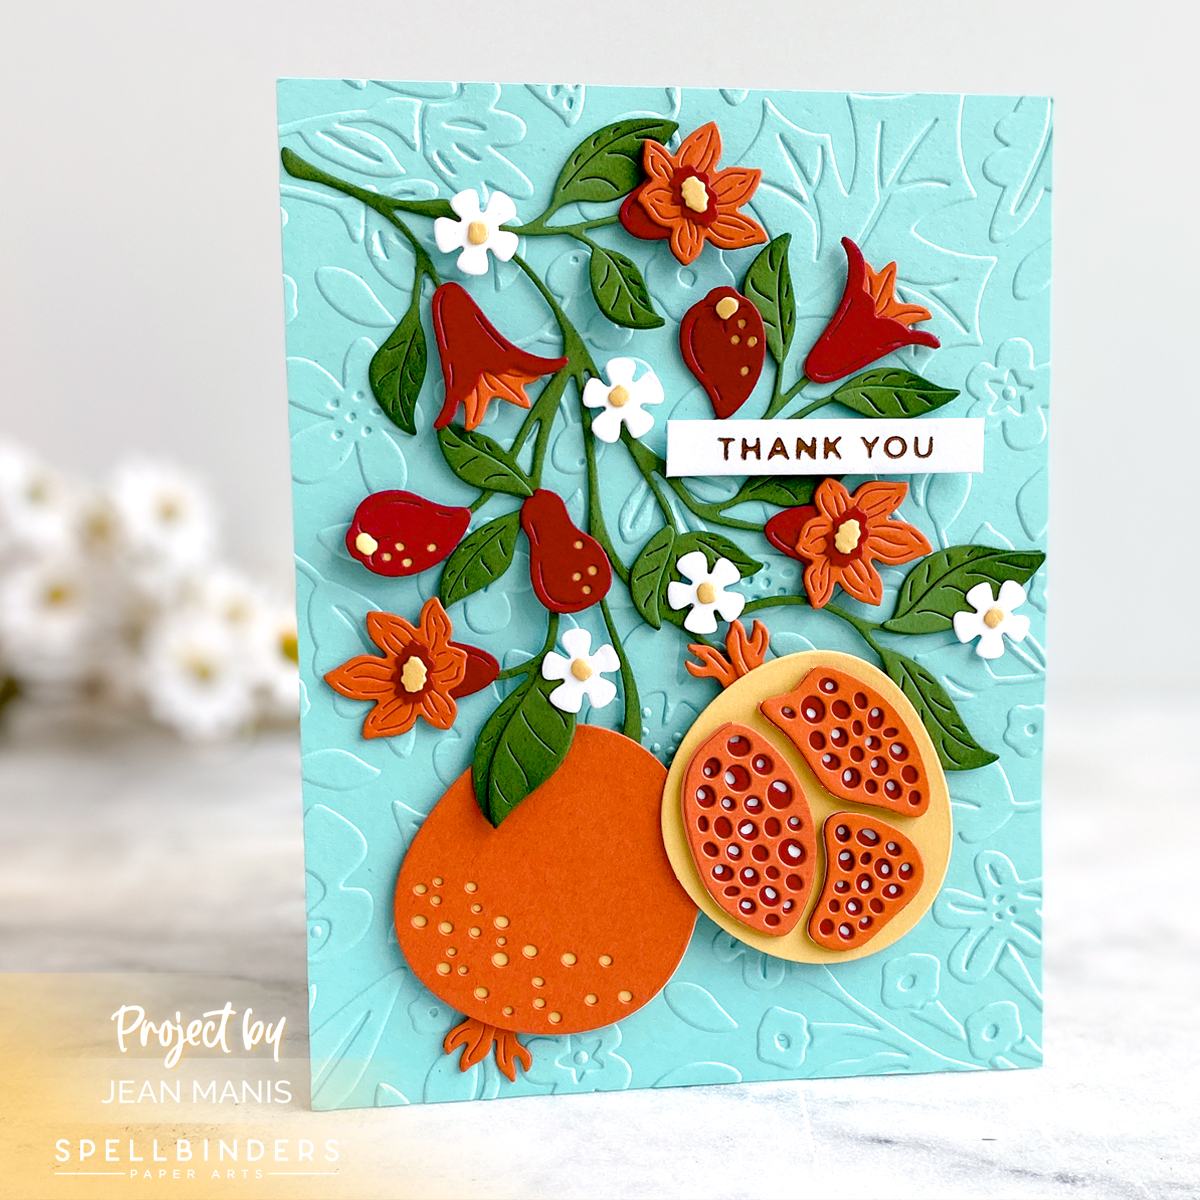
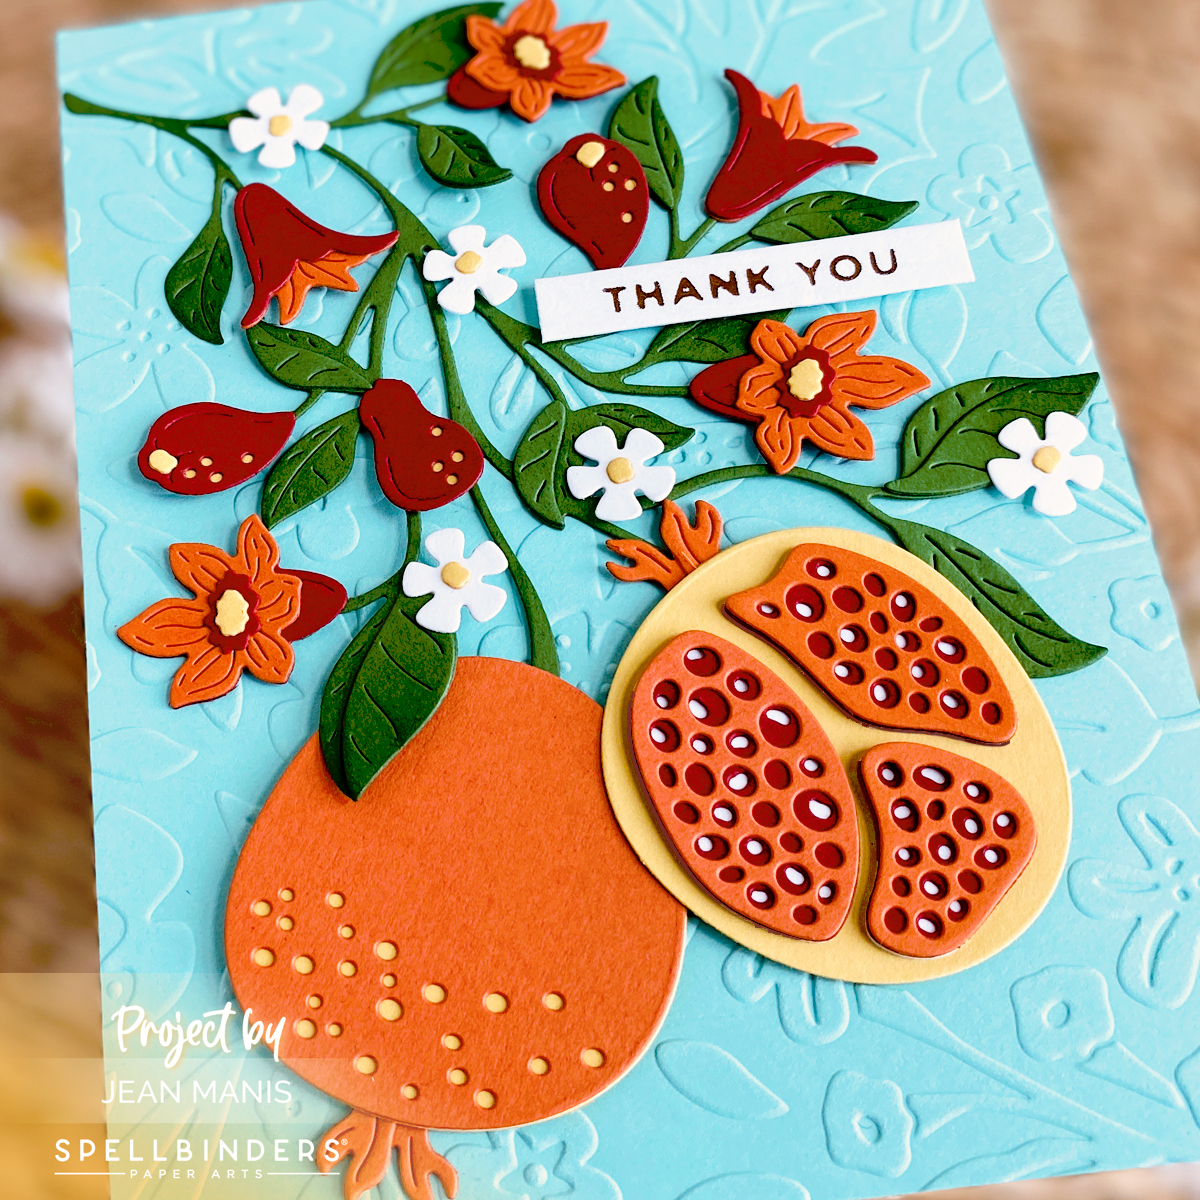
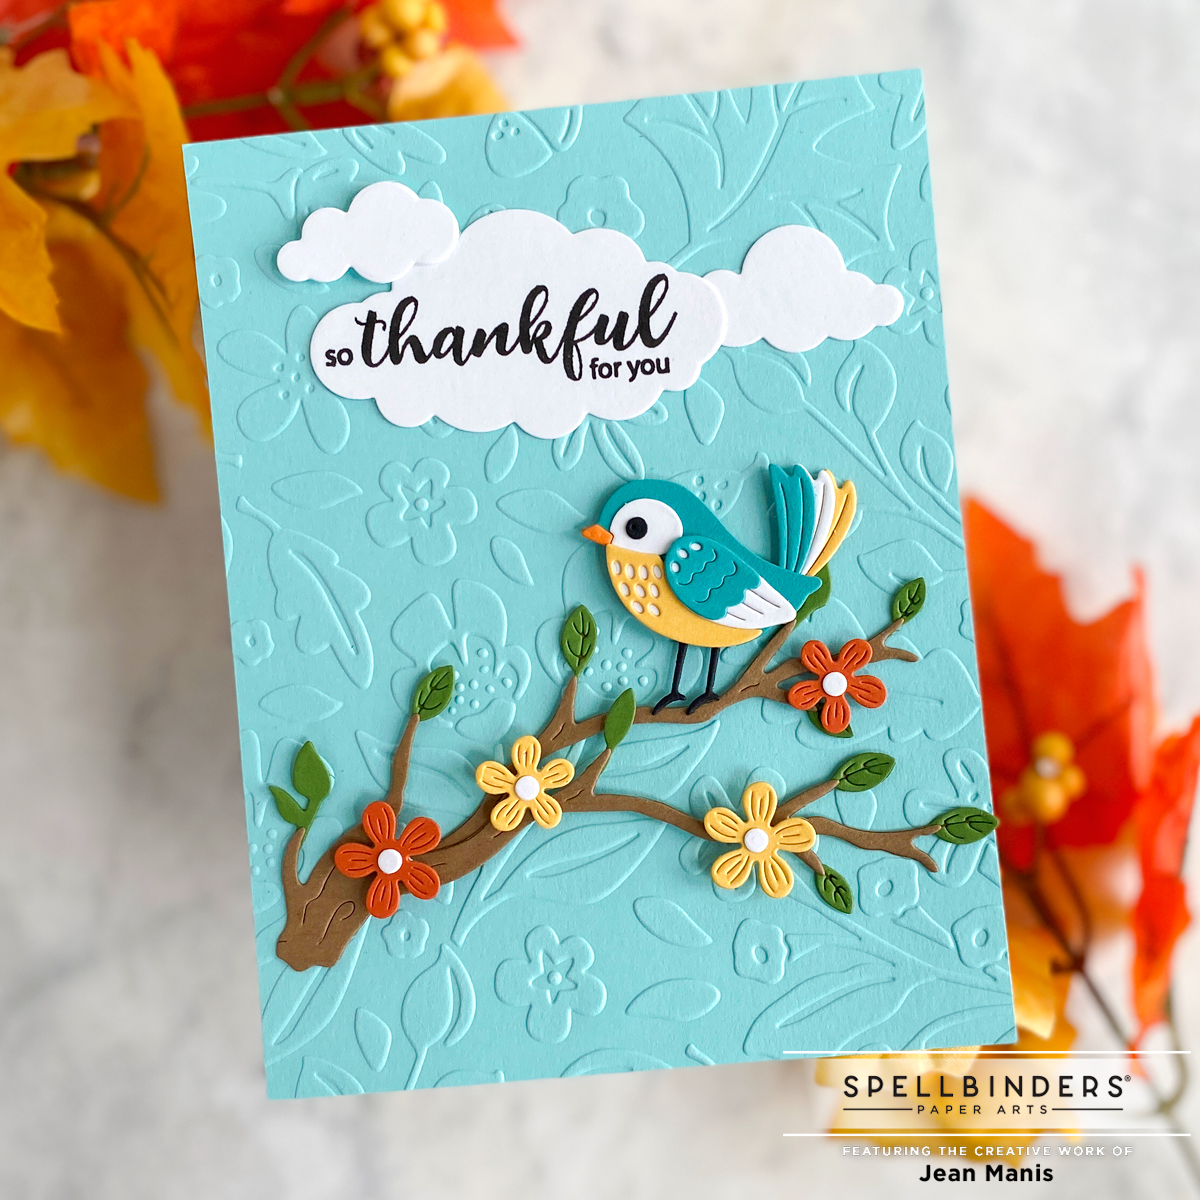
Botanical An embossing folder with a botanical motif works well for a nature-inspired card and brings a sense of serenity.
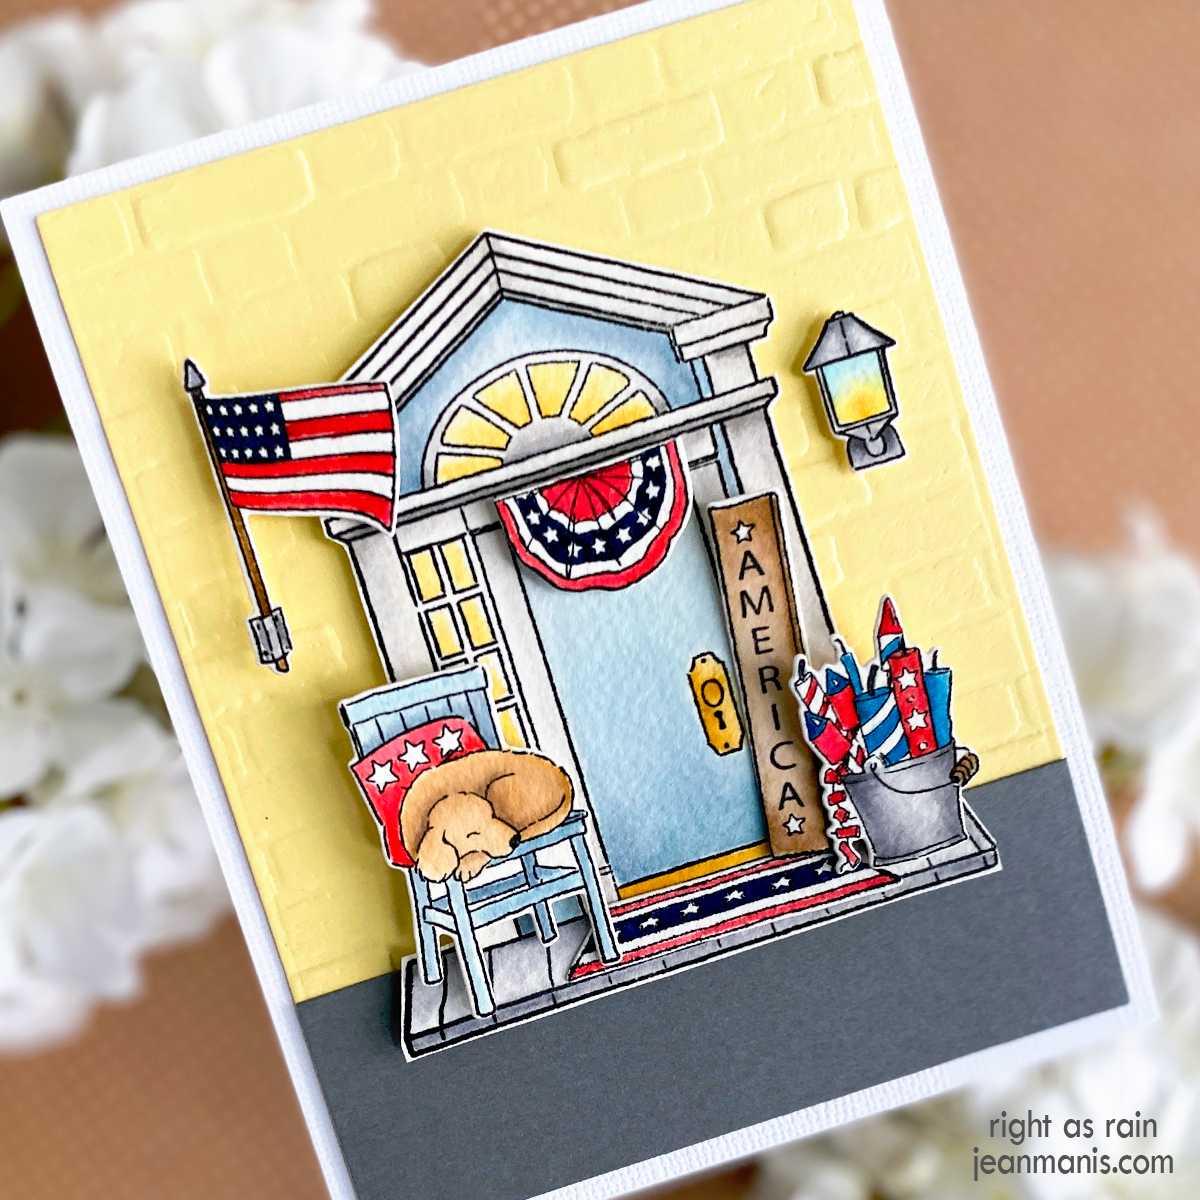
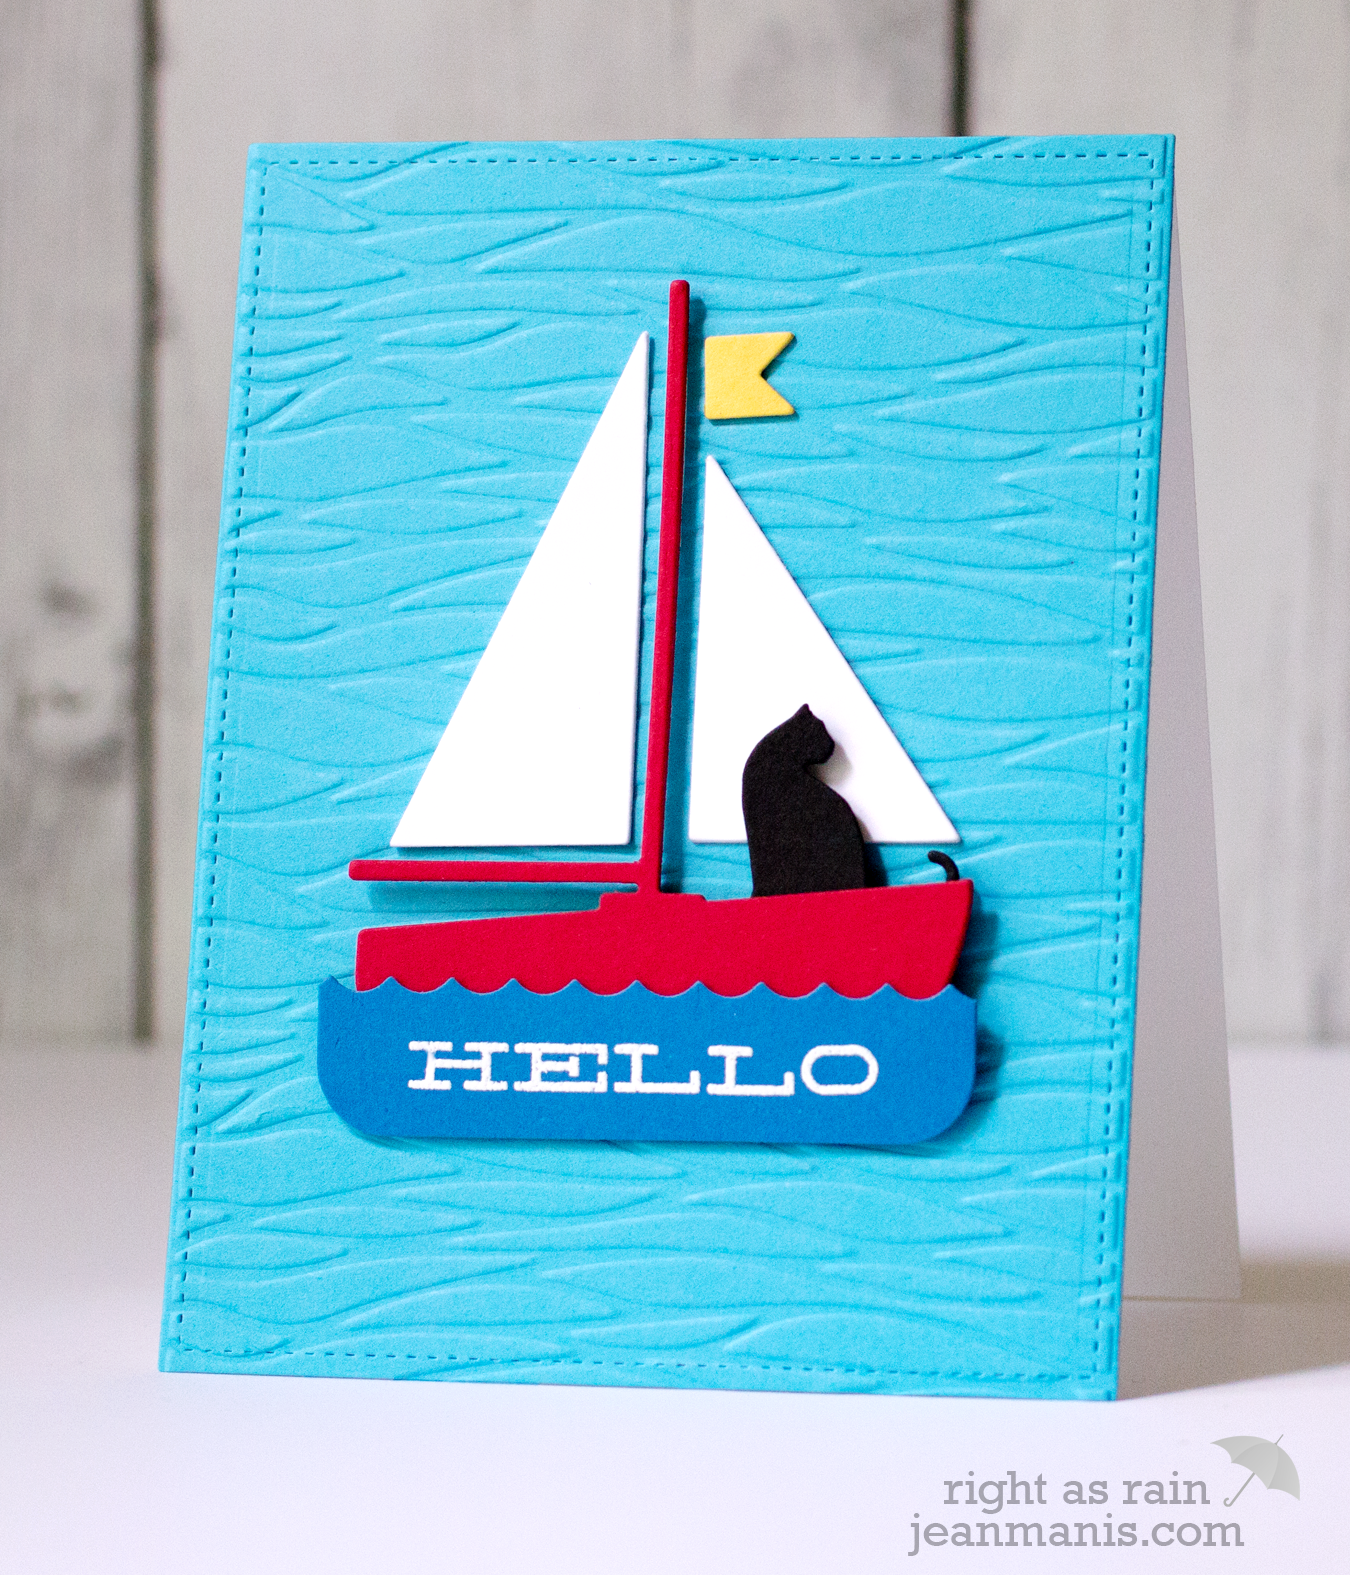
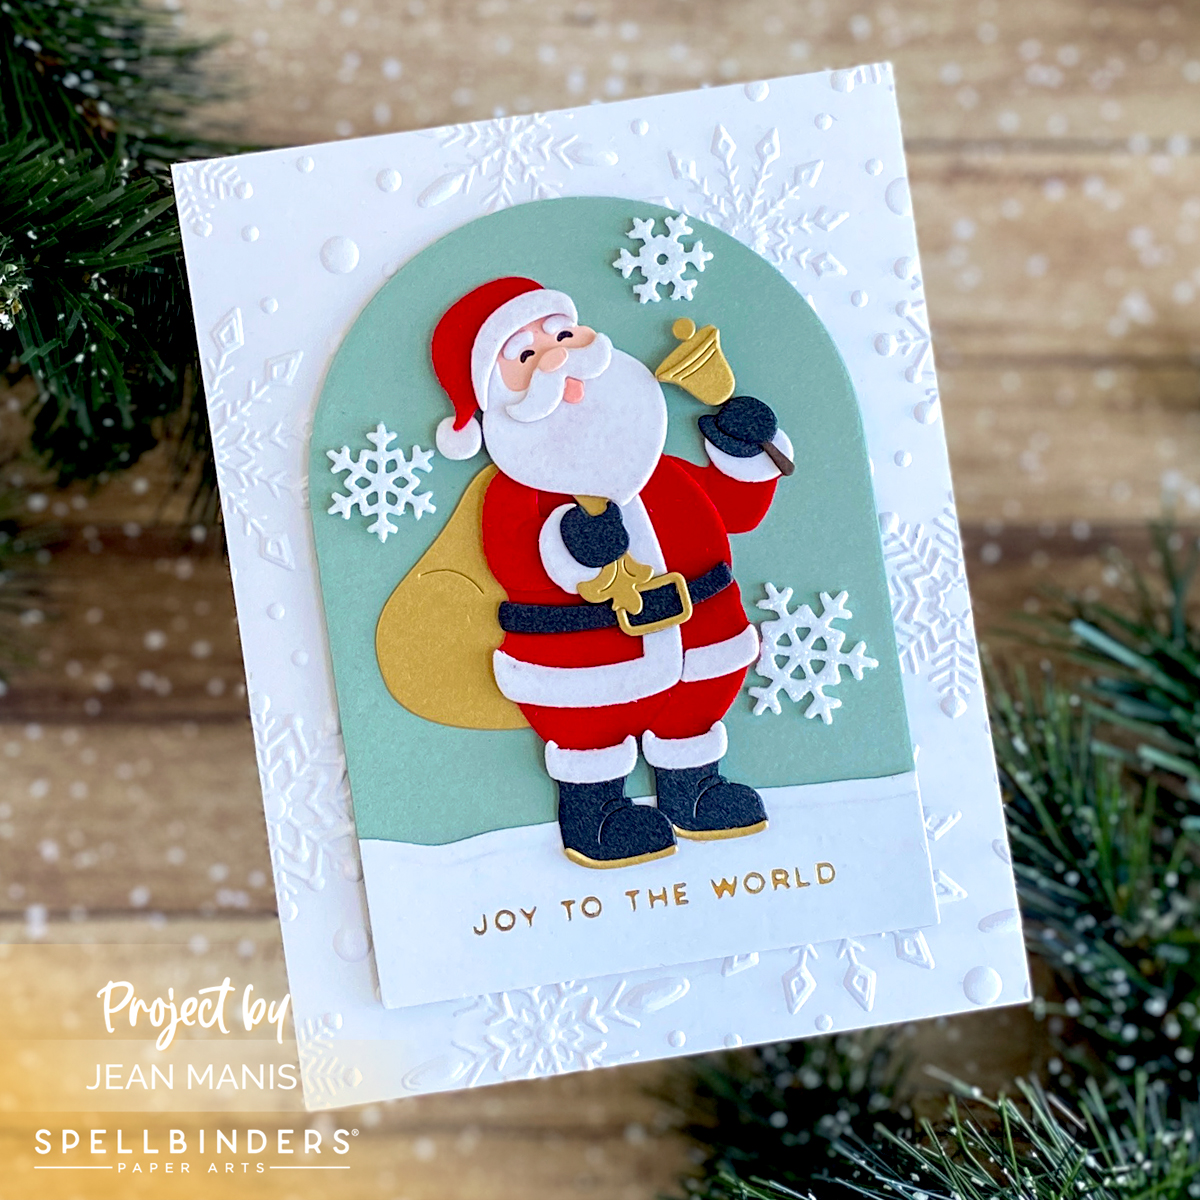
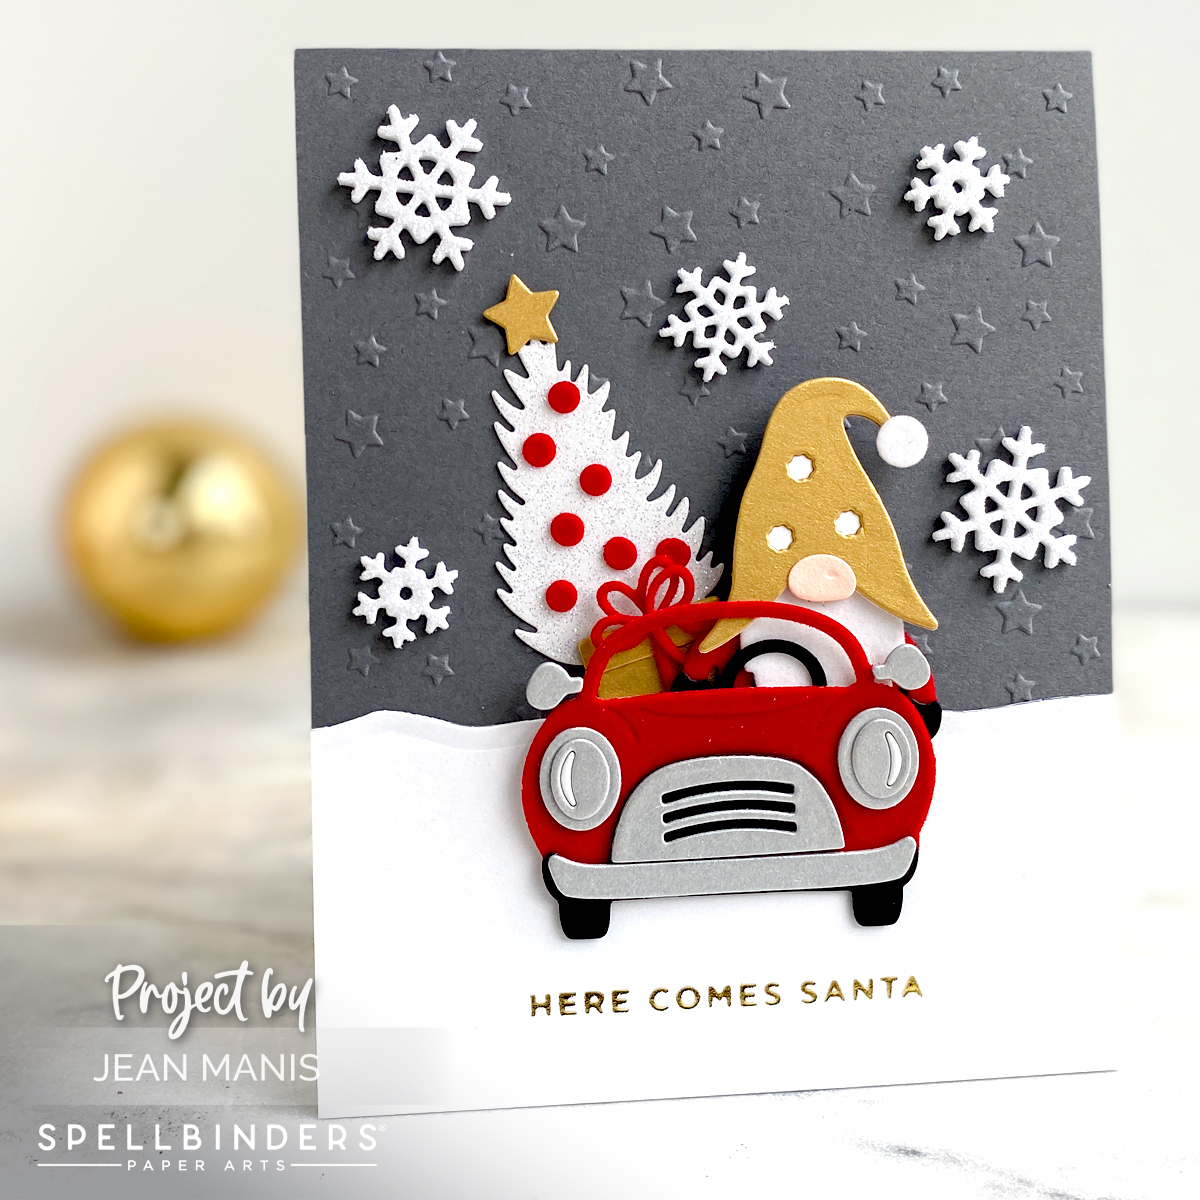
Scene-Building Embossing folders featuring bricks, waves, snow, or stars can provide foundational texture for scenes.
Considerations and Limitations Embossing folders present limitations in terms of size and orientation, which can impact their suitability for specific card designs. For example, a 4 1/4-inch wide by 5 1/2-inch tall folder with a pattern oriented from top to bottom (such as rainfall) would not work on a landscape-oriented scene. Furthermore, the choice of an embossing folder background is largely limited to the color of the cardstock, unless an inked or color blocked cardstock panel is used.
Insights As I revisited the cards I’ve created with embossing folders, I noticed that I was much more interested in those that function as workhorses. I am rarely inclined to use an embossing folder as the main attraction on my cards. Additionally, I was prompted to reorganize my embossing folder storage putting my favorite embossing folders in the front. This simple change will make me more inclined to reach for an embossing folder as a background choice.
Do you frequently use embossing folders for backgrounds? Which patterns are your favorite? Any folders are on your wish list?